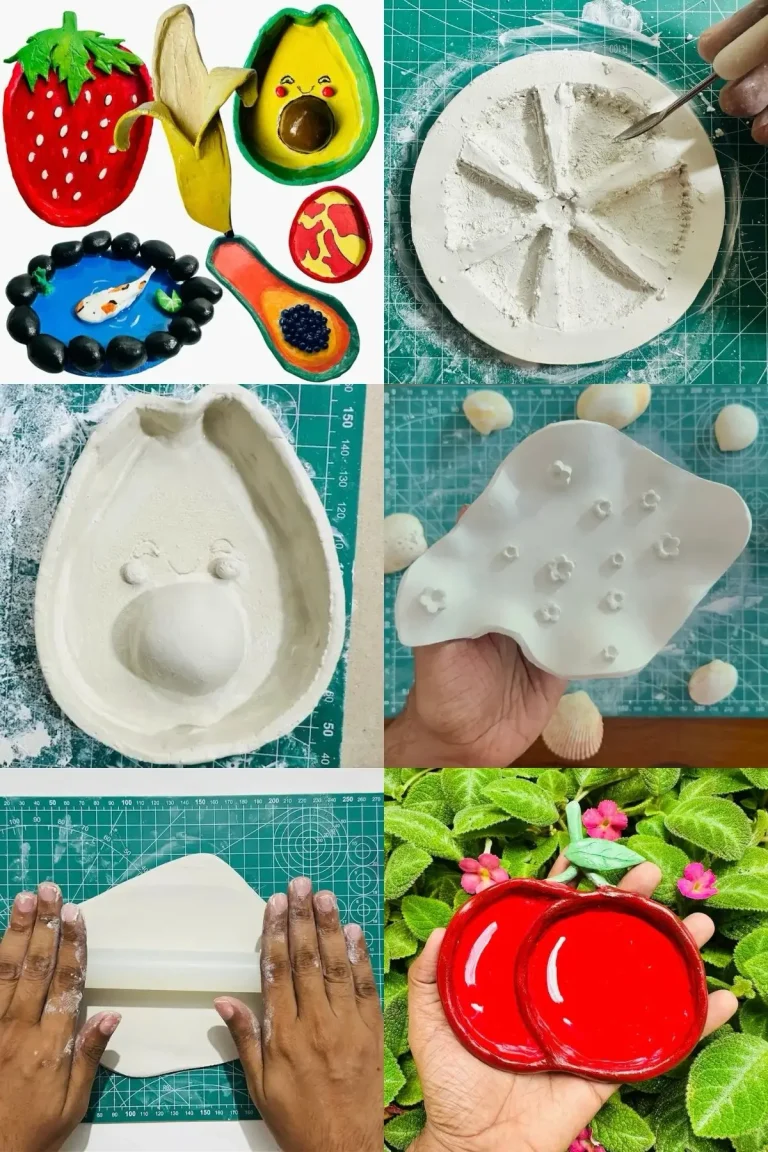
If you’re still waiting to start your air dry clay journey until you gather all the tools suggested by online gurus, I’m sorry, my friend. You’re just wasting time!
What if I told you all the tools and supplies needed for starting your air dry clay journey are peacefully sitting in one of your kitchen drawers?
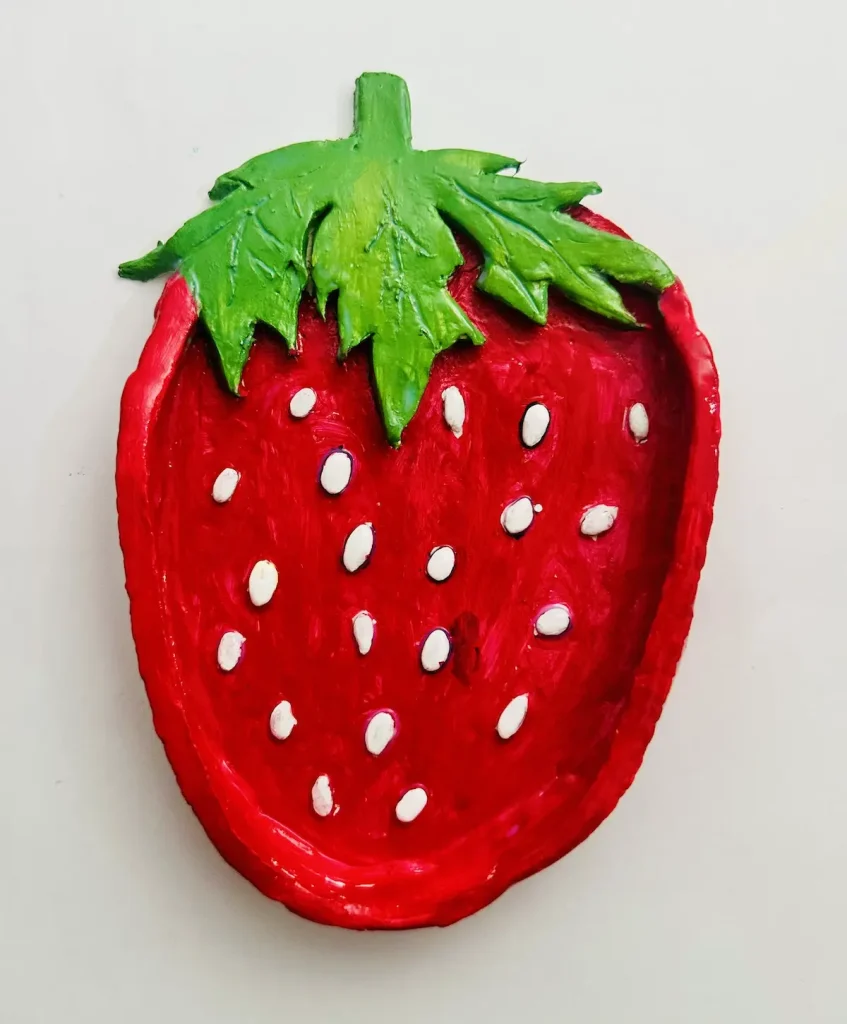
I’m not an expert. I’m just a beginner with only 6 completed air dry clay projects. Do I have expensive tools? No, I don’t.
So, if you’re like me, let me tell you how I make my air dry clay items like this strawberry trinket tray with no expert/professional tools.
Let’s jump in!
Why you don’t need fancy tools for great clay art
- Don’t you have clay sculpting tools? Use toothpicks.
- Don’t you have a damp sponge for smoothing? Use your fingers.
- Don’t you have a cutting tool? Use a small knife.
- Don’t you have a rolling pin? Use a cooking rolling pin you use for making dough.
- Don’t you have a mat? Use parchment paper or unbleached canvas.
See, like that, the list goes on…
When you’re starting out, you don’t need fancy, expensive gear. Just start with what you have. Over time, when you become good at making things with air dry clay, you can purchase things and improve your production. ✨
In the beginning, I didn’t even have an idea whether I’d continue this journey. Therefore, I didn’t buy expensive tools.
I started this hobby due to the adrenaline rush I gained after watching a few TikTok reels. People make beautiful items with air dry clay. But don’t think making things is as easy as it seems on social media. Trust me, it isn’t. 📱
You’ll make lots of mistakes. There will be frustrating and annoying times. But you should keep going. Practice always makes you perfect!
My strawberry trinket tray project
I made this strawberry trinket tray without spending $50 to get this realistic look. (Sorry if it doesn’t look realistic!) As a beginner air dry clay artist, I’m happy with the result. 🍓
I have a full guide on how I made strawberry trinket tray from scratch. But let me summarize what I did to show you I didn’t use expensive tools.
Here’s the process,
- Knead air dry clay.
- Roll the clay.
- Trace and cut the shape of the strawberry tray base.
- Trace and cut the shape of strawberry leaves.
- Make tray rims by rolling and cutting.
- Attach using score and slip method.
- Make and add seeds.
- Let it dry.
- Paint and seal the tray.
Simple as that! Do you really think this whole process needed expensive tools? No, it didn’t.
Everyday items for realistic textures on air dry clay
Here are some everyday household items you can use to create realistic textures, replacing the need for expensive sculpting tools.
Toothpicks
Toothpicks are not only good for teeth but also for your clay. You can use toothpicks for detailing your air dry project. 🦷
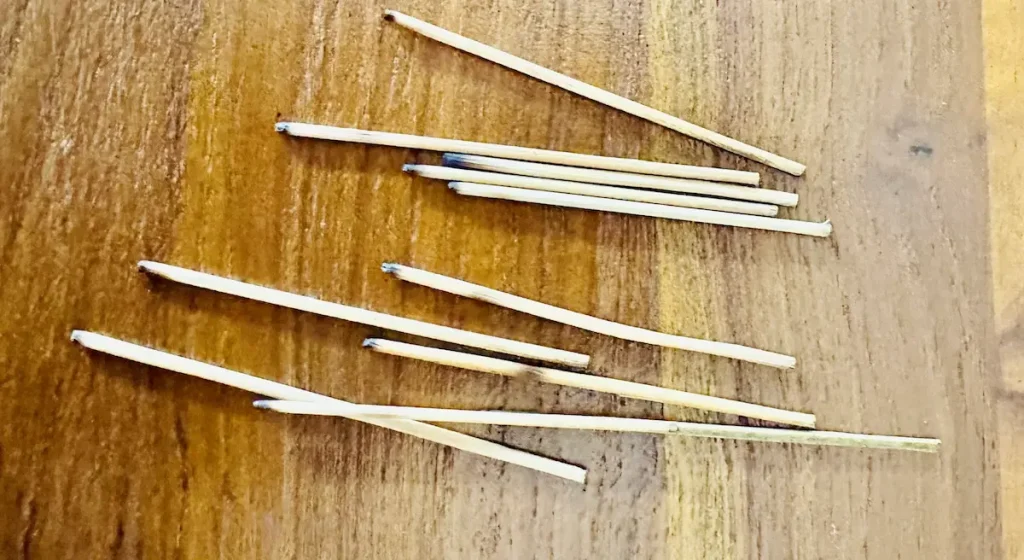
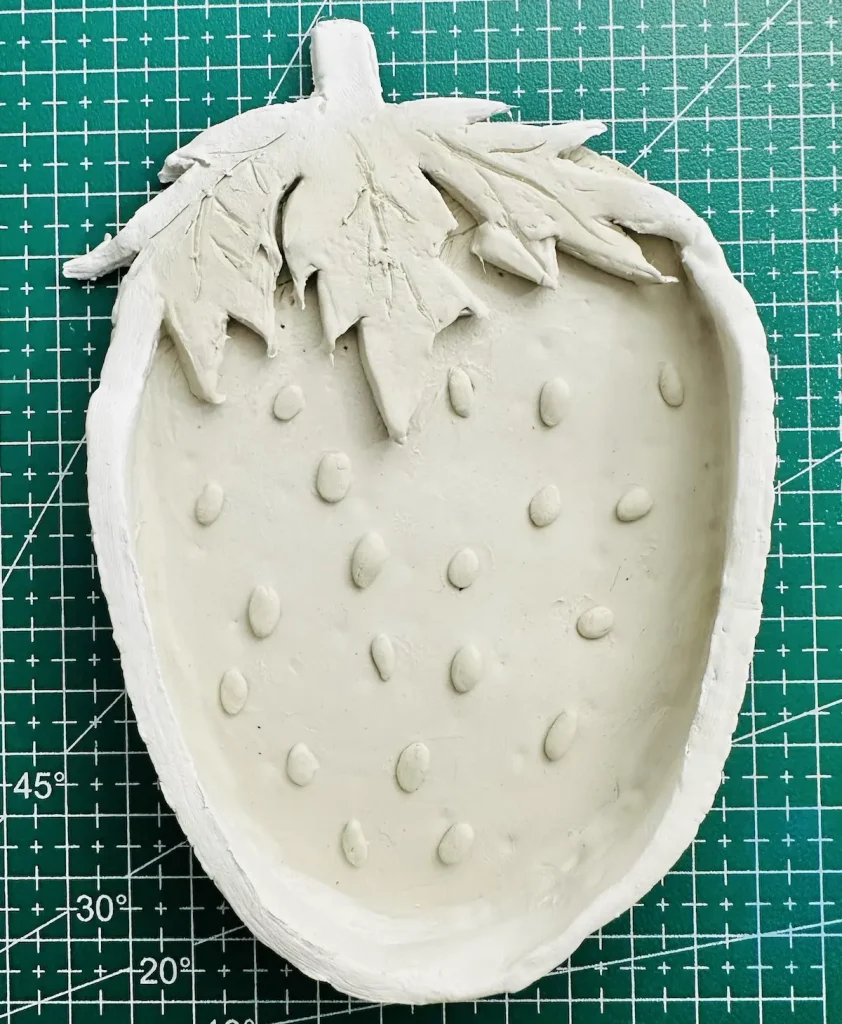
For example, you can mark the locations for strawberry seeds on the tray base before adding them with a toothpick or a cotton ear bud.
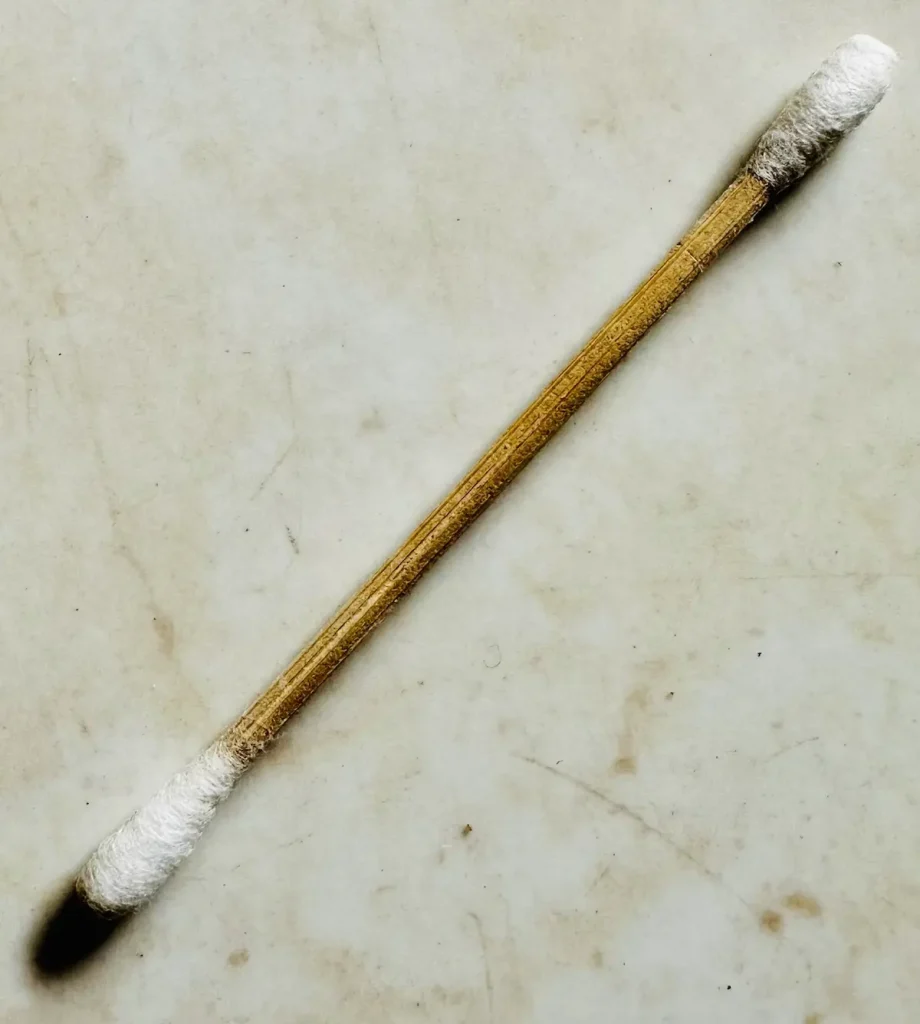
If you don’t have a special tool to hold strawberry seeds to add to the tray base precisely, you can use a toothpick. Actually, I held and placed seeds using my fingers.
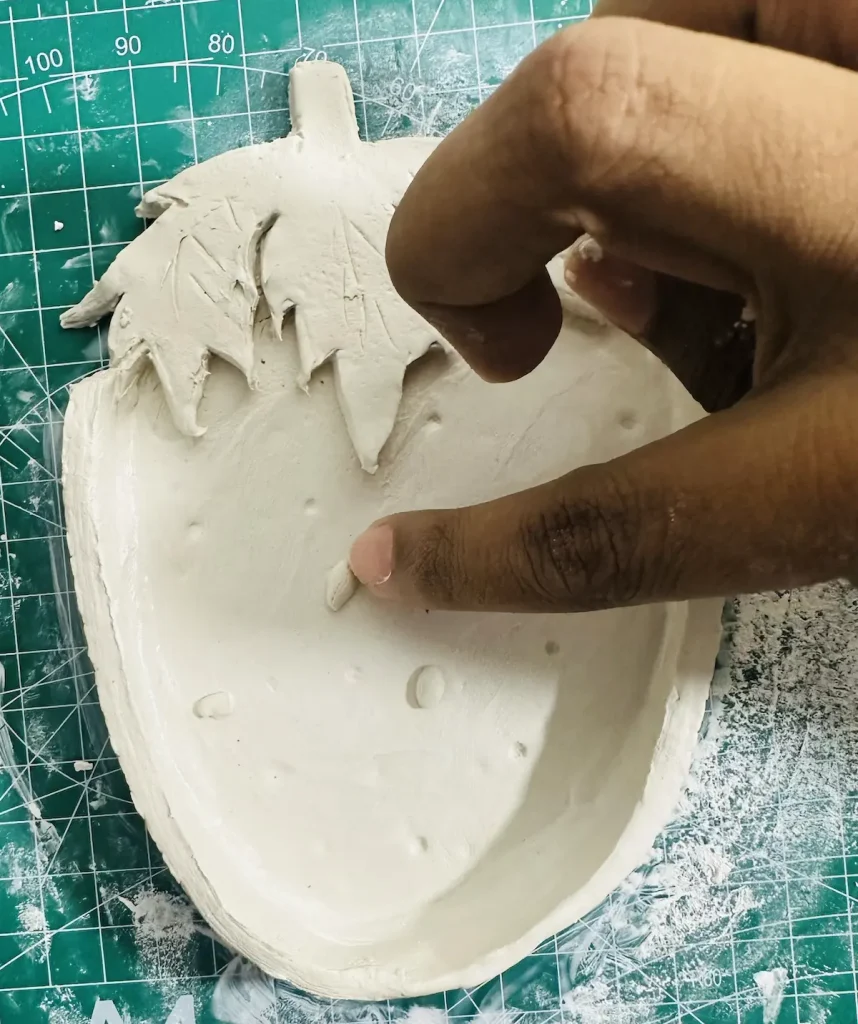
Also, you can detail the veins on strawberry leaves using a toothpick.
I’m taking my strawberry trinket tray as a reference, but basically you can use toothpicks for any detailing task of your air dry clay project.
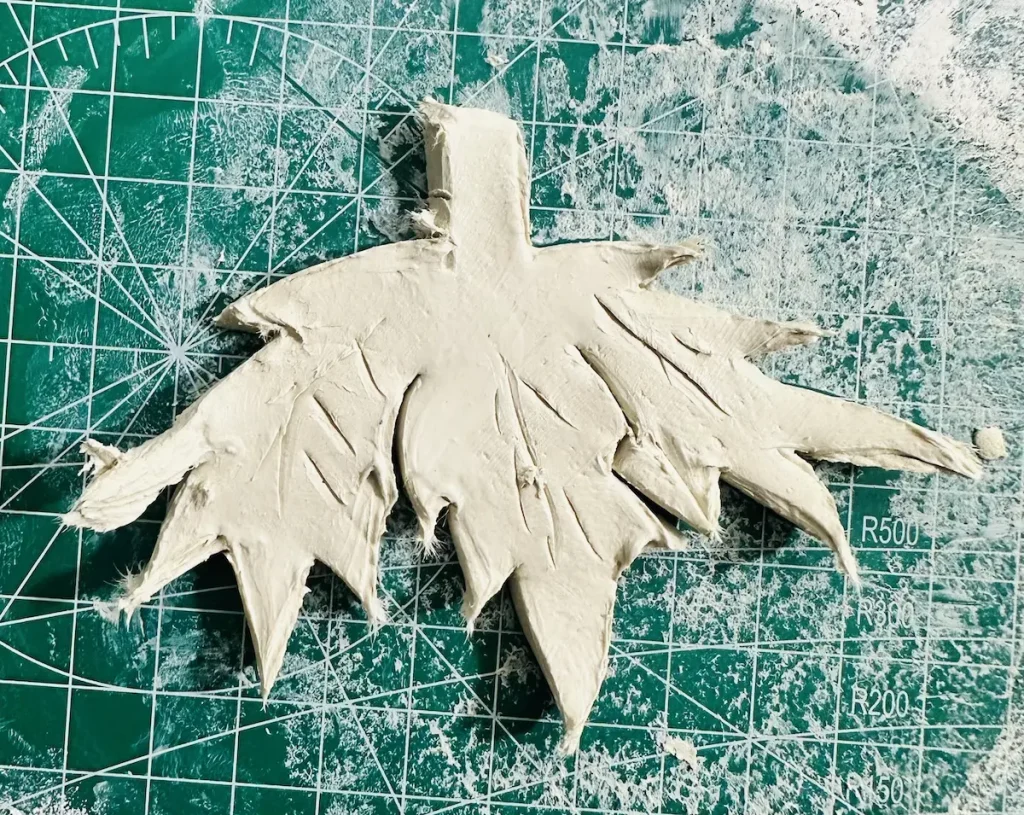
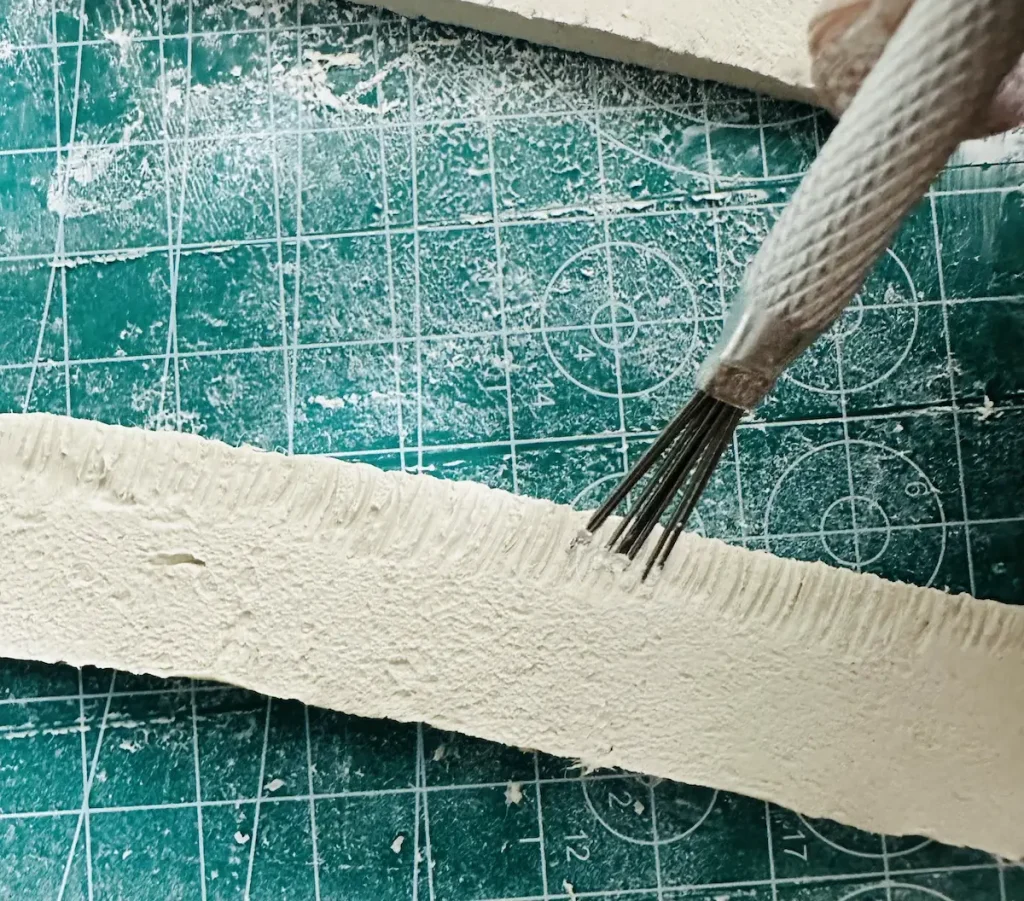
As you know, scoring is a must before attaching any air dry clay pieces. If you don’t have a clay scoring tool for that, you can obviously go with a toothpick. You just have to score the surfaces like a texture.
Crumpled aluminum foil
Pressing down a crumpled aluminum foil against the wet clay can create a nice, earthy texture on the surface.
You don’t need rubber stamps, silicone texture mats, or wooden molds for that.
Old toothbrushes
You can score air dry clay surfaces before attaching using an old toothbrush. Also, you can give the wet clay piece a nice texture by tapping an old toothbrush on it repeatedly.
Likewise, you can use forks and lace for texturing air dry clay. Many of them can be found in your kitchen drawers.
Rolling and smoothing without expensive tools
Now I’ll show you what household items you can use for rolling and smoothing air dry clay instead of expensive tools. I use most of them.
Kitchen rolling pin
The kitchen rolling pin you use for making dough can be used for rolling air dry clay. You don’t need an acrylic rolling pin when starting out.
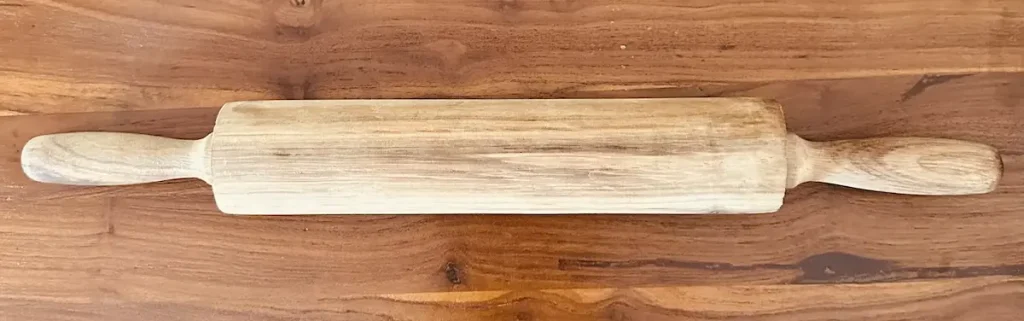
I do use an acrylic rolling pin. But I’ve tested my kitchen rolling pin as well and it works just fine.
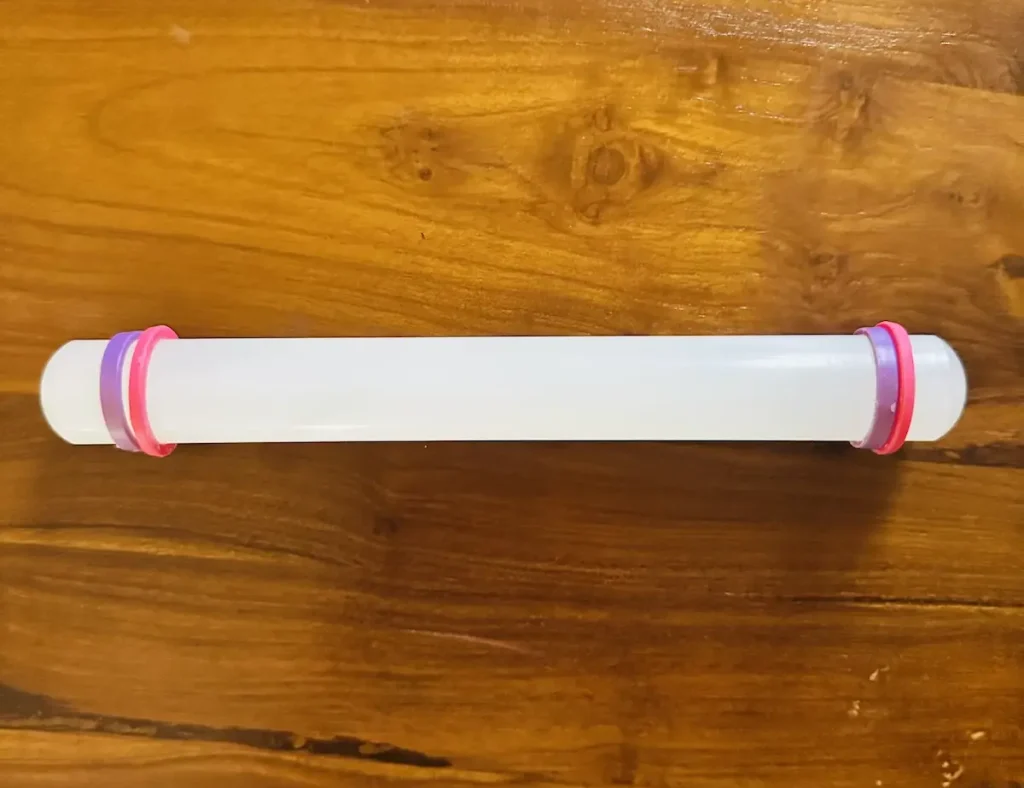
There is a small adjustment you need to make before using a kitchen rolling pin. Air dry clay tends to stick to the rolling pin. Therefore, wrap the cooking rolling pin in cling film or wax paper so it doesn’t stick. Simple as that!
Parchment paper or unbleached canvas
If you don’t have a silicone mat or PVC mat to work with air dry clay use a parchment paper. Air dry clay is sticky and it may tend to tear apart when try to lift it up after rolling.
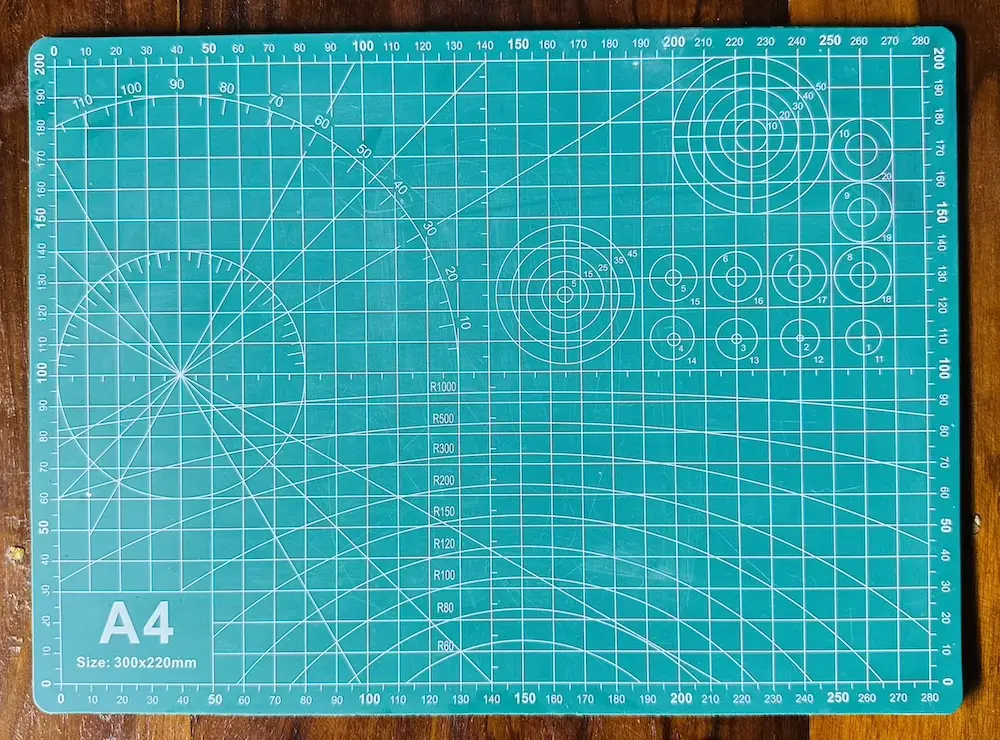
Don’t use sealed super smooth surfaces because clay stick with them so well.
Place a parchment paper or unbleached canvas over your tabletop and start rolling the clay.
How to smooth air dry clay without a damp sponge
Smoothing air dry clay slab while making is a must for crack free, porous free surface. Professionals recommend you to slide a damp sponge all over the wet air dry clay surface to remove cracks, bumps, tiny scratch marks and fingerprints.
As per their recommendation, I did buy a sponge. But I still use my fingers. Yes, your fingers can do the magic trick.
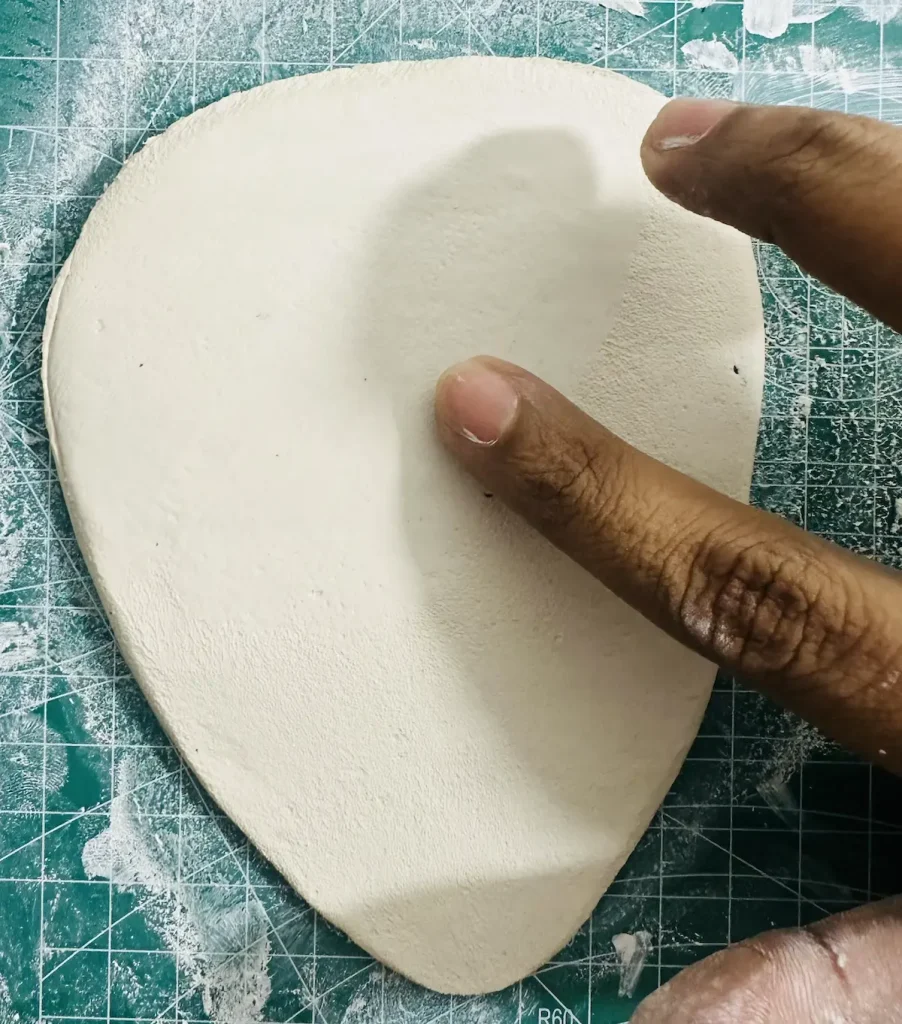
You simply have to follow the procedure below when smoothing the clay using your fingers,
- Take a cup of water.
- Dip your index finger in it.
- Place your wet finger on air dry clay slab.
- Gently slide over the clay until the surface becomes smooth.
- Do the same when smoothing tray bases, rims, and small clay pieces.
With water and your finger, smoothing clay is nothing!
Shaping and cutting without cookie cutters
Yes, having cookie cutters is an advantage when making specific shapes like flowers, stars, rounds and squares. But what if you want a more organic approach? What if you want to improve your drawing skills?
Freehand cut
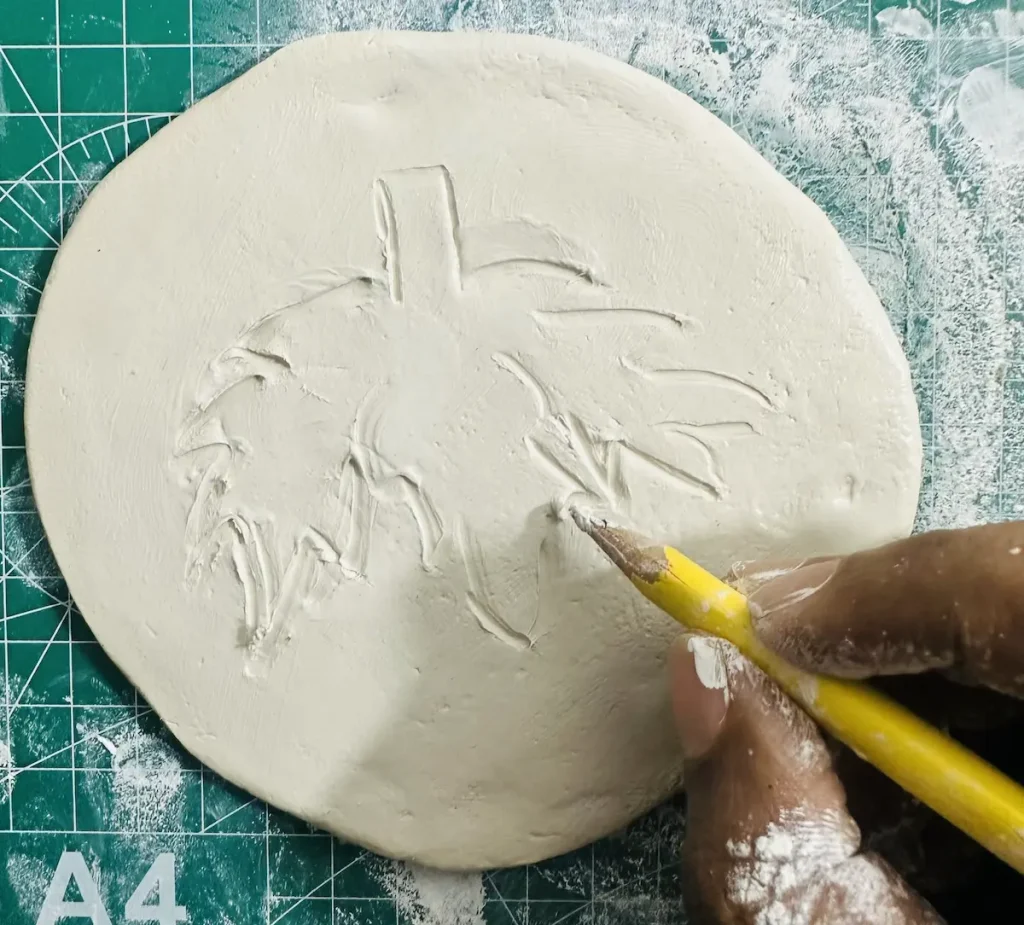
I don’t use cookie cutters. I use my freehand skills. Actually, I still have no skills because I fail so many times when tracing the shapes on air dry clay lol. Many failed attempts were in my strawberry trinket tray project as well.
But as beginners it is completely fine to make mistakes. Mistakes are what give us lessons. Over time, I believe I’ll be good at drawing. That’s why I don’t use cookie cutters.
The paper template hack
If you’re bad at drawing like me or think drawing is not for you, don’t worry. Try the paper template trick.
Google the thing you want to draw. For example, a strawberry 2d image. Then take a printout of it. Cut around the shape. Place the paper template on your air dry clay slab after rolling and cut around it using a knife or trace with a toothpick. Simple right?
Final thoughts
Don’t wait until the perfect moment. Even though you wait till you grab those expensive tools to start your air dry clay project, once you grab them, your interest might be gone. Start where you are with the things you have.
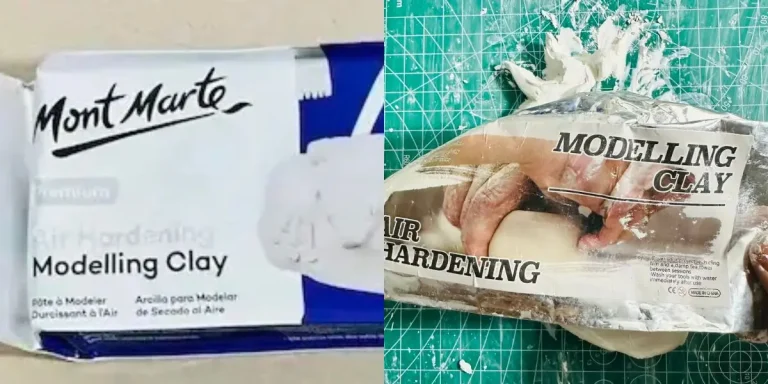
Go to your kitchen and grab toothpicks, a small knife and a rolling pin. Purchase the air dry clay (don’t care about expensive air dru clay brands at the beginning) and start.
Practice and practice. Once you become good at this, it’s time to go for expensive professional tools which make your whole process much easier. Cheers! 🤟🏾