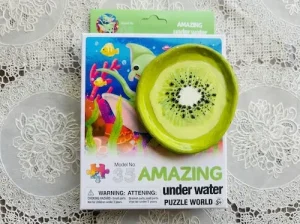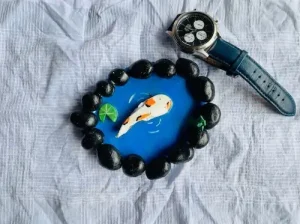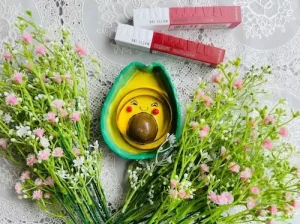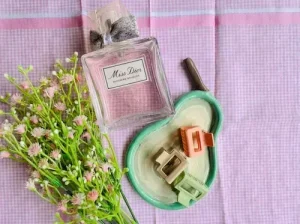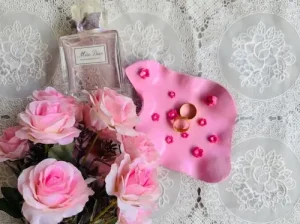
Welcome to Clay and Me!
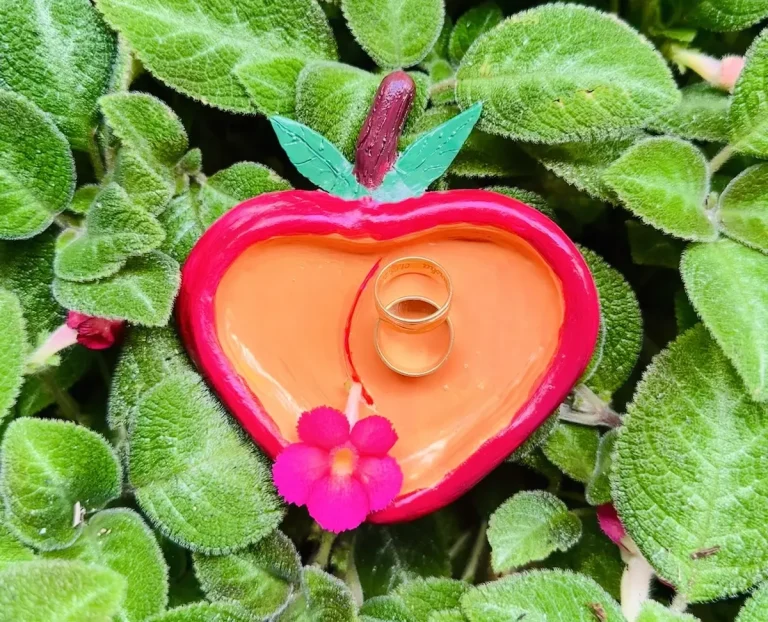
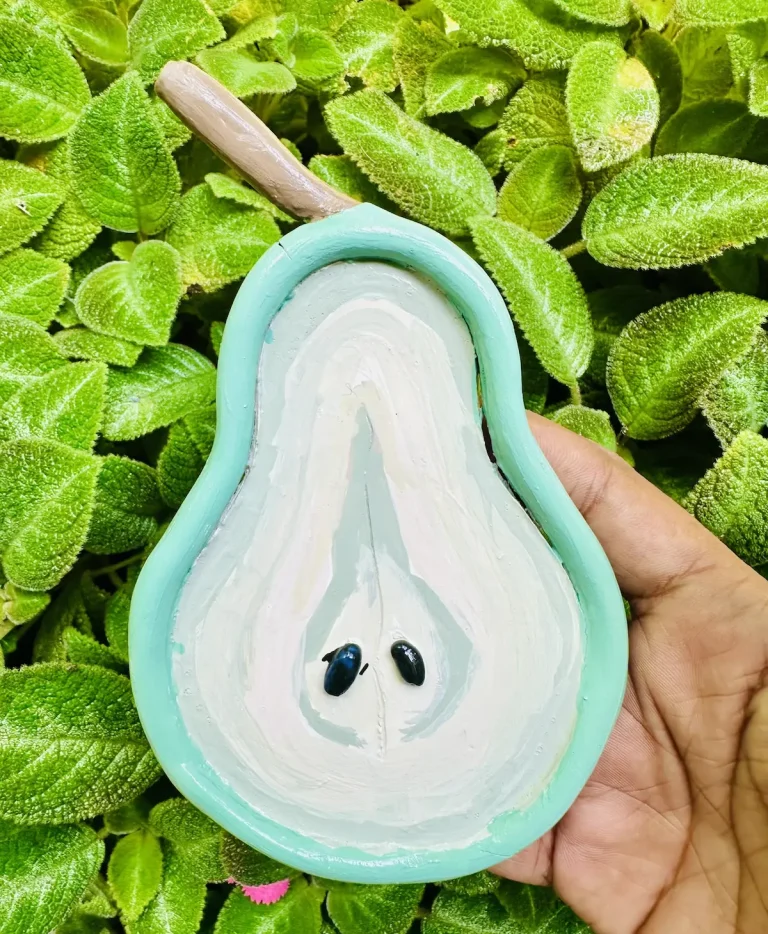
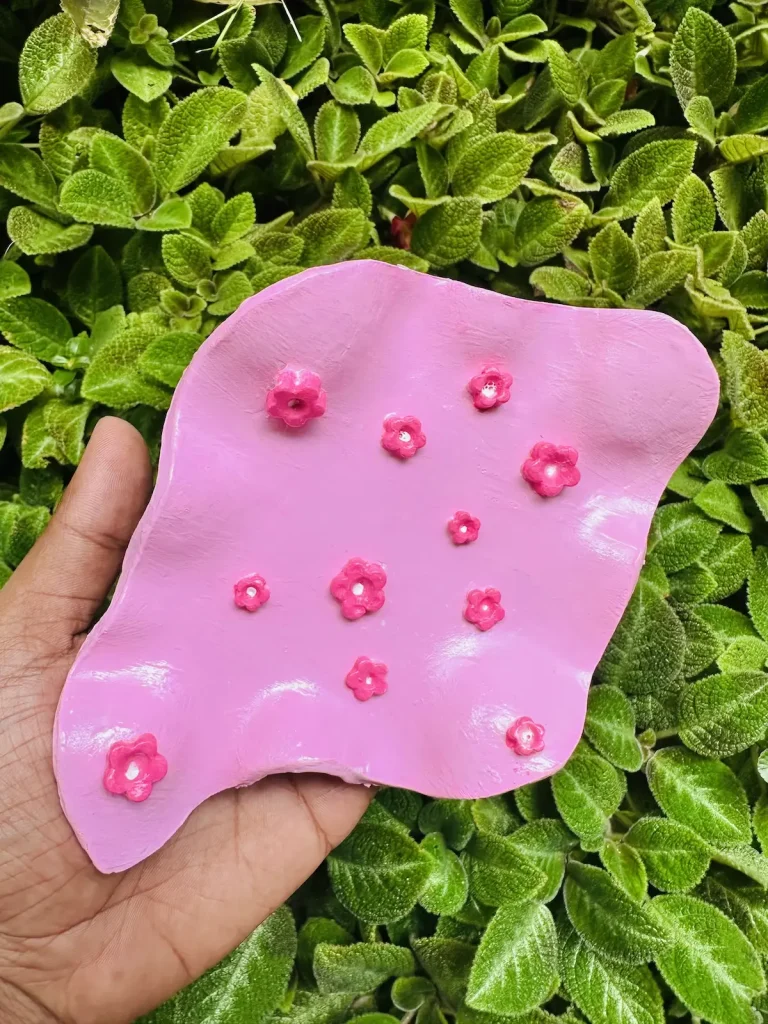
New to clay? You are in the right place. I’m also a beginner clay artist just like you, and I love making beautiful trinket trays, jewelry dishes, and home decor items with air dry clay.
On this site, I provide step-by-step tutorials, easy tips and tricks, and guides on how to fix the inevitable mistakes that happen while you’re creating your masterpieces. Even if you have zero experience with clay, you can follow my methods to eventually become a master at it. 🎨
Many online gurus and experts edit out their mistakes, but I don’t. Making mistakes is a normal part of the process. It’s how we learn. I share my slip-ups, what they taught me, and most importantly, how I fixed them, so you can avoid the same pitfalls and become a better clay artist than I am.
I’ve got you!
You can learn more about me and my creative clay journey here. There, I share why I decided to become a clay artist and how it benefits my mental health. ✨
Are you a social butterfly? In addition to this blog full of ideas, you can also find me on YouTube, Instagram, TikTok, Facebook, and Pinterest. 📲
And if you’re a brand or fellow content creator who would like to work together, you can email partnerships@clayandme.com to start the conversation! ✉️
Which clay should you start with?
Most beginners are curious about which clay type they should buy first. Let’s settle this right now.
Select air dry clay if:
Air-dry clay is the absolute best choice for beginners because it is incredibly cost-effective. For example, polymer clay can be 2x to 3x more expensive than air dry clay.
There is no kilning or baking needed. It dries naturally in the air, and you can mold it into any shape you want just by kneading it with a little bit of water.
Because it is so easy to work with and cheap to buy, you can experiment and have fun. As beginners, we waste a lot of clay in the early stages. With air dry clay, you can test out new techniques and learn the ropes without worrying about ruining expensive materials. I tell you this from experience!
However, air dry clay is prone to cracking as it dries due to uneven shrinkage, using too much water, or not smoothing it enough. You need to keep those factors in mind. You can learn more about the specific advantages and disadvantages I faced as a beginner in this article.
Learn the basics before you start
Want to know everything about working with air dry clay from start to finish? Don’t worry I gotcha.
Start with my complete beginner guides and essential handling basics before you open your first block of air dry clay:
- The Complete Walkthrough: Air Dry Clay for Beginners: The Ultimate Step-by-Step Guide
- Studio Hacks: Air Dry Clay Tips and Tricks Every Beginner Should Know
- Storage Basics: How to Store Air Dry Clay Once Opened (Keep It Soft for Months)
- Handling Basics: How to Keep Air Dry Clay Soft While Working
- Joining Basics: Why Is My Air Dry Clay Not Sticking Together?
Note: I currently focus exclusively on air dry clay. Once I start experimenting with polymer and other clay types, I will update this section!
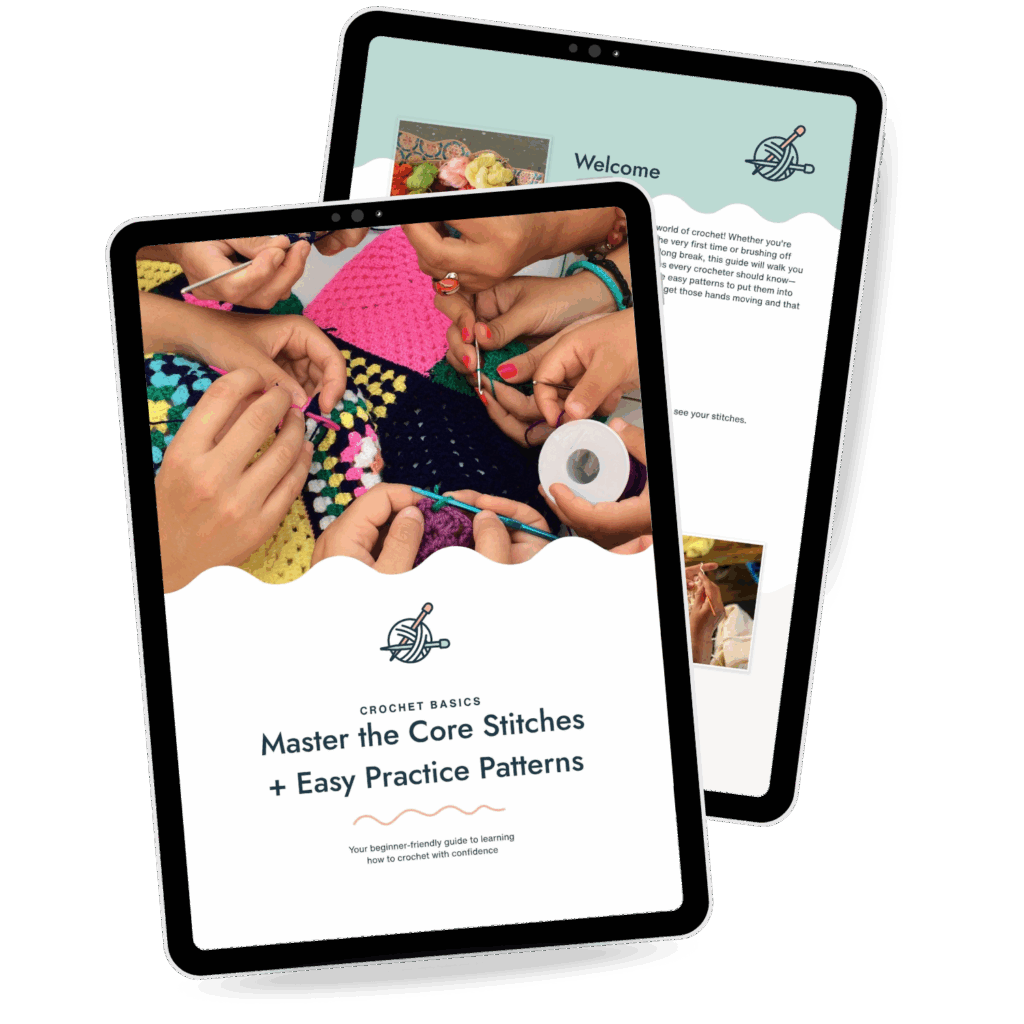
SAVE YOUR PROJECTS WITH THIS FREE GUIDE
How to Avoid the Most Common Air Dry Clay Mistakes

Tired of your beautiful projects cracking, warping, or falling apart after days of waiting for them to dry? This free, comprehensive guide breaks down the biggest beginner pitfalls and gives you the exact techniques you need to ensure your pieces dry perfectly strong every single time.
What are some of your most used and recommended clay supplies?
As a person who works almost daily with clay for making things, let me tell you everything you need when starting out.
Don’t worry, nothing here is super expensive. If you can’t find any of the items, I recommend checking your kitchen drawers because things like toothpicks and small knives can be used for crafting and sculpting as alternatives.
When you are ready to grab your first block of clay, I have put together a complete, categorized checklist of every single clay brand, sculpting tool, acrylic paint, and sealer I personally use and love in my studio.
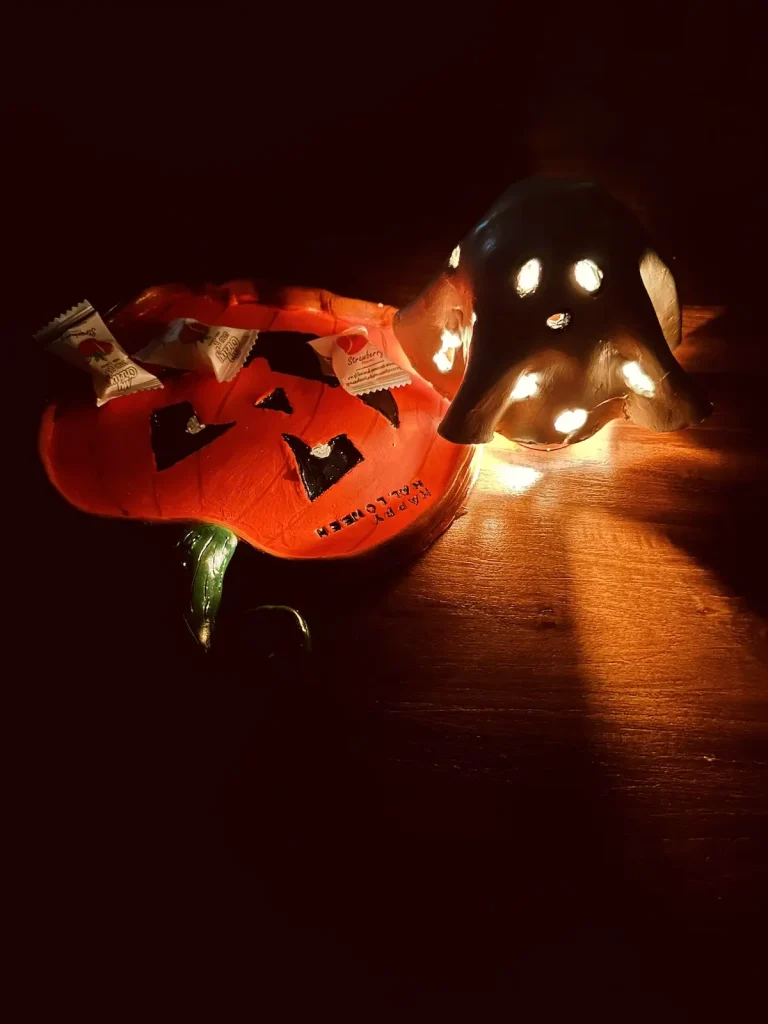
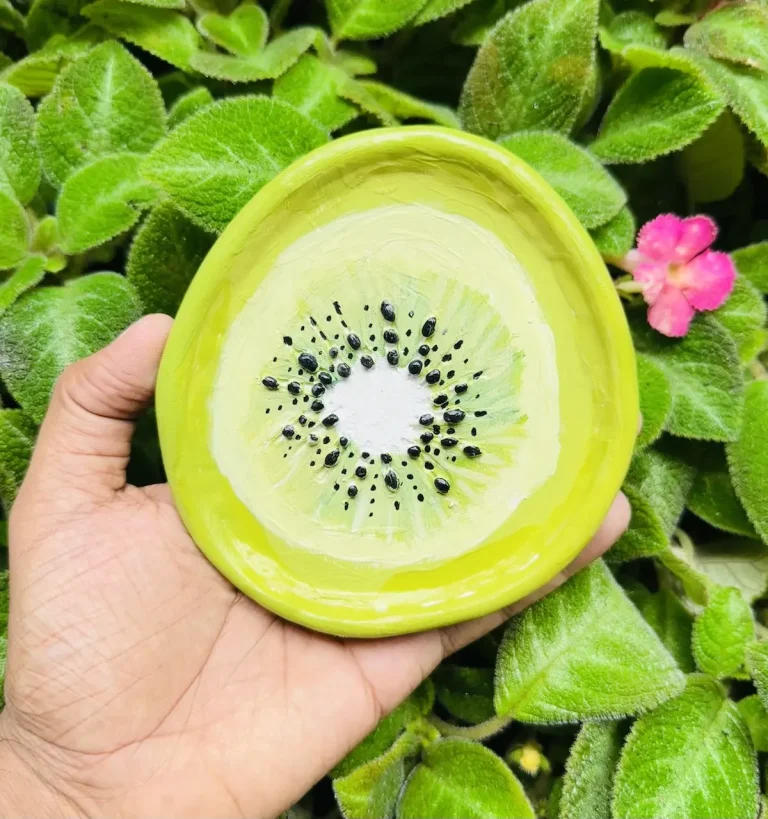
Start with these projects
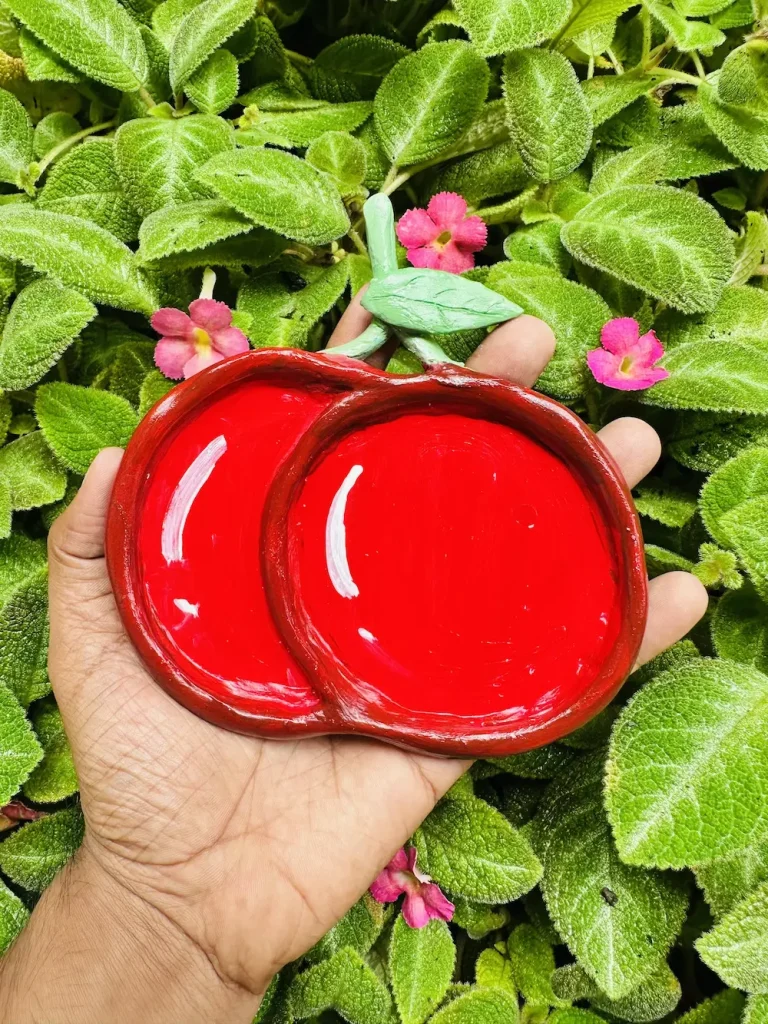
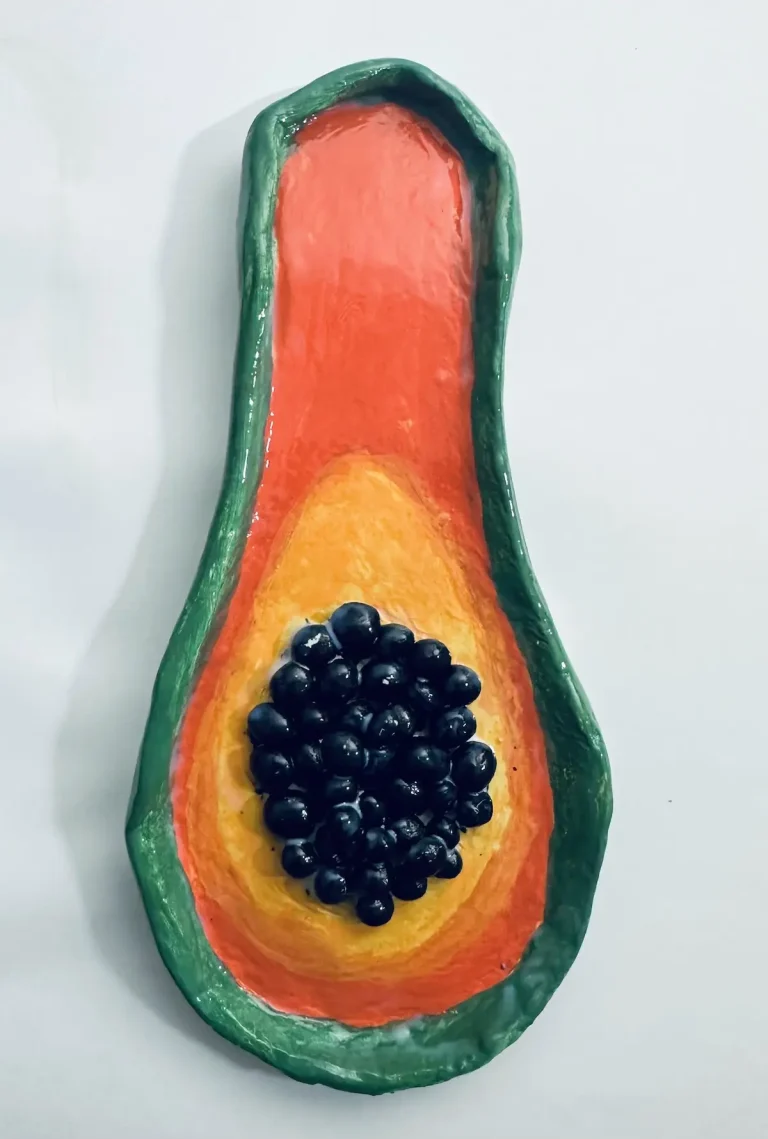
If you’re starting out, here are my foolproof tutorials, which are super easy and filled with basic clay skills and tips. I have included every mistake I made while making them and how you can avoid them as well.
They are perfect for absolute beginners.
See the Latest
Video Tutorials
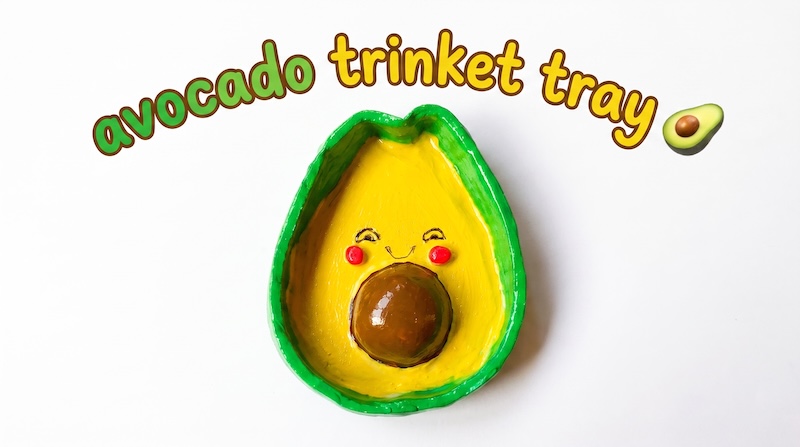
Don’t know how to fix mistakes?
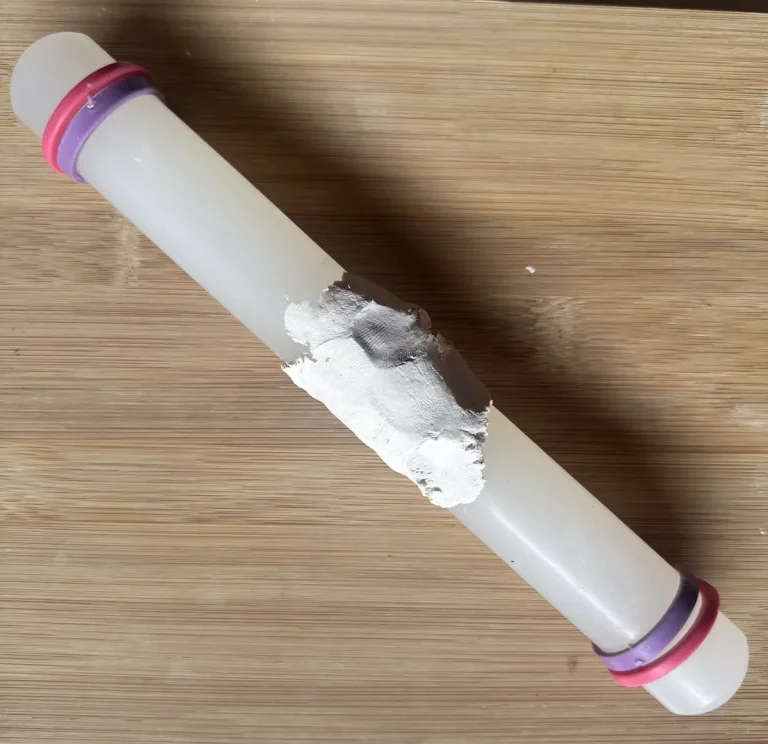
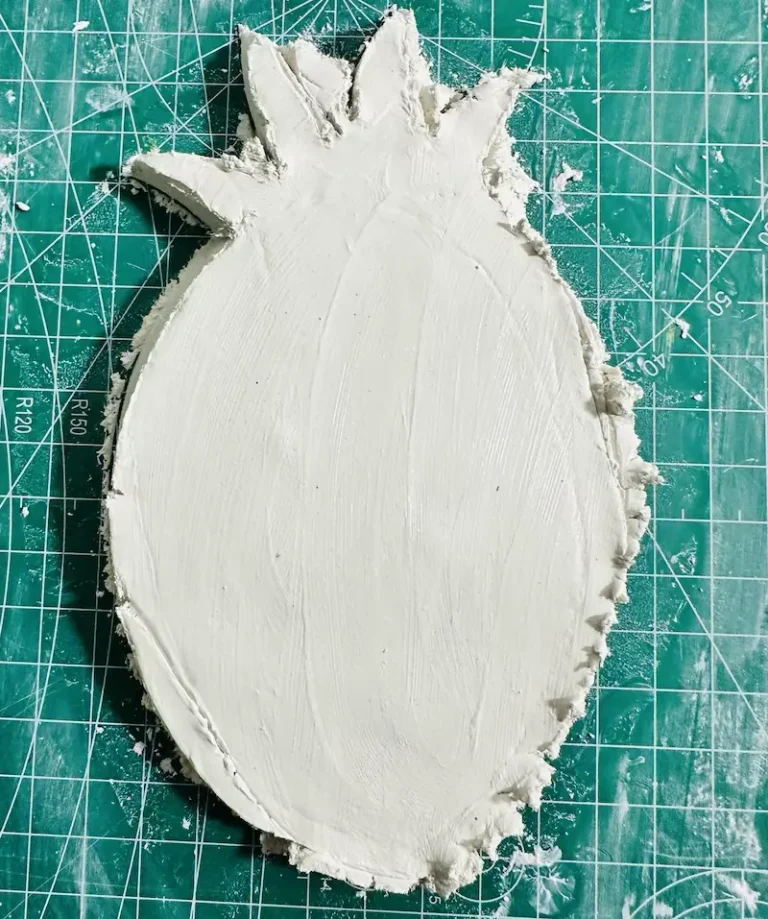
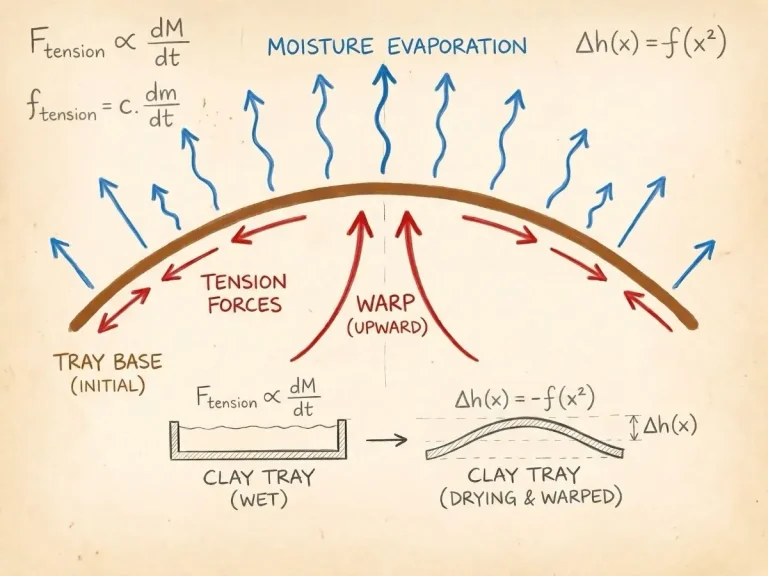
Here I have listed common mistakes we make as beginner clay artists, how we can avoid them, and how we can fix them to achieve the result we want.
All below are my firsthand experiences.
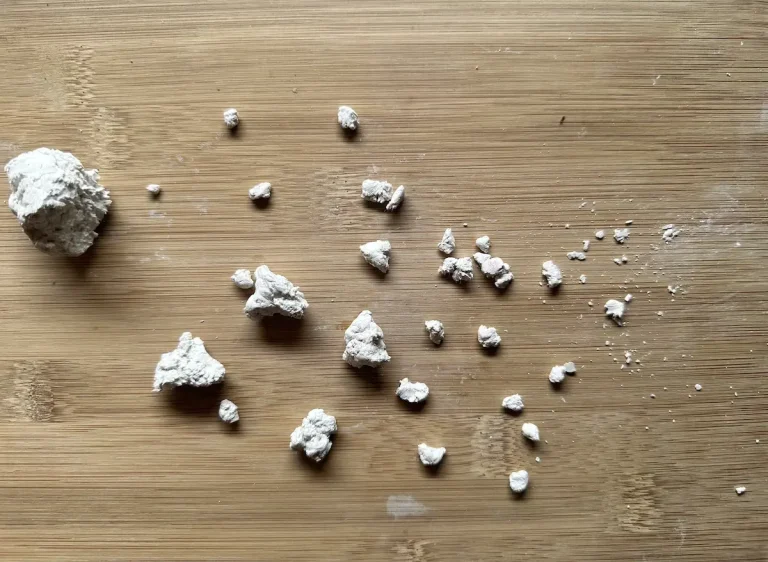
Want to know all about Painting and Sealing?
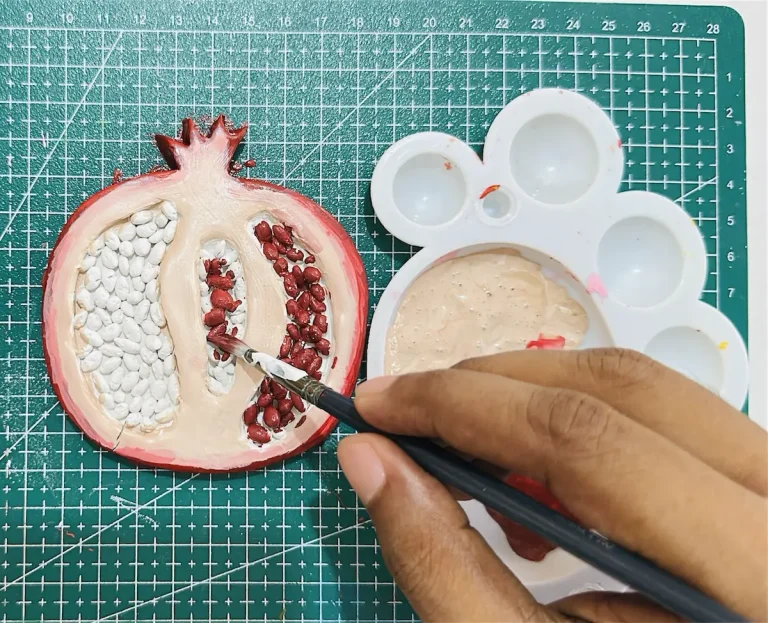
Painting and sealing are a must when working with air dry clay. Not only do they give your piece a vibrant, ceramic-like look, but a good coat of varnish also protects your clay from moisture, weakens less over time, and prevents surface cracks.
Before you pick up a brush, read my complete guide on How to Seal and Waterproof Air Dry Clay Trinket Trays, and browse the finishing tutorials below to keep your crafts looking brand new for years! 🛡️
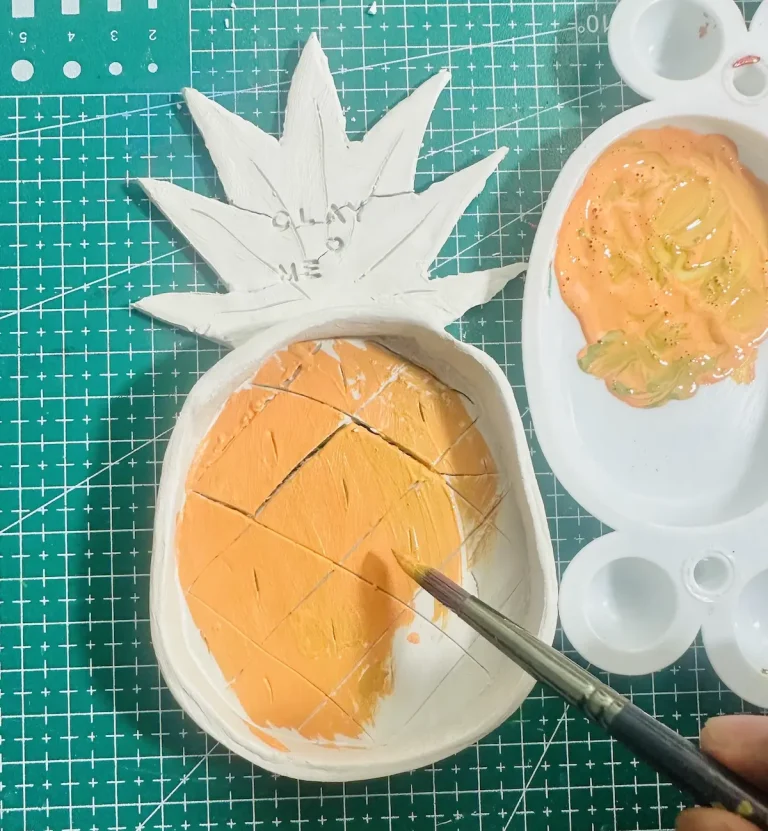
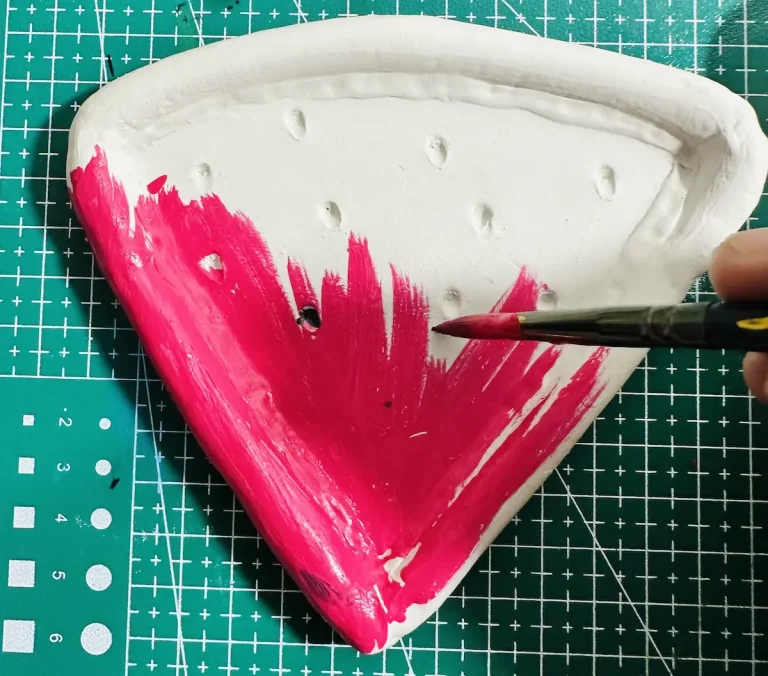
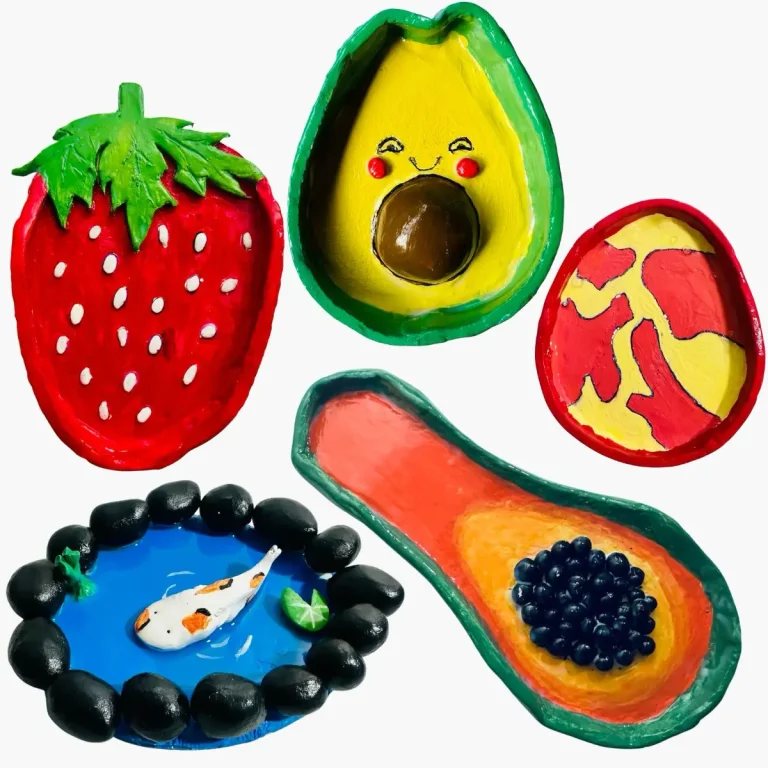
More tutorials
Once you become good at handling and making things with clay, try these! 🏺
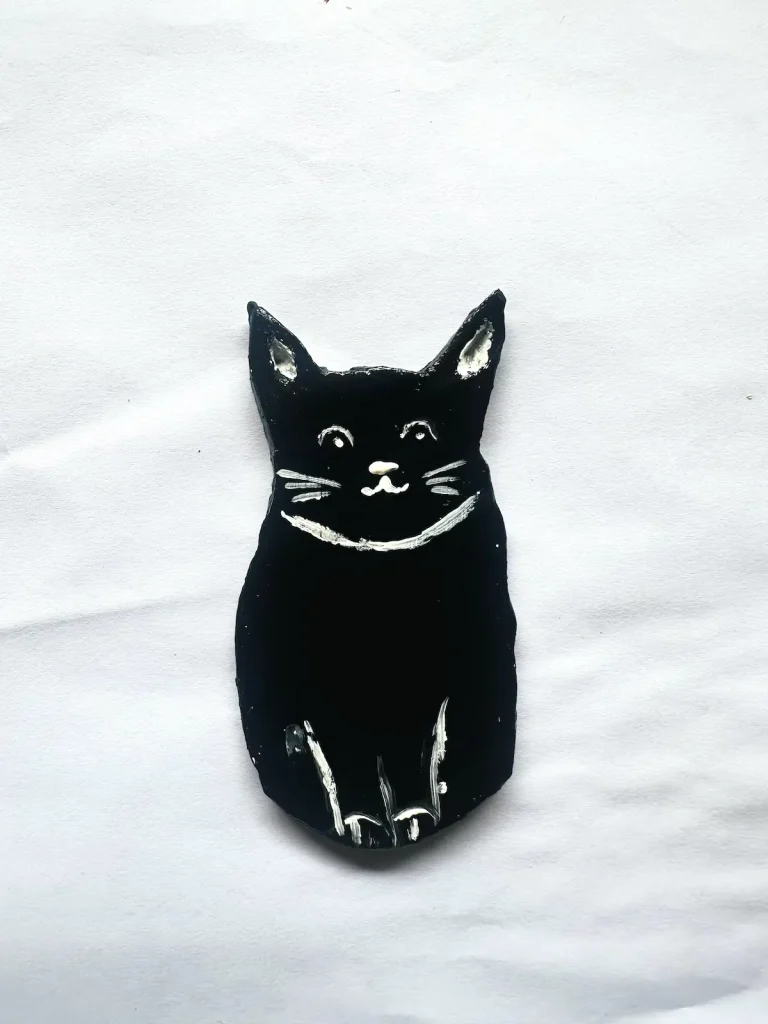
explore the holidays

St. Patricks Day 
Valentines Day 
Mothers Day 
Halloween 
Thanksgiving 
Fathers Day 
Easter 
Christmas 
Birthday 
Back to School
I’m always here for you
If you have any other questions (I know you do) when starting out with air dry clay or any other clay type, feel free to ask them in the comments section or reach out to me through contact@clayandme.com. I’ll answer all because I also had a lot of questions when I was starting out and had no one to ask. So, I had to watch tons of YouTube tutorials and read guides.
Also, don’t forget to tag @clayandmestudios in your clay projects. I sure love to see them when you do. Cheers! 🤟🏾
my gallery