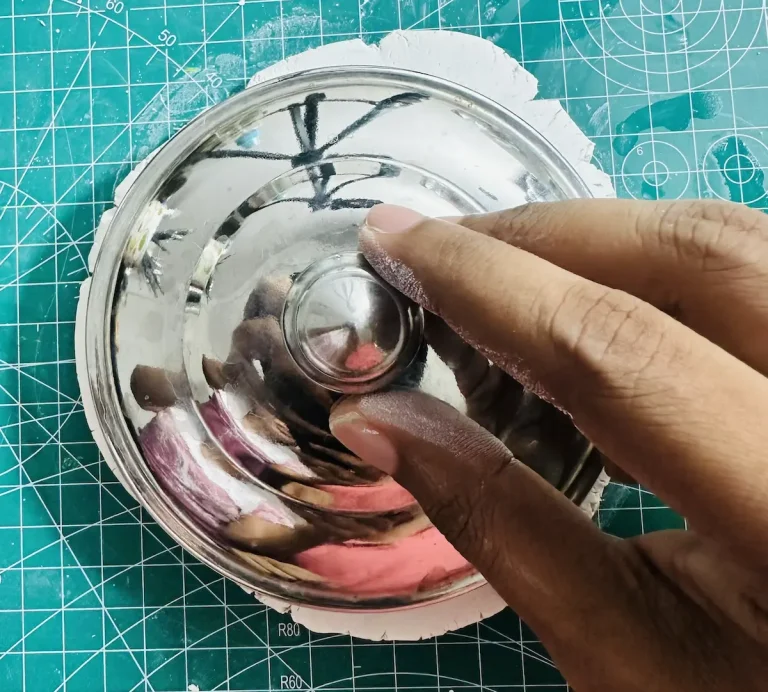
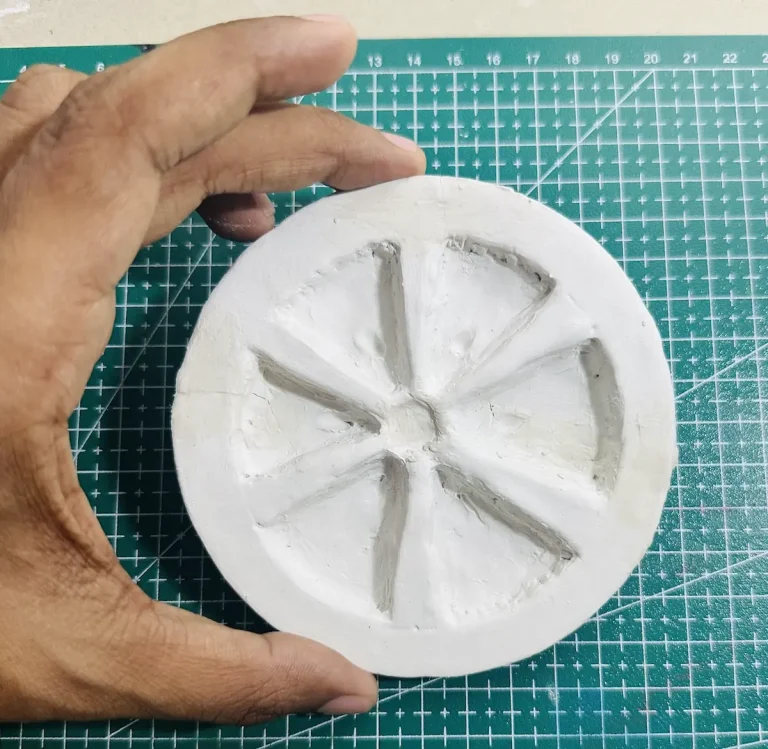
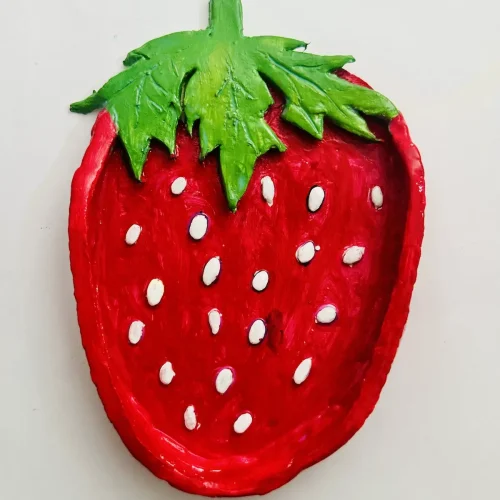
Even though I’m a beginner air dry clay artist, I’m an experienced fruit eater. Lol. You know me. Welcome to my 3rd fruit-inspired trinket tray. Yes, as you read in the title, this time it’s a STRAWBERRY. 🍓 I love strawberries. They have a unique taste and the food industry is filled with strawberry recipes.
But as a clay artist, I look for its beauty. How vivid it looks, what shapes it has, how detailed it is, likewise.
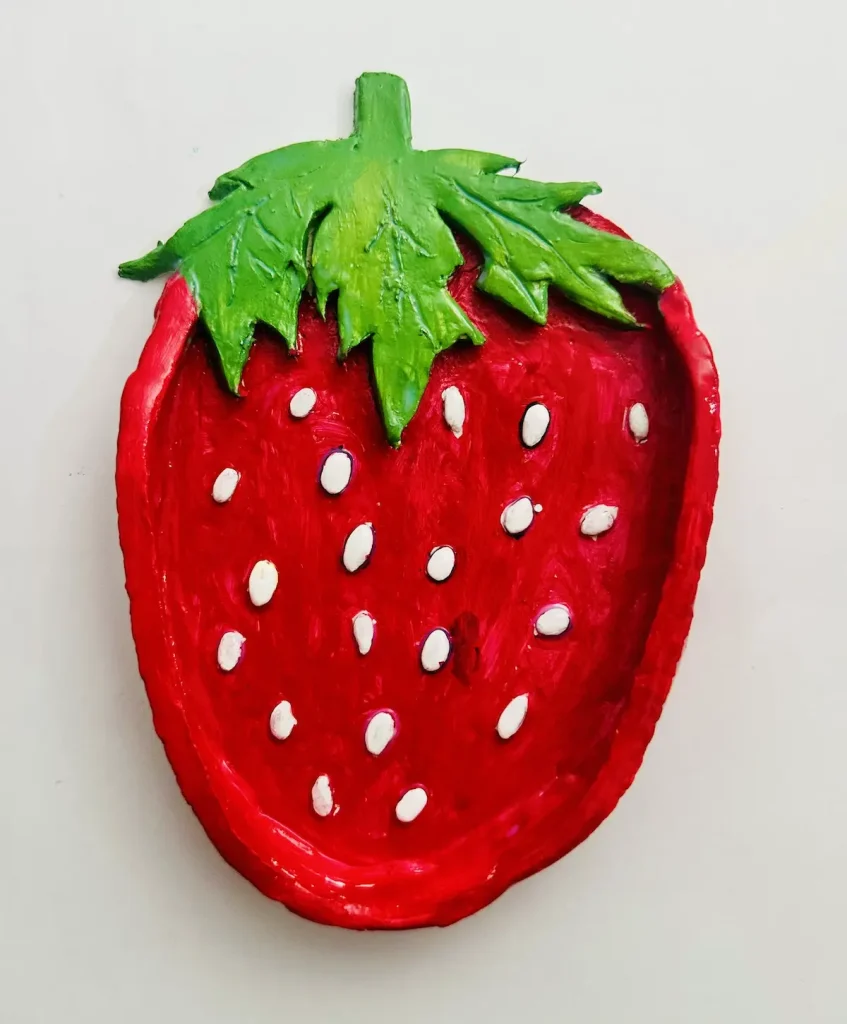
Strawberry is perfect because it’s eye-pleasing and has vibrant red and green colors.
As a beginner, I first think whether the item I select to make has an easy, simple shape because I don’t want to ruin the project and I’m still in the practice phase. I know many of you guys are like me.
In terms of shape, a strawberry is not complex to make. But I forgot about its leaves. Strawberries have oval-shaped leaves with distinctive, saw-toothed edges which were so hard to draw and cut. Oh my gosh, that was a lesson. 😅
However, after several failed attempts, I managed to make that as well.
Let me tell you how I made this cute strawberry trinket tray as a beginner clay artist with all the challenges I faced and how you can face them even better with simple techniques.
Let’s goooo! 🚀
Materials you will need
You don’t need expensive tools or materials for making this strawberry tray. Just use what you have in the kitchen lol. If you don’t have sculpting tools, use a knife and toothpicks. Sculpting tools just make things easier. That’s it.
Supplies for making and shaping
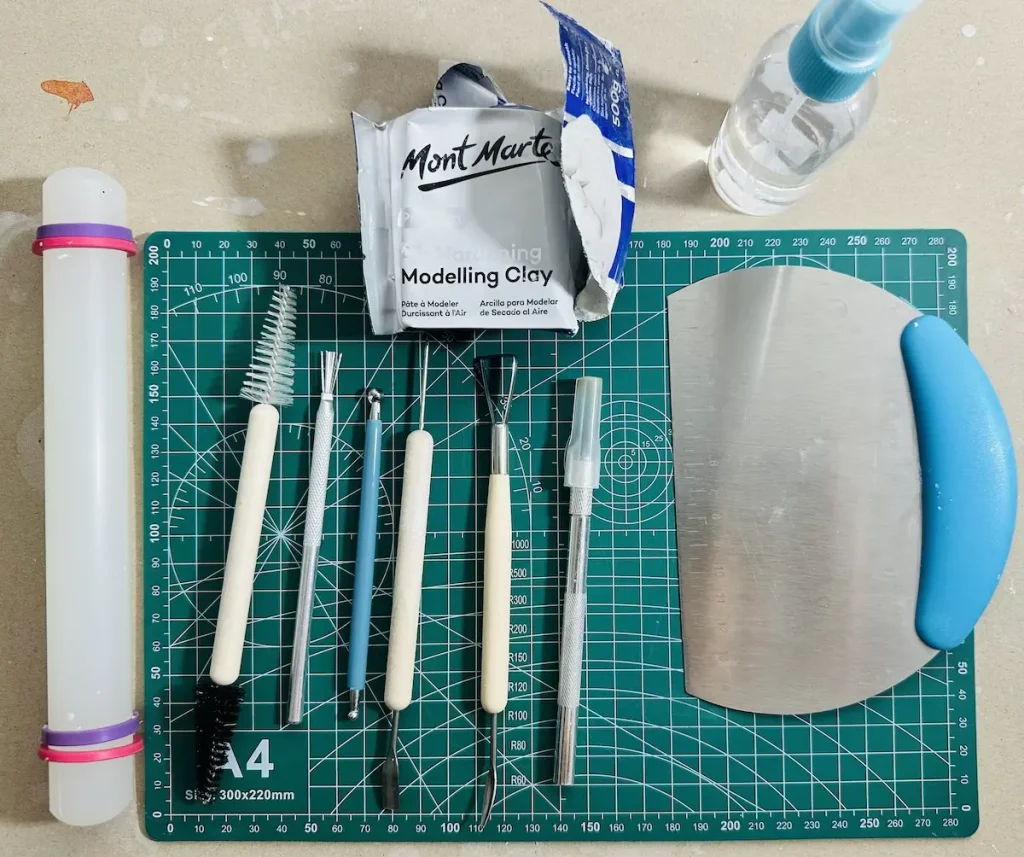
- Air dry clay (any brand you can find is okay. I used Mont Marte)
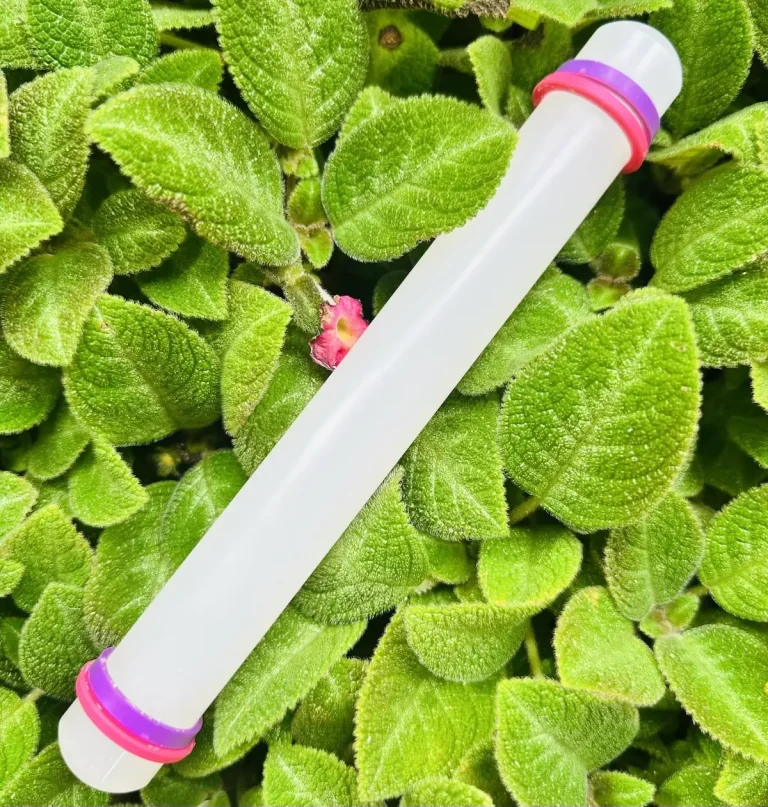
- Acrylic rolling pin or cooking rolling pin
- PVC mat or silicone mat (or non-stick surface)
- Clay tools (or use toothpicks)
- Clay cutting tool (or small knife)
- Fine sandpaper (good to have, but I didn’t have any)
- Cup of water or spray bottle
- Paper towels
- Optional: Sponge or silicone sculpting tool (or you can use your finger)
Air dry clay is best for this kind of project, no kiln or baking needed. It just dries naturally in the air.
Supplies for painting and sealing
- Acrylic paint (red, green (I mixed blue and yellow because I didn’t have green), white)
- Gloss varnish
- Paintbrushes
- Paper towels
Easy diy strawberry trinket tray tutorial video
Below is the full tutorial video on how to make this diy strawberry trinket tray with air dry clay, and how I painted and sealed it. I’ve included every technique I used, mistakes I made and how I fixed them in detail.
Let’s look at the written step by step tutorial.
Step-by-step air dry clay strawberry tray tutorial
After grabbing all the items, take your work to a well-ventilated area with open windows because fine particles of air dry clay can get into your lungs when carving and cleaning the dust.
Let’s start making! ✨
Step 1: Kneading the clay
- Take the air dry clay out from your sealed container.
- Cut a piece you want to use and place it on the working mat.
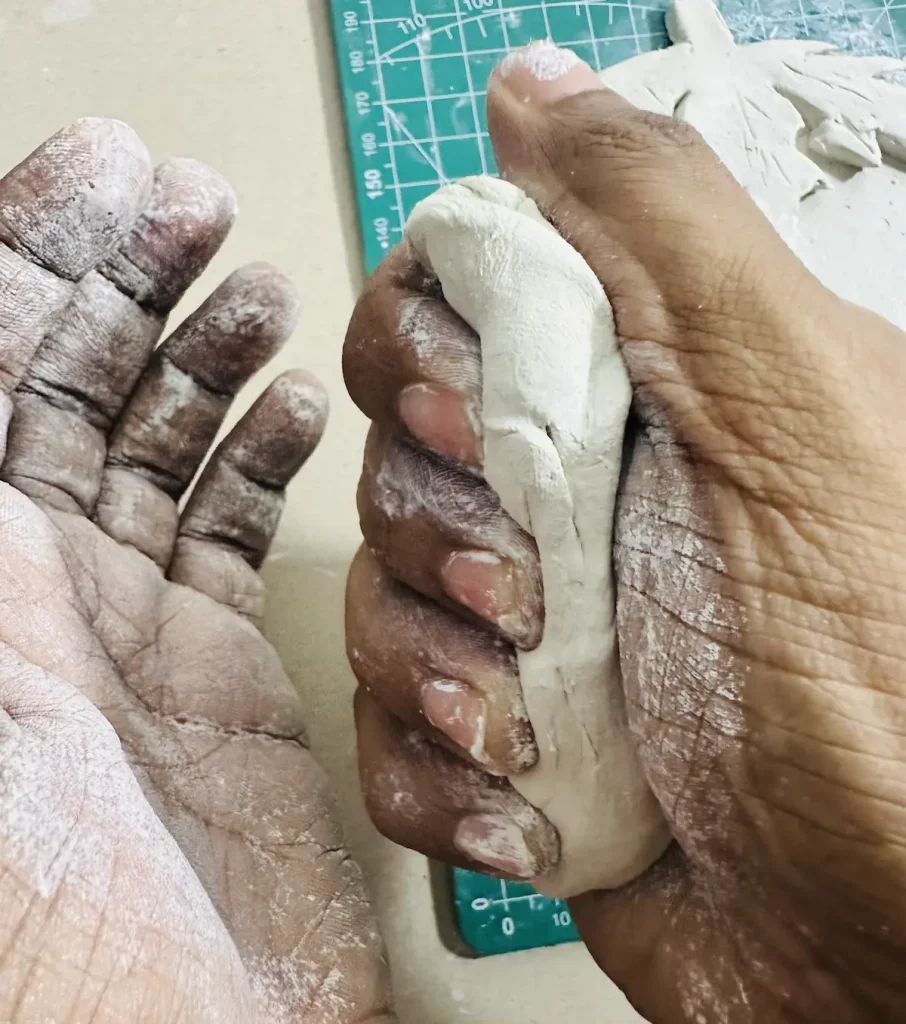
- Wet your palms with water and tap a little bit of water on your air dry clay piece and condition it, which makes it easier to knead.
- Start kneading the air-dry clay like you’re making dough for pizza. 🍕
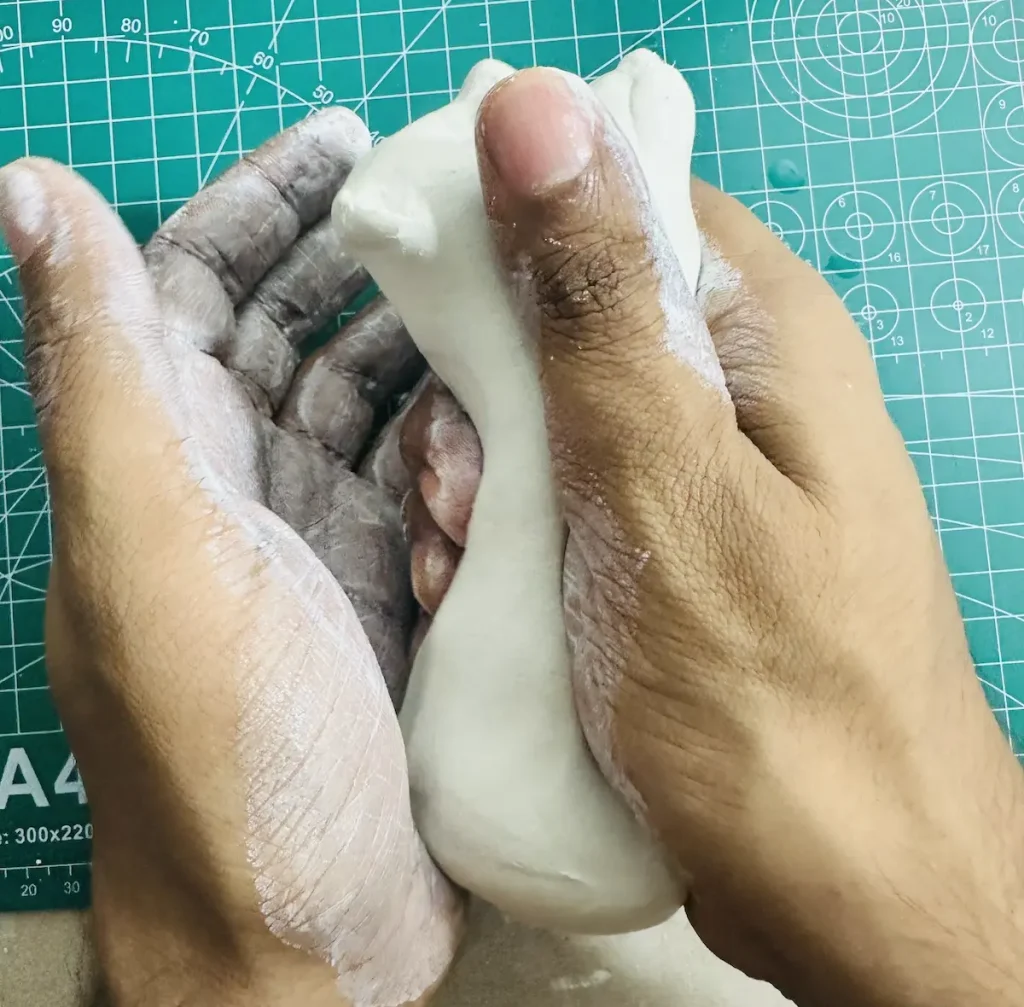
Press the clay with force using your fingers, make balls, bend, and again press tightly while kneading. Keep repeating each step again and again until you feel the clay is super soft.
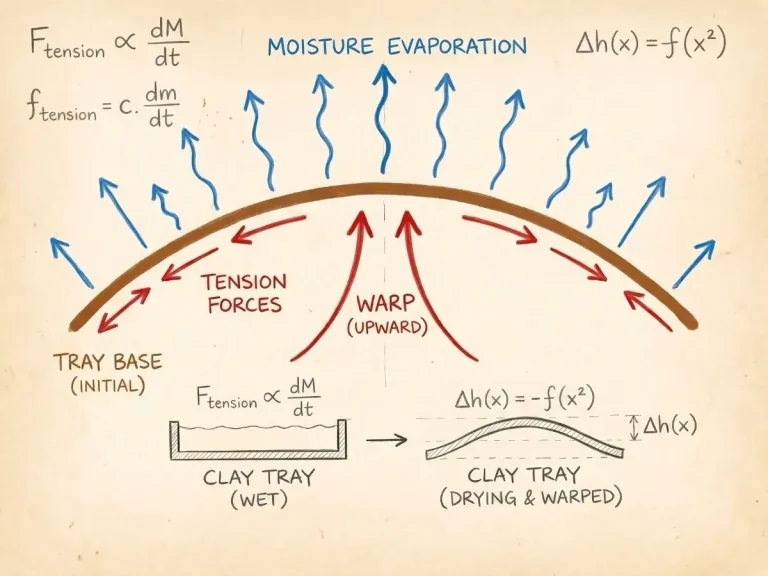
Air dry clay is a highly porous material with lots of moisture and air bubbles inside. This moisture and trapped air release when the clay is drying due to evaporation. Upon the release of moisture and air, the clay starts to warp and shrink.
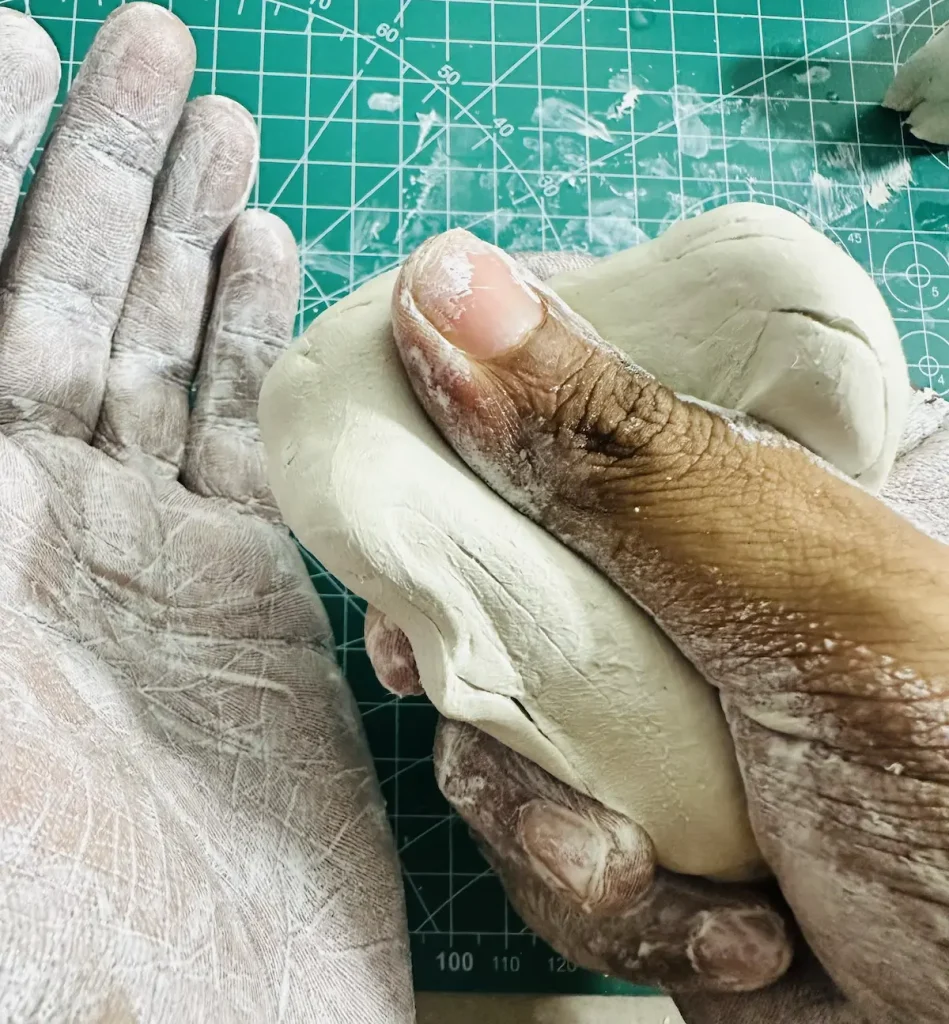
Kneading helps to remove all the trapped air bubbles inside and spread out moisture evenly inside and outside layers of the clay.
Therefore, when your air dry clay project is drying, moisture will evaporate at the same rate and will not result in uneven shrinkage. No uneven shrinkage means no cracking on the surface.
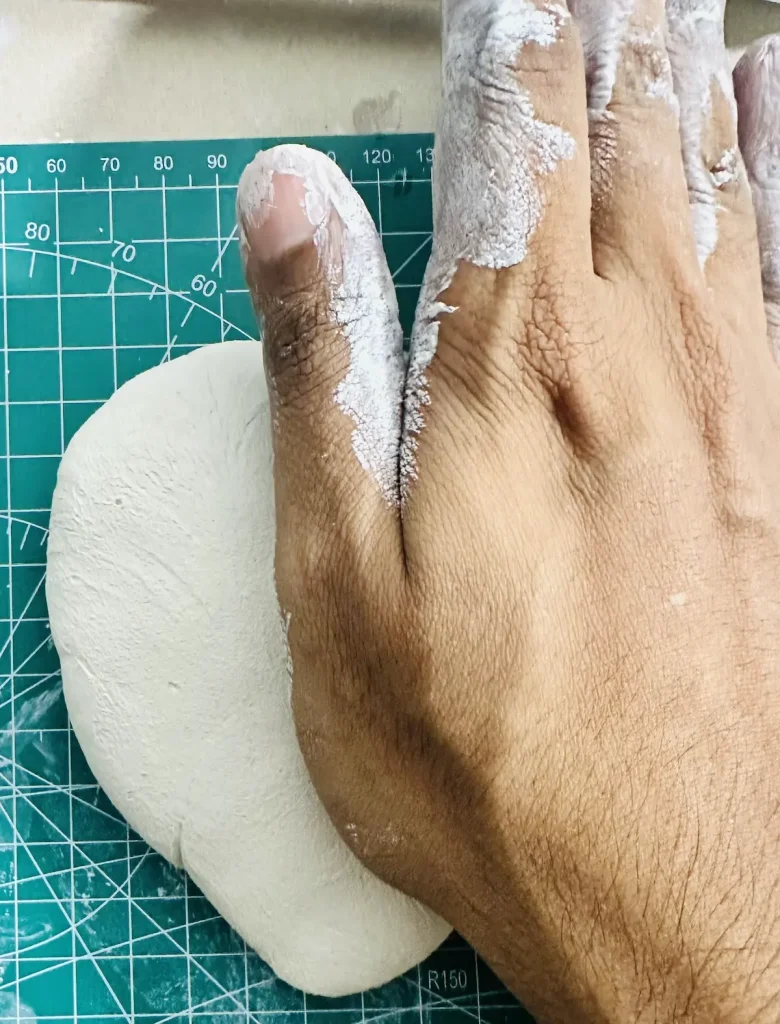
See, kneading is the first and most important step when working with air dry clay.
If you didn’t knead your clay well before starting, there will be a moisture imbalance inside, resulting in cracks on your project when it is drying due to uneven shrinkage.
Sorry I talked too much. I wanted to show you the importance of kneading.
Step 2: Rolling the clay
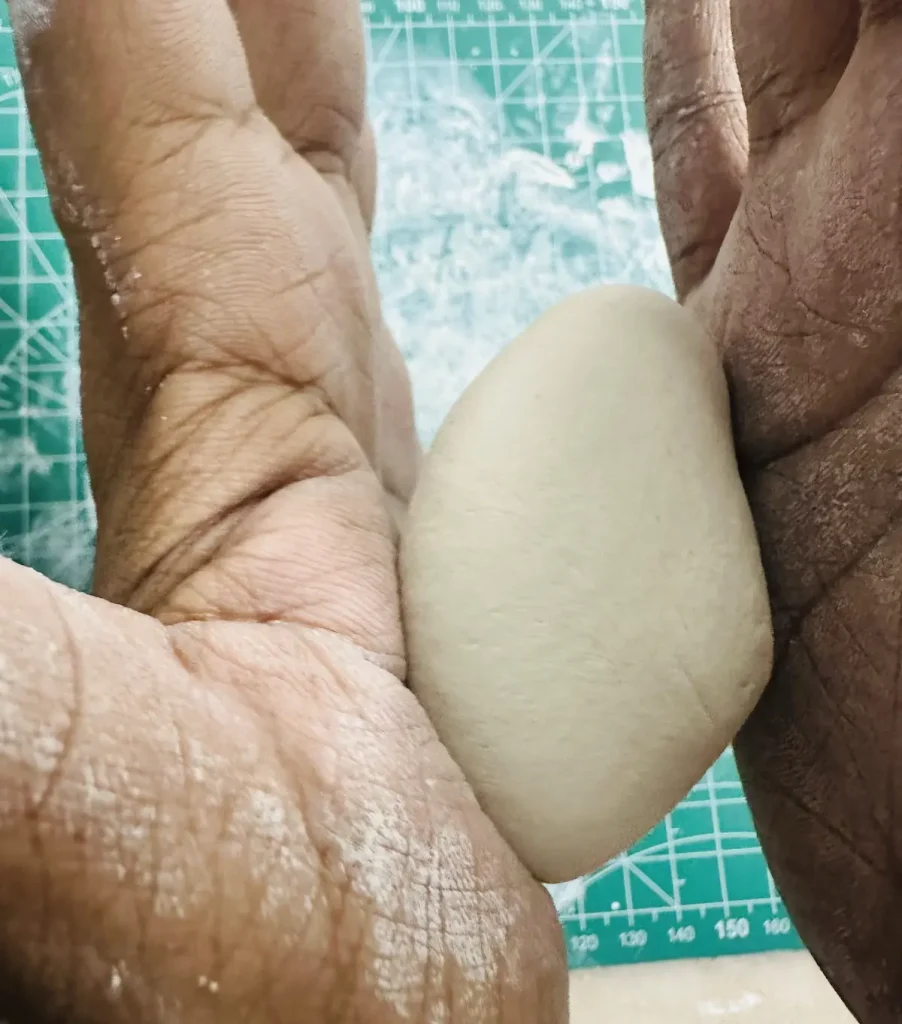
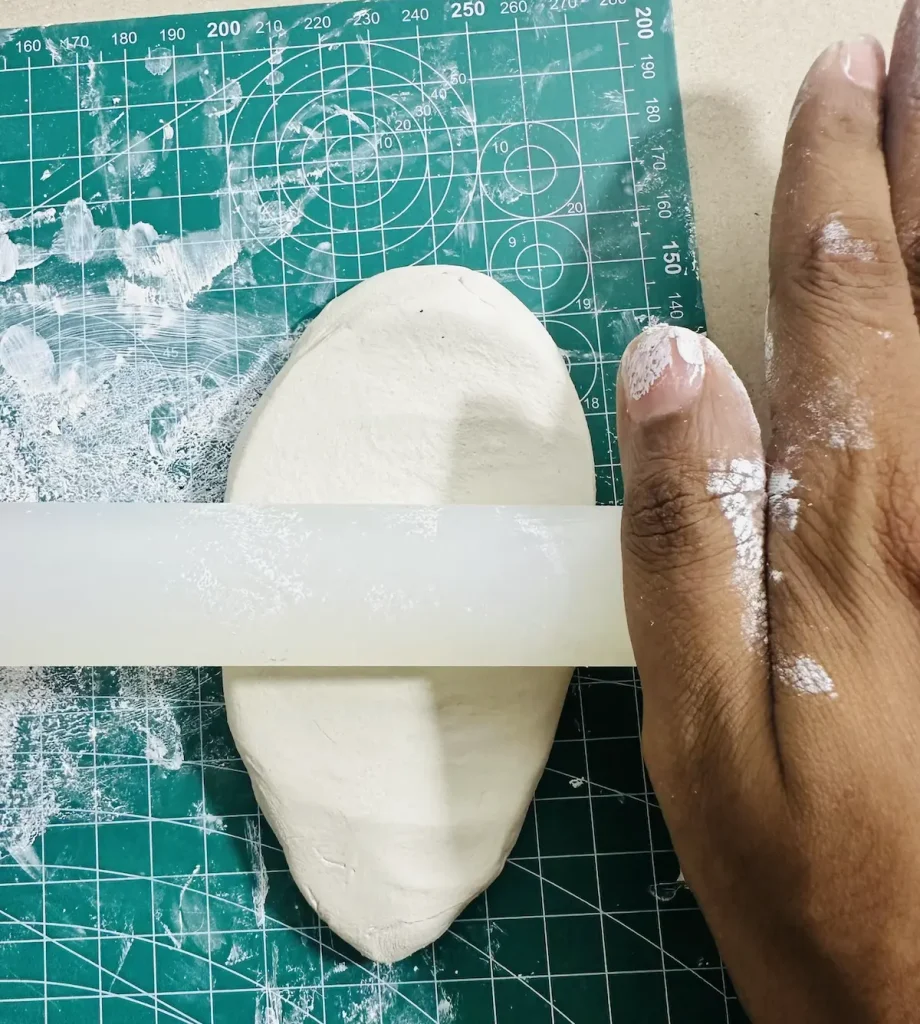
- Place the kneaded clay piece on the mat and press repeatedly a few times using your palm. Use the heel of your palm to push the clay piece forward.
- Now start rolling, starting from the top and all the way to the bottom of the clay piece to get even thickness.
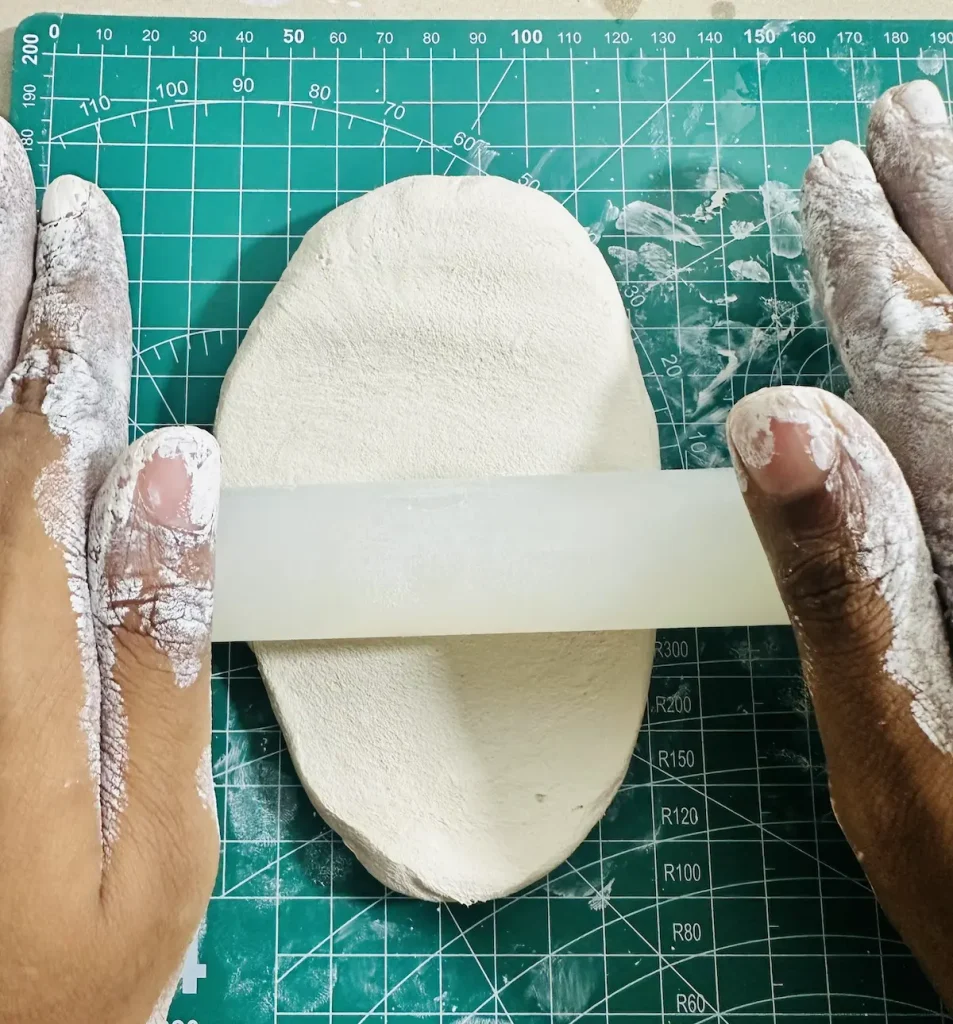
When rolling, use attachable silicone/rubber rings to get even thickness everywhere. They usually come with the acrylic rolling pin. I didn’t buy them separately. Or you can use acrylic guide rails as thickness guides. Or just use two books of the same thickness and place the clay in between them on the mat and start rolling until it gets the thickness you want.
I aimed for ½ inch thickness. Don’t make your air dry clay slab too thin because it can tear or crack when lifting up.
Even though you use a silicone or a non-stick PVC mat as I do for working with air dry clay, clay may still stick to it because you followed the wrong rolling technique.
For example, when I was making my first trinket tray project, I had to knead and roll 4 different times because the clay kept sticking to my mat and tearing apart when I tried to lift it up after rolling. First, I blamed the mat as I always do, but eventually, I realized the problem was me, not the mat lol.
My wife taught me a correct rolling method to stop clay from sticking to the mat and it works quite so well each time when I’m making any project. Let me tell you that,
Flip, turn and rotate the clay piece 90 degrees while you’re rolling between each 2-3 rolling rounds to stop the air dry clay piece from sticking to the surface. Otherwise, the clay piece will tear apart when you try to lift it up after rolling continuously.
Step 3: Cut and shape the strawberry tray base
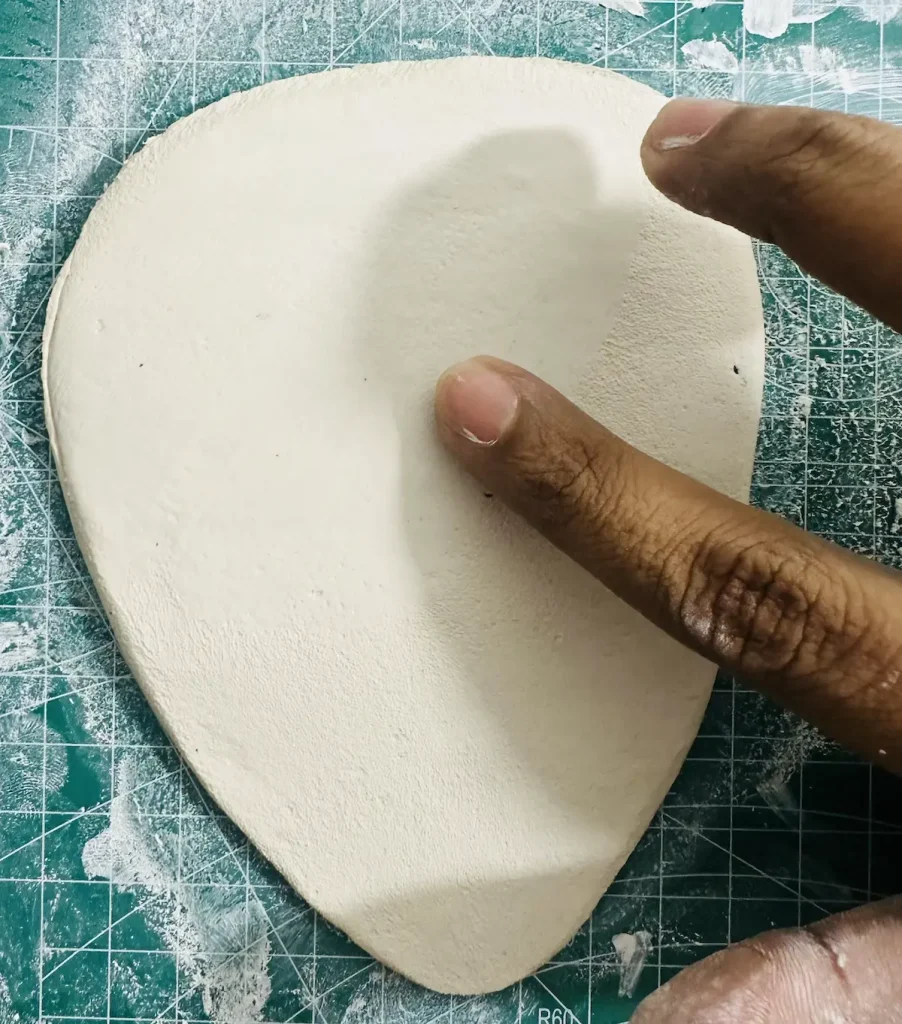
- Take the pencil or tracing tool and trace the strawberry tray base shape (heart shape) on the flat clay slab.
- Cut the tray base patiently using the cutting tool.
- Keep the excess aside to make the tray rim
- Smooth the tray base by dipping your finger in water and sliding it on the surface
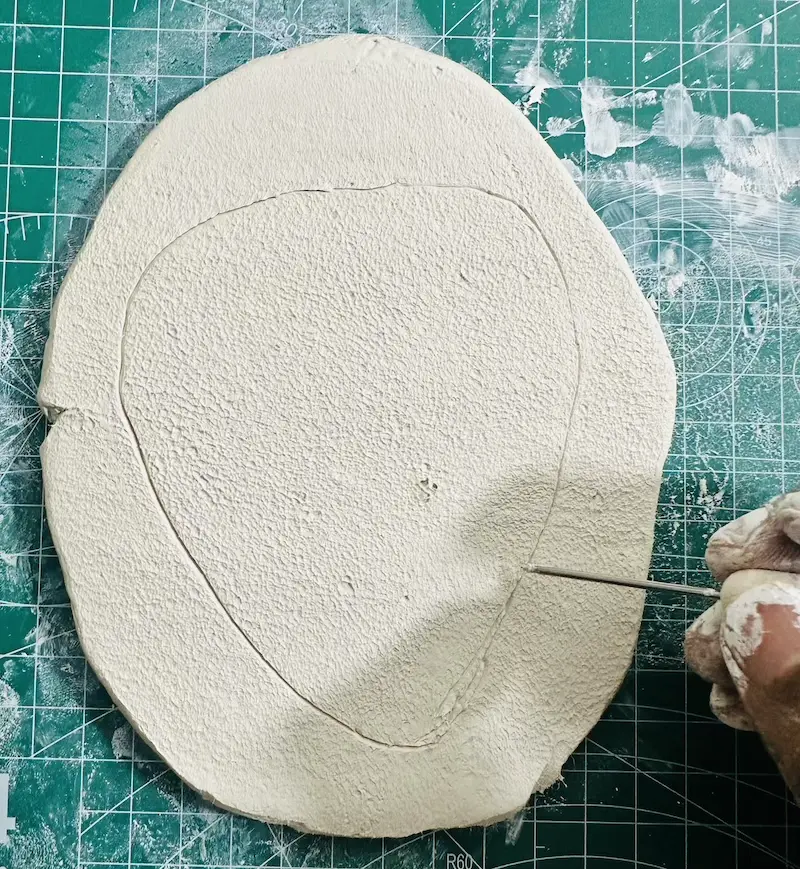
I had to draw the strawberry shape several times on the clay slab because I’m bad at drawing. Each time I made a mistake while drawing, I erased it by dipping my finger in water and sliding the finger on the clay surface until the trace mark disappeared.
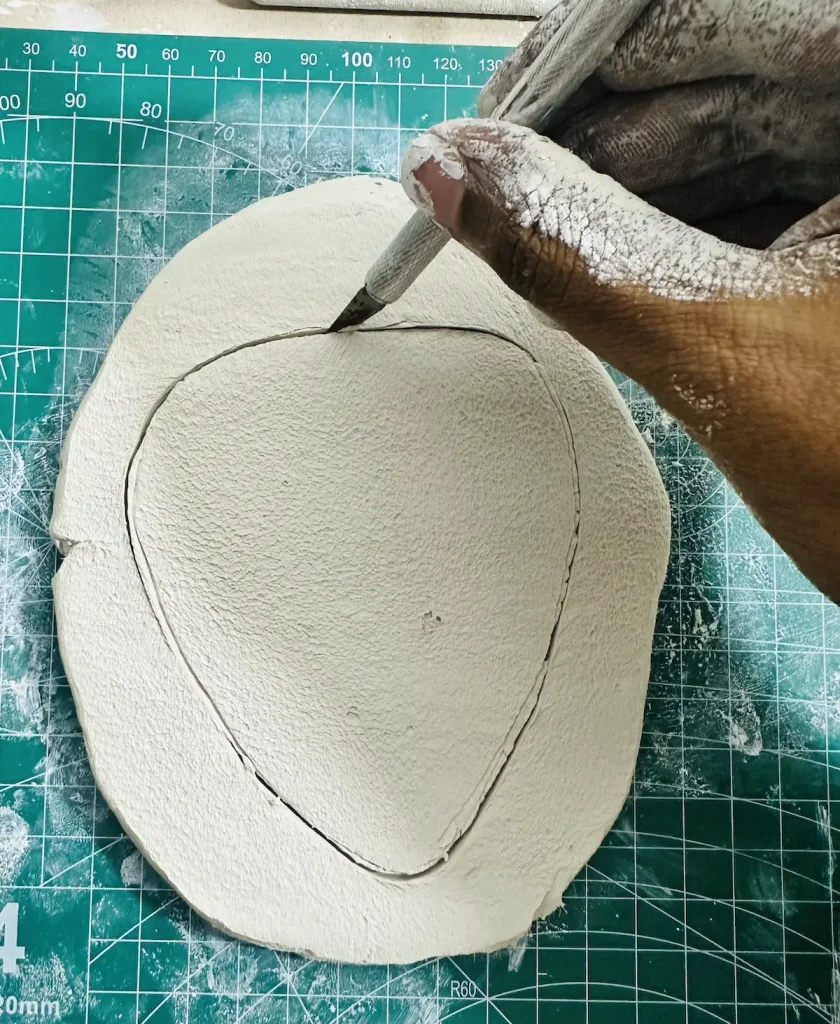
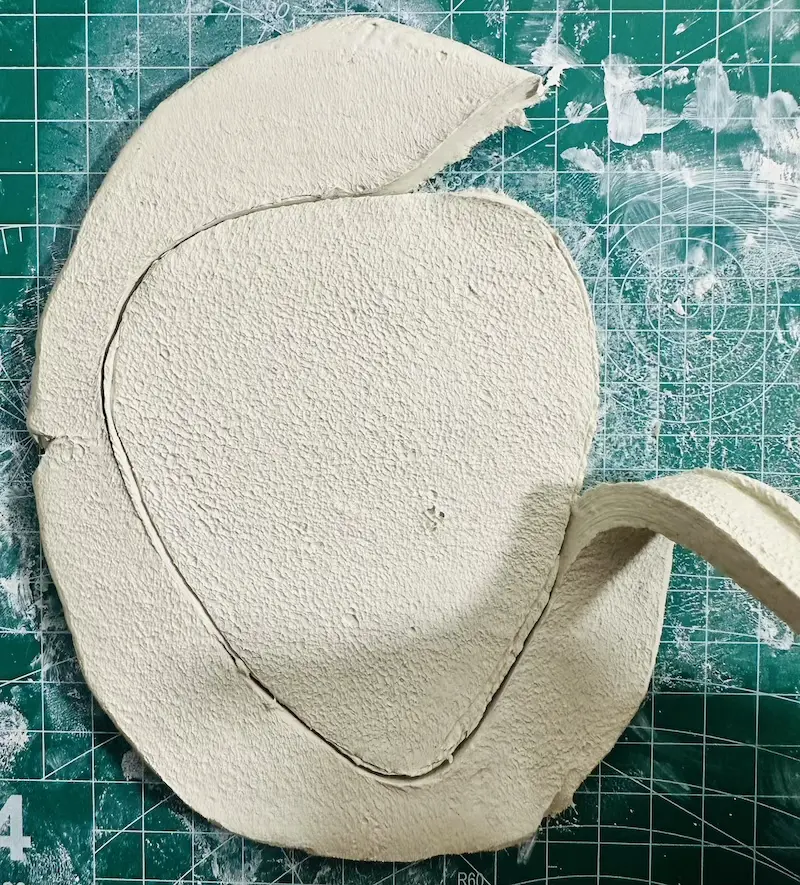
I should have used a template or taken a printout of the strawberry shape and placed it over the clay slab and drawn. But I was too lazy. I’m sorry. Don’t be like me guys and gals.
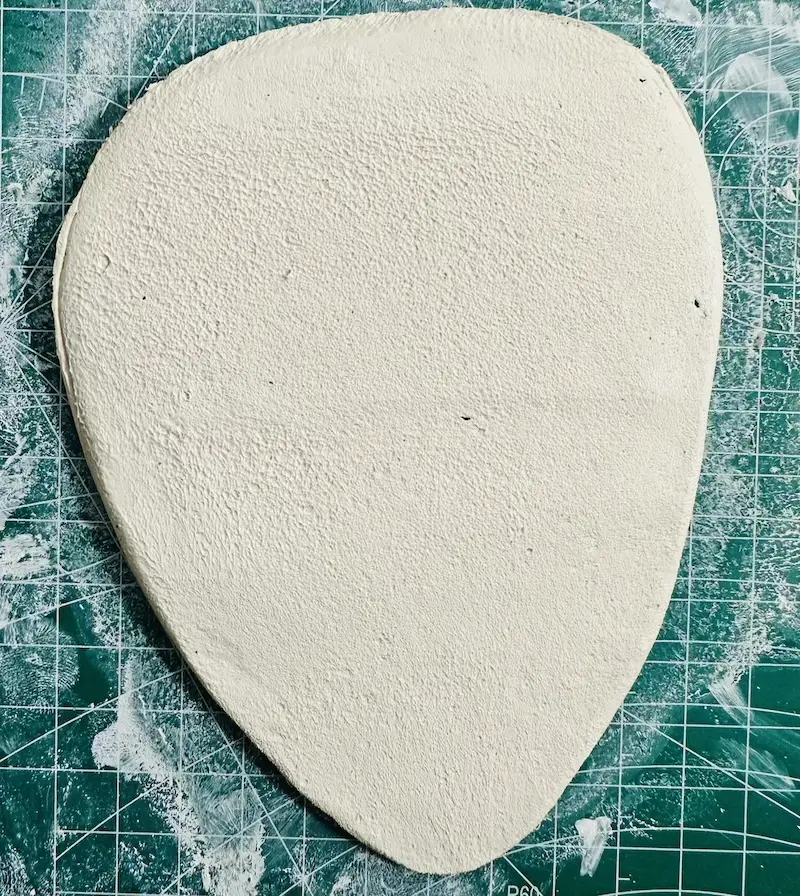
Tray base is done. Now it’s time to make strawberry leaves.
Step 4: Making the strawberry leaves (tricky part)
As I told you, making the strawberry leaves was the hardest part for me because I suck at drawing. If you are too, use a template or take a printout of strawberry leaves and place that paper over the clay slab and cut around it.
Here’s the process,
- Take a small piece of clay and start kneading and rolling to an even thickness.
- Draw the shape of strawberry leaves on the clay slab. Strawberry leaves have an egg shape (obovate) with distinctive, saw-toothed (serrated) edges and prominent veins.
- Cut around the edges of the leaves patiently using the cutting tool or a blade.
- Keep excess clay aside and smooth it out using a little bit of water.
I had to trace and erase, trace and erase multiple times and wasted about 30 minutes when drawing the shape of the strawberry leaves.
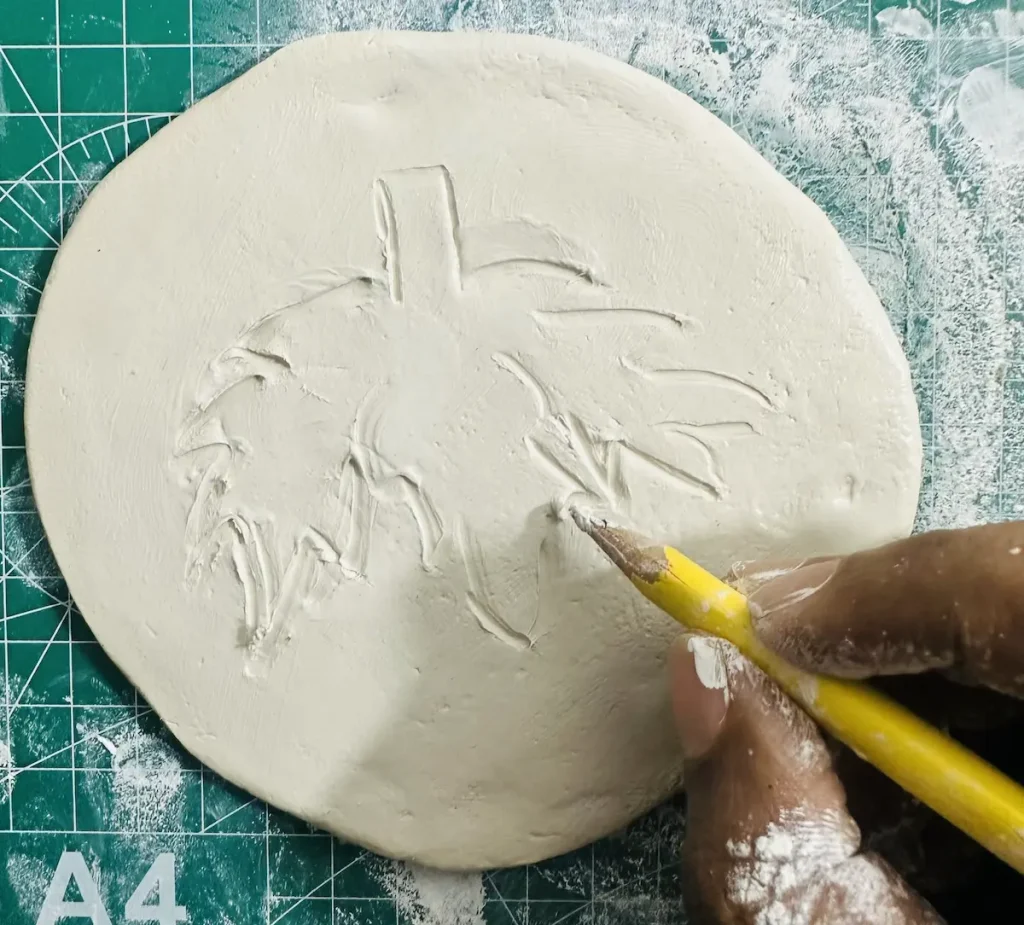
After more than 6-7 attempts, I was satisfied with the strawberry leaf shape I traced.
Each time I made a wrong drawing, I dipped my finger in a cup of water and slid it over the clay slab until the traced mark erased. That was frustrating and I was worried because too much water causes cracks on air dry clay when drying. Luckily that didn’t happen. I was lucky. But don’t be like me. I don’t recommend making the same drawing mistake for the one hundredth time.
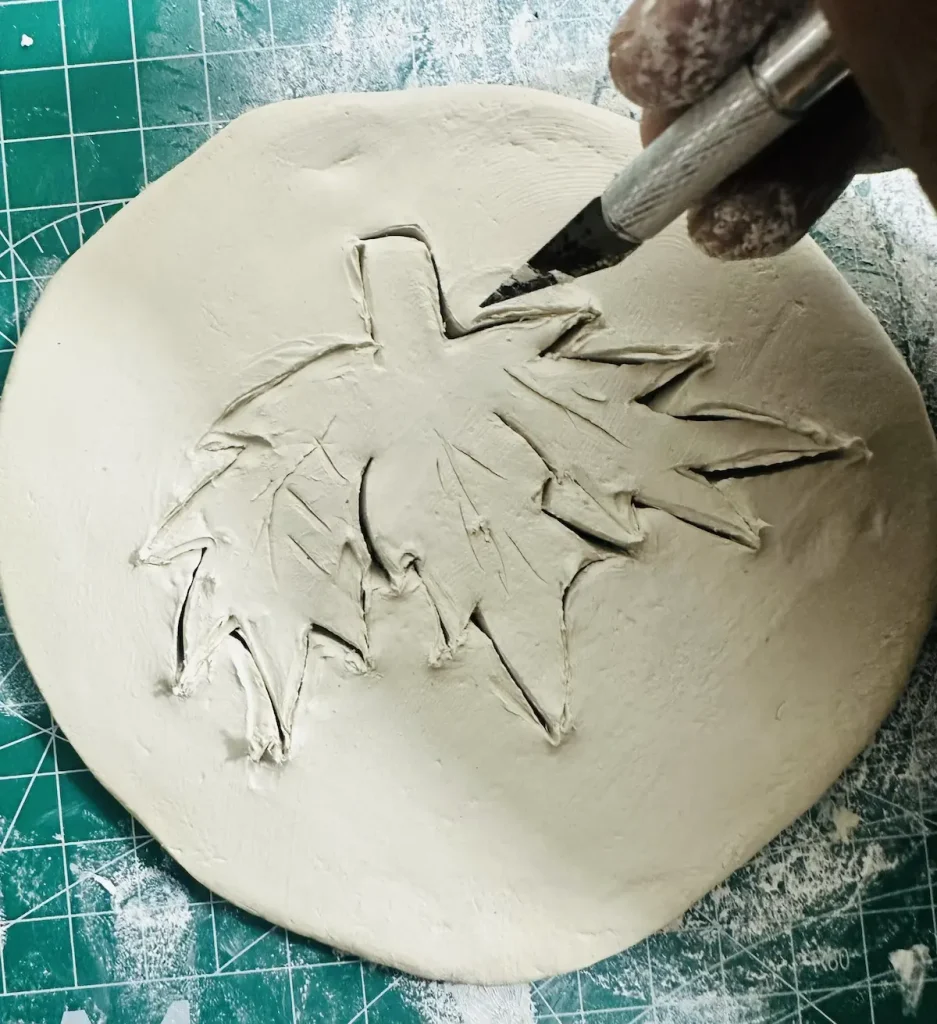
Using a template is the best practice for hard and complex shapes. I should have used a template for making strawberry leaves.
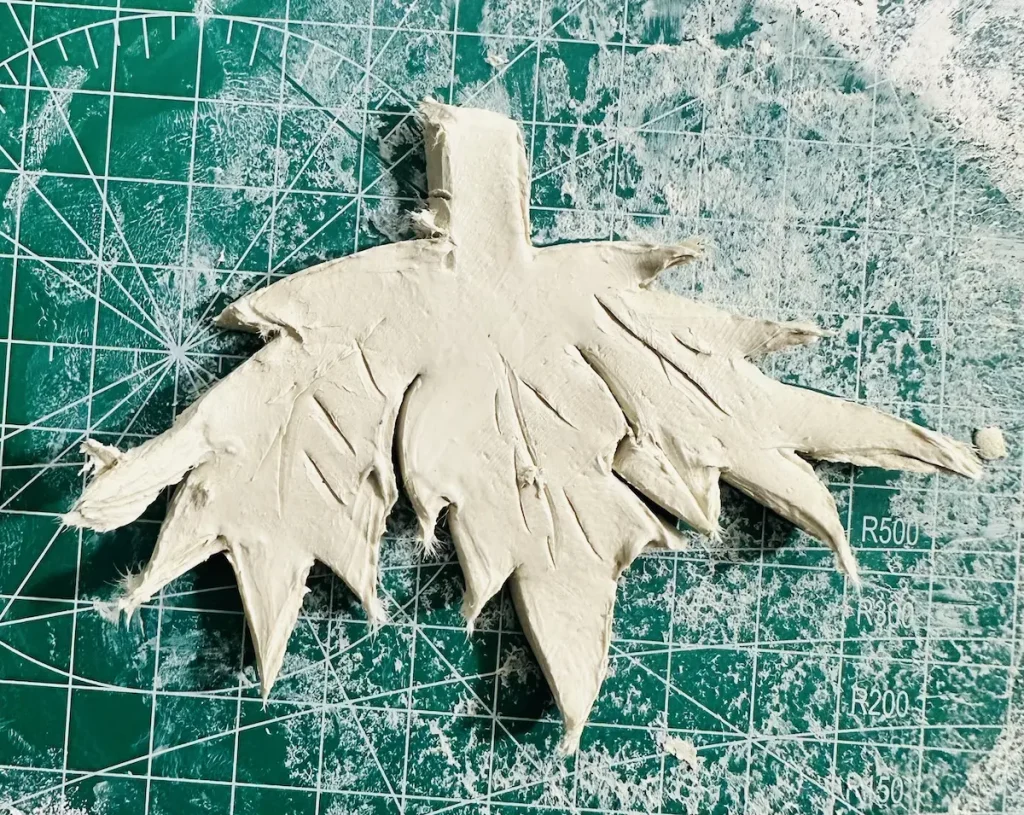
We are here for making, not for drawing. Therefore, don’t waste too much time for things you can do simply with easy tricks. Drawing is one of them.
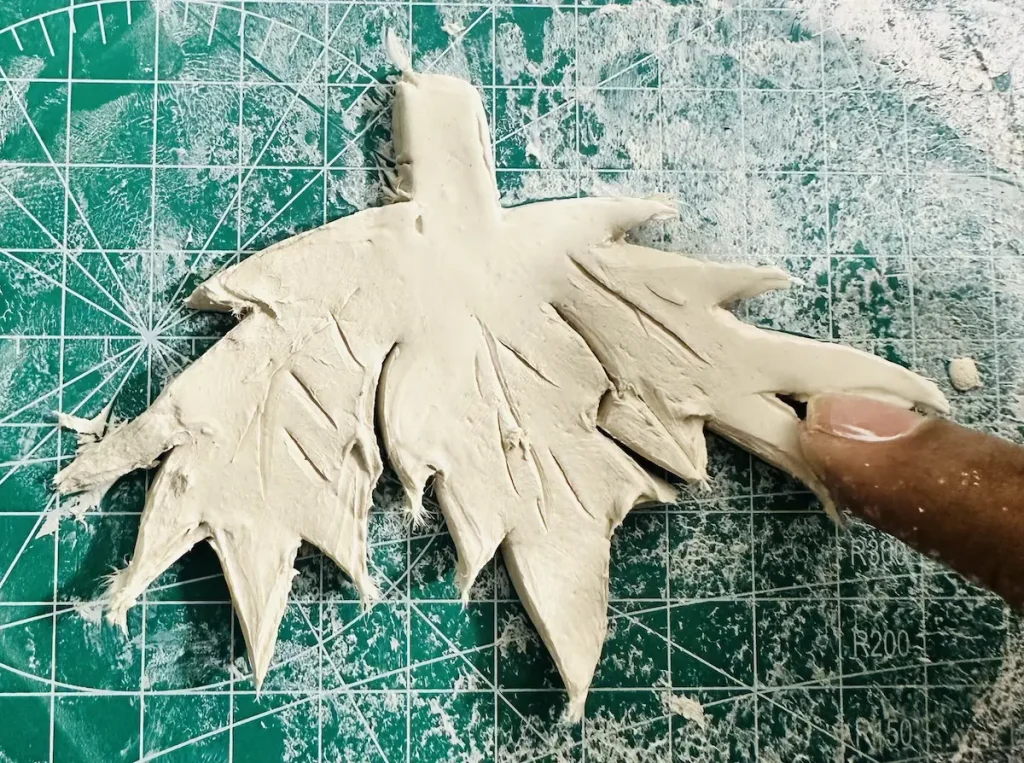
Step 5: Attaching strawberry leaves to tray base
Slip and score method is a must when attaching two air dry clay pieces together. Here’s how I did that,
- First, place, position and mark the boundaries of strawberry leaves on the tray base after placing them on top of your tray base. By doing this we can understand which area of the tray base we should score before attaching them.
- Score the bottom area of strawberry leaves.
- Score the top area of tray base inside the boundary limits.
- Tap the scored area of both strawberry leaves and tray base with a little bit of water. Or you can apply “slip” over the scored surfaces (slip is a clay and water mixture mixed in a 1:1 ratio. It’s like a glue/paste).
- Place the strawberry leaves clay slab over the tray base and press gently for a few seconds.
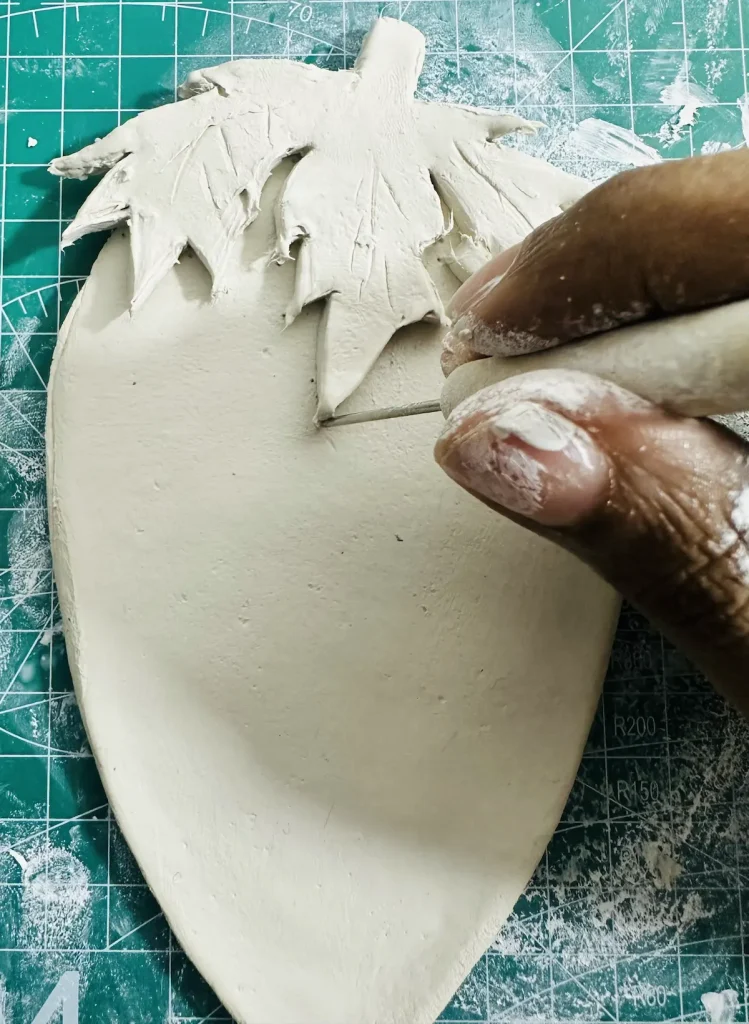
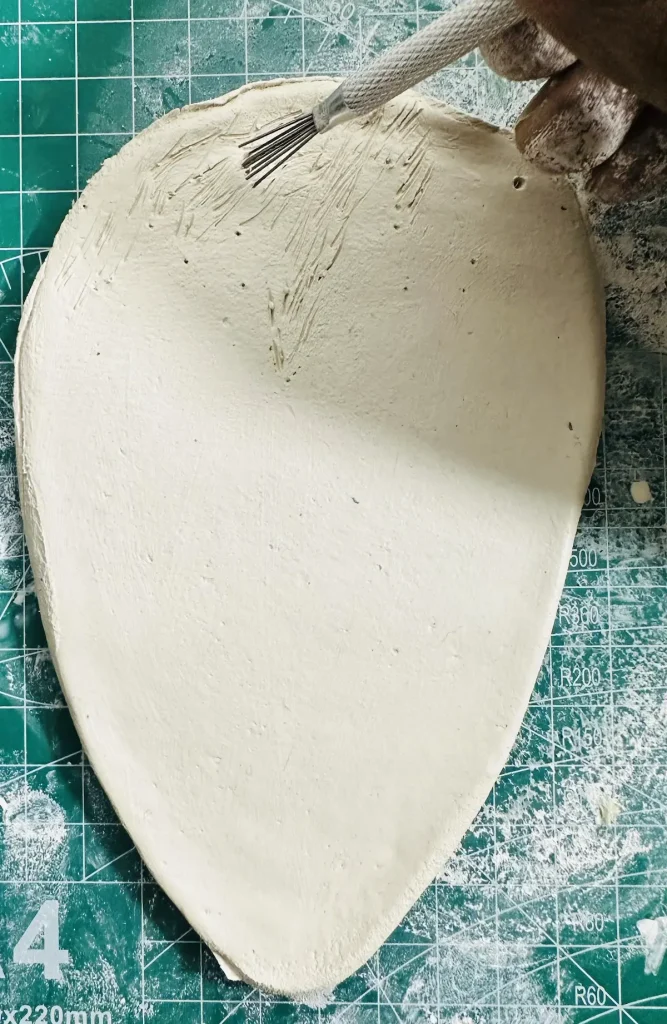
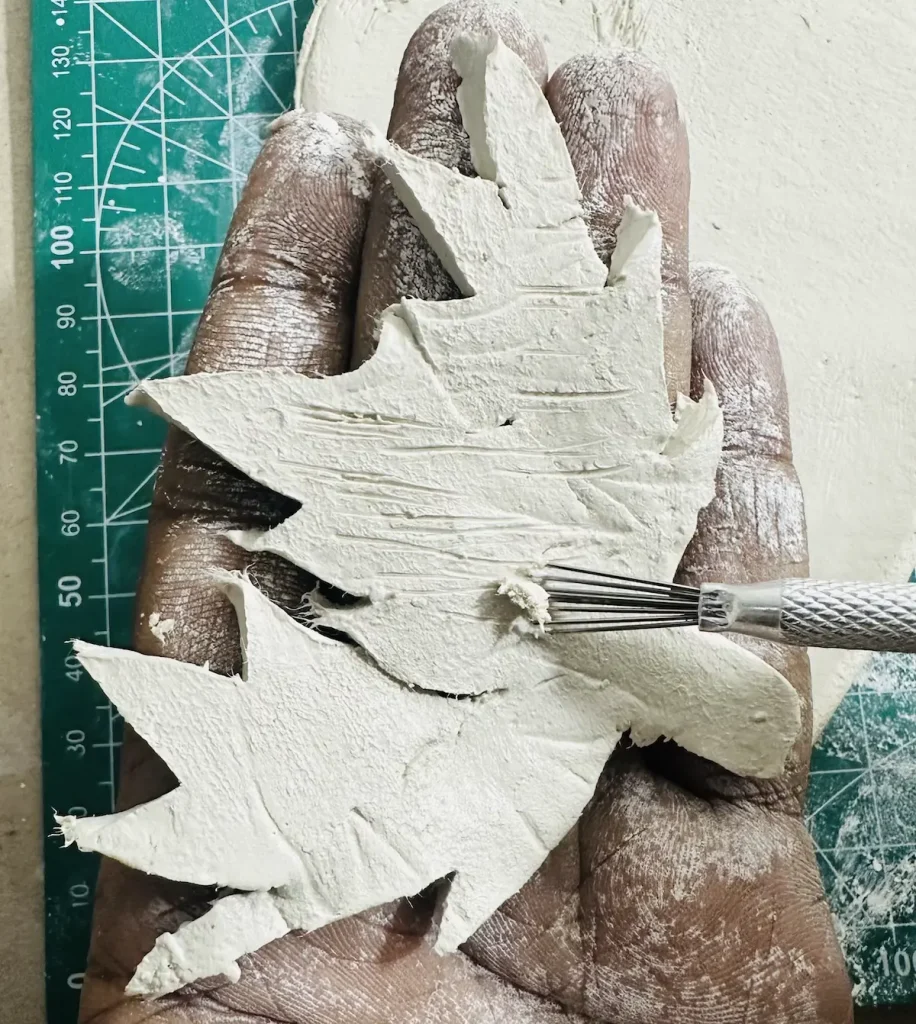
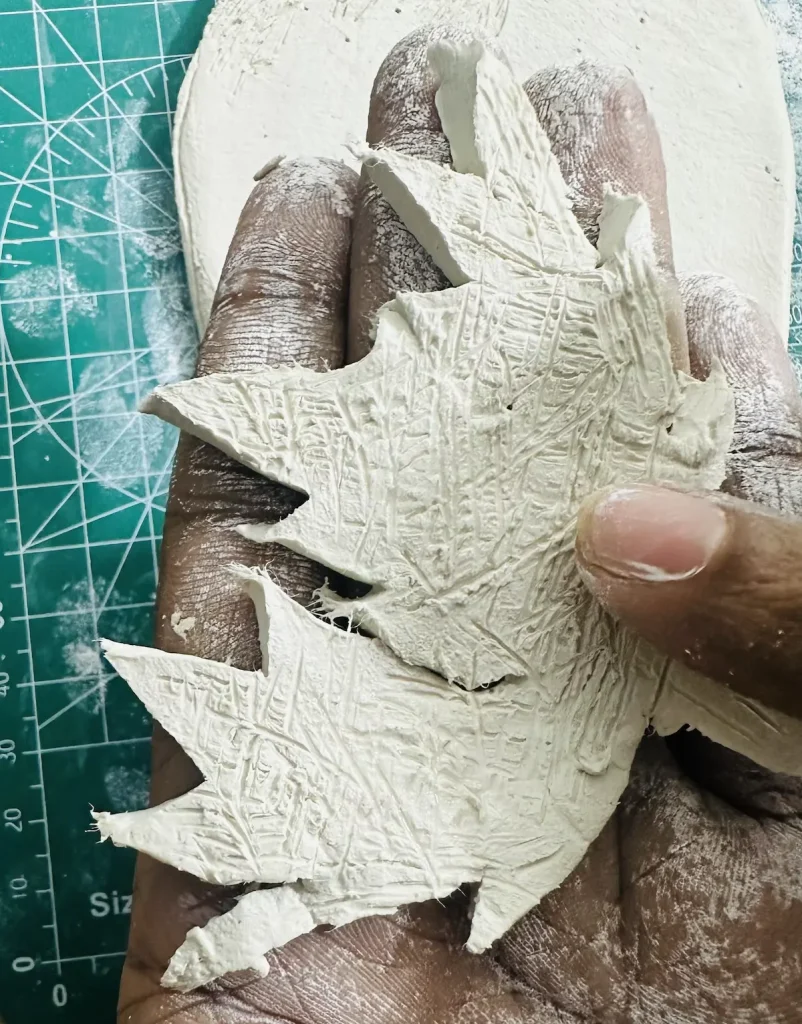
The “slip” I described above can be stored in a little bottle. You can use it for any air dry clay project for attaching pieces. I used water because I didn’t have slip and was too lazy to make one. Actually, water does the job just as well. No loose joints.
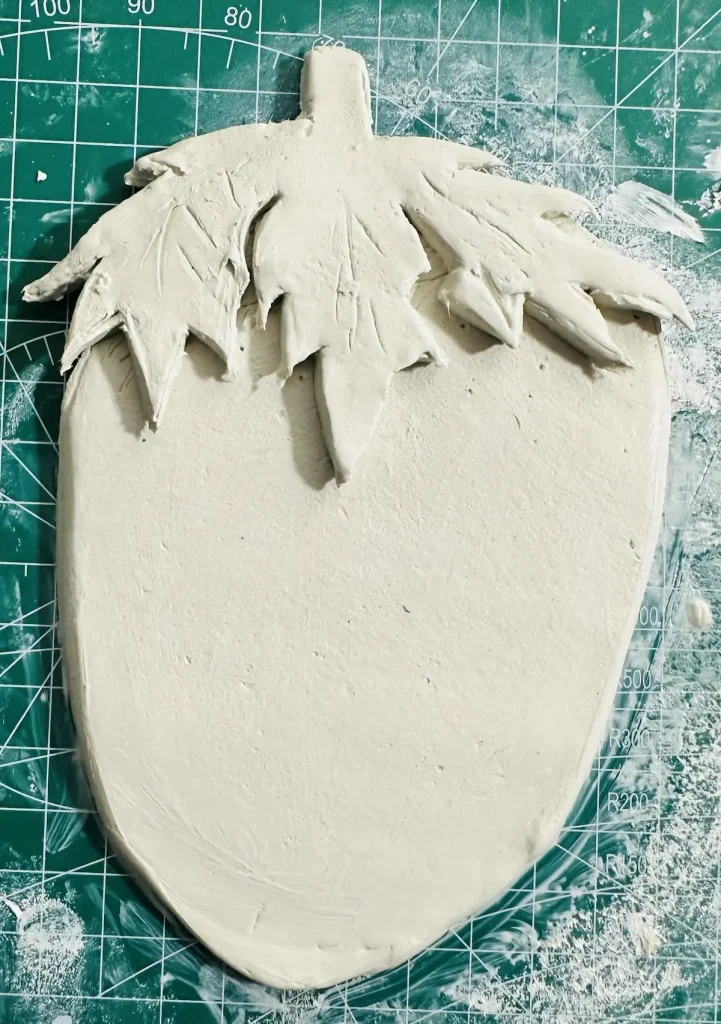
Now it’s time to make tray rims.
Step 6: Making the tray rim
Having a tray rim/lip is important because it can hold jewelry or trinkets.
- Take the excess clay you kept aside and add a small fresh clay piece and knead well.
- Roll the kneaded clay piece to an even thickness (I aimed for ½ inch).
- Cut equal width thin clay straps using the ruler and cutting tool.
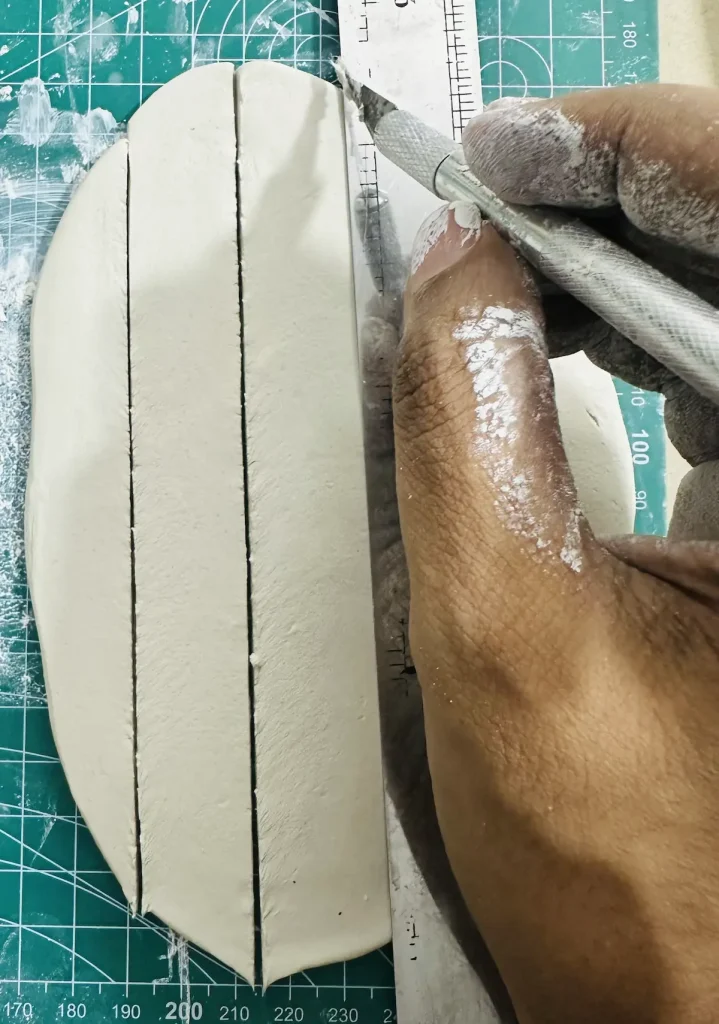
When you’re cutting the clay straps, try to make an angle cut on the edges because that’s where two straps meet. Attaching two straps is easy when you cut edges with an angle.
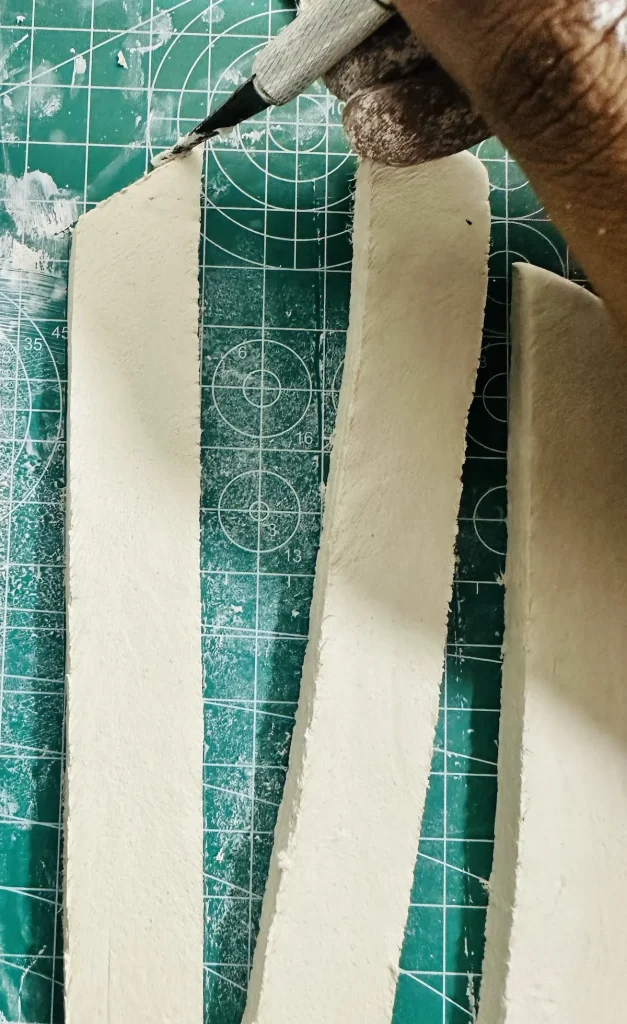
Make sure to have the same height and thickness for the tray rim along the tray edge. Use your fingers to adjust thickness and height if you see bumps, cuts, and scratches along the rim.
Step 7: Attaching tray rim to tray base
I use score and slip method to attach air dry clay pieces.
- Score along the bottom area of the tray rims using the scoring tool or toothpick.
- Score along the edge of the strawberry tray base.
- Dip your finger in water and tap on the scored surfaces. Or you can apply the “slip” over the scored surfaces which acts like an adhesive paste.
- Gently press tray rims to the tray base along the edge using your fingers and keep them like that for a few seconds with little, even pressure.
- After attaching the tray rim to the tray base, cut the edges of the tray rims with an angle. I didn’t attach the tray rim around the strawberry leaves. Only around the tray base.
- Attach both ends of tray rims after dipping your finger in water and slide it over the joint.
- Smooth it out with a little bit of water and sliding your finger all over the tray base and along the tray rim.
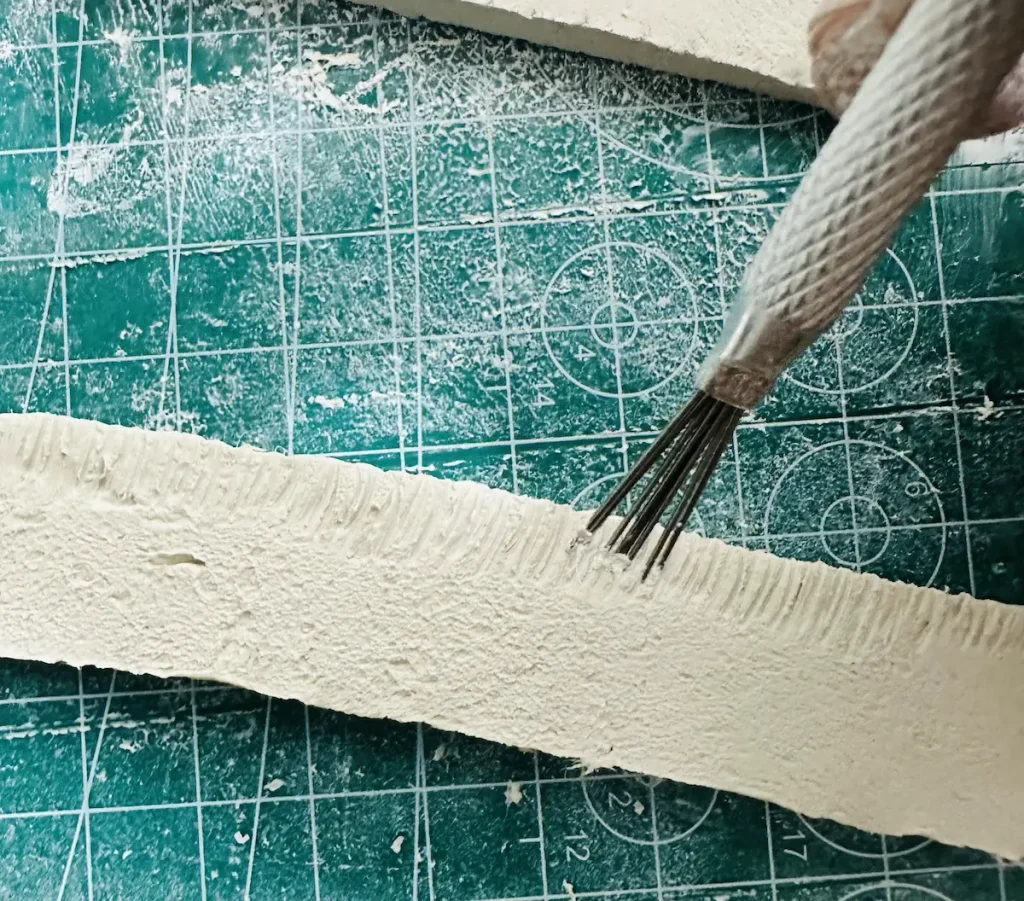
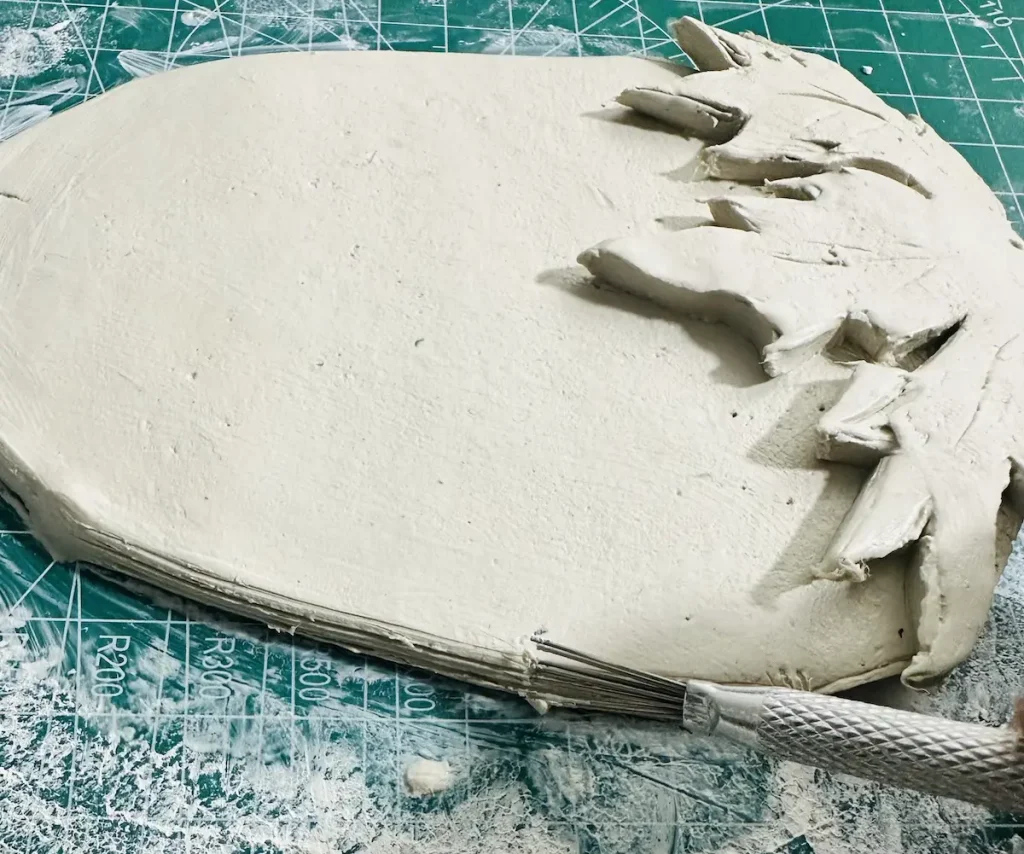
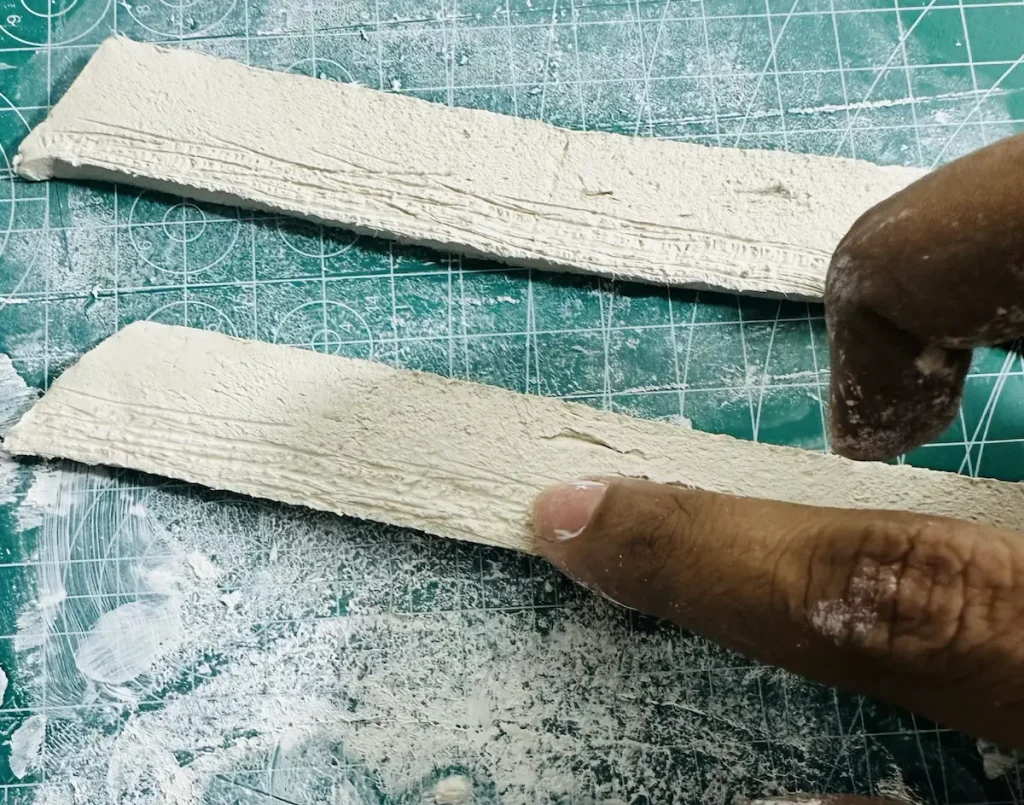
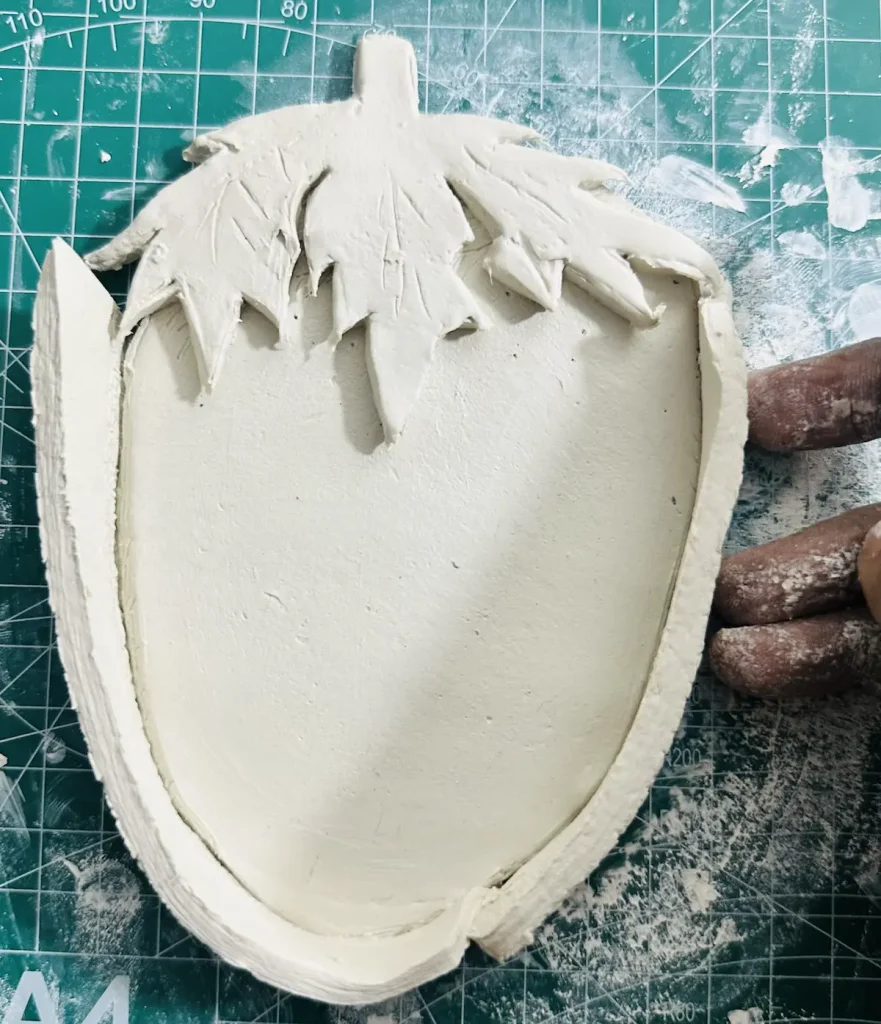
After each step make sure to smooth the air dry clay piece to avoid forming micro cracks and porous structures. You can use your fingers for smoothing or a damp sponge.
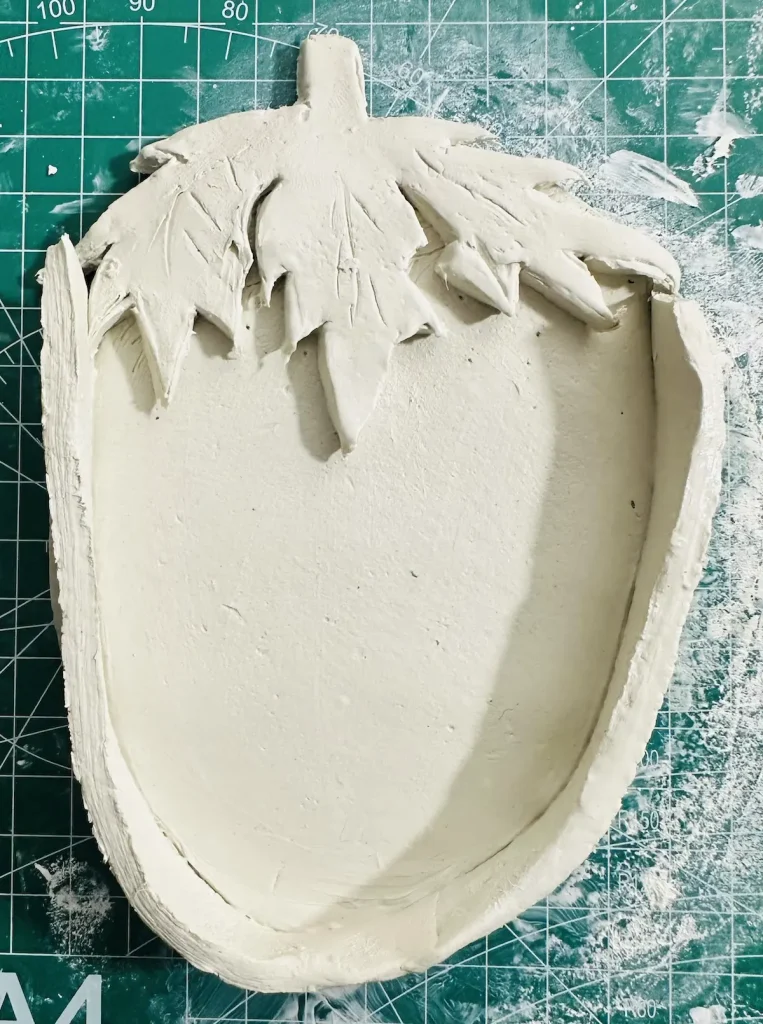
Step 8: Adding thin clay coil
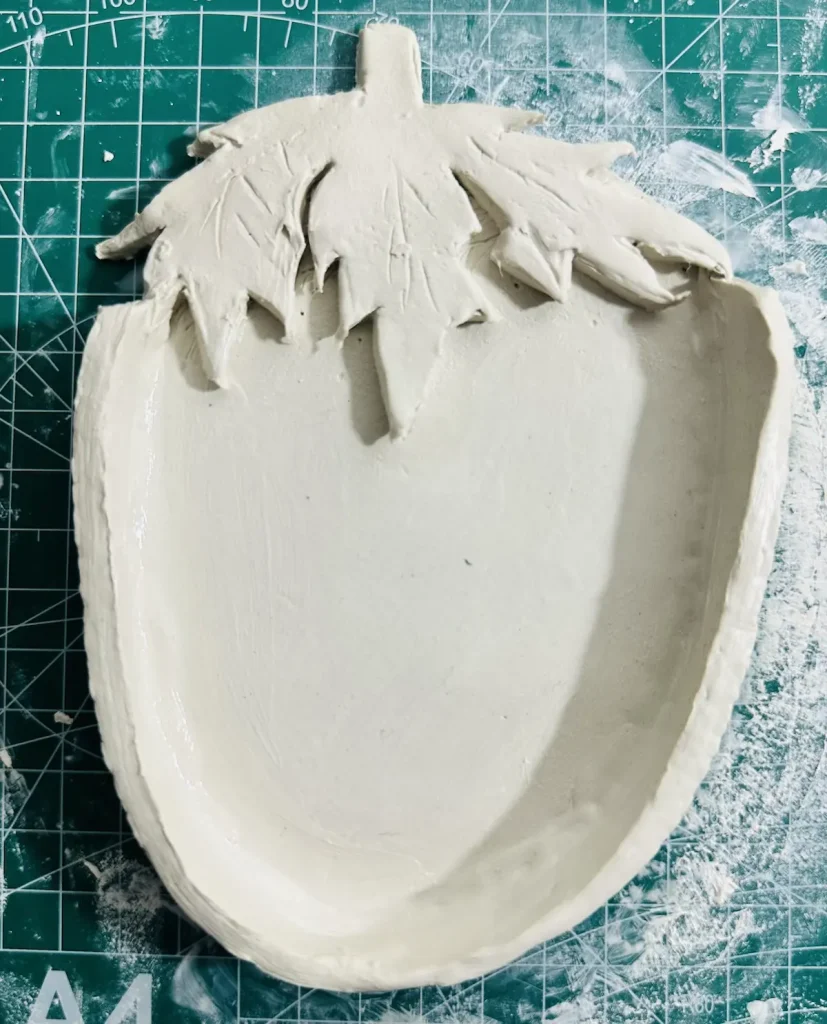
Adding a thin coil around the tray base where the tray rim connects is important to strengthen the joint between the tray base and tray rim.
- You just have to take a very small piece of clay, knead and roll it as thin as possible like a thin snake.
- Then place it around the edge and press gently along the joint.
- Now smooth it out along the coil using your fingers and tapping a bit of water.
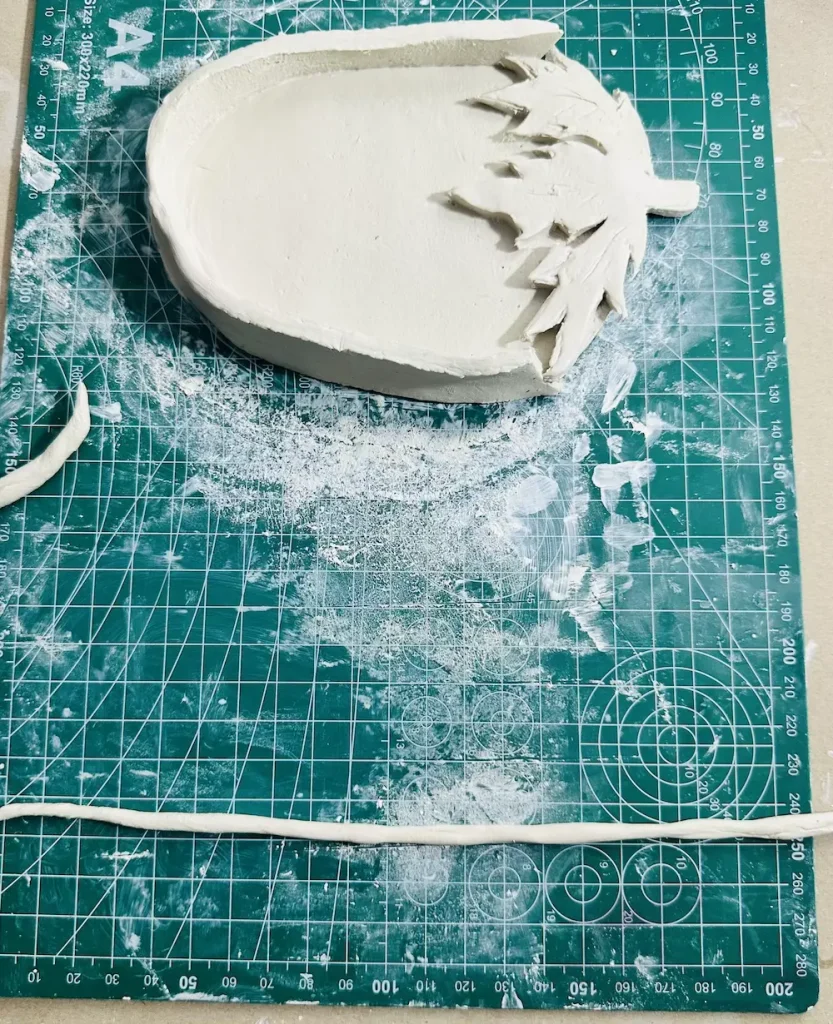
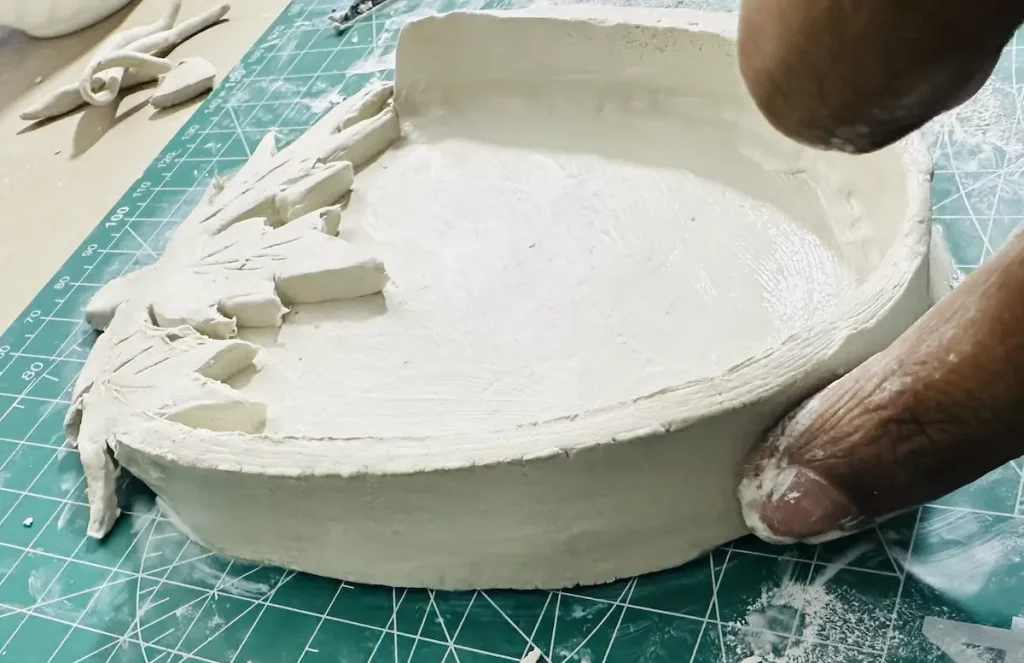
Usually the joint where the tray base meets the tray rim has a 90-degree sharp angle. Having this type of sharp angle causes tension in air dry clay layers. This may result in cracks and loose joints when the clay is drying due to the shrinkage of the clay.
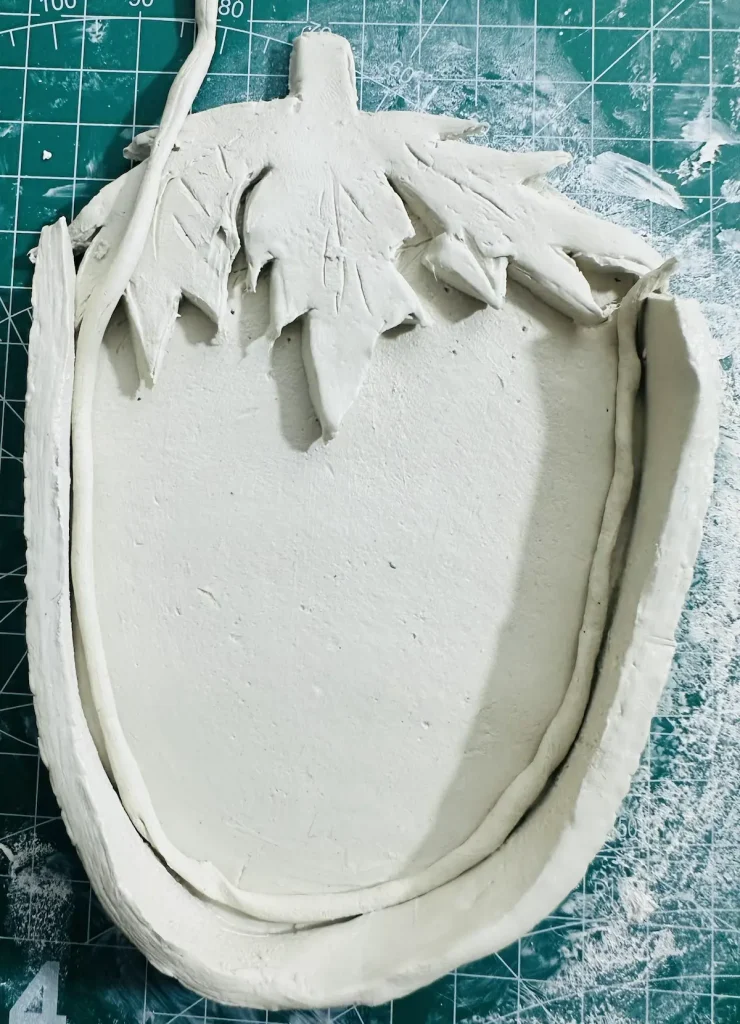
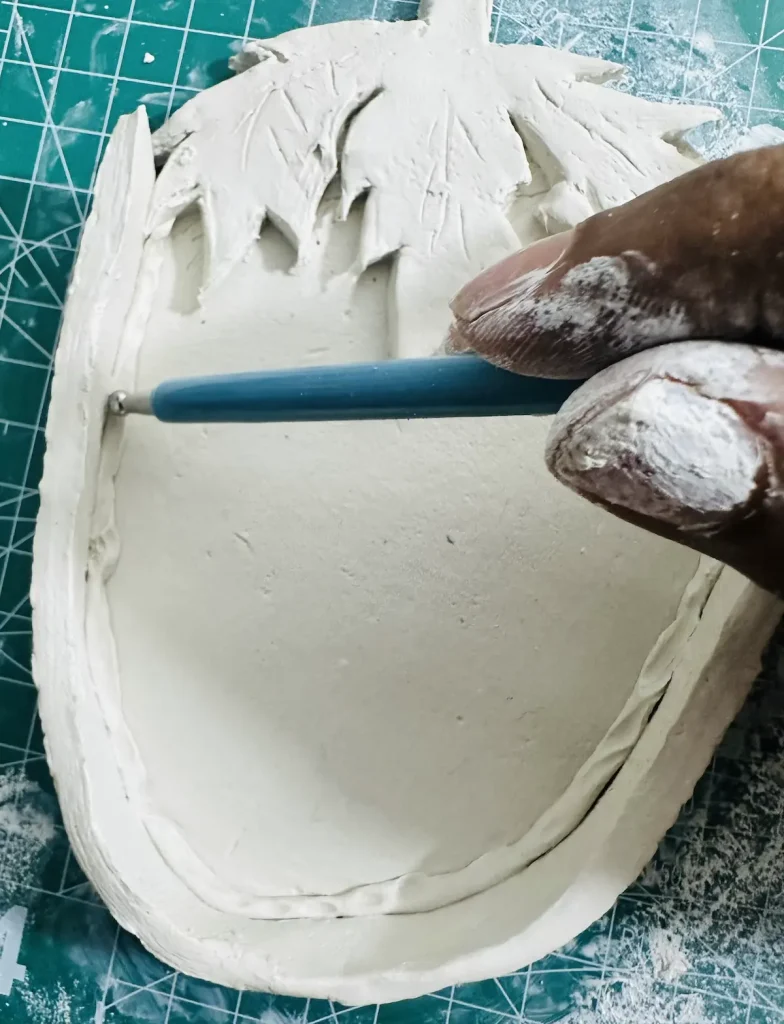
To avoid that, I added a thin (very, very thin) coil around the tray base. With the thin coil added, the joint where the tray base meets the tray rim gets a bit curved and the tension will spread along the thin clay coil evenly without causing excessive tension to the joint.
Step 9: Adding strawberry seeds
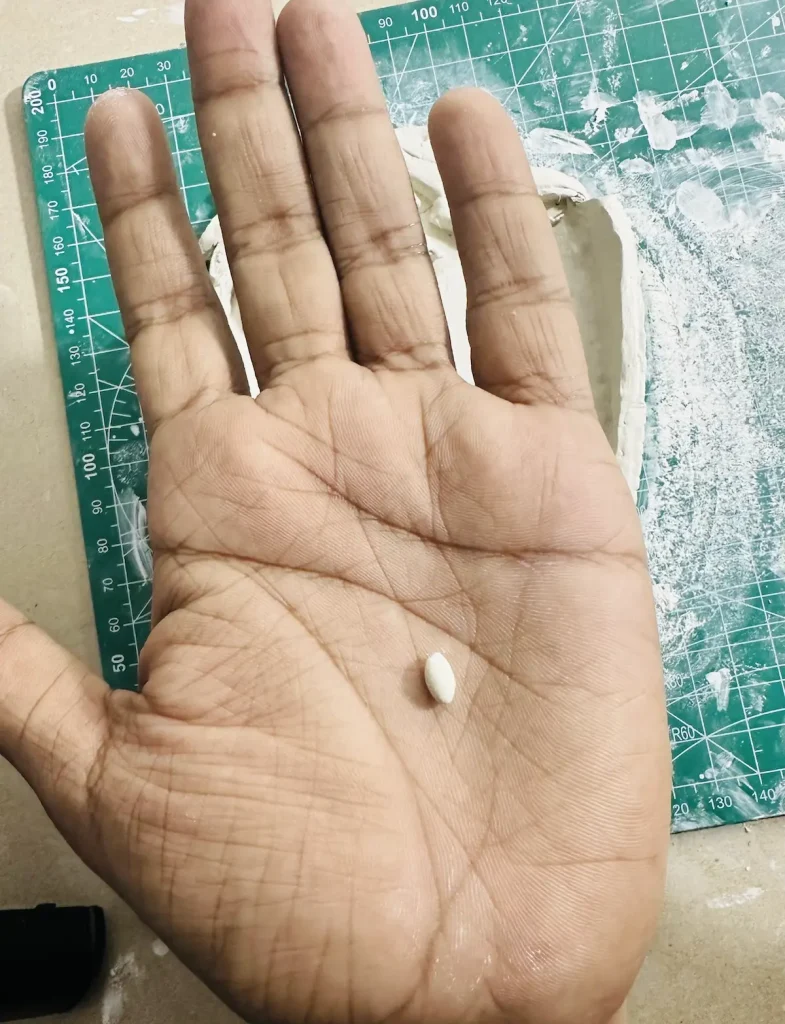
- Make around 20 tiny teardrop-shaped clay dots after kneading a small air dry clay piece.
- Mark random locations the seeds should attach on the tray base using a ball head tool or cotton bud. You can press them gently to mark the locations. Don’t overthink, just do it randomly.
- Dip your finger or tool in water and grab each seed and attach it to the marked locations on the tray base carefully. Do one by one. Please be gentle.
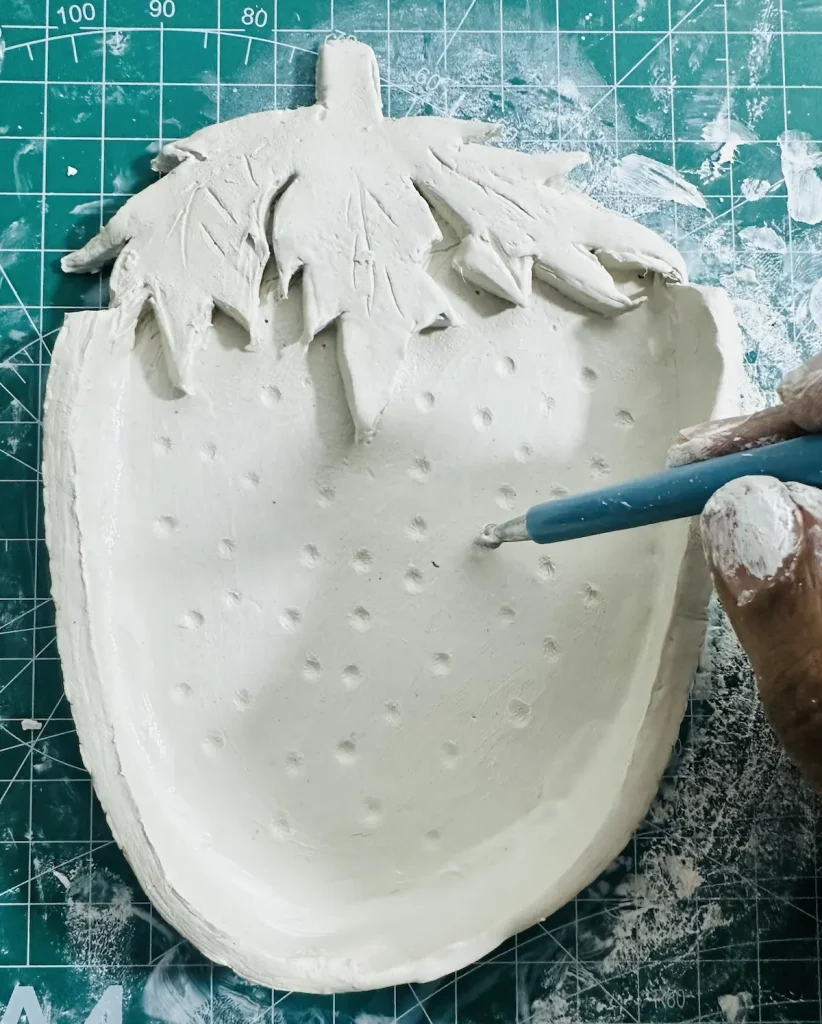
I mistakenly marked too many locations for seeds using my ball head tool and had to erase some. Lol. Around 15-20 seeds are enough.
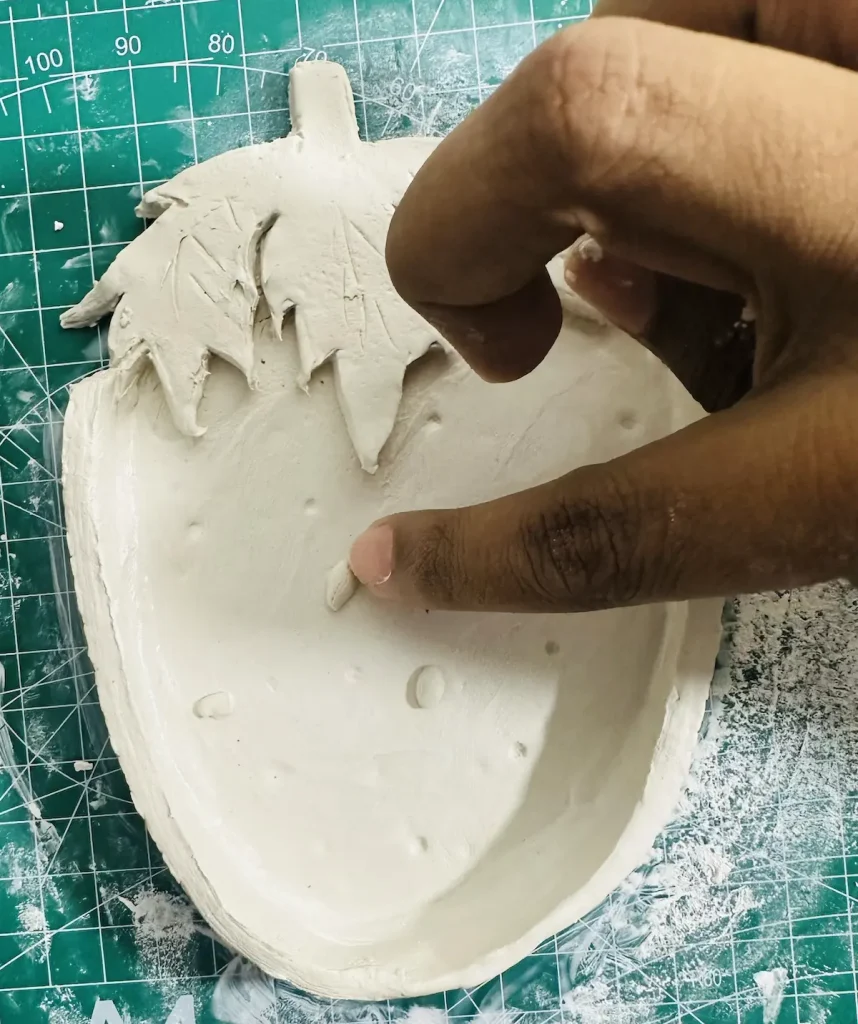
You can’t use the score and slip method here because seeds are too small to score and the tray holds horizontally when drying. Therefore, no need to worry about them falling off.
If they fell off, glue them to the tray base using an adhesive like superglue.
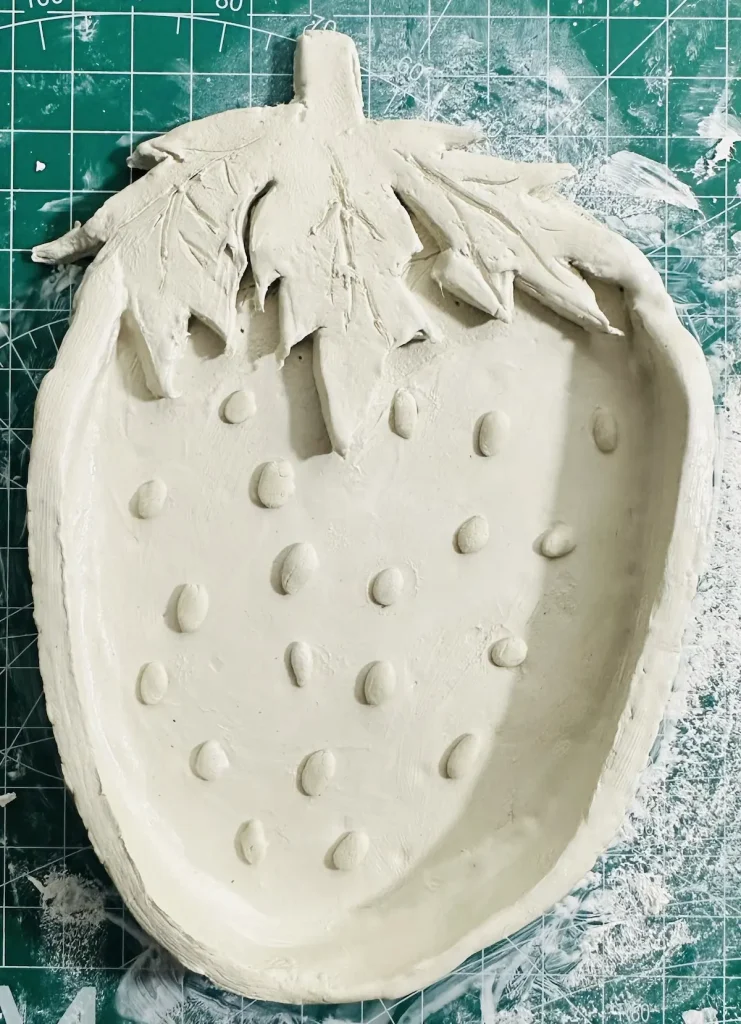
Congratulations guys and gals! 🎉 Now we have successfully sculpted our strawberry trinket tray with air dry clay.
The hardest parts are over, now comes the fun part! Painting time baby!!!!! OMG I forgot! It’s drying time. Never ever go for painting your air dry clay project skipping the drying part.
Step 10: Drying time
Now let the wet strawberry trinket tray you made dry for 48-72 hours. I had to wait for 3 days until it dried completely because when I checked it on day 2, there were some off-white areas in the strawberry leaves section.
You must wait until the clay project you made dries completely before starting to paint because as soon as air dry clay touches the moisture in your paint, it gets weakened and results in cracks. Plus, painting is also difficult when the clay is still wet. White air dry clay particles will start to peel off when you paint over wet clay.
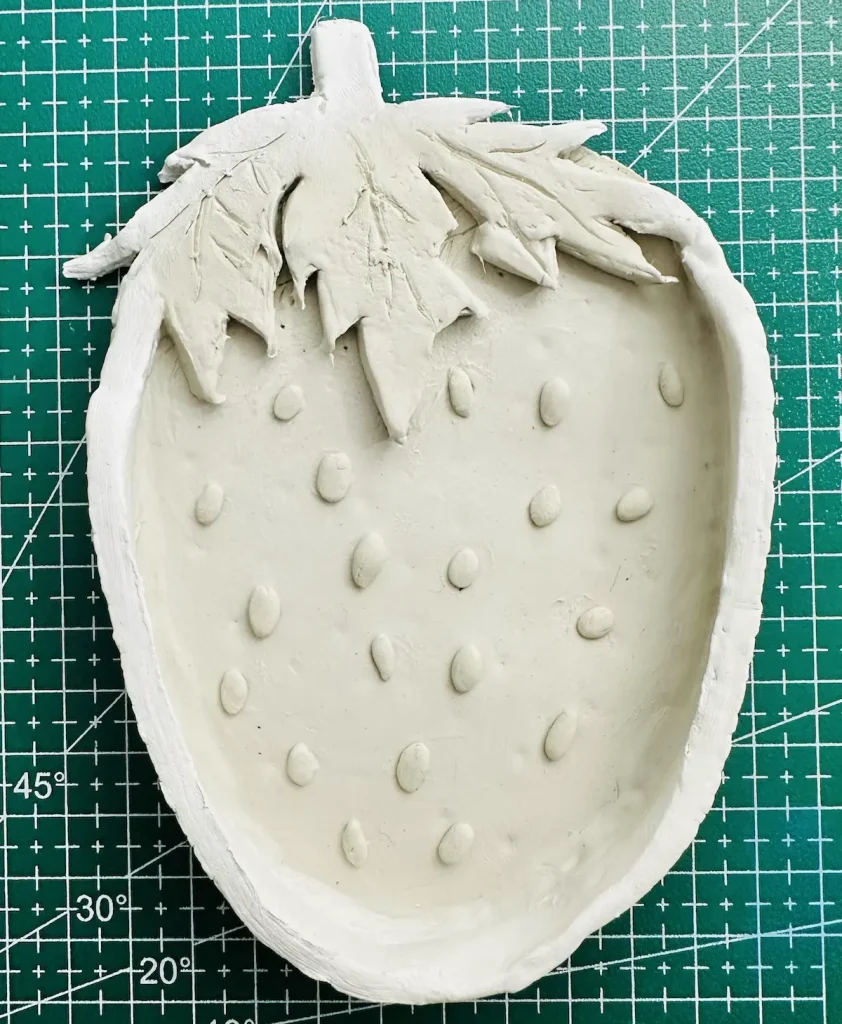
Once the tray is completely dried there will be no grey stain areas. It’ll look pure white.
Before you start painting, clean the tray well with paper towels. Better if you can sand the whole piece with a fine-grit sandpaper. I didn’t have sandpaper but I cleaned it well before painting for a nice look.
Step 11: Painting the strawberry trinket tray
I used acrylic paint for this air dry clay project. Acrylic paints are the best for air dry clay because they come in different colors and make a water resistant sealer as well. Plus, with little amount of water you can dissolve it.
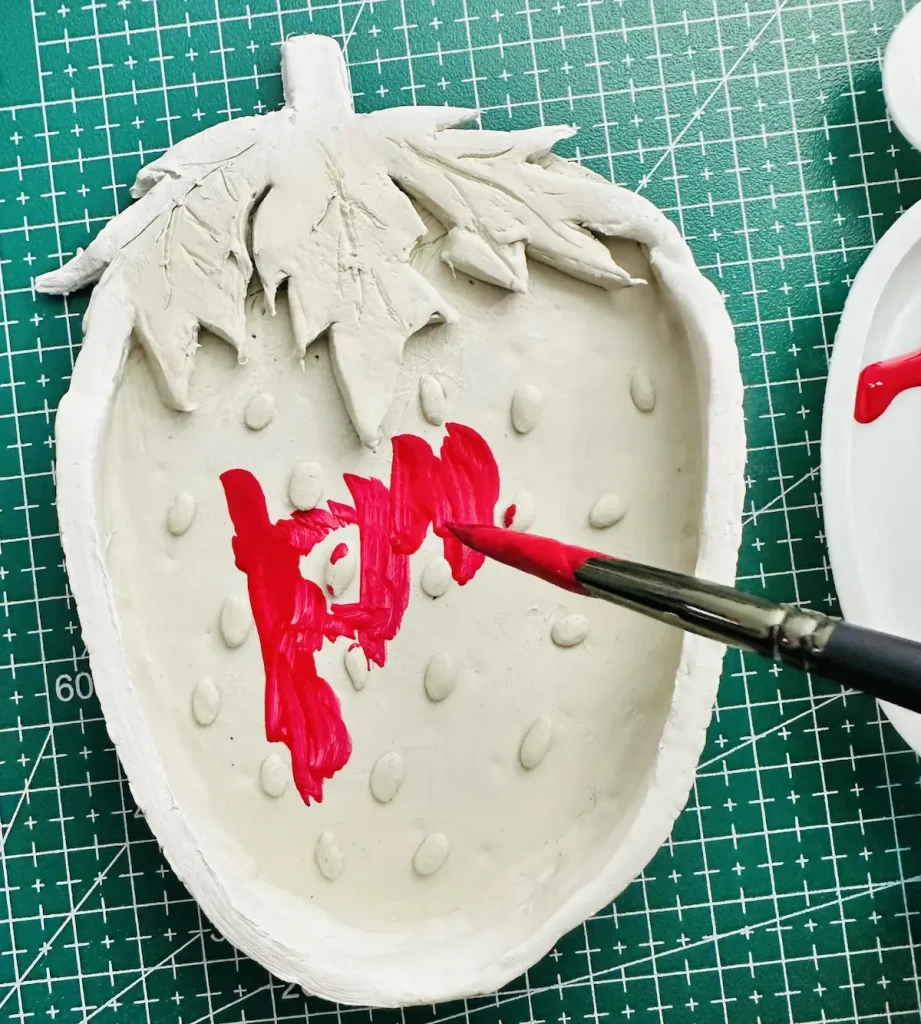
Not like watercolors. Watercolors need too much water and water weakens the air dry clay. Acrylic paint doesn’t do that. They are the best.
Colors I used: Crimson, blue, yellow, white. I didn’t have green. Therefore I had to mix blue and yellow.
You can use red instead of crimson as well.
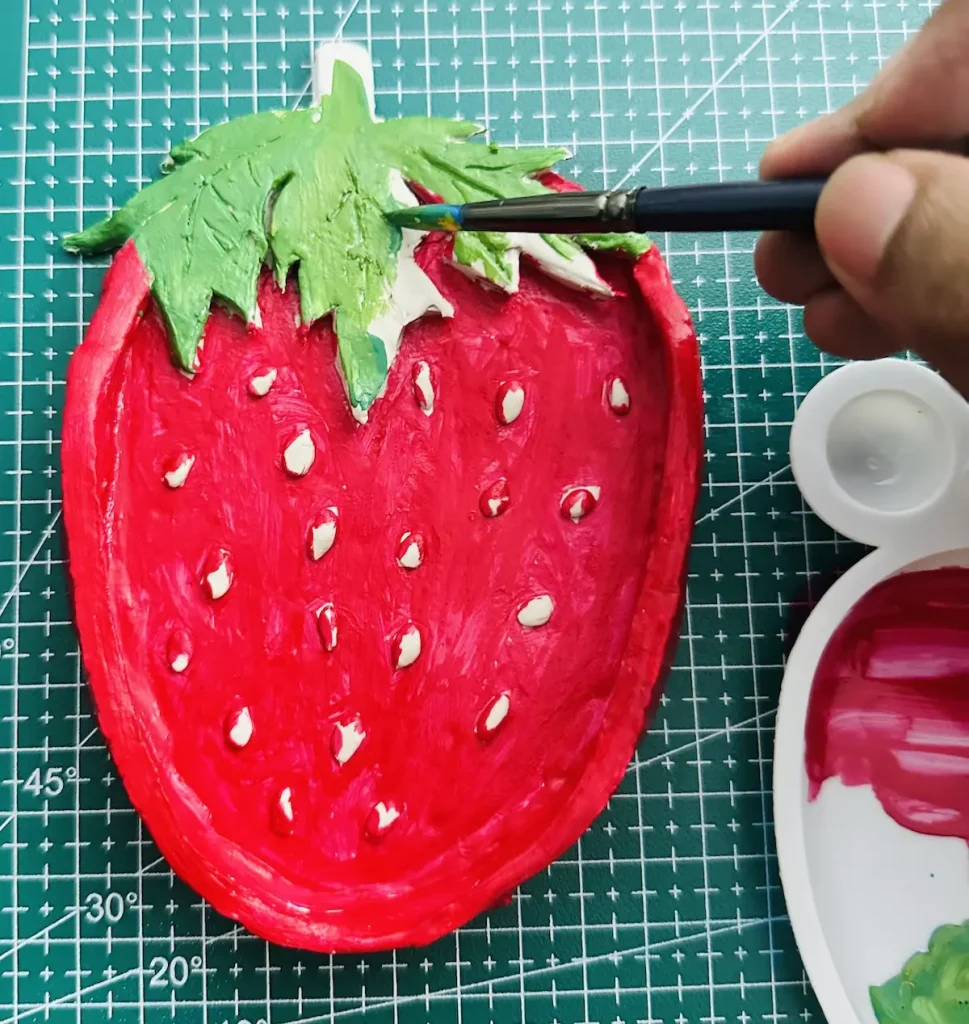
Follow these instructions when you’re painting the strawberry trinket dish,
- Paint thin coats of acrylic paint in one direction.
- Start painting the tray base first instead of the rim because you can turn the tray as you want without leaving fingerprints on the tray.
- Use one paintbrush per color.
- Don’t touch the seeds when you’re painting the tray base middle. If you accidentally touch some, it’s ok. You can later cover it up with white.
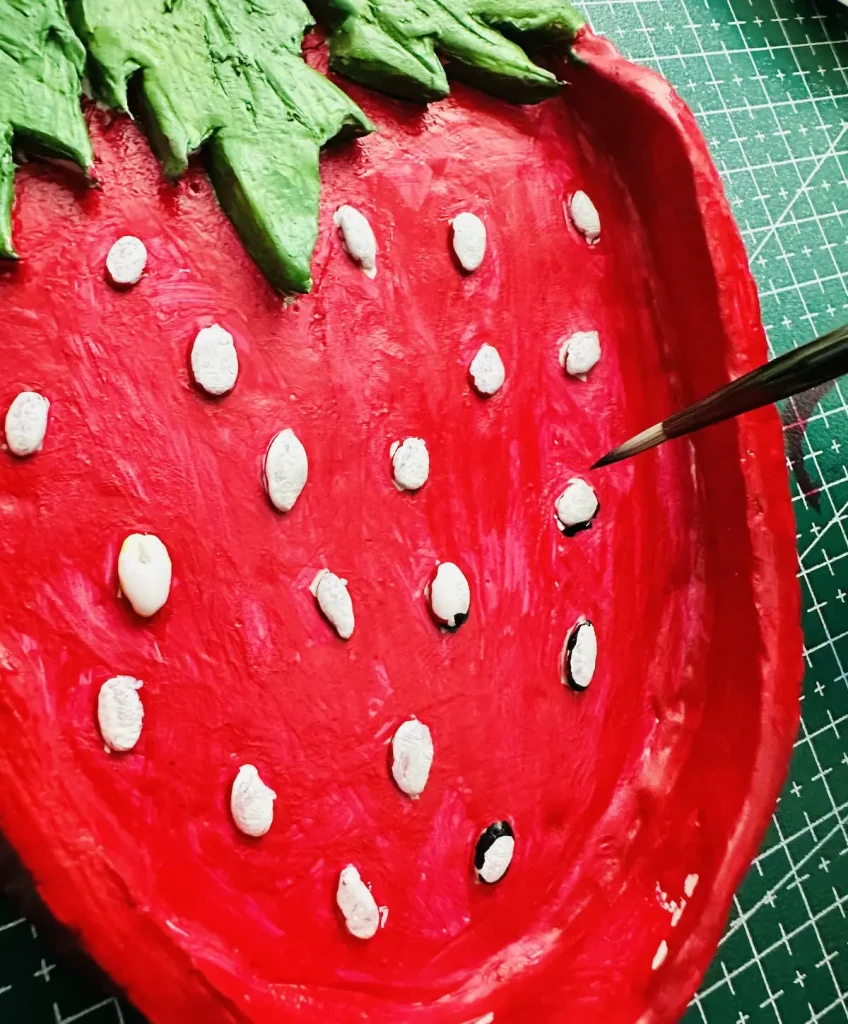
I applied crimson for the tray base, white for the seeds, and green for the strawberry leaves. I mixed colors in different amounts to get the color I want.
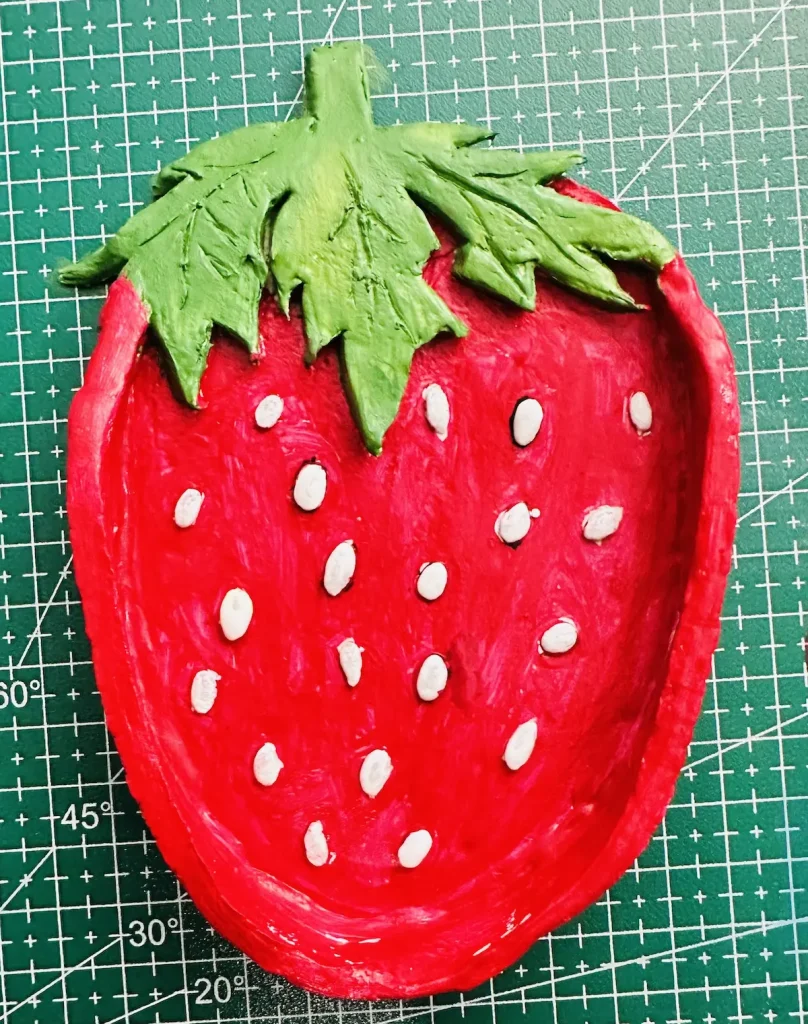
After painting, let the strawberry tray dry for 1-2 hours before sealing.
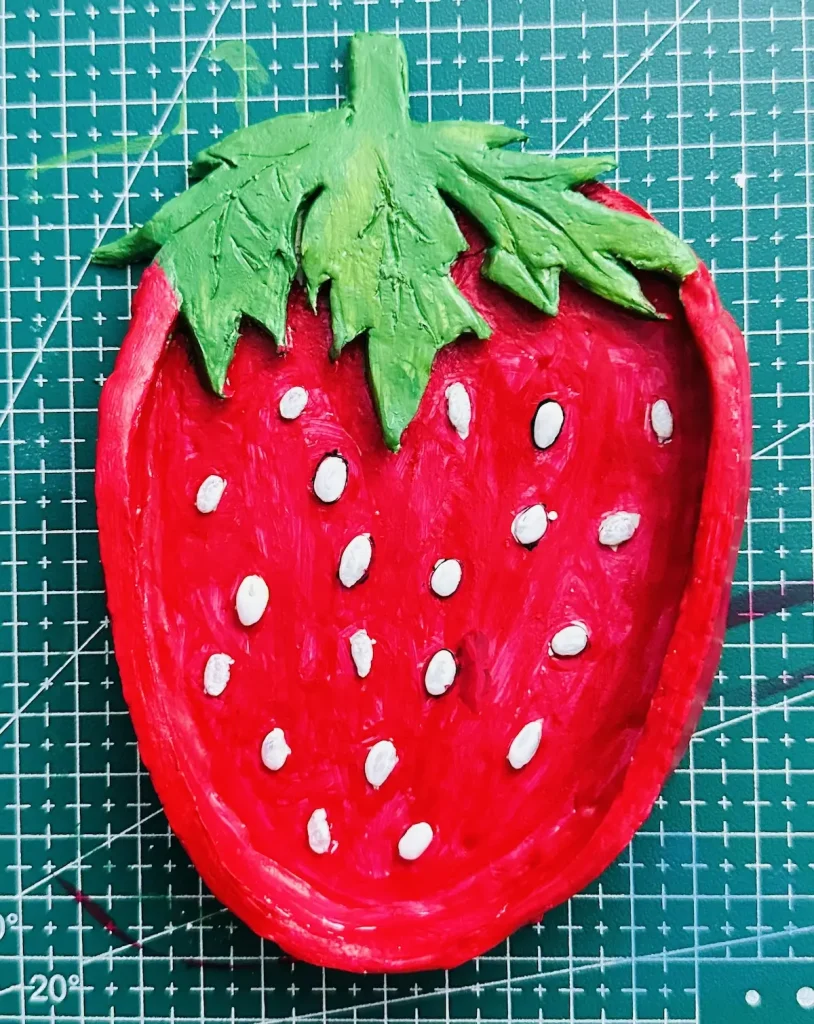
Step 12: Sealing the tray
I used gloss varnish for sealing. Or you can use UV resin, polyurethane, Mod Podge, or Epoxy resin if you water glass like gloss.
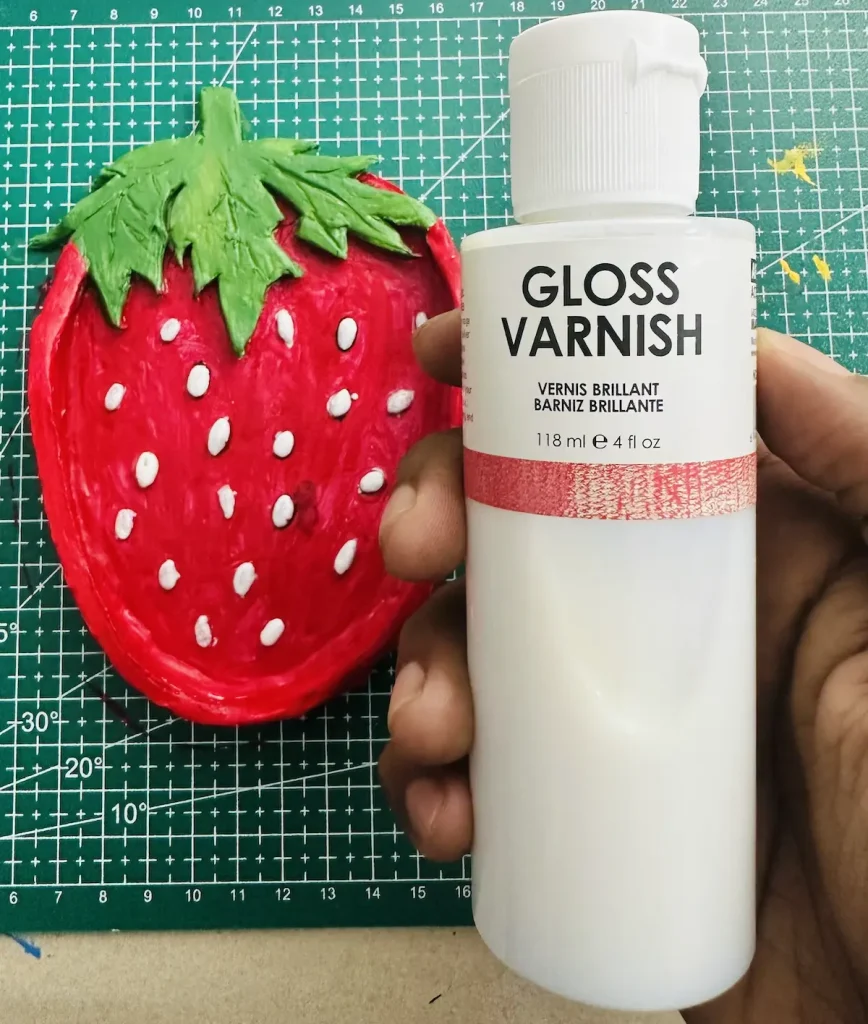
I selected gloss varnish because that’s the only one I have now. Lol. I don’t have many options. I’m still a beginner on a budget.
But gloss varnish does the job so well. It provides the long-term protection I want for my air dry clay projects, makes a water-resistant coating, and gives a nice glossy visual appeal as well.
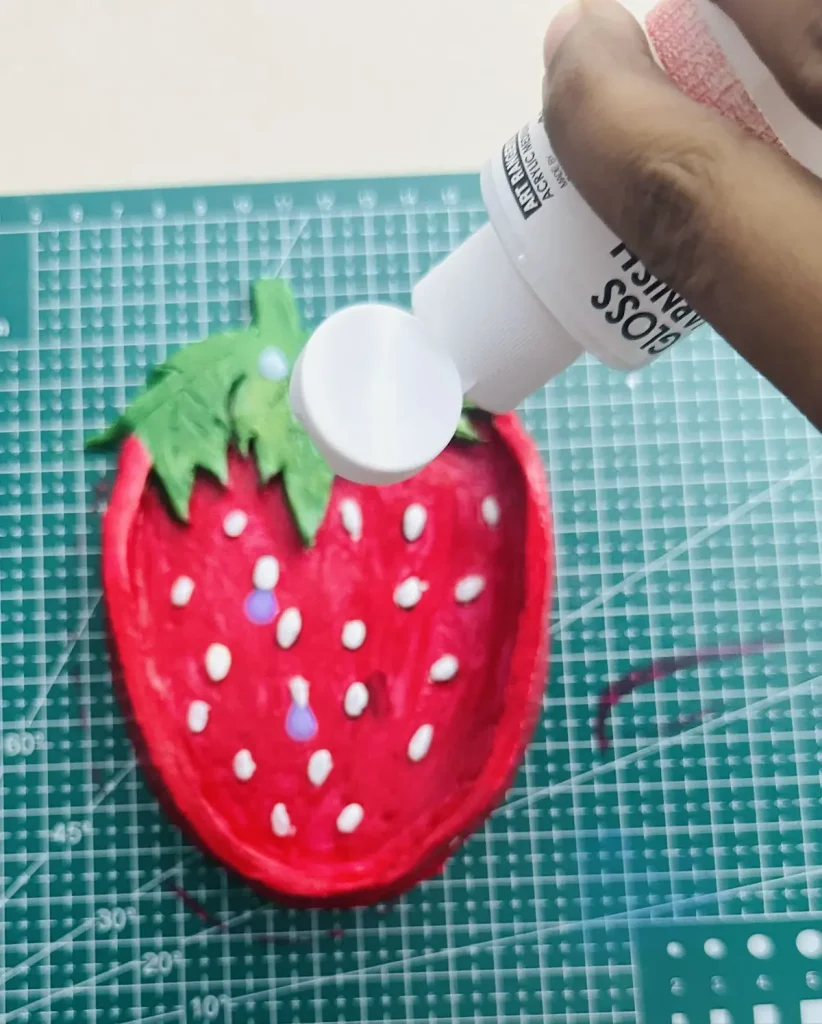
Make sure to apply thin and even coats in one direction to avoid leaving brush marks on the surface.
Apply 1-2 coats of gloss varnish all over the strawberry trinket tray surface.
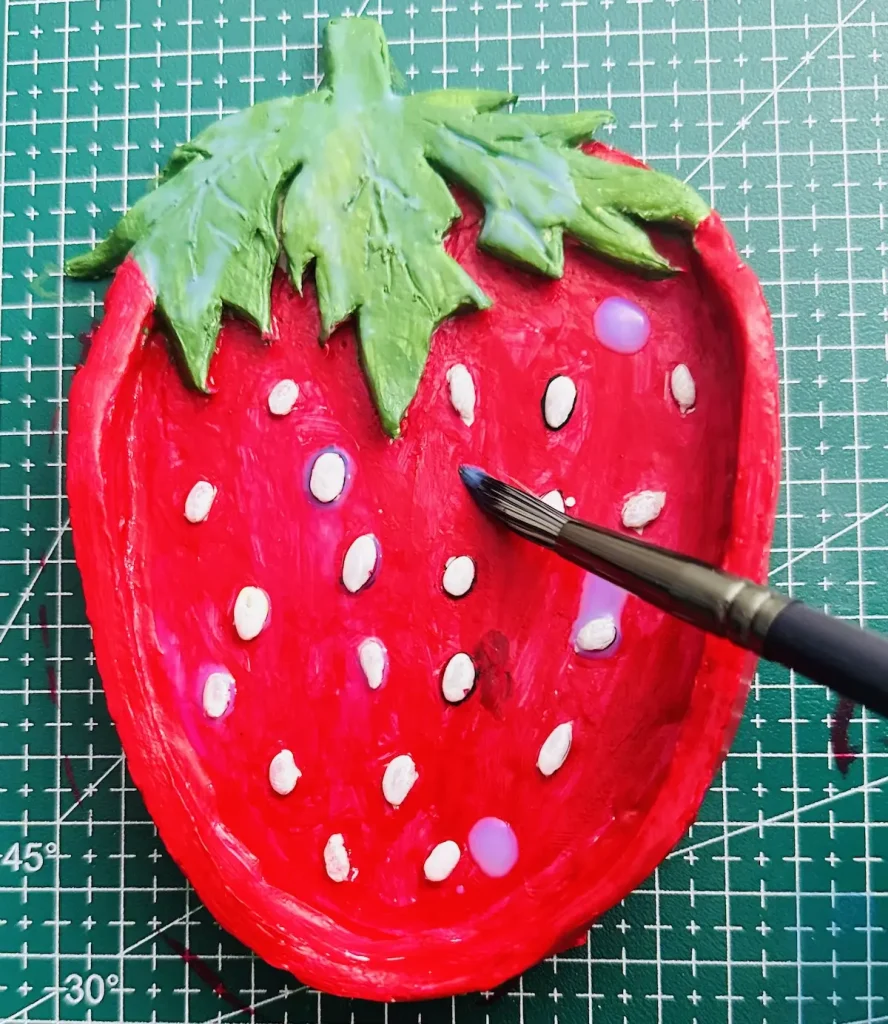
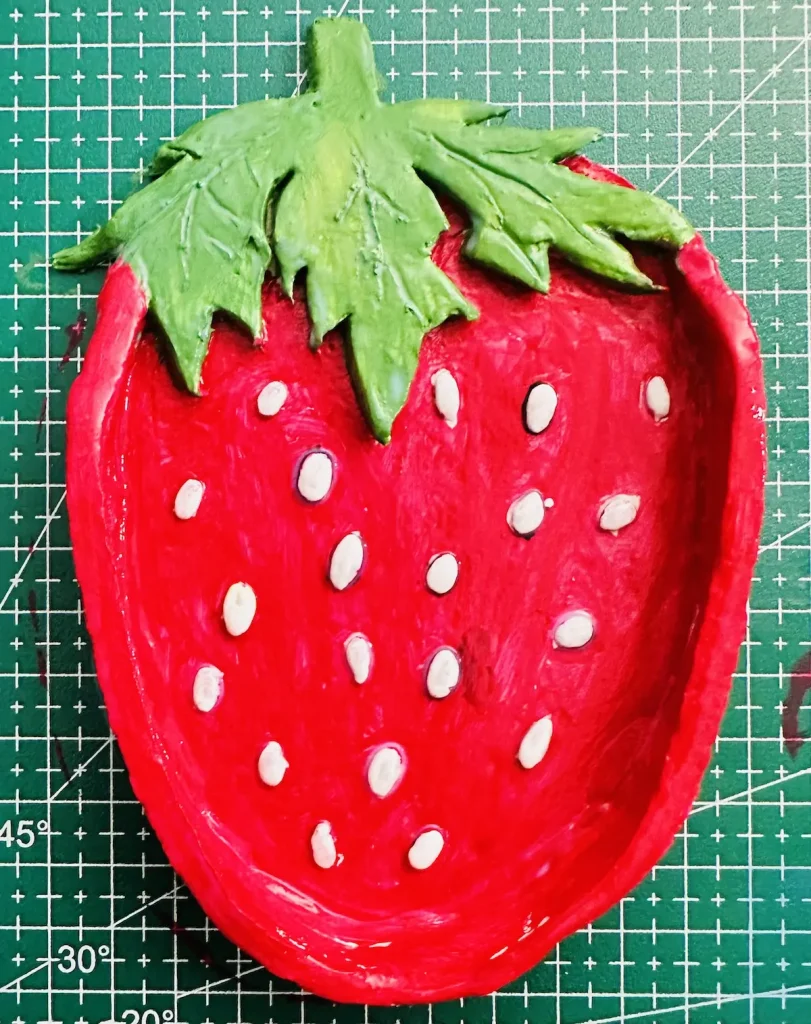
After sealing it completely, let the sealer cure for 24 hours in a cool, well-ventilated area. Gloss varnish dries and cures in air. But if you’re using UV resin, keep it in the oven for curing.
Again, congratulations friends! 🥳 You’ve successfully completed making the cute strawberry trinket tray with air dry clay.
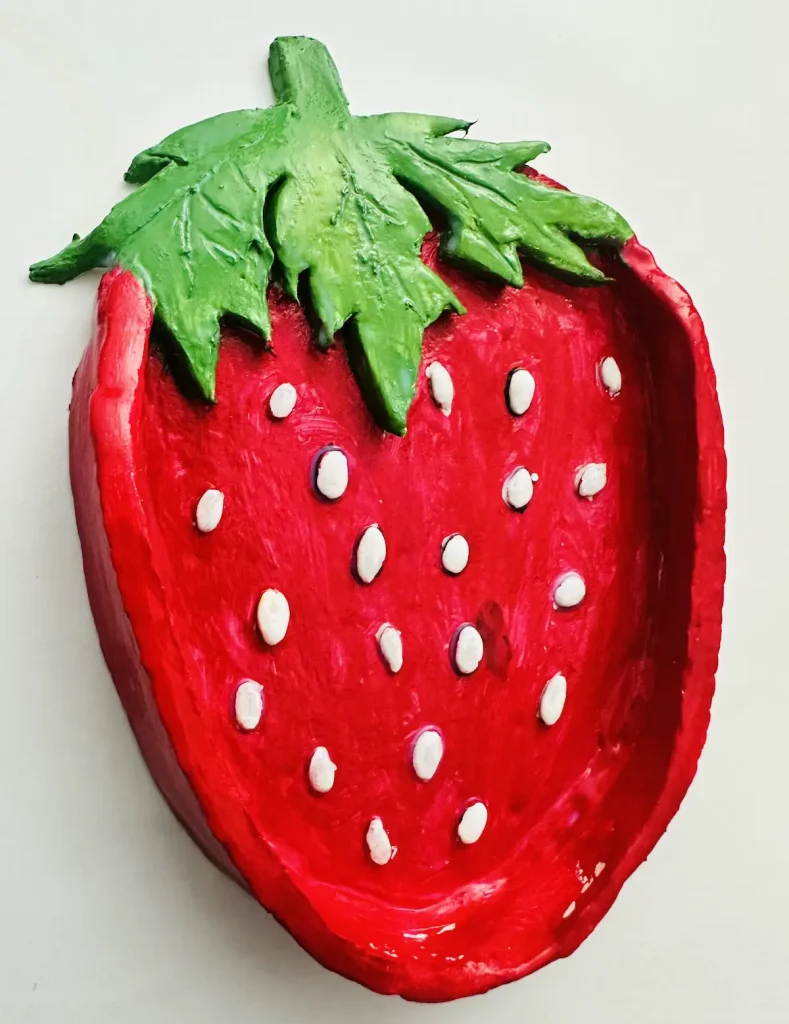
I was so happy with the result I got. Yes, it was quite a task, but the end result was so satisfying and I love it.
FAQ
What is the best paint to use on air dry clay?
Acrylic paint.
How long does an air dry clay tray take to dry?
24-48 hours or longer, depending on the thickness of the project and humidity in your area.
Do you have to seal air dry clay after painting?
Of course. I seal with gloss varnish for long term protection and nice appeal.
How do you fix cracks in air dry clay?
Apply slip over the cracks, let it dry, and smooth by sanding. Slip is an air dry clay and water mixture.
Final thoughts
I’m sorry if the tutorial is a bit too long. I wanted to give you everything I know, every mistake I made during the project, and how you can avoid them.
The strawberry trinket tray was so touching for me because it looks so beautiful, I even forget I’m still on my 5th air dry clay project.
Now you have all the knowledge you want to make this beauty. It’s time for you to shine. Go and grab a piece of air dry clay and start making a strawberry trinket tray that looks better than mine. I’d love to see them.
Be sure to tag @clayandmestudios in your next strawberry trinket tray project. I sure love to see them when you do. I’ll see you next time with another awesome project! Cheers! 🤟🏾
DIY Air Dry Clay Strawberry Trinket Tray

Supplies Needed
Air dry clay (any brand you can find is okay. I used Mont Marte)
Acrylic rolling pin or cooking rolling pin
PVC mat or silicone mat (or non-stick surface)
Clay tools (or use toothpicks)
Clay cutting tool (or small knife)
Fine sandpaper (good to have, but I didn’t have any)
Cup of water or spray bottle
Optional: Sponge or silicone sculpting tool (or you can use your finger)
Acrylic paint (red, green (I mixed blue and yellow because I didn’t have green), white)
Gloss varnish
Paintbrushes
Paper towels
Instructions
1. Knead, Knead, Knead! 🍕
- Don’t skip this! Pretend you’re making pizza dough. Knead that clay until it’s super soft so you get all the air bubbles out. Uneven air = cracks later. We don’t want that!
2. Roll the Clay
- Aim for 1/2 inch thickness. PRO TIP: To stop it from sticking to your mat, remember to flip, turn, and rotate your clay 90 degrees every few rolls. Trust me, it works like a charm! ✨
3. Trace & Cut the Base
- Draw your heart-shaped base (or use a template—don’t be lazy like me!) and cut it out. Smooth out the edges with a wet finger.
4. Make and Attach the Leaves 🍃
- This part is tricky. Use a paper template so you don’t waste time erasing and redrawing 6 times. Cut the leaves, smooth them, and set aside.
5. Attach Leaves to the Tray Base (Score & Slip)
- Use the “score and slip” method to attach everything. Score the areas where clay pieces meet, tap on a little water (or slip), and press gently. No loose joints here!
6. Add the Rim
- Cut thin, even straps and attach them around the tray base. Don’t forget to angle the edges where they meet for a seamless look.
7. Add Thin Clay Coil✨
- This is the secret to avoiding cracks! Roll a super thin “snake” of clay and press it around the inside joint where the rim meets the base. It helps spread the tension so your tray doesn’t crack while drying.
8. Add the Seeds
- Make ~20 tiny teardrop shapes and stick them randomly on your tray. Don’t overthink it!
9. Let it Dry
- Let it air dry for 48-72 hours. Seriously, don’t rush this! If you paint it while it’s wet, it will crack. Wait for it to turn pure white.
10. Paint & Seal 🎨
- Use acrylic paints for the color, then apply 1-2 thin coats of gloss varnish to seal it and give it that professional shine. Let it cure for 24 hours, and you’re done!