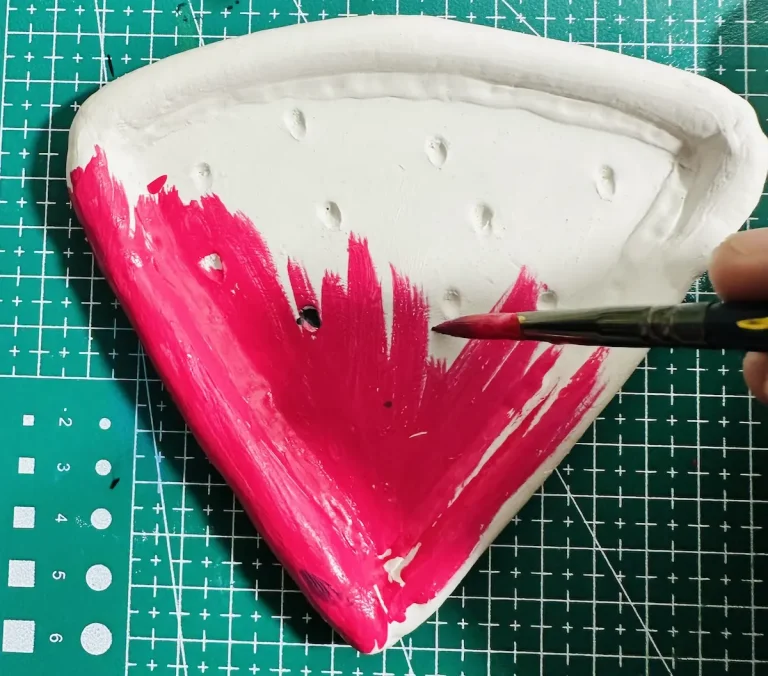
Air dry clay is a highly porous material with lots of moisture and air inside. After making the project, it is essential to wait for air dry clay to dry completely before painting or sealing it. Applying paint to wet clay causes it to peel off and weaken the clay inside due to the moisture in the paint. 🎨
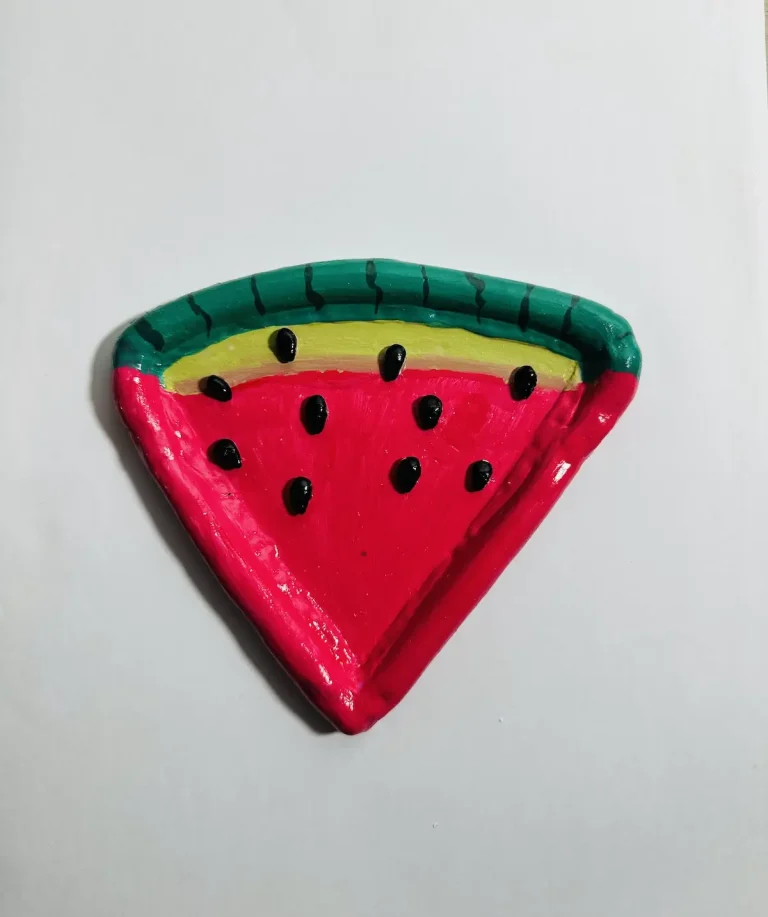
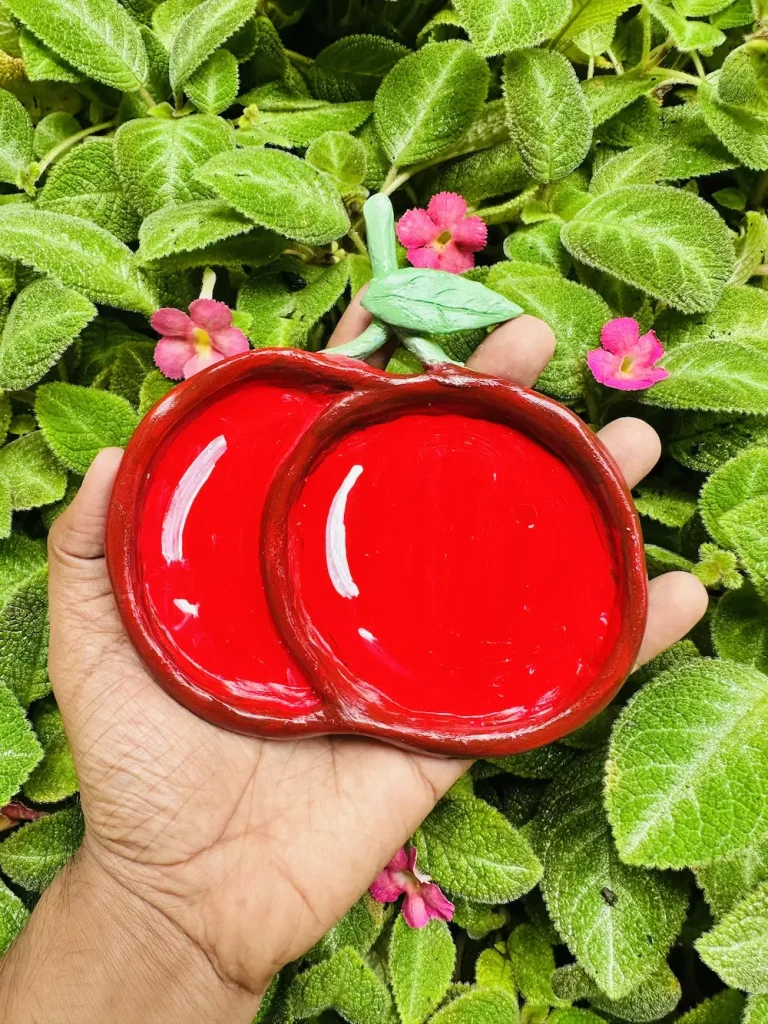
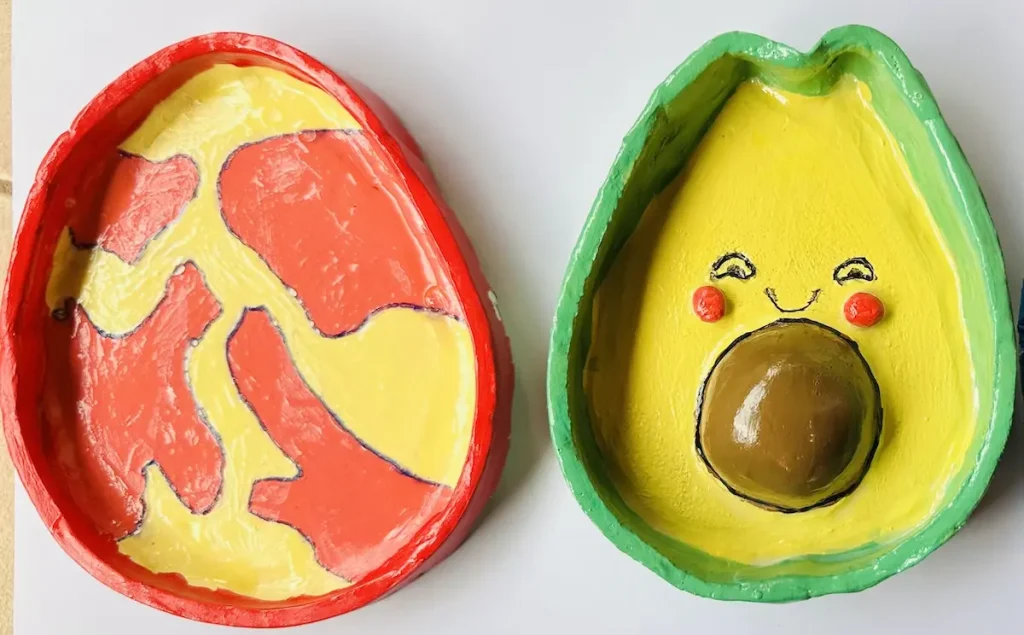
I’m a beginner air dry clay artist who has made different shapes of fruit trinket trays in the past, including avocado trinket tray, orange tray, banana tray, strawberry trinket tray and many more. 🍎
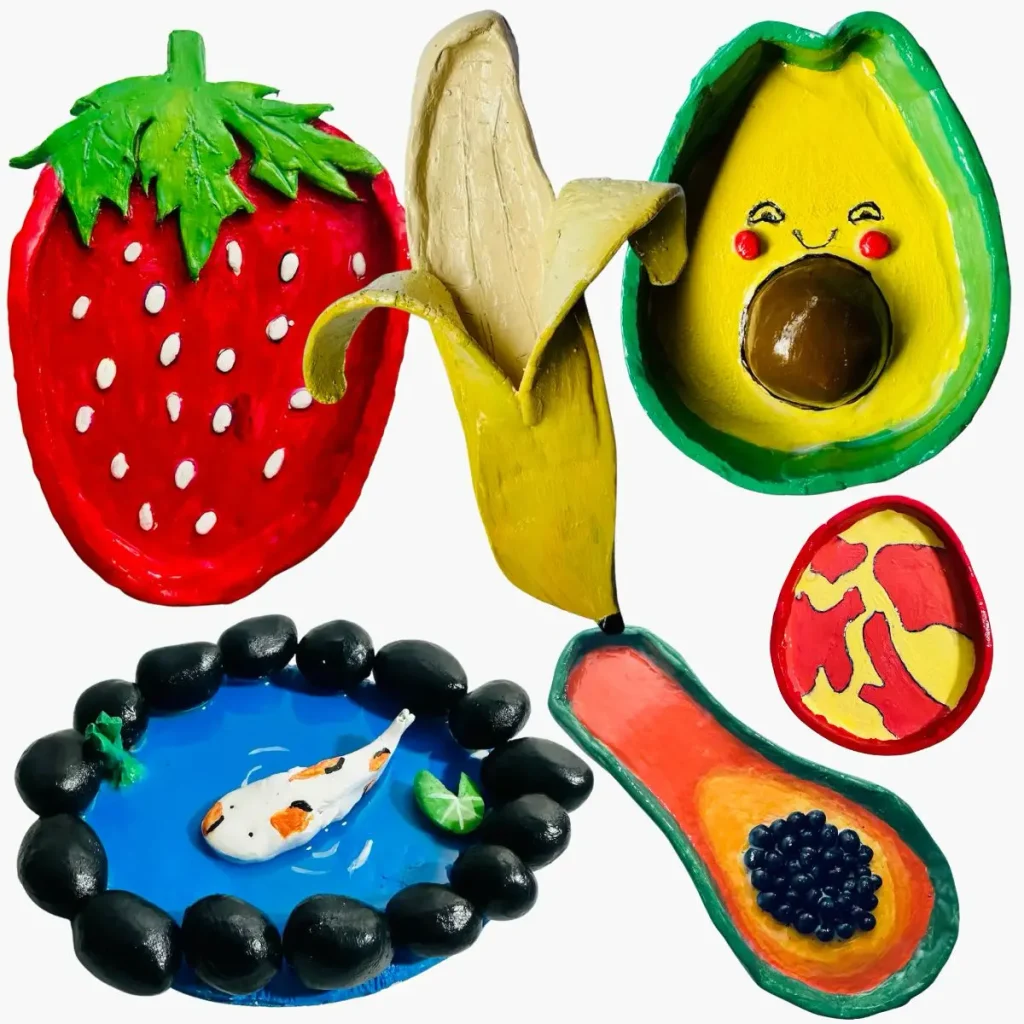
I’ll share with you how long I keep my air dry clay projects to dry before painting to achieve a nice and beautiful finish.
If you’re a beginner like me I know you are confused about how long I should keep my project to dry, whether drying time depends on the project type and how I can speed it up without causing cracks and many more. Don’t worry or panic. 😌
I’ll teach you the exact things you need to know about drying time, where to keep your project for drying and where you should not and how to speed things up, all based on my own experience.
Enough chit chat! Let’s goooo!
How long does it actually take?
Generally, Air dry clay takes 24-48 hours to dry. But this can vary depending on the thickness of the clay, the surrounding humidity and the airflow.
| Thickness of the air dry clay | Drying time |
| Thin | 24 hours |
| Medium | 24-72 hours |
| Thick | 5-7 days |
| Surrounding humidity | Drying speed |
| high | slow |
| low | fast |
| Airflow | Drying speed |
| high | fast |
| low | slow |
Key things that affect the drying time of air dry clay
Here’re the main factors you need to be concerned about when placing your air dry clay project to dry,
Thickness of the project
As I told you earlier, high thickness means slow drying.
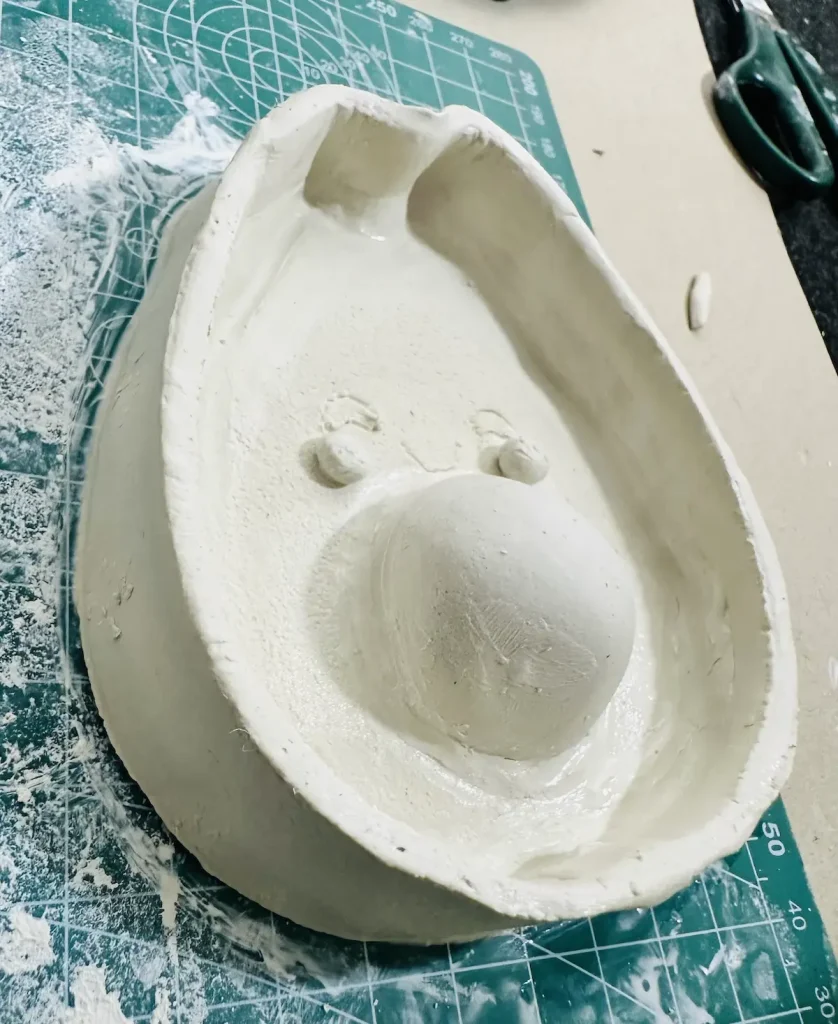
For example, if you make an air dry clay trinket tray, you need to be careful what thickness you go with when making the tray base and the thickness of the tray rim. If those parts become too thick, the whole project will dry much more slowly.
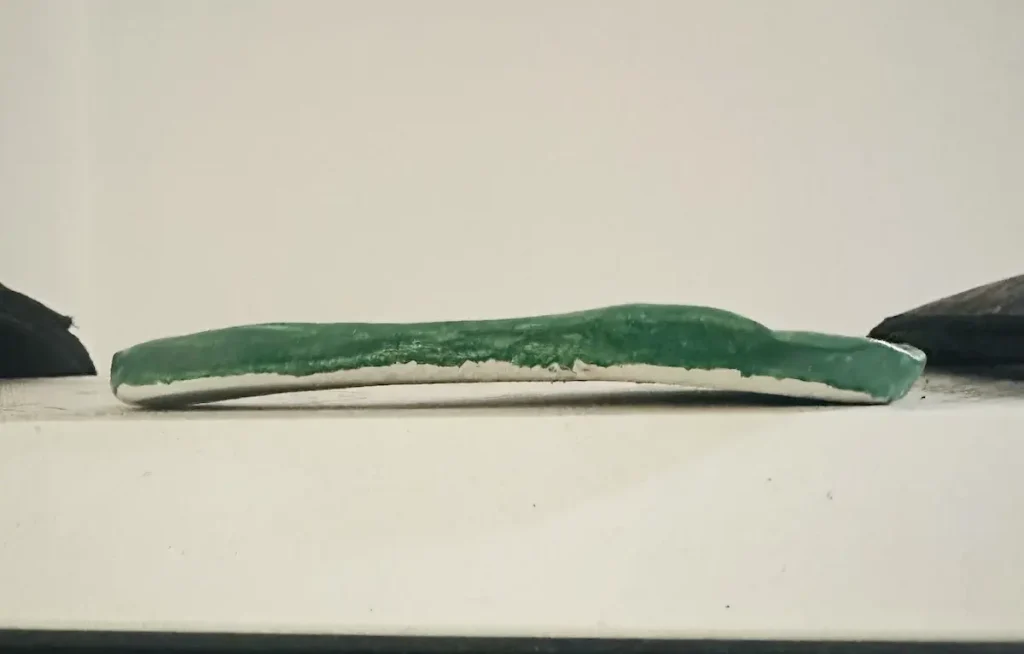
Based on my experience, I try not to go too thin or too thick when making a project because when the air dry clay project is too thin, it lacks structural stability and tends to crack easily and warp when drying.
Too thick means slower drying speed and mostly the surface of the clay will start to crack due to uneven shrinkage. Let me tell you how that happens.
- Air dry clay shrinks as it dries due to water evaporation. When your air dry clay project is too thick the outer layers of air dry clay that are exposed to air dry quickly due to the high moisture evaporation rate. Compared to that the inner layers dry slower because moisture inside has nowhere to go. This causes uneven shrinkage between the layers of air dry clay. Tension between the air dry clay layers happens due to the uneven shrinkage and leads the surface to crack.
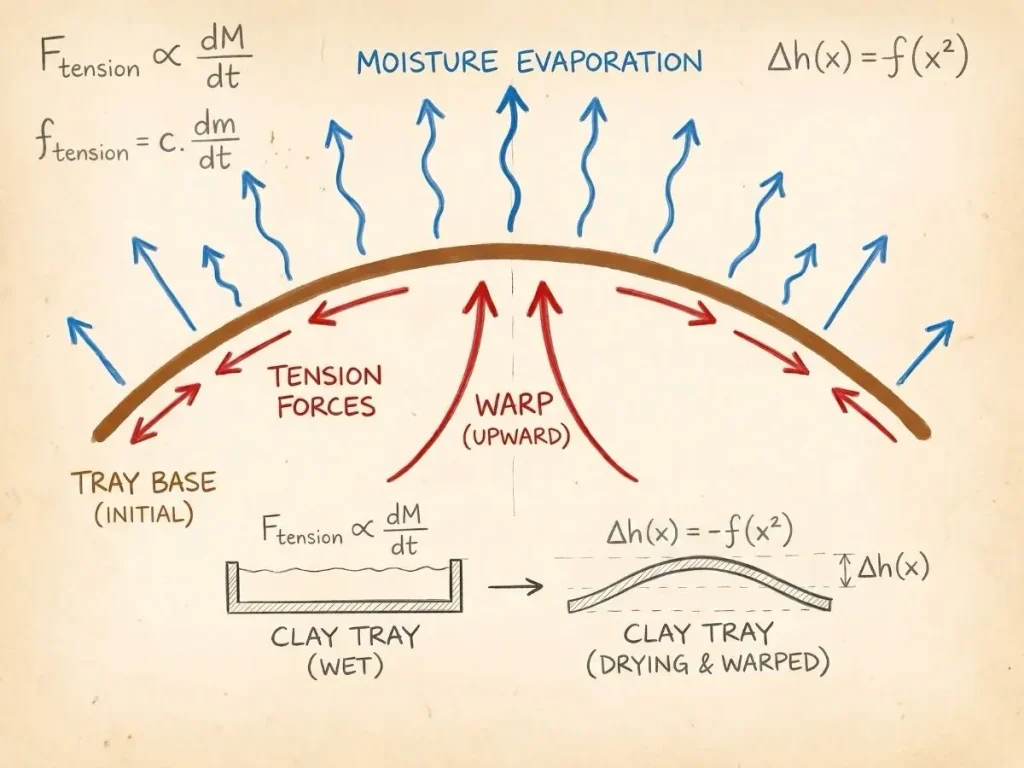
- On the other hand, air dry clay warp when the clay thickness is low because, when the project is drying, surrounding areas dries faster than the clay in the middle because they are exposed to more air circulation. Therefore, surrounding clay shrinks faster and applies pressure to the middle area from all sides. So it tends to warp from the middle.
I have explained more about this scenario in my “How to Prevent Warping When Drying Curved Air Dry Clay Trays” article.
Humidity in your area
Humidity is the amount of water vapor present in a specific volume of air.
Think like this: If the humidity in your area is high means more water in the air. More water in the air means the air intake from your wet air dry clay project to outside air is slow, which means slow drying.
Alternatively, if the humidity in your area is low means less water in the air. Less water in the air means the air intake from your wet air dry clay project to outside air is fast, which means fast drying.
So which is better? High humidity or low humidity? Both, because when the humidity is high your air dry clay project dries slower means no uneven shrinkage and have least tendency to form cracks. You will get nice, clean and smooth surface.
The number one rule of air dry clay is “DO NOT RUSH THE DRYING PROCESS”
When the humidity is low, your project dries faster and you can go to the next step pretty quickly.
High and low humidity come with pros and cons. One is time consuming and the other is risk of forming cracks.
You can identify whether you live in a high or low humidity area by checking the local weather data. If it is usually over 70%, you live in a high humidity area.
Or rainy days can drastically increase the humidity in your area, slowing evaporation speed, causing a slower drying time of your air dry clay projects.
Airflow
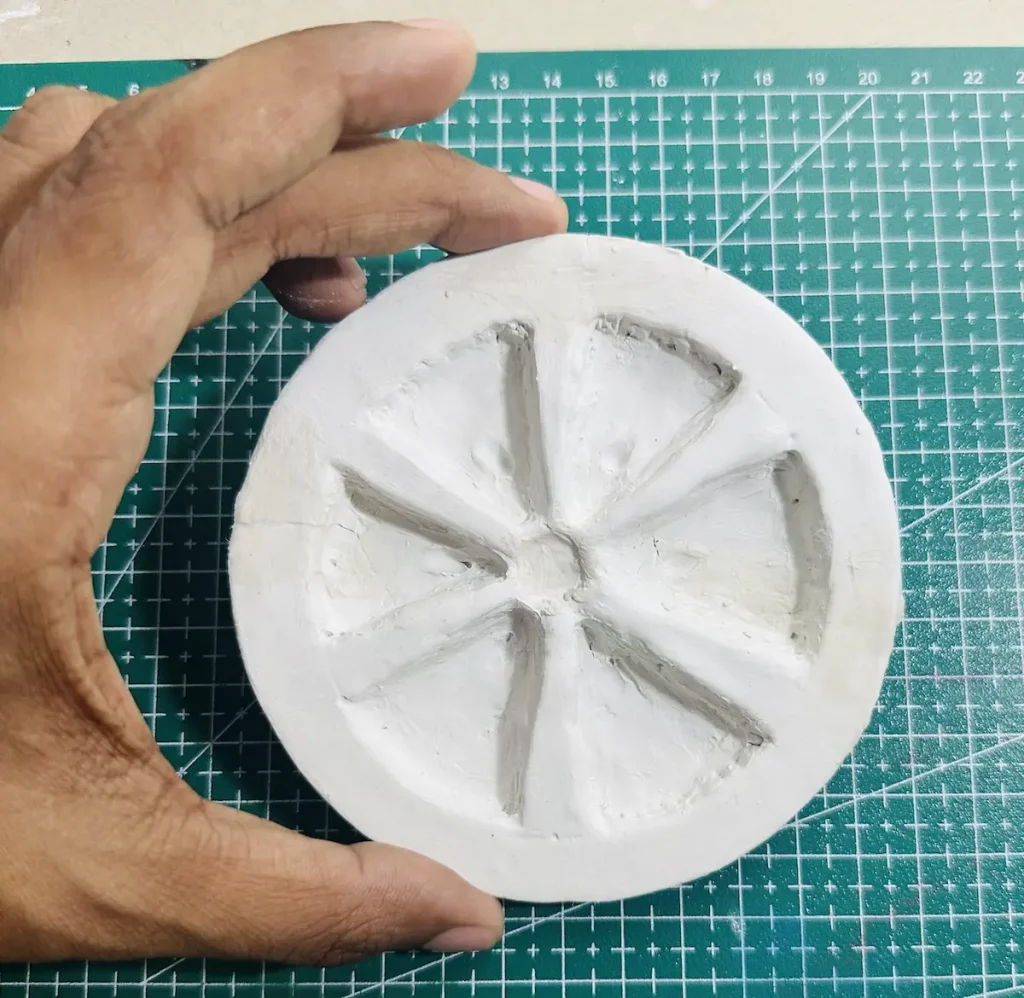
When the air circulation near your wet air dry clay project is high, it dries faster because of high water evaporation.
This is why I always tell you during my projects to keep your wet air dry clay project in a well-ventilated area when drying. Open the windows and let air flow through your project. Good air circulation is a must to speed up the drying process and give you a better finish quickly.
How to speed up air dry clay drying time (safely)
Speeding up drying time of air dry clay needs to be done carefully because rushing the drying process may lead to cracks on the surface if not done properly. ⚠️
Here’re the methods I use to speed it up without damaging the project,
Method 1: the hair dryer technique
- Set air dryer settings to low, cool/warm.
- Hold the nozzle not too close to the air dry clay project
- Apply it, covering the whole project area at equal level, not too far or not too close. (front, back, sides and curved deep areas)
Holding the nozzle too close dries only one specific area of your air dry clay project and can cause uneven shrinkage. This causes cracks on the surface.
Therefore, try to move it while using and blow the wind covering a larger surface area to prevent surface cracking.
Drying the whole area of your project as once won’t cause uneven shrinkage because water evaporation speeds are almost the same. 💨
Method 2: the fan and airflow strategy
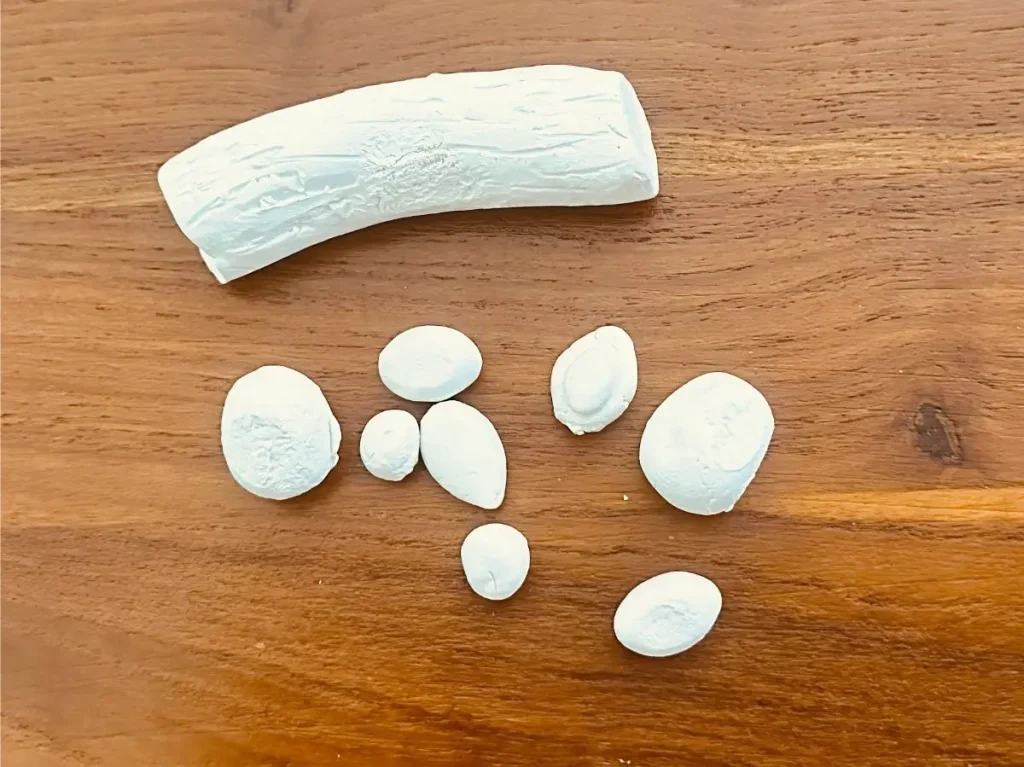
Place your wet air dry clay project under fan to speed up the drying time of air dry clay projects. Circulating air is safer than direct heat.
Proper air circulation helps to evaporate water efficiently and evenly without causing uneven shrinkage.
Method 3: placing it near a safe heat source
Place your wet air dry clay project near a sunny windowsill or a radiator. But never let it face to direct sunlight.
Safe heat source helps even drying without forming cracks.
Method 4: the desiccant/silica gel hack
Ok, I have to say this method is advanced. You need to place the wet air dyr clay project in an enclosed space like a box and add some silica gel or desiccant inside.
Dessicant/silica gel absorbs the moisture of the air inside of your enclosed space.
When the humidity of the air inside becomes lower and lower the water evaporation speed of air dry clay increases.
This method is effective because mostly water evaporates at the same rate in all areas of air dry clay and no cracks occur. The drying speed increases significantly.
Method 5: flipping your pieces
When your air dry clay project is drying make sure to flip it time to time to make all the areas dry evenly.
Flipping air dry clay avoid warping because even the backside of the project dries and shrink at the same rate as its front side. 🔄
Or you can place the air dry clay project on a wire rack. Then air circulation hits the same for all the areas and dries evenly.
This speeds up the drying time because all the areas dry at the same rate with a good balance.
What not to do when drying air dry clay
Sometimes you may find easy way to dry air dry clay, but they aren’t the best. Some may ruin your project. ❌
Never put air dry clay in the oven
Air dry clay dries naturally in the air. By putting it in the oven, yes the drying speed will become faster but not all the areas dry in the same way. 🛑
When you keep air dry clay project in an oven, the outside layers dry within minute and form hard shell like structure. But it is still wet inside.
Wet inside and dried outside build up tension between the layers, forming cracks due to the uneven shrinkage. Therefore, never ever put your beautiful air dry clay piece in the oven under any circumstance to speed up the drying time.
Avoid placing it in direct sunlight
Direct sunlight dries the outer layers of air dry clay faster than inner layers. This causes uneven shrinkage as I discussed earlier. You’ll end up with cracked piece. ☀️
Therefore, never place your air dry clay project outside or under direct sunlight. Rushing the drying time is risky and damages your project.
How to tell when your air dry clay is fully dry
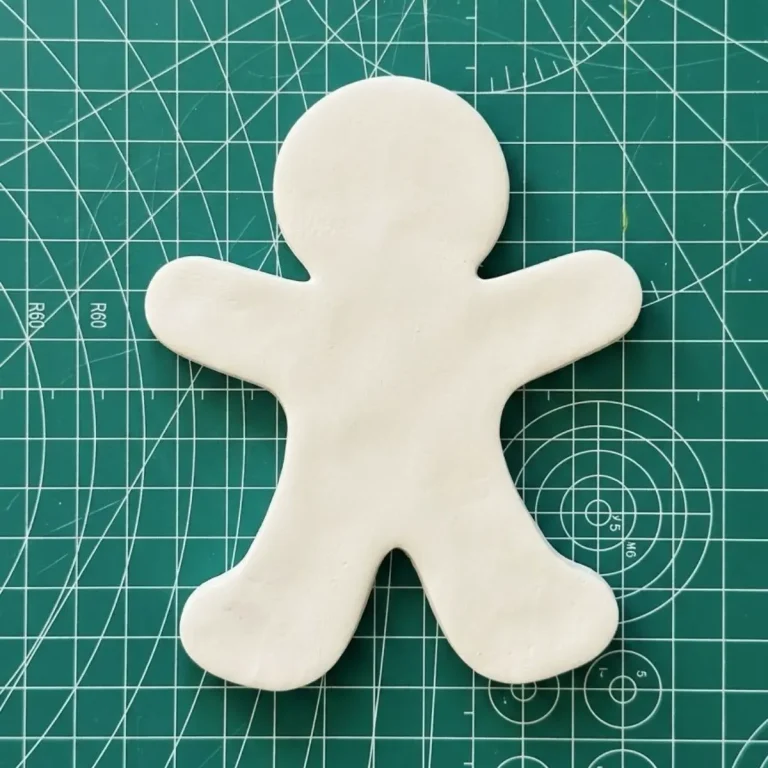
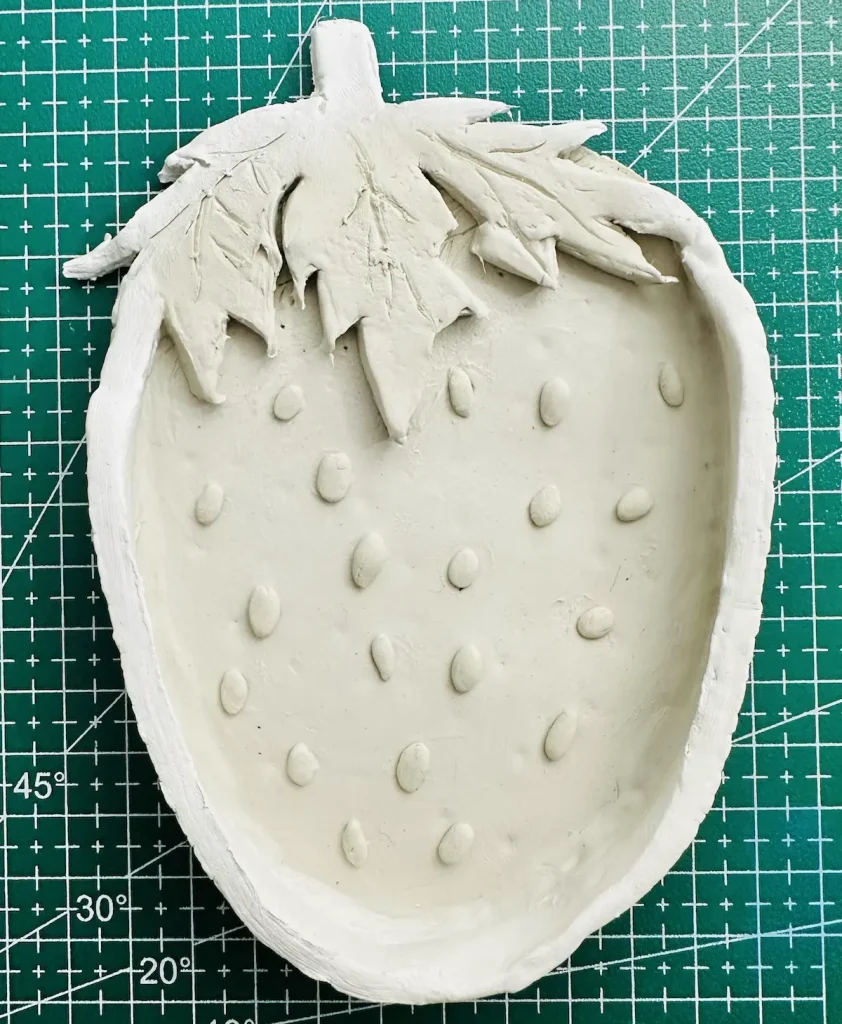
After letting my air dry clay project dry for 24-48 hours, I check for gray patches. Usually dried air dry clay has a pure white color. Wet areas display as gray patches. If there is no gray patches, that means the clay is fully dried and you are good to paint or seal the project. ✅
If you notice even a tiny gray patch on your air dry clay project, I highly recommend to let it dry for another 24 hours before painting because painting or sealing wet air dry clay weaken the clay and peels off the paint.
Why is my air dry clay cracking?
Your air dry clay project is cracking because you rushed the drying process in an improper way or due to uneven drying.
What if you ended up with cracks on your project after drying? Don’t worry, there is a fix.
Fix cracks in dried clay
Take a small amount of fresh clay and mix it with almost equal amount of water in a small plastic container. Mix thoroughly until it becomes a clay like paste. This paste is called the slip. It works as an adhesive and filling agent you can use on your air dry clay projects.
Apply and fill the slip paste you made into the cracks of your dried air dry clay project. After filling all the cracks let the whole project dry for another 24-48 hours and sand the fixed areas with a fine grit sandpaper until the seam vanishes. ✨
Now you have a project with no cracks if you did the process fine. It’s time for painting. 🖌️
That’s the only way I recommend doing if you ended up with a cracked project after drying.
But its always better if you can follow a proper drying process earlier because its easy, can get nice finish with no cracks and no need to worry about making that damn slip. Lol.
Final thoughts
Now you know the exact time it takes to dry your air dry clay project fully and how you can speed it up safely without damaging the project. Always try the slow drying method because rushing drying time is risky.
But as a beginner, you should try those speed up methods I told you in this article because that’s how we learn new things, right? So try them out and let me know in the comments how they went. I’d love to know. I’ll see ya again with more cool air dry clay tips. Cheers! 🤟🏾