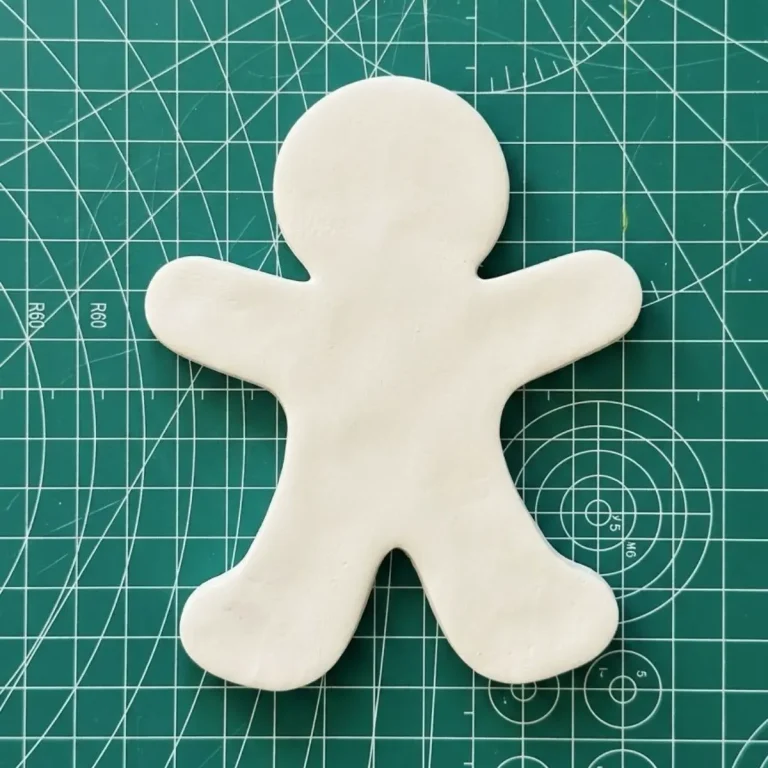
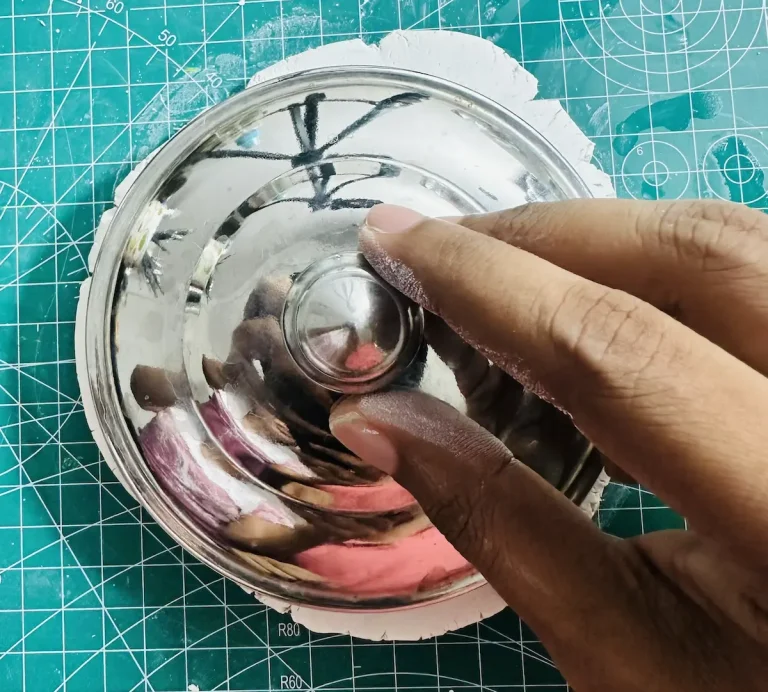
When considering an object you see, are you drawn to its durability or its beauty? For me, it’s the look that catches my eye first, while the durability comes second. The same goes with air dry clay projects.
We all love to give a nice eye pleasing look to our air dry clay projects. Some love ultra gloss, some love medium gloss, and some love matte.
As a beginner air dry clay artist, the look of the final result we made for hours is so important to me because that’s what motivates me to do my next project. We do this for fun, right?
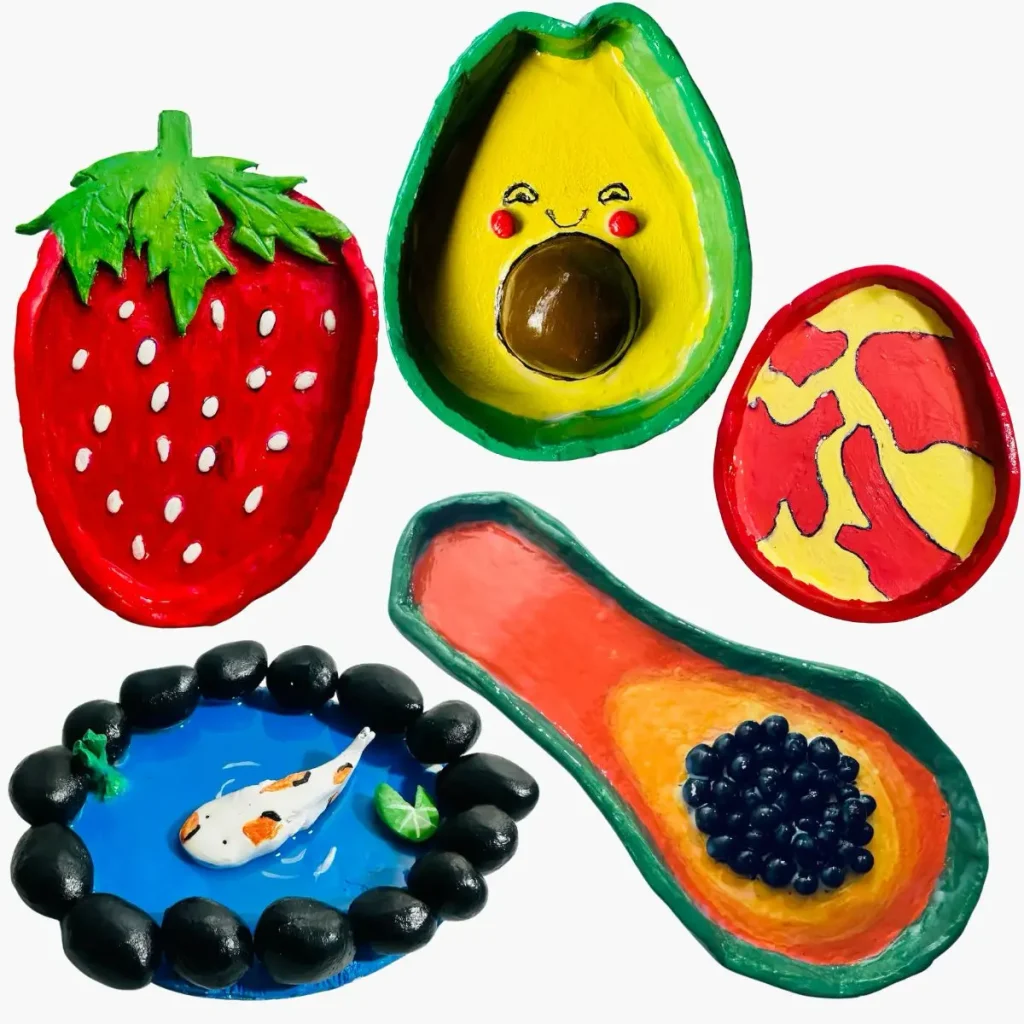
As of now, I have made 4 trinket tray projects and one koi fish pond with air dry clay and am able to give them all a glossy, ceramic-like finish, except one, which is my first project lol. I’ll tell you about that. It was funny.
Ok, enough chit chat. So, let me tell you what beginner friendly tips I follow to give my air dry clay projects a glossy and ceramic look I want.
Don’t worry, friend! No expert or guru here. I’m also a beginner like you and don’t like to follow hard methods, which makes the process boooring. Let’s go! 🎨
How I make air dry clay look like kiln-fired ceramic
As we know, air dry clay is one of the best clay types for beginners. It is easy to shape with a little bit of water and is budget-friendly. Most importantly, no kiln is needed like traditional ceramic clay and no baking is needed like polymer clay.
But what if I told you I know an easy way to get the ceramic look for my air dry clay projects? I can give a juicy-like ceramic finish to your air dry clay projects with no professional kiln, just by sealing the project so well.
If you do the sealing part correctly, you can get a glossy ceramic finish with ease. I’ve tried several methods and found my own way of achieving this after many trials and errors. Stay with me. I’ll show you.
What I’ve tried: the good, the bad, and the messy
I have tried to seal my air dry clay project with 3 types of sealers (one is not actually a sealer lol). They are gloss varnish, epoxy resin, and my wife’s nail polish. You know the worst one already, I think lol.
Let me tell you how I used them and how I picked the best one from them to achieve a glossy ceramic finish for my projects.
The quick fix: clear nail polish (why I stopped using it)
I used nail polish for sealing my first air dry clay trinket tray project. Actually, I forgot to buy a proper sealer before starting the project and ended up secretly sneaking into my wife’s cosmetic collection.
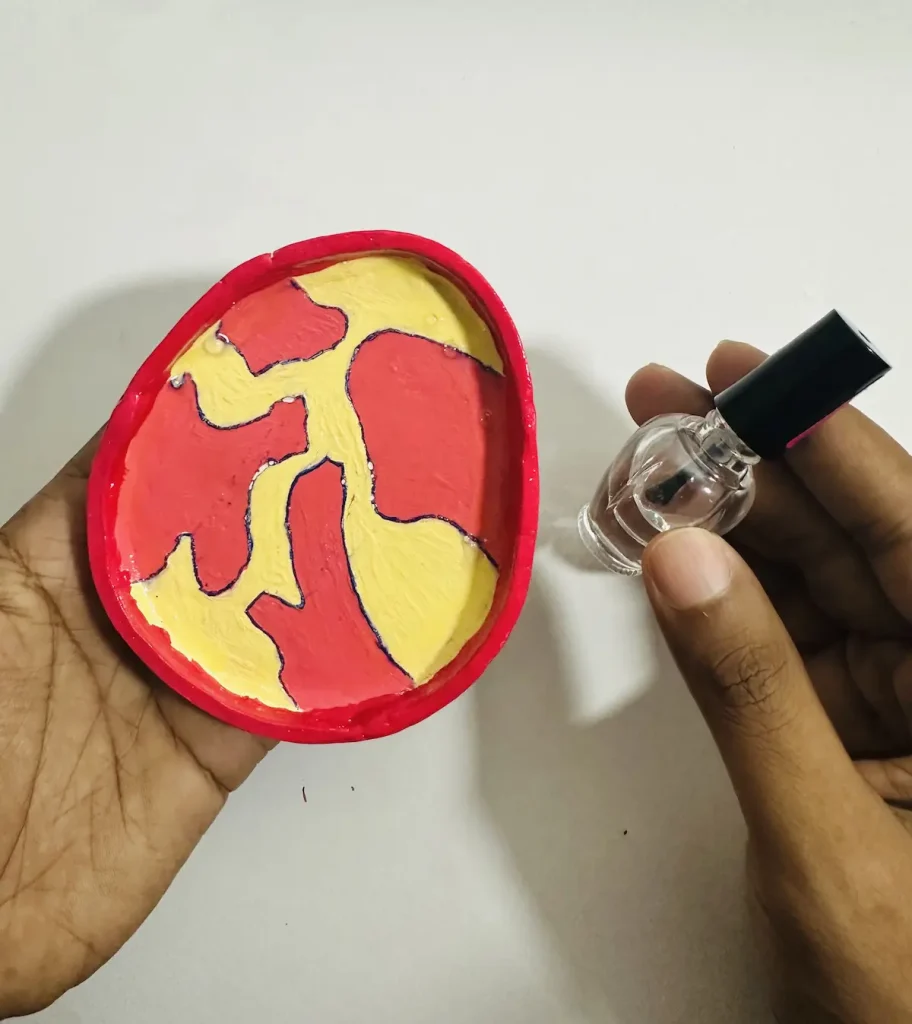
My wife still doesn’t know I used her nail polish for my trinket tray. I thought if nail polish can seal nails, why not air dry clay? But I was wrong! As a nail polish thief, I was not happy with that robbery because the result I gained with nail polish was awful.
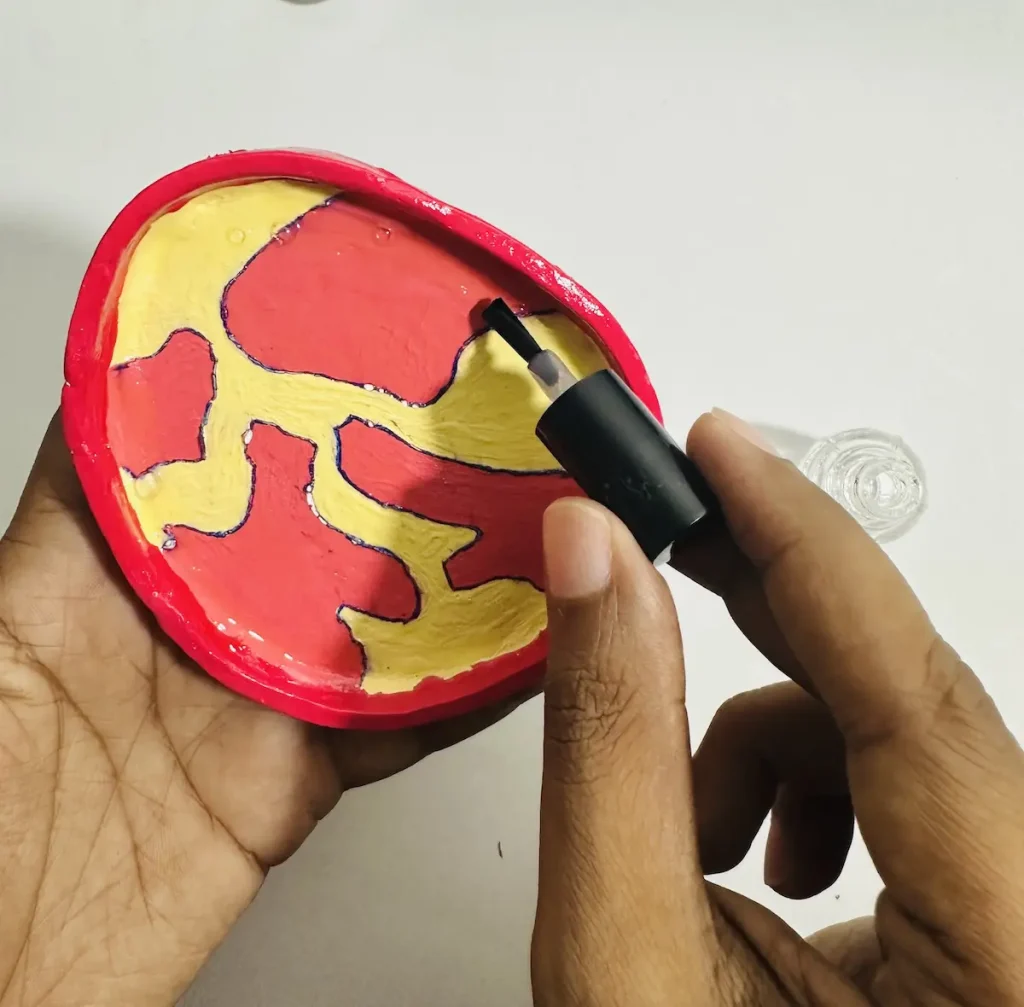
My acrylic-painted trinket tray project started to peel off due to harsh solvents in nail polish and it started forming bubbles. It started yellowing, cracking, and reacting poorly with the acrylic paint.
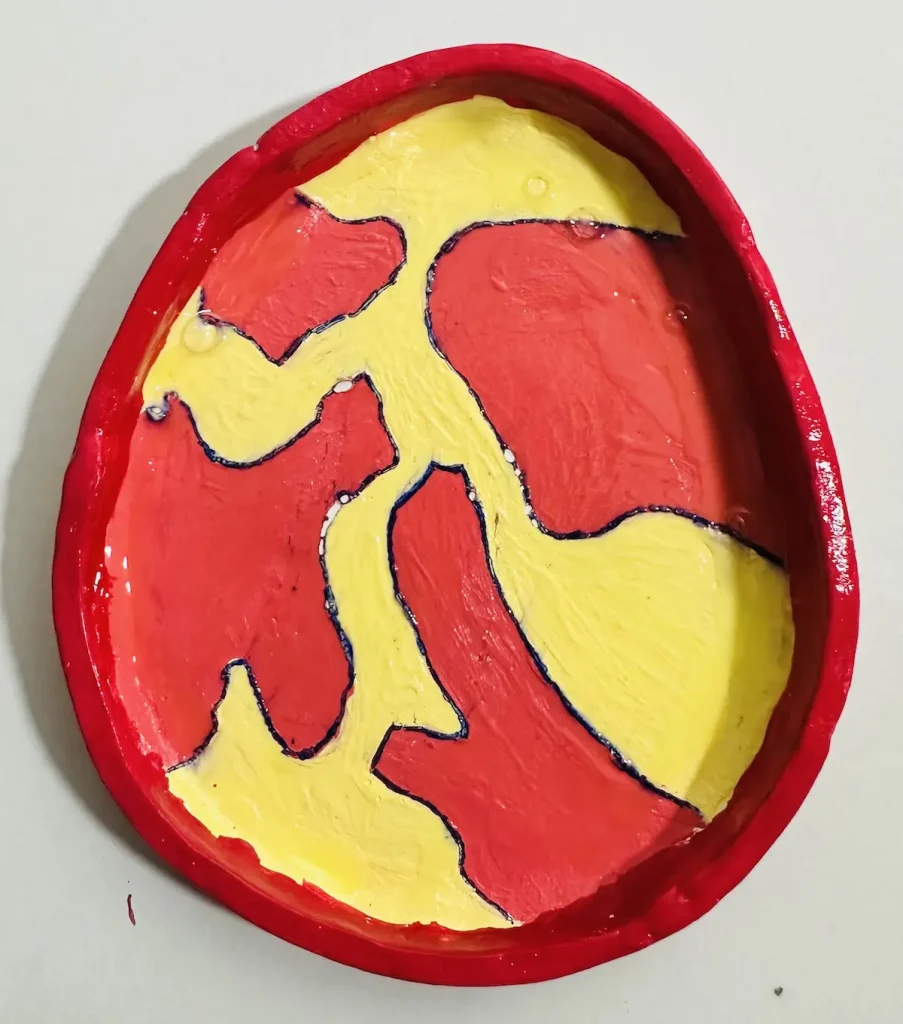
The whole sealing process was ruined, and I kept in mind not to touch my wife’s things again lol. Never try nail polish as a sealer for your air dry clay project. Yes, it does seal and might be able to give the glossy look. But zero protection and no ceramic finish. So avoid that at any cost!
The heavy-duty option: epoxy resin
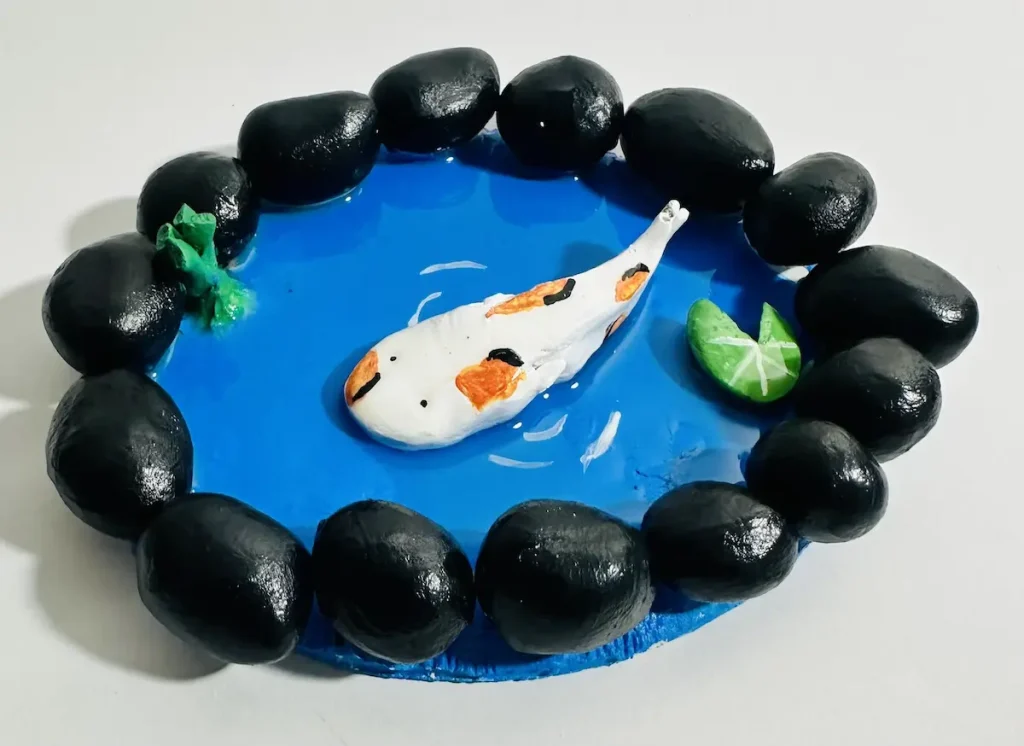
The next option is epoxy resin. I tried epoxy resin for sealing my air dry clay koi fish pond project and the result was amazing. So much better than I expected.
With epoxy resin, it gave a water effect to my koi fish pond and made a hard shell around the project. I’m 100 percent sure the project is completely waterproof because the sealer itself is so thick and no moisture can get inside.
You need to seal the air dry clay project before adding epoxy resin. Luckily, acrylic paint is able to make a water resistent layer over air dry clay, which avoids moisture inside air dry clay from reacting with epoxy resin.
Preparation is the hardest part when you seal with epoxy resin. You can’t just pour epoxy resin over your dried painted air dry clay project. Epoxy resin comes in 2 bottles which is known as two-part epoxy. One bottle contains epoxy and the other is its hardener.
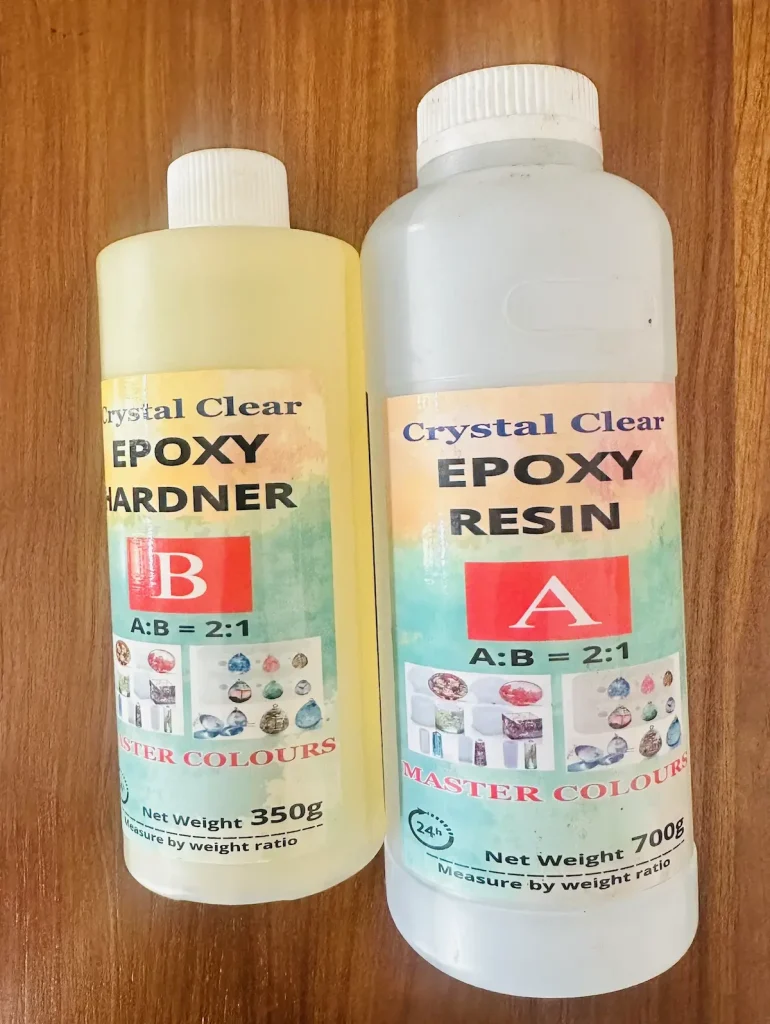
First, you need to take a measuring cup and mix equal amounts from epoxy resin and hardener to it. Then mix them thoroughly. Now you can pour that mixture you made onto your air dry clay project for sealing.
With a paintbrush, spread out the epoxy resin you poured all over the surface without letting it form bubbles.
If bubbles were formed, the final look of your project will get ruined. Formed bubbles can be removed using a heat gun.
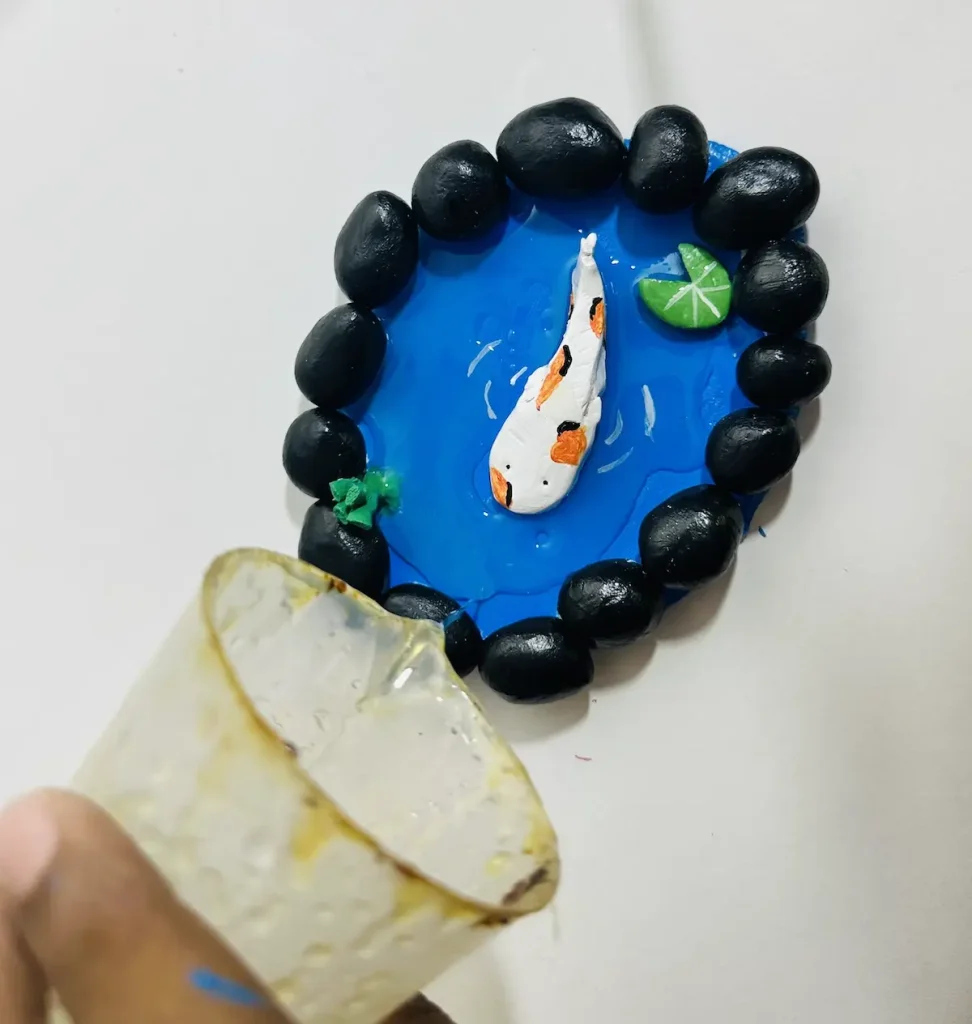
I poured 2-3 layers of epoxy resin. After sealing the project completely, let it dry and cure for 2-3 days or longer which depends on the thickness of the epoxy resin layer.
Epoxy resin gives an ultra-shine, super smooth look to your air dry clay projects, but I doubt it’s like a ceramic finish, more like a glassy, hard-shell-like finish.
Because the preparation process itself is messy, and drying and curing take so much time, I kept in mind only to use epoxy resin when I want my air dry clay project to get that watery effect. It’s best if you’re planning to make a pond, pool, or lake or something.
As beginners, we need a sealer that protects the air dry clay project long-term from moisture and, most importantly, gives a glossy ceramic-like finish with ease.
So, I kept researching until I heard about the GOAT: The glossy varnish.
My go-to choice: glossy varnish
Gloss varnish is one of the best sealers for air dry clay because it is so much easier to use, dries in the air, seals and water resist air dry clay projects, comes in vivid colors, needs little water for mixing, cures quicker, and most importantly gives a glossy ceramic-like finish.
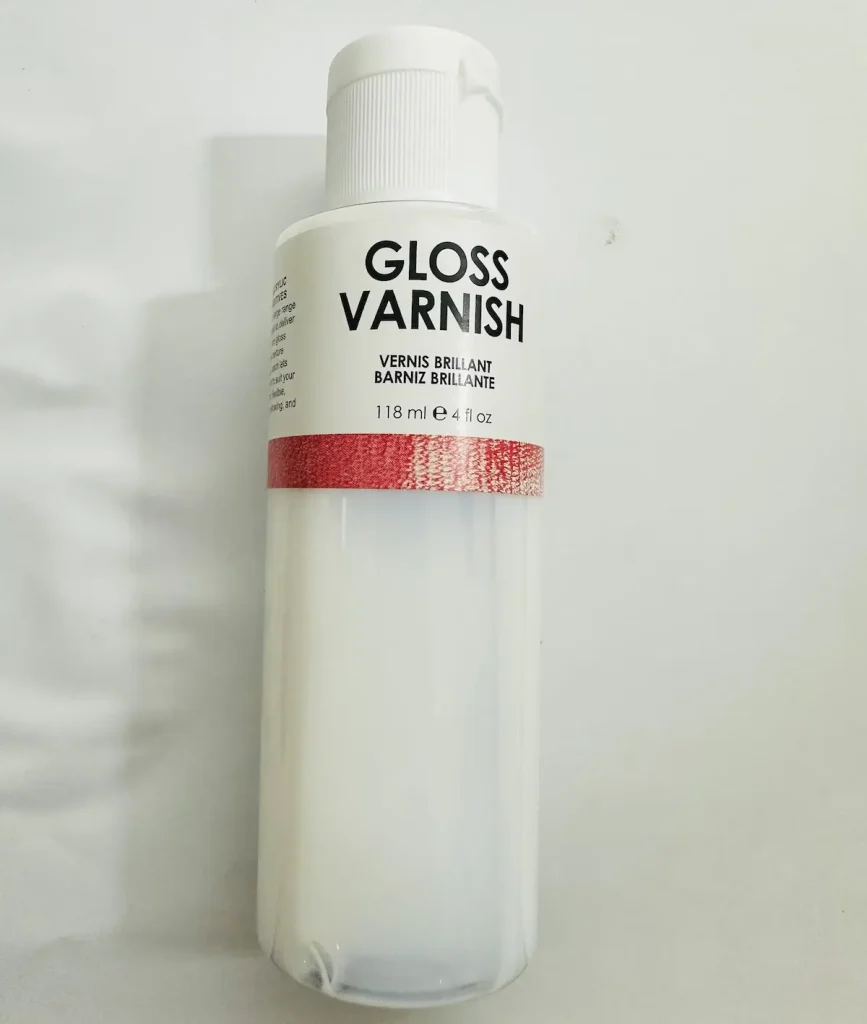
Glossy varnish does not yellow and form bubbles like others. Because of the above reasons, gloss varnish is my favourite sealer for air dry clay.
If you apply it properly, you can easily get a brushstroke-free glossy finish with a ceramic look, with no kilning needed.
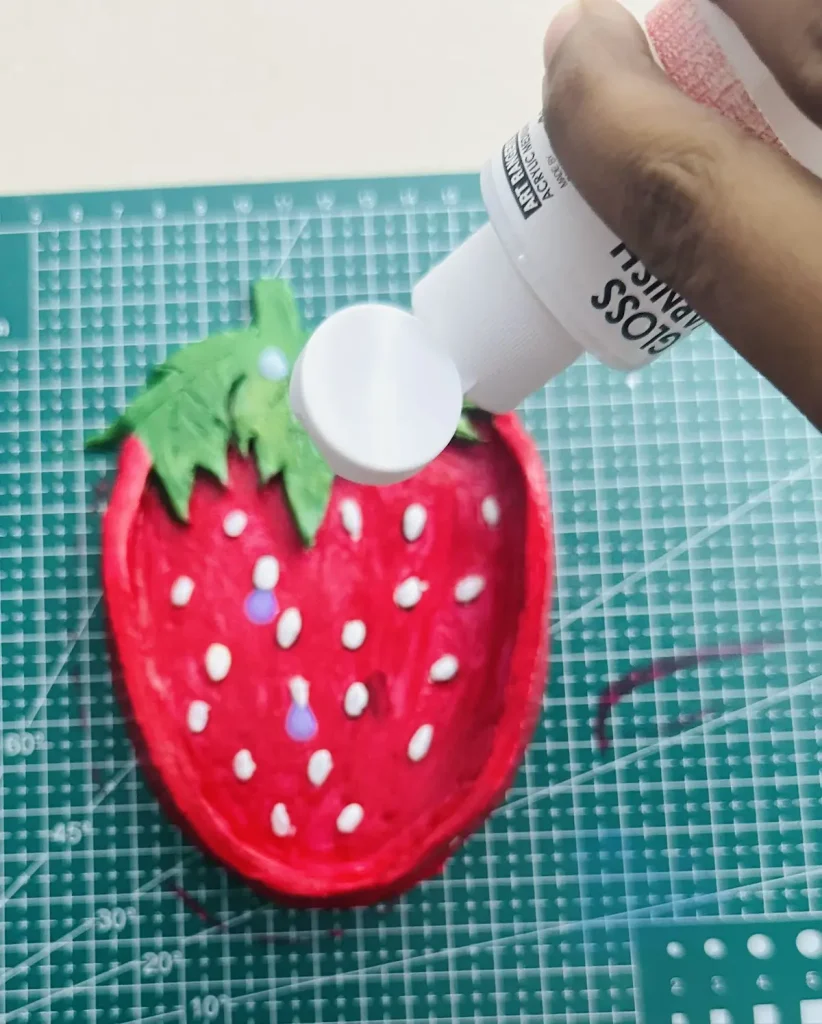
After epoxy resin which is messy, I tried glossy varnish first on my avocado trinket tray project and never looked back.
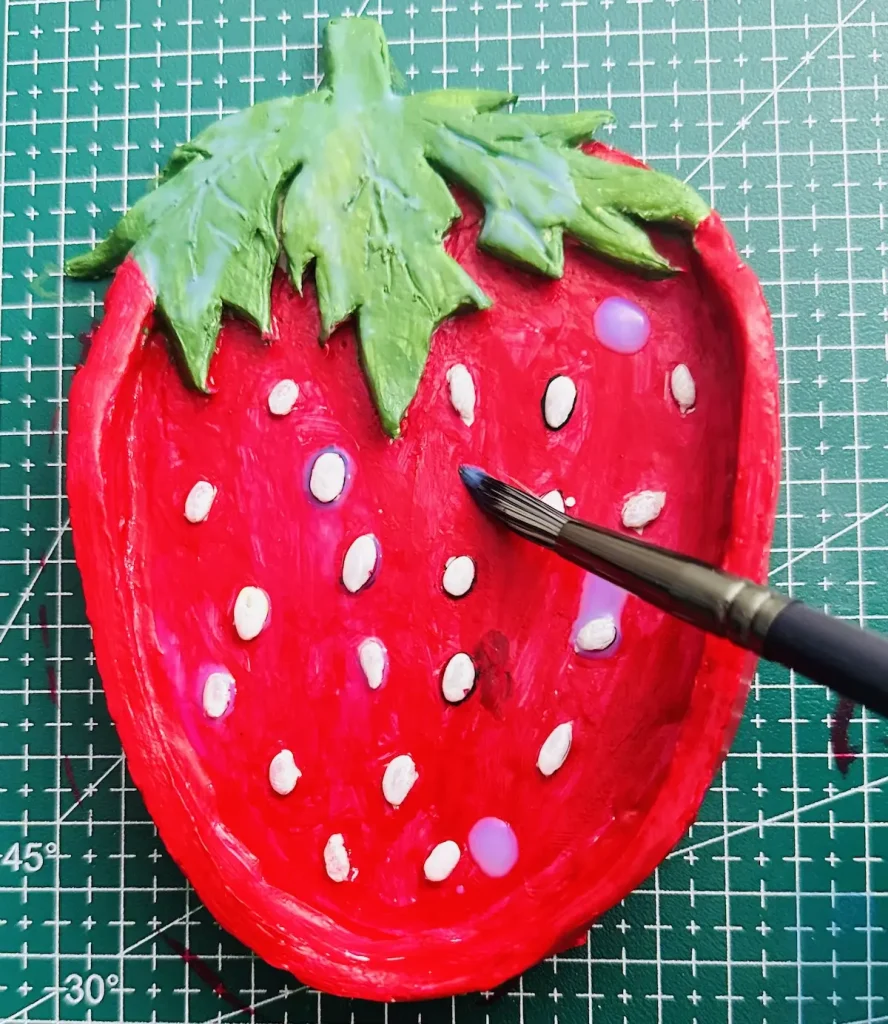
From there onwards, I used glossy varnish for sealing my papaya trinket tray project and strawberry trinket tray project. And I’m willing to use it for my future projects as well.
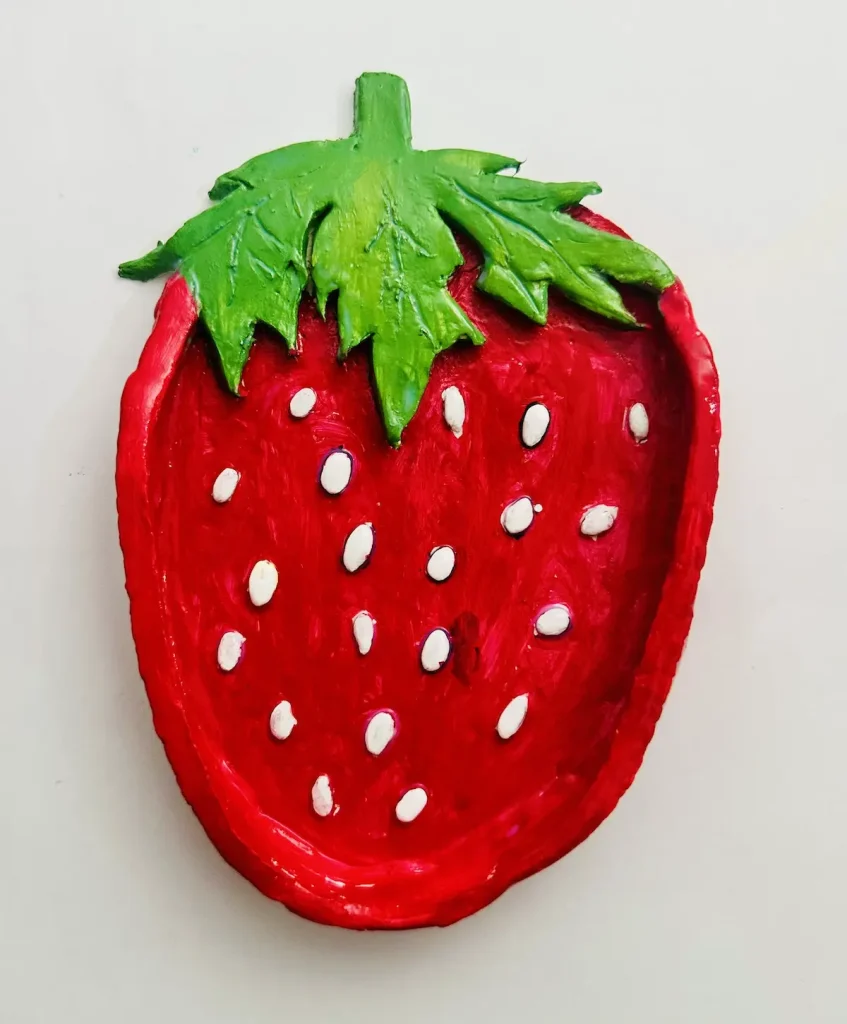
How to apply gloss varnish for a flawless, bubble-free finish
After painting your air dry clay project, let it dry fully before applying the sealer. I paint my projects with acrylic paints and let it dry for 1-2 hours before applying the gloss varnish as a sealer.
Once the project is dry completely, follow the steps below to apply the sealer properly,
Step 1: Pick the right brush
Use a soft-bristle brush to avoid leaving brush marks and to apply thin, even varnish layers on the clay surface.
Step 2: Add gloss varnish
Pour a little bit of gloss varnish all over the surface in drops. Don’t apply too many because a white cloudy thing can be formed.
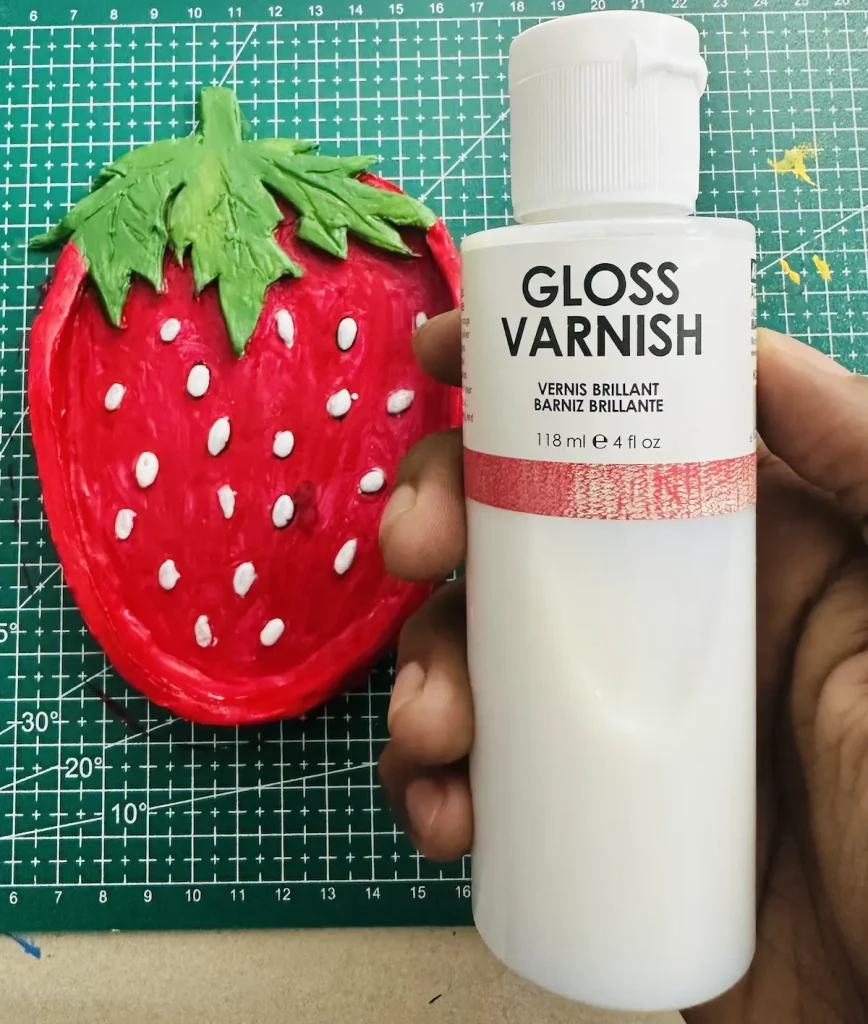
Step 3: Apply the first coat
This is the base coat. Apply a thin and even thickness gloss varnish coat in one direction. Cover the whole area.
Step 4: Let it dry
After applying the first coat of gloss varnish, let it dry around 1 hour. After one hour, check the tackiness of the surface by touching it gently.
If you feel any spot is cool, soft, or sticky, wait a bit longer before applying the second coat. The thickness of the coat and humidity can affect the drying time of gloss varnish.
Step 5: Apply more coats
I usually apply two coats of glossy varnish for my air dry clay projects. But you can even go for the 3rd coat. But make sure the previous coat is fully dried before applying another over the top. Apply thin and even coats along one direction. With the second coat, the shiny gloss will start to appear.
Step 6: Let it dry and cure
After applying 2-3 coats, let the project dry for 24 hours to dry and cure. Once the project is fully cured, you’ll start seeing the glossy ceramic-like finish on your beautiful air dry clay project.
Trust me, that’s the feeling that motivates you to make a new project.
You can’t get the ceramic finish if you applied only one coat. Go for 2 or a maximum of 3 coats for the ceramic-like finish.
Congratulations, guys and gals! Now you know how to apply gloss varnish properly to get the look you want.
3 pro tips to avoid brush strokes and bubbles
Let me share with you tips and tricks I follow to avoid forming brush marks and bubbles because they ruin the look of our beautiful piece.
Don’t overapply varnish
If you feel a particular spot is tacky while applying varnish, don’t apply another coat of varnish over it. Applying a fresh coat of varnish over a half-drying one makes the tacky spot even worse.
Simply leave the tacky spot alone. Trust me, it’ll eventually vanish when drying.
Pop bubbles quickly
Usually, bubbles don’t occur with gloss varnish but there’s a possibility because this is a thick sealer. If the bubbles occur during the application of gloss varnish, quickly pop them using a toothpick or needle.
Waiting for too long to remove bubbles makes them stick to the sealer and hard to remove. They become permanent bumps on the sealer.
Keep your brush wet
Apply sealer quickly. Don’t go to the bathroom or have lunch in the middle of the sealing process lol. I’m talking about the drying time between the coats.
I mean when you’re working on one coat don’t waste time, just finish it quickly.
If you wait for so long between each application, the varnish will start to dry on the brush and make the brush hard to move.
FAQ
Can you use clear nail polish to seal air dry clay?
Yes, you can, but don’t because nail polish does not give your air dry clay project long-term protection. Moisture easily penetrates inside and weakens your clay.
How do you make air dry clay look glazed?
Seal with gloss varnish. Apply thin, even coats and let it dry and cure for 24 hours.
What happens if you don’t seal air dry clay?
Moisture will weaken the air dry clay and weaken the air dry clay. Your project will get misshapen and crack eventually.
How long should acrylic paint dry before varnishing?
1-2 hours.
How many coats of varnish does air dry clay need?
2-3 coats of varnish is enough for air dry clay.
Final thoughts
Now you know how to get the glossy ceramic-like finish on your air dry clay project with gloss varnish. Follow the method I told you carefully and don’t forget to mention things you know about sealing air dry clay in the comments section. I’d love to hear.
Plus, tag @clayandmestudios in your next air dry clay project after sealing with gloss varnish. I sure love to see them when you do. I’ll see you next time with more useful tips! Cheers! 🤟🏾