Rolling air dry clay is easy, right? Yes, it seems easy until it fuses to the table or dries completely warped.
Don’t worry, with proper techniques and guidelines, you can roll your air-dry clay well without letting it stick to the surface or warp as it dries.
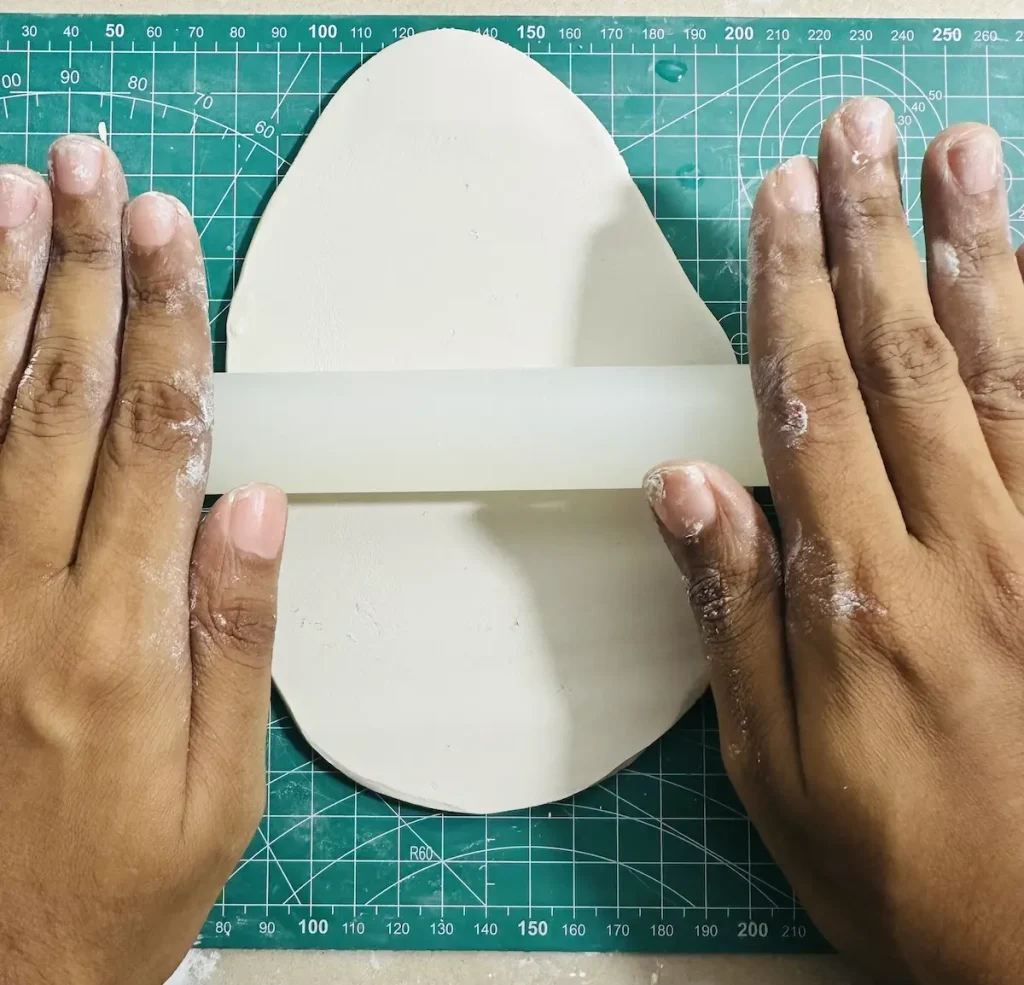
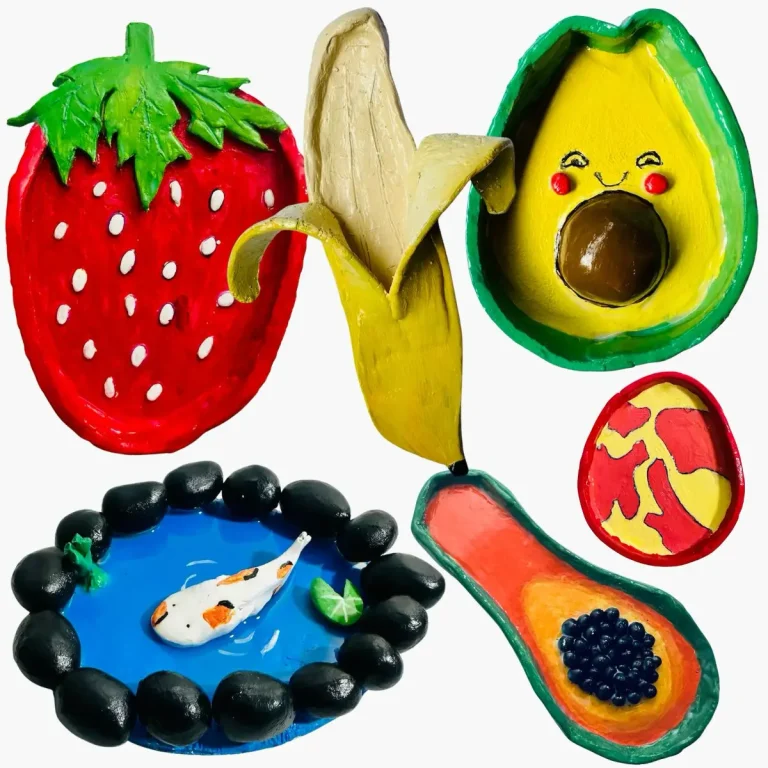
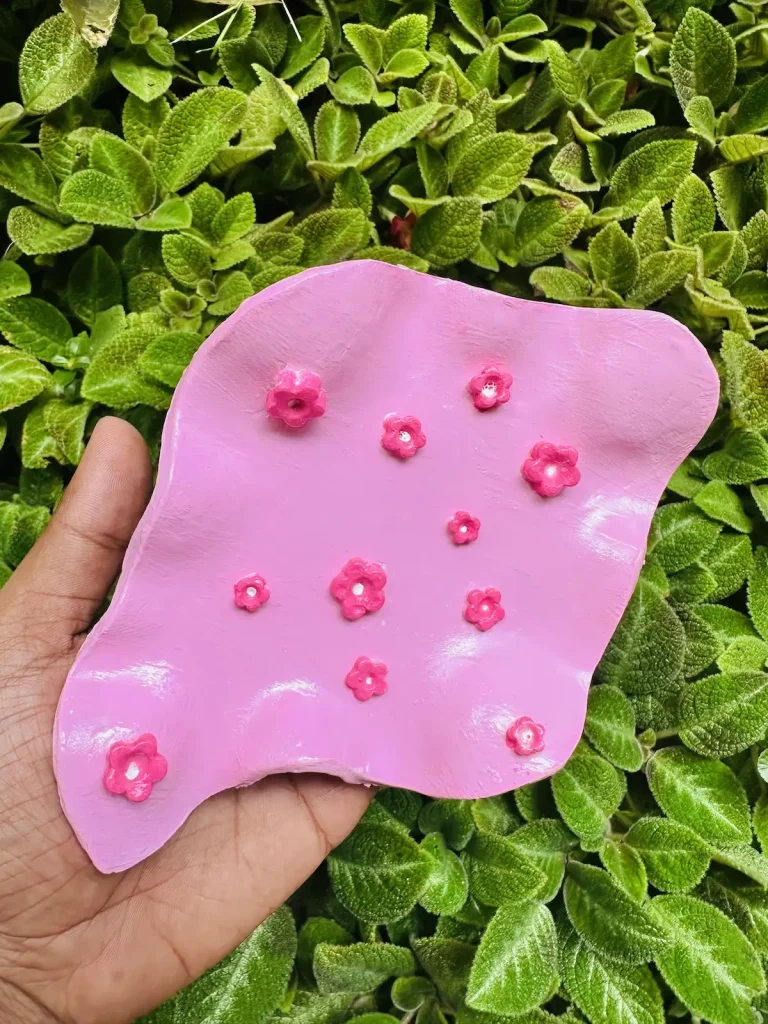
I’m a beginner clay artist, so most of the time I make mistakes and I learn from them. I have made different shapes of fruit inspired trinket trays, dishes, natural ponds and some of the tray bases stuck to my mat and tore apart when I tried to lift them up and some ended up warped when drying. They all happened because the air dry clay was rolled out the wrong way. 🤦♀️
So, with the things I learnt from them, let me tell you the easiest method to roll out air dry clay perfectly.
Don’t worry, I won’t give expert, difficult tips. They are not for us because we are beginners. Lol, I tried them and failed.
Enough talking! Let’s start rolling! 🛷
What you need to roll out clay evenly
Rolling out air dry clay evenly is essential to make your base flat, steady and not warped. Let me show you what you need for a flat base instead of a bumpy or sticky mess.
The best rolling tools you should go with
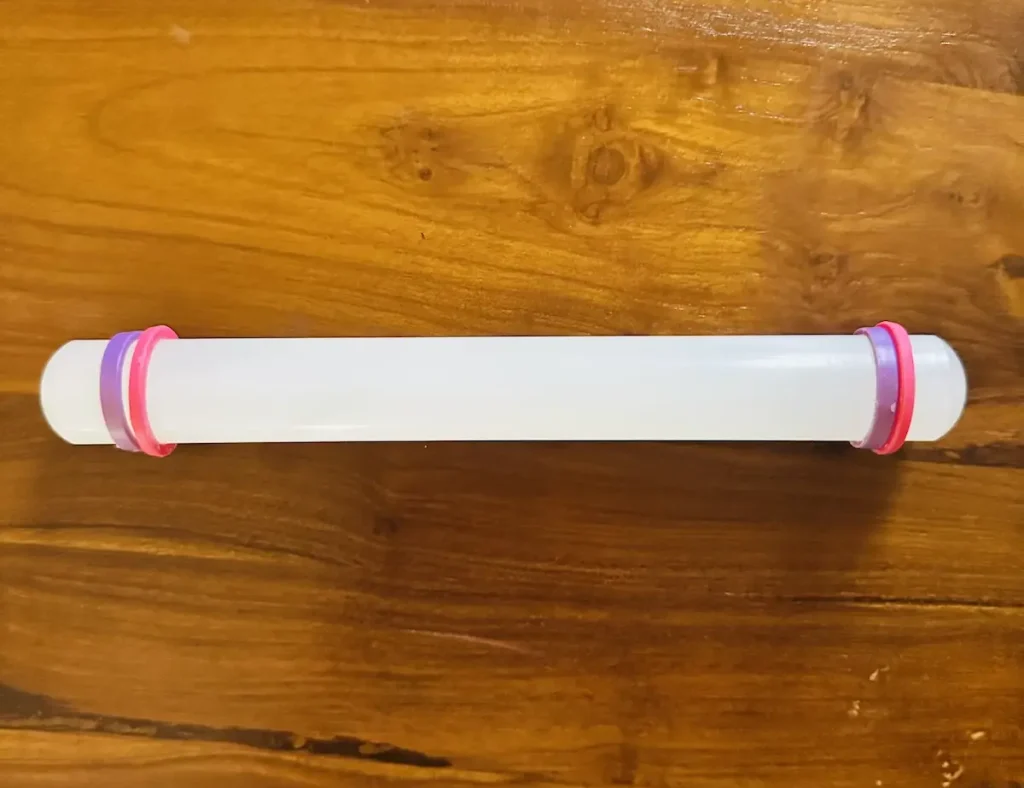
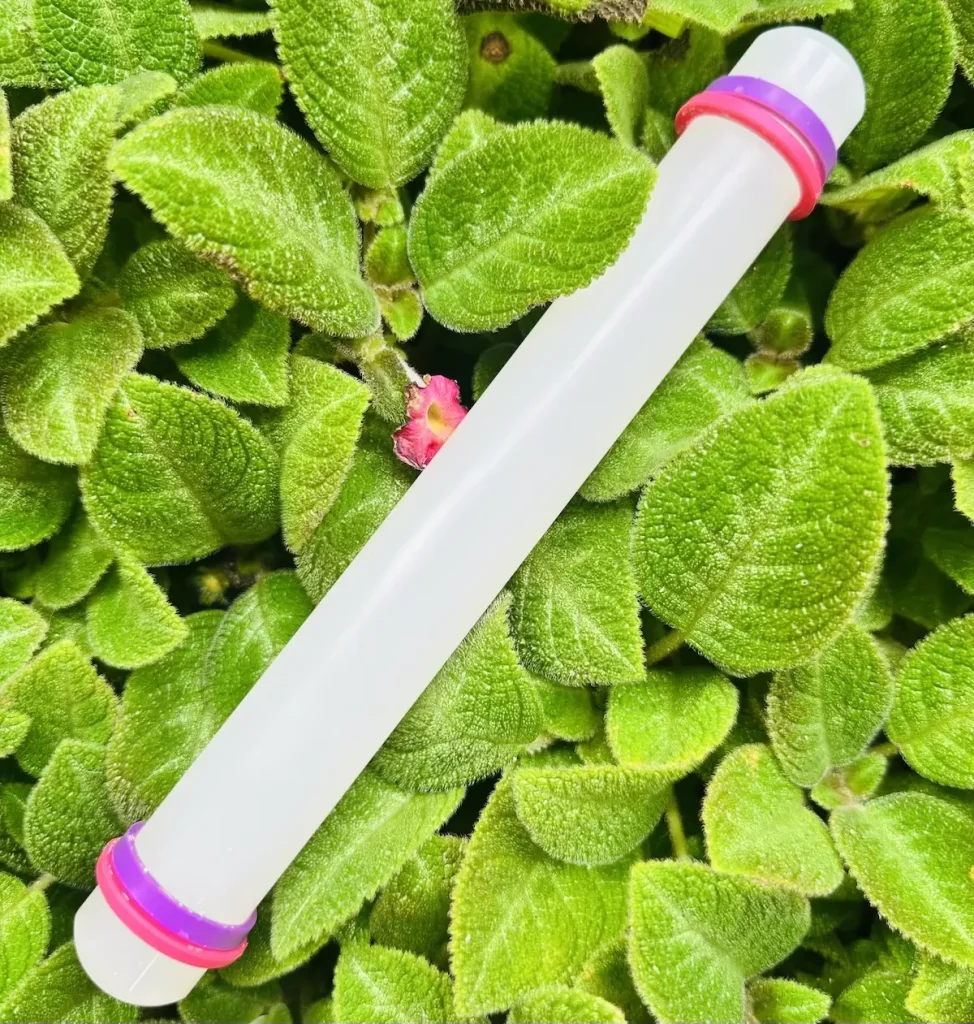
The best rolling tools for air dry clay are made of acrylic or stainless steel or PVC because they have non-stick, non-porous and perfectly smooth surfaces that glide over the clay without sticking or tearing the surface.
I use an acrylic rolling pin and it has never caused me issues while rolling. Easy to use and, most importantly, easy to clean after dealing with messy air dry clay for hours. ✨
Try not to use a wooden cooking rolling pin because
In some of my tutorials, I told you to use a cooking rolling pin only if you’re on a budget, but budget and quality outcome mostly don’t travel the same road. But let me tell you, it’s best to avoid that because most cooking rolling pins are made of raw wood.
Both air dry clay and wood are highly porous materials with lots of air pockets inside.
Air dry clay contains a lot of moisture that releases when rolling the clay.
This released moisture needs to be spread out evenly across all the layers of air dry clay itself rather than totally transferring to another surface. But sadly, wood draws out all the released moisture of air dry clay.
On the other hand, wood grips the air dry clay. So what wood does is stick with the clay while sucking out all its moisture.
This makes the air dry clay dry while rolling, leading to sticking and cracking.
If you really need to use a wooden cooking rolling pin, first wrap it up with parchment paper or wax paper and use it. Then wood gets no chance to grip the clay or suck the moisture out of it.
The best rolling surfaces you should go with
- Silicone mat: Silicone mat is the best surface for rolling air dry clay because it grips your table so they don’t slide around. Plus, wet clay peels right off it effortlessly.
- PVC mat: I use a PVC mat because it is smooth, texture free, non-stick, does not absorb moisture and is easy to clean. PVC mats have self-healing ability against small cuts that can occur when using an X-acto knife or other craft knives because it contains 5-layer PVC material.
- Parchment paper: Parchment paper is the budget-friendly non-stick option for rolling air dry clay. It does not suck out the moisture of air dry clay and you can basically roll the clay project you made directly on the paper and leave it there to dry. This prevents clay from warping when drying.
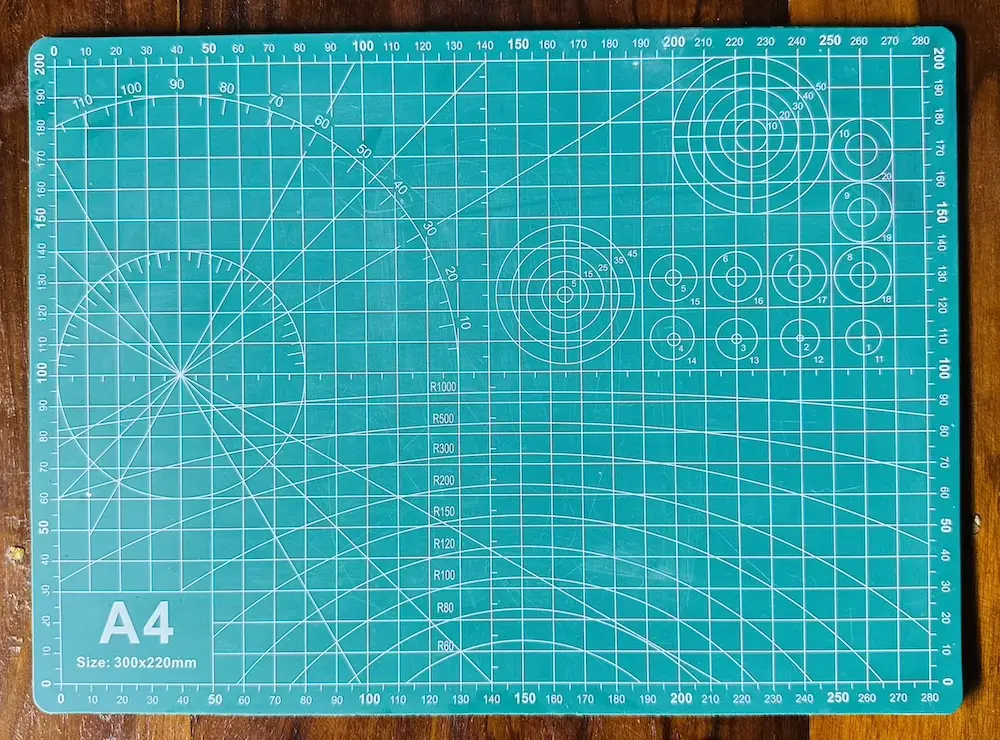
Don’t use wooden surfaces or wax paper as the rolling surfaces for air dry clay.
Wooden surfaces grip the clay and suck out the moisture from air dry clay. This makes the clay so dry and tear apart when you try to lift it up after rolling because it is stuck.
Wax paper builds high friction against wet clay. The coating of wax paper may transfer to your clay while rolling on it. This ruins the finish of the clay and causes trouble when painting and sealing your project.
Thickness guides
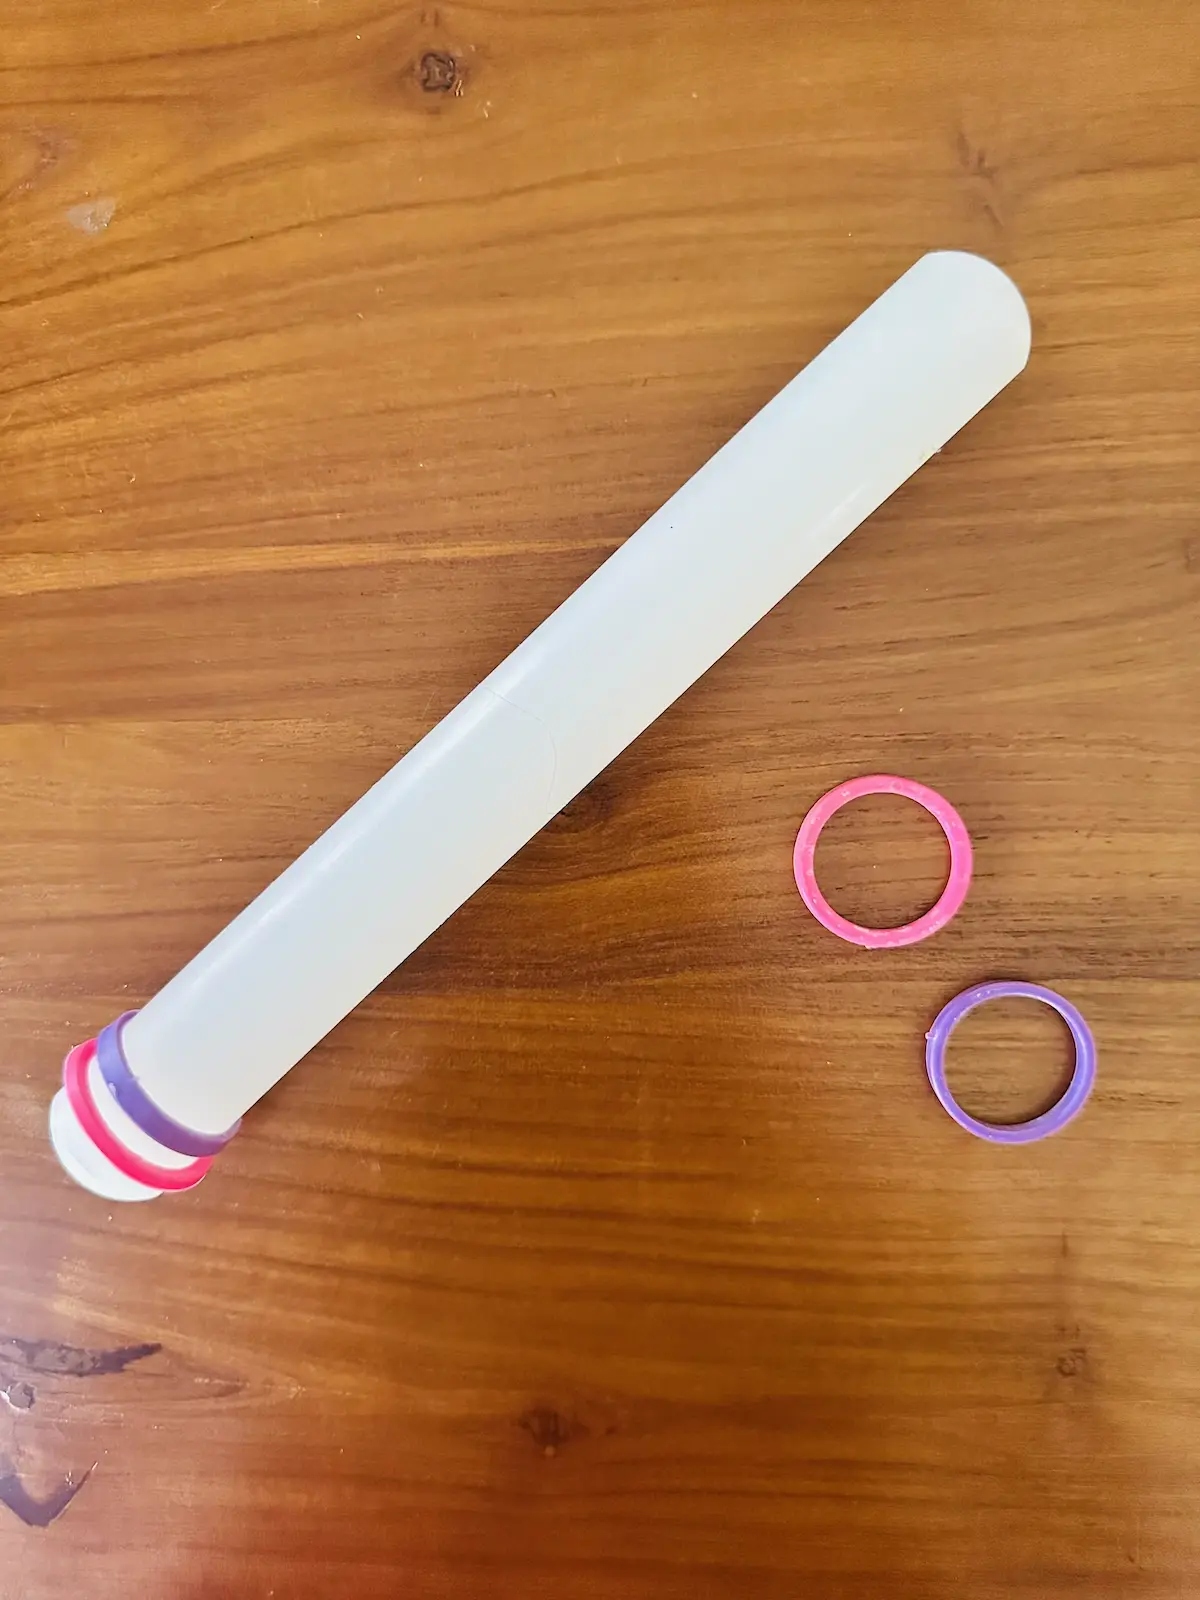
To get a clay slab with even thickness, you need guides. They can be rubber or silicone rings or guide rails or wooden slats.
I use rubber rings around my acrylic rolling pin and they help me to aim for the thickness I want when rolling out an air dry clay slab. They are adjustable as well. Make sure to pick the right size of rings for your rolling pin. Mostly rings come with the rolling pin as a combo.
Wooden slats are also ideal as thickness guides. You just have to place two wooden slats of equal thickness on either side of your wet clay slab and start rolling.
Now you have everything you need for an even thickness clay slab. Now let’s see how it should be done!
Step-by-step: how to roll out air dry clay
Here are the steps I follow every single time to get an even thickness air dry clay slab perfectly,
Step 1: condition and knead the clay first
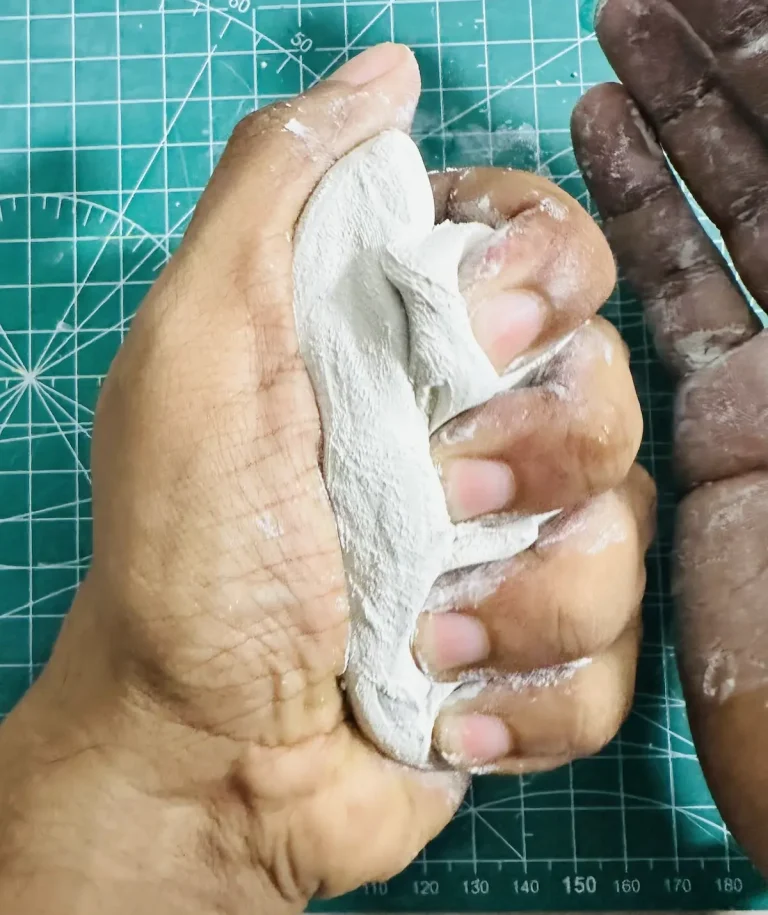
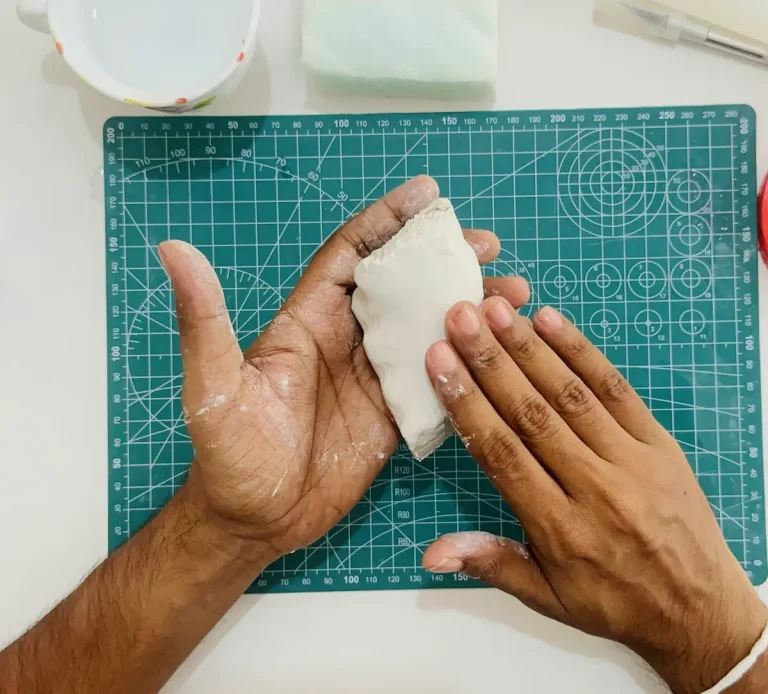
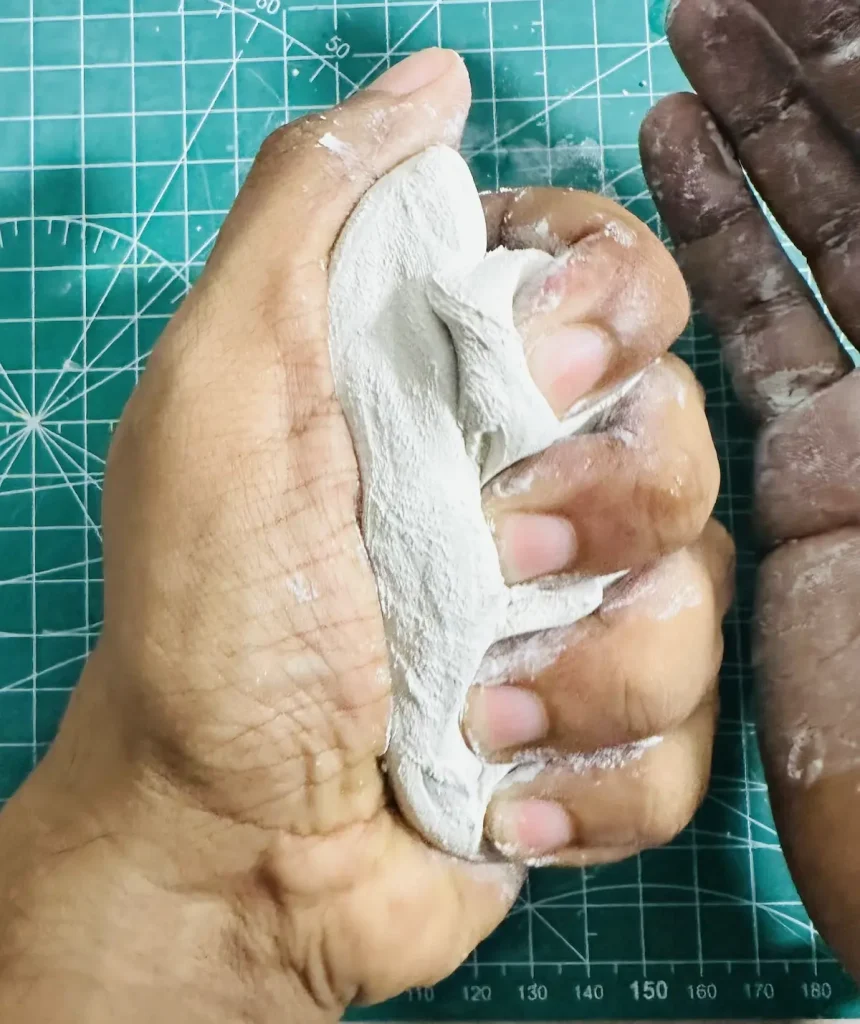
Kneading comes first before rolling. It is easy. Take a fresh piece of air dry clay and condition it by tapping a little bit of water on the surface and start kneading like bread dough.
Press, pull and fold the clay piece repeatedly while kneading to make it soft enough for rolling. Kneading is a must to spread out the moisture evenly across all the layers of air dry clay and release the trapped air. Otherwise, they will form cracks on the surface when the project is drying.
After kneading, place the clay on the surface and press it a few times with force using your palm to ready it for rolling. You can’t simply place the rolling pin and roll on a ball-shaped clay piece. You need to make it a bit flat to make the rolling easier. That can be done by pressing it with your palm as I described.
Step 2: Set up your non-stick surface
First of all, clean your rolling mat, your hands and rolling pin. They need to be dust and lint free because they stick to air dry clay easily and won’t come off.
Dirt on the white paint is easily noticeable and they even cause issues when painting and sealing the project.
Now place your kneaded clay on the surface and move to the next step.
Step 3: Position your thickness guides
Before you start rolling, plan which thickness you are going to target. Attach adjustable rubber or silicone rings or place the wooden slats on either side of the clay before rolling.
Generally ¼ inch thickness is ideal for rolling an air dry clay slab because if the clay slab is too thin it tends to warp when drying due to the low weight of the middle.
If the clay is too thick it may take weeks to fully dry out after you finish the project before painting or sealing.
¼ inch thickness is great for flat slab and ½ inch is great if you are willing to hollow out the wet clay slab after shaping it.
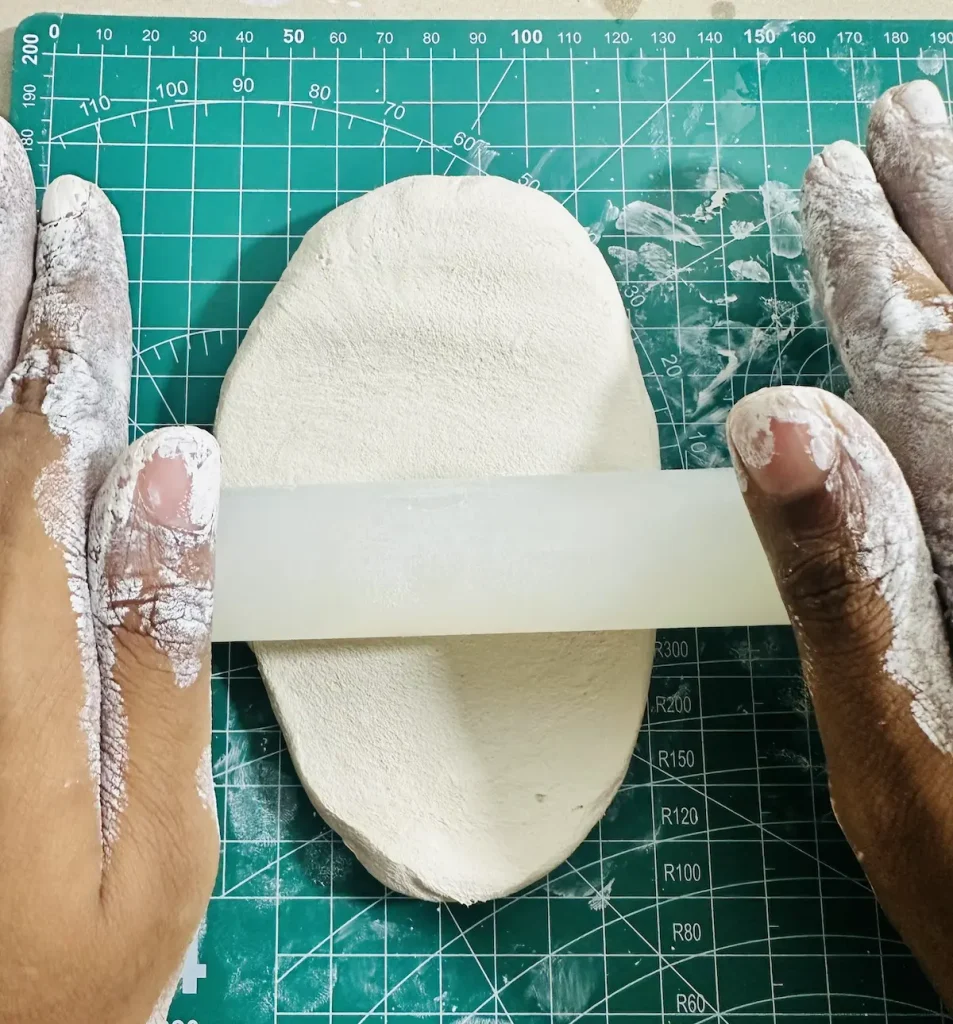
Step 4: Roll the clay using flip, turn and rotate technique
When you’re rolling the clay make sure to roll and flip it for non-stick rolling, which means you must flip, rotate and lift up the clay while rolling to avoid the clay from sticking.
You simply have to pick up the clay and flip it over after every two or three rolls. Plus, turn the clay piece 90 degrees each time you flip it to distribute pressure evenly.
Rolling continuously without changing the clay slab position will make your clay stick to the mat and you’ll have a hard time when lifting it up after rolling.
I didn’t follow this technique during my first air dry clay trinket tray project and it was torn apart when lifting after rolling the clay.
How to stop air dry clay from sticking to your surface
This is the most frustrating part of rolling. Sometimes even after you follow the correct rolling techniques like flip and turn your clay may still ended up sticking to the surface.
Don’t worry, there are ways to prevent clay from sticking completely.
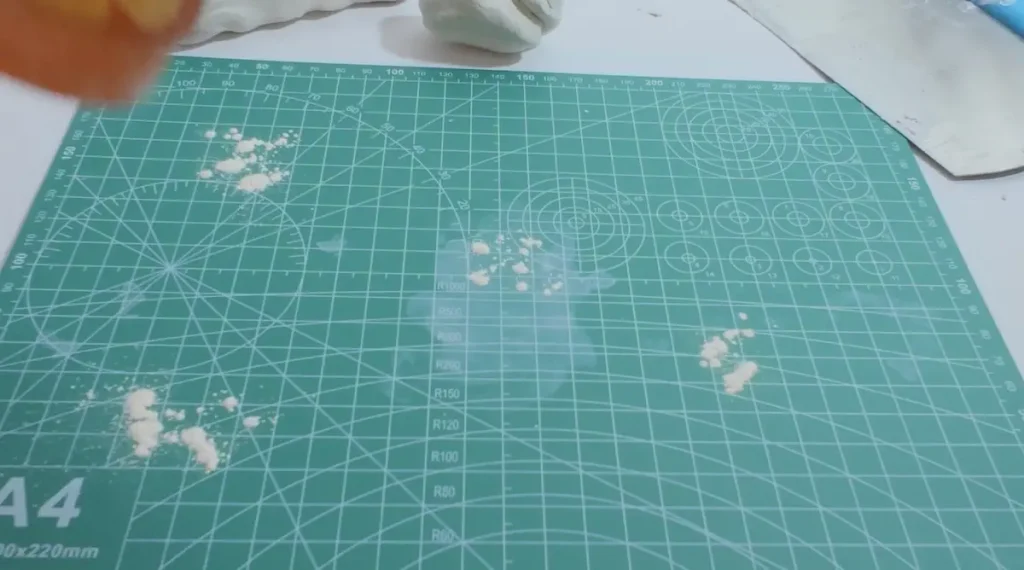
Using a dusting agent
Have you used flour in the kitchen while baking as a releasing agent? Flour helps to prevent the dough you made from sticking to the surface. Just like that you can use dusting for air dry clay as well. Actually most of the time air dry clay behaves as dough.
- Cornstarch: Apply a little bit of cornstarch on your rolling mat and spread it out evenly across the surface with your fingers or large soft makeup brush. Cornstarch is cheap, non-toxic, and absorbs nicely into the clay. Don’t worry it doesn’t leave a stubborn residue. This works as a barrier between your wet air dry clay slab and your working mat. Apply it before you start rolling. You might feel how easy it is to roll out air dry clay with the surface cornstarch on.
- Talcum powder: I used talcum powder on the surface before rolling air dry clay and it works so well. It stopped clay from sticking to the surface. But later I knew the dust can cause breathing issues. So I advise you to only use cornstarch as the dusting agent even though talcum powder functions the same.
Wrap the surface and clay with cling film
This method causes zero sticking because you wrap everything with plastic film.
Here’s how to do it,
- First of all wrap the surface you are working on with plastic cling film.
- Place the wet clay piece on the layer of plastic film.
- Wrap and cover the wet clay piece with another plastic cling film.
- Place the rolling pin over the layer of plastic film and start rolling.
- After you finish rolling simply peel off the top plastic layer.
This method seems funny but it works. Here the clay never touches your working mat or rolling pin. The plastic cling film works as the middle man.
You know what, this plastic wrapping method gives a very smooth, slightly rounded edge to your clay shapes rather than a sharp, harsh cut. Actually, it is great for making clay donuts because they got that soft rounded shape. 🍩
How to fix rolling mistakes
Even though you did everything fine, mistakes can happen and let me show you how you can avoid and fix them with ease.
Why is my clay cracking when I roll it?
Everything you do with wet air dry clay needs to be done quickly because as soon as clay is exposed to the air it starts drying.
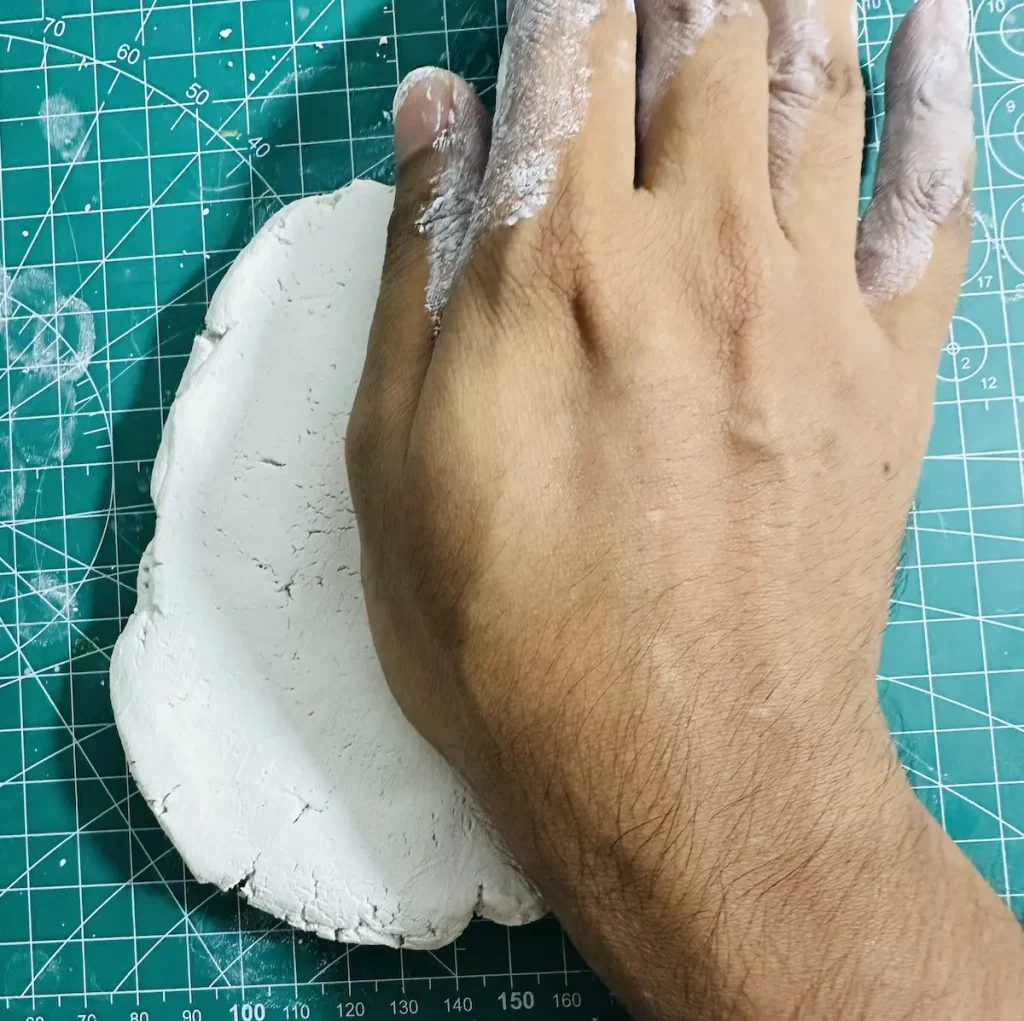
When you keep rolling the clay for more than it actually needs the water inside will evaporate quickly and form micro cracks on the surface. They will become deeper and deeper due to the pressure of the rolling pin and your clay slab will start to tear from the edges. This happens due to the lack of moisture inside of the clay.
Here’s how you can give life to your clay again,
- If your clay is not rolled yet: Take a spray bottle of water and spray a little bit of water on to the clay and start kneading again to spread the moisture evenly across all the layers. Or you can dip your fingers into a cup of water and tap the clay surface with a little bit of water to condition it and knead. This makes the clay soft and regain moisture again. After kneading, quickly place it on the surface and roll to an even thickness.
- If your clay is already rolled: Dip your index finger in a cup of water and glide it on the clay slab until those micro cracks vanish. Don’t add too much water because that can lead to surface cracking when drying.
FAQ
How thin can you roll air dry clay without it breaking?
Try a minimum thickness of 1/4 inch to prevent warping and cracking. But don’t go above 1 inch thickness because that can increase the drying time significantly.
Why does my rolled clay curl up when drying?
This is called warping of air dry clay, which can be prevented by even drying. Simply flip the flat pieces during drying.
Final thoughts
Now you know the exact steps for rolling out air dry clay perfectly without sticking. All the above tips I described were tested and proved by myself, but I may be wrong.
That’s why I need your feedback. Make sure to leave the things you learnt when rolling air dry clay in the comments section. I’d love to know.
With the right techniques, you can achieve a smooth, flat and stable clay slab after rolling, which won’t crack or warp. Cheers! 🤟🏾