
Have you ever thought of turning a bat into a cat? I did. I started making this Halloween clay craft as a bat, but eventually, it turned into a Halloween cat because of my serious mistake.
In this article, you’ll learn why keeping a good thickness is important when making anything with air dry clay.
I misplanned the thickness of my Halloween bat decor tray and it was cracked so badly as the clay dried. But luckily I was able to make some adjustments and change that into a Halloween cat decor tray.
So, I’m gonna deeply explain what went wrong and why you should not be like me when it comes to planning the thickness of your clay craft, especially when you plan to hollow out the clay.
You won’t find this type of article from experts, because they rarely make mistakes, and even if they do, they won’t publish them on the internet. Since I’m a beginner, this is also a part of my journey to become a good clay artist. So, here I am for a confession.
Let’s dig in!
What went wrong in this project ❌
As I told you earlier, I misplanned the thickness of this project when rolling the clay slab. Generally, a ¼-inch thickness is ideal for an air dry clay project to prevent the clay from warping and cracking as it dries.
But in this project, even though I rolled the clay slab to a ¼-inch thickness, I hollowed the clay out to give it a tray shape by making the tray base and the tray rim.
That’s exactly where I made the mistake. If you plan to hollow or carve out the clay during the process, make the clay slab at least ½-inch thick, not ¼-inch. When you’re hollowing out the clay, the thickness reduces and the final thickness will be ⅛-inch, which is too thin and can cause cracks as the clay dries due to shrinkage.
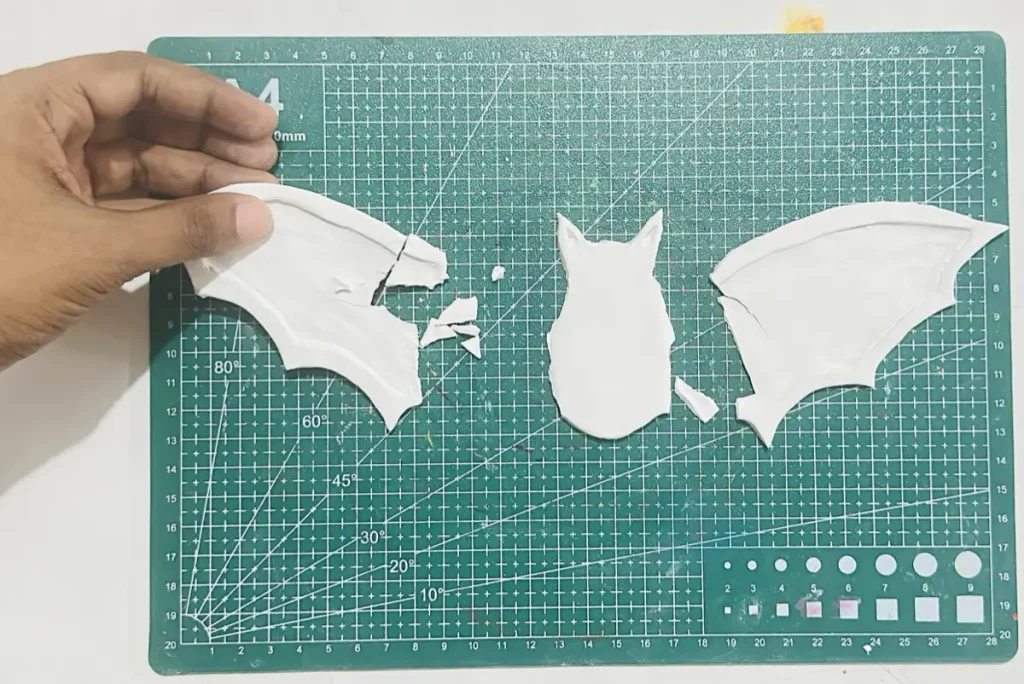
This is a highly important factor, especially when you’re making a tray as I did, because you can either attach the tray rim separately to the ¼-inch thick tray base, or you should make the tray base ½-inch thick and carve out the tray base until it reaches a ¼-inch thickness to make the tray rim.
Keep that in mind to prevent your clay tray from cracking like mine. If I had rolled the tray base ½-inch thick instead of ¼-inch, my tray wouldn’t have cracked and been ruined as the clay dried. Or I should have attached the tray rim separately to the ¼-inch thick tray base. Simple as that!
Everything else went smoothly with no mistakes.
Now let me show you the complete process of how I made the Halloween bat tray and how I turned it into a Halloween cat tray. 🦇🐱
Supplies you’ll need 🛠️
- Air dry clay (DAS, Mont Marte, Jovi, or any reputed brand you can find is okay)
- Acrylic rolling pin
- PVC mat or silicone mat (or non-stick surface)
- Clay crafting tools
- Clay cutting tool (X-acto knife or small knife)
- Cup of water or spray bottle
- Acrylic paints
- Gloss varnish
- Paintbrushes
- Paper towels
- A pair of scissors
- Optional: Sponge or silicone sculpting tool (or you can use your finger)

If you couldn’t find any of the above items, please check your kitchen drawers. There are many tools that can be used as clay sculpting tools instead of purchasing clay sculpting tool sets when you’re starting out.
An air dry clay crafting hobby needs to be budget-friendly and should not drain your wallet. 💡
Turn a broken air dry clay bat tray into cute Halloween cat decor tutorial video
I have recorded everything starting from fresh clay, sculpting the Halloween bat tray, how it cracked as the clay dried, and how I wisely turned that into Halloween cat decor.
Feel free to watch, avoid the mistake I made, and make a fine Halloween bat tray! 📺
Finished watching the video? Let’s have a look at the detailed written step-by-step guide. 📝
Sculpting the Halloween bat tray (The original plan) 🎨
Before starting the project, make sure to go to a well-ventilated area or open all the windows in your workspace because air dry clay contains fine dust that can cause breathing issues. Or wear a mask while working with the clay.
Step 1: Conditioning and kneading the clay
- Unbox the package and cut a big chunk of a fresh piece of clay.
- Tap the clay surface with a little bit of water for conditioning the clay.
- Knead the clay well by pushing, pulling and pressing the clay like you’re making a pizza dough.
- Knead for 3-5 minutes with a little bit of water until the clay becomes soft enough for shaping.
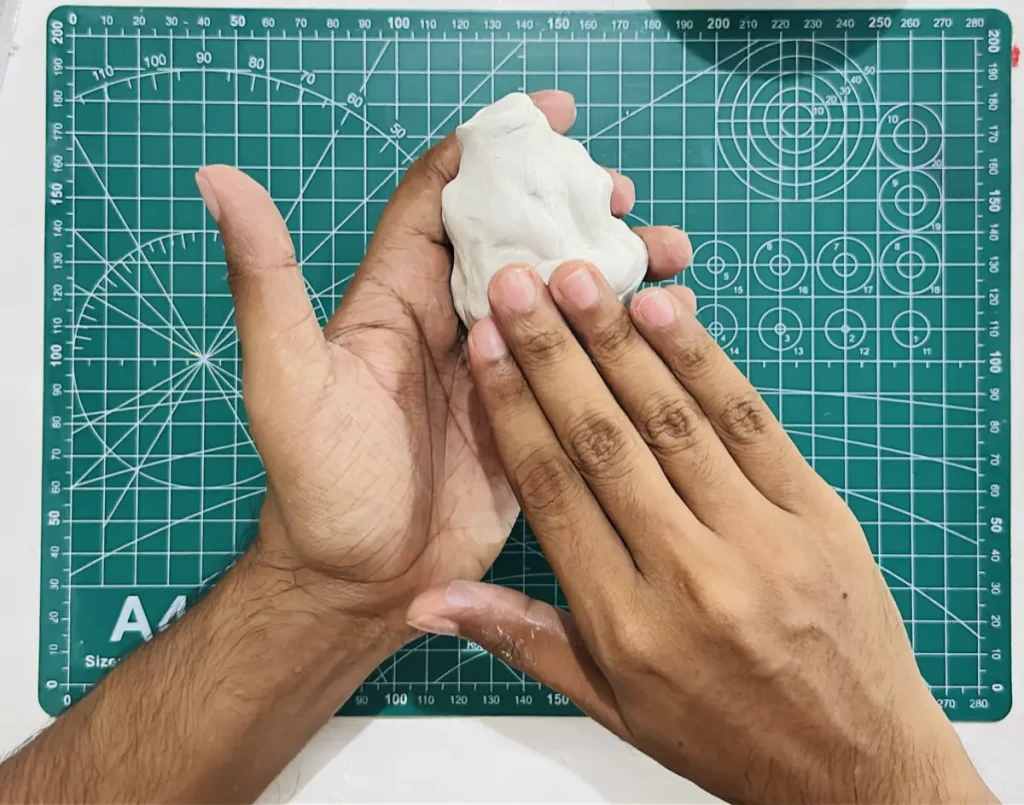
Make sure not to add too much water when conditioning or kneading the clay because too much water significantly increases the rapid evaporation of water, causing the clay to shrink unevenly, which leads to surface cracks. ⚠️
Air-dry clay already consists of a lot of moisture and air bubbles inside. But they have spread randomly, and as the clay dries, the water starts to evaporate unevenly.
Air-dry clay shrinks as it dries and it is uncontrollable. But we can control whether it shrinks evenly or unevenly because uneven shrinkage causes surface cracks.
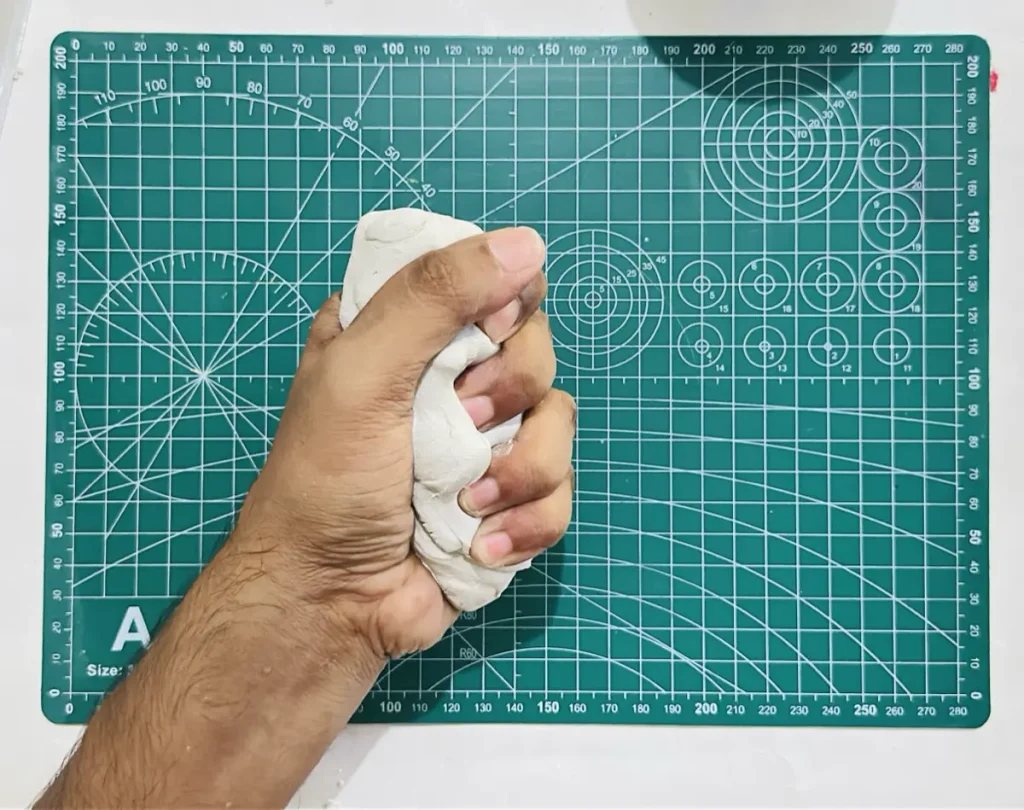
When you knead the clay well, moisture spreads evenly across all the layers of the air dry clay, which avoids uneven shrinkage as the clay dries. This helps the clay not to crack as it dries.
So, kneading is a must before you start making any project with air dry clay.
When you keep kneading, your palms will feel it getting softer and softer. When it reaches a certain level of softness, you can move on to the rolling step.
Step 2: Rolling the clay
This is where I misplanned. I didn’t think I needed to hollow out the clay in a later step and plan the thickness of the clay slab accordingly.
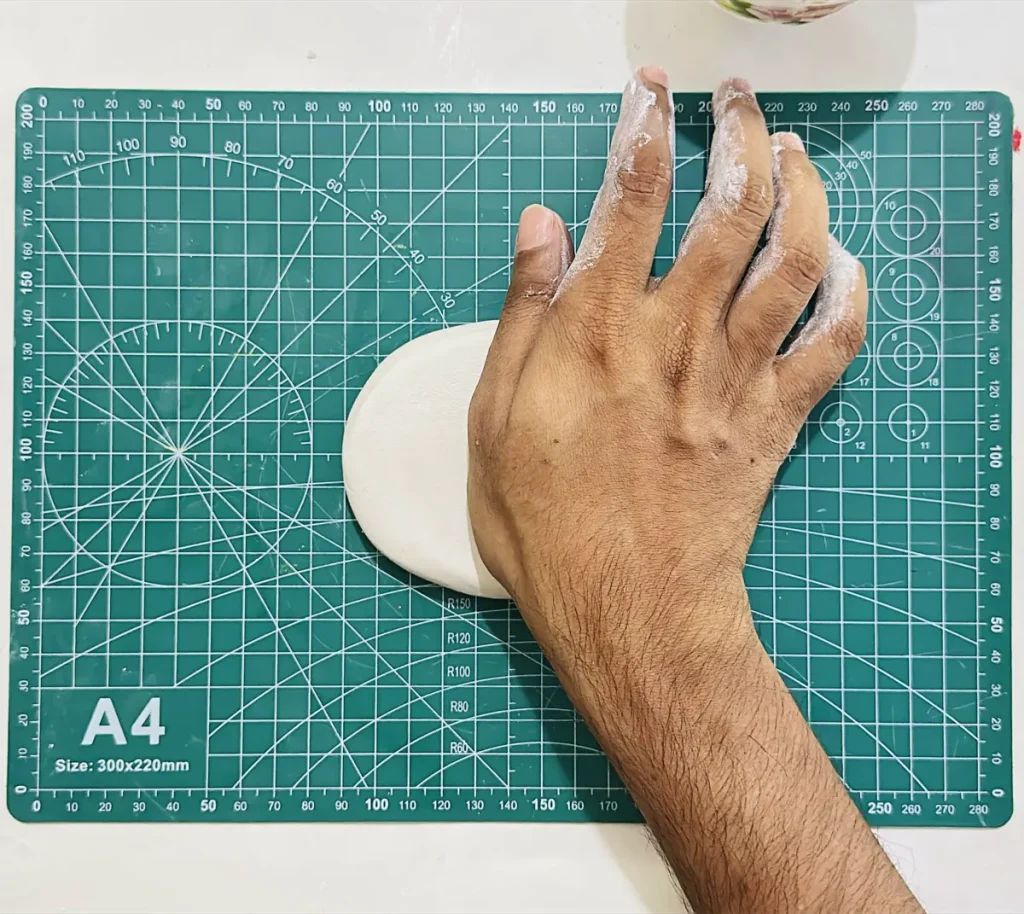
I rolled my clay slab to a ¼-inch thickness, which was not enough because I was about to hollow out the clay to make the tray rim in a later step.
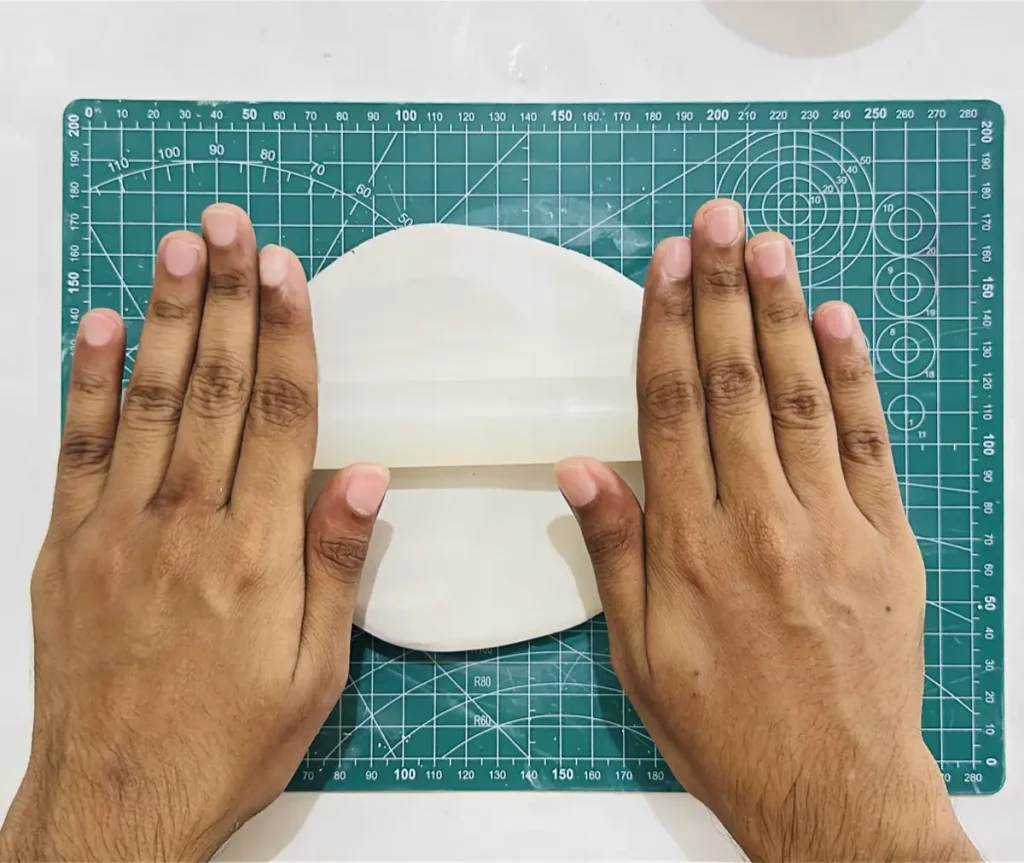
So, if you plan to make the tray rim by hollowing or carving the clay out from the rolled clay slab, make sure to roll the clay slab to at least a ½-inch thickness. Then you can carve ¼-inch from it and the remaining ¼-inch tray base is enough to remain stable against warping and the shrinkage of the clay with no cracks.
But if you’re willing to attach the tray rim as an attachment to the tray base by making it separately, roll the clay slab to an even ¼ inch thickness as I did.
Don’t be like me friends. Plan ahead to avoid your piece from getting ruined.
So, if you plan to hollow out the clay as I gonna do here, follow below steps when rolling,
- Roll the clay to an even thickness of ½ inch.
- Roll the whole clay slab evenly.
- Smooth out the clay slab.
Use a non-stick rolling pin and a non-stick mat for rolling your clay slab.
I recommend an acrylic rolling pin and a silicone or PVC mat to prevent your clay from sticking as you roll.
Also, make sure to turn, flip, and rotate the clay slab while you’re rolling to prevent it from sticking, even if you use non-stick materials, because as we roll, the moisture inside the clay is released and forms a high amount of a tiny vacuum-like seal between the clay slab and your mat. When you try to lift the clay slab, it may tear apart due to the grip between the mat and the clay.
When you continually change the clay position while rolling, it gets no chance to create a vacuum-like seal with the surface, and you’ll get a nice and smooth surface with no tears.
Here’s how you should smooth out the clay slab,
- Dip your index finger in a cup of water.
- Gently glide your wet index finger over the clay slab repeatedly.
- Repeat the gliding until small bumps, micro-cracks, and tiny imperfections vanish.
Follow this smoothing procedure after each step to result in a nice and clean surface.
Step 3: Making the paper template
I used the paper template method to get the exact shape of a bat because freehand cutting can result in many errors.
- First, Google “Halloween bat 2D outline shape”.
- Select an image.
- Take a black-and-white printout of it on an A4 paper.
- Cut along the outlines carefully, and your paper template is done.
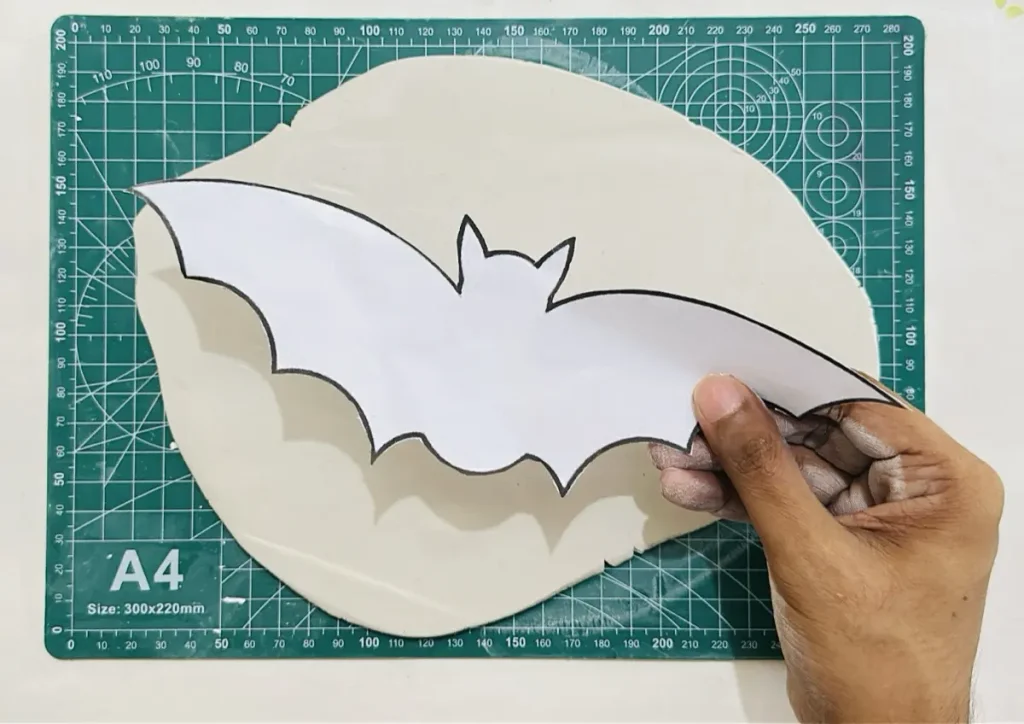
If you already have a bat-shaped mold or cutter, use that instead of this paper template method.
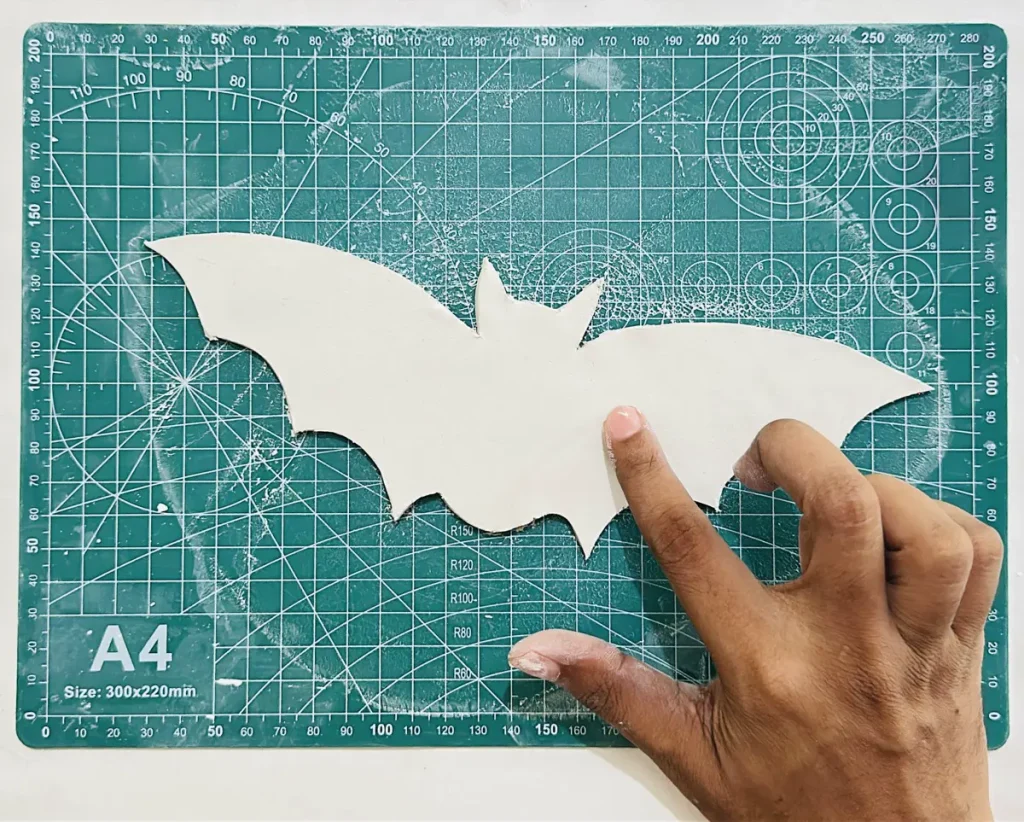
Step 4: Tracing and cutting the bat shape on the clay slab
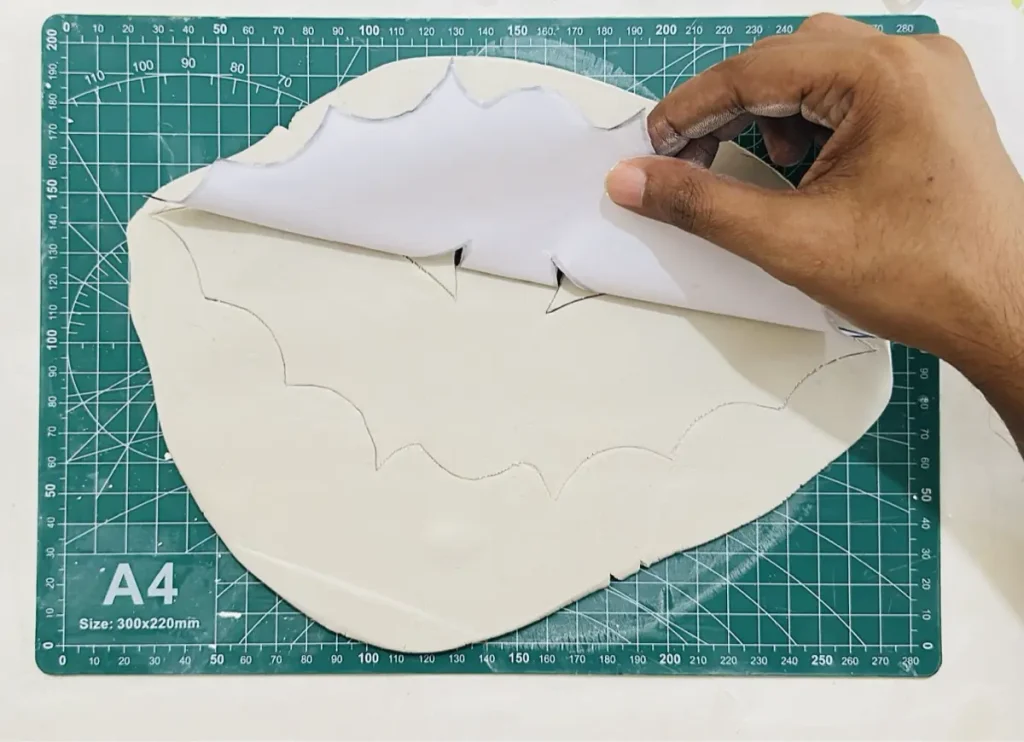
- Place the bat paper template on your rolled clay slab.
- Trace along the outline carefully with a clay tracing tool or toothpick.
- Remove the paper template.
- Cut along the traced lines using the X-acto knife to get the bat tray base as the result.
- Smooth out the bat-shaped clay slab following the procedure I taught earlier.
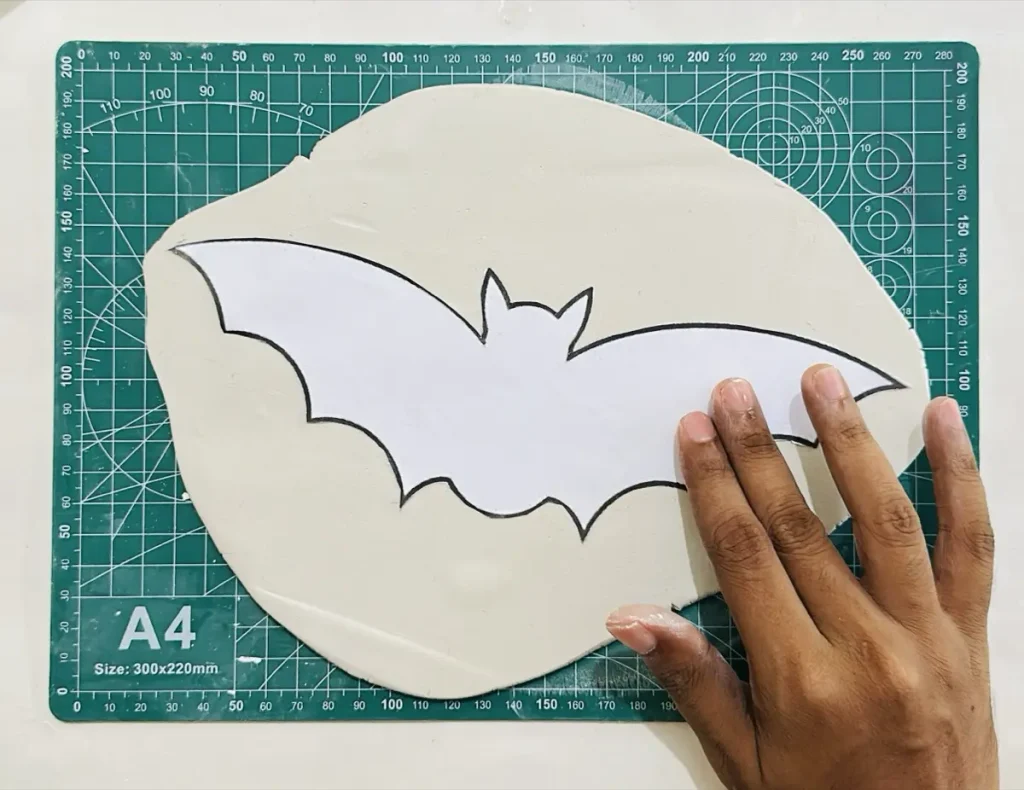
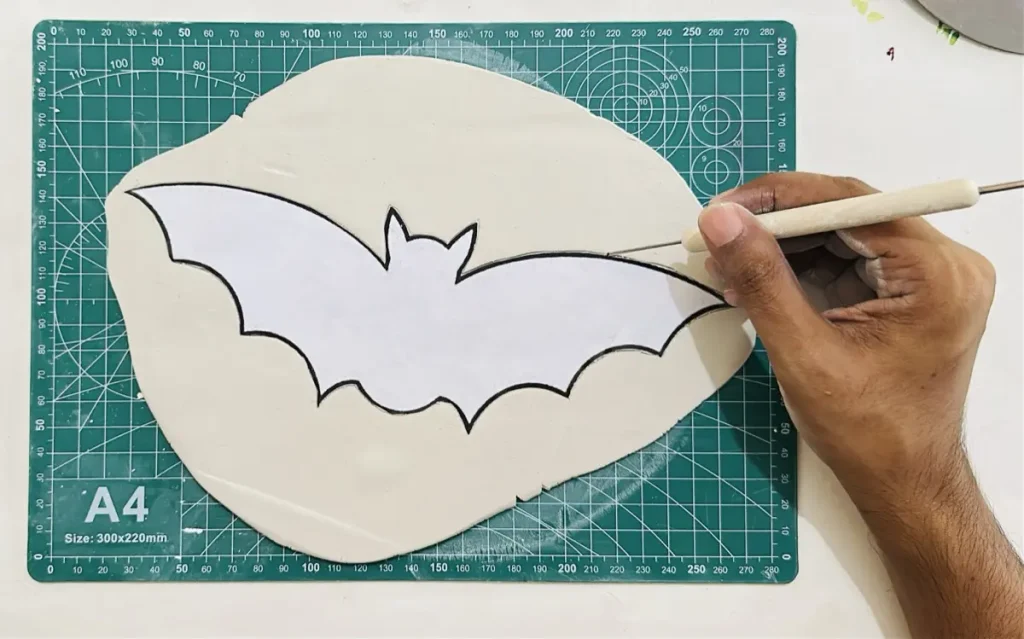
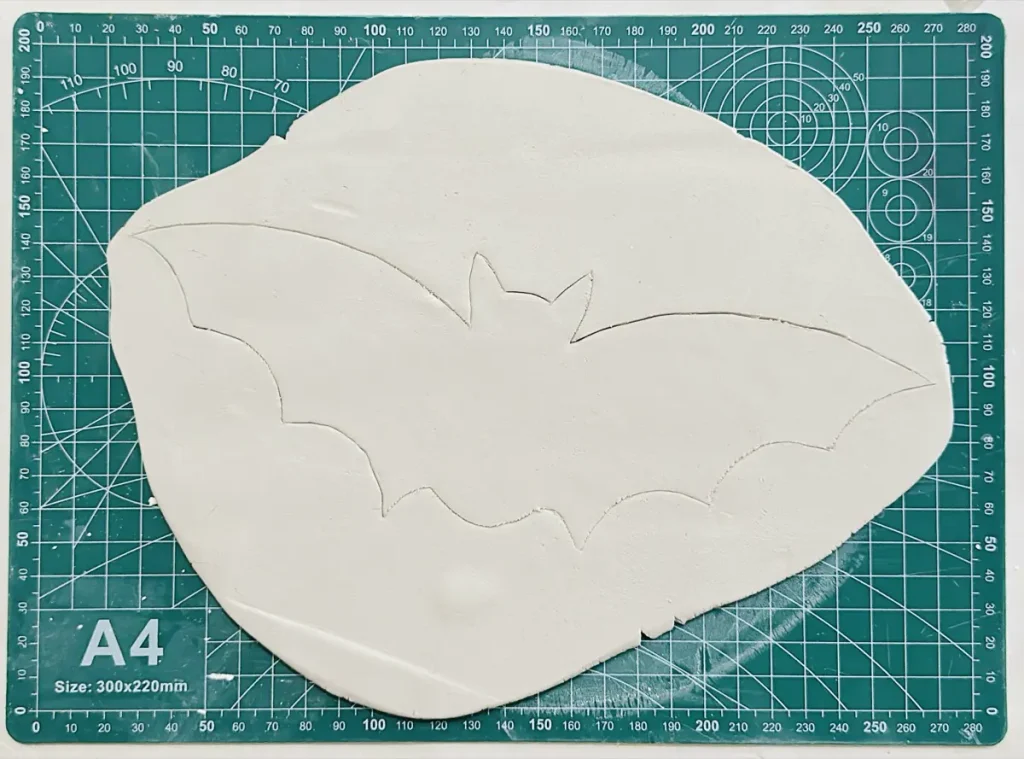
If you don’t have an X-Acto knife, use a pocket knife.
Make sure not to drag the knife horizontally along your mat while you’re cutting, because clay may stick to your blade and result in torn edges.
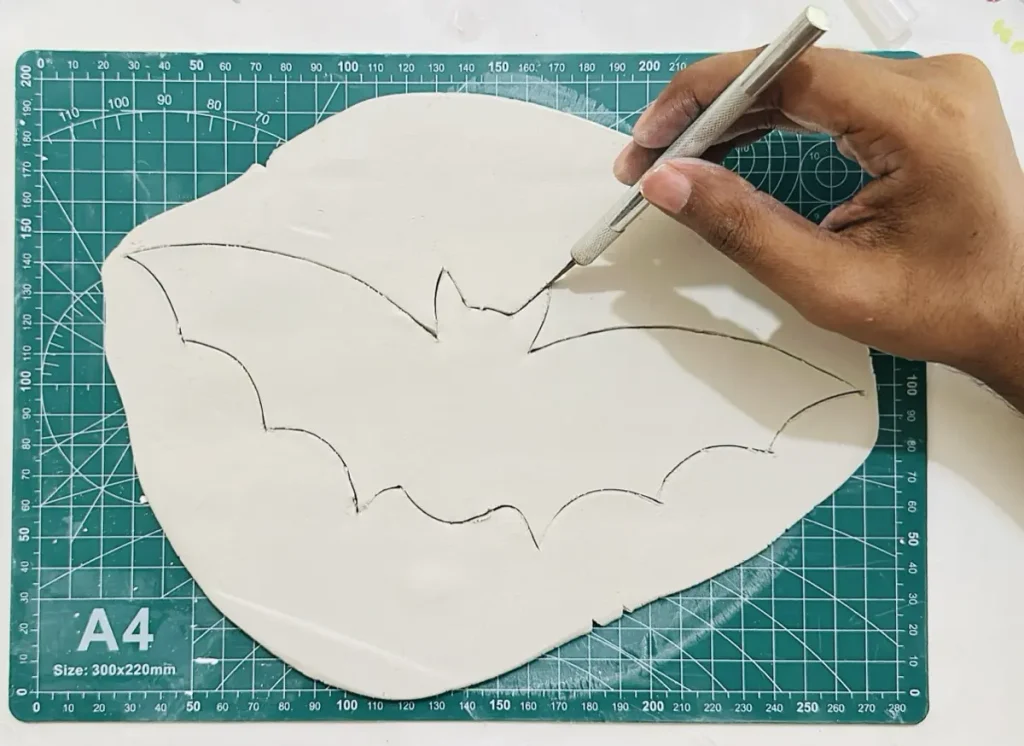
Lift the knife while you cut and clean the attached clay particles regularly to get nice, smooth, and sharp edges.
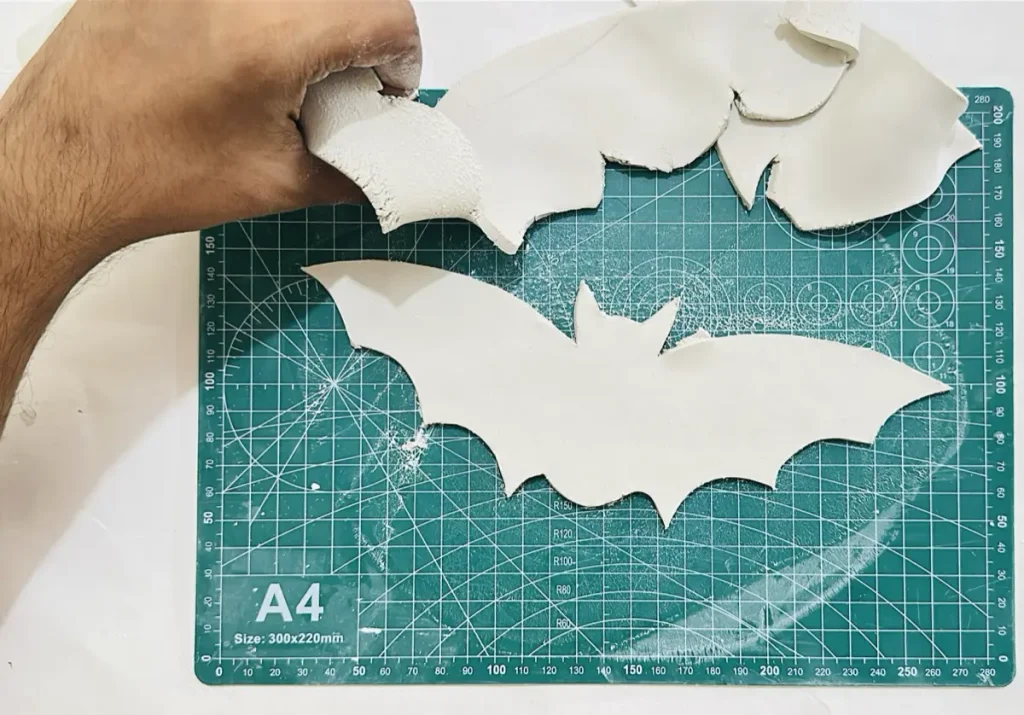
Awesome, friend! You have successfully made the tray base. 🎉
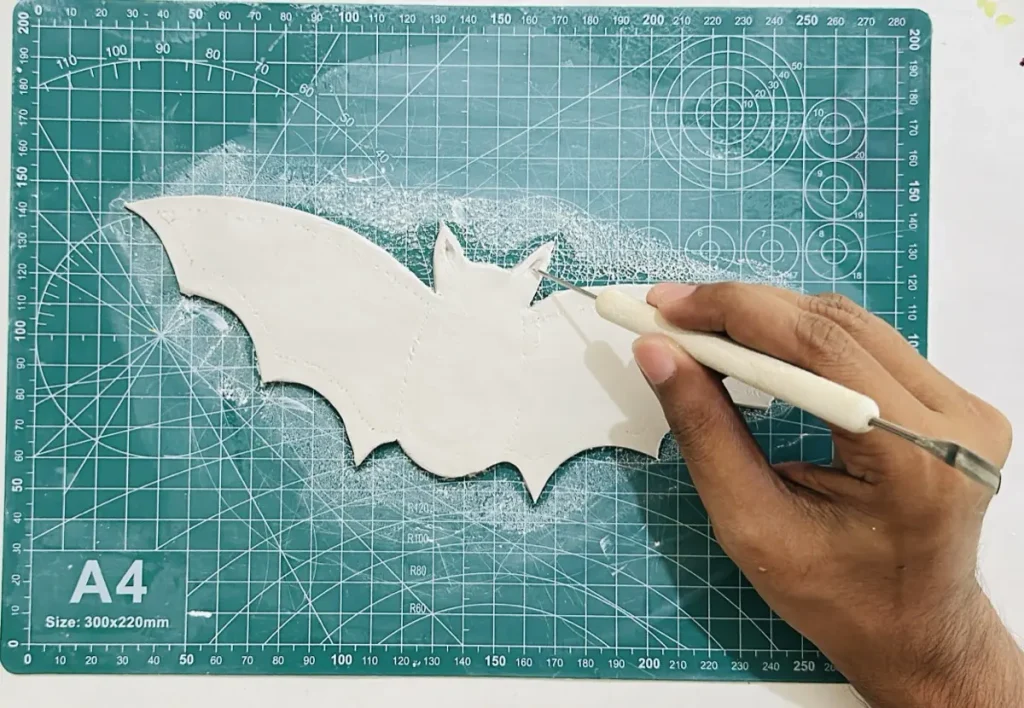
Step 5: Hollowing out the clay slab to make the tray rim
- Mark and map the areas you need to carve in the bat wings using a toothpick or clay tracing tool.
- Carve and hollow out the clay evenly everywhere using the clay carving tool to about ¼-inch deep.
- Smooth out the hollowed out spaces.
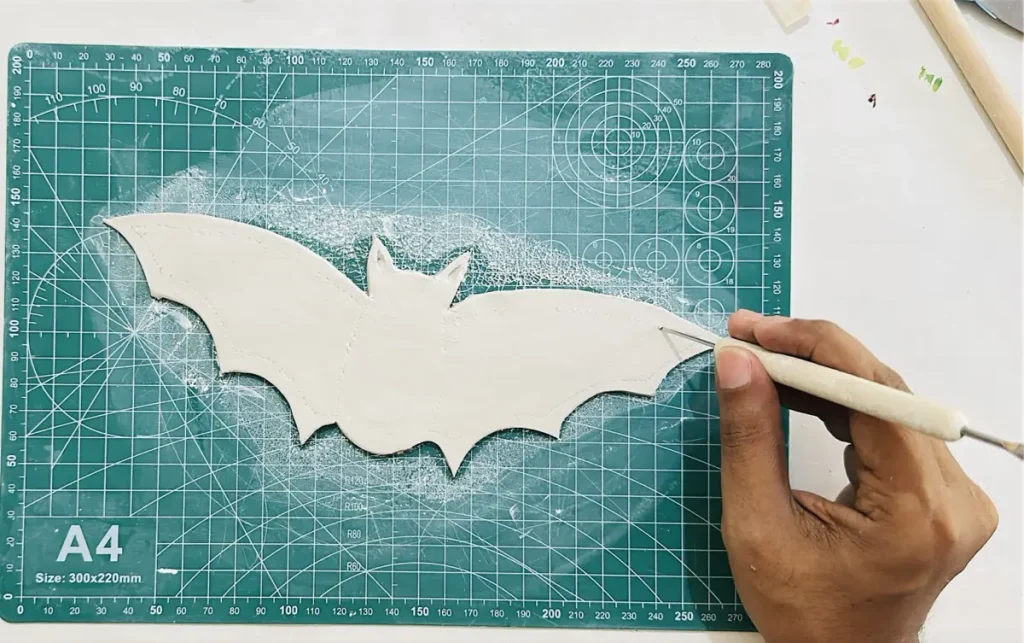
Make sure not to scoop too deep, because you might accidentally hit the bottom and damage the tray. Plus, if the bottom is too thin, it might crack and tear when you try to lift the tray up or when drying due to shrinkage.
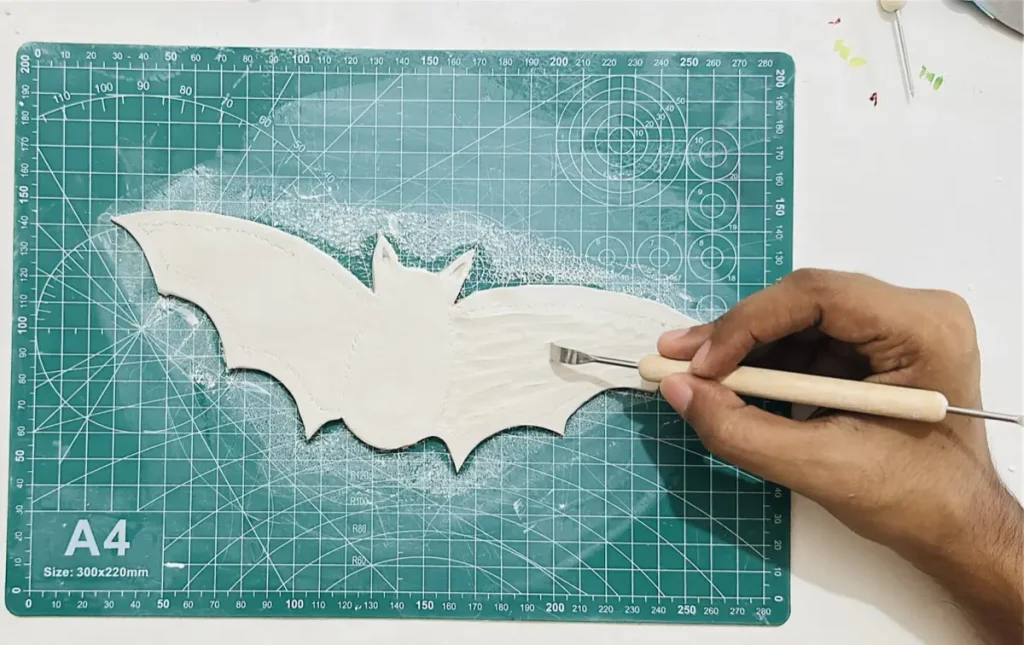
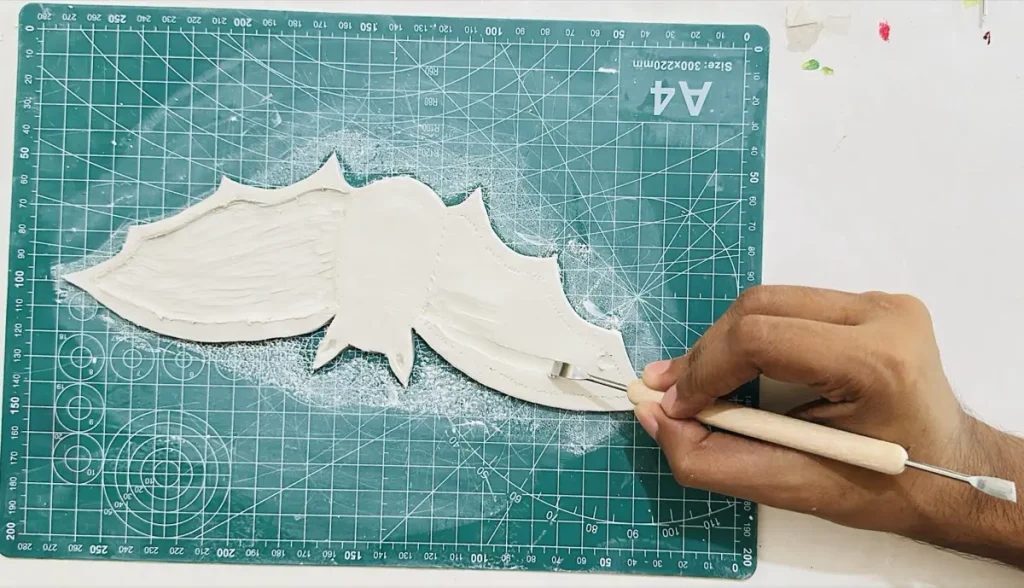
Finally, smooth the inside of the carved wells using your fingers to give them a more polished look with no damp air dry clay particles inside.
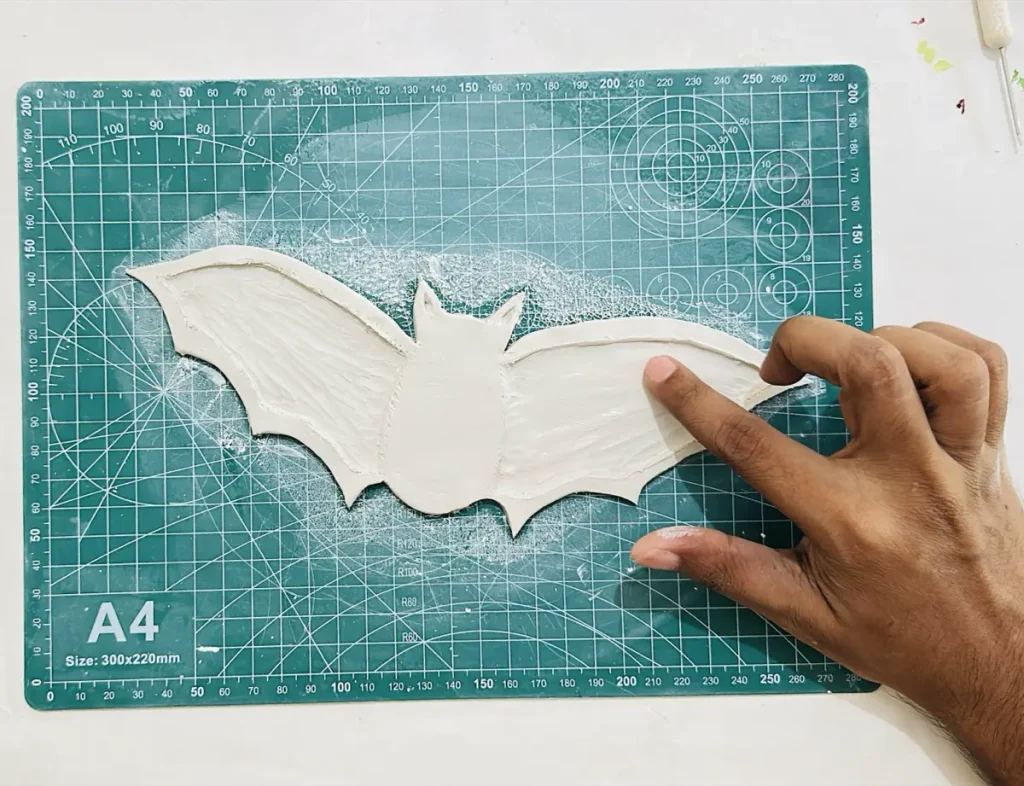
Now we have successfully sculpted the tray base and the tray rim of the bat tray.
Identifying the fail 🧐
Step 6: Letting it dry
Now let the bat tray dry for 48–72 hours in a cool, dry, and well-ventilated area.
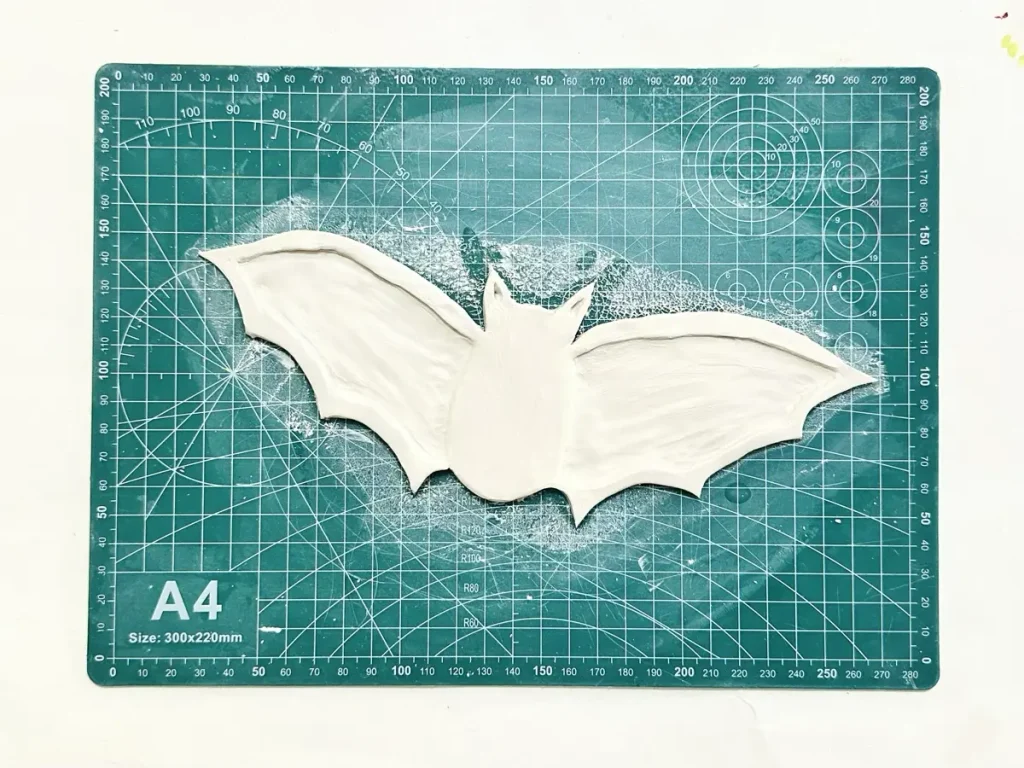
Let the project dry slowly to avoid rapid water evaporation and uneven shrinkage of the clay, which can cause surface cracking.
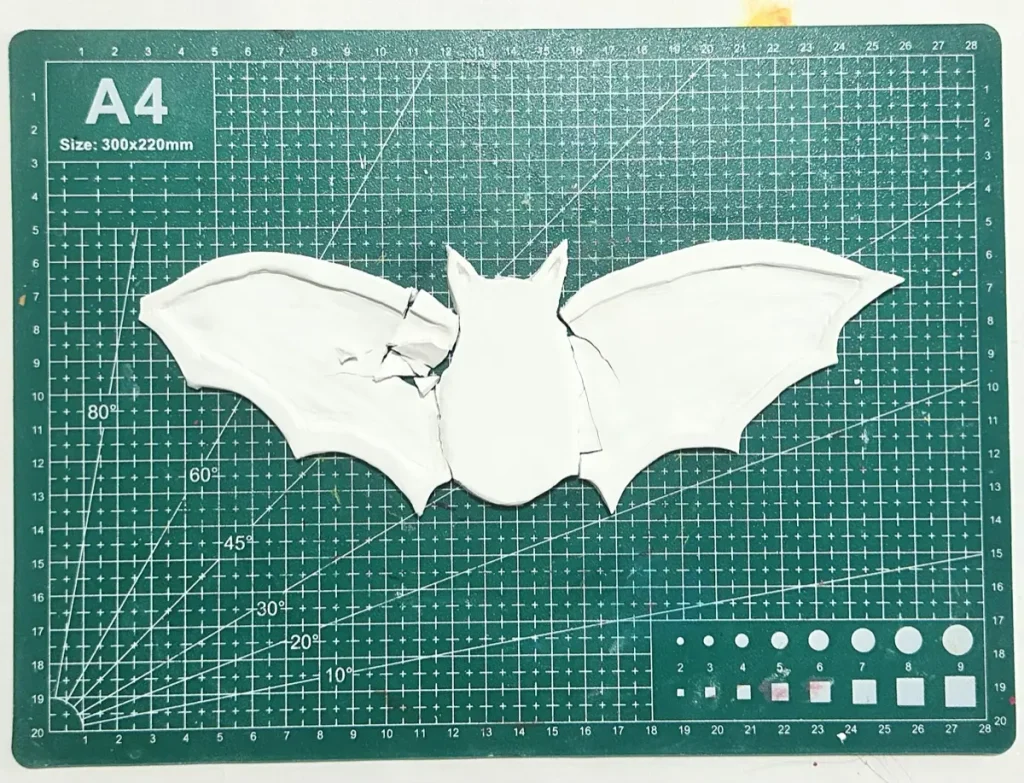
As I mentioned earlier, this was the step where I identified my failure. Since I didn’t make the tray base ½-inch thick, it lost its stability as I was hollowing out the clay to make the tray rim.
As a result of that, the clay started to crack as it dried due to shrinkage.
I should not have gone with the ¼-inch thickness for the tray base.
Since you planned for a ½-inch thick base, you have nothing to worry about even when the clay dries after you hollow out the clay to make the tray rim.
After letting your project dry completely, check for any grey patches. Grey patches mean the air dry clay is still wet, and you need to let it dry more until it becomes pure white, which is the significant color of a fully dried air dry clay project.
My hours of work were ruined because I didn’t get the thickness right. I was thinking for a few minutes and came up with an idea.
Turning a broken Halloween bat into a Halloween cat 🐈⬛
Step 7: Spotting the cat silhouette
I had an “aha!” moment looking at the cracked bat shape. The body of the bat was not damaged or cracked. 💡
Have you ever noticed that the body of a bat is similar to a cat? I have noticed that. The shape was almost the same.
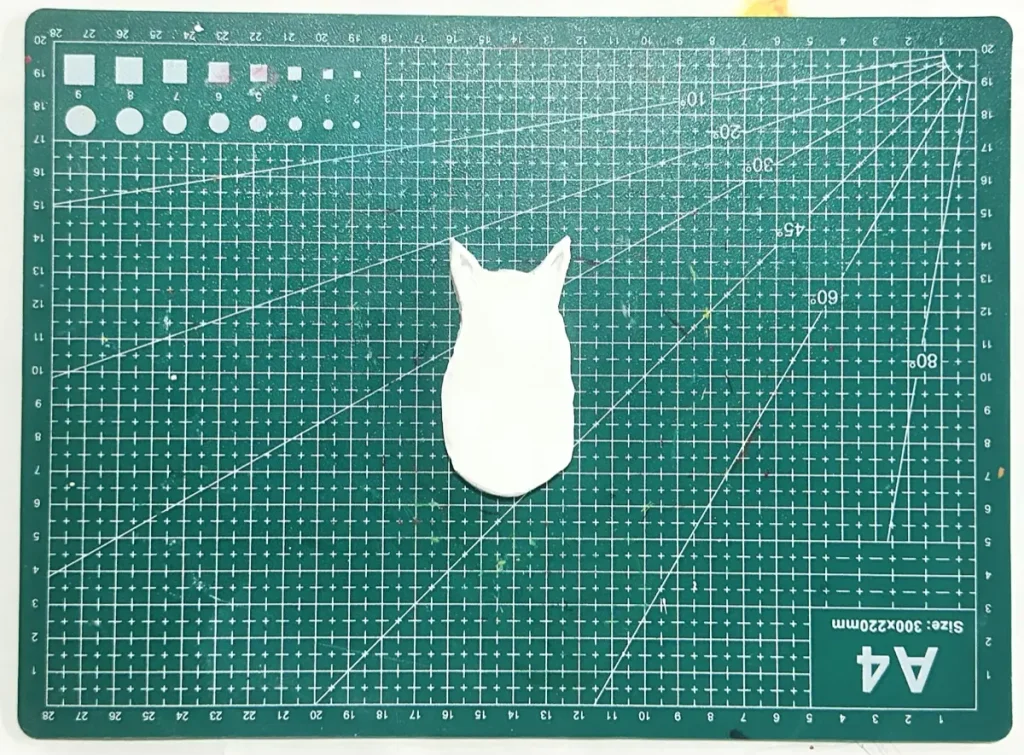
So basically, bats are like cats with wings, lol. 🦇🐱
Bat’s ears perfectly mimic cat ears, and the round body serves as a great base for a sitting cat.
I didn’t think twice, started to treat it as a cat and worked on it.
“Every cloud has a silver lining”
Step 8: Sanding for a smooth edge
I didn’t have sandpaper, so I used a clay tool and sanded the cracked edge of the bat body to make it sharp and smooth.
I sanded the jagged, broken edges where the wings used to be well to make the shape look more like a cat’s body.
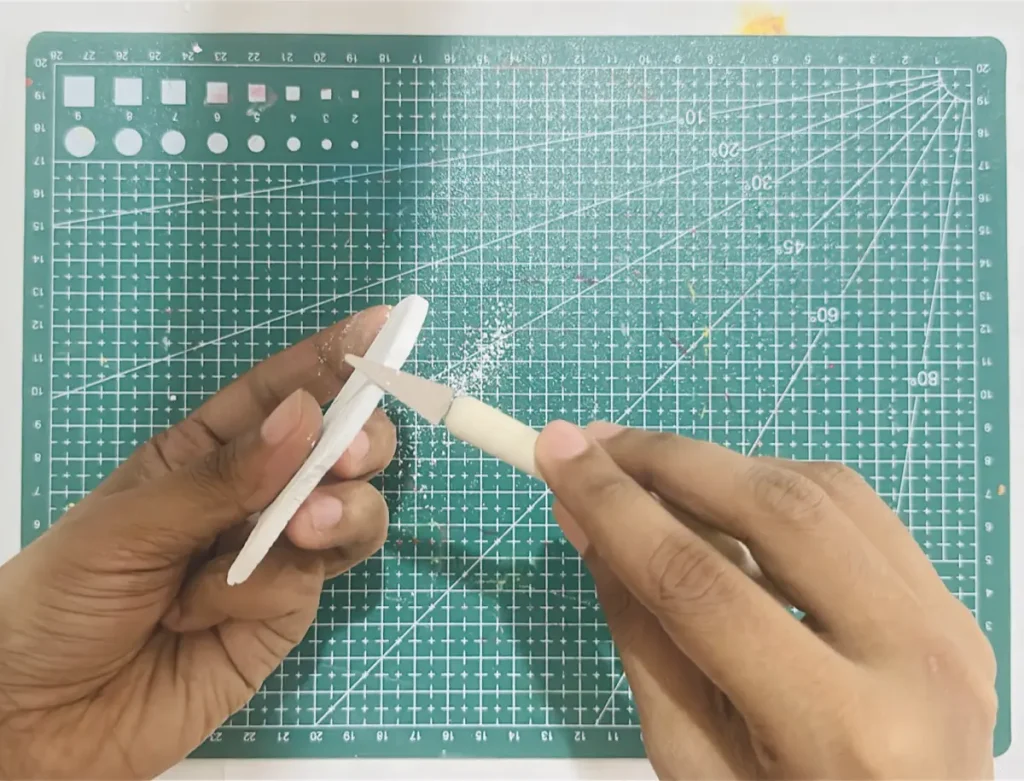
If you’ve got sandpaper (if you, too, faced a sad situation like me), use a fine-grit one to avoid damaging the piece.
Sand along one direction and clean the surface after you’re done to get rid of fine air dry clay dust.
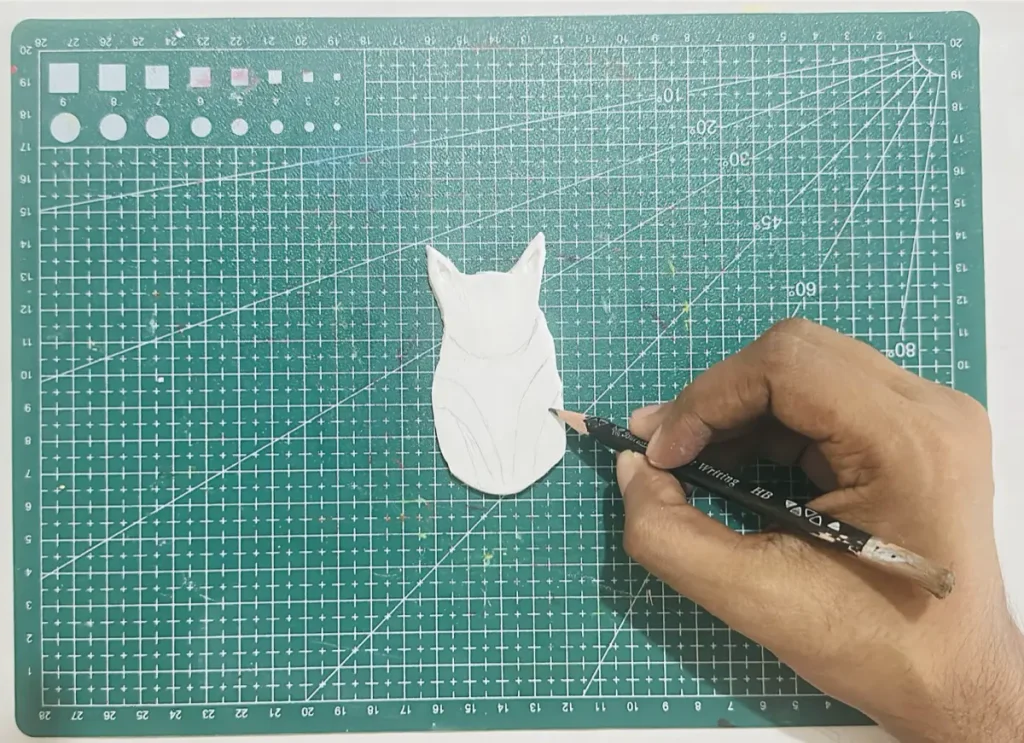
Step 9: Painting the Halloween cat 🖌️
I used acrylic paint because it is one of the best paints for air dry clay projects.
Acrylics come in vivid colors, dry quickly, require no water for mixing, provide a glossy finish, and create a water-resistant coating over air dry clay, which helps to protect your clay projects from outside moisture.
Apply 2–3 even coats in one direction and let each coat dry for 2 hours before applying another.
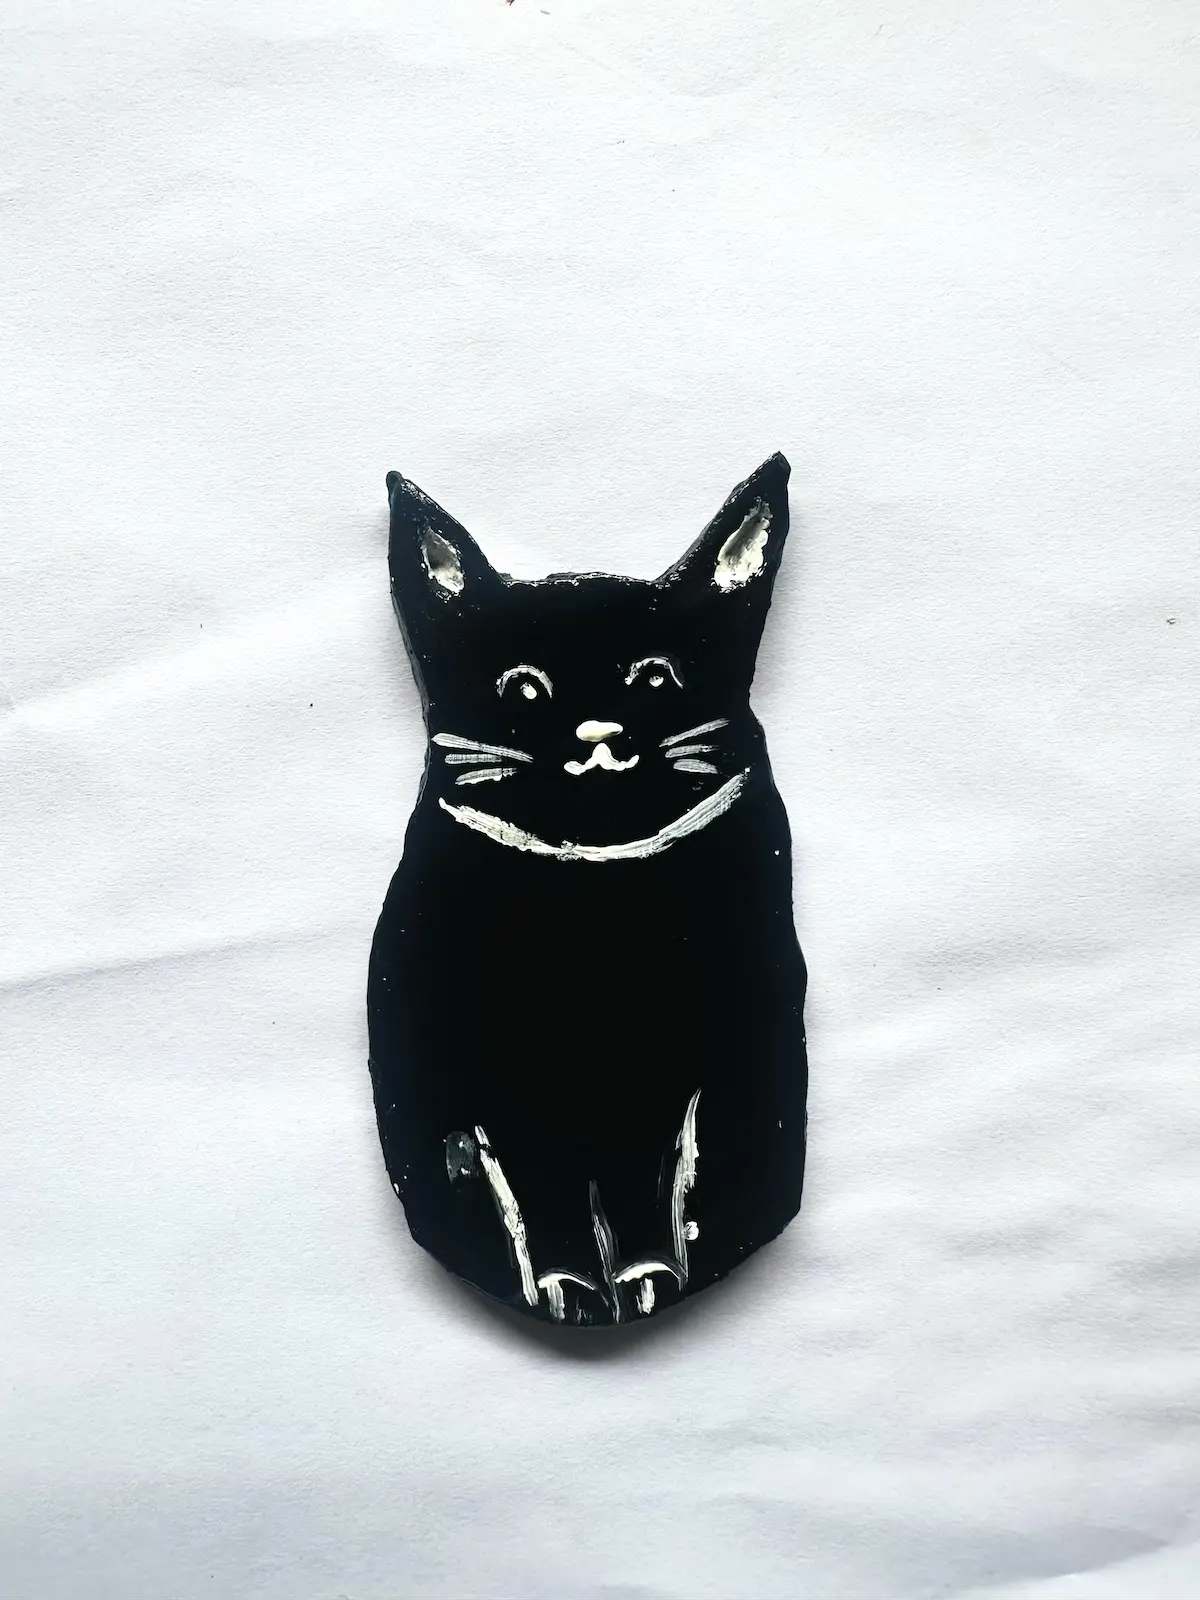
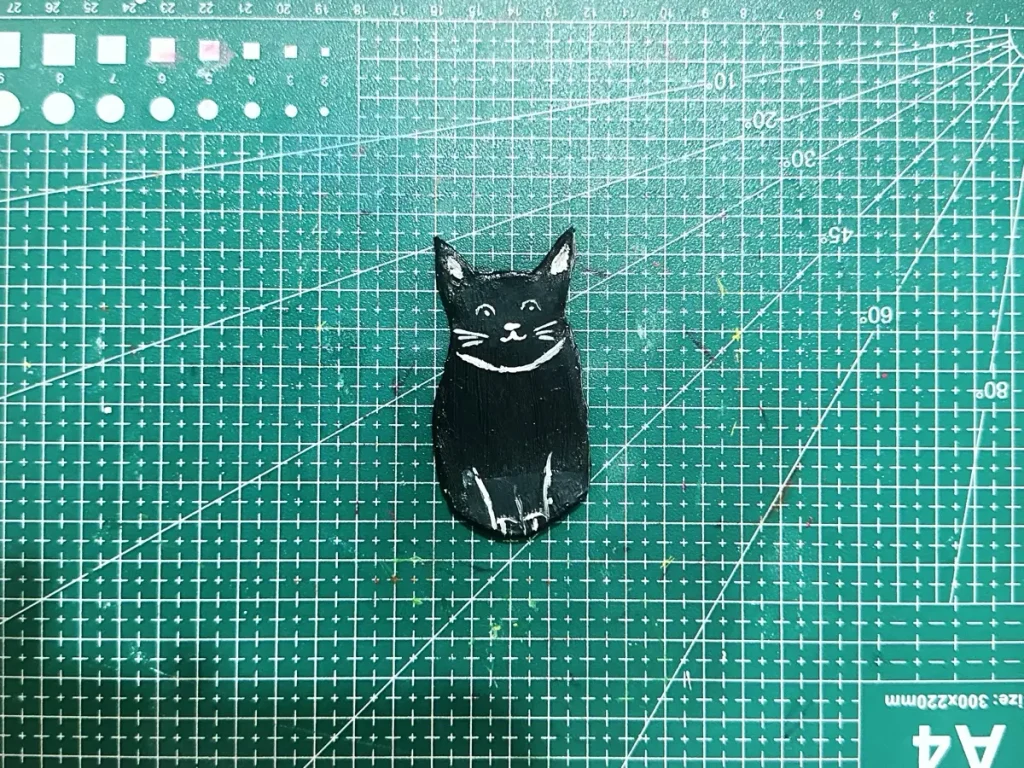
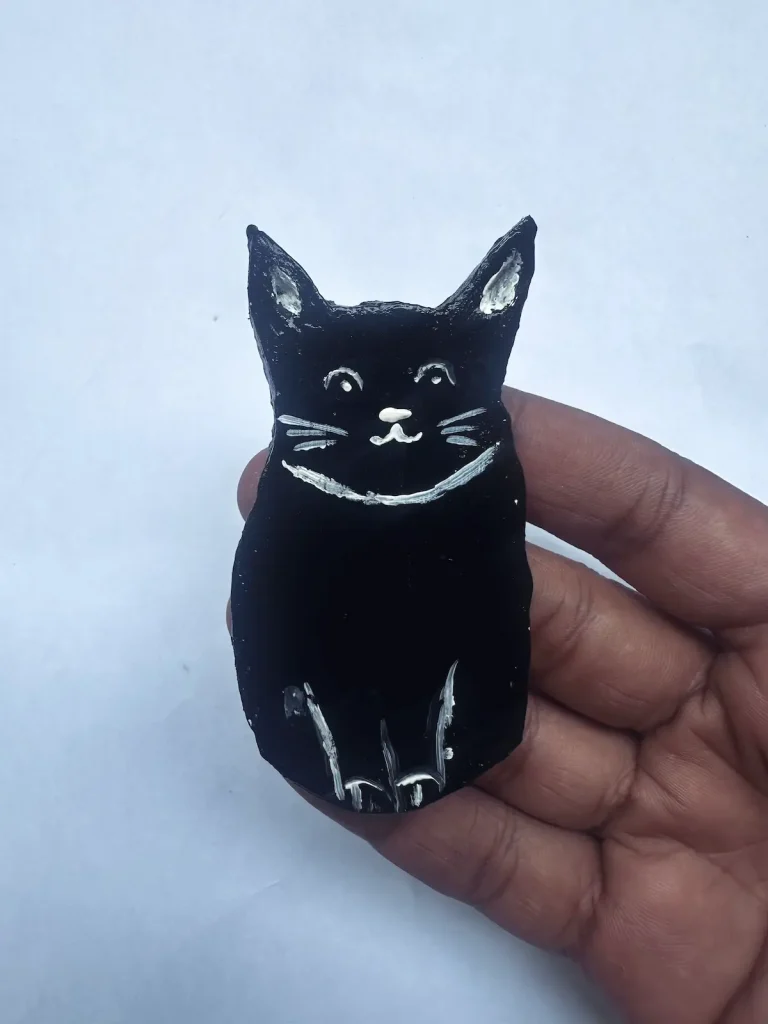
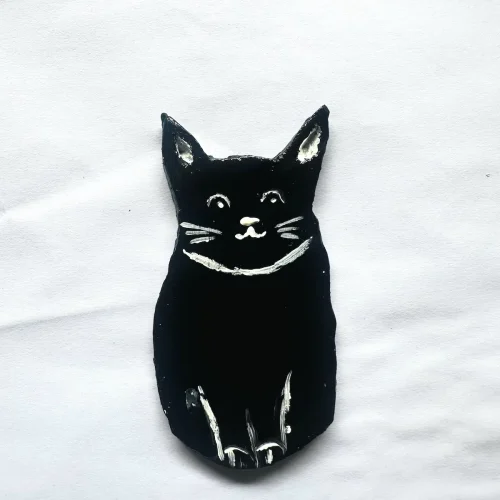
First, I painted the whole cat body with a black color because it is a Halloween craft. 🖤
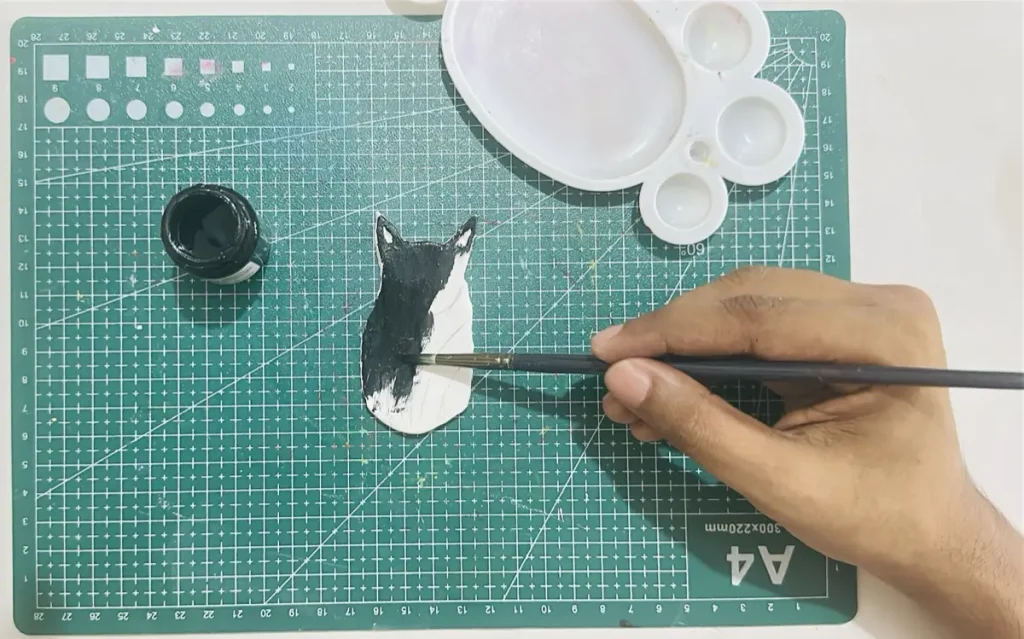
Next, I detailed the eyes, ears, mouth, and legs with a white color.
Finally, let the project dry for 2 hours before sealing.
Step 10: Sealing the cat
I used gloss varnish for sealing because it offers a glossy, ceramic-like finish and, most importantly, makes a water-resistant coating that protects air dry clay projects from moisture and weather elements.
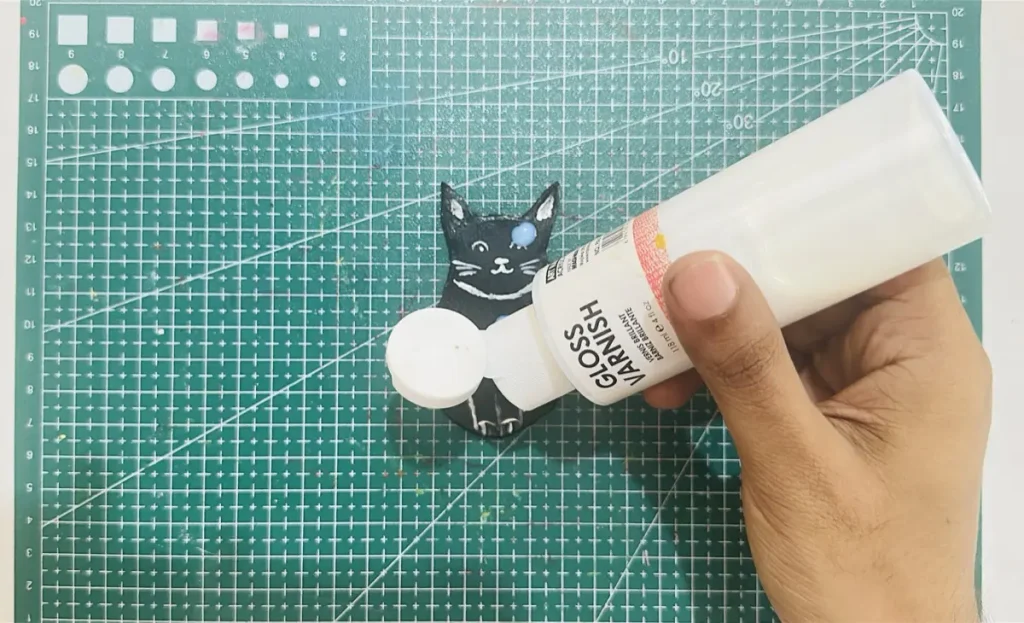
Or you can use polyurethane varnish, UV resin, or epoxy resin for a glass-like finish.
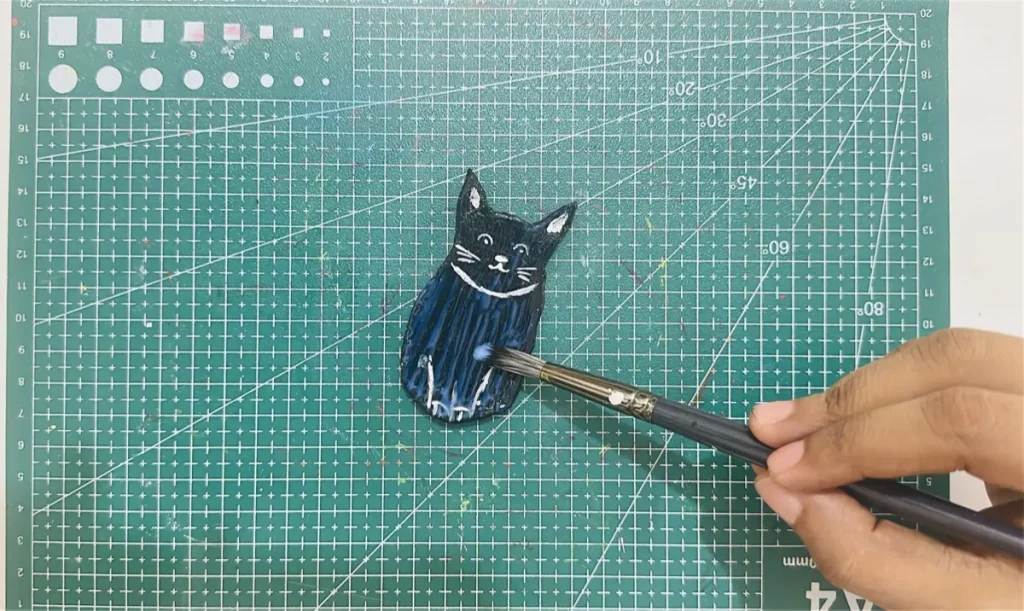
Apply 2–3 thin and even coats in one direction to avoid forming tacky spots and a mushy core.
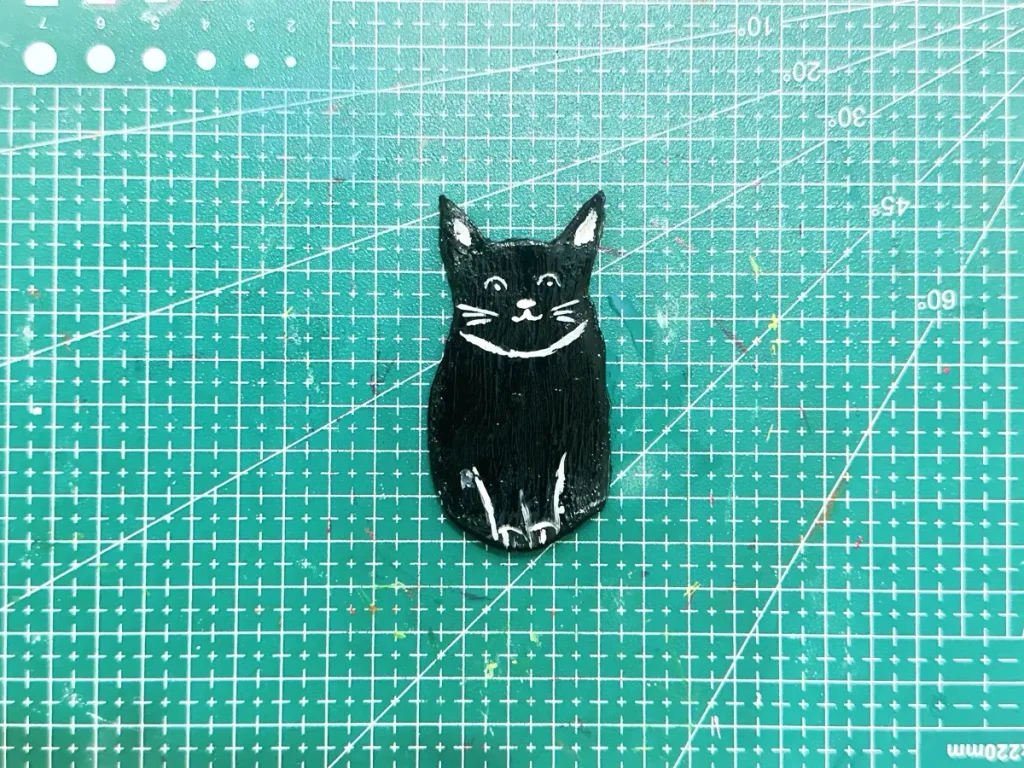
After the final coat, let the sealer dry for 24 hours to dry and cure. ⏳
Congratulations, crafters! We have successfully completed the Halloween bat—sorry, Halloween cat decor. 👏
Final thoughts 💭
Even though I had to be satisfied with the Halloween clay cat, I desperately need you to succeed in making the Halloween bat with the procedure given, right?
Make sure to plan the project ahead and get the ideal thickness as I said.
In this Halloween season, you can display it in your home as decor and gift it to someone to make them happy. 🎁
If you find out any further tips, tricks, and mistakes you made and learned how to fix, make sure to comment them down below, because as a community, sharing is caring.
Now it’s time to start making yours!
Be sure to tag @clayandmestudios in your Halloween bat or cat. I’d love to see your Halloween project. I’ll see ya with another awesome project. Cheers! 🤟🏾
DIY Halloween Black Cat Craft with Air Dry Clay 🐾

Supplies Needed
Air dry clay (DAS, Mont Marte, Jovi, or any reputed brand you can find is okay)
Acrylic rolling pin
PVC mat or silicone mat (or non-stick surface)
Clay crafting tools
Clay cutting tool (X-acto knife or small knife)
Cup of water or spray bottle
Acrylic paints
Gloss varnish
Paintbrushes
Paper towels
A pair of scissors
Optional: Sponge or silicone sculpting tool (or you can use your finger)
Instructions
1. Knead & Roll 🍕
- Condition your air dry clay with a little water and roll it out evenly.
2. Trace & Cut ✂️
- Place your bat paper template on the slab, trace the outlines, and cut out the shape.
3. Spot the Cat 🐈⬛
- If the tray wings crack or break while drying, smooth or sand down the broken edges of the central body—the bat body and ears double perfectly as a sitting cat silhouette!
4. Paint 🖌️
- Apply 2–3 coats of black acrylic paint as the base. Add cute eyes, ears, nose, and leg details using white paint.
5. Seal & Protect 🦭
- Finish with 2–3 thin coats of gloss varnish for a sleek, ceramic-like finish. Let dry for 24 hours to cure! ✨