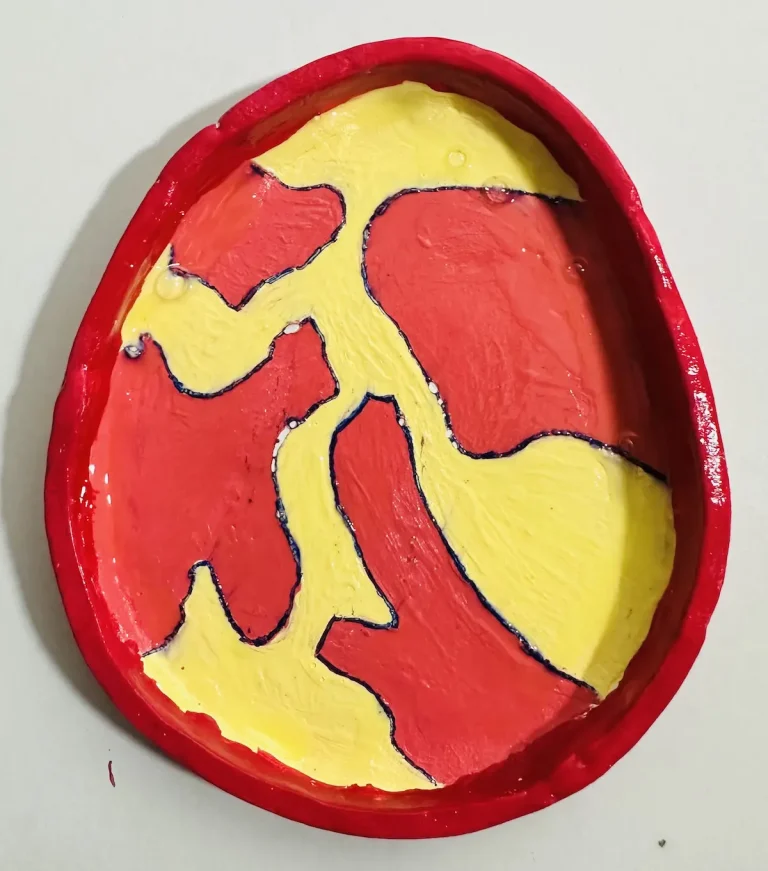
I have a confession. This is not the first time I have tried to make a pineapple trinket tray. My first attempt was ruined before I finished shaping the tray base due to poor air-dry clay selection and too much water. That was a really frustrating experience as a beginner air dry clay artist. 🎨
But it’s ok. I learned important lessons from it and told myself not to give up on pineapple and try that bad boy again. That’s what champions do, right? Lol. 🏆
So, here I am, telling you how I successfully did my comeback. ✨
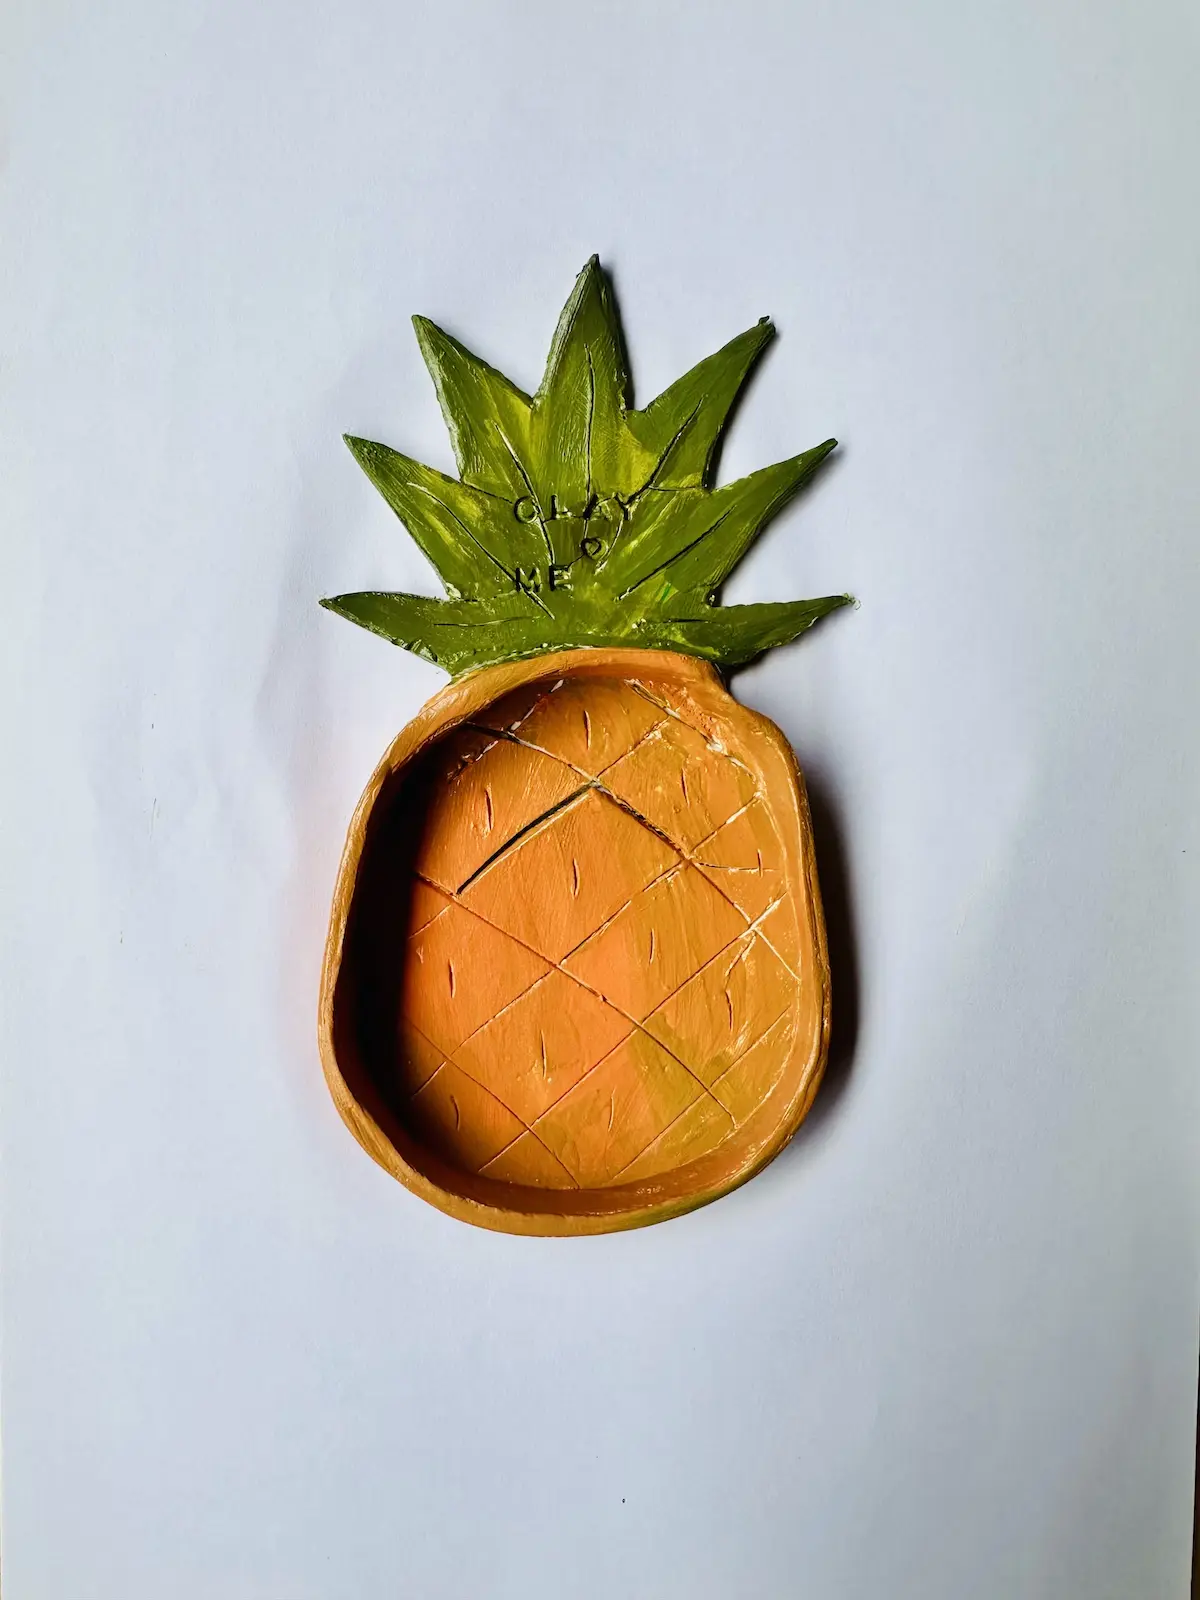
As beginners, we do make mistakes, and we learn from them. Giving up on your dream is not a choice. You should try again and again until you win.
Actually, I don’t like to follow experts’ advice because they seem too complex. I always try to find simple ways to do things better. That’s how I made it.
Enough chit chat! Let me tell you in detail how I made this beautiful pineapple trinket tray using simple and easy techniques that are great for beginners like us. 🍍
Let’s dig in! 🛠️
The pineapple tray comeback: what I learned from my first try
During my first pineapple trinket tray attempt, I had to use an unbranded air dry clay product instead of the brand I usually use, Mont Marte air dry. That unbranded air dry clay product is prone to cracking and does not soften enough for shaping, even though I added more water while kneading.
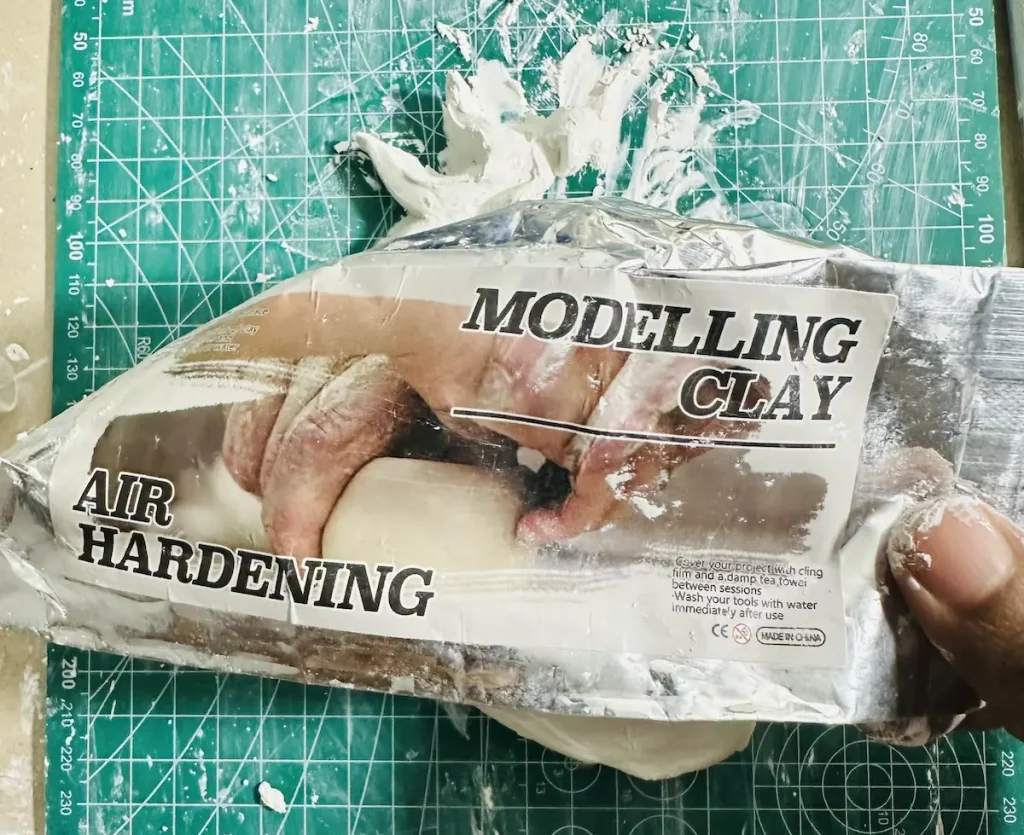
When rolling the clay slab, microcracks started to occur on the surface and around the edges. This caused the edges to tear while rolling.
When I tried to lift the clay up while rolling, it tore and stuck to the mat I was working on.
I use a PVC mat so there is no chance of clay sticking to the mat, especially when I flip, turn, and rotate the clay slab while rolling. So, it was purely the bad air dry clay product that ruined my project.
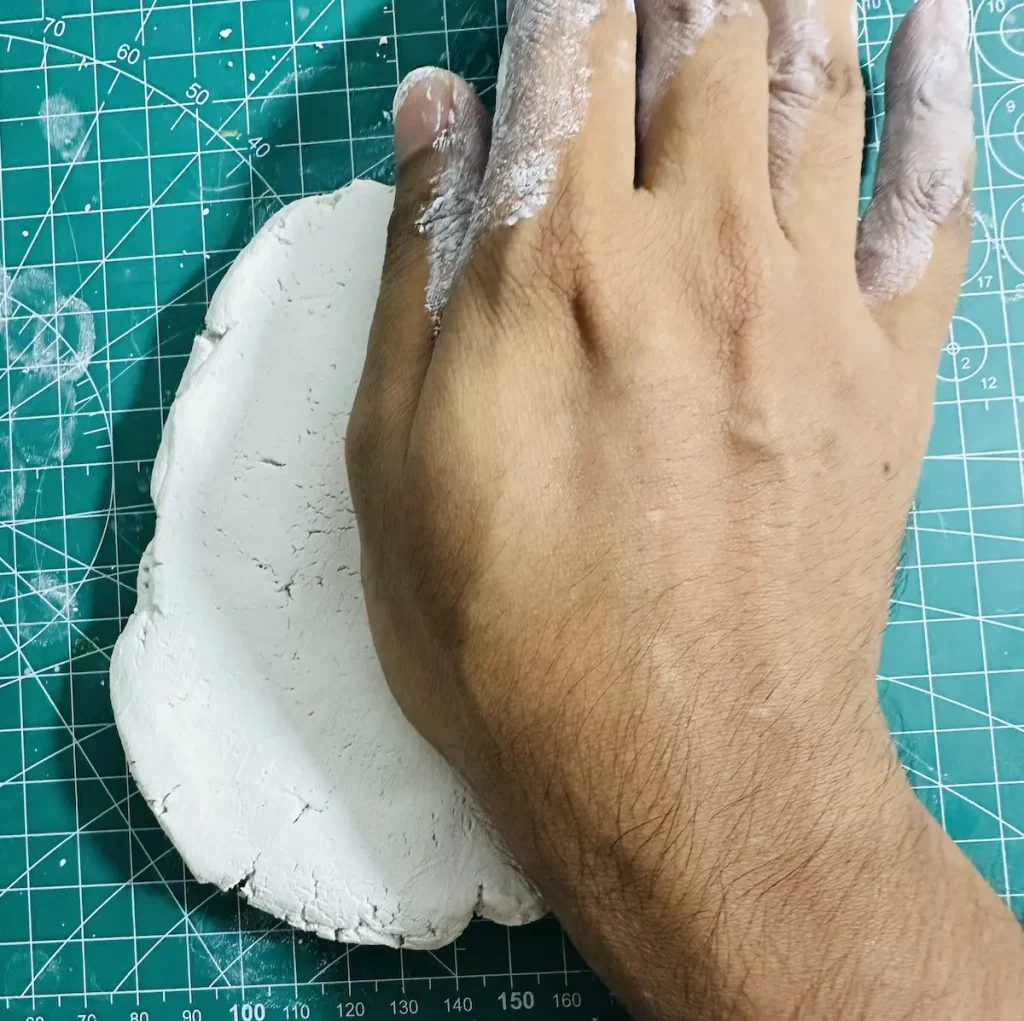
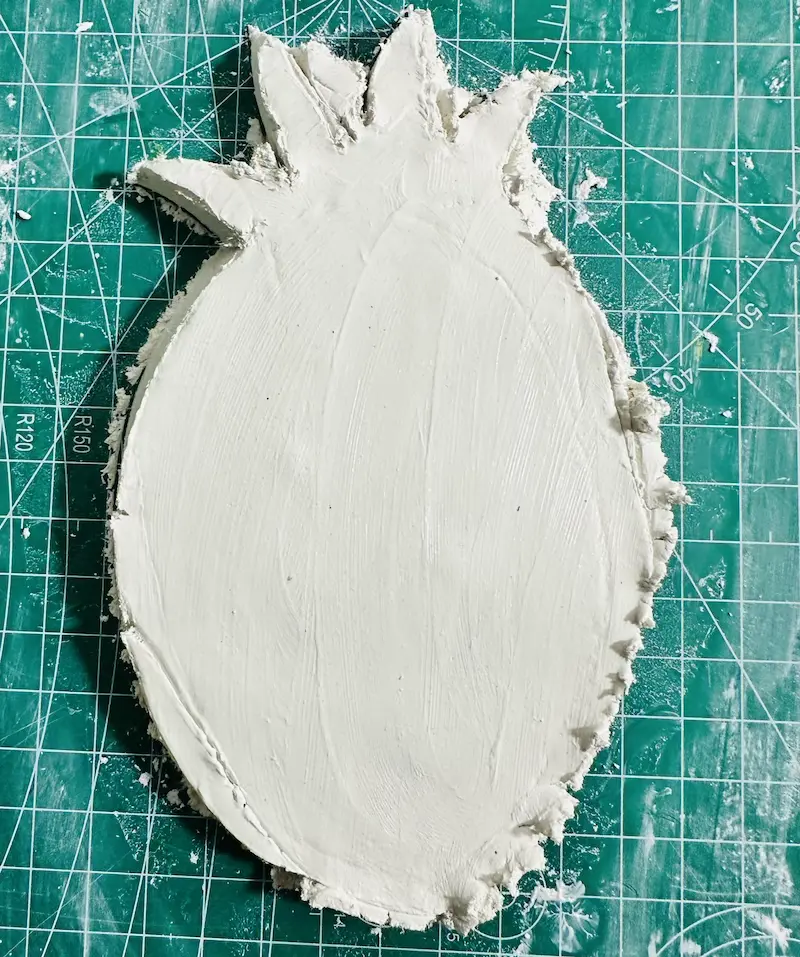
Because of the extra water I added, the clay became too soft and dragged along the craft knife as I cut the tray base, creating ragged, torn edges.
I couldn’t proceed to the next step because my attempts to smooth the tray base were unsuccessful. The edges were torn so severely that simple smoothing couldn’t fix them. So I gave up.
When starting out this project, I kept the promise not to use that unbranded clay product and added a little bit of water when kneading the clay to get the outcome I wanted.
So, let’s see how it went.
Materials and tools needed
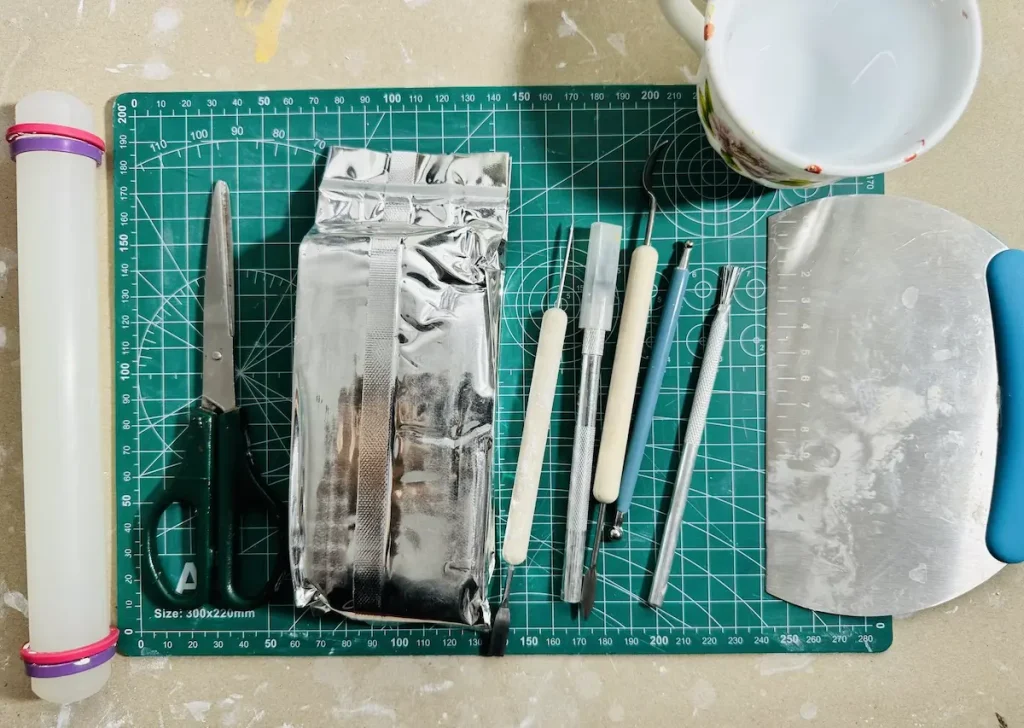
If you couldn’t find any of the following supplies, you can replace it with anything you can find in your household. No need expensive tools to work with air dry clay.
- Air dry clay (any reputed brand you can find is okay, I used Mont Marte)
- Acrylic rolling pin or cooking rolling pin
- PVC mat or silicone mat (or non-stick surface)
- Clay crafting tools (or use toothpicks)
- Clay cutting tool (or small knife)
- Cup of water or spray bottle
- Acrylic paint (yellow, white, green)
- Gloss varnish
- Paintbrushes
- Paper towels
- Optional: Sponge or silicone sculpting tool (or you can use your finger)
The reason I used air dry clay for this project is because it does not need to be kilned or baked. It’s easy to shape with a little bit of water, dries in the air, and is cheap compared to other clay types (ex: polymer clay). ☁️
Grab the items above and get ready to start making! 🚀
Easy diy pineapple trinket tray tutorial video
Below I’ve attached the full tutorial video with all the steps I have taken, tips and techniques I used, mistakes I did and how I fixed them when making this beautiful pineapple trinket tray project with air dry clay.
Feel free to watch! 📺
Now let’s look at the detailed written step by step guide.
Step-by-step pineapple trinket tray tutorial
Go to a well ventilated area before you start making. I don’t want you to cough during the project because of fine air dry clay particles. Lol.
Step 1: Kneading the clay
Unpack and cut the clay piece you want for the project and condition it with a little bit of water by tapping.
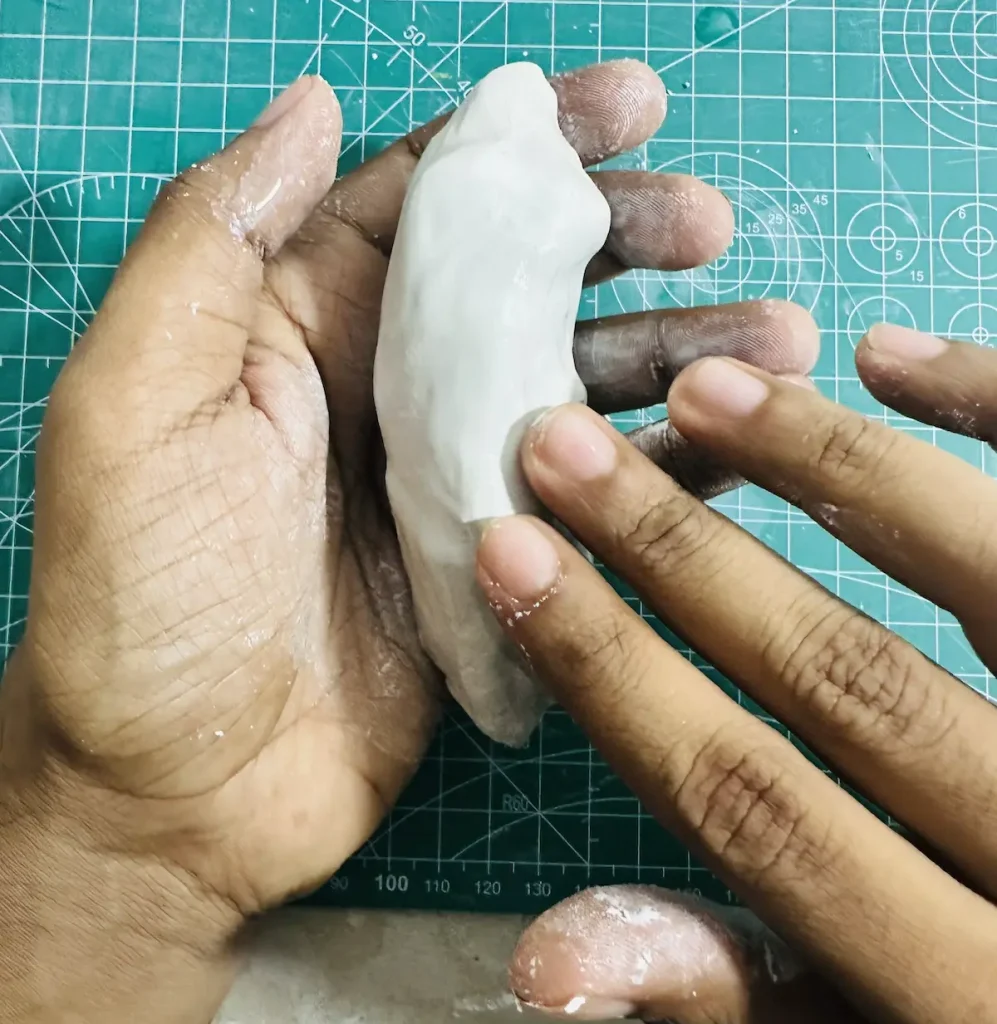
Then make your palms wet and start kneading the clay well until it becomes soft enough for shaping like a dough.
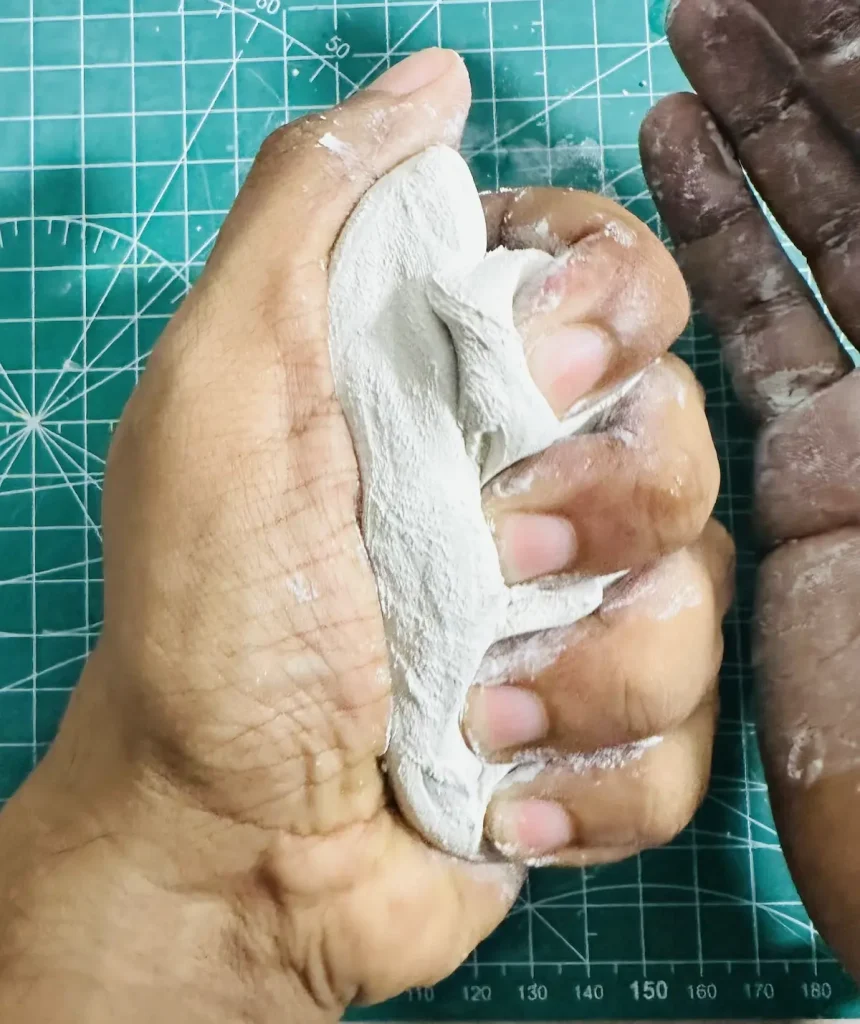
Make sure not to add too much water while kneading because too much water makes the air dry clay sticky, messy and causes uneven shrinkage when drying.
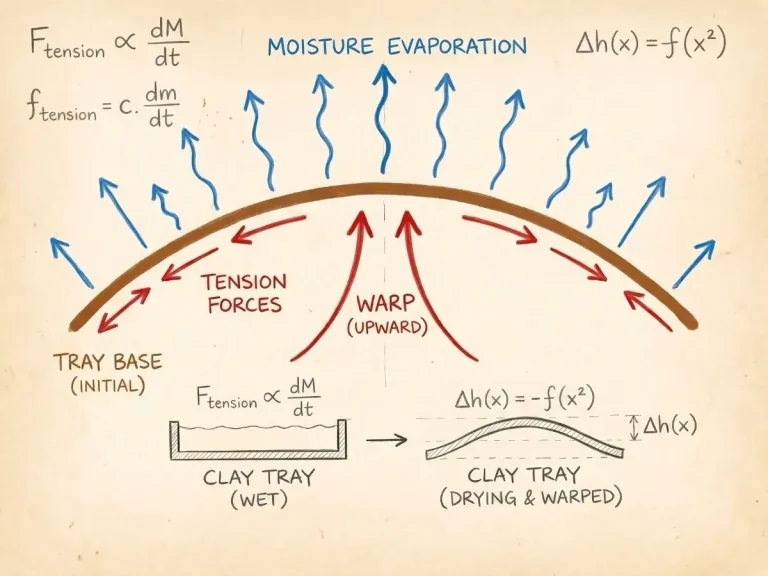
Air dry clay is a highly porous material with lots of air bubbles and moisture inside. Kneading helps to spread the moisture evenly across all the layers of the clay. This helps to evaporate water evenly during the drying phase and avoids clay from cracking. 💧
But adding too much water increases the moisture evaporation speed of the outer layer more than the inner layers, which builds up tension between the clay layers. Finally, the air dry clay ends up warping and cracking. ⚠️
Upon kneading, the clay becomes more and more soft with the right amount of moisture. That’s the time to start rolling. 🌀
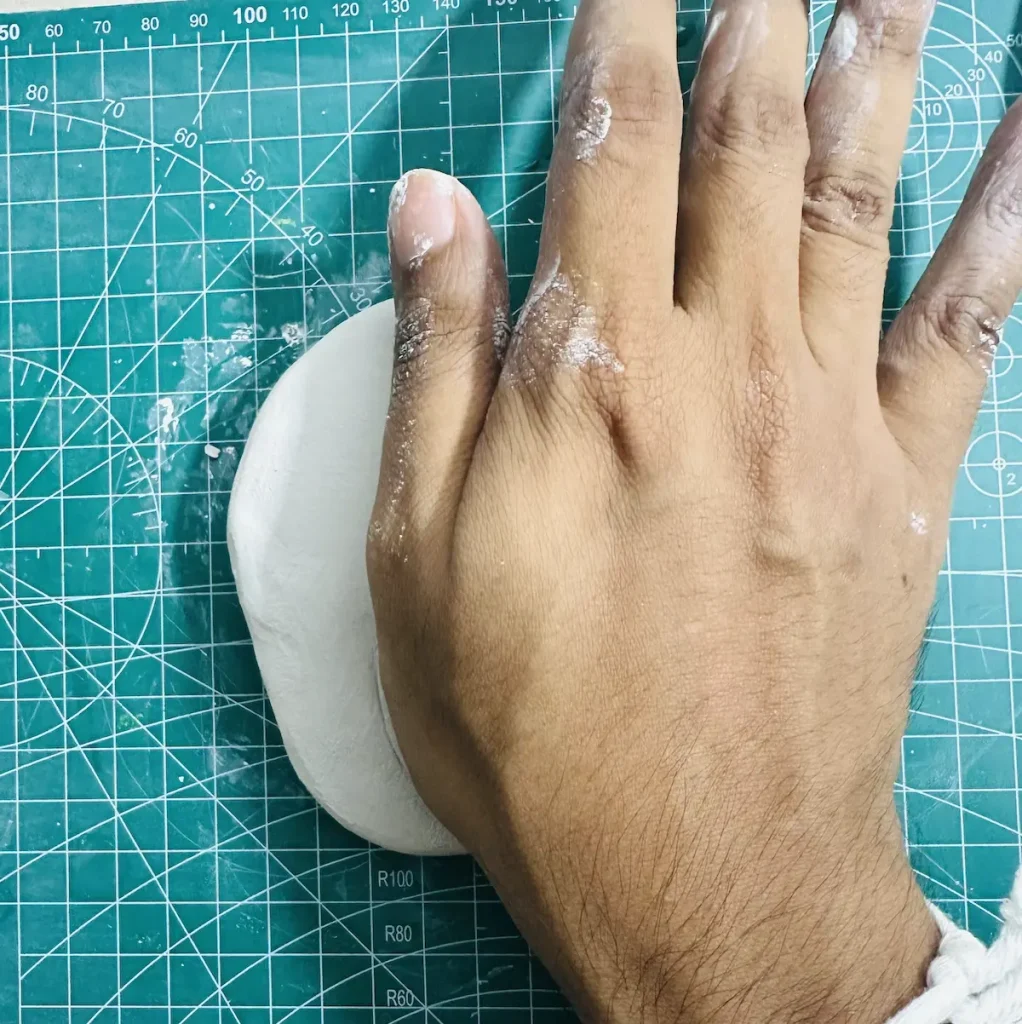
Step 2: Roll the clay
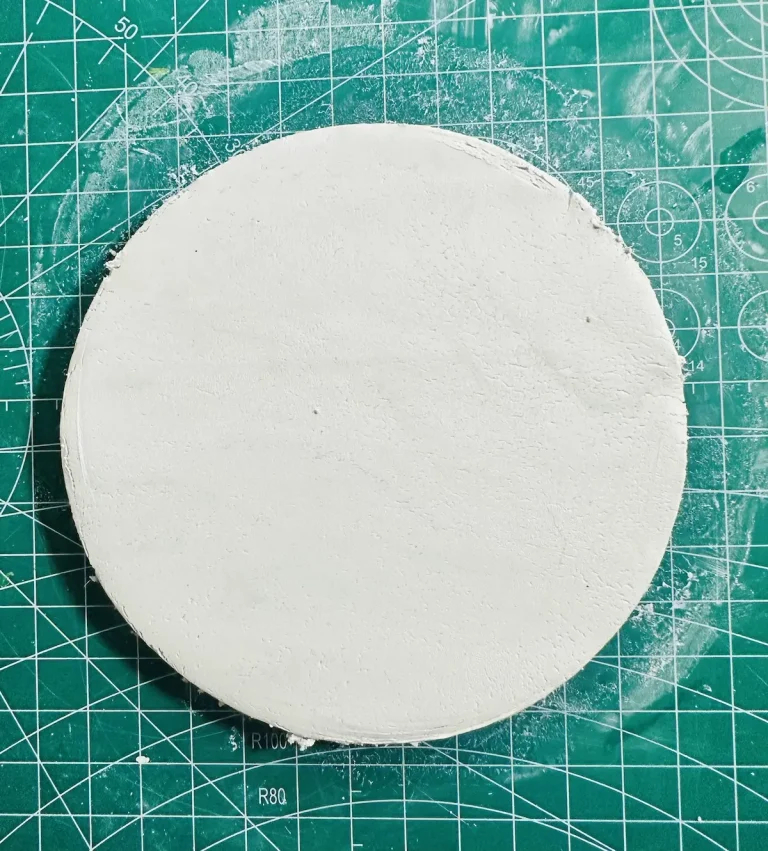
Place the kneaded clay on your mat and start rolling with your acrylic rolling pin to an even thickness.
Don’t make the clay slab too thin because it’ll lose its structural stability and tear when lifting up while rolling. Too thick a clay slab takes ages to dry completely.
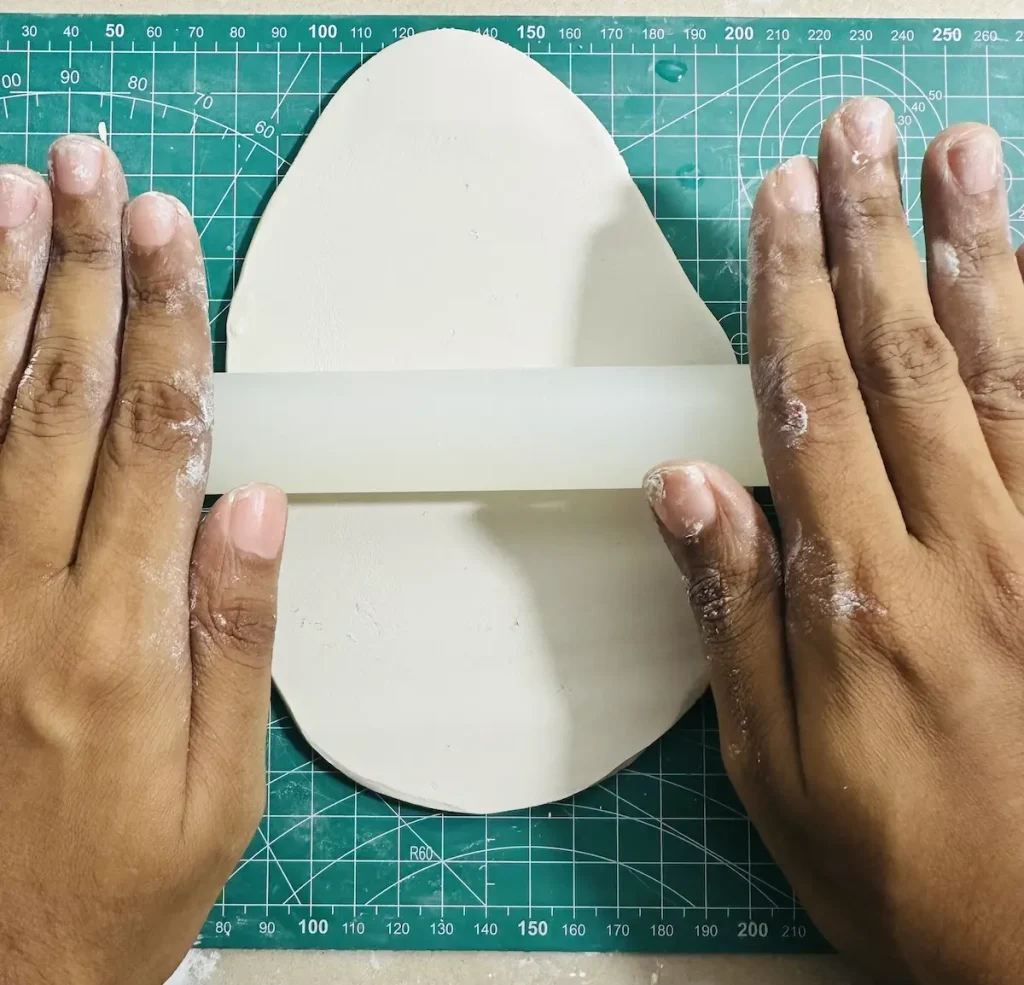
Optimum thickness is ½ inch, so I aim for that. That’s what I did when making this pineapple trinket tray project.
Make sure not to roll clay slab continuously without changing its position. You should flip, rotate and turn the clay slab 90 degrees while rolling to avoid air dry clay from sticking to the surface.
During my failed pineapple trinket tray project, I started noticing micro cracks on the clay slab and around its edges while rolling. If you too see those signs, never ever apply more water, knead and start rolling again. This increases the moisture level inside the clay and you’ll end up with torn edges because wet clay sticks to the blade and drags with it. You should change the air dry clay. That’s the issue.
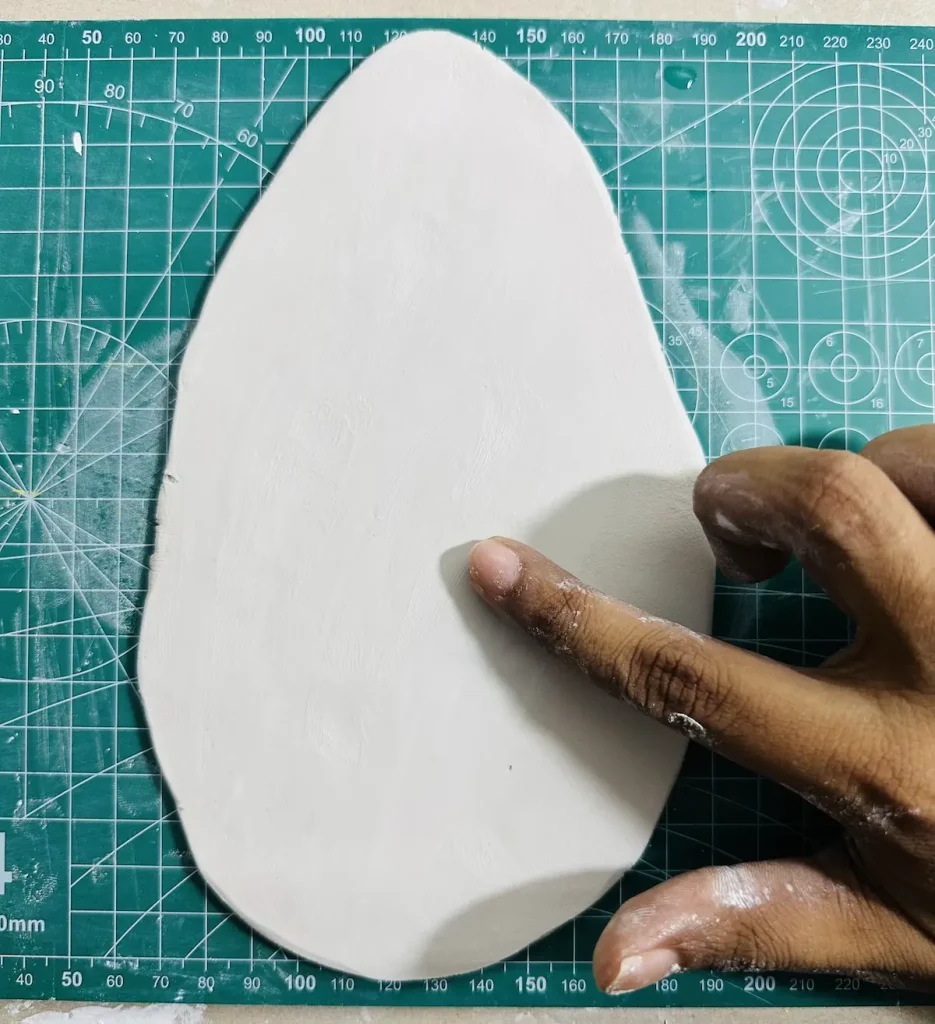
After rolling is done, smooth out the clay slab surface and around its edge by dipping your finger in the water and gliding it on the clay slab to remove small bumps, micro scratches and cracks.
Step 3: Shape the pineapple tray
For shaping, you can either use a paper template, mold, cookie cutters or freehand skills as I did.
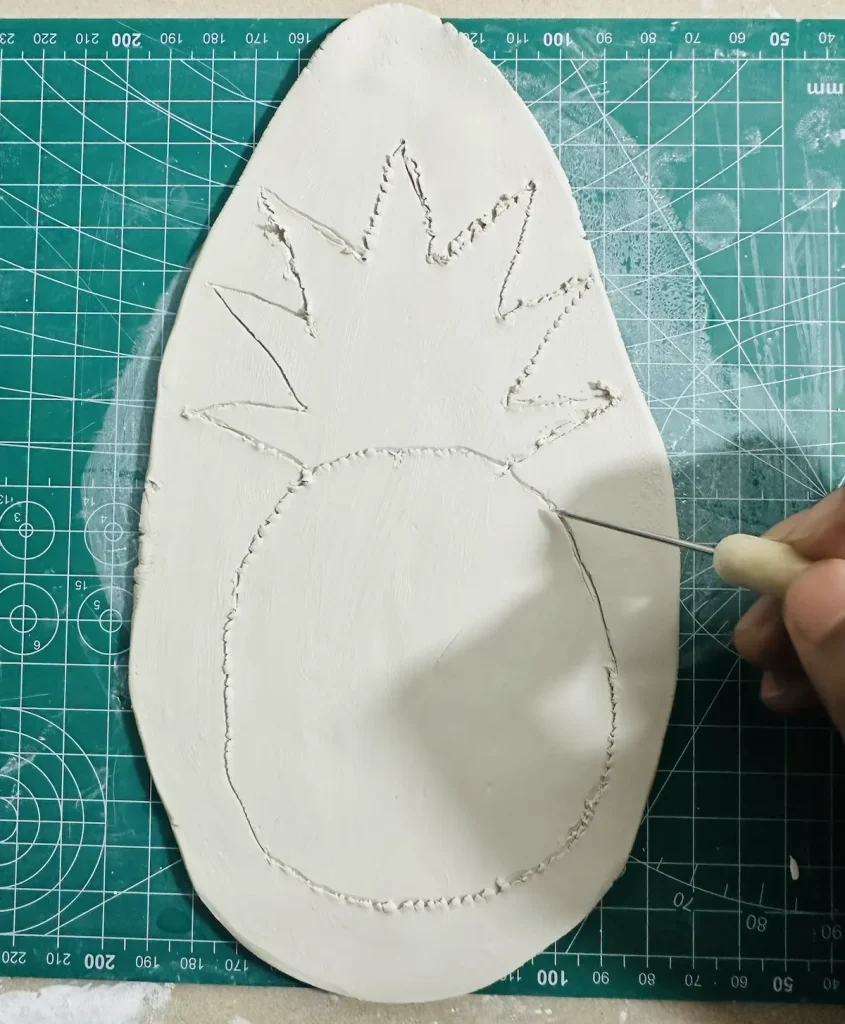
I’m a big believer of freehand cutting. Actually, that was also a reason why my previous pineapple tray project was ruined because I had to trace the pineapple shape several times of wet clay and the edges were torn when I cut around it.
So, use freehand with caution. If you’re bad at drawing like me, you’ll probably have to trace multiple times to get the shape you want on the wet clay slab. Each time you make a mistake while tracing, make sure to correct that by gliding your wet index finger over the mistake until it vanishes.
Luckily, this time I was able to trace the shape of a pineapple on the wet clay slab with minimal errors from my first try. Hooray!!! That was a huge achievement.
If you don’t like freehand cutting, try the paper template technique. First, Google Pineapple 2d images and take a printout of one. Cut along its outline and place the paper template you made on wet clay and cut around it.
The paper template method is accurate, easy and not time consuming like the freehand method. But the freehand method is great if you like to improve handling skills. That’s why I did that.
After tracing the pineapple shape, take the clay cutting tool or small blade or craft knife and cut along the traced lines.
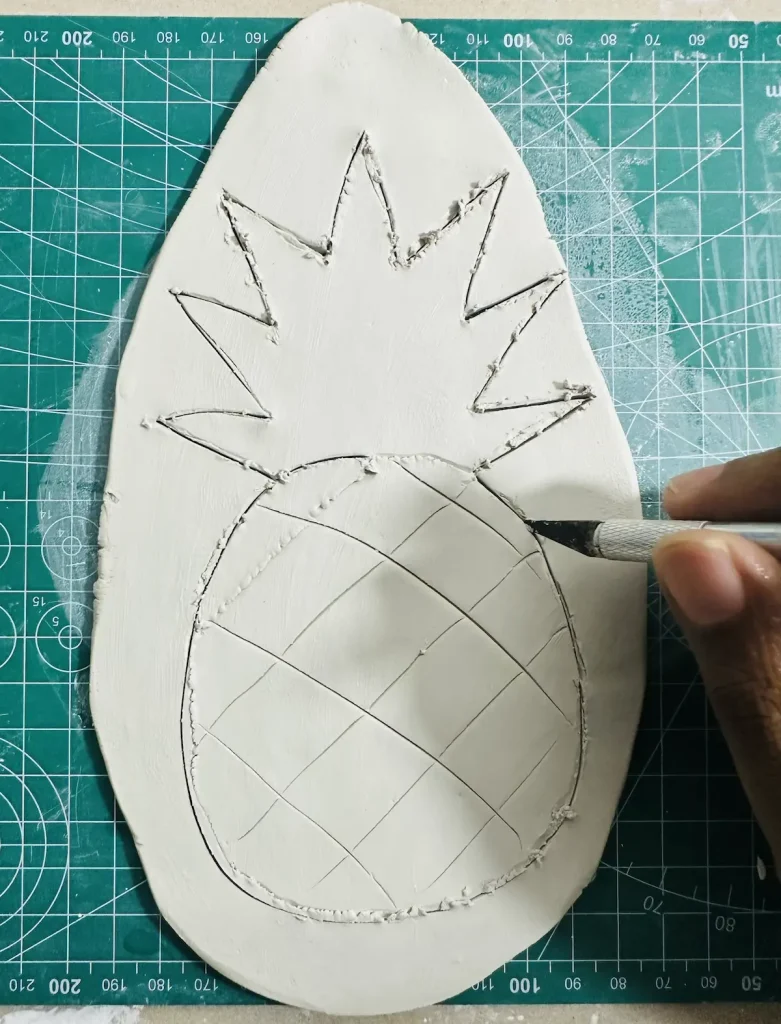
I didn’t make the leaves separately. I traced the base and the leaves all in one clay slab and later added the tray rim only around the pineapple fruit part, not around the leaves. Or you can make leaves separately and attach them to the base later. Both ways are ok. 🍃
Now you have successfully
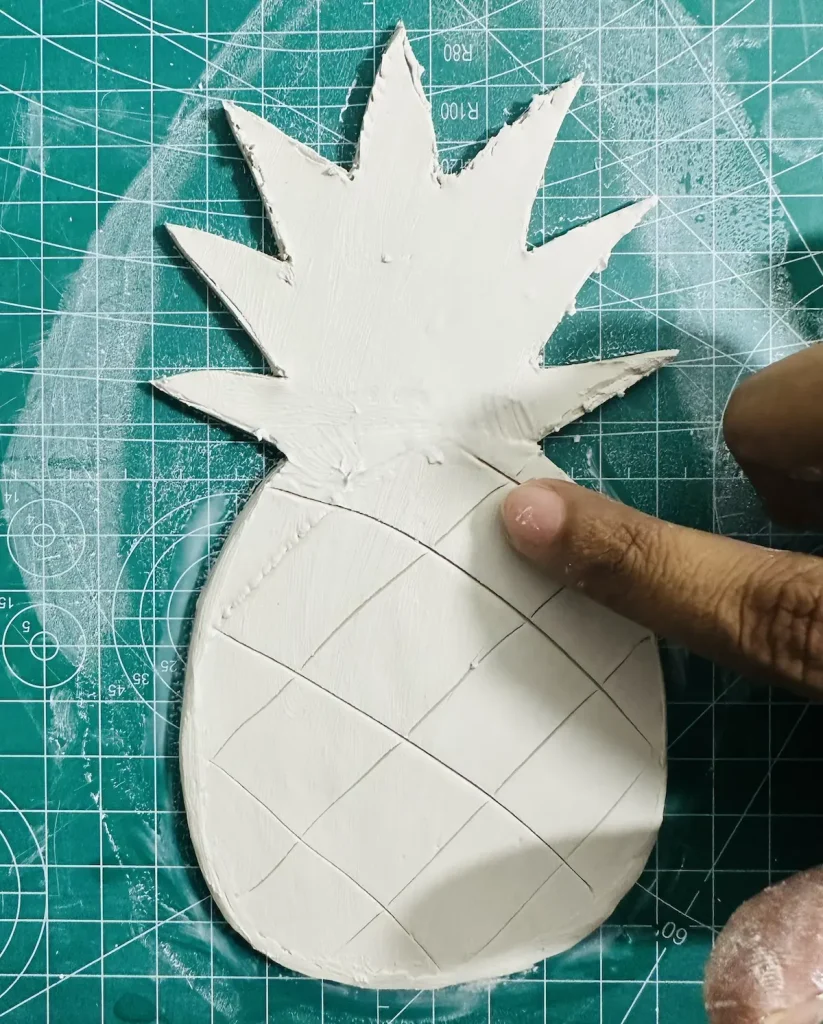
Step 4: Carve the grid texture on tray base
Take a toothpick or clay needle tool and carve the grid texture on the pineapple tray base to make it more realistic.
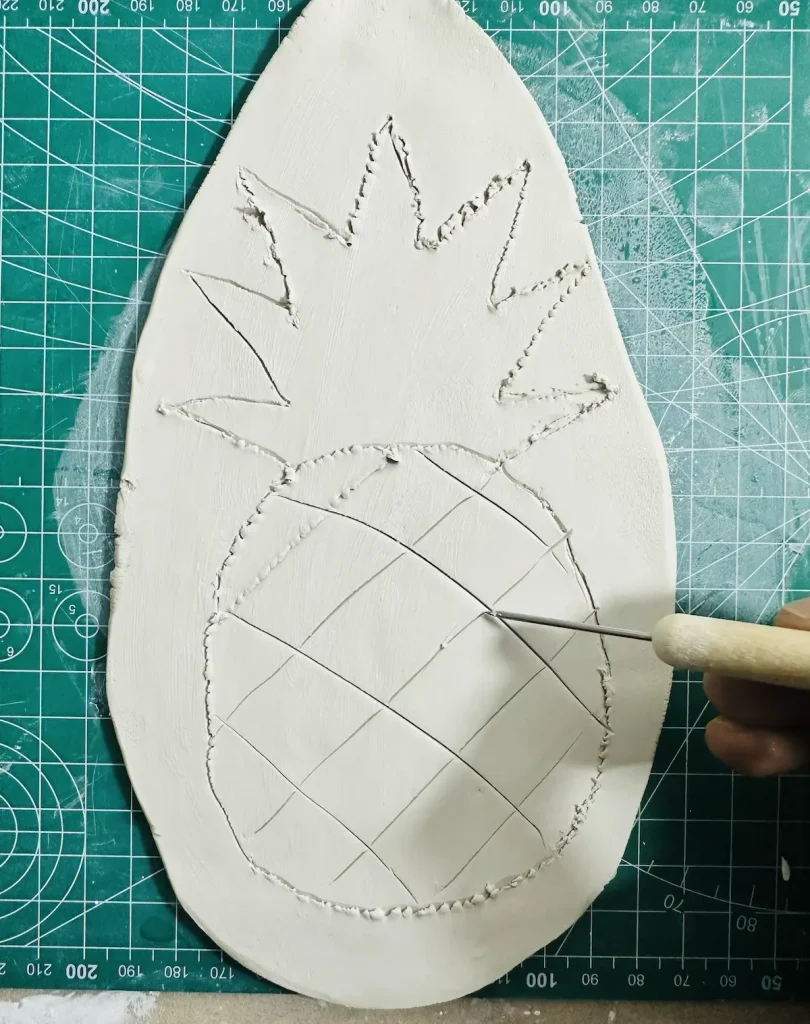
Don’t overthink the detailing because not all pineapples look the same. Do the detailing as you wish with the tools you have. Let your one be unique. That’s your brand.
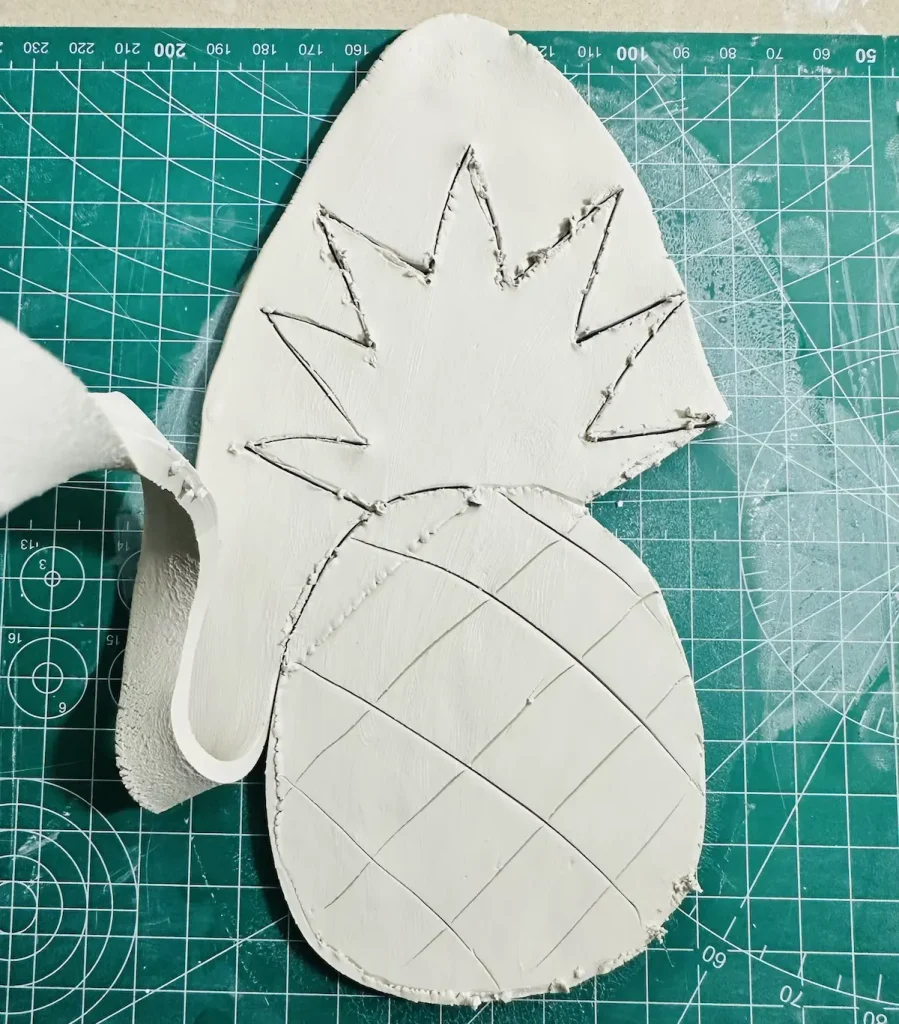
Well done, friends! You have successfully made the pineapple tray base. Now it’s time to make the tray rim. ✅
Step 5: Make the tray rim and attach
Take a fresh clay piece and start kneading. Then roll it to an even thickness (½ inch).
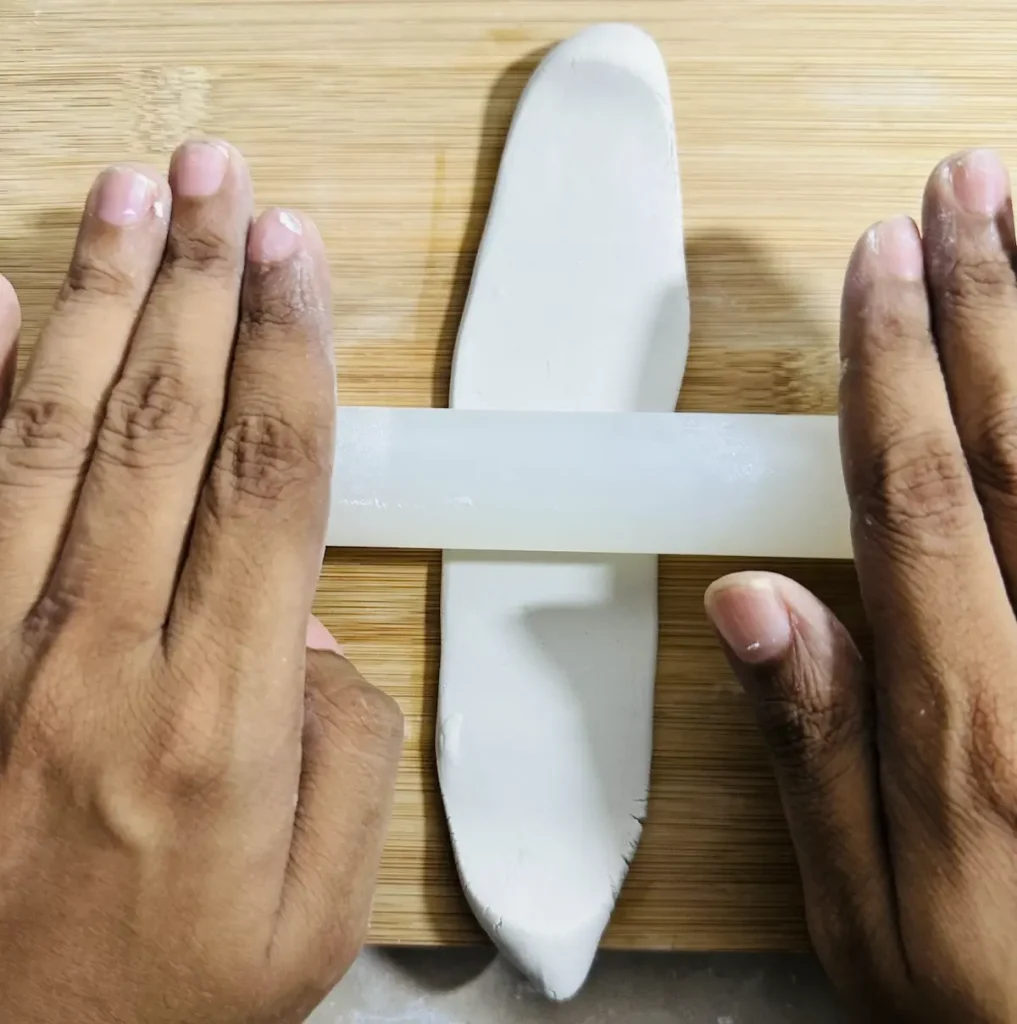
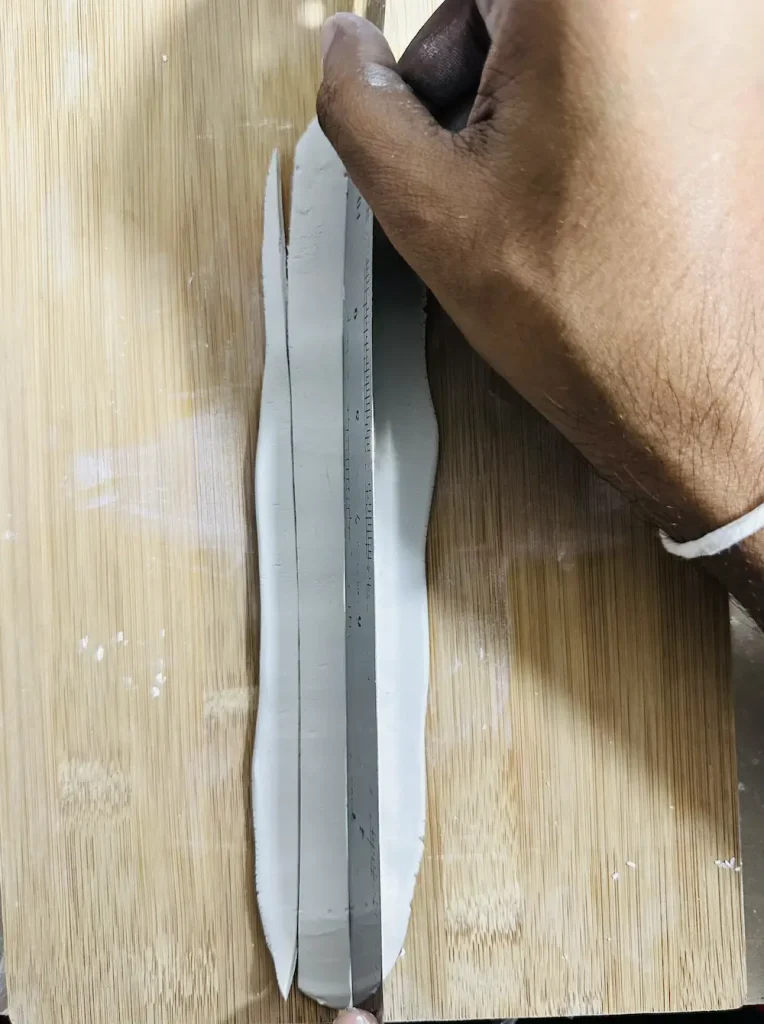
I took the ruler and marked thin equal sizes of strips on the wet clay slab.
Next, cut along the traced lines and make thin air dry clay strips.
After making the strips, score around the edge of the pineapple tray base using your scoring tool or toothpick.
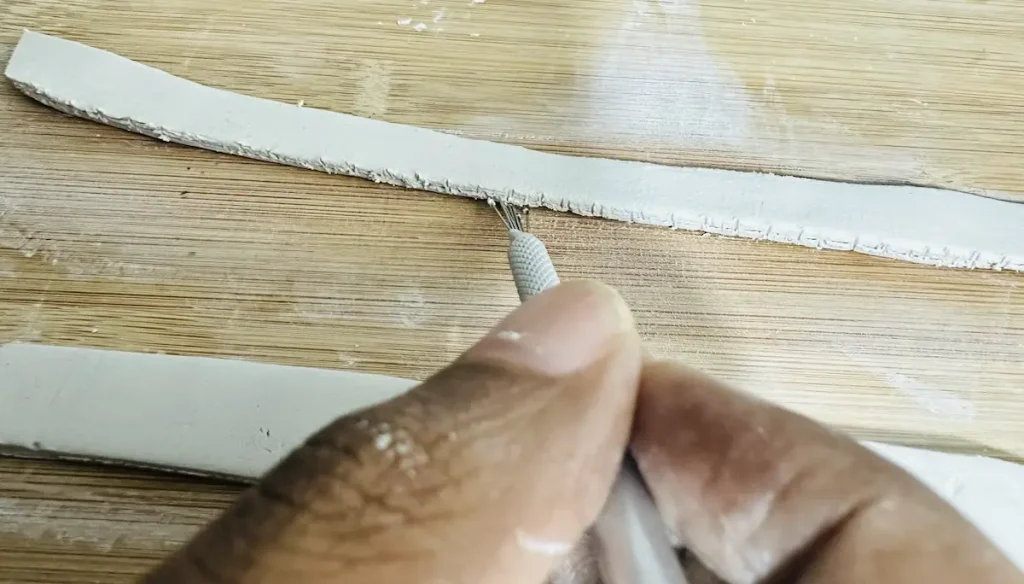
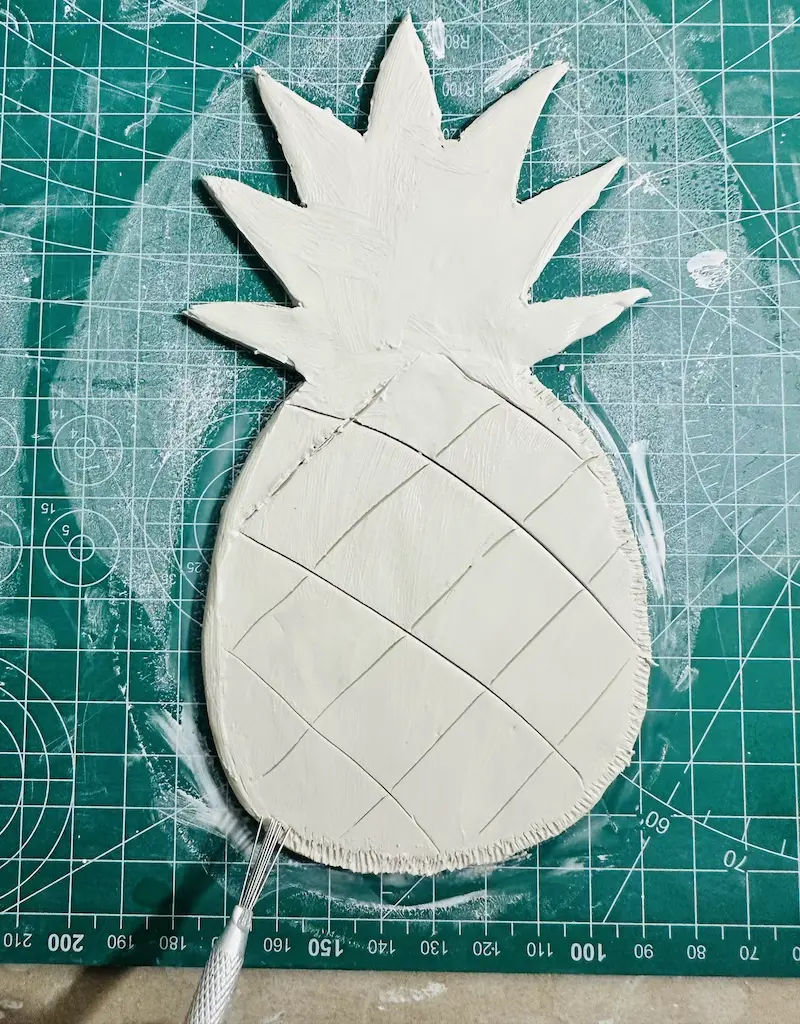
Next, score the bottom area of the thin clay strips and wet the scored air dry clay areas of both the pineapple tray and strips by tapping a little bit of water.
Scoring air dry clay is a must before attaching.
Now place the scored area of the tray rim on the scored area of the tray base and press gently. Hold it for a few seconds before releasing. Make sure to join the edges of the tray rim as well to make it round around the base.
After joining the tray rim to the tray base, smooth the whole tray using your fingers after wetting it and gliding over the surface and edges.
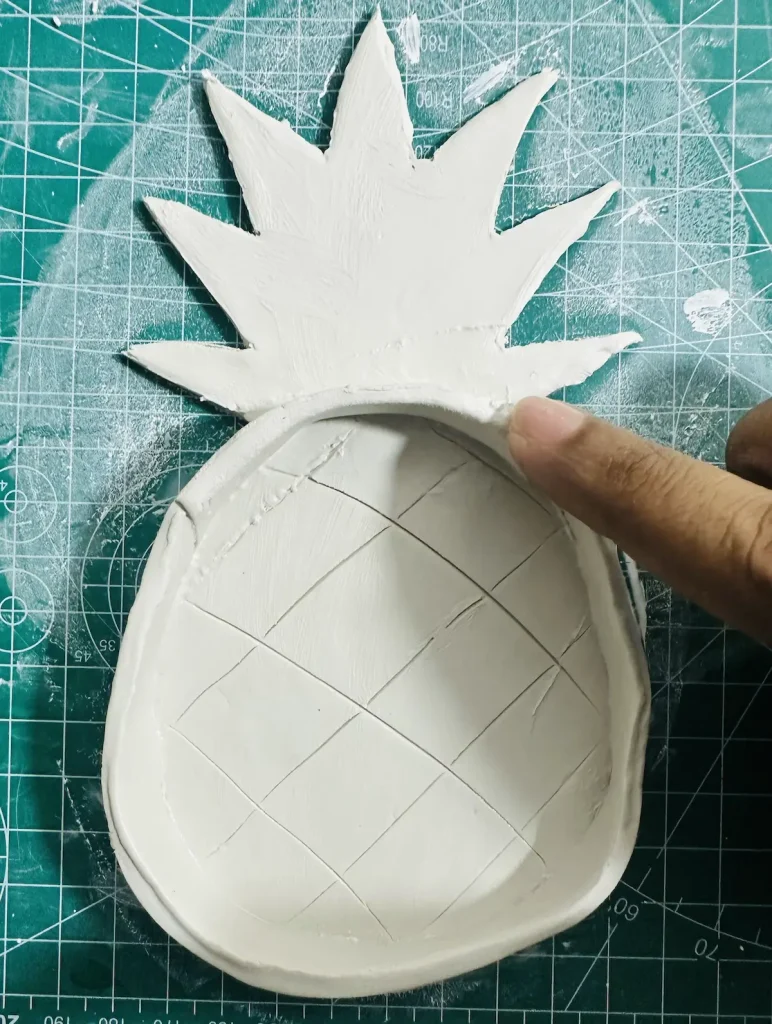
Step 6: Detail the pineapple leaves
Take a toothpick or clay needle tool and carve the leaf textures on the pineapple tray leaves to make it more realistic.
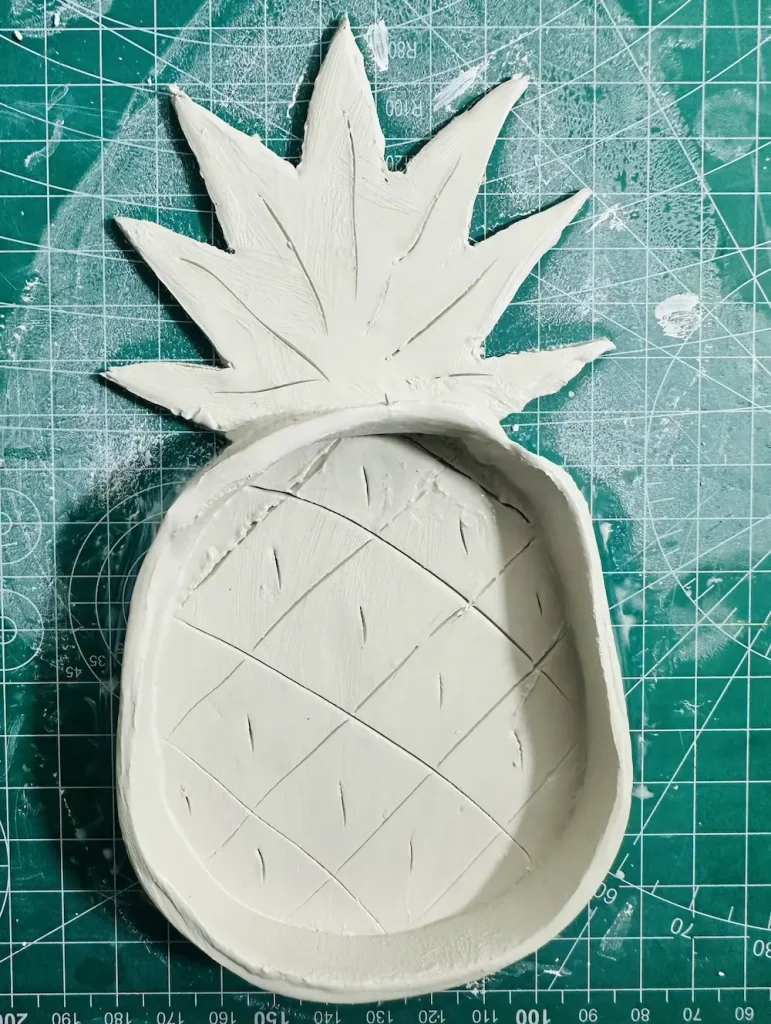
Step 7: Carve the custom lettering (optional)
This step is optional. I’ve recently purchased a small set of letters that can be carved on air dry clay by pressing.
I set up “CLAY ❤️ME” on the stamp and press it gently on the wet clay leaves area to leave my brand name on it.
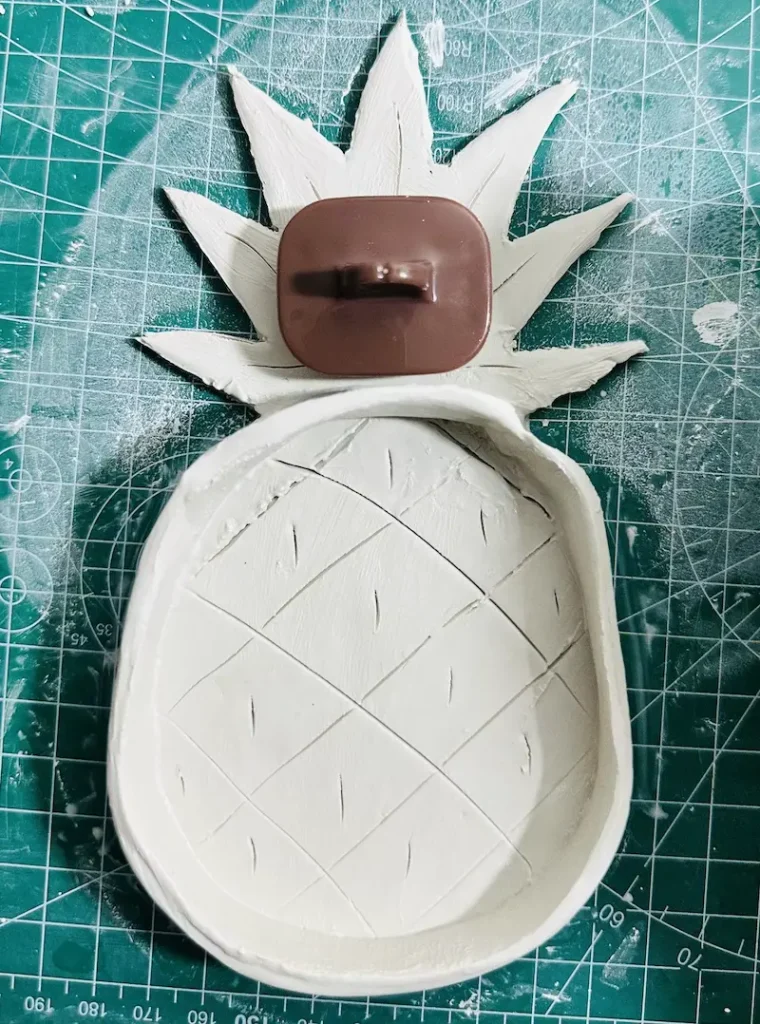
Do this carefully without damaging your tray base.
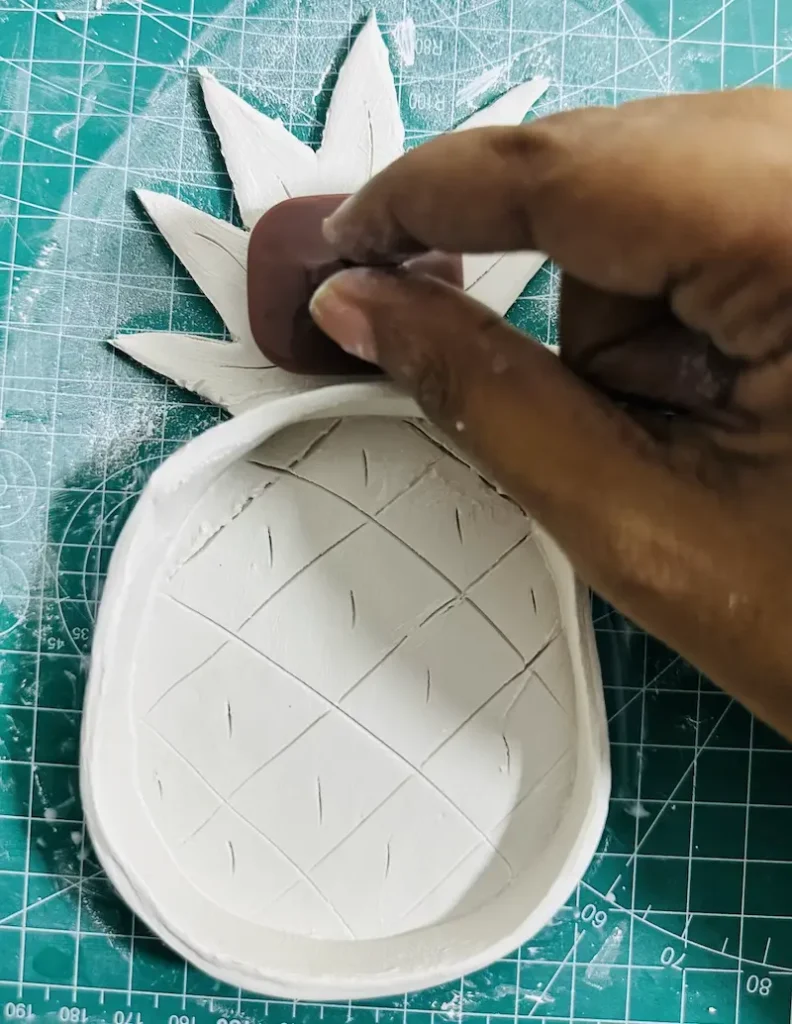
Congratulations guys and gals! Now you have completed the pineapple trinket tray project. I was so happy because I couldn’t reach this step in my previous project due to that bad air dry clay s**t. 🎉
Step 8: Let the tray dry
After making the tray, let it dry completely for 24-48 hours in a well ventilated and cool area.
Make sure not to place it outside or in the sunlight to increase the drying speed because faster drying means faster water evaporation from the outside than the inside. This can lead clay to crack.
Let your air dry clay project dry slowly for better results with no cracks.
After 2 days, check if there are any grey patches on the clay. If there’re none, you are good to start the painting. If not, let it dry for another 24 hours.
Generally, drying time depends on the clay thickness and the humidity of your area.
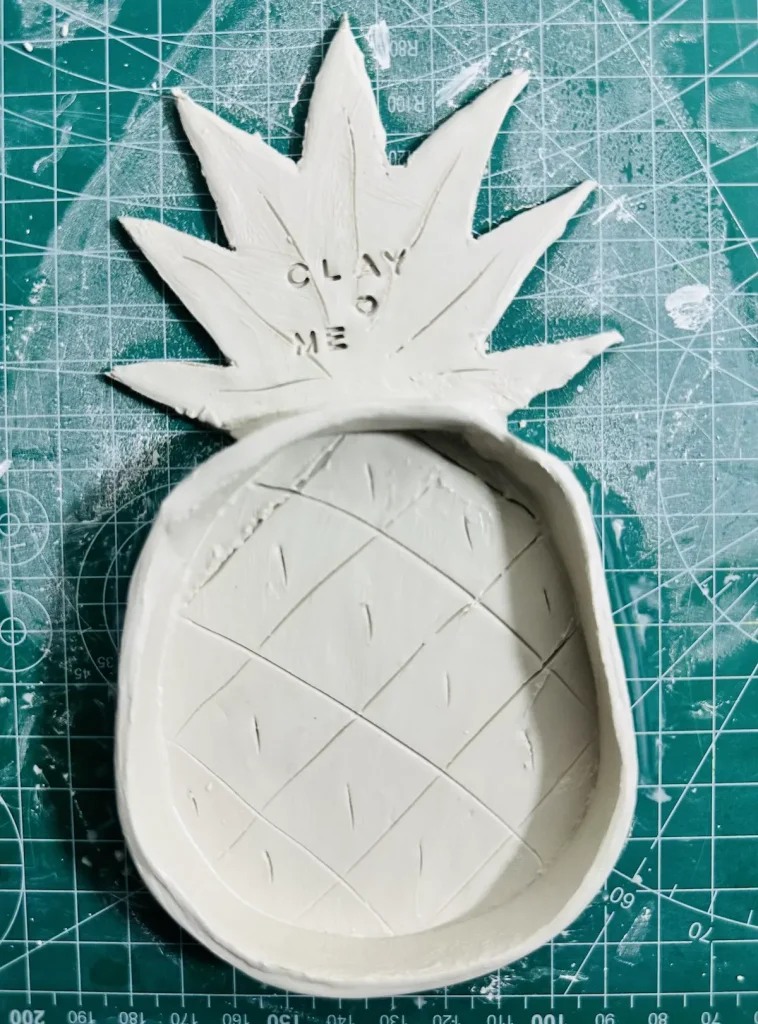
Step 9: Paint the pineapple trinket tray
After drying it fully, paint the pineapple trinket tray with acrylic paint. I don’t recommend using watercolors because they need a lot of water. Water weakens your air dry clay project and may result in cracks when drying. 🖌️
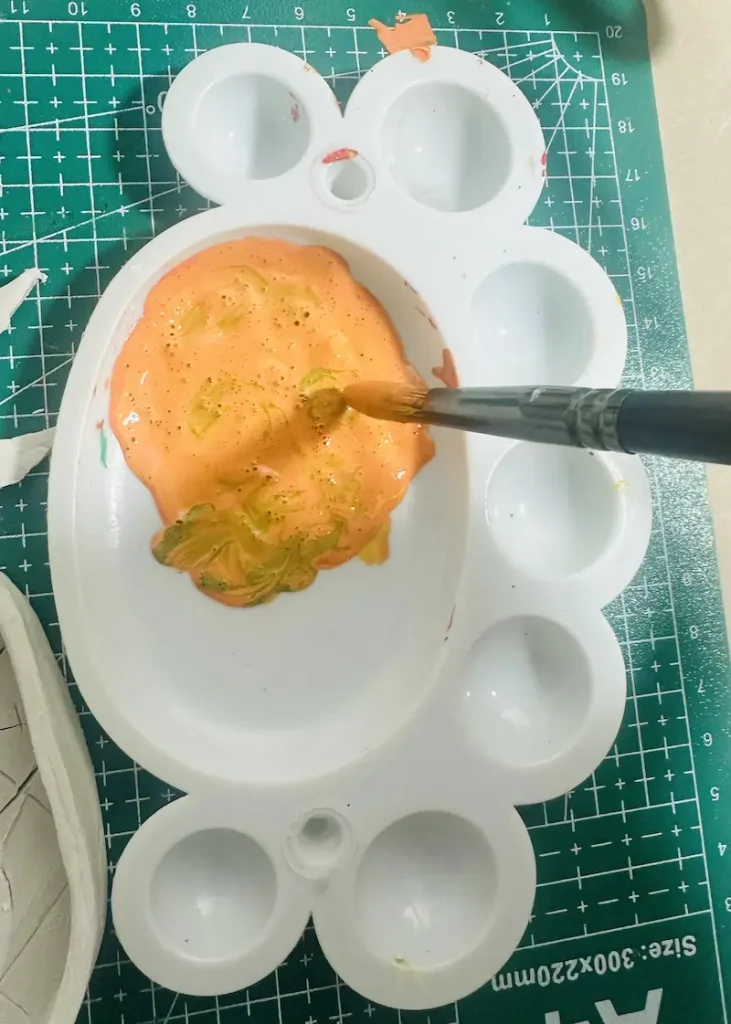
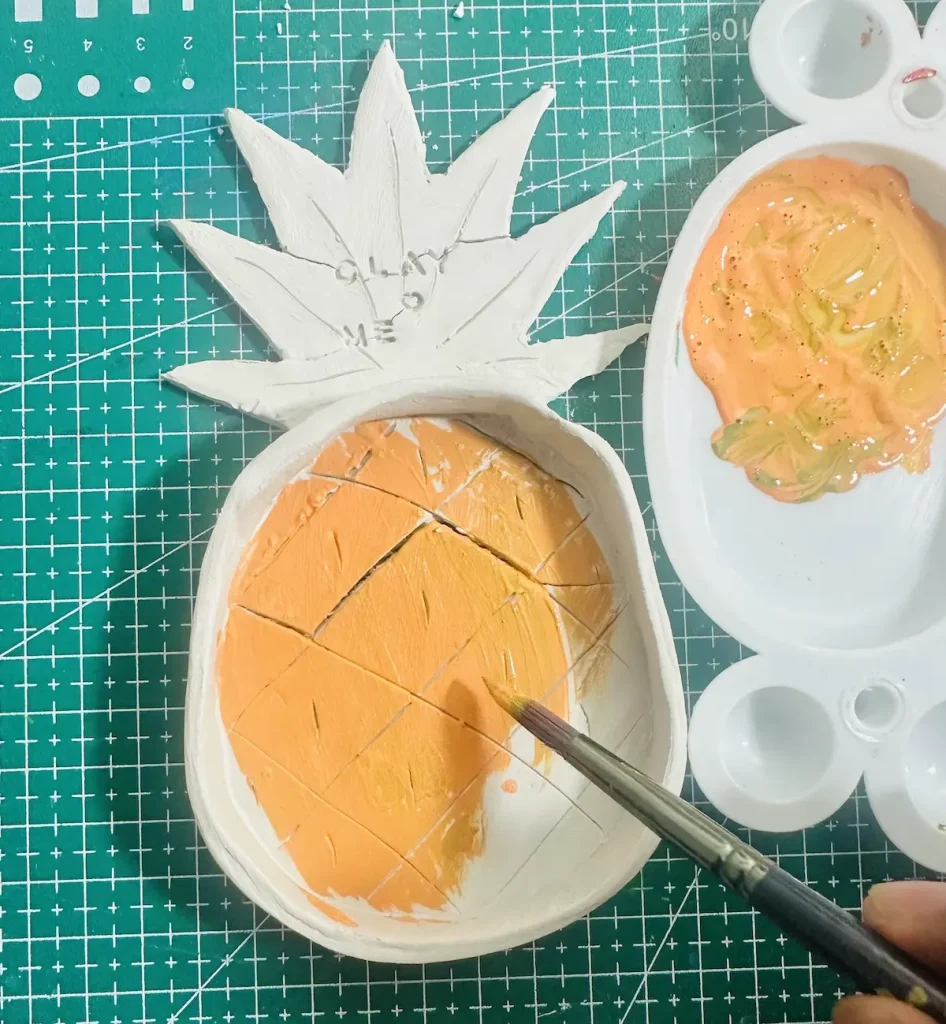
Acrylic paint does not need water or very little. Plus, they come in vivid colors and make a water-resistant coating over the air dry clay project, which helps to protect it from water as well (but we must apply a sealer later).
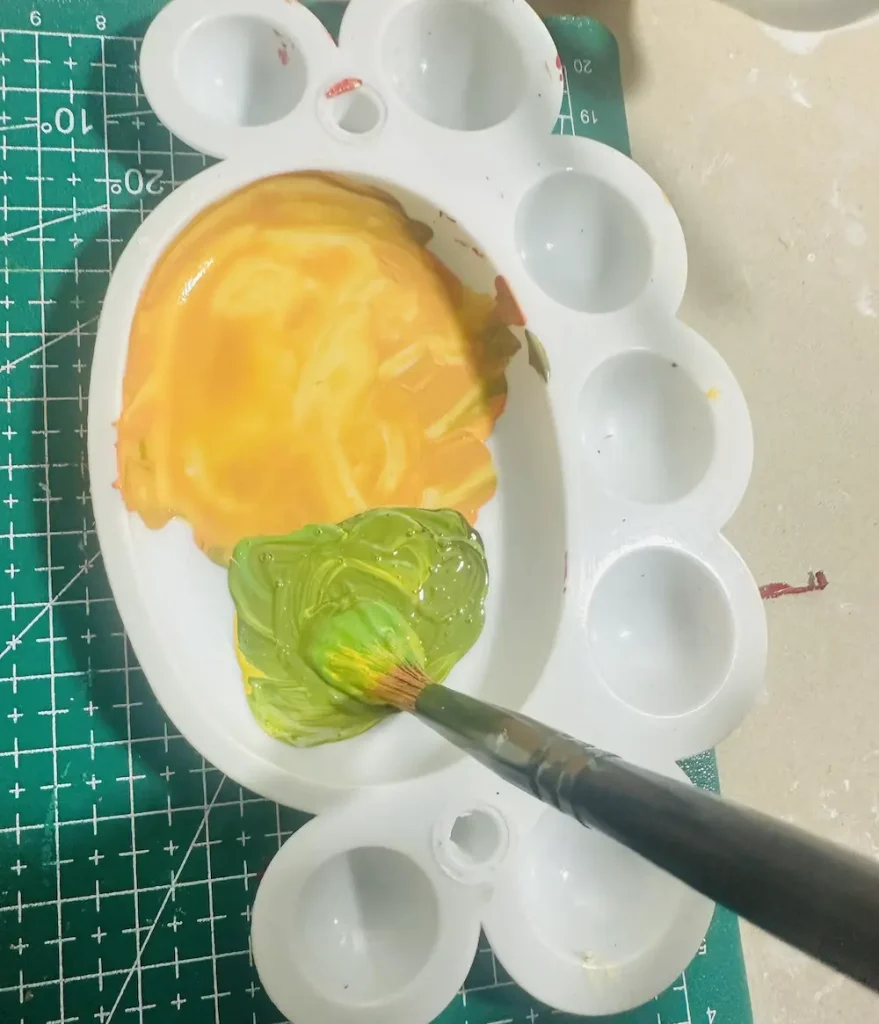
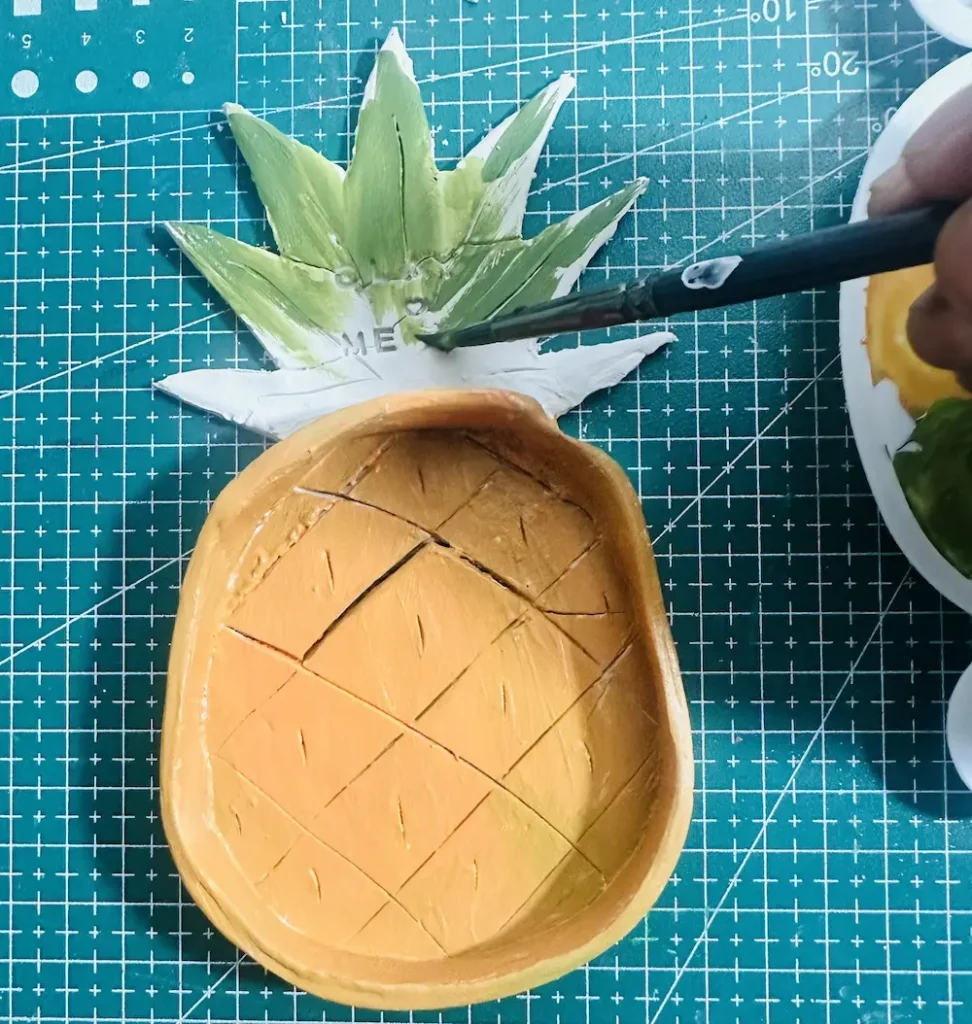
Apply 2-3 thin and even coats of acrylic in one direction over the pineapple trinket tray. The first coat works as the base. Second and third acrylic coats help to get the shine you want. Start painting from tray base so you can rotate the tray and paint as you want without leaving fingerprints on the fresh paint.
Painted the tray base with greenish yellow and the leaves green. Mixed acrylic paints to get the color I want for best results.
Let each acrylic coat dry for 1-2 hours between coats.
Read: How to Manage Acrylic Paint Drying Time on Deeply Carved Clay Textures
After the final coat, let it dry for 2 hours before you start sealing.
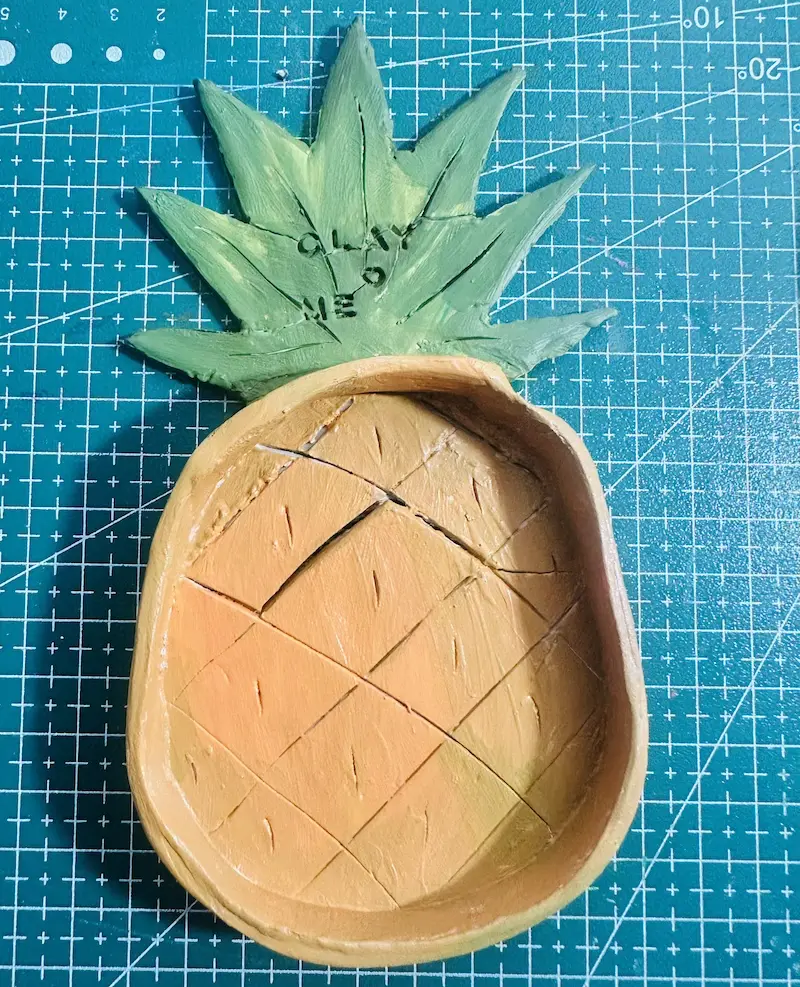
Step 10: Seal the tray
I seal the pineapple trinket tray with gloss varnish. Or you can use UV resin, polyurethane or epoxy resin if you want a more glassy-like finish.
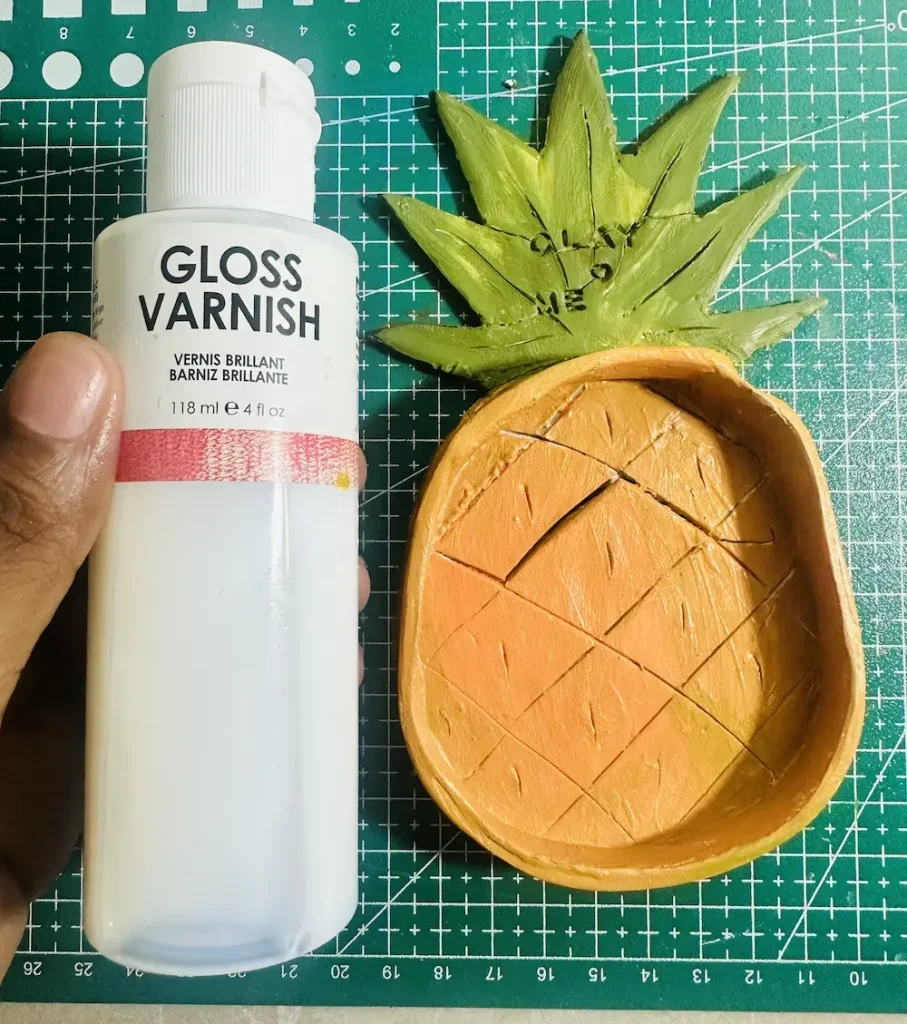
Gloss varnish able to make a water resistant coating over your air dry clay project and offers long term protection from moisture outside and also it gives a glossy finish with nice appeal.
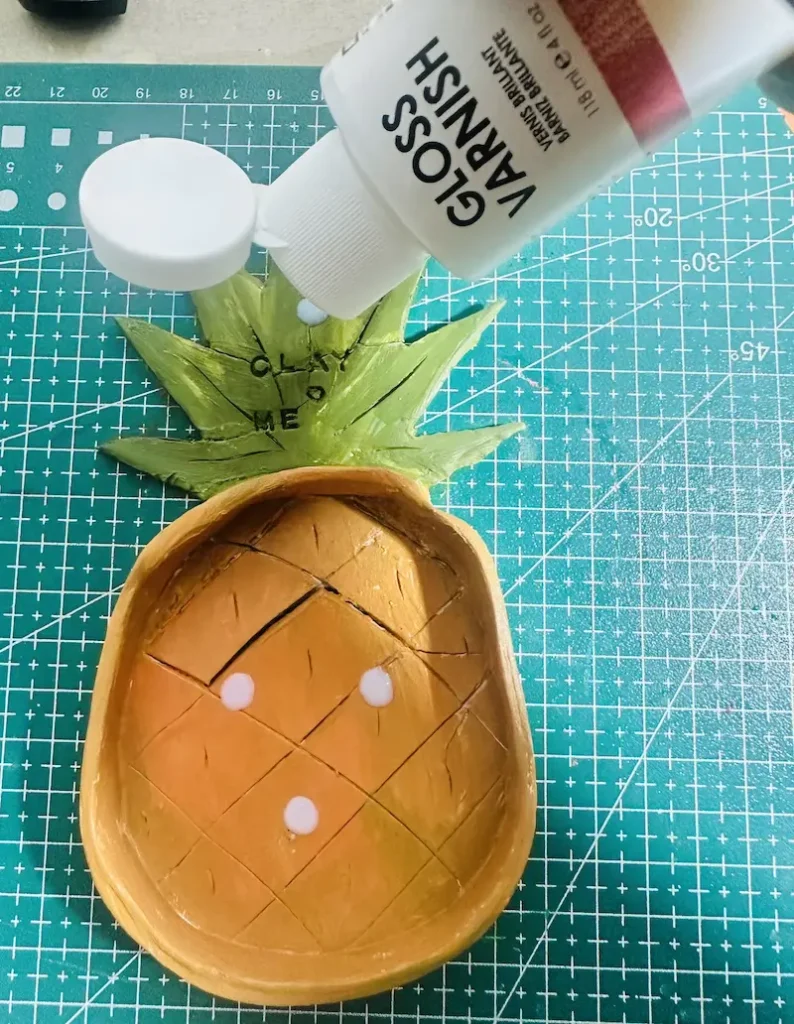
Apply thin and even coats of gloss varnish in one direction without leaving brush marks on your trinket tray.
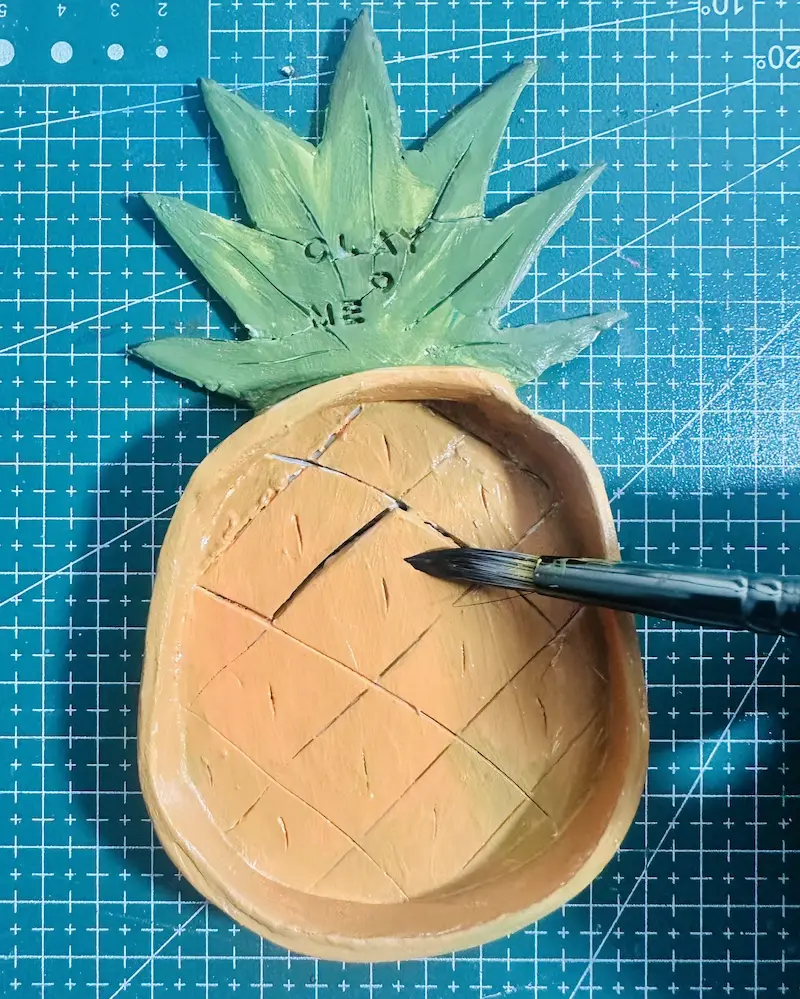
Apply 2-3 coats and let each coat dry for 24 hours. After applying the final coat of sealer, let it dry and cure for 24 hours.
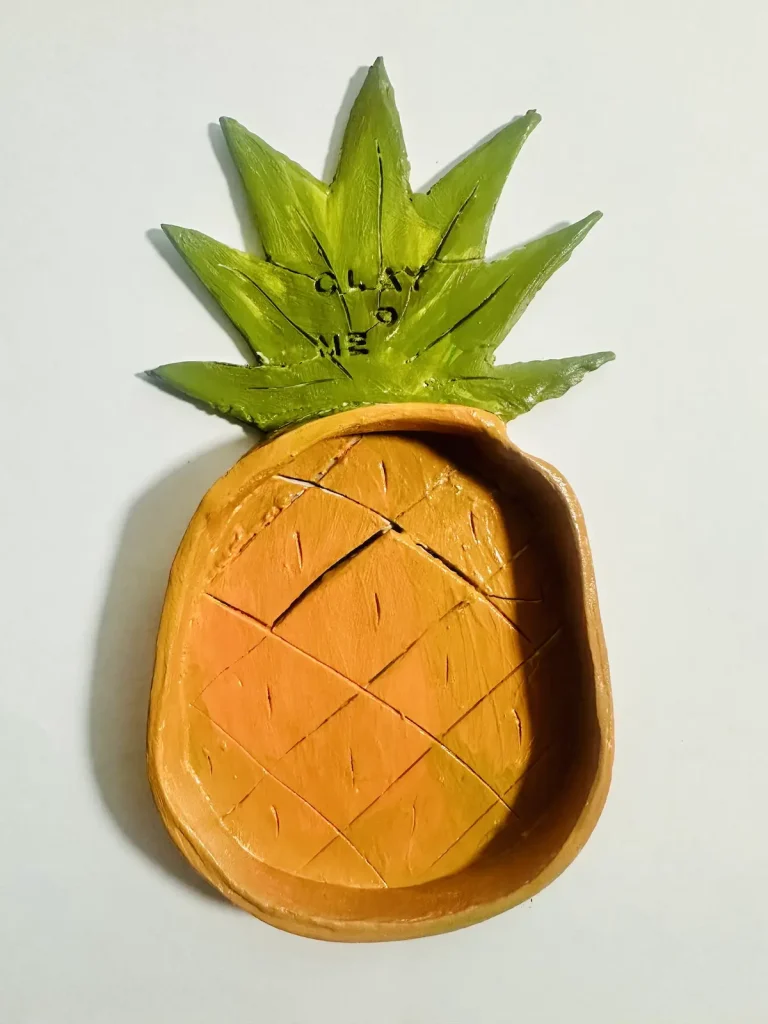
Congratulations friends! You have successfully finished making the beautiful and cute pineapple trinket tray with air dry clay. Amazing! I finally did it! What a comeback! 🍍🥳
FAQ
Can you add water to air dry clay to soften it?
Only add a little bit of water while kneading to make the air dry clay soft. 💧
What happens if you use too much water on air dry clay?
Too much water makes air dry clay sticky and causes uneven shrinkage and cracks when drying.
Does the brand of air dry clay matter for sculpting?
Yes, always use branded, reputed air dry clay for sculpting to avoid cracks and issues while working.
How do you fix sticky or mushy air dry clay?
Let it sit for a few minutes until the excess water evaporates from the surface. ⏳
Final thoughts
I think this article gave you a good lesson on why you should never sit back and give up after a fail. I completely failed and even cried after ruining my previous pineapple trinket tray project.
But I identified the mistakes I did and learned from them and made sure not to make them again. Now look where I am. I’m so happy I was able to make the pineapple trinket tray as I want.
So, I want to see you do the same.
Be sure to tag @clayandmestudios in your pineapple trinket tray project. I sure love to see them when you do. I’ll see you next time with an awesome project! Cheers! 🤟🏾
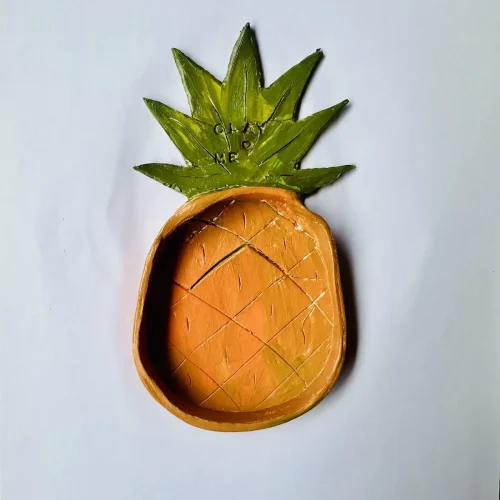
Pineapple Trinket Tray