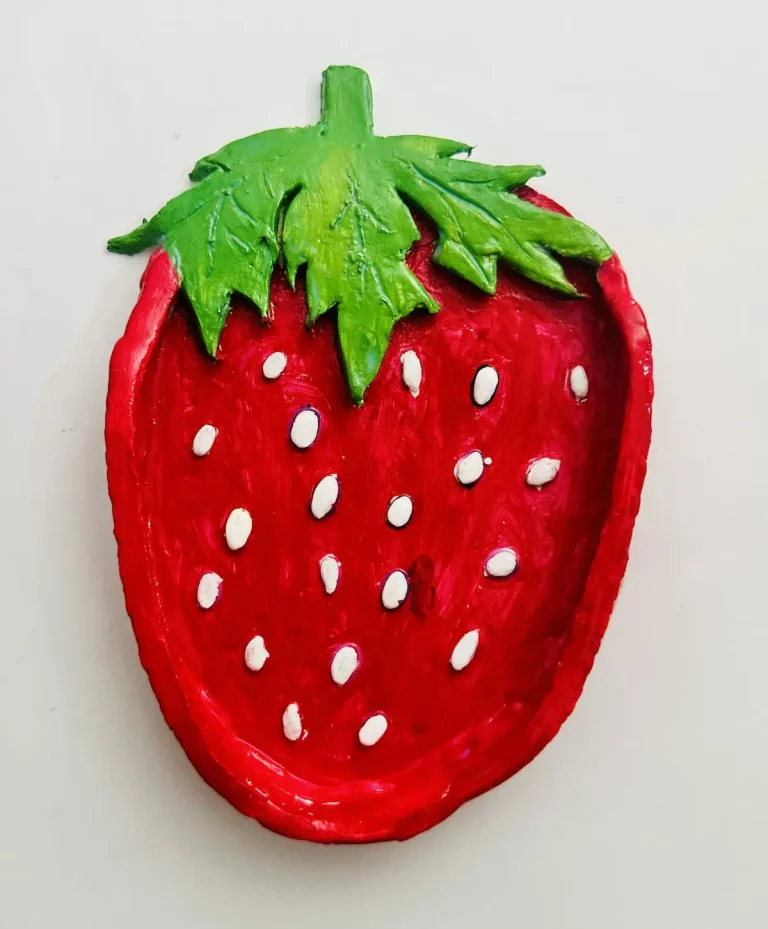
I’ve made a lot of fruit inspired trinket trays with air-dry clay as a beginner clay artist. So, today I thought to make a difference by making a jewelry dish to hold my wife’s rings and stud earrings.
As a beginner, I liked to follow simple and easy methods to make this dish because the methods experts or online gurus tell us are too complex and not suitable for newbies.
I did my research and found the best methods and techniques to make a beautiful jewelry dish.
Here I’m gonna tell you about every step I followed and every mistake I made, and how I fixed them to achieve what I wanted.
You can follow the method I discuss above to make an even better looking jewelry dish best for holding accessories or simply serving as a decorative sculptural accent piece.
Ok, enough chit chat. Buckle up! Let’s start making!
Why I used air dry clay
The main reason I went with air dry clay because it is cheap. For example, polymer clay is 2x to 3x more expensive than air dry clay.
You don’t need to kiln or bake air dry clay. It dries in the air.
Yes, air dry clay cracks quickly and is messier than other clays, but with proper techniques you can avoid it cracking. A messy workspace is normal for an artist and as a beginner, that messiness is what shows us we are doing hard work.
Plus, as beginners, we do waste a lot of clay. If you go with an expensive clay type, you can experiment with it because no clay should go to waste. But with air dry clay, you can try new things, new experiments, make mistakes and learn from them all because it is quite cheap.
Now you know all the reasons why I went with air dry clay even when there are less messy, easy to work clays available. But working with air dry clay is quite fun. I’ll explain more while we are making our masterpiece.
Materials you will need
- Air dry clay (any reputed brand you can find is okay, I used Mont Marte)
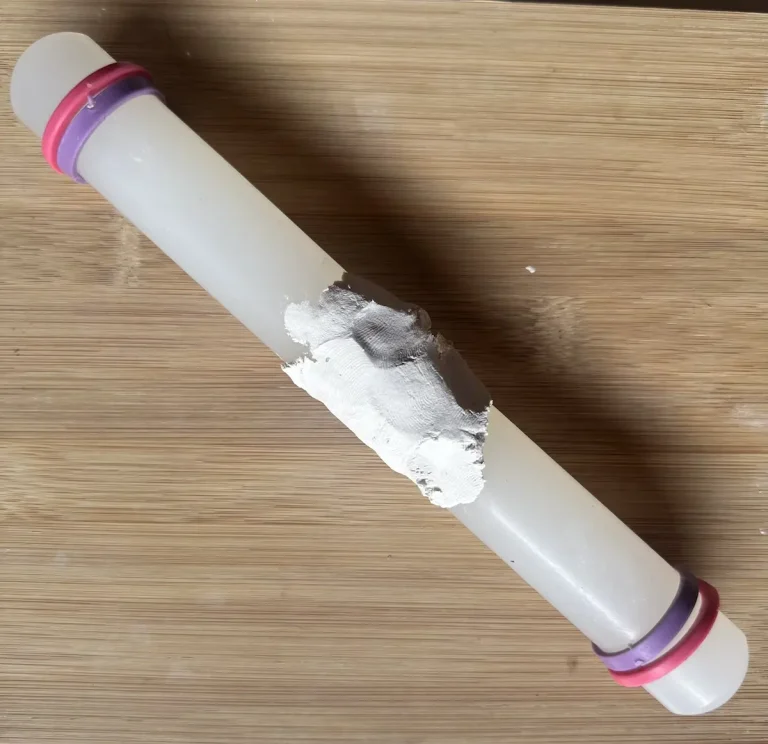
- Acrylic rolling pin or cooking rolling pin
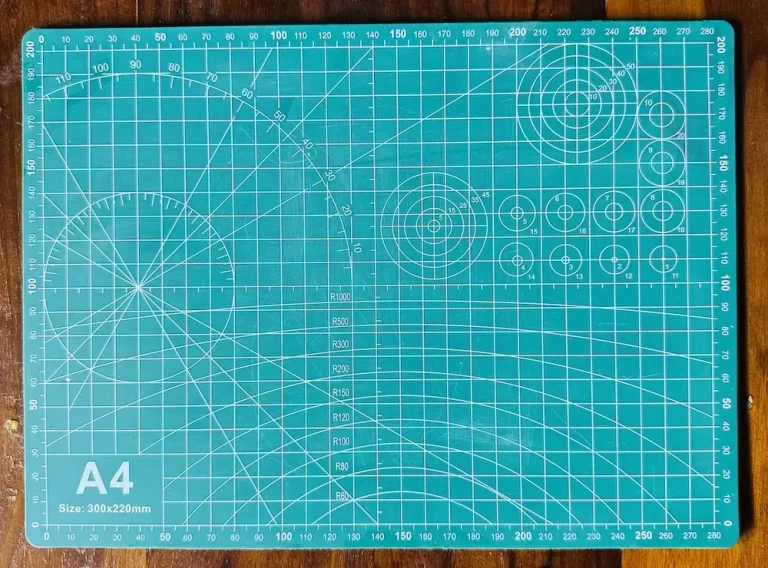
- PVC mat or silicone mat (or non-stick surface)
- Clay crafting tools
- Clay cutting tool (or small knife)
- Cup of water or spray bottle
- A few small rocks (I used seashells)
- Acrylic paint (pink, white)
- Gloss varnish
- Paintbrushes
- Paper towels
- Optional: Sponge or silicone sculpting tool (or you can use your finger)
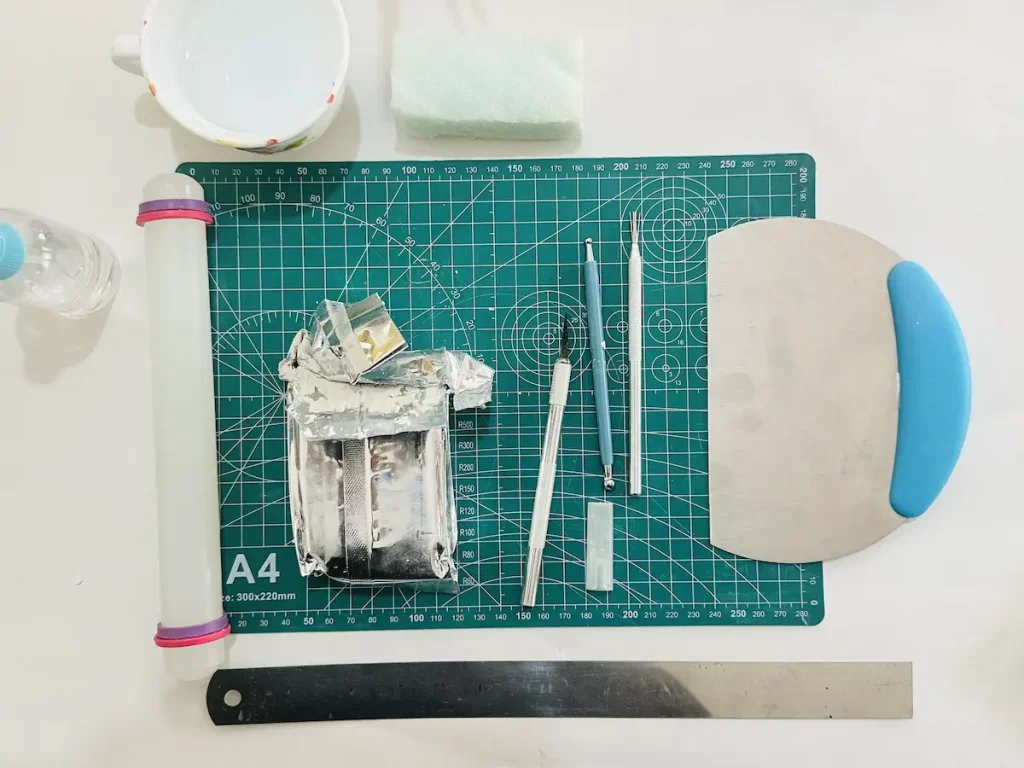
If you couldn’t find any of the materials above, don’t worry or panic. Go and open your kitchen drawer and find a similar item that does the job. As clay artists, we don’t panic, we adjust!
Now you have everything you need. So let’s goooooo….
Easy diy jewelry dish tutorial video
Below I’ve attached the full tutorial video with all the steps I have taken, tips and techniques I used, mistakes I did and how I fixed them when making this beautiful jewelry dish project with air dry clay.
Feel free to watch! 📺
Now let’s look at the detailed written step by step guide.
Step-by-step jewelry dish tutorial
Before you start making, go to a well ventilated area or open all the windows in your room. I don’t want you to cough while making due to fine air dry clay particles.
Step 1: Knead the clay
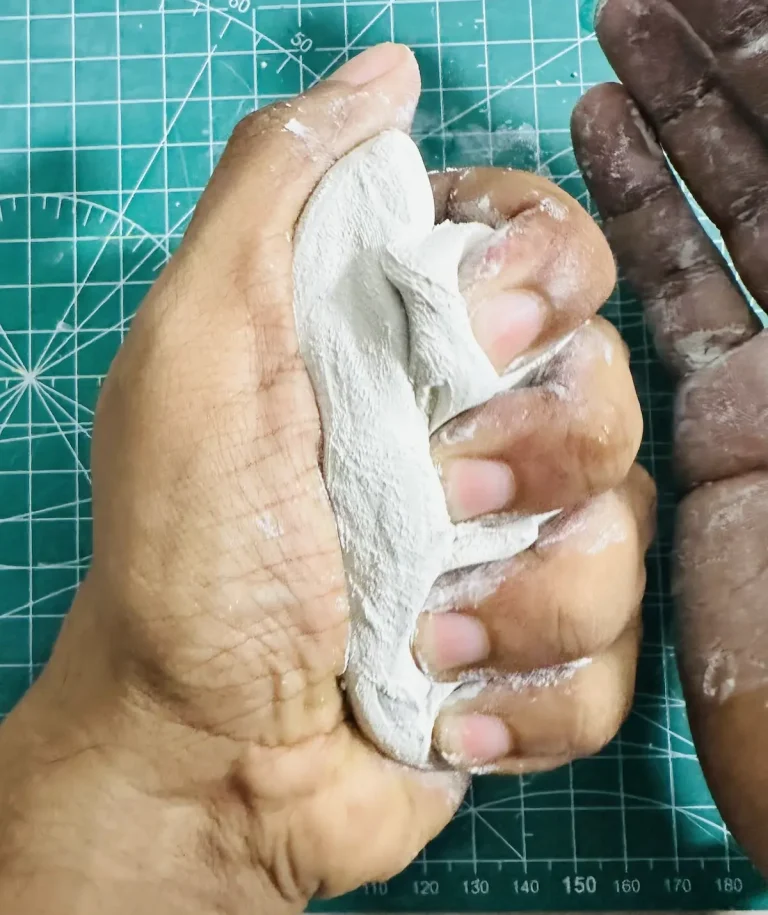
Cut and take a fresh air dry clay piece and condition it first by tapping a little bit of water. Conditioning makes the kneading process easier.
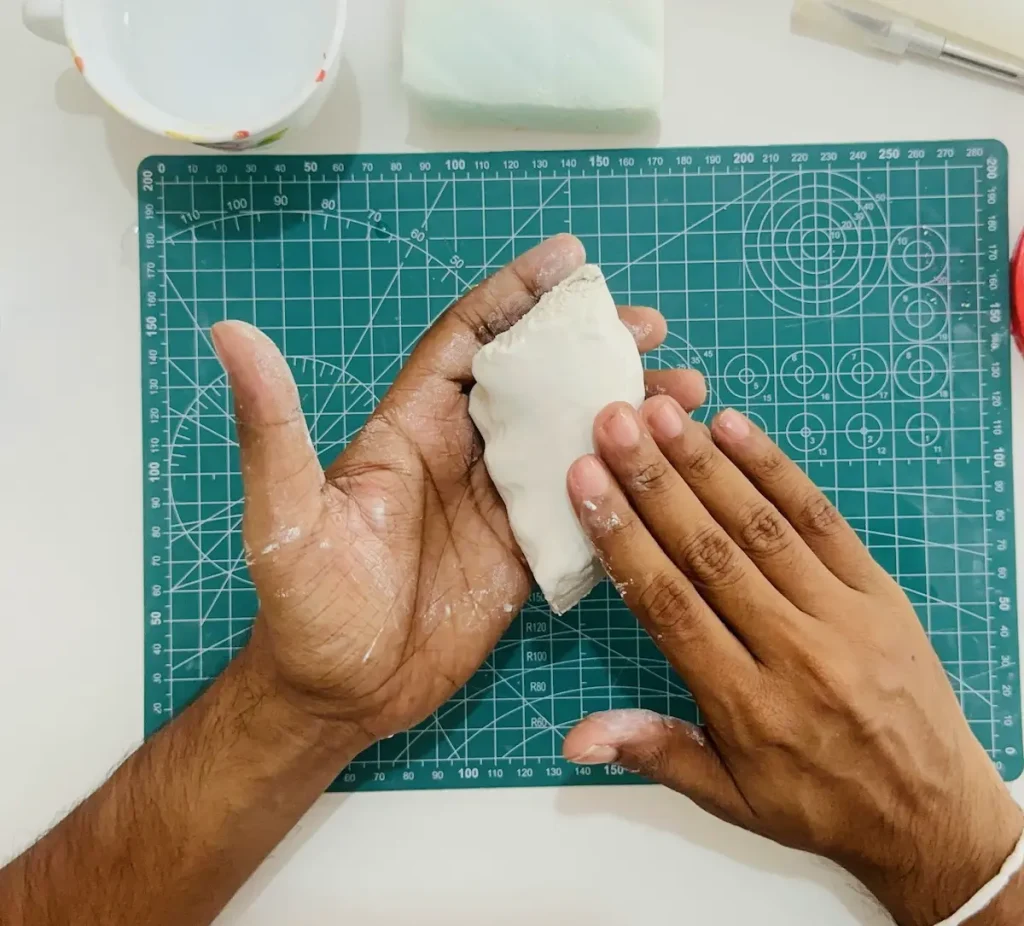
Now make your palms wet and start kneading the clay thoroughly like dough.
Add a little bit of water onto the clay while kneading, but not too much because too much water can cause cracks while drying the clay due to faster and uneven moisture evaporation.
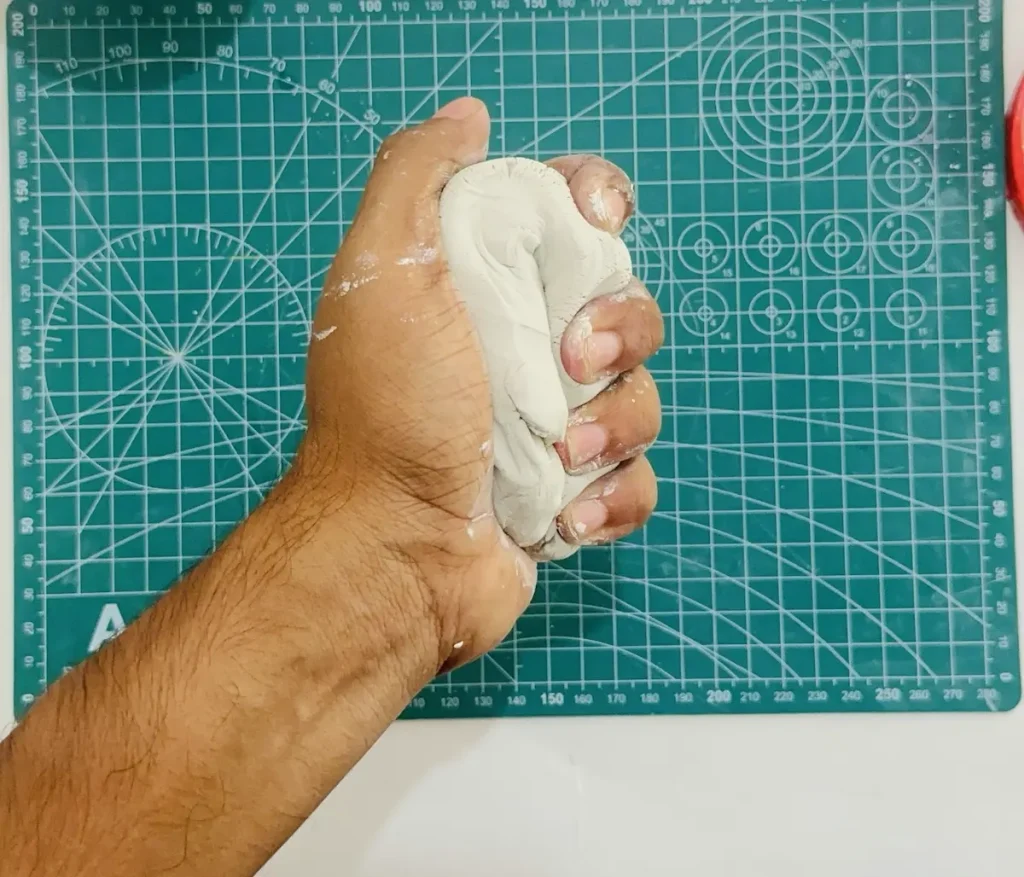
Air dry clay is a highly porous material with lots of moisture and air inside. Kneading spreads the moisture evenly and releases the trapped air inside. Because of an even moisture level across all the levels of air dry clay, it does not shrink unevenly when drying after you make the project. Because of no uneven shrinkage, cracks won’t form on the surface.
See kneading interlink with many steps in future. Therefore, kneading is a must before you start making anything with air dry clay.
You’ll feel the clay getting softer and softer while kneading. After kneading for about 3-5 minutes, the clay is soft enough for rolling.
Step 2: Roll the clay
Place the kneaded air dry clay piece on your work mat and start rolling with the acrylic rolling pin to an even thickness.
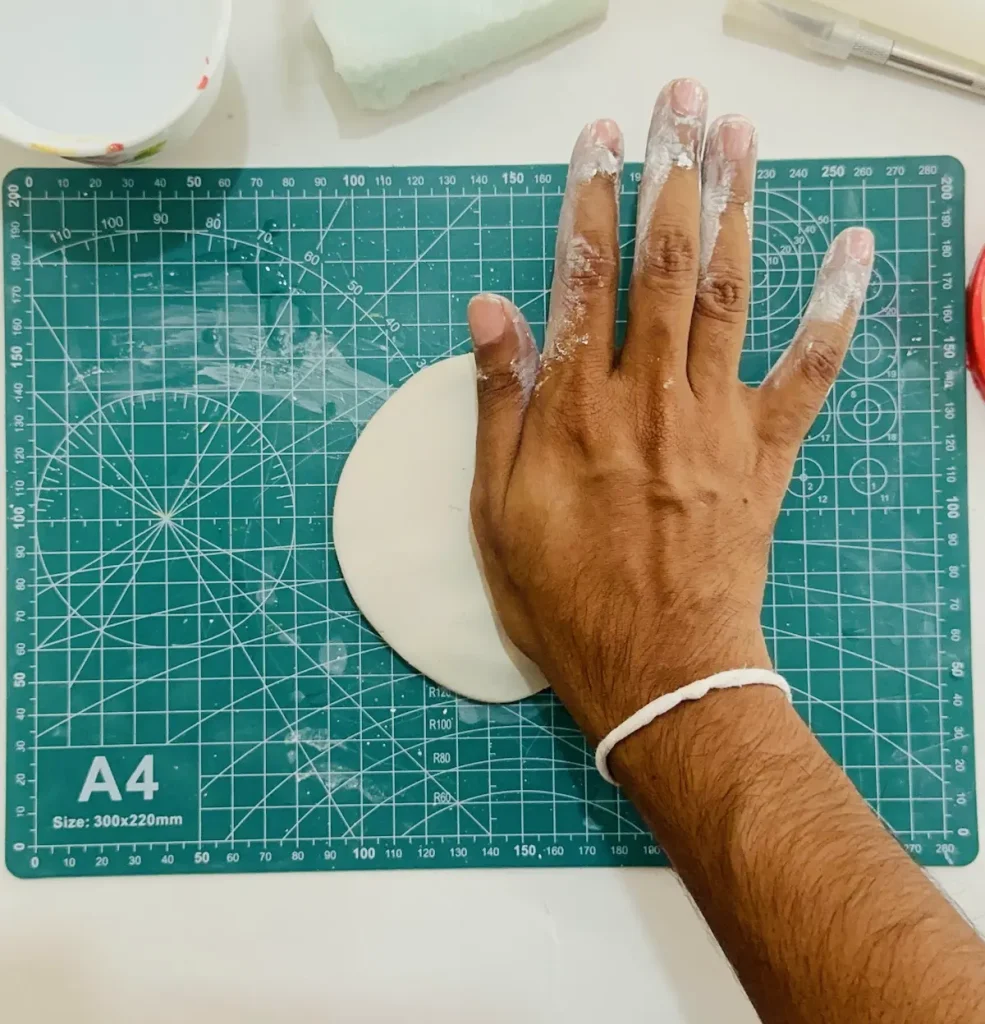
I aimed for ½ inch thickness. You can use rubber or silicone rings or guide rails to make the clay slab as thick as you want.
Flip, turn and rotate your clay slab 90 degrees while rolling to avoid it from sticking to the surface. Changing the position and angle of the clay slab while rolling helps to lift the clay without tearing it apart.
I didn’t follow the flip and turn technique while making my first trinket tray and tore it apart several times, wasting hours of work.
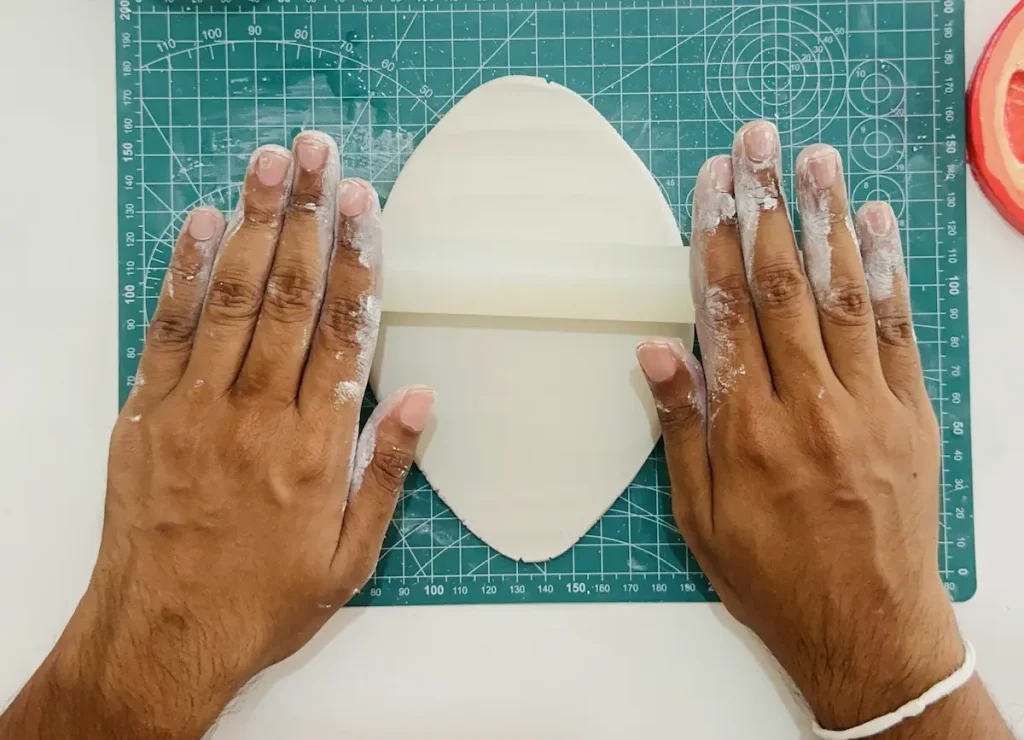
Use a PVC mat or a silicone mat to avoid clay from sticking to it, or you can take the wooden mat and wrap it with parchment paper. I use a PVC mat and it works so well.
After rolling is done, smooth out the clay slab surface and around its edge by dipping your finger in the water and gliding it on the clay slab to remove small bumps, micro scratches and cracks.
Step 3: Cut the dish shape
I’m a big believer in freehand cutting. So I wanted to make this jewelry dish a free shape. Freehand cutting helps to improve the handling of crafting tools and you don’t need templates or molds.
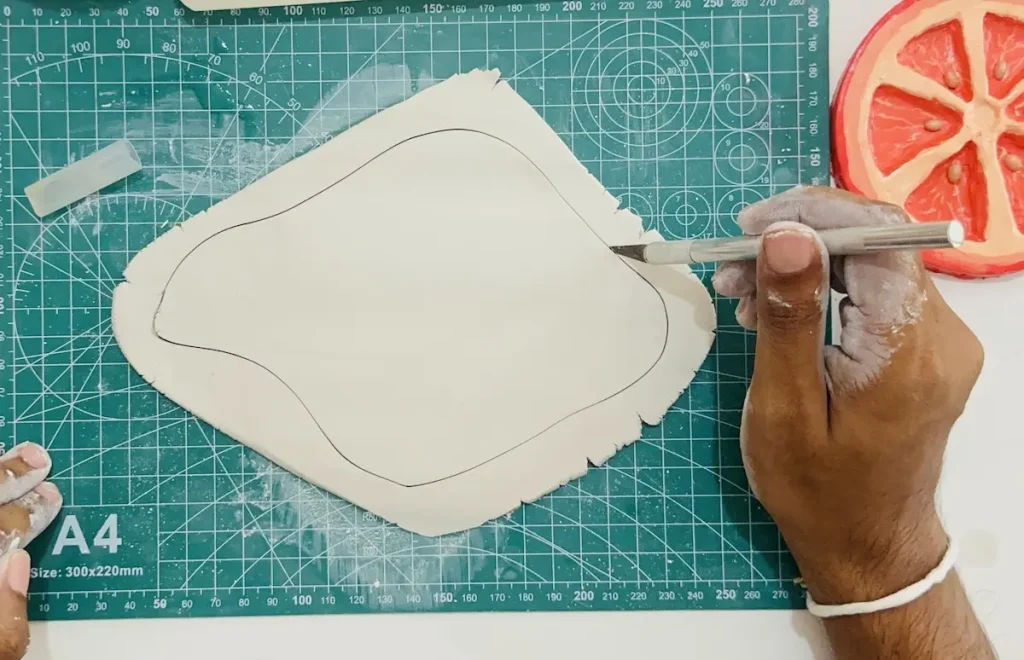
Yes, you might make it too thin or too fat, but that’s ok. Not all the dishes look the same. Be unique.
If you’re bad at drawing like me, trace first before cutting.
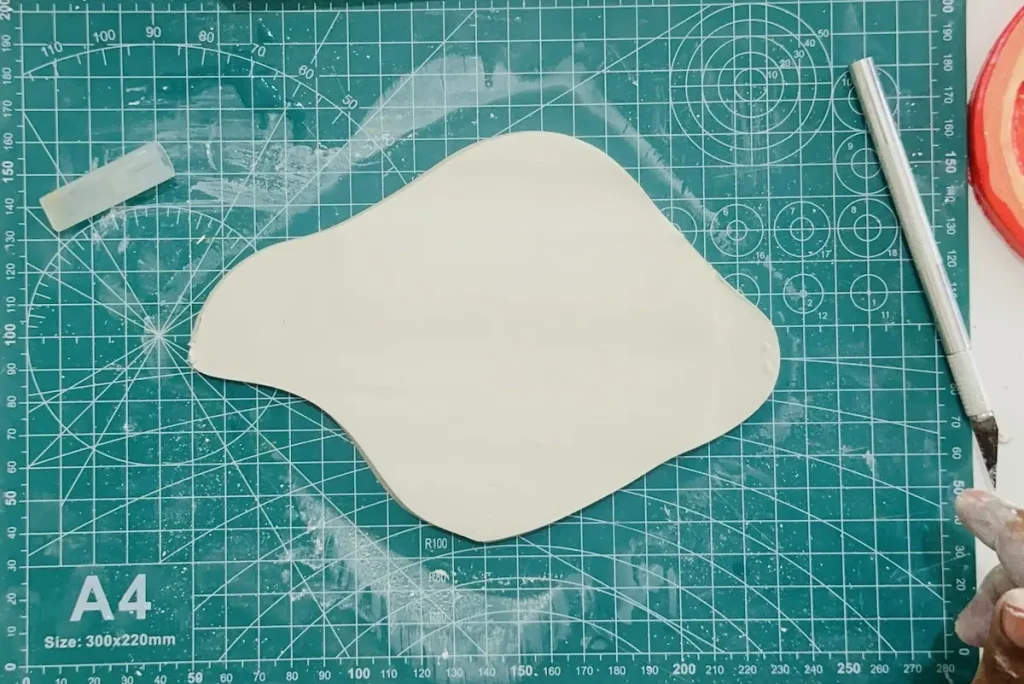
Try to cut as sharp as possible. Lift the craft knife while cutting instead of dragging it horizontally to avoid torn-up edges.
Now you’ve successfully made the dish base. Don’t forget to smooth the surface by gliding your wet fingers on the clay slab.
Step 4: Shaping the wavy edges
This is where I did something new and unique. Instead of making flat base I thought to rise the edges and make it wavy.
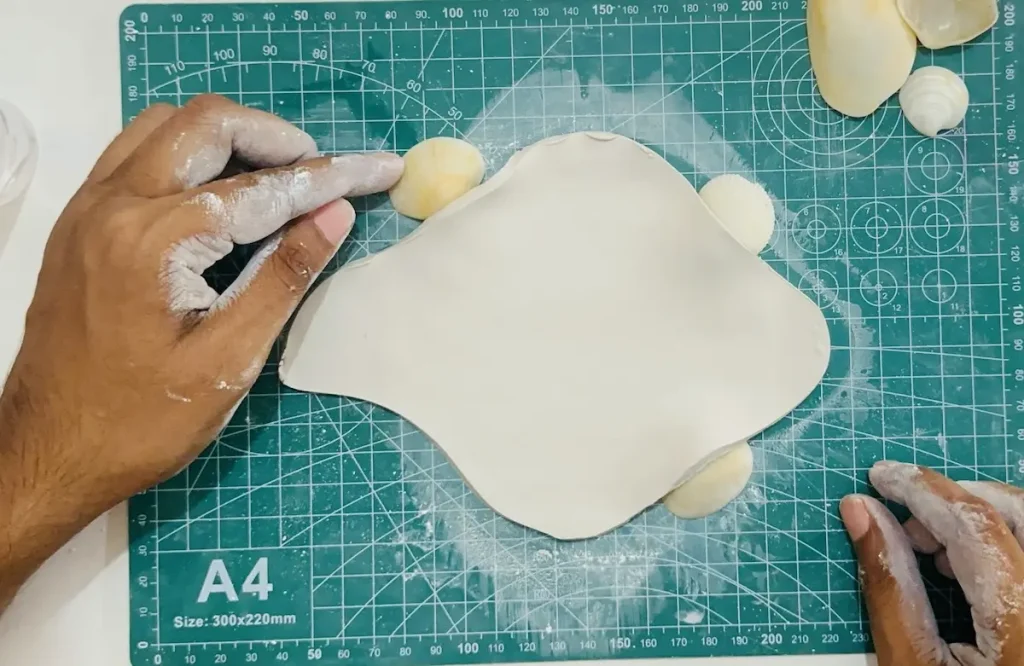
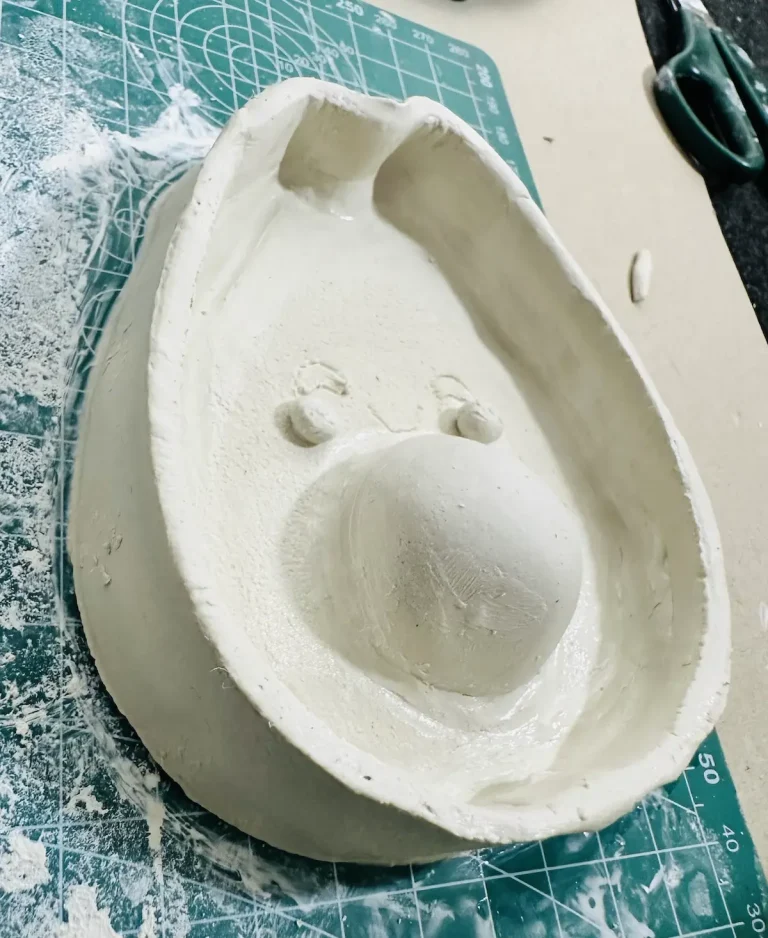
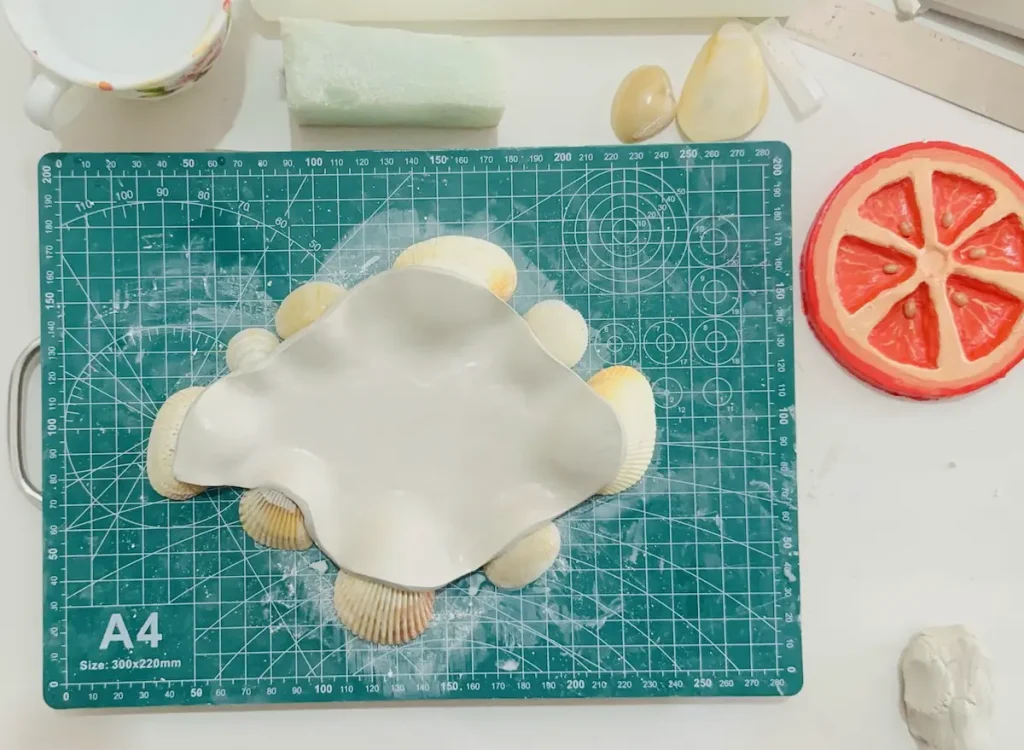
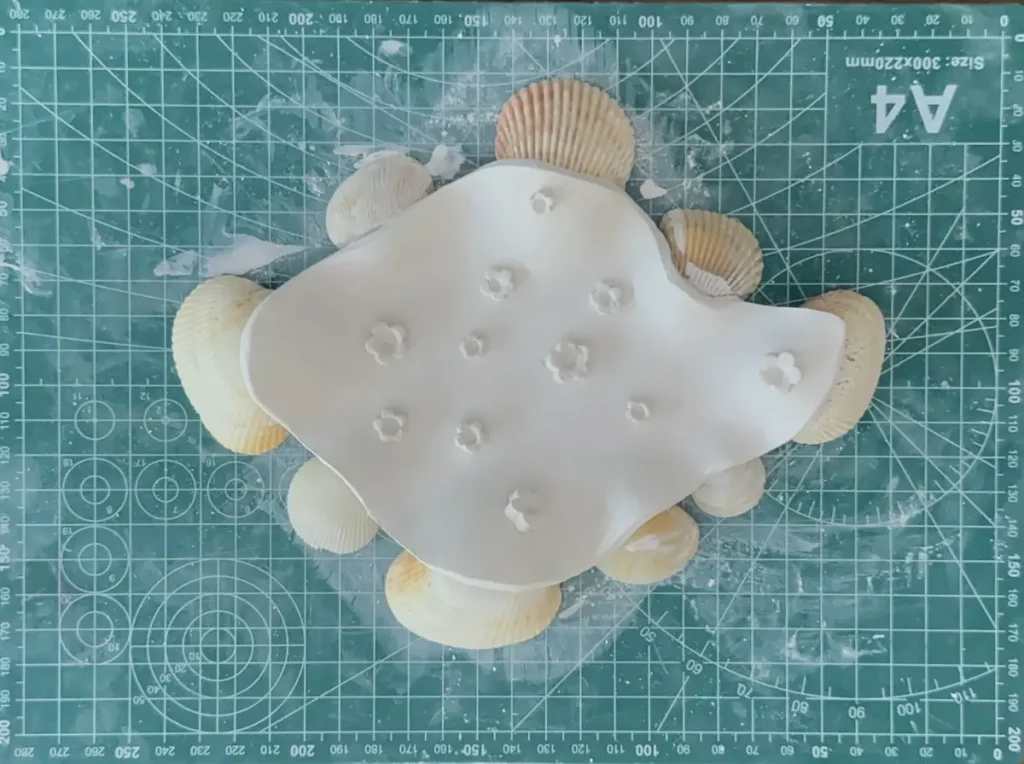
To do that, you can either place small rocks around the base under the edges of the wet clay to create and hold the wavy rim as it dries.
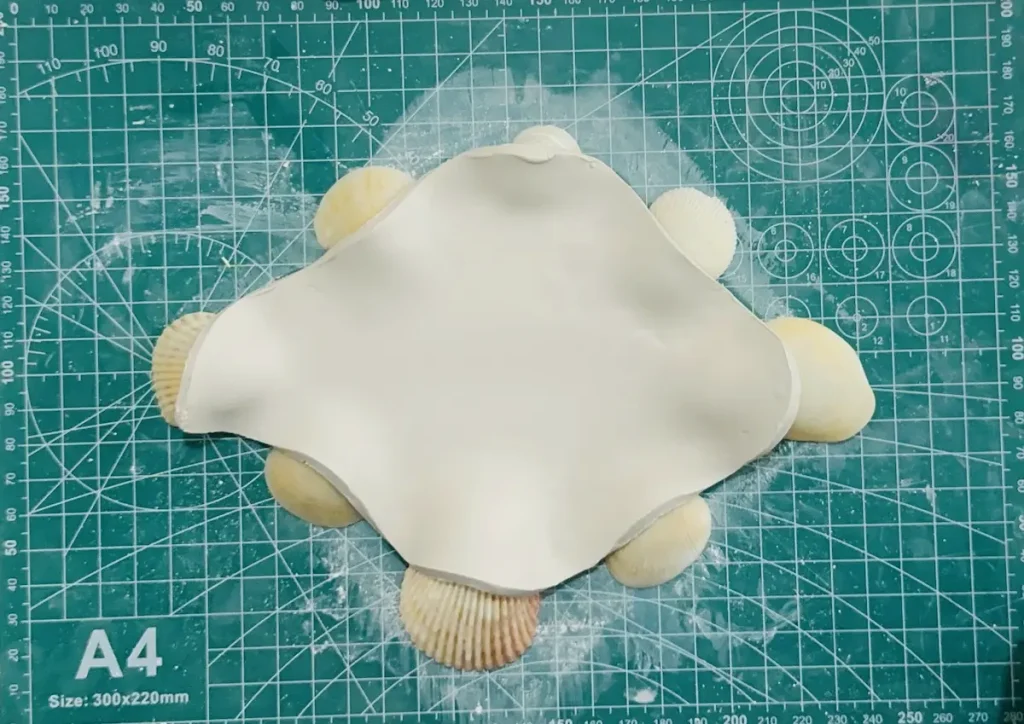
I used seashells because my wife is a big shell collector. I placed them randomly along the edges to give the dish a minimal look and make it appear shallow.
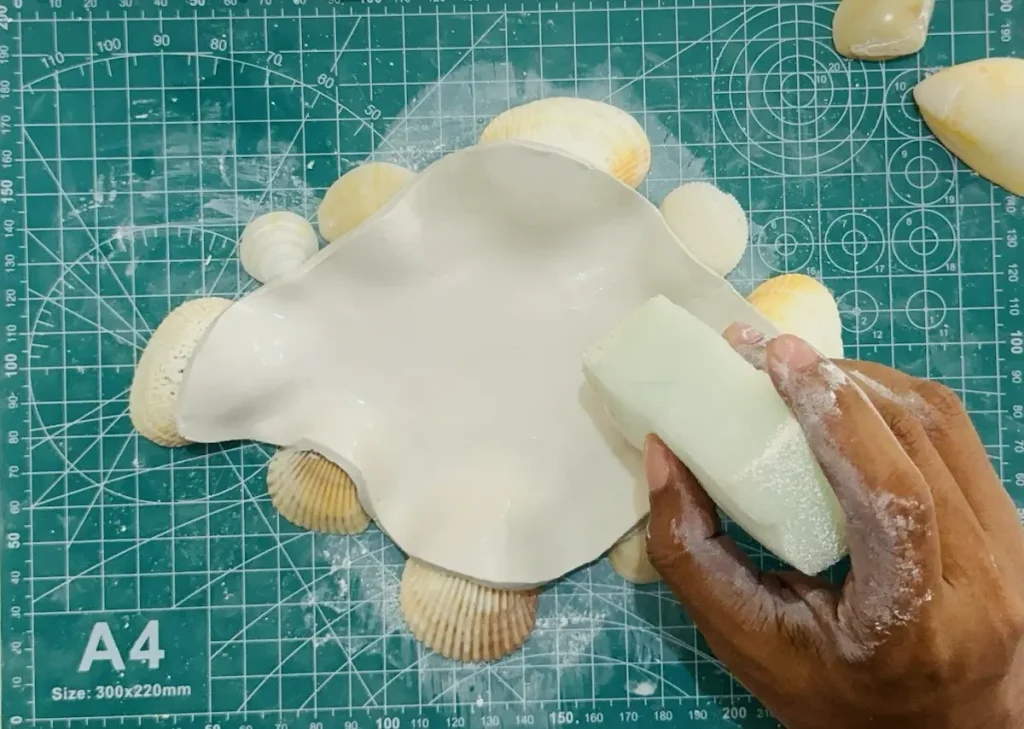
Please guys and gals, don’t go to the beach. Use small rocks or bottle caps. We just need to raise the edges.
Step 4: Crafting and attaching small flowers
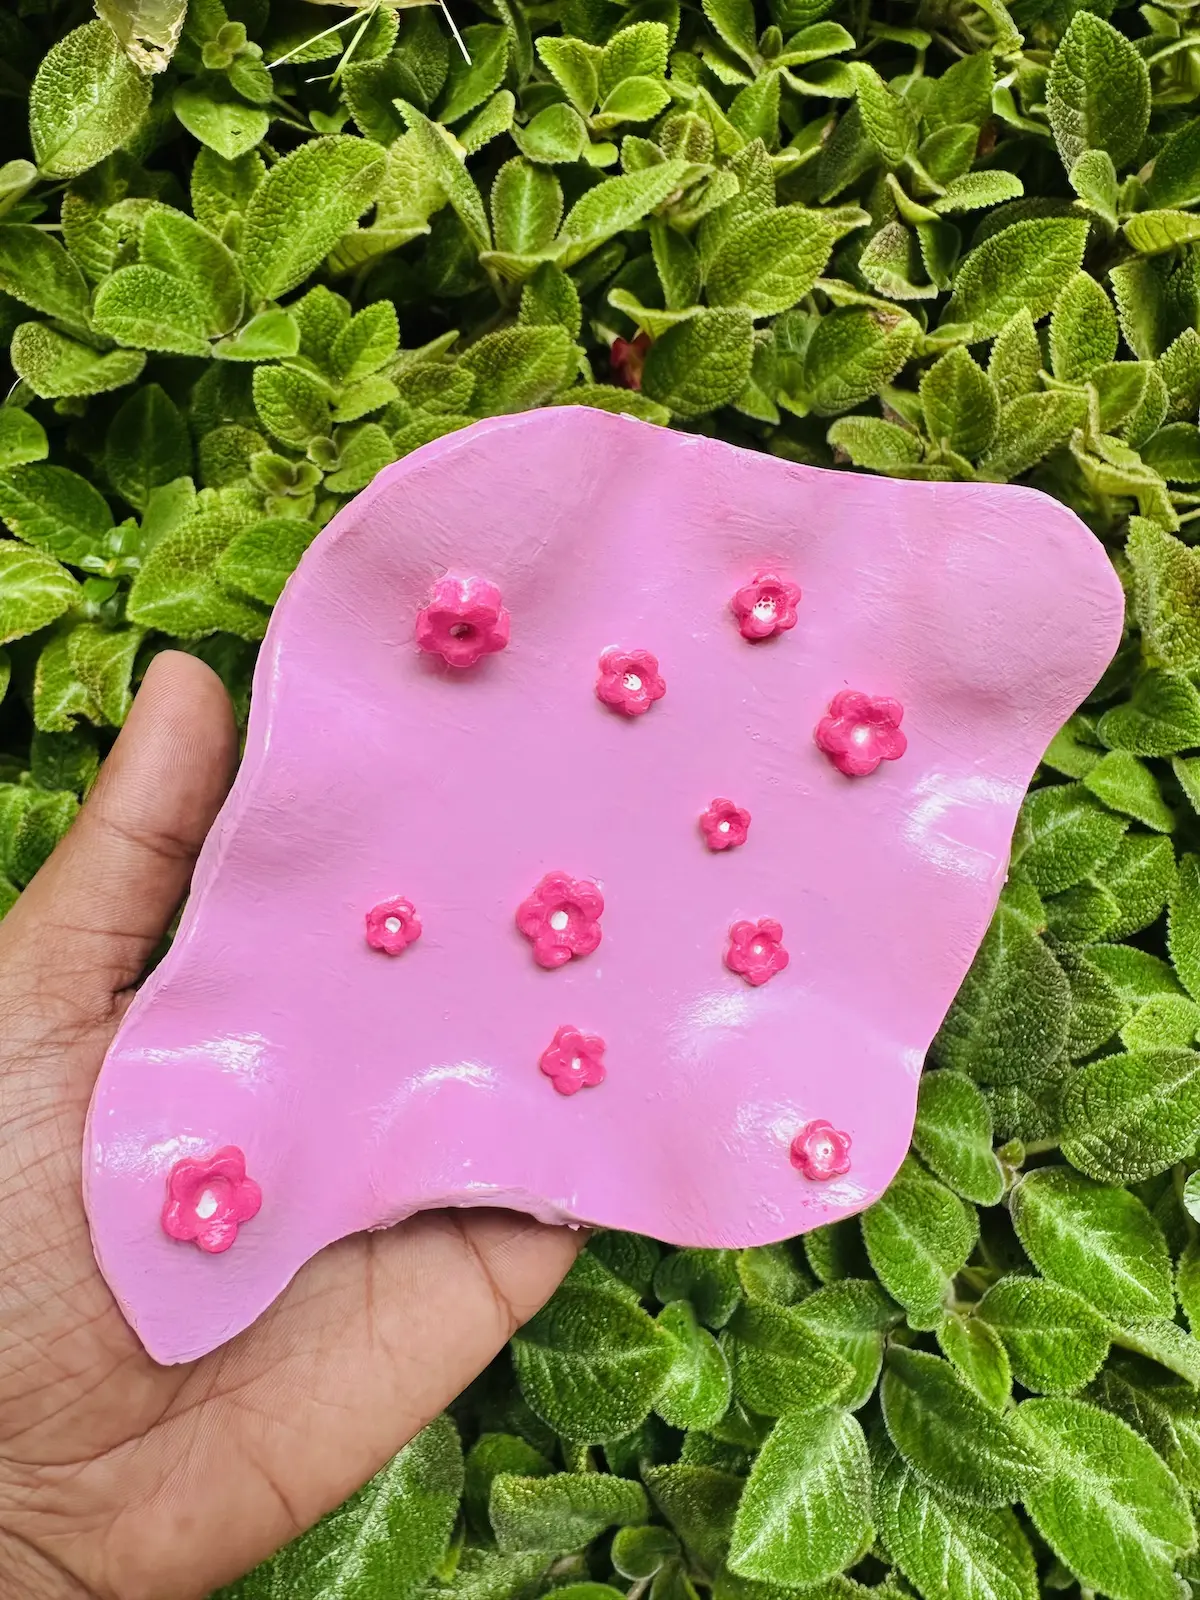
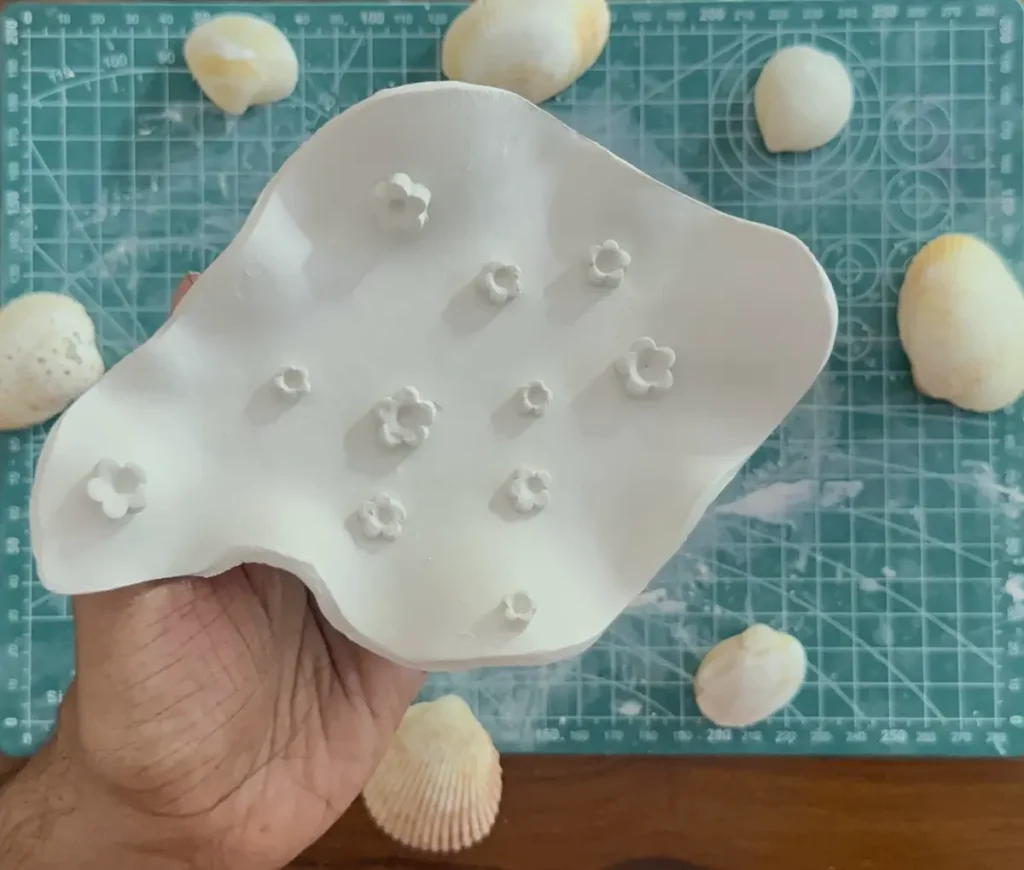
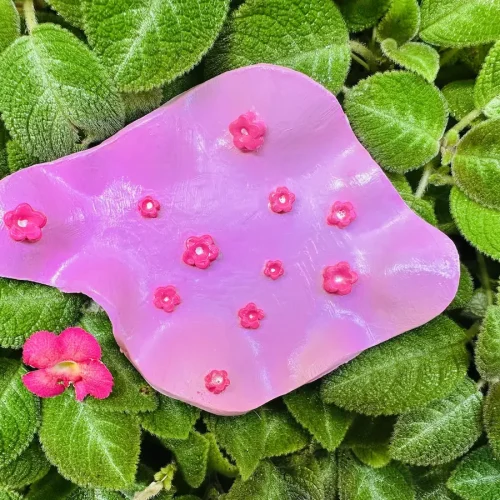
Recently I bought a set of flower molds for my air dry clay projects. I took 3 sizes and made around 15 small five-petal flowers, but I attached only 11 because 15 seemed too much.
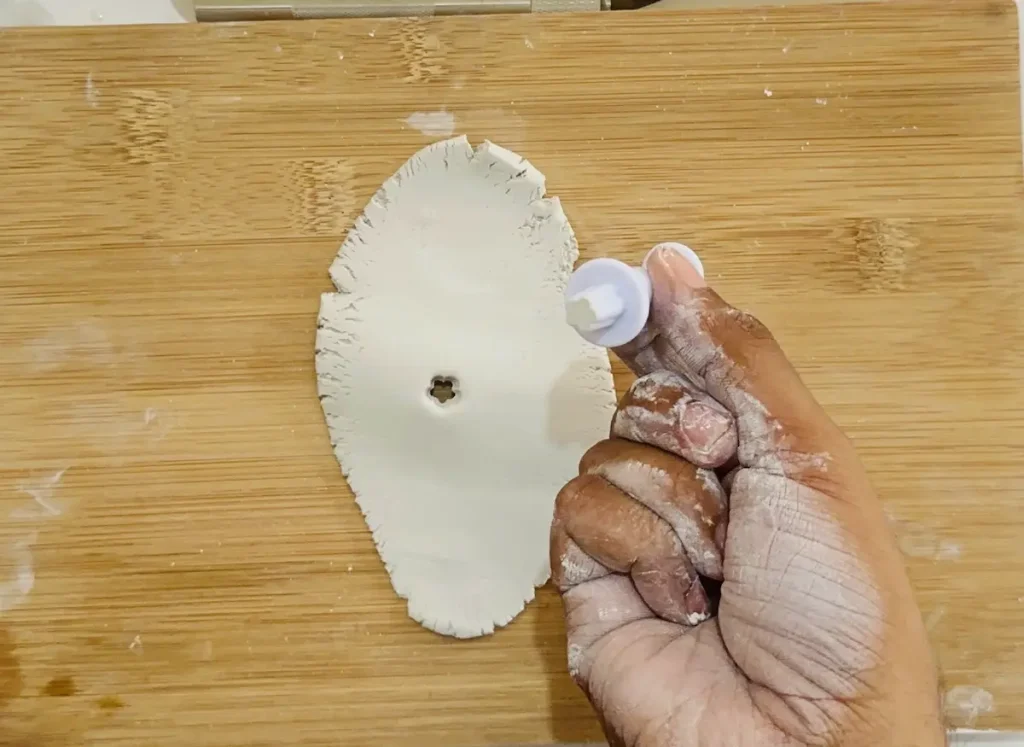
It was easy. You just have to fill the mold with fresh air dry clay in tiny pieces and press from the top like a syringe.
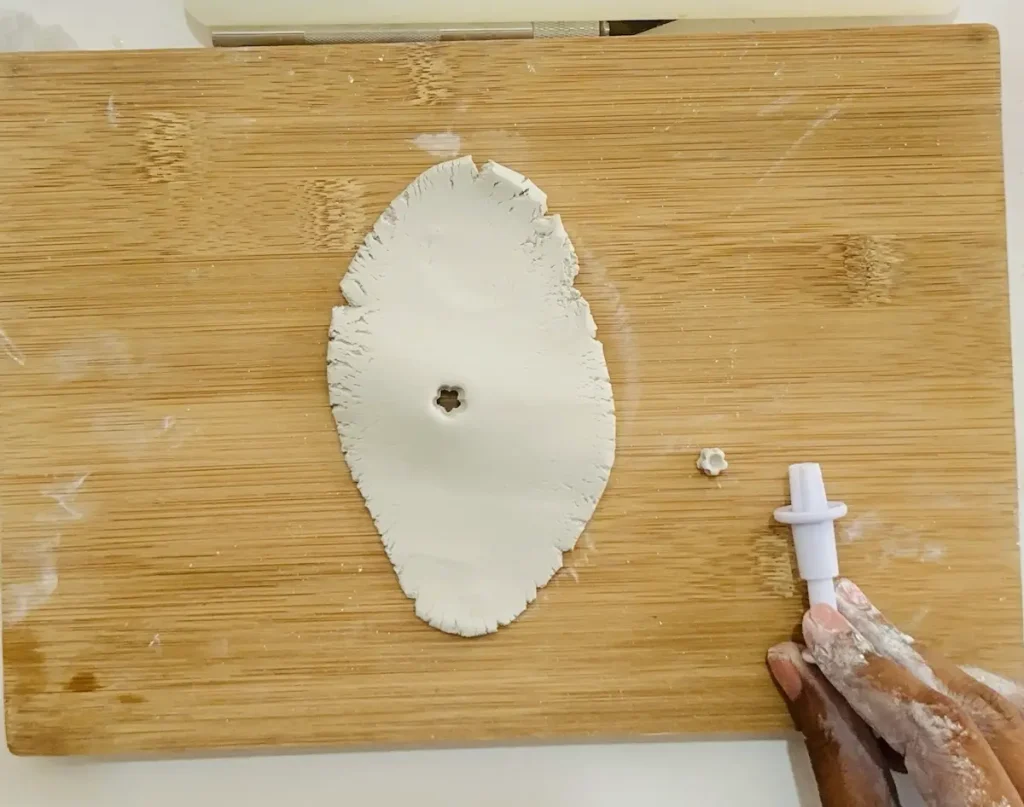
If you don’t have molds, don’t worry, even I didn’t at the beginning. Just try to cut flower shape crafts with your X-Acto knife. They don’t need to be perfect.
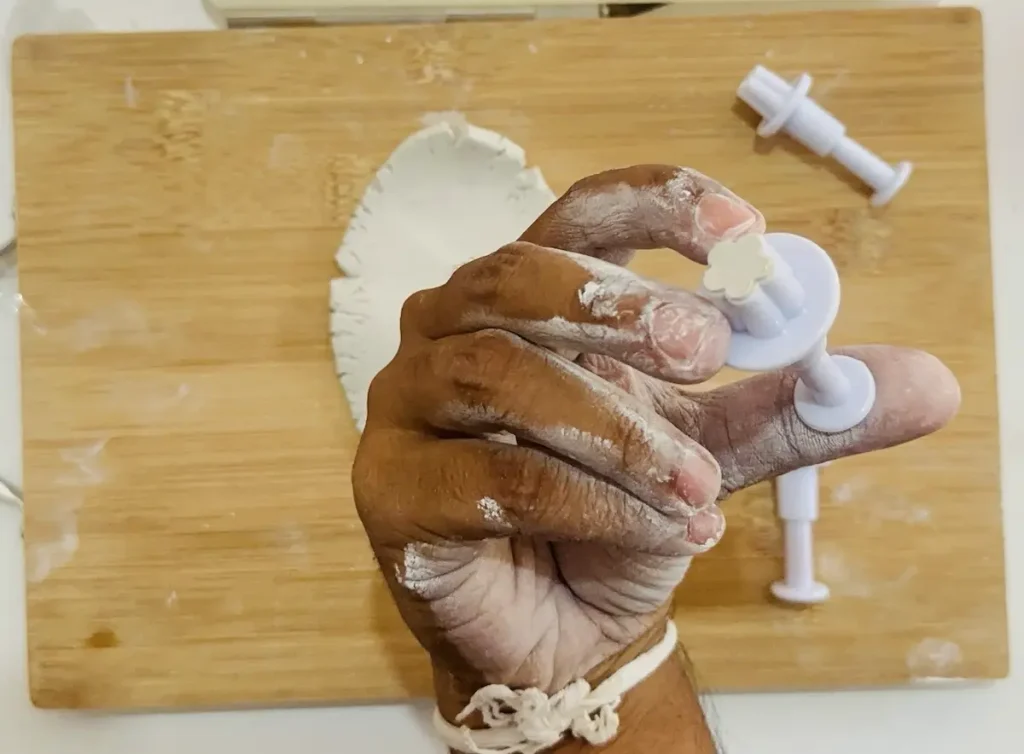
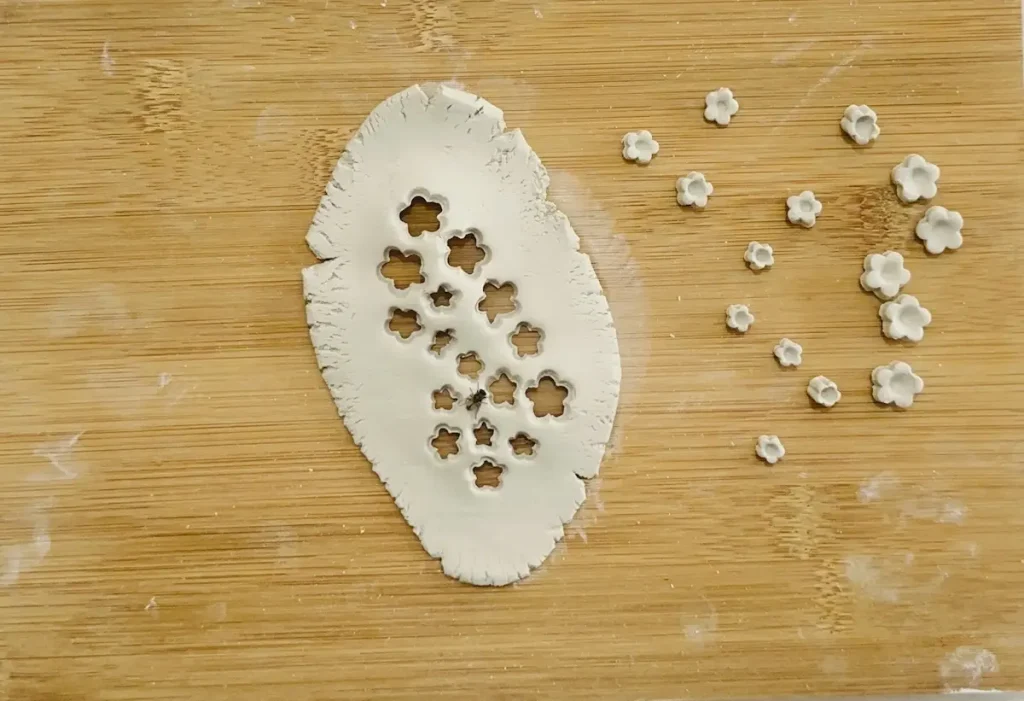
After making the flowers, score the bottom of them and score the areas you want to attach them to your main dish base and tap those scored areas a little bit with water and gently press the flowers against the tray base and attach.
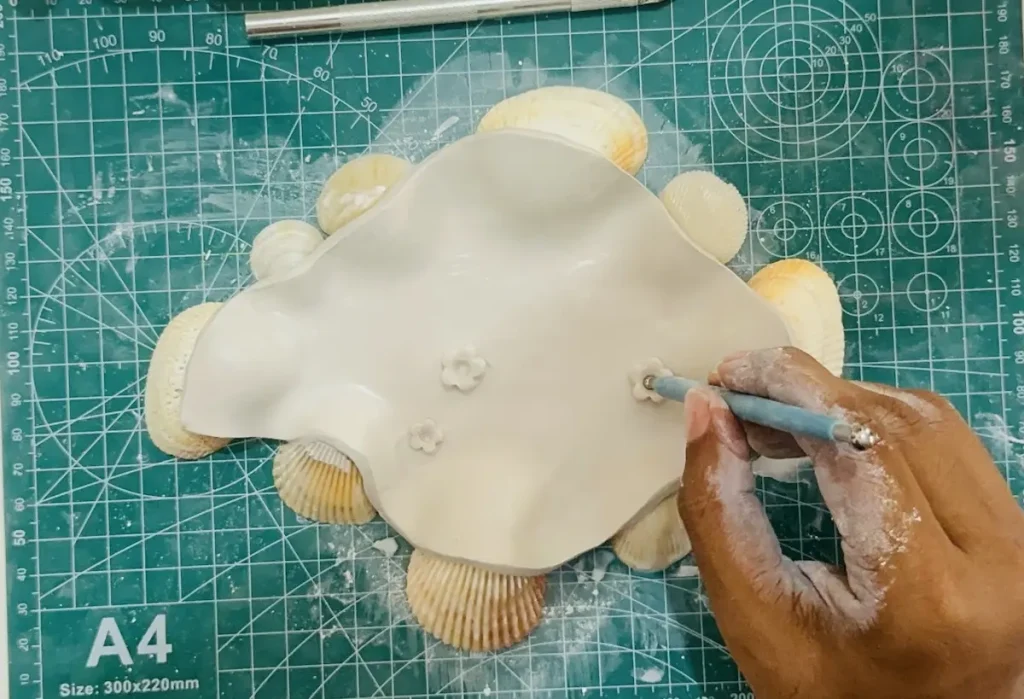
Air dry clay pieces do not attach to each other without scoring. Therefore, scoring is a must before attaching.
Congratulations friends! You have successfully made the jewelry dish, but it’s not finished yet!
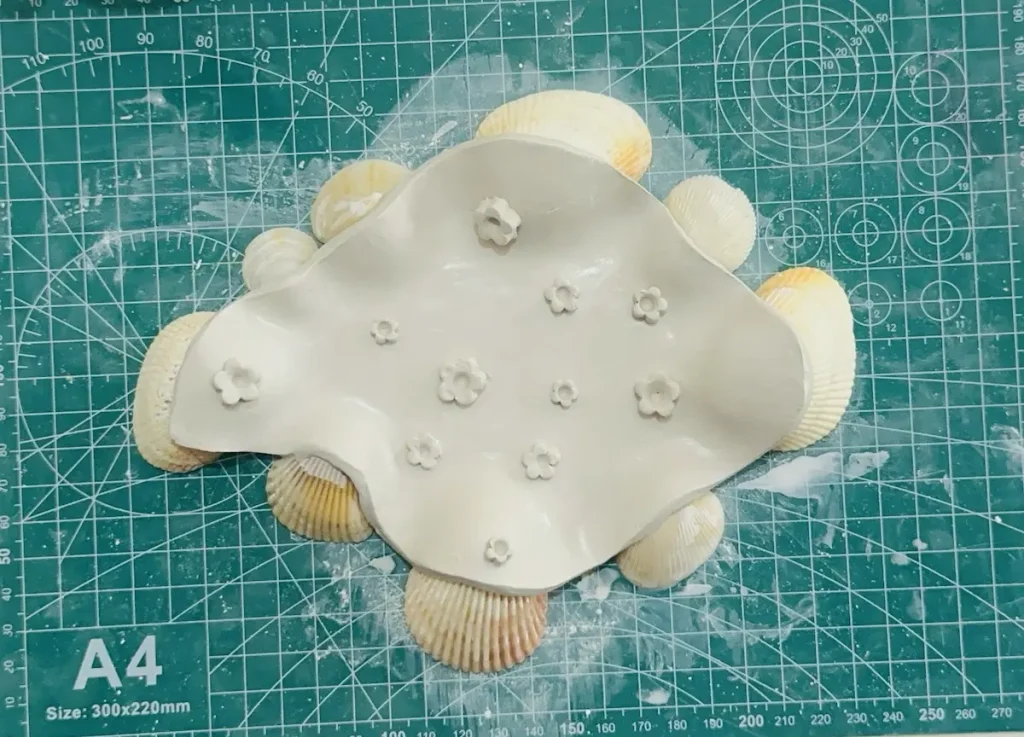
Step 5: Let the dish dry
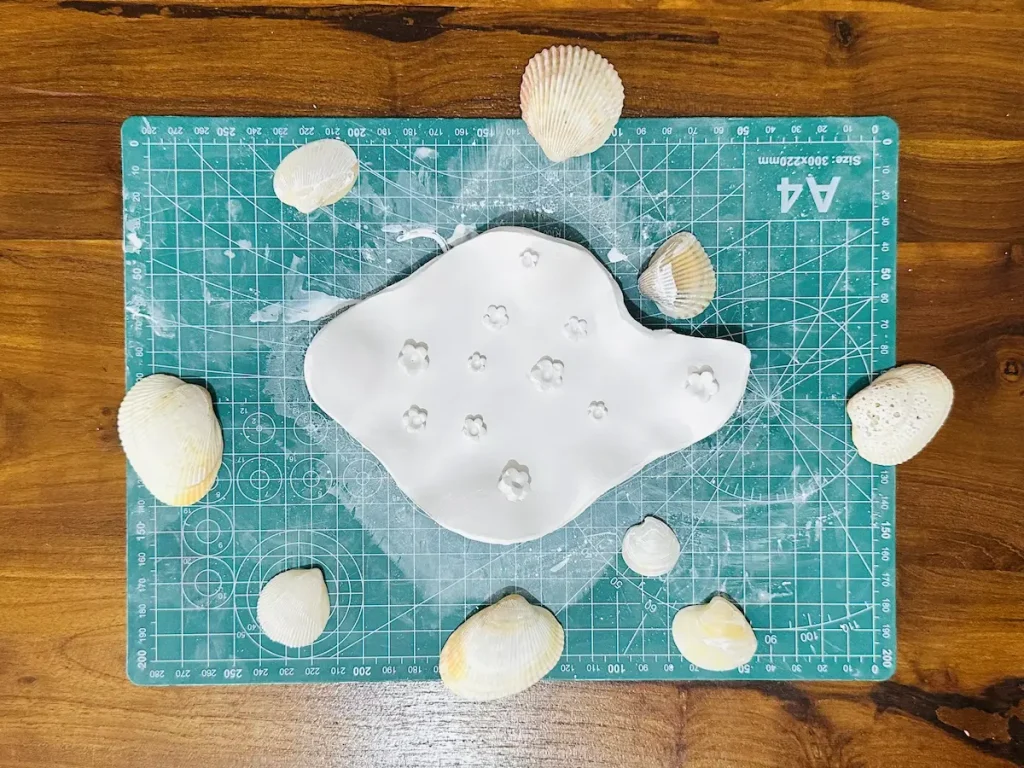
Now let the jewelry dish you made dry for 24-48 hours in a well ventilated and cool area. Air dry clay dries in the air.
Make sure not to rush the drying process by placing it under sunlight or in an oven. Rushing drying time without using proper methods can cause uneven shrinkage and cracks on the surface. Eventually, your hours of work may get ruined.
I always recommend letting the project dry slowly. If you really need to dry it faster, keep it under a fan and make sure to flip it from time to time while drying to evaporate water efficiently from all sides. But be careful. Your attached flowers may fall while flipping. Better to let the project dry slowly, as I told you.
Check the project after 48 hours. If you see gray patches on your clay dish, let it dry for another 24 hours.
Drying time of air dry clay depends on the clay thickness and the humidity in your area. Generally, air dry clay appears fully pure white when it is fully dried.
Step 6: Paint the dish
Never paint on a wet air dry clay project because your paint may start to peel off. I use acrylic paints because they don’t need or need a very low amount of water to dissolve, come in vivid colors, dry in the air, give a shiny, glossy look and make a water resistant coating over the project.
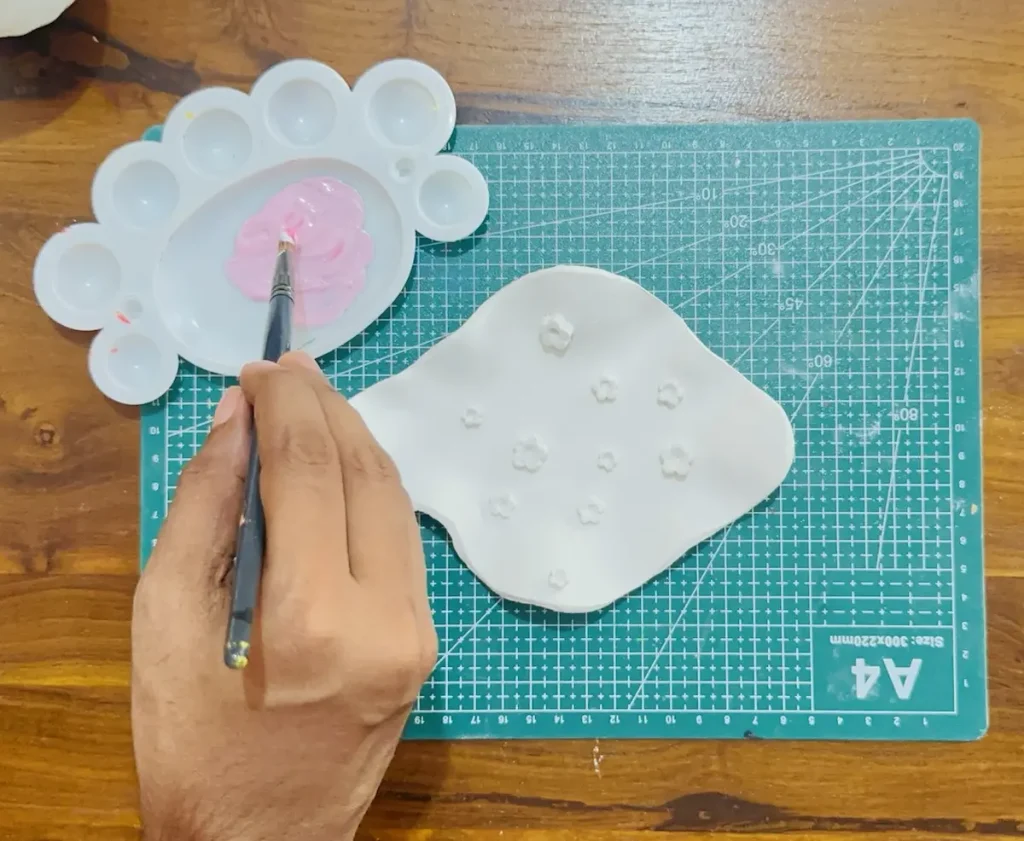
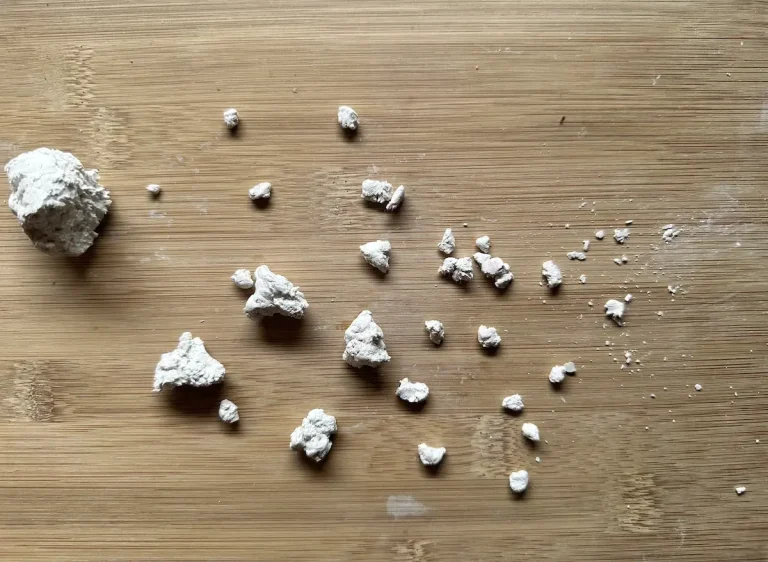
First, I mixed pink and white on my color palette to make the color I want for the tray base. After painting the base fully mixed more pink with less white for the flowers.
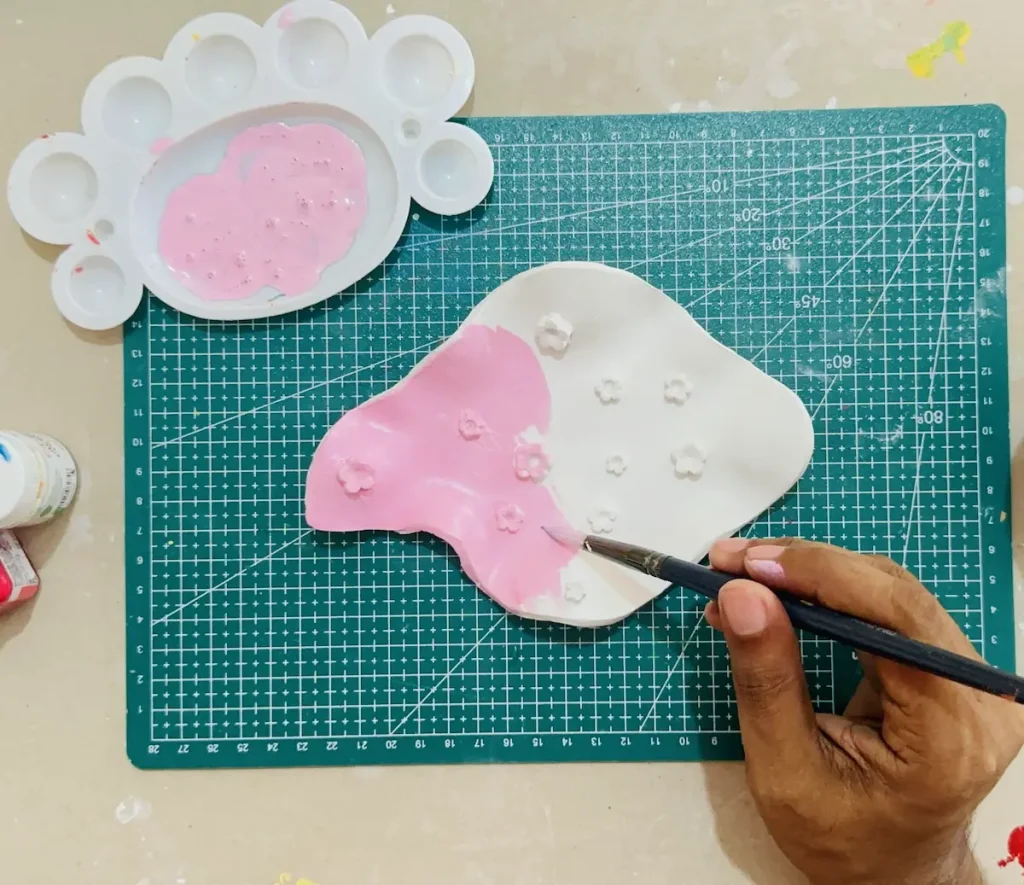
Make sure to apply thin and even coats of acrylic over air dry clay to avoid forming mushy, cloudy looking tacky spots.
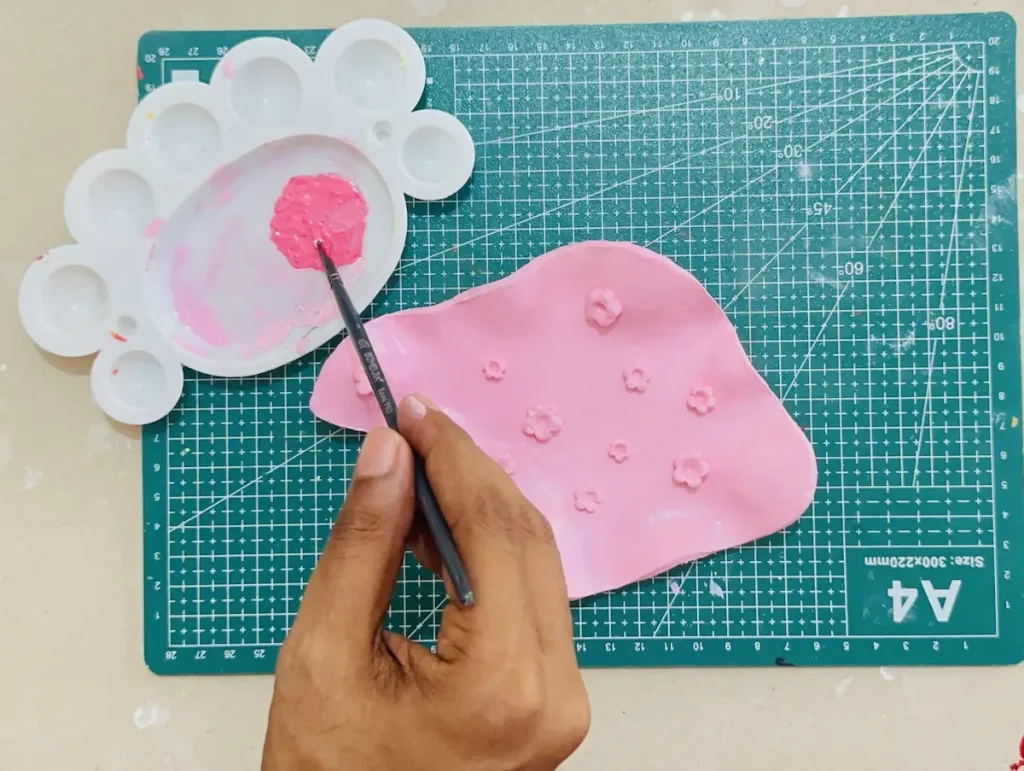
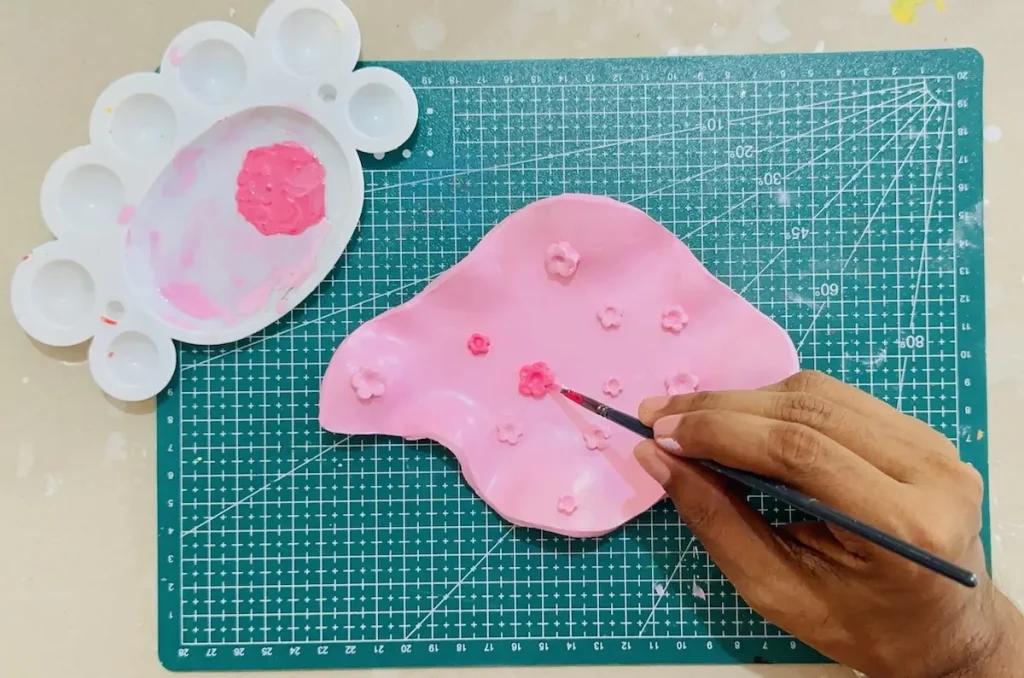
Apply 2-3 coats of acrylic for a shinier look and let each coat dry for 1 hour before applying another. After the final coat of acrylic, let it dry for 2 hours before you start sealing.
Apply in one direction to avoid leaving brush marks. Use flat brushes for painting larger areas and fine detailed brushes for flowers.
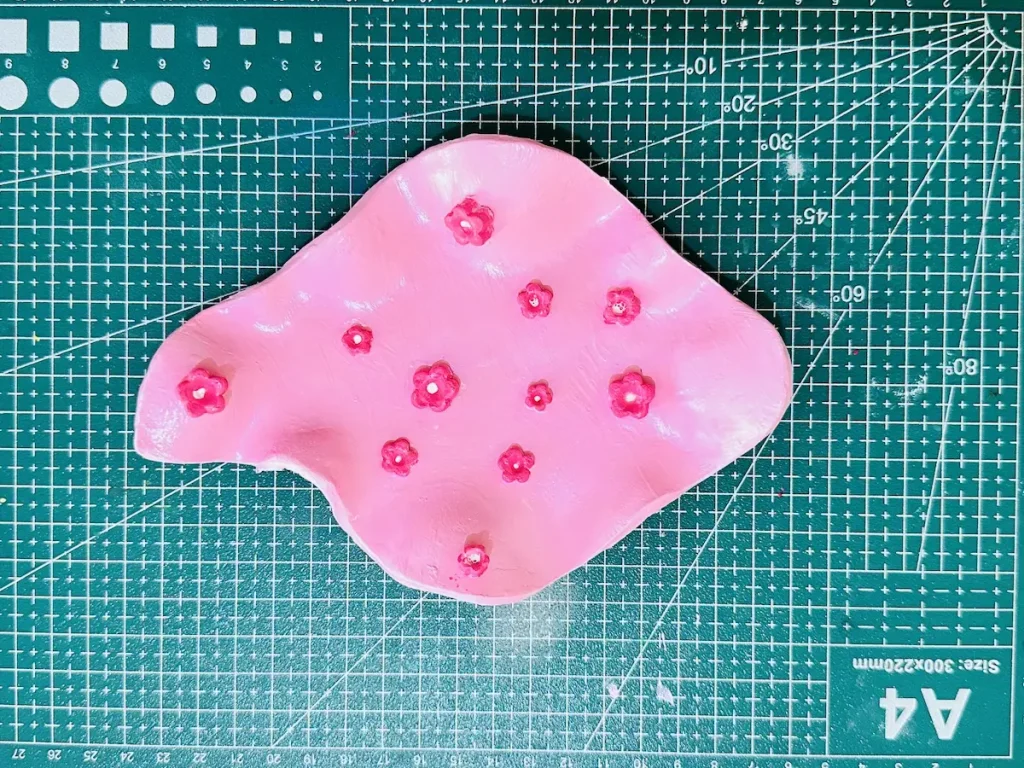
Step 7: Seal the dish
I used gloss varnish for sealing my jewelry dish. Or you can use UV resin, polyurethane varnish or epoxy resin for glassy like finish.
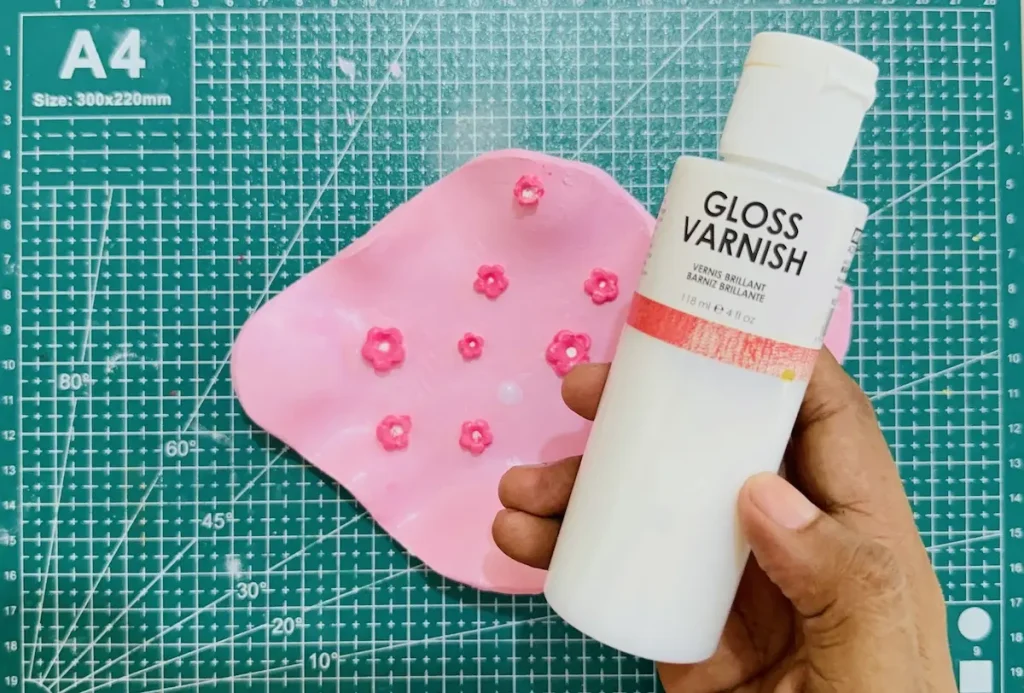
Gloss varnish also dries in the air and provides a ceramic, glossy finish. If you use UV resin you probably have to let it dry and cure under UV light. Gloss varnish is easy to use, but it dries more slowly, which takes about 24 hours to dry and cure.
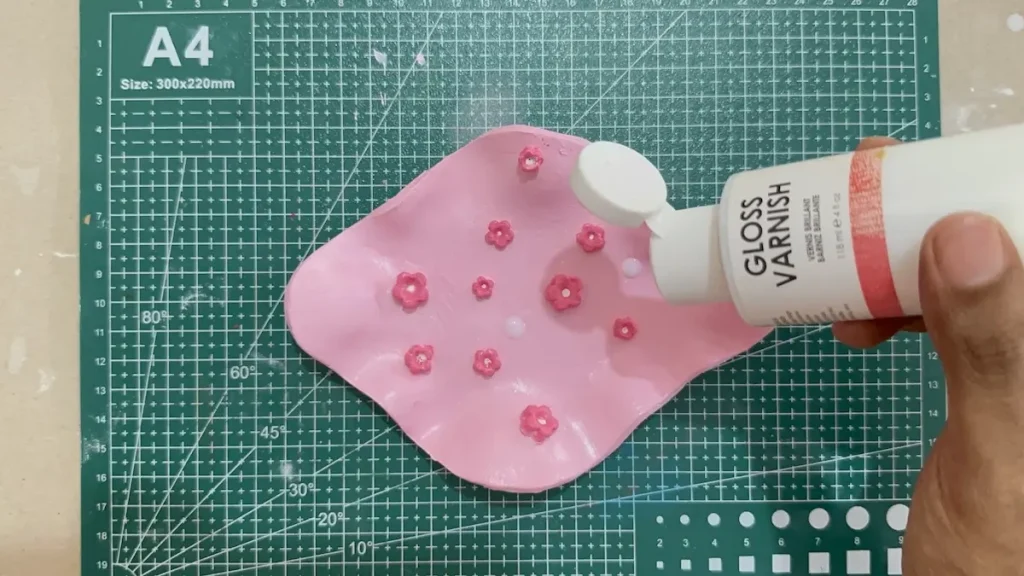
Most importantly, gloss varnish offers long term protection with a water resistant coating. It stops moisture from getting inside your air dry clay project. Moisture can weaken the clay, loosen the joints and misshape the project. Therefore, applying a sealer is a must.
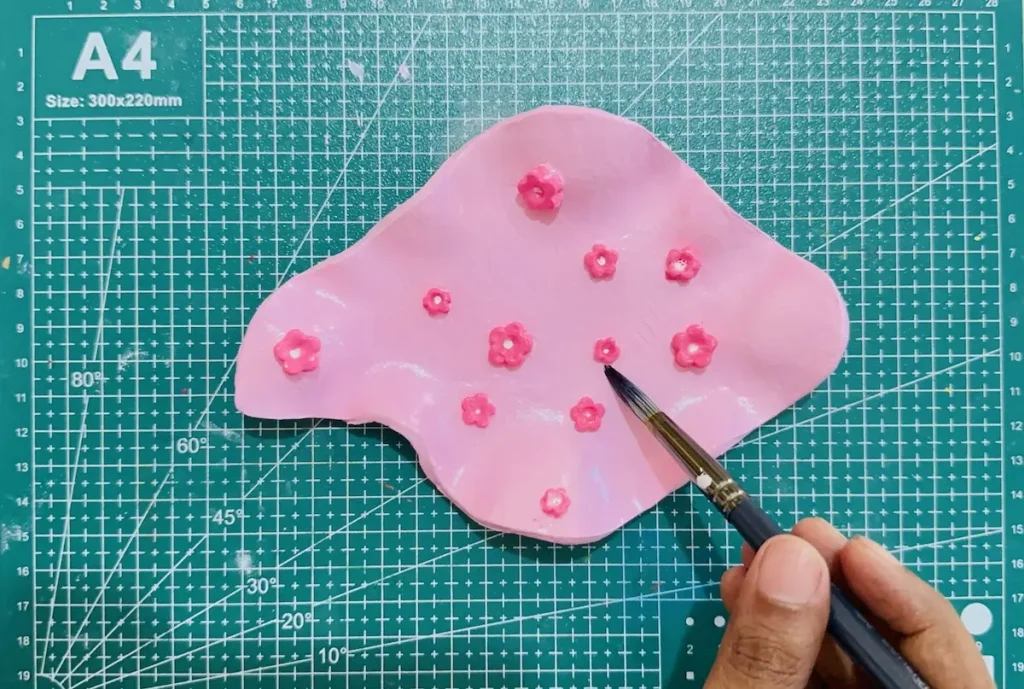
Apply 2-3 coats of gloss varnish for a shiny glossy like finish in one direction. Apply thin and even coats to avoid forming tacky spots, just like acrylics.
After sealing the whole dish surface, let it dry and cure for 24 hours.
I highly advise you to keep the project inside only. Keeping air dry clay outside is not recommended even after sealing because air dry clay cannot withstand environmental elements.
Congratulations, my people! Now you have successfully finished making an air dry clay jewelry dish like a champ!
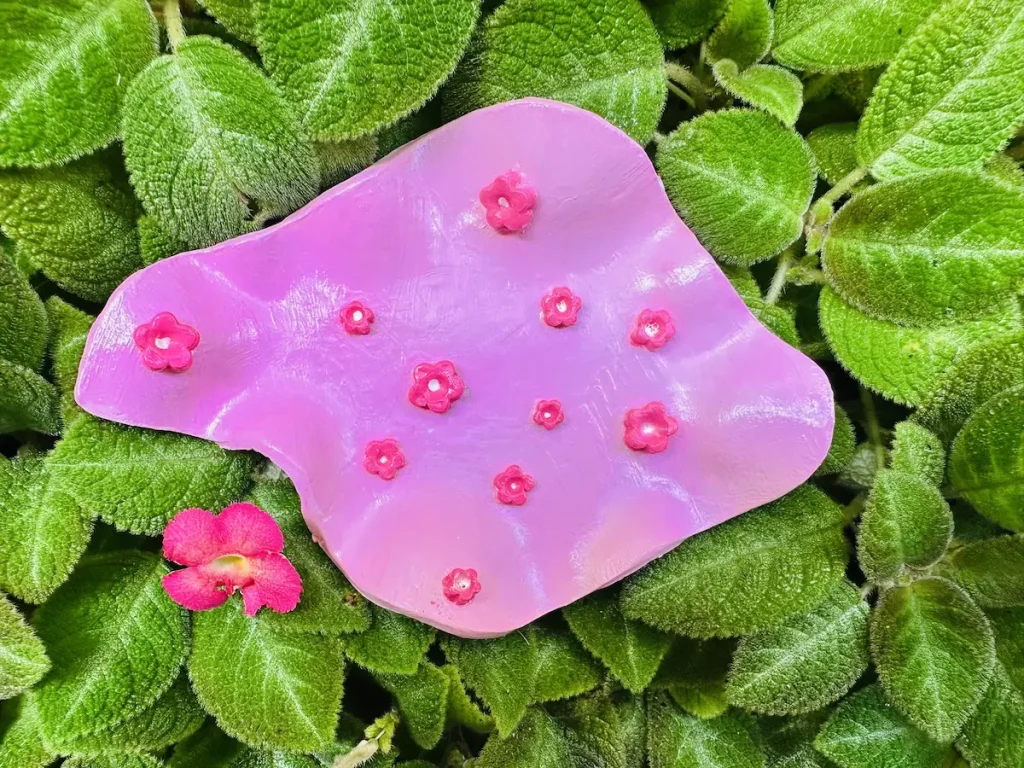
Final thoughts
I hope you make a better jewelry dish than mine with the methods I told you. They aren’t difficult because I have tried them by myself.
If you found a better way of doing any of the above tips, please tell us about them in the comments section.
Be sure to tag @clayandmestudios in your jewelry dish project. I sure love to see them when you do. I’ll see you next time with a cool project! Cheers! 🤟🏾
Air-Dry Clay Jewelry Dish

Supplies Needed
Air dry clay (any reputed brand you can find is okay, I used Mont Marte)
Acrylic rolling pin or cooking rolling pin
PVC mat or silicone mat (or non-stick surface)
Clay crafting tools
Clay cutting tool (or small knife)
Cup of water or spray bottle
A few small rocks (I used seashells)
Acrylic paint (pink, white)
Gloss varnish
Paintbrushes
Paper towels
Optional: Sponge or silicone sculpting tool (or you can use your finger)
Instructions
1. Knead the clay
- Dampen your palms with a little water and knead the clay for 3–5 minutes. This releases trapped air bubbles and prevents surface cracking later!
2. Roll the clay
- Roll your clay slab out to about ½-inch thickness on a non-stick mat. Pro tip: flip and rotate your clay 90 degrees as you roll to stop it from sticking!
3. Cut the dish base
- Freehand cut your dish base shape with a craft knife! Lift the knife clean off the edge as you cut instead of dragging to avoid ragged borders.
4. Shape the dish base
- Tuck small rocks or seashells underneath the edges of your wet clay slab to prop them up and create a whimsical, wavy rim.
5. Attach flowers
- Press small five-petal flowers out of clay molds or freehand cuts. Score both the dish surface and the back of each flower, add a dab of water, and press gently to attach!
6. Let it dry
- Let your dish air-dry slowly for 24–48 hours in a cool, ventilated spot. Don’t rush it under heat lamps or ovens or it might warp and crack!
7. Paint the jewelry dish
- Once fully dry and pure white, apply 2–3 thin, even coats of vibrant acrylic paint. Let each coat dry completely before adding the next!
8. Seal the jewelry dish
- Brush on 2–3 coats of gloss varnish to protect against moisture and give your dish a shiny, ceramic-like finish. Let it cure for 24 hours, and you’re done!