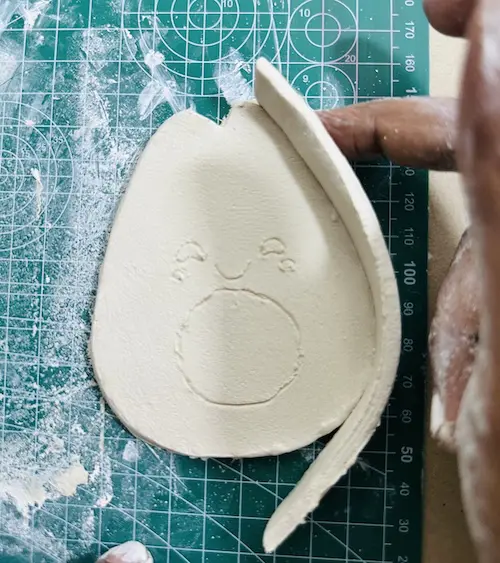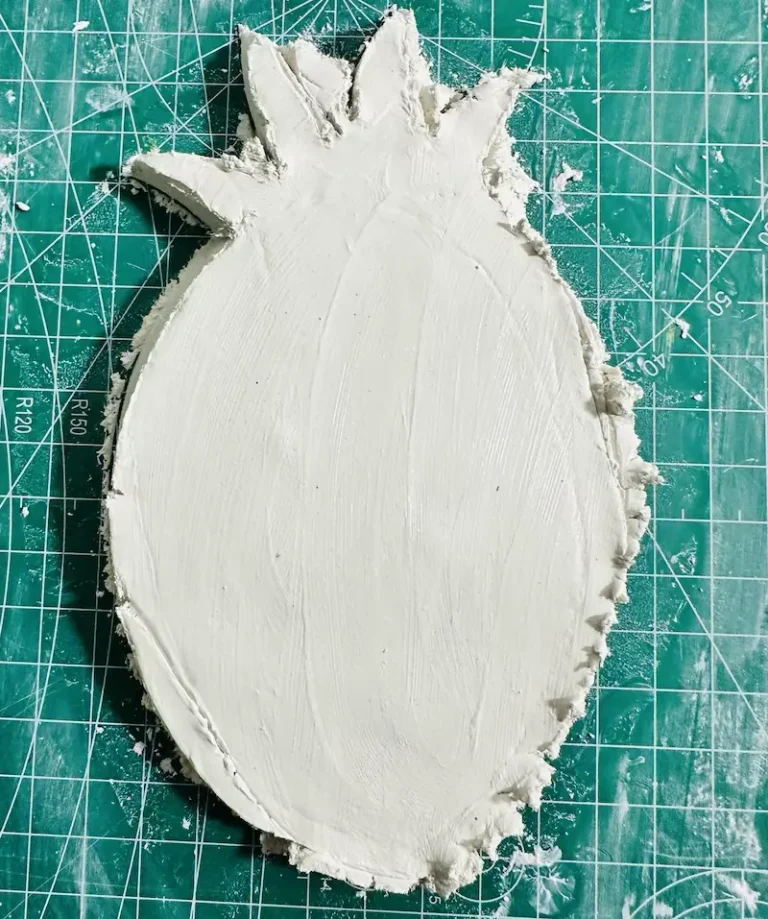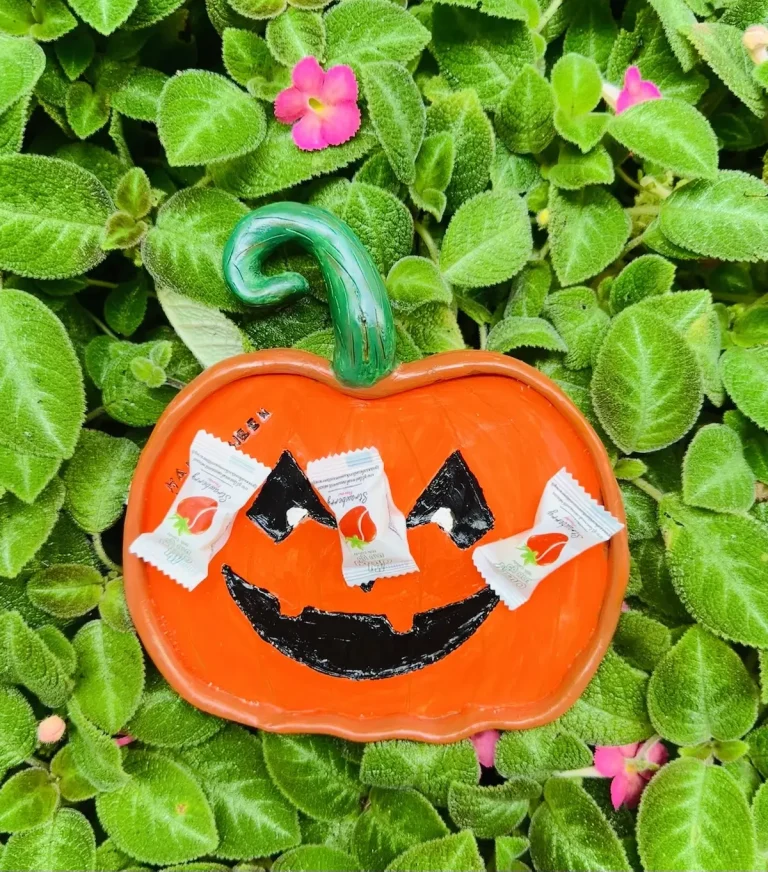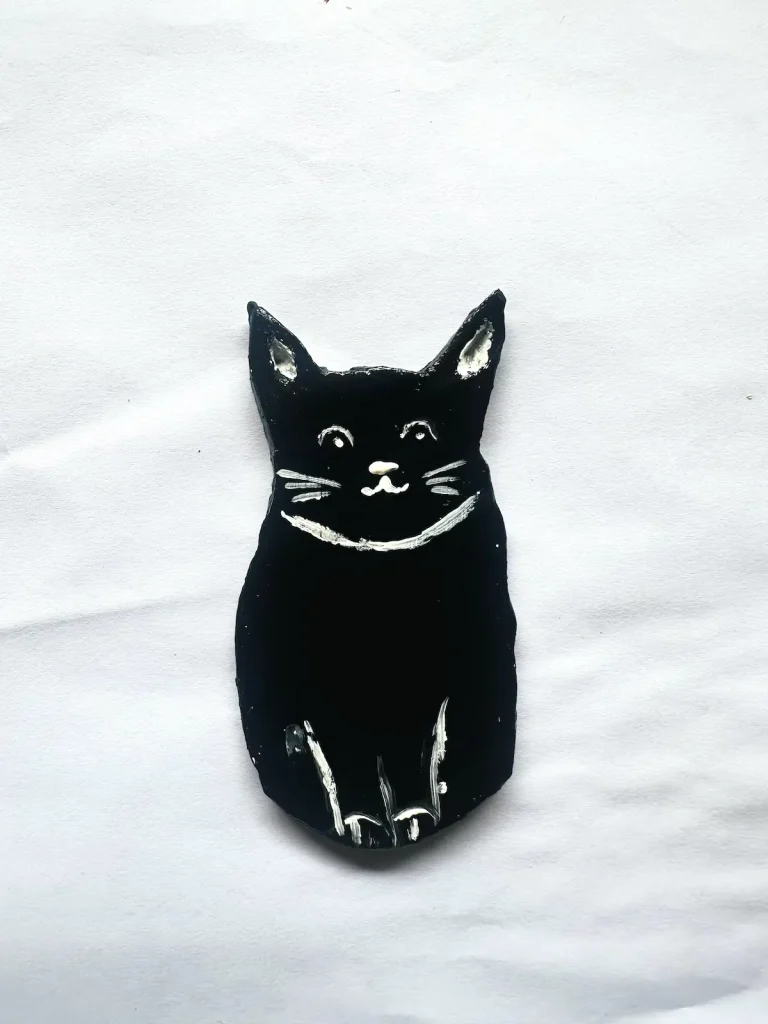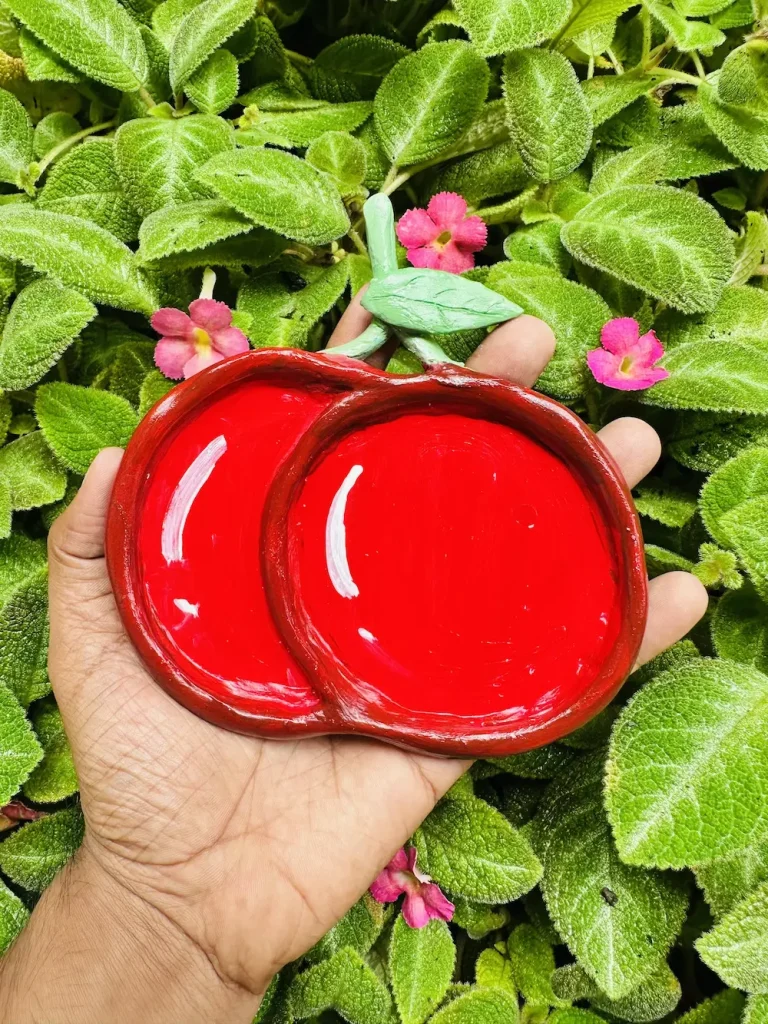

I had this same question when I was starting out my journey as an air dry clay artist. I’ve completed making a handful of items, including trinket trays, home decor items, and a jewelry holder for my wife, all with air dry clay. 🎨
Trust me, it’s one of the best clay types for beginners and offers plenty of benefits, especially if you are just starting out.
I know there are many options on the market: polymer clay, foam clay, and cold porcelain clay. Most of these are actually variants of air dry clay, with the exception of polymer clay. 🏺
I’m going to share my perspective on air dry clay based on my personal experience as a beginner.
If you’re just starting out as well, I hope my insights will help you understand what air-dry clay is truly like.
Unlike reviews written by experts who may no longer recall the beginner experience, I haven’t tried any other type of clay yet (I might in the future). So, as a result, my perspective is focused entirely on the honest pros and cons I’ve experienced firsthand.
Ok! Enough chit chat. Let’s dive in! 🚀
What is air dry clay?
Air dry clay is an earth based clay that dries in the air. No kiln or baking needed. It is a highly porous material with lots of moisture and air pockets inside. It is available in white, terracotta, and grey colors. 🧱
It can be made soft and shaped with a little bit of water, which also can be its worst enemy sometimes. 💧
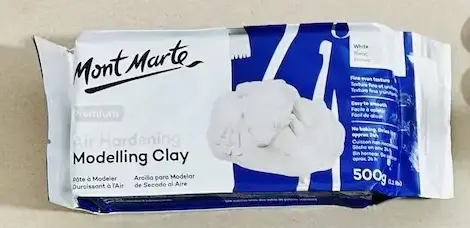
Popular air dry clay products are DAS, Jovi, Mont Marte (which I use), Sclpd, Crayola, Activa and more.
Before we start out, I want to let you know that all the pros and cons I talk about here apply to general air dry clay types like DAS, Jovi, Mont Marte, Sclpd, Crayola, Activa, and other brands we find mostly.
The article is not about epoxy air dry clay (Apoxie Sculpt), paper based clay (Creative Paperclay, LA Doll Premier), wood fiber clay, stone, or nylon based clay because I haven’t tried them yet.
Pros and cons of air dry clay
Before we explain everything in detail. I’ve made a list of benefits and drawbacks you might face when working with air dry clay. This helps you to get a better overall idea of what type of clay we’re working with.
| Pros | Cons |
| Easy to sculpt | Poor durability |
| Budget friendly | Not food safe |
| No baking or kiln needed | Easily mess up |
| Non-toxic | Prone to cracking |
| No expensive tools needed | Prone to crumbling |
| Great for all age groups | Prone to warping |
| Easy to fix mistakes | Shrinks as it dries |
| Easy to paint | Not water resistant |
| Easy to seal | Requires working quickly |
| Easy to add textures | Not great for miniature pieces |
| Mixed media friendly | Hard to make sharp corners |
| High availability | Not suitable for outdoors |
| Great for projects of various sizes | Flammable |
| Easy to sell or give as gifts | Causes skin dryness |
But still, it is too soon to judge. Don’t come to a conclusion until you read the in depth analysis of the clay. Let me show you everything one by one. 🧐
Ok buckle up, we’re gonna dive deep! 🪂
Pros of air dry clay
Air dry clay is one of the best materials for anybody because the learning curve is easy and you don’t have to read a long tutorial or follow 394 safety guidelines (Remember? Harry Potter? Snape? Turn to page number?) before starting out. 📖
It is just plug and play. Grab a piece of clay, start making the thing you like and let it rest on a table until it dries. That’s it.
Let me show you all the benefits I gained by using air dry clay over any other. Love of my life lol. ❤️
Easy to sculpt
Air dry clay is not as sticky as traditional clay we use for pottery and you don’t need to know difficult pottery sculpting skills; simply just use your hands and brain and shape it. 🖐️
You can simply give air dry clay any shape you want by kneading with a little bit of water.
If you feel the clay is a bit stiff at first, condition it and knead until it’s soft enough for shaping. Then shape it into a tray, dish, home decor item, or anything.
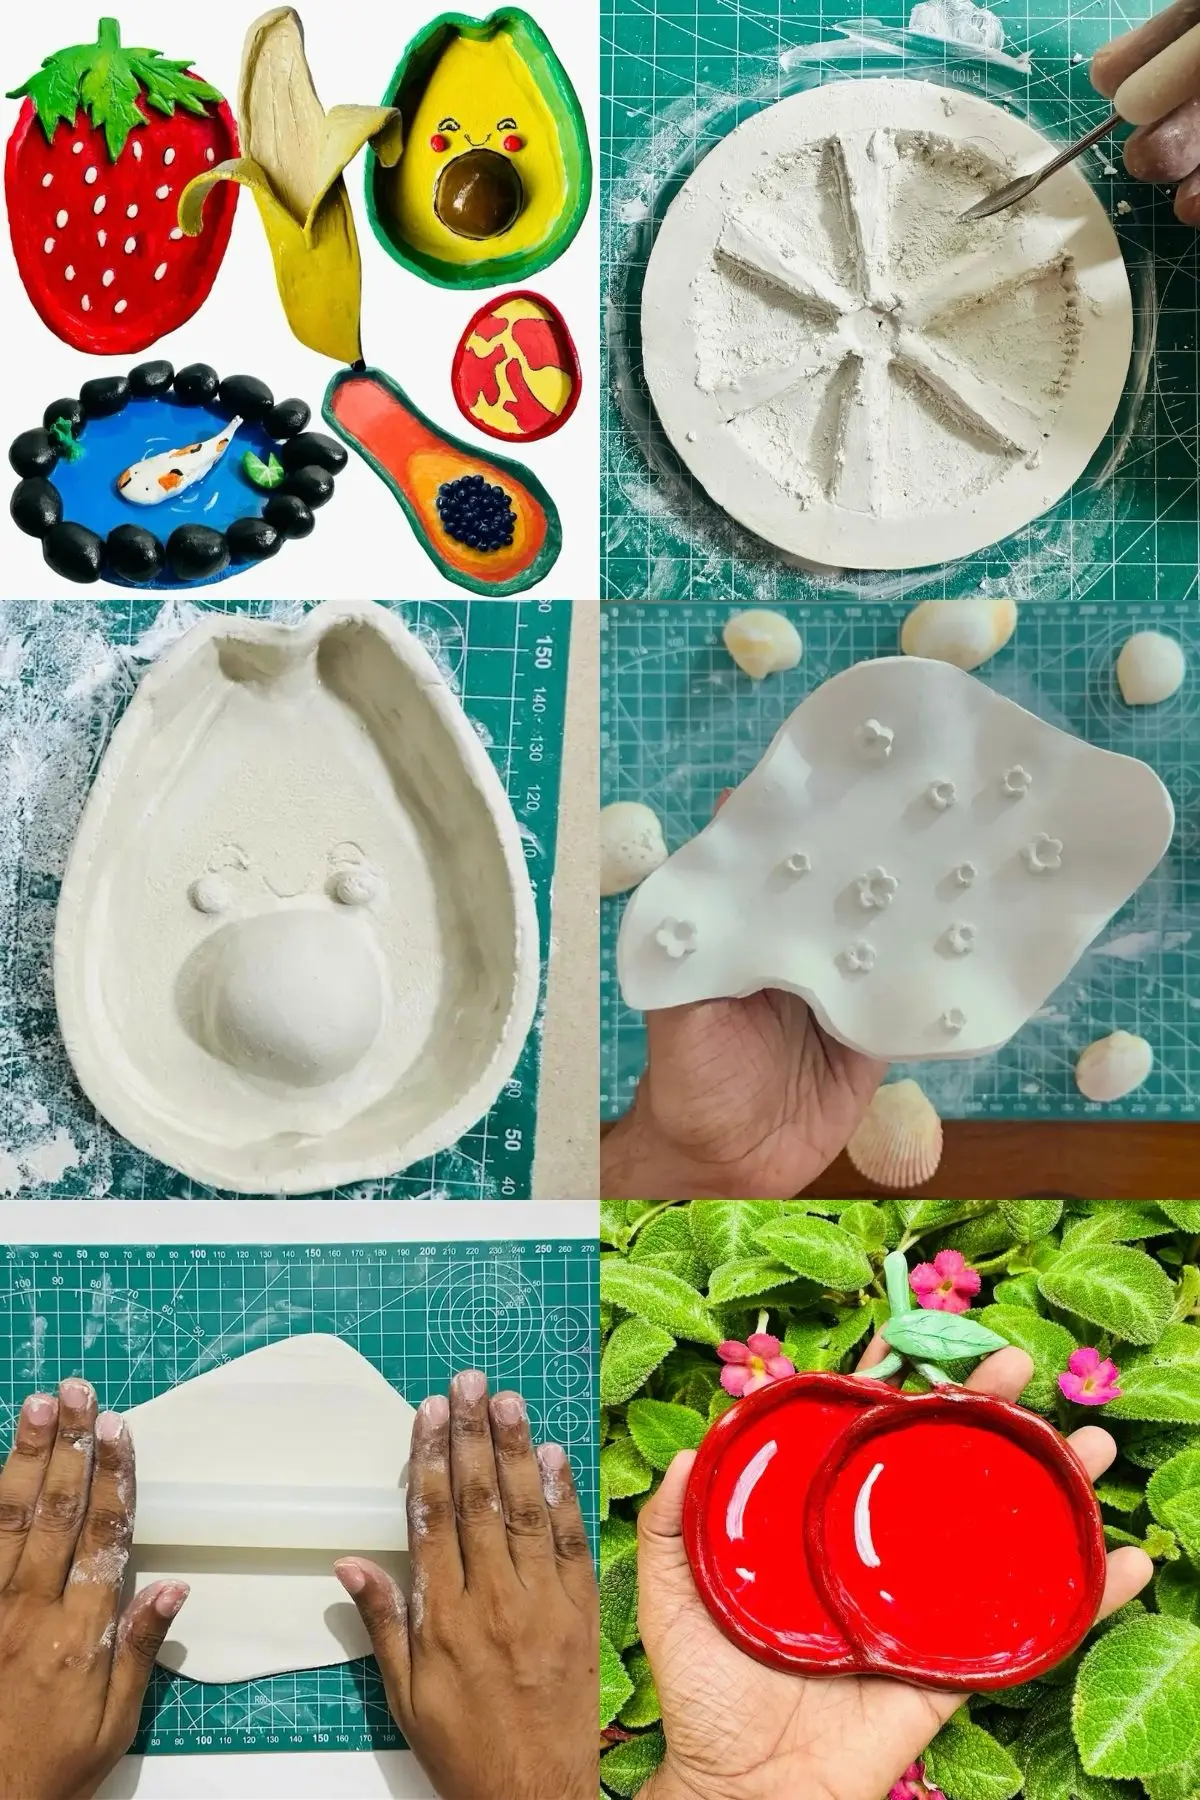
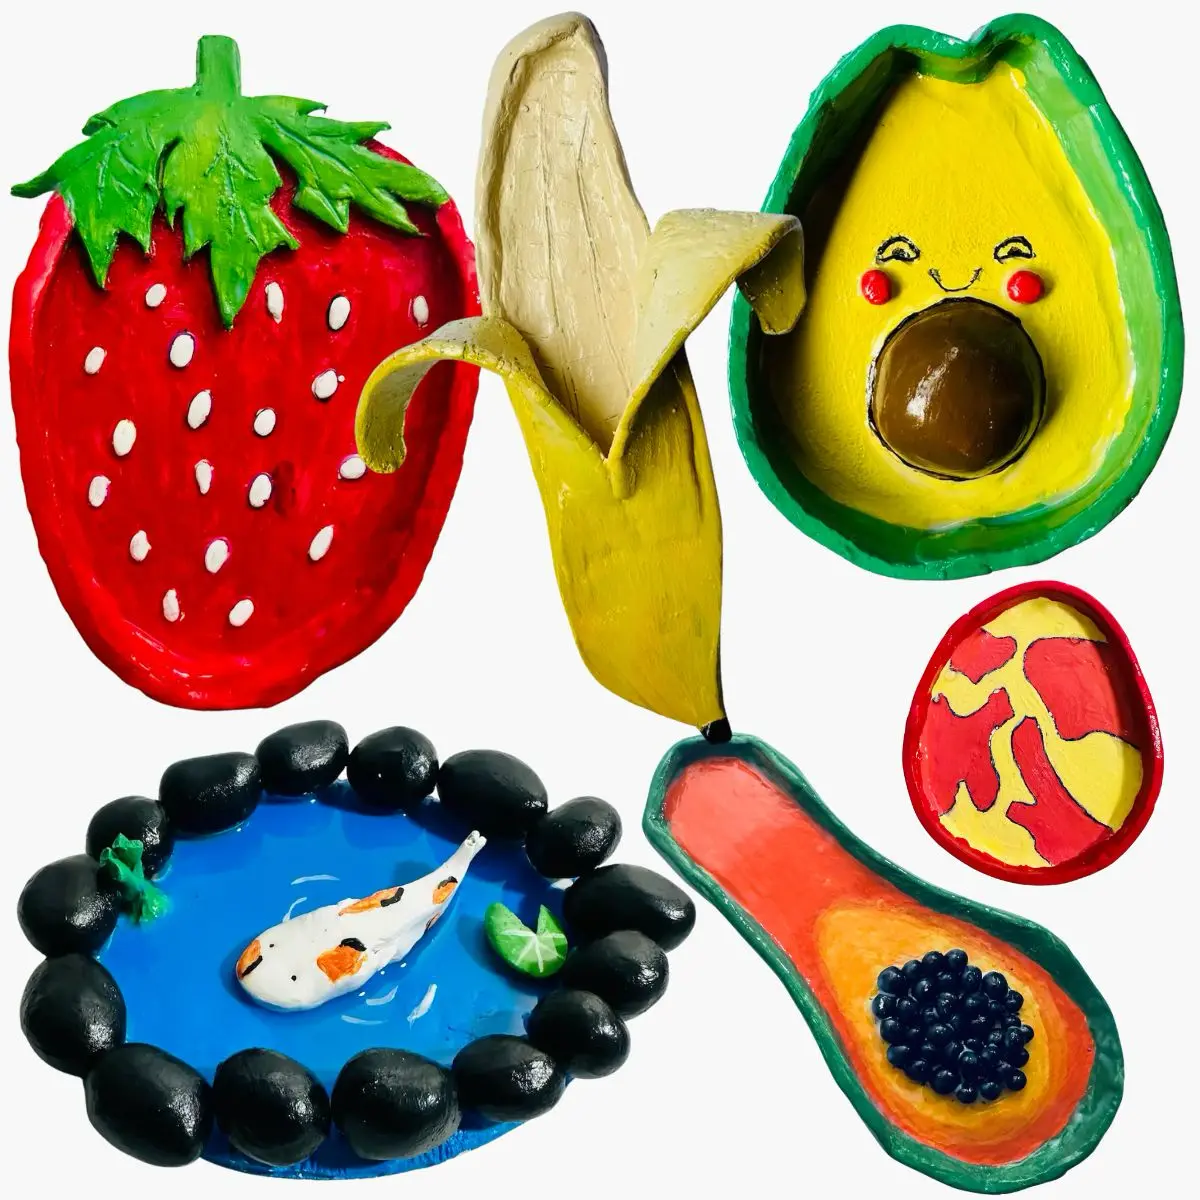
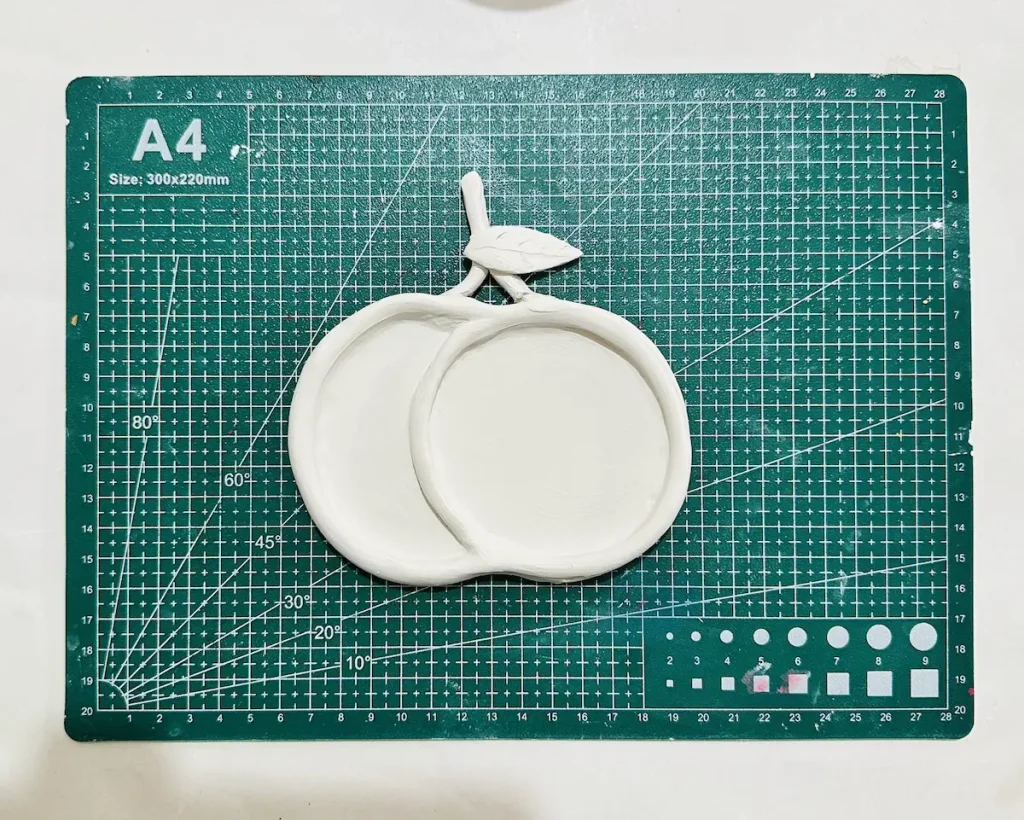
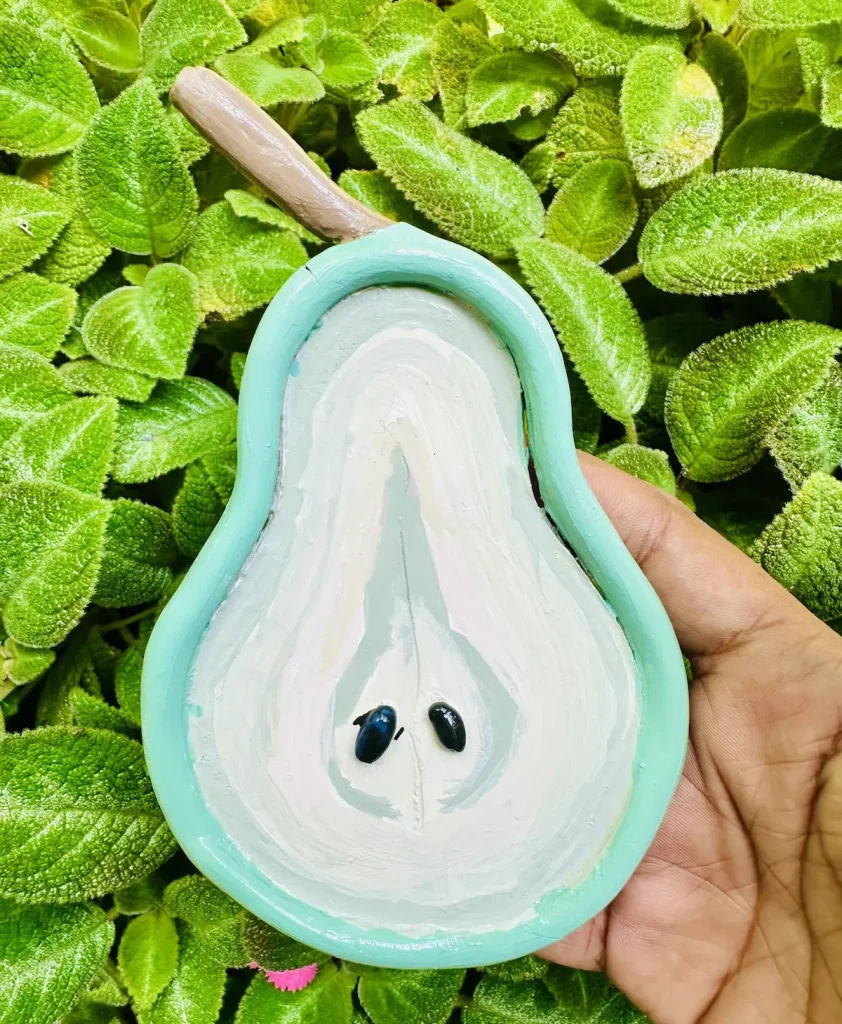
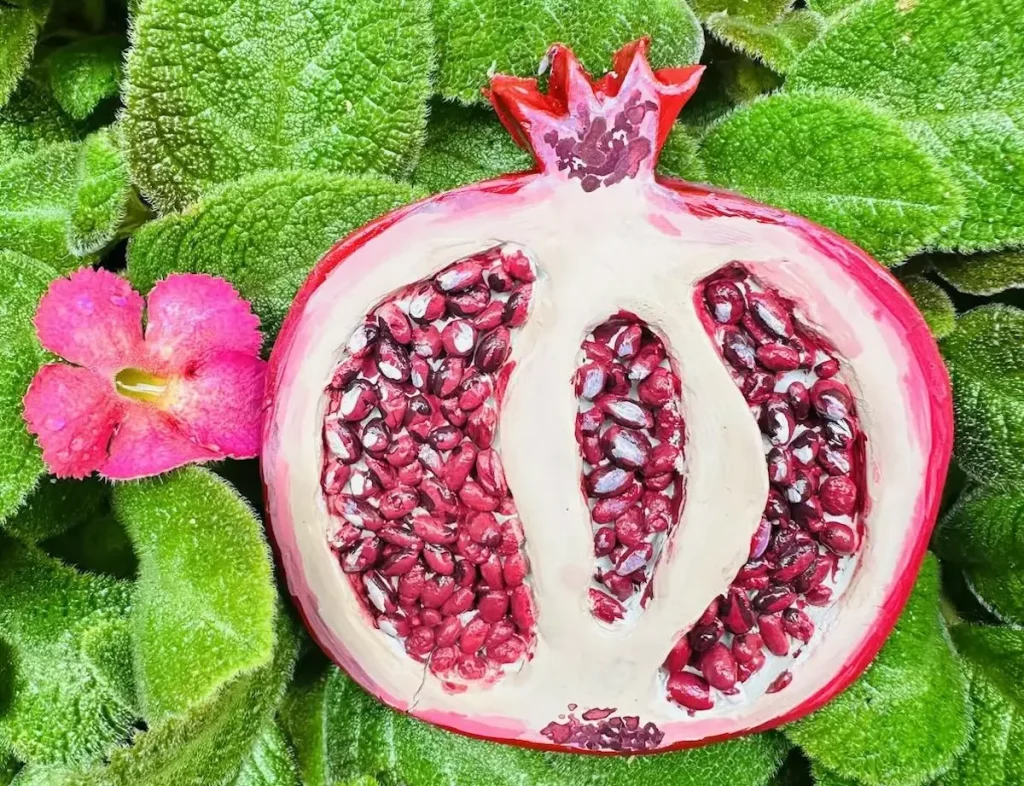
Currently, I have made a series of fruit inspired trinket trays with air dry clay, a natural koi fish pond, and a jewelry holder for my wife, and it has never gone wrong (Only during my first project, but that was on me, not because of the clay. As beginners, we do make mistakes, right? That’s fine. Let’s normalize that). 🍓
Budget friendly
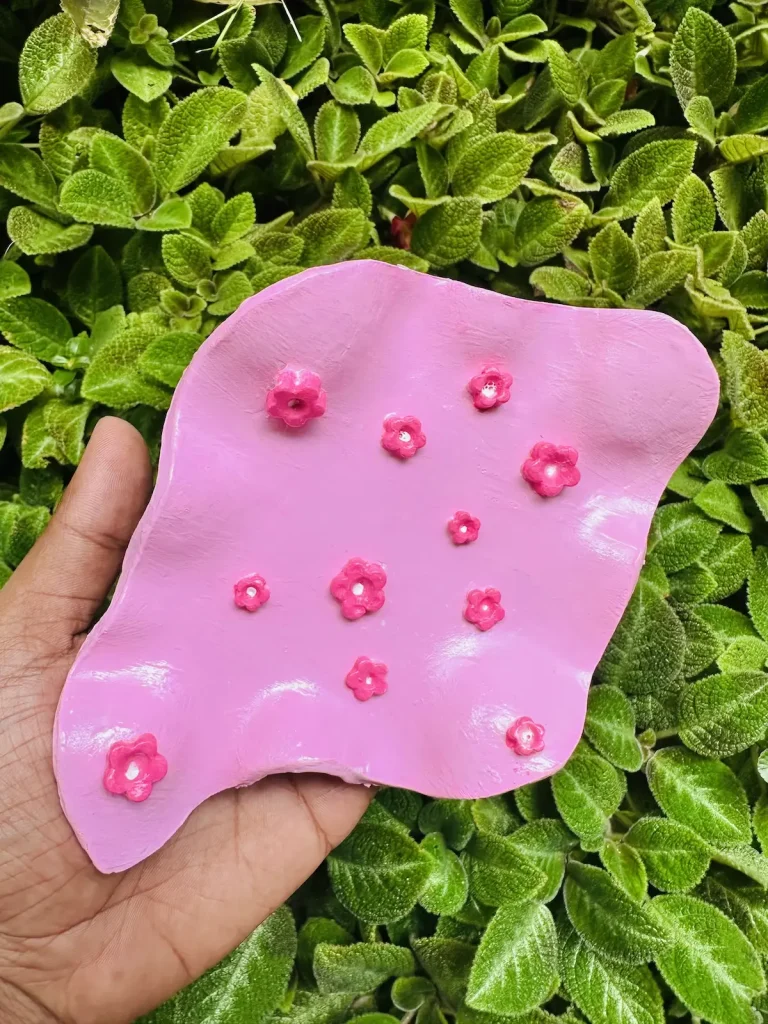
This is one of the main reasons why I went for air dry clay compared to other clay types like polymer clay. 2.2 lbs of DAS air dry clay costs less than $10, which is so inexpensive.
Air dry clay is 2x or sometimes 3x cheaper than polymer clay, and if you’re a beginner, let me tell you why that’s significant. 💡
As beginners, we do waste a lot of clay while making something. We like to experiment with clay to make new things and follow different techniques, and that’s totally ok. I mean, that’s great because without trying something new, you never learn new things. ✨
Also, we make a lot of mistakes while shaping, sculpting, and finishing our clay projects, and sometimes we even have to completely throw the clay piece away and start again with a fresh piece of clay. That’s also ok because mistakes are what teach us to do better in the future. Without making mistakes, we never learn how to fix those mistakes in the first place. 🛠️
But when you’re experimenting and making mistakes, one thing works as a barrier, which is the cost of the clay you use. This is why it is important to use a budget friendly clay, obviously air dry clay, as a beginner. 💵
With air dry clay, you have enough room to experiment with it, learn new techniques, make mistakes, and learn how to fix those mistakes as well because high wastage during those phases won’t really affect you as polymer clay or any other expensive clay type does. 🌱
Air dry clay is cheap and you can have all your fun with it and progress with it until you become a pro. Then you can move to an expensive clay type like polymer clay. 🏆
No baking or kiln needed
You don’t need to place your air dry clay projects in an oven or kiln to let them dry and cure because air does the job for you.
After making the project, simply just place it at room temperature for a couple of days until it dries completely before painting or sealing. This is not possible with polymer clay because you need to put it in the oven for drying and curing.
Read: Can You Paint Air Dry Clay Before It Dries? (And What Happens If You Do)
Air dry clay is convenient and safe because even kids can make things with air dry clay and let them dry without using an oven or any other heat source. 👧
Non-toxic
Air dry clay is completely safe for regular handling by both adults and children, so you don’t have to worry about its safety.
DAS, Crayola, Jovi, Activa, Mont Marte, and many other reputable brands certify that their air dry clay products are non toxic and made without using any harsh chemicals. 🌿
They are made of natural earth or paper based materials, but make sure to check ingredients before use, especially with children. 🔍
Don’t let children put clay inside their mouths because non toxic means not food safe. 🛑
For example, some Crayola air dry clay contains gluten, which can cause allergic reactions in some people, so you need to be careful. Other than that, all air dry clays are non toxic and safe to use for any age group. ✅
No expensive tools needed
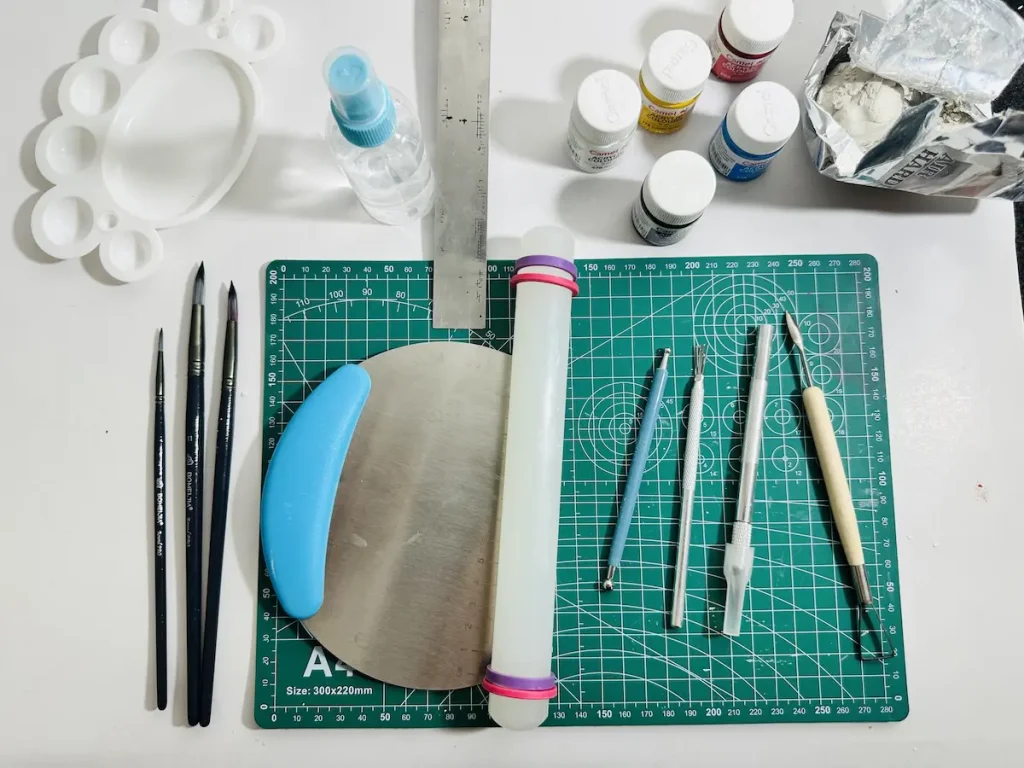
Anyone can be a clay artist with air dry clay. Yes, I say it because if I did that, you can too. Then what about tools? Forget tools. All the tools you ever need for your next air dry clay project are sitting inside one of your unopened kitchen drawers. 🍴
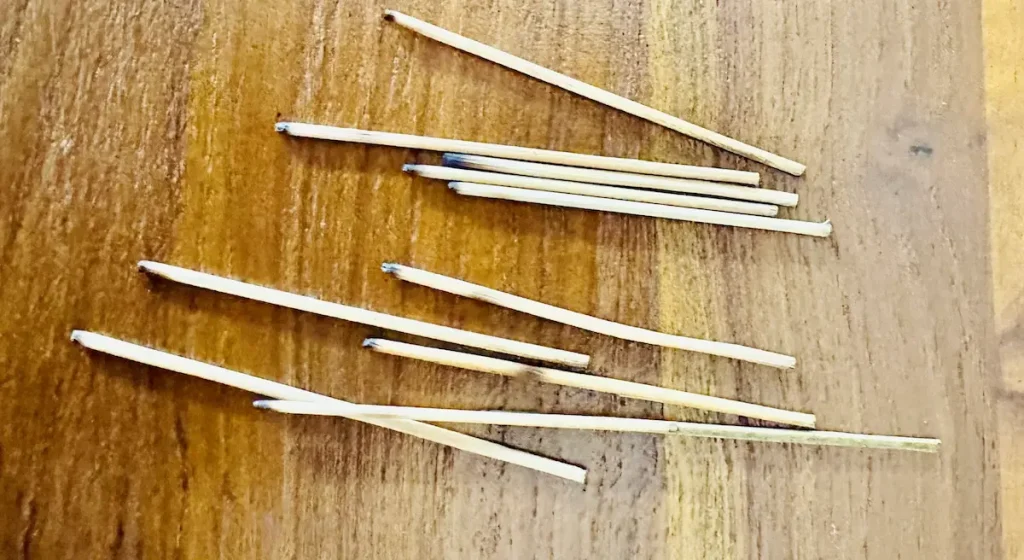
Most of the air dry clay sculpting tools can be replaced by toothpicks. Yes, the tiny ones.
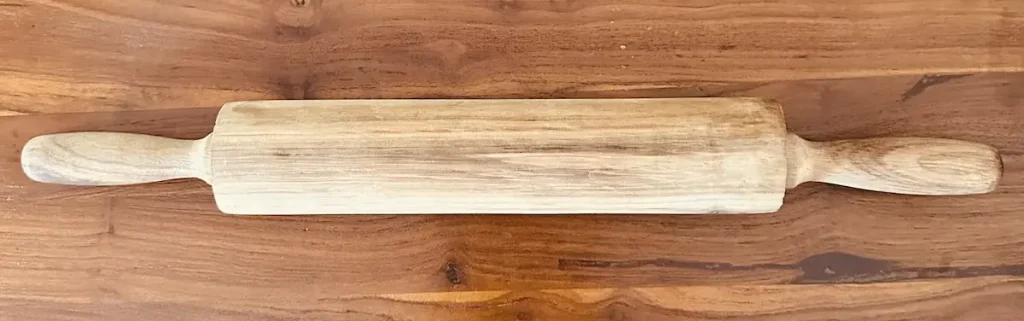
Then what about the mat? You can literally use your wooden cooking board as the mat for air dry clay. You simply just have to place parchment or wax paper over it before placing the clay and start rolling to avoid clay from sticking to the board.
Ok, then what about smoothing the clay? You can simply use your index finger after dipping it in a cup of water and glide on the clay slab to remove tiny cracks, scratches and bumps.
But we don’t have molds or templates? Actually, you don’t need them. Use cookie cutters if you have them or use jar lids, bottle caps, or use the paper template method for crafting complex shapes.
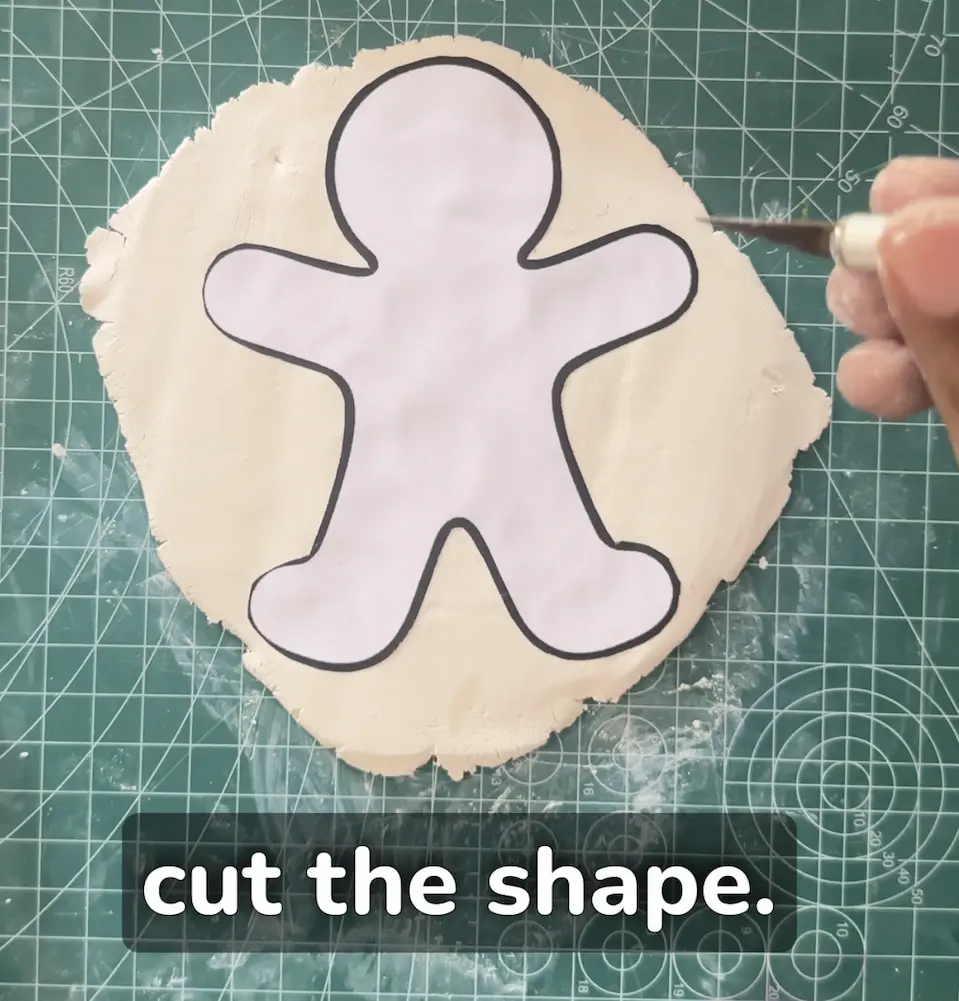
Read: How to Shape Organic Air Dry Clay Forms Without Molds or Cookie Cutters
So what about cutting? No need for expensive cutting knives. Use an X-acto knife if you have one or you can simply just use any small pocket knife. Simple as that!
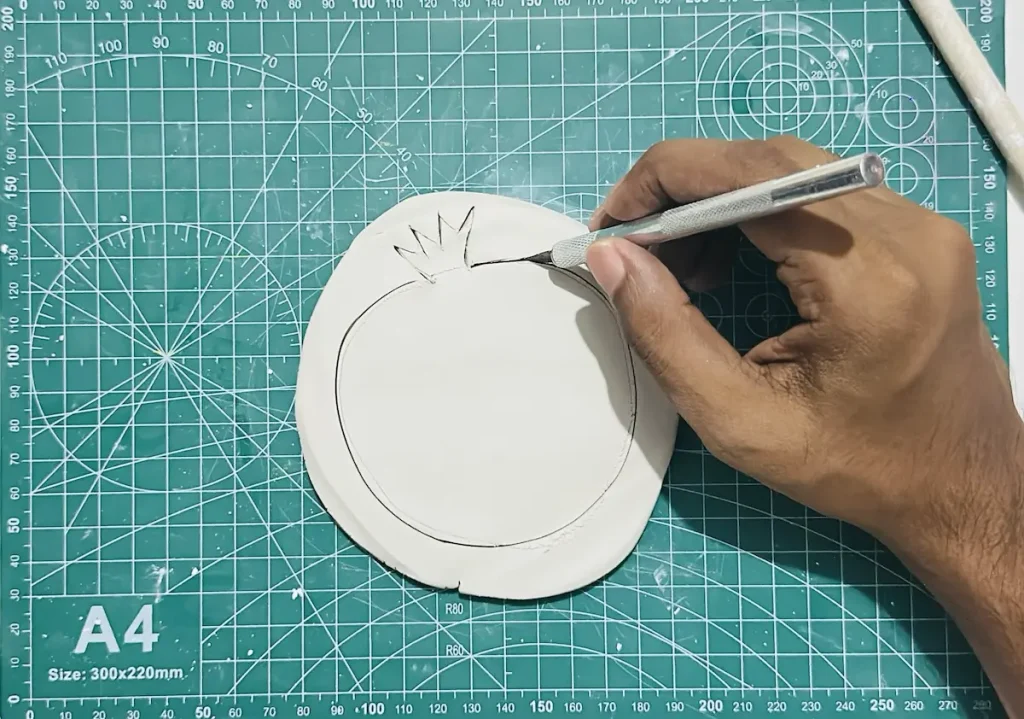
I wanted to show you that every task that seems to require expensive tools for work with air dry clay can be done with things found in your kitchen drawers. Air dry clay is soft and you don’t need heavy or expensive tools. Your hands are the best tools to get the right shape. 👐
Read: How to Cut Perfectly Round Air Dry Clay Bases Using Household Templates
Great for all age groups
As I mentioned earlier, air dry clay is a non toxic clay type that can be easily shaped as you want with a small amount of water. 💧
You don’t need to be an expert to handle air dry clay because once you shape it as you want, just let it dry. Your kids can have fun with it because no oven, kiln, or harsh materials are involved from start to end.
Kids, adults and elders can make beautiful home decor items, bowls, trays, incense holders, shapes, picture frames, and keychains with air dry clay.
It helps to stay focused and keeps you mentally balanced by relaxing and reducing your stress levels. I highly recommend air dry clay crafting workshops for elderly homes and childcare centers because it is a great way to spend time and improve brain function. 🧠
Just don’t let children put the clay into their mouths because it is not a food safe material. ⚠️
Even if you make bowls with it, make sure not to use it as fruit, vegetable, or cereal bowls. They are only for decoration.
Easy to fix mistakes
What if I told you it is ok to make mistakes in air dry clay? Yes, trust me, I know from experience. I have made a lot of mistakes when working with air dry clay. 😅
I have accidentally scratched it while shaping and sculpting wet clay due to my nails and torn apart tiny pieces by accidentally hitting them while I was moving my hands. 🤦♂️
But most of the time, fixing those mistakes was so much easier.
You can fix tiny bumps, imperfections, scratches and micro cracks on wet air dry clay using your fingers. Simply dip your fingers in a cup of water and wet them. Then glide over the cracked, scratched and bumpy areas on the clay slab repeatedly until they vanish. You can do the same to vanish seams that occur when joining two air dry clay pieces together. For example, when attaching the tray rim to the tray base, you can remove the seam by gliding your fingers carefully over the joint.
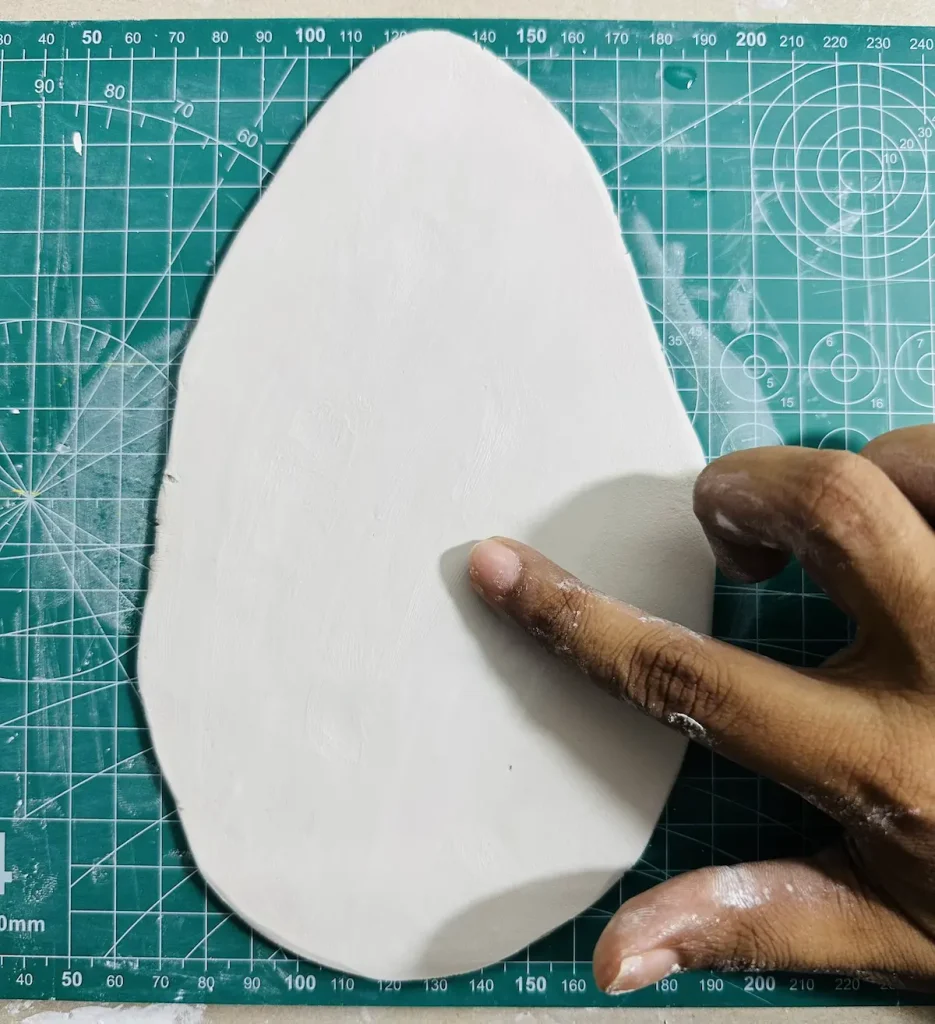
If you break a piece but the clay is still wet, you can score both surfaces that attach of the two pieces and apply a paste called slip as an adhesive glue.
Slip is an air dry clay and water mixture. You can make it by mixing tiny pieces of air dry clay thoroughly with the same amount of water. Then let the paste sit for hours before using. This creamy looking paste can be used to attach two air dry clay pieces together, regardless of whether they are fully dried or in a wet condition. 🥣
If the clay pieces are wet, you can use water as well. Simply tap the scored areas with a little bit of water and press the pieces together for a few seconds until they attach. I use water when I don’t have “slip”.
Easy to paint
Air dry clay is so easy to paint because it absorbs the moisture of the paint and sticks with the paint so well. Therefore, the paint does not peel off easily unless the clay is wet. Thus, it is a must to wait until your air dry clay is fully dried before starting to paint. 🖌️
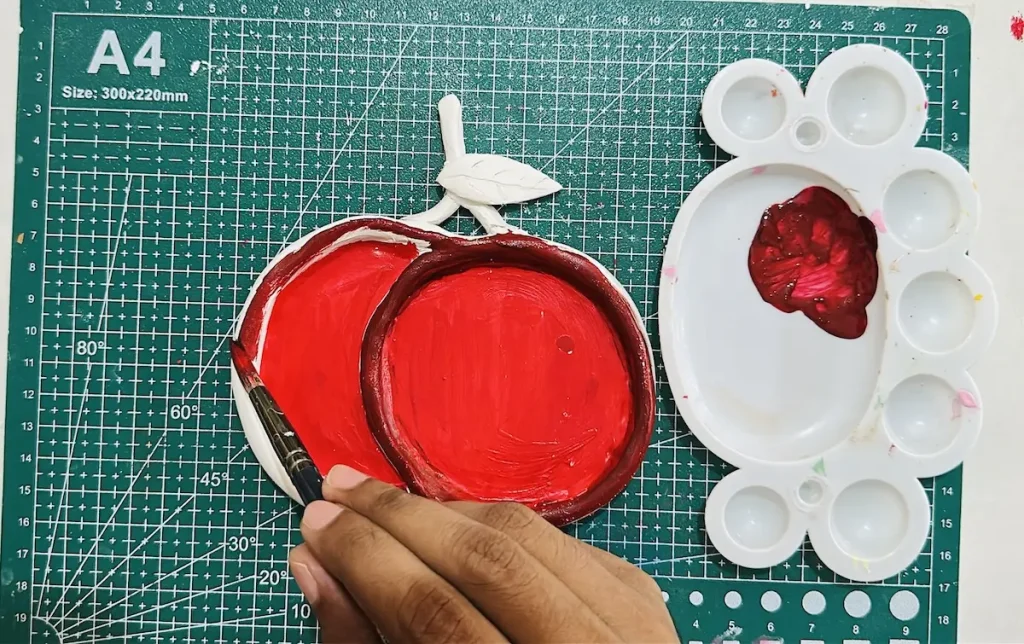
Acrylic paint is considered the best paint for air dry clay because it comes in vivid colors, needs no water, gives a glossy finish, and makes a water resistant coating. 🎨
Read: How to Paint Crisp Details and Layer Colors on Air Dry Clay
Most importantly, it dries within 2 hours after application because air dry clays are compatible with acrylic paints. Fast and efficient. ⏱️
You just have to apply thin and even coats of paint in one direction to get a beautiful and smooth finish.
Easy to seal
You can seal air dry clay projects with any sealer you like, but make sure they are water resistant or waterproof because moisture is the worst enemy of air dry clay, which can weaken the clay. 🛡️
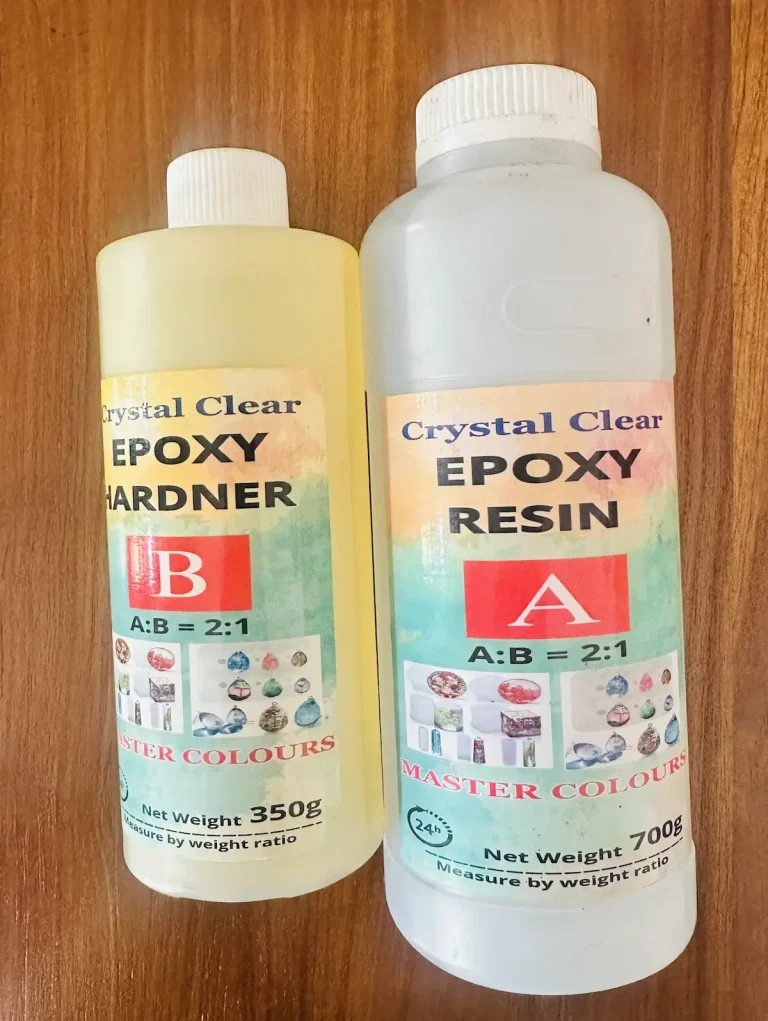
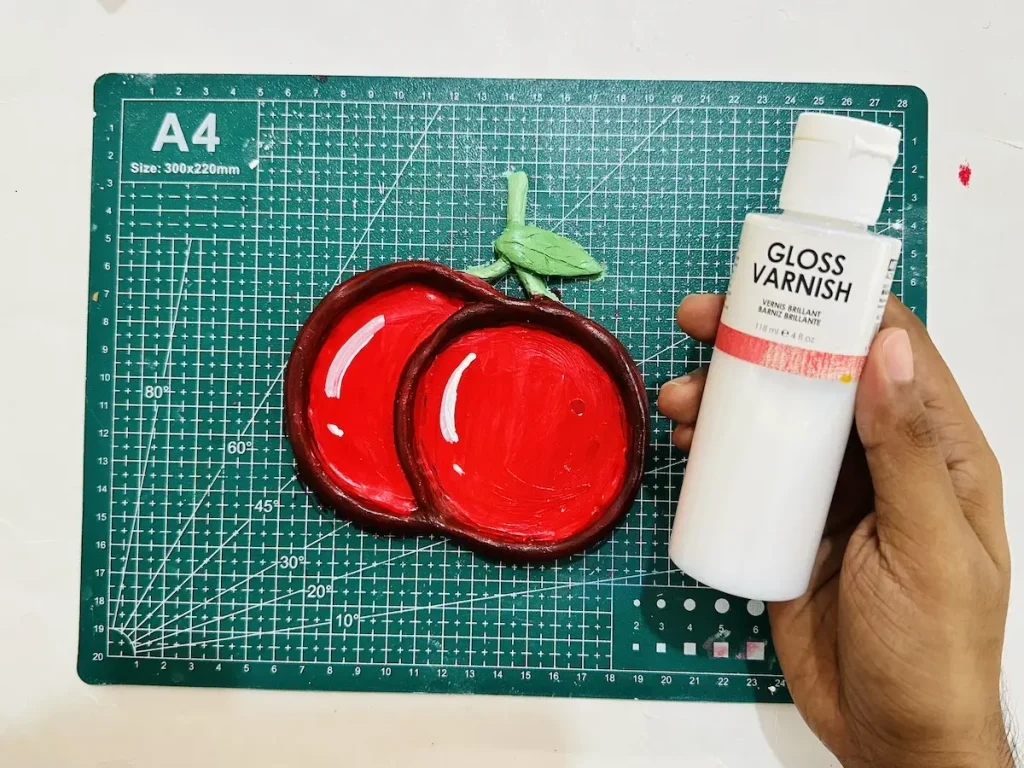
Gloss varnish, UV resin, Polyurethane varnish, and epoxy resin are great for air dry clay. I mostly use gloss varnish and it is able to provide a glossy ceramic like look to my air dry clay projects with a water resistant coating. ✨
For my natural koi fish pond project, I used epoxy resin. It gave a water like glassy effect, which is super cool, and the water texture makes the pond look more realistic. 🐟
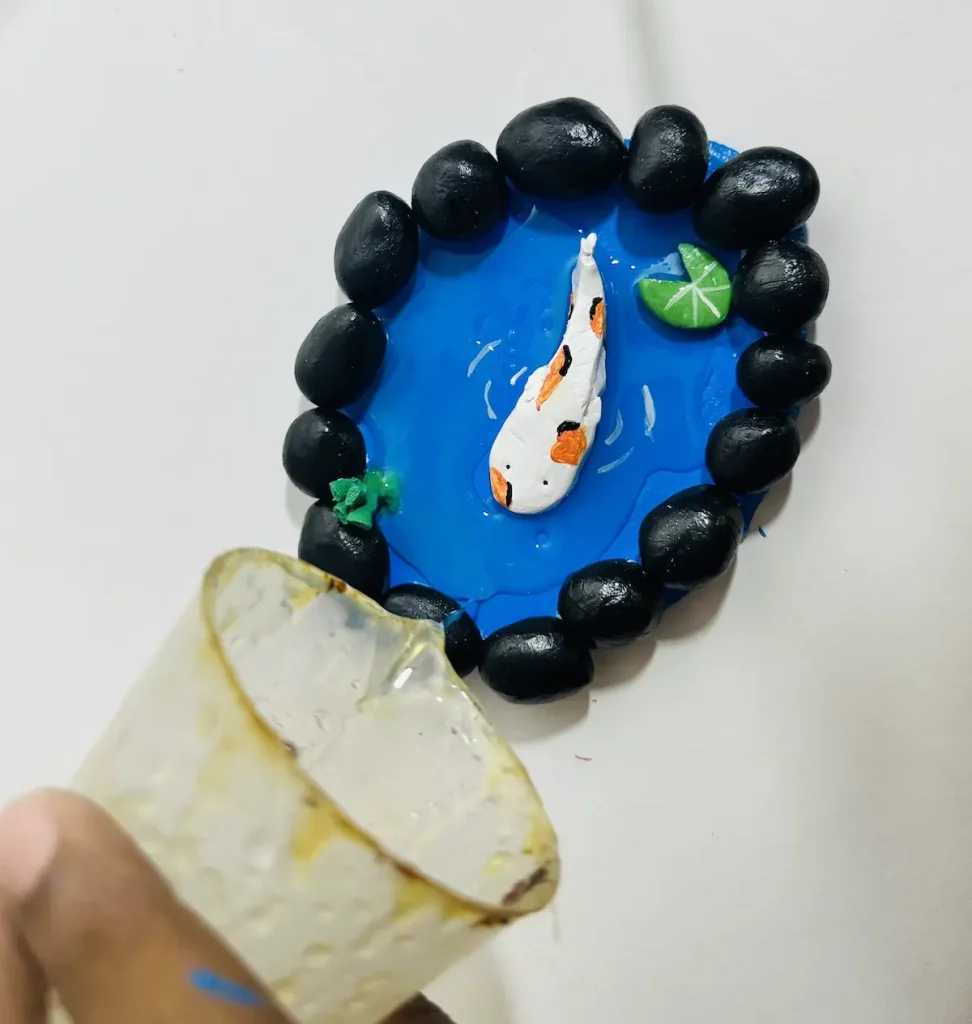
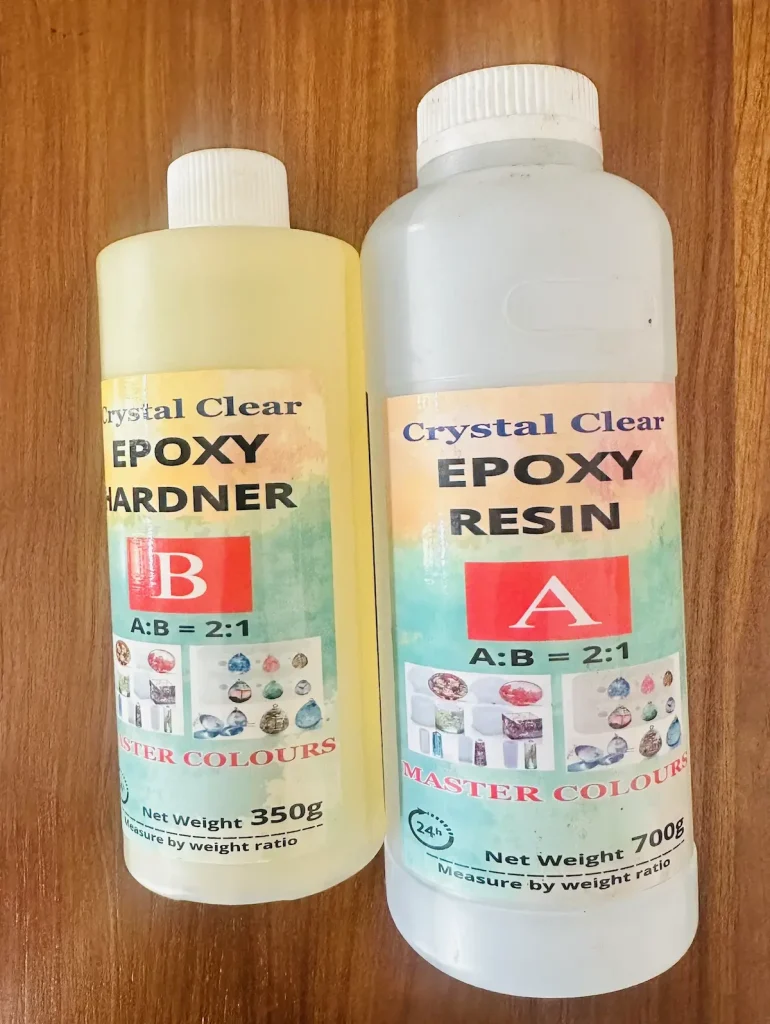
Same as paint, you need to apply 2-3 thin and even coats of sealer over your air dry clay project once it is fully dried to get the best result. It is not hard because, for example, gloss varnish dries and cures within 24 hours. ⌛
Easy to add textures
You can easily add textures to your air dry clay project using the clay tools you have. For example, a ribbon tool is great for hollowing out the clay. I used that for my orange trinket tray project. 🍊
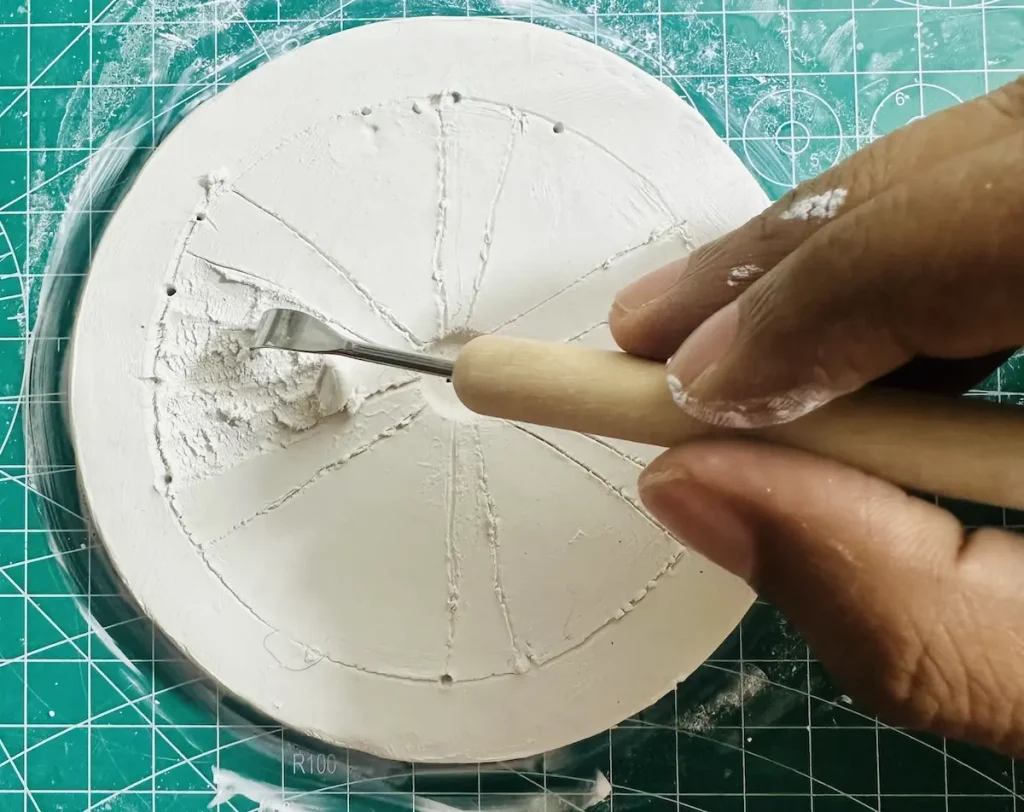
For many projects, I’ve added textures not by using expensive tools, but just with the things I have. ⚙️
Toothpicks are great for detailing like leaf textures, flower textures and for making shapes.
Clay carving tools are great for shaping the edges and digging the clay for making tray bases.
If you condition it well with a little bit of water to keep the wetness of the clay, you can add any texture you like with the right tools. 🧰
Mixed media friendly
Sometimes you’ll have to combine air dry clay with other materials like aluminum foil, wire mesh, cardboard, or plastic containers to make things with higher structural integrity. 🏗️
For example, when you’re making a figure, you can make the skeleton using the wire and then cover each wire with air dry clay. By doing this, the figure won’t break apart as the clay dries because wires inside act like the core strength.
My first air dry clay project, which is a cute rabbit, failed and the parts broke apart as the clay dried because I didn’t mix air dry clay with other materials to make it strong. 🐰
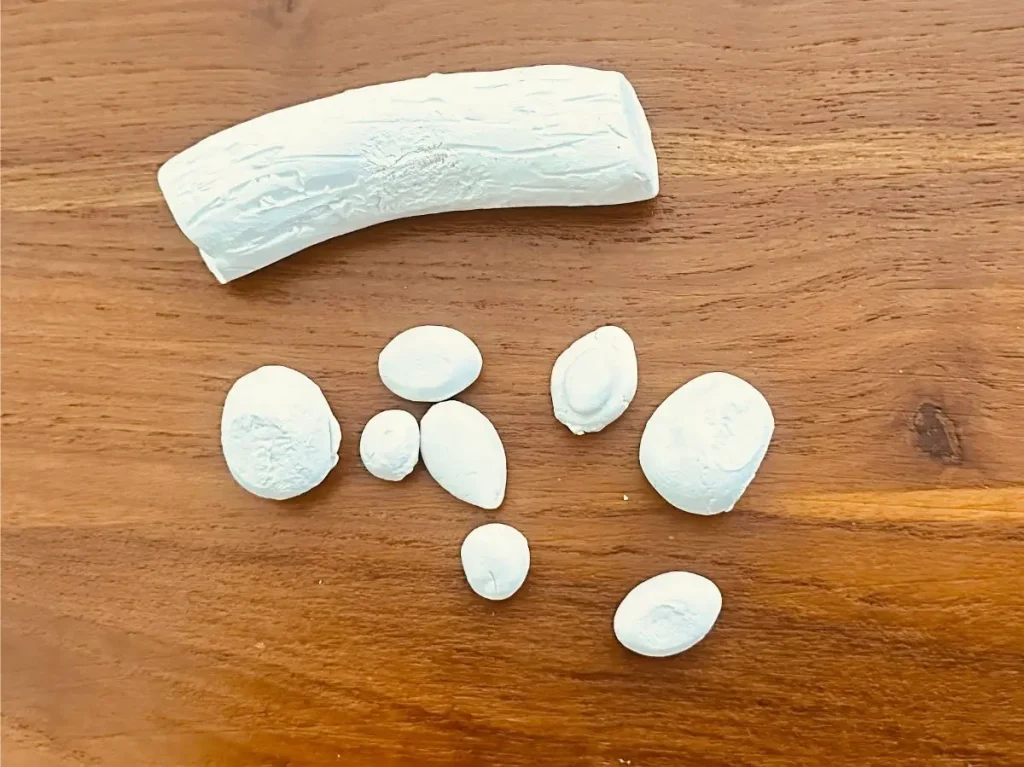
You can use air dry clay with other media I mentioned when you’re crafting flowers, birds, small figures, and home decor items. 🌸
High availability
Air dry clay is popular among clay artists and other crafters. I think it’s the most popular one. So you don’t have to worry about its availability. There are so many reputable brands of air dry clay that give you great results, so you can never go wrong if one brand of clay is out of stock and you have to go with another. 🛍️
Manufacturers work their tails off to keep them widely available both online and in local stores because air dry clay sells like hot cakes. 🥞
But don’t select unreputed cheap air dry clay products because they can completely ruin your entire work. I learned this the hard way, ruining my first pineapple trinket tray project because I used a cheap product. Later, I made the same project with Mont Marte air dry clay and the result was so good. I did a comparison between the two clay types as well.
Great for projects of various sizes
Air dry clay is great for making small trinket trays, as I did, and also for medium size projects such as figures. 🗿
When you’re making medium or bigger size projects with air dry clay, make sure to use a sturdy internal armature (like aluminum foil or wire mesh).
Easy to sell or give as gifts
You can sell air dry clay crafts in online stores like Etsy, local shops, and on your own website. I’ve seen many clay artists do that; they even ship overseas without any issues. Air dry clay is a fine material when you make things right and finish with a proper water resistant sealer. 📦
Also, you can give air dry clay keychains, bowls, dishes, trays, and other home decor items as gifts for your loved ones. They are not like regular gifts. They will stay as memories because no other person can make one exactly like yours. It makes you special and they will love you even more. 🎁
Make things for your mother, father, siblings, and partner, and gift them on their birthdays and special occasions to make them memorable. ❤️
Cons of air dry clay
Everything has good and bad sides, and air dry clay is the same. After working with air dry clay for making trays, jewelry dishes, and home decor items, I have found several annoying and frustrating things about air dry clay. ⚠️
Some of these reasons are why many clay artists have switched from air dry clay to polymer clay or another type. 🔄
Most of the drawbacks I mention below can be fixed with simple tricks, and you’ll get used to them with practice.
Poor durability
This is the main thing people hate about air dry clay. Air dry clay is so brittle and prone to snapping once it dries fully, which can break pieces of your project and ruin hours of work.
This is why many clay artists who sell their products market polymer clay or items made with traditional kiln fired ceramics, because they have a better shelf life than air dry clay. 🏺
Even the slightest shake during shipping or handling can damage the air dry clay pieces, especially the fine particles and sharp edges.
Air dry clay dries as the water evaporates, which makes the material inside contract, leaving tiny gaps that become fragile even under little stress or pressure.
I have identified 3 main reasons that accelerate the poor durability of air dry clay, which are:
- Using an excess amount of water: Make sure not to use too much water when kneading, smoothing, and shaping the clay because excess water weakens the clay and causes uneven shrinkage and structural brittleness as the clay dries.
- Drying too fast: Let your air dry clay project dry slowly in a cool, well ventilated space for at least 48-72 hours. Rushing the drying process by placing the piece in sunlight outside, or using heat or a hair dryer forces it, leading to surface cracks.
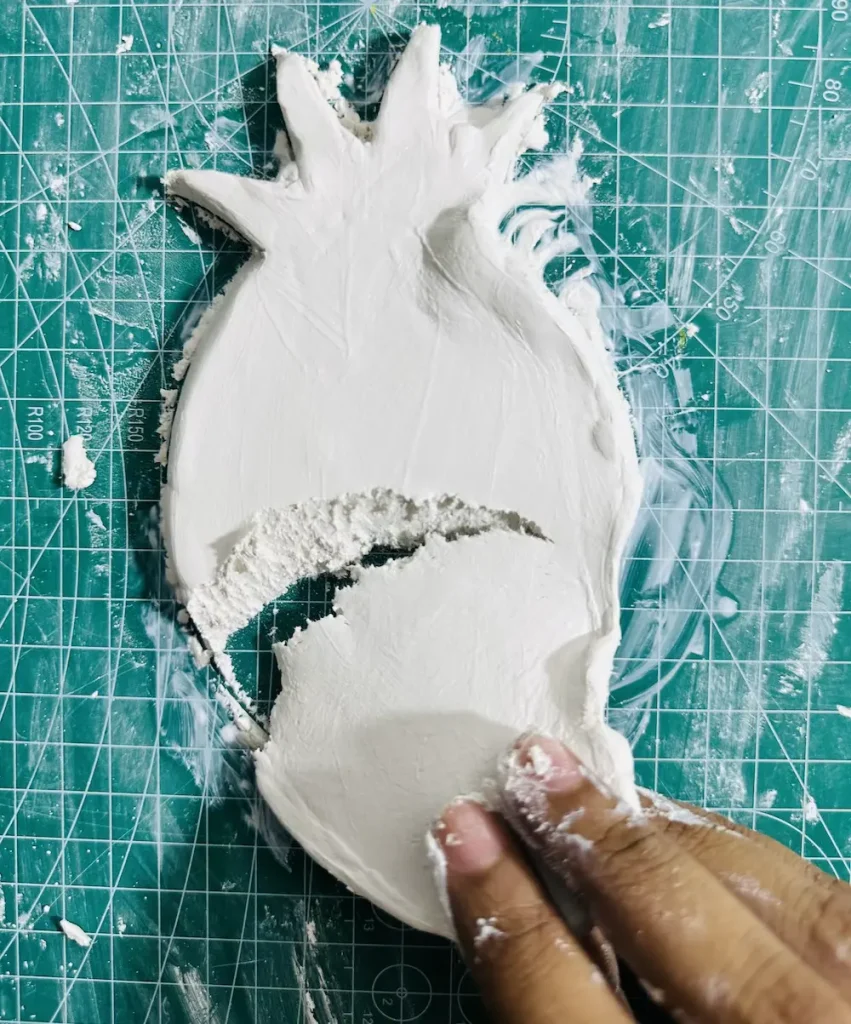
- Making the parts too thin: The best thickness for air dry clay is ¼ inch to ½ inch. Don’t go below ¼ inch thickness because the clay will warp as it dries and become brittle and snappy due to poor structural strength.
Not food safe
Don’t use air dry clay for making anything that comes into contact with food, for example: mugs, plates, bowls, daily kitchenware, serving dishes, cutting boards, and drinkware. 🚫
Use it only for making trays, trinket dishes that are only for decoration, sculptures, jewelry dishes, and non food contact decor items. 🖼️
You can use kiln fired traditional ceramic, glass, or metal to make the list of things I mentioned above because they are food safe when combined with food grade finishes. But not air dry clay. Here’s why. 🍽️
As we know, air dry clay is a highly porous material with lots of moisture and air inside. As the clay dries, the moisture inside will evaporate, leaving porous gaps inside. 🧽
Food oils, liquids, and tiny food particles can get inside those tiny pores and become breeding habitats for bacteria and molds, which can’t be washed out because of the microscopic structures. 🦠
Also, air dry clay is a water soluble material even after it has dried completely. It absorbs the water from our food, and as soon as you wash a plate made with air dry clay, the clay becomes weaker and turns into a mushy, creamy look. This is not good for coming into contact with food. 💦
Materials that are used to make air dry clay, which are binders and preservatives, are not certified for ingestion. ⚠️
Plus, paints and sealers you use to finish air dry clay, which are epoxy resin, varnish, or polyurethane, are totally not food safe due to the harsh chemicals inside. They scratch or chip off into your meals and leak chemicals when exposed to heat, oil, and other liquids. 🧪
Easily mess up
Air dry clay is great for crafting and sculpting, but you need to keep in mind it can get messed up easily with a few errors. ⚠️
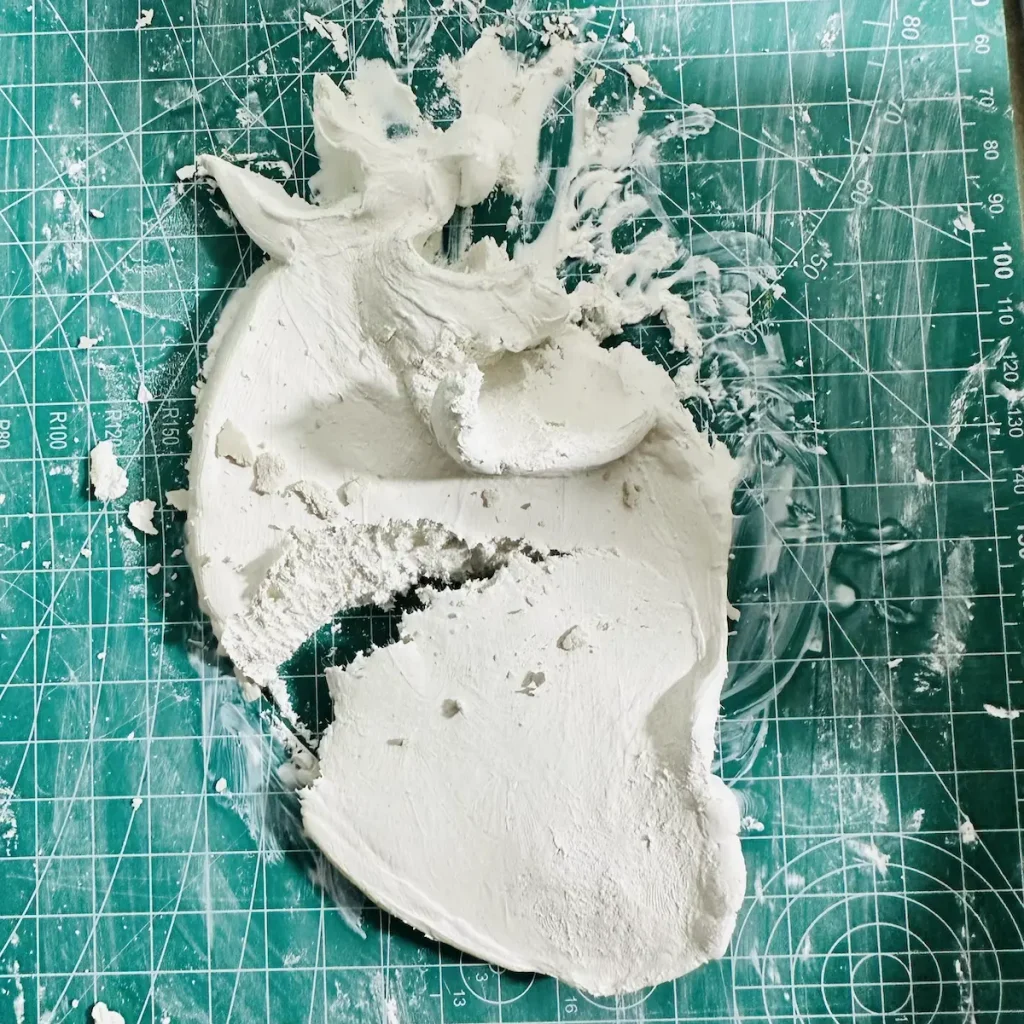
Once you mess up the project, it is almost impossible to get a nice and smooth finish. You may probably end up with torn edges, no sharp corners, and a cracked surface. 📉
Here are the different ways air dry clay gets messed up. Some are uncontrollable:
- Mess up your workplace with fine dust: Mostly it is impossible to keep your workplace nice and clean while working with air dry clay because fine particles spread everywhere, including your hands as you knead and shape the clay. Have a look at my YouTube videos to see how messy it gets. I have to stand up and wash my hands after each step to avoid it getting messier and wipe up the mat with paper towels and tissues.
- Using less amount of water when kneading the clay: Air dry clay crumbles as it lacks water. Use the ideal amount of water when kneading and smoothing the clay to avoid tiny air dry clay particles from falling off sharp edges and breaking joint pieces of your projects.
- Don’t use too much water: Too much water forces your air dry clay to crack when drying due to uneven shrinkage.
- Don’t make pieces too thin: Thin pieces crack and warp easily because they lack structural integrity.
- Don’t paint or seal until the clay is completely dry: Painting wet air dry clay makes a cloudy, mushy core which is hard to fix. Look for grey patches before you paint the project. Bone dry air dry clay has a pure white color. Usually air dry clay takes around 48-72 hours to dry completely and you should not rush the drying process.
- Score and slip before attaching: You cannot join two air dry clay pieces just by pressing them together. First, you need to score the surface to get a better grip between the surfaces and apply an air dry clay water mixture called slip as the adhesive glue, or you can tap a little bit of water onto the scored surfaces. Then press the surfaces together for a few seconds until they attach well.
Prone to cracking
That air dry clay cracks as it dries is one of the main misconceptions in the industry. Actually, people who say this have never worked with air dry clay in the correct way. Honestly, air dry clay cracks as it dries only when you use an excess amount of water when conditioning, kneading, and smoothing the clay, or when you skip the kneading part. ⚡
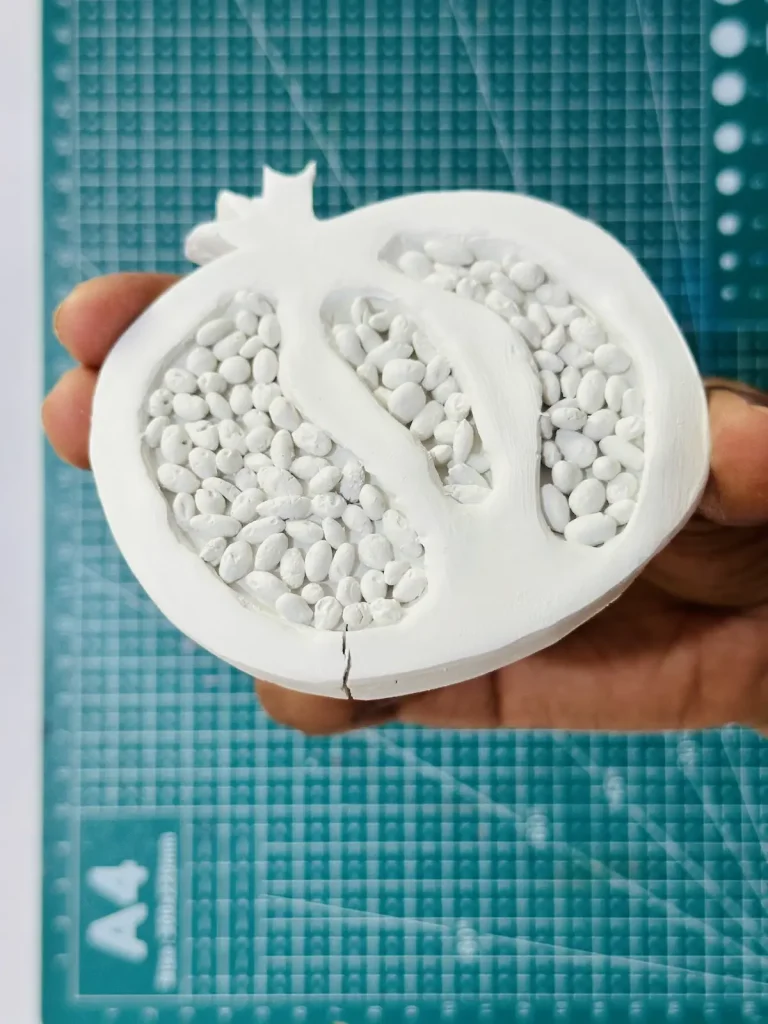
You just need to tap a little bit of water when conditioning and kneading the clay which is essential before you start making anything with air dry clay.
Air dry clay is filled with moisture and air bubbles. By kneading, you can spread out moisture evenly across all the layers of the air dry clay and release the air bubbles out.
If you skipped the kneading process, the moisture spreads out randomly and evaporates at different rates in different places on your clay as it dries. The clay will start to shrink as the water evaporates when drying. But due to the uneven evaporation of water, the clay will start to shrink unevenly. This uneven shrinkage builds up tension between the air dry clay layers, resulting in micro cracks forming on the surfaces. These cracks become larger, deeper, and increase in quantity as the clay dries. 🧩
The same happens when you use too much water, because more water inside means faster and more rapid evaporation. The outer area of air dry clay dries significantly faster than inner layers due to air circulation, and again triggers the uneven shrinkage scenario. This also causes cracks to form on the surface. ☀️
This is what is known as air dry clay cracks as it dries. Actually, it happens only when you skip the kneading part or when you use too much water when kneading or smoothing.
If you end up with a cracked surface after the clay has fully dried, you can patch it using the “slip” paste which I described earlier. Slip works as a glue. Make sure to let it dry again for 24 hours and then fine sand the patched areas to make the seam unnoticed. 🪵
Prone to crumbling
You may have noticed air dry clay breaks down into tiny pieces, flakes, or dust. 🍂
As I told you earlier, excess water cracks the clay as it dries, but a lack of water can cause the clay to crumble. You need to use an ideal amount.
When kneading and rolling air dry clay, it is exposed more to the air and starts to dry out quickly. If you don’t tap the surface with a little bit of water while kneading and sculpting, tiny air dry clay pieces may start to fall off. 💧
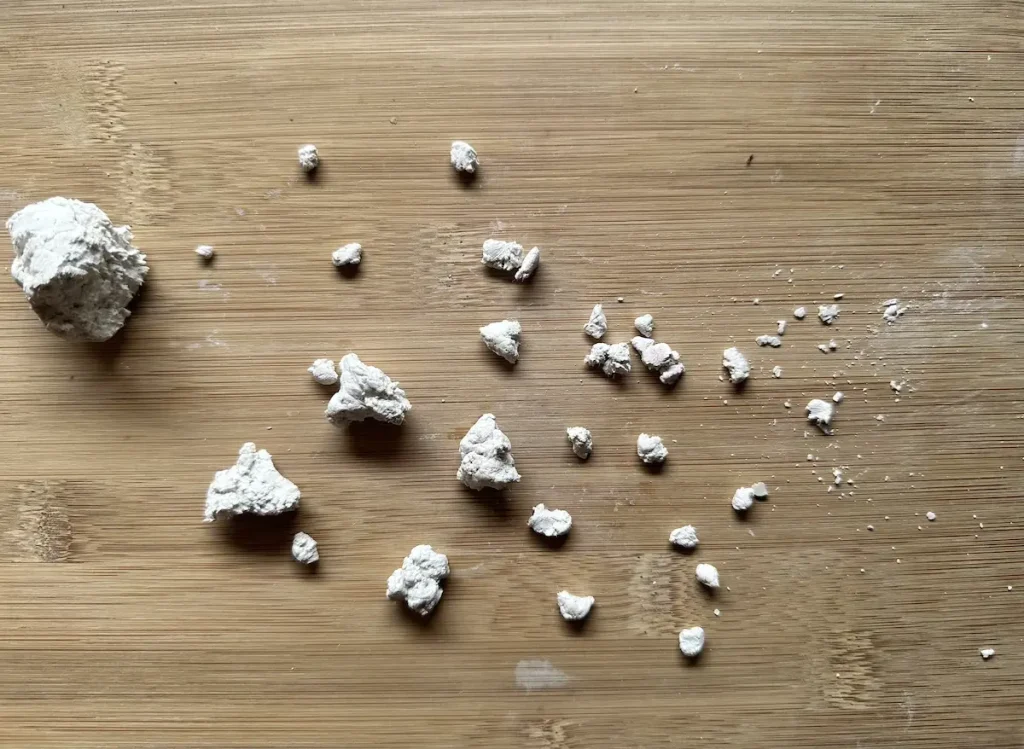
Using air dry clay from a reputable brand, adding a little water when kneading, and avoiding over working the clay can help prevent crumbling. 👍
Clay slabs need to be wet enough to get sharp edges, round corners and a smooth surface. Otherwise, the edges of your project will tear apart due to crumbling and the pieces you attach will fall off as the clay dries.
Prone to warping
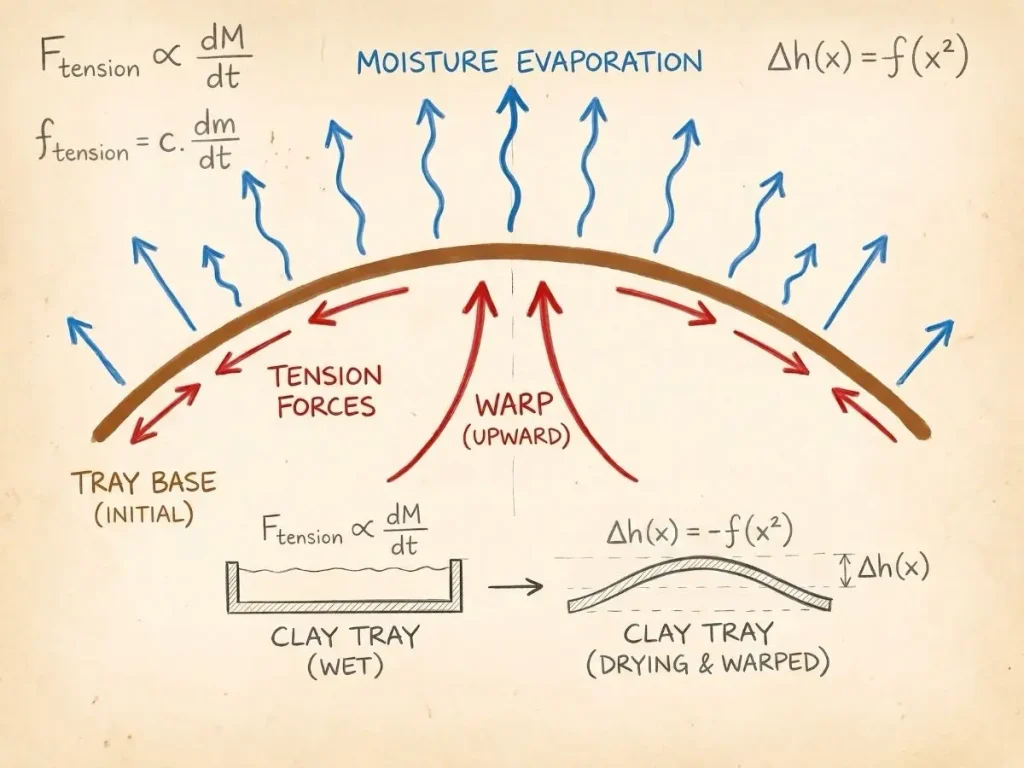
Air dry clay shrinks as it dries and your projects need to have ¼ inch or more thickness to bear the pressure that focuses towards the middle area, or the clay will start to warp. 📐
I have made lots of trinket trays with air dry clay and always aim to get ¼ inch thickness for the tray base while rolling. Or get ½ inch thickness if you plan to hollow out the clay to avoid hitting the bottom.
When the clay dries, the outside area dries and shrinks faster due to more air exposure than the inside. When the water is gone, clay binders try to fill the gaps by shrinking and the clay will start to curl upward or downward due to the forces. 💨
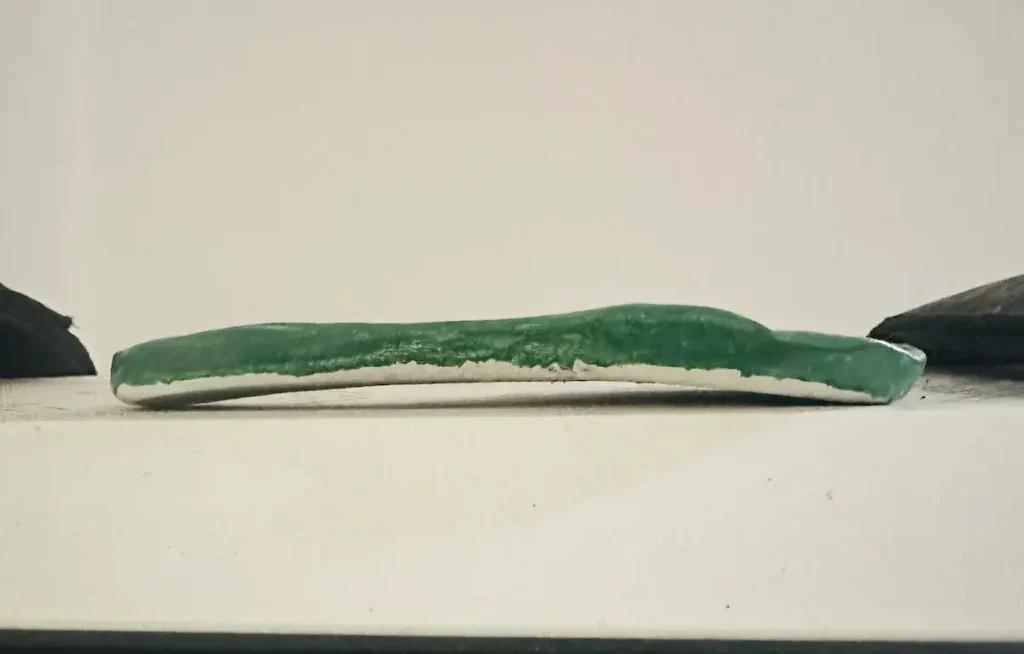
By having a good thickness, it won’t lose its structural integrity as the clay shrinks.
Also, make sure to flip the air dry clay piece or place it on a wire rack while drying to let both the upside and downside dry at the same rate. This causes no uneven shrinkage and no warping.
Shrinks as it dries
I’m not gonna keep repeating this. Air dry clay shrinks as it dries due to water evaporation, and it’s not in your control. But you can use only a small amount of water when kneading and smoothing the clay to avoid it from shrinking even more. 🔍
You can reduce the shrinkage by using less water and avoid uneven shrinkage, which leads the clay surface to crack, by letting the project dry slowly for 2-3 days. So plan accordingly. 🗓️
Not water resistant
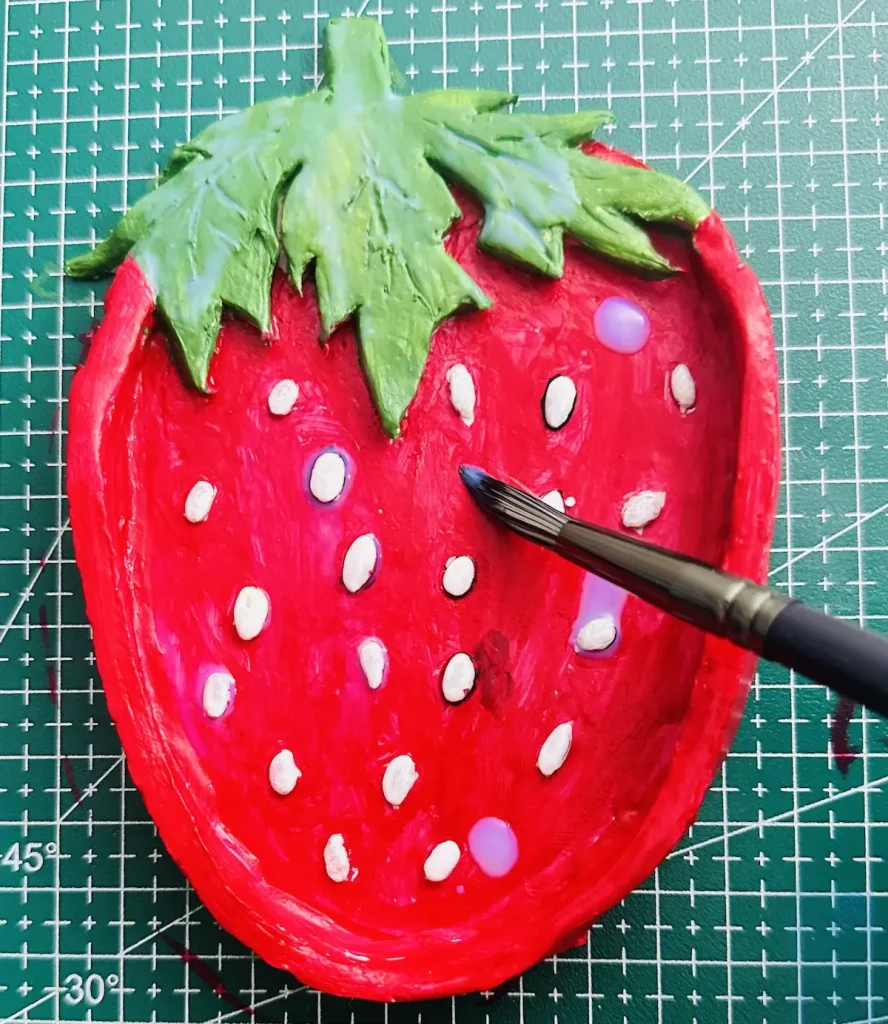
Air dry clay does not have water resistance or waterproofing abilities. It is a porous material that can absorb moisture as soon as it comes into contact with it. 🌊
When the clay is fully dried, you must finish it with a proper sealer like gloss varnish, polyurethane, UV resin, or epoxy resin to protect the project long term from air moisture. 🛡️
Otherwise, moisture will go inside through tiny pores and weaken the clay.
When water gets inside of your dried air dry clay project, it not only weakens the clay but also loosens joints by breaking it into pieces. Your hours of work are completely gone. 💔
Not suitable for outdoors
Air dry clay can get easily damaged by outside moisture and harsh weather elements. Only make things with air dry clay that you wish to keep inside. 🏠
Let me tell you why you should not place an air dry clay piece outside even after sealing with a waterproofing sealer. ⛈️
Due to harsh weather elements, the outer coating can get damaged over time during extreme rain and winter seasons and moisture will find a way to go inside and damage the clay.
Even before you keep air dry clay project inside, make sure to seal it with a proper sealer. For example, I use gloss varnish, which makes a water resistant coating and gives a glossy ceramic look.
Direct sunlight also accelerates cracks on the air dry clay surface, especially when the clay is still drying. Therefore, it is better to keep it where it has no direct contact with environmental elements. ☀️
Requires working quickly
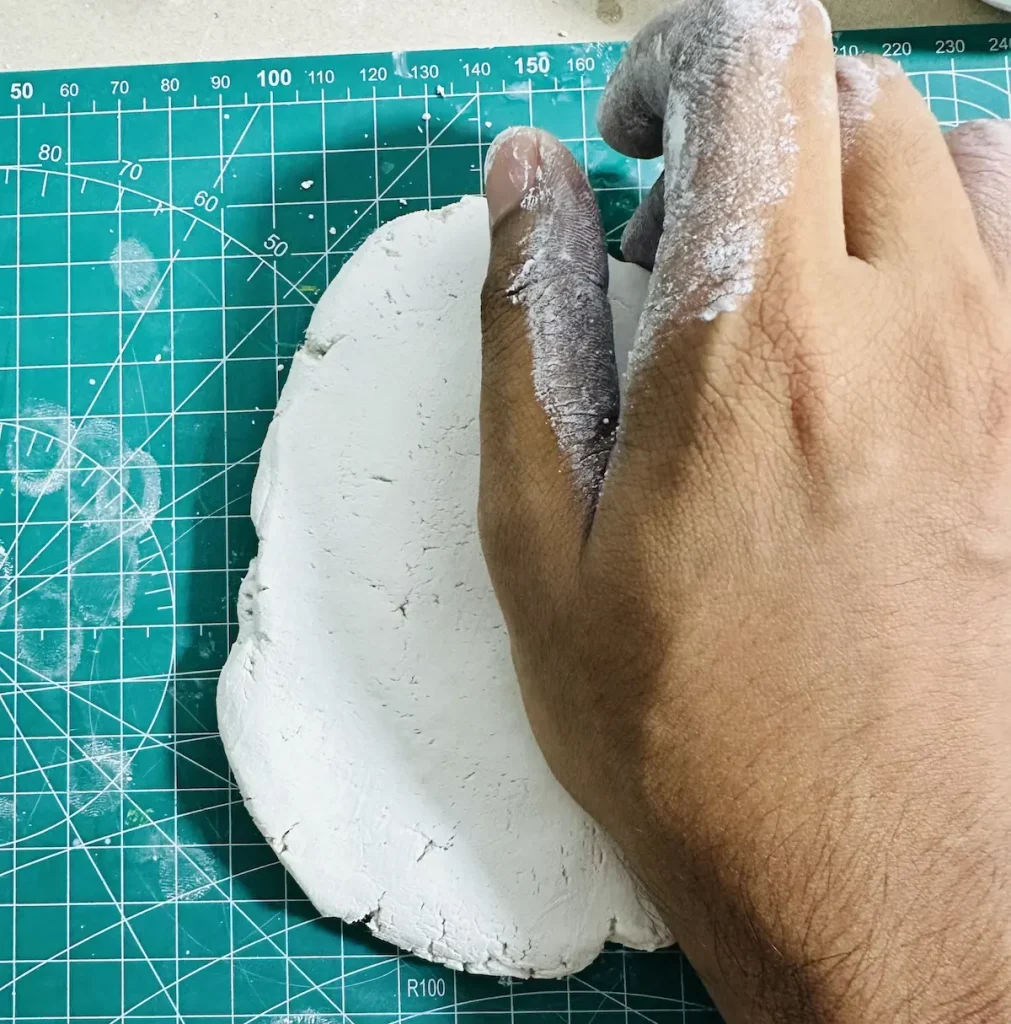
Air dry clay starts to dry as soon as it comes out of the package. This is why I told you to tap with a little bit of water while kneading and shaping the clay to keep its moisture level. ⏱️
Plus, you need to knead, condition, roll, and shape your air dry clay slab relatively quickly compared to other clay types because once it gets dry, it will start to crumble, and adding water little by little to keep its moisture does more damage, leading to cracks on the surface as the clay dries. 🏃♂️
So think fast, act fast, but do it right. Don’t panic. I’m just saying don’t take phone calls or go for an office or family meeting while you are kneading the clay. Do the project without taking breaks in the middle of the process. That’s it. 📞
Not great for miniature pieces
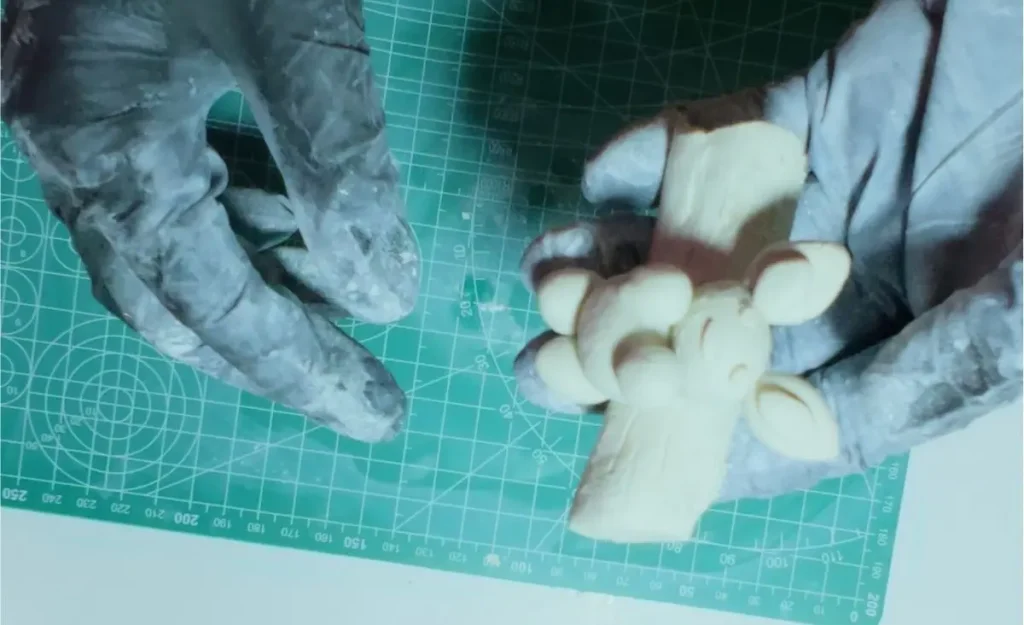
Air dry clay is great for small and mid size projects, but not for miniature projects because it’s so hard to make sharp edges, smooth surfaces, and round corners when your project is too small, and you need water to do that, so there is a high chance you’ll end up with a mushy core. 🔍
Plus, miniature pieces have low structural integrity and are prone to cracking as it dries and parts of your miniature projects may fall off. Detailing miniature air dry clay projects is also so hard compared to polymer clay.
This happened during my rabbit project because its head, hands, and legs were too tiny and I had a hard time joining them up. But eventually, all the pieces fell off when it was drying and the ears snapped due to high brittleness. 🐰
I have found that polymer clay is undoubtedly the winner when it comes to making miniature projects. You can detail polymer clay so well because it does not incorporate water and no evaporation happens as it dries. 🏆
I know you have seen miniature projects made entirely with air dry clay, but I have to say there are better options for that. There is a high chance of everything going wrong.
Hard to make sharp corners
Air dry clay is made with fibers which help to reinforce the clay, but at the same time they are the reason for fuzzy, frayed, or slightly rounded edges rather than sharp edges. ✂️
Air dry clay changes its shape a little bit due to shrinkage as it dries, which does not happen with polymer clay and ceramic clay. 📐
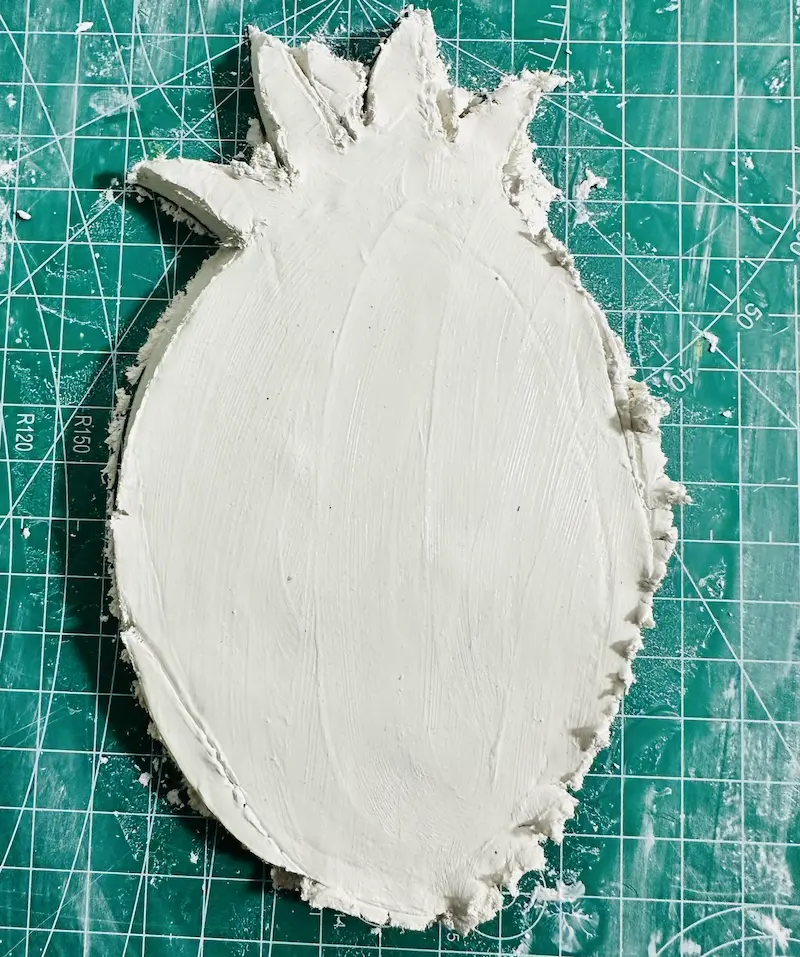
The paper fibers and binders of air dry clay give a slightly spongy, soft texture when wet. When you try to make sharp edges or corners with it, you’ll notice air dry clay does not have that structural rigidity to hold a sharp and perfect geometric line on its own. Instead, the clay around the edges will stick to your cutting knife and tear apart when dragging. To avoid that, stop your knife or blade from dragging horizontally when cutting the clay. Lift it up continuously as you cut and remove stuck clay pieces to get smooth and nice corners and edges. 🔪
Smoothing is a must after cutting to get rid of fuzzy edges.
Flammable
Air dry clay does not ignite when in contact with fire, but it will char and turn into ash. Therefore, it is better not to make ashtrays and candle holders with air dry clay. You obviously can make them, but only for decoration. 🔥
Plus, when making incense holders with air dry clay, make sure to use incense with long sticks so that the fire does not contact the holder.
When making a candle holder, use candles that work with batteries for more safety.
Causes skin dryness
As I told you earlier, air dry clay absorbs moisture not only from air but also from your hands and palms and causes skin dryness. 🖐️
This may irritate and make your skin itchy and sometimes even turn into rashes.
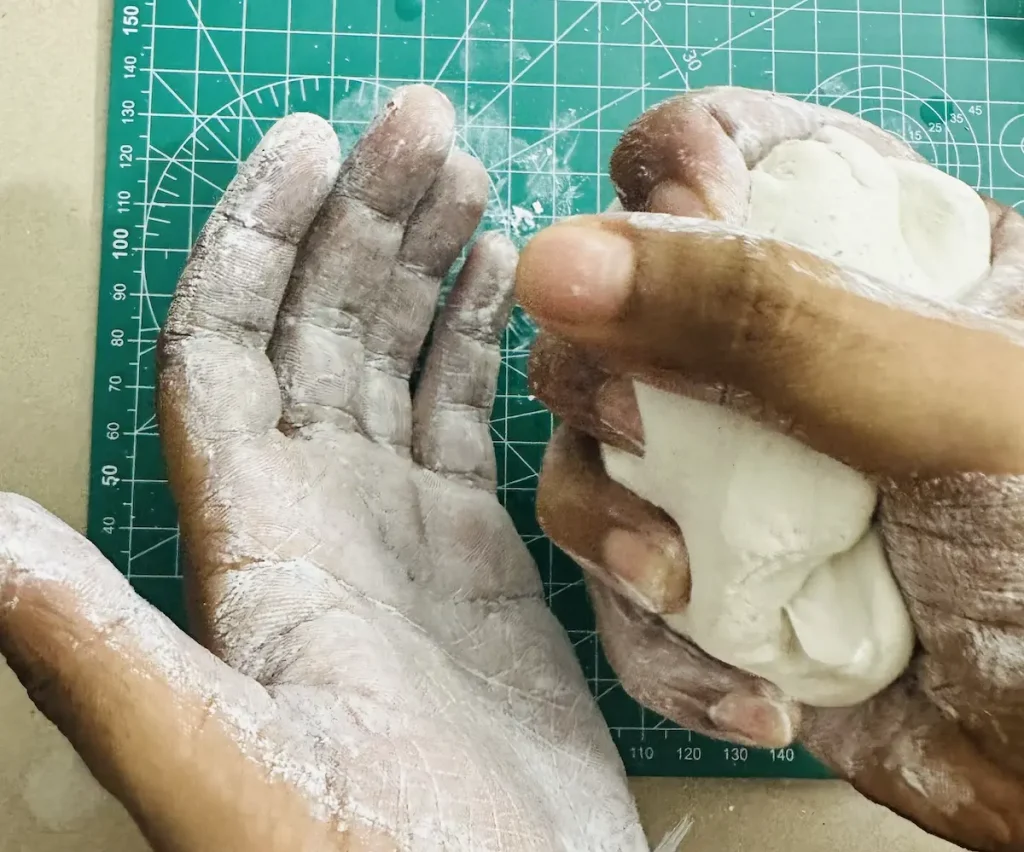
Always make sure to wash your hands well after working with air dry clay and apply a moisturizing lotion to avoid skin from drying out. 🧴
Do that as a habit because causing skin dryness is inevitable when working with air dry clay.
Final thoughts
Now you have a clear idea about all the good and bad things you’re about to face when working with air dry clay. 💭
After completing many successful projects with air dry clay, trust me, all the above drawbacks are negligible compared to its advantages. Many drawbacks can be avoided or fixed by following the right steps. So, don’t be afraid. I was also afraid in the beginning, and now here I am writing a complete guide for you after completing many projects with air dry clay. It is so good. You must give it a try! 🎉
Once you become so good at air dry clay, I suggest you try other ones as well. Then you’ll know the real difference. Everything comes with good and bad. It’s our duty to take the good and face the odds strongly. Cheers! 🤟🏾