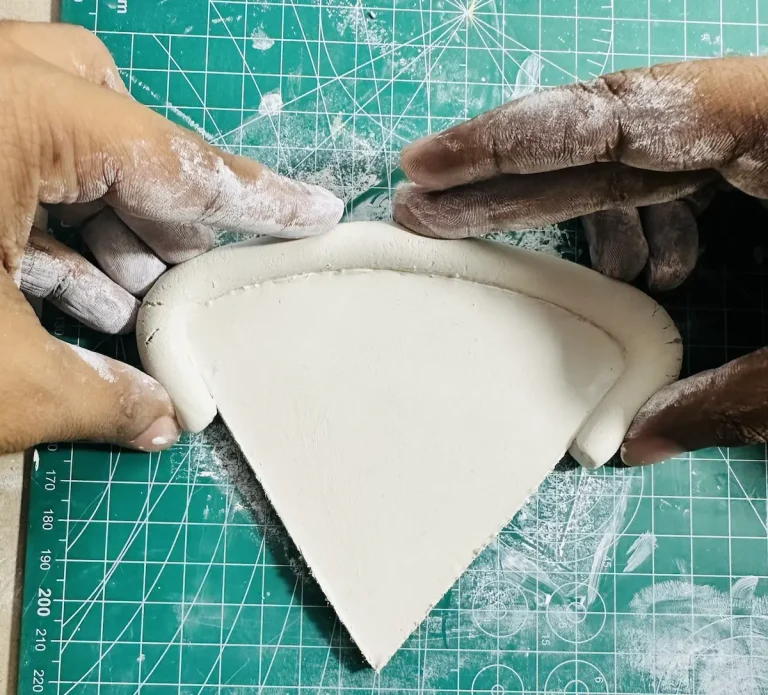
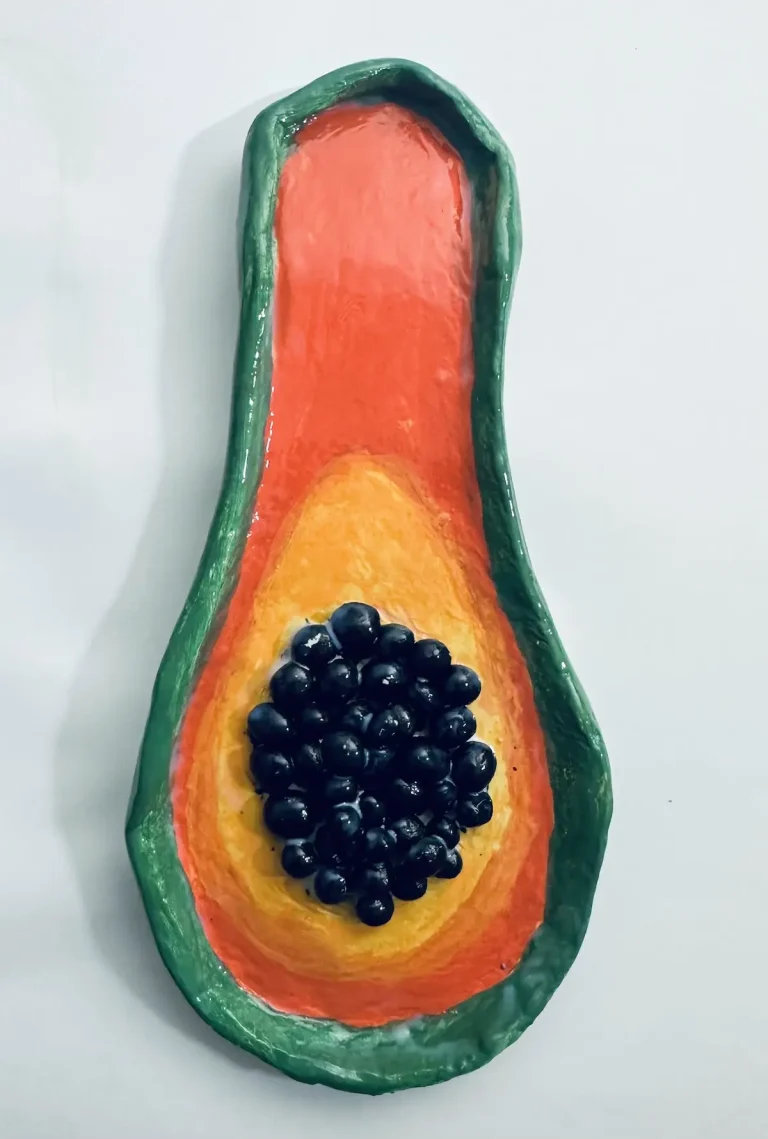
When making a tray, dish, or any other holder using air dry clay, one method is to hollow out the thick clay slabs using a sculpting tool to carve wells.
But when trying to scoop out sections of a thick slab, most beginner clay artists, including myself, often gauge the depth incorrectly. 📏
This leads to accidental holes in the bottom or bases that are too dangerously thin to support the final project. Most of the time, the bottom will start to crack when drying or when you try to lift the project up because it is too thin.
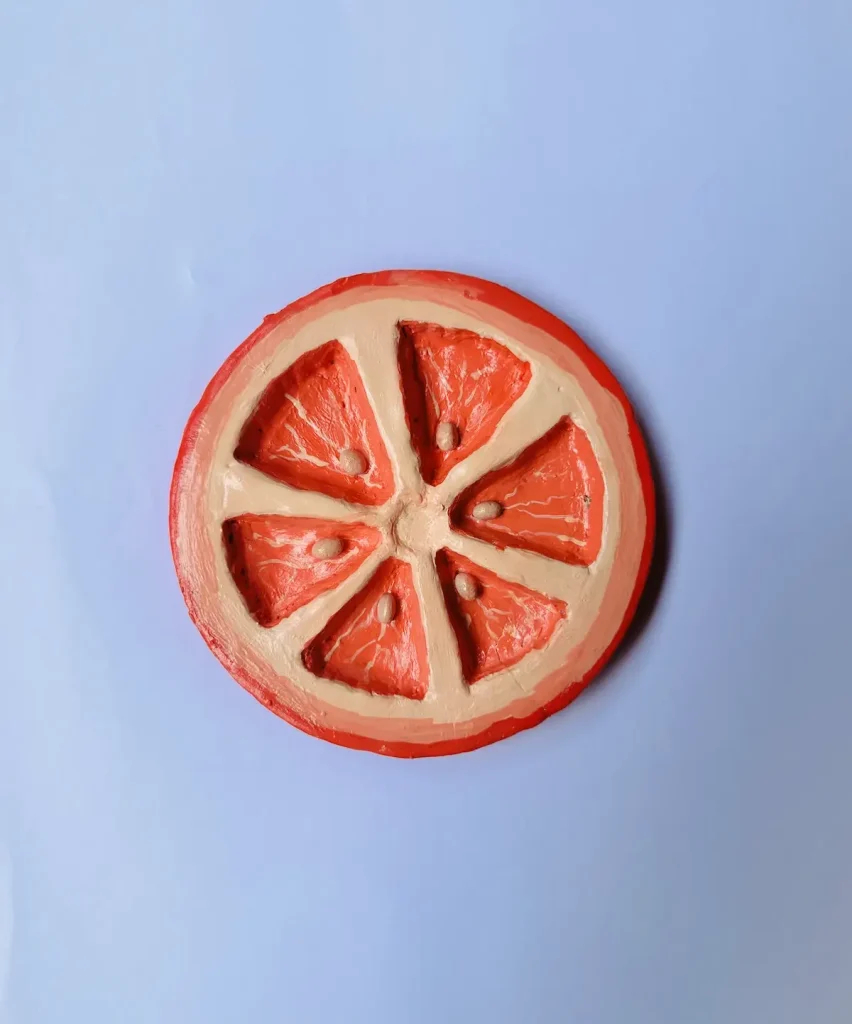
Recently, I made an orange trinket tray and wanted to make distinct orange dividers by hollowing the clay out from the thick clay slab. 🍊
Since I followed the correct procedure and paid attention to the thickness of the base, I was able to finish it without any issues. It turned out great.
So, based on what I learned from that project and the tips I gathered from my research, let me share with you how to hollow out air dry clay correctly without damaging the bottom.
Why hollow out or carve air dry clay?
Hollowing out air dry clay is needed for carving wells, creating texture, depth, and compartments in projects like trinket trays, incense holders, ring holders, and many more. ✨
Since I have made several trinket tray projects, you can either make the tray base by attaching a round or square-shaped wall to a flat clay slab as the tray rim, or you can scoop the clay out from the clay base using a carving tool and make the tray rim. 🛠️
Both methods are fine, but when you use the hollowing out method, you don’t have to worry about reinforcing the joint between the tray base and the tray rim with a thin clay coil because the tray rim also originates from the tray base. It is not attached separately.
If you like to know how I followed both methods for my trinket tray projects:
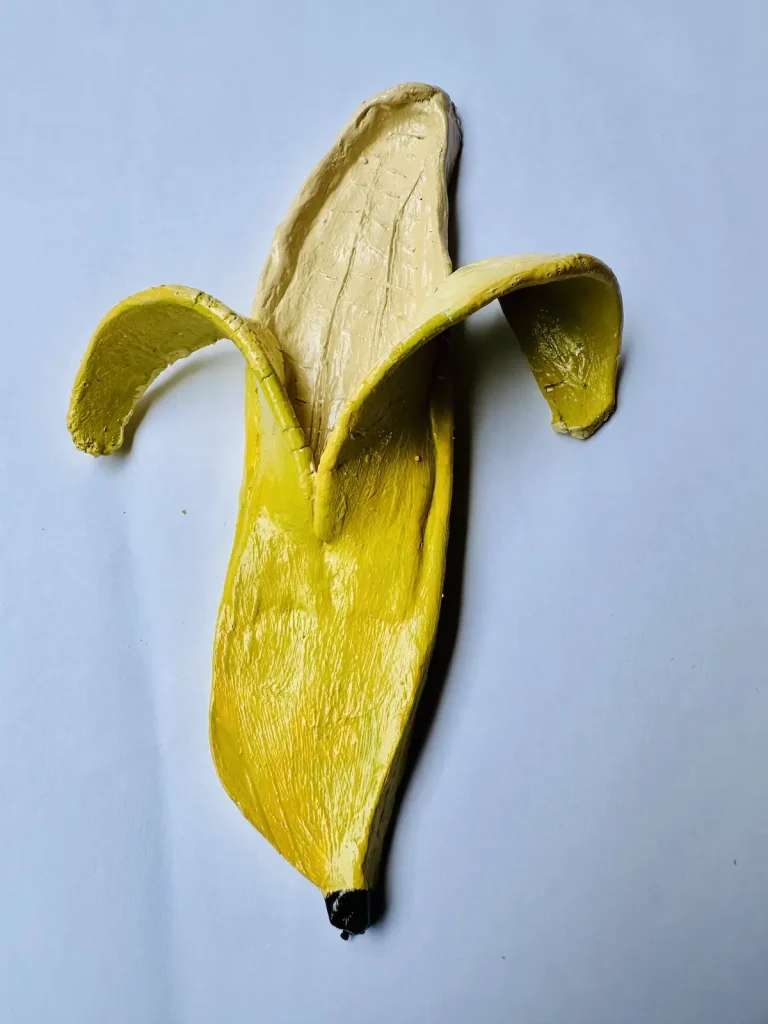
- Projects I use hollow out method: Orange trinket tray, banana trinket tray
- Projects I attached the tray rim separately to the tray base: Avocado trinket tray, strawberry trinket tray
Hollowing out method is best when you want to make depths and walls using air dry clay.
Tools for scooping and hollowing clay
- Carving tool
- Ribbon tool
- Craft knife
- Ruler
Or you can use a yogurt spoon with a toothpick.
Step by step: hollowing air dry clay
First, go to a well-lit area because we’re going to trace the area we are going to hollow out. 💡
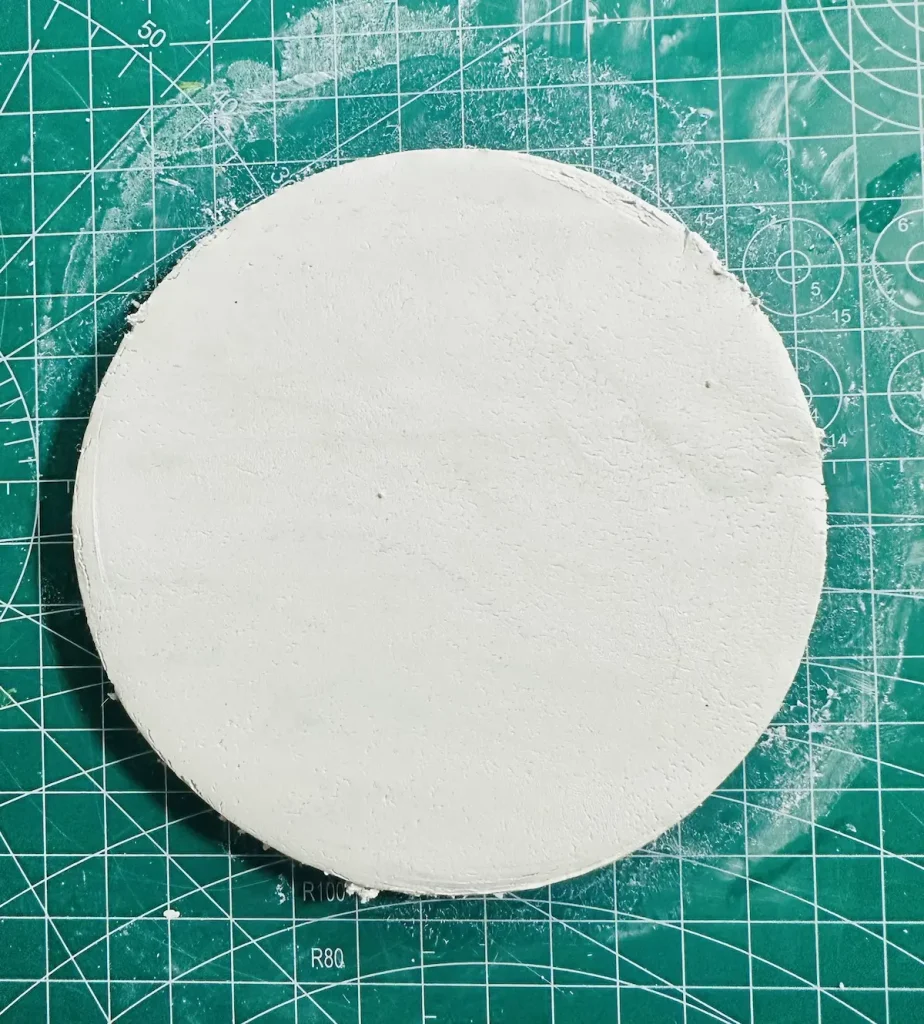
Step 1: Make a thick, even base
When you’re rolling the air dry clay slab, make sure to aim for a ½-inch thickness or more if you’re planning to hollow it out.
Otherwise, when you’re hollowing the clay out, the bottom will become too thin and may poke through the bottom. ⚠️
Step 2: Wait until the clay becomes leather-firm and cool
Do not carve or scoop the clay when it is wet because it will deform the shape of your project. When you’re working with clay, there will be a stage where the clay feels leather-firm and cool to the touch. That’s the best phase to start hollowing out the clay.
But don’t wait until the clay becomes so dry because it’ll start to crack and break into pieces. 🧩
Step 3: Trace and map your design
After making the clay slab thick enough to handle the scooping, you need a template to know what shape you’re going to scoop out.
That’s where tracing comes in. Take the ruler and a toothpick or clay marking tool and trace lines, mark spots, and map the design precisely. Then you know exactly which areas you should scoop and which you shouldn’t. ✏️
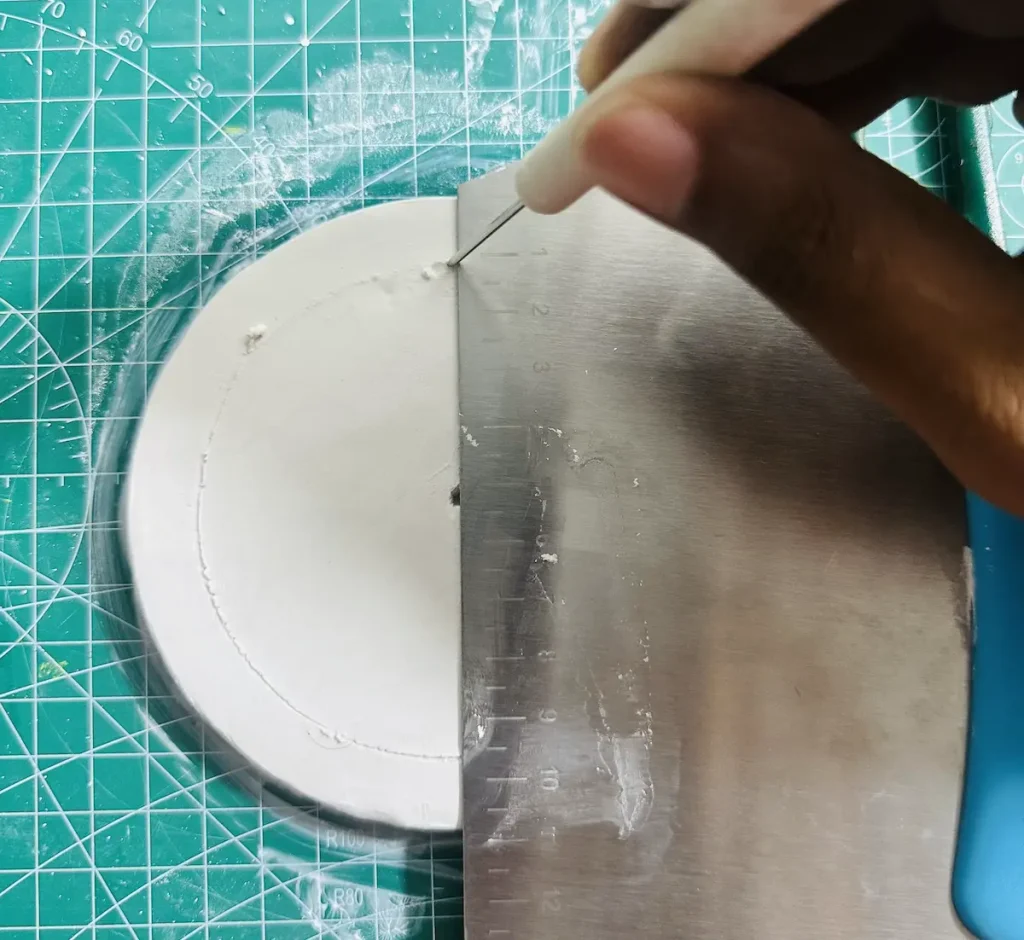
By tracing before scooping, you won’t go wrong and will be able to achieve the design you want on your clay slab.
Otherwise, there is a high chance of messing up the shape because scooping is a bulky process that can go so wrong with just one error.
During my orange trinket tray project, I traced an inner circle with scotch tape and mapped the spots and lines using a ruler before scooping the clay out as shown in the pictures.
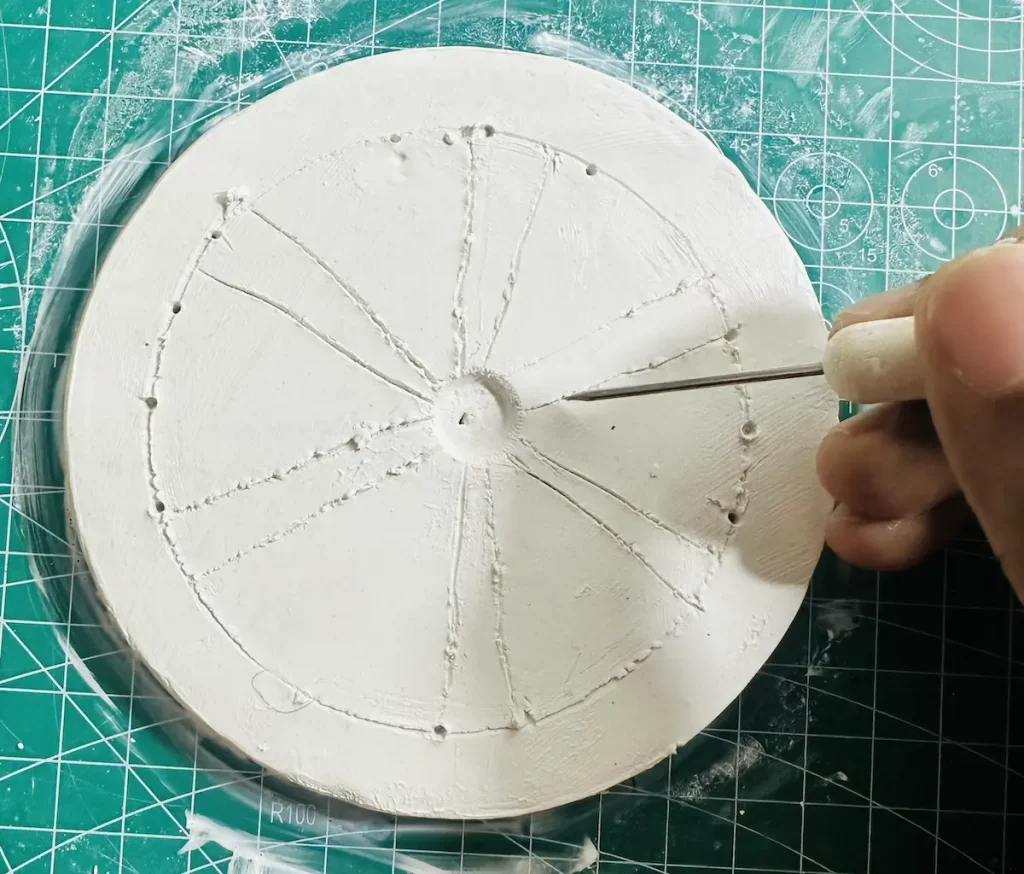
Step 4: The “scoop and scrape” technique
For scooping the clay out, you can use a ribbon tool or carving tool. For my banana trinket tray project, I used the ribbon tool because the area I had to scoop was so big. 🍌
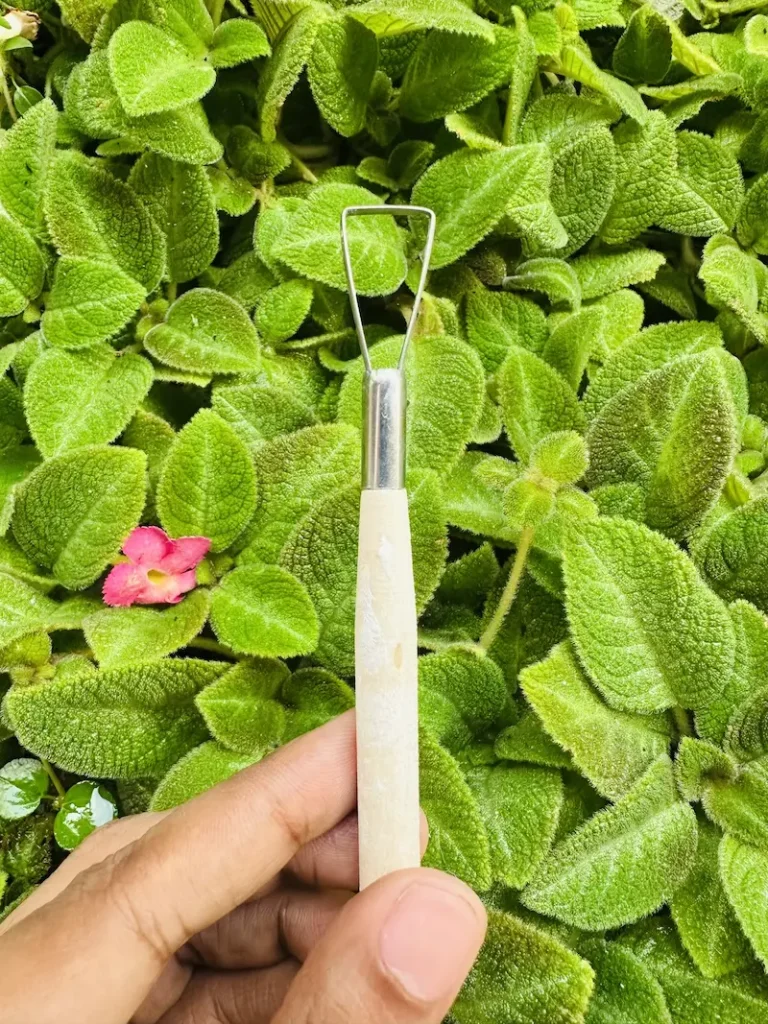
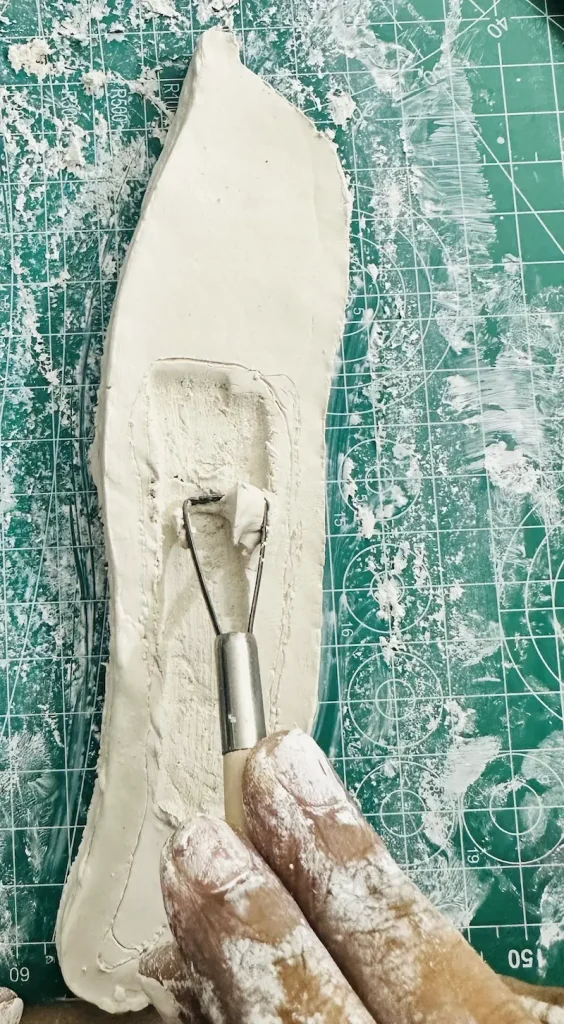
But during my orange trinket tray project, I had to scoop the small, distinct dividers of the orange, which are so small, so I used a small carving tool for that.
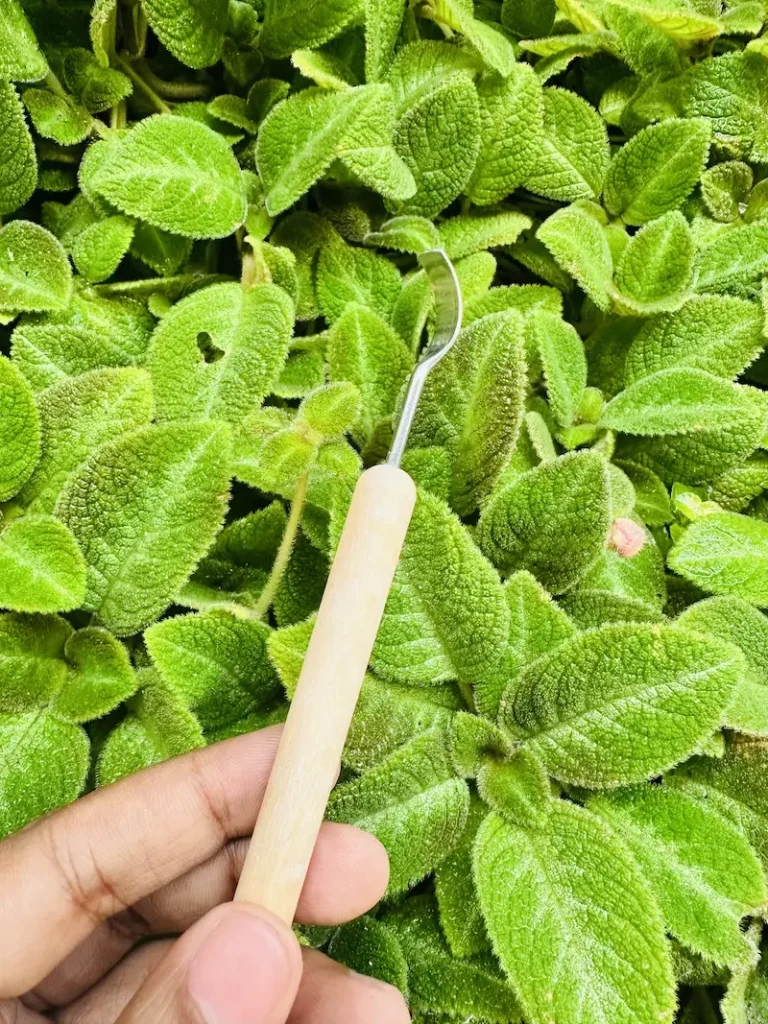
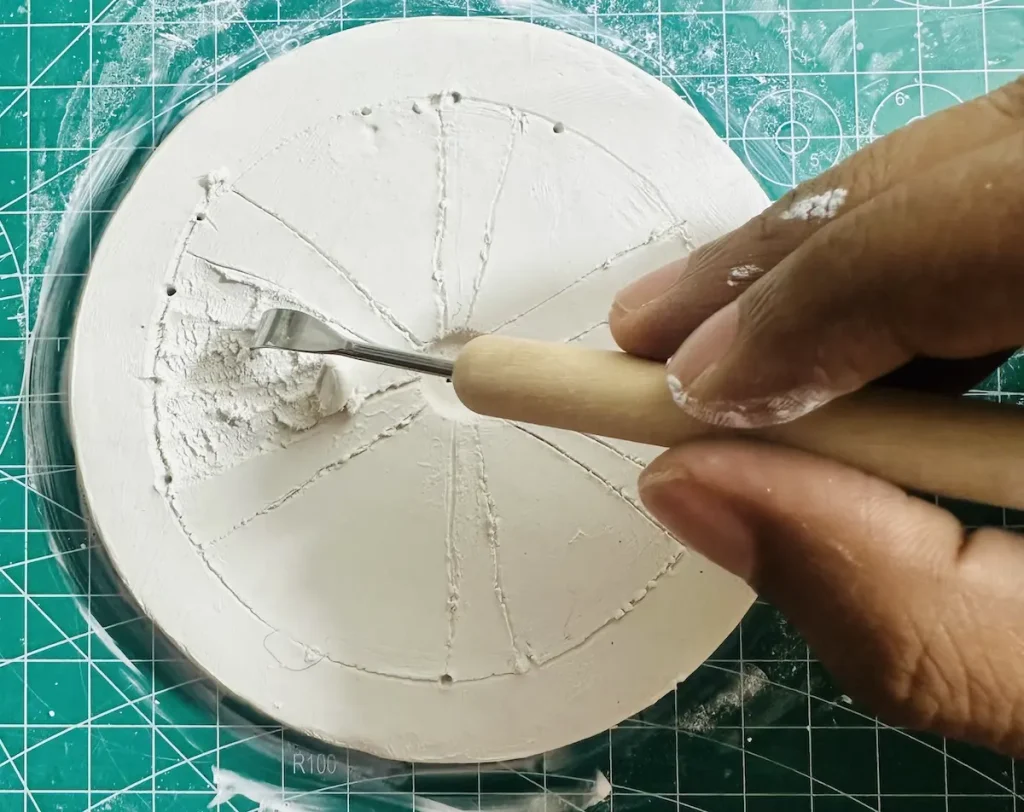
Combine both scoop and scrape to hollow the clay out gently. Do not rush the process.
When I was scooping in my orange trinket tray project, I left raised dividers behind by the scooping process. Actually, I planned and traced the design before scooping the clay slab.
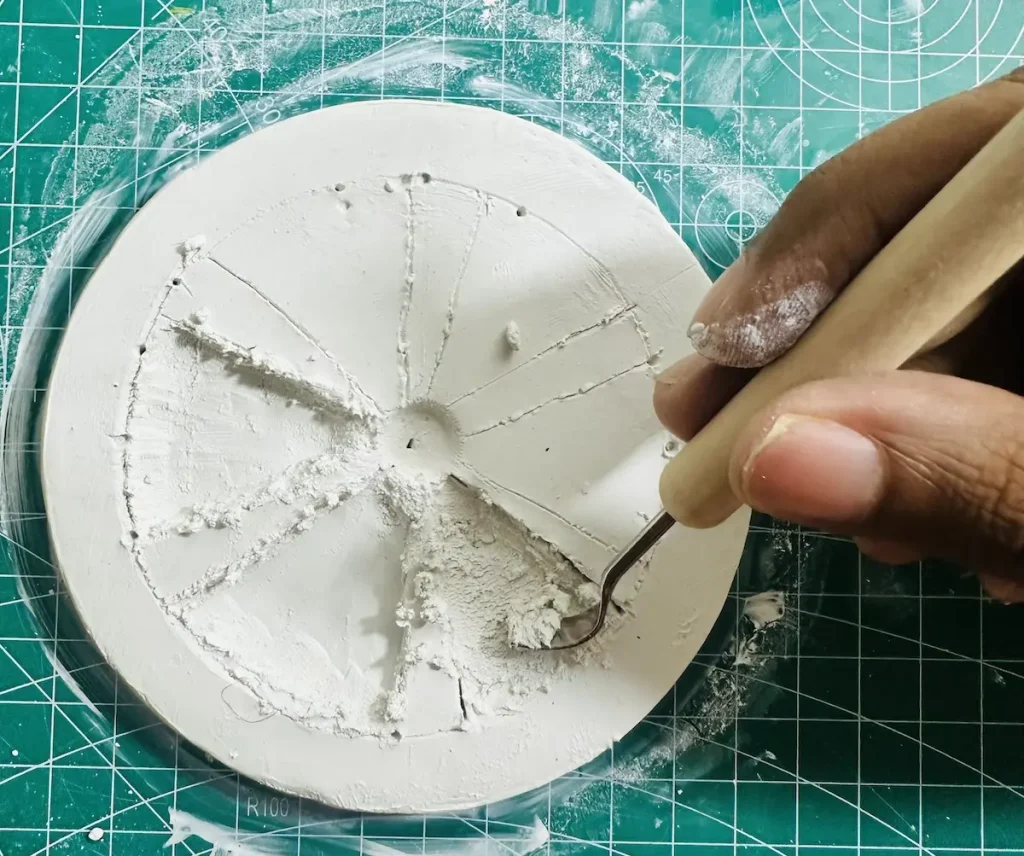
Please be extra careful when you’re scooping a sharp corner, because they tend to break if you’re using bulky tools. A thin needle or toothpick works well for scooping sharp edges. 📍
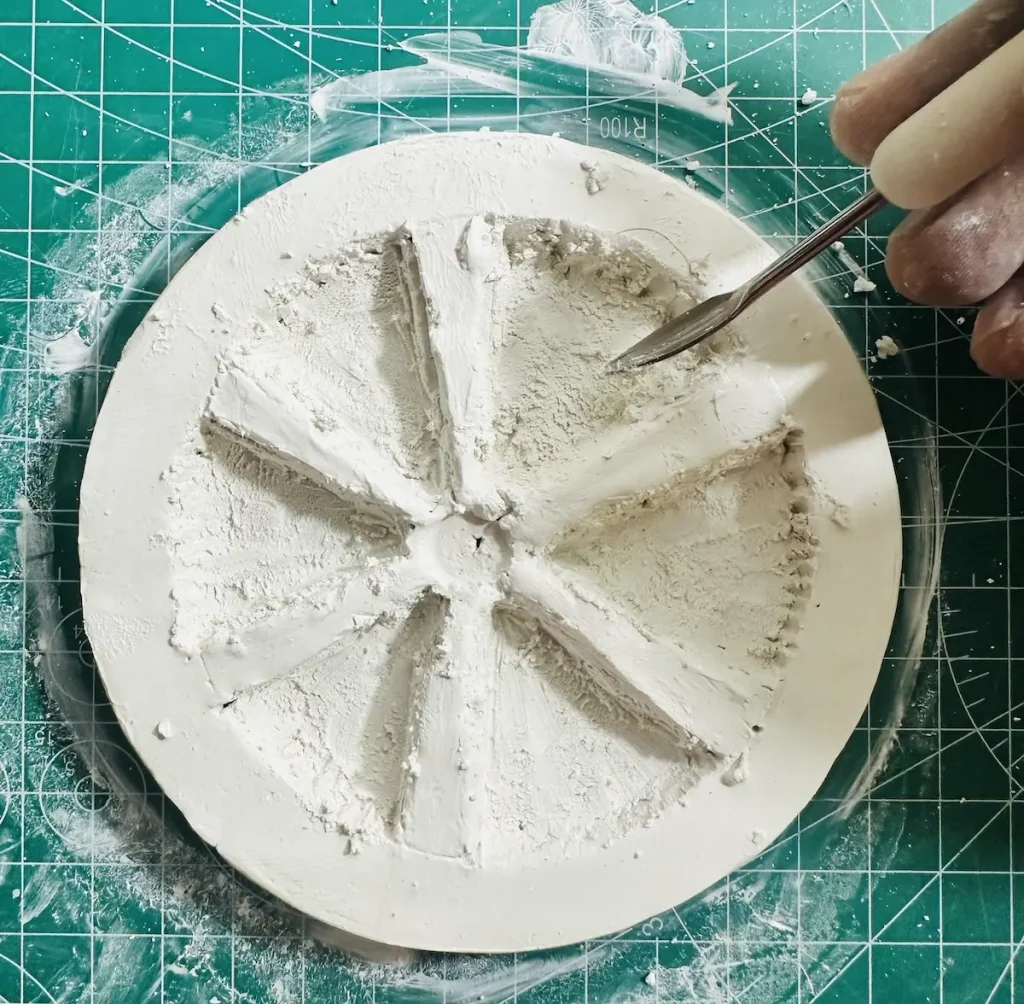
When you’re scooping, take out shallow layers of clay at a time.
Remove clay little by little instead of taking a chunk out which can damage the surrounding area, including the walls.
Plus, do not dig deeply all at once to avoid poking through the bottom.
Always keep in mind that if you dig too deep, there is a possibility of meeting an opening at the bottom. Lol. 😂
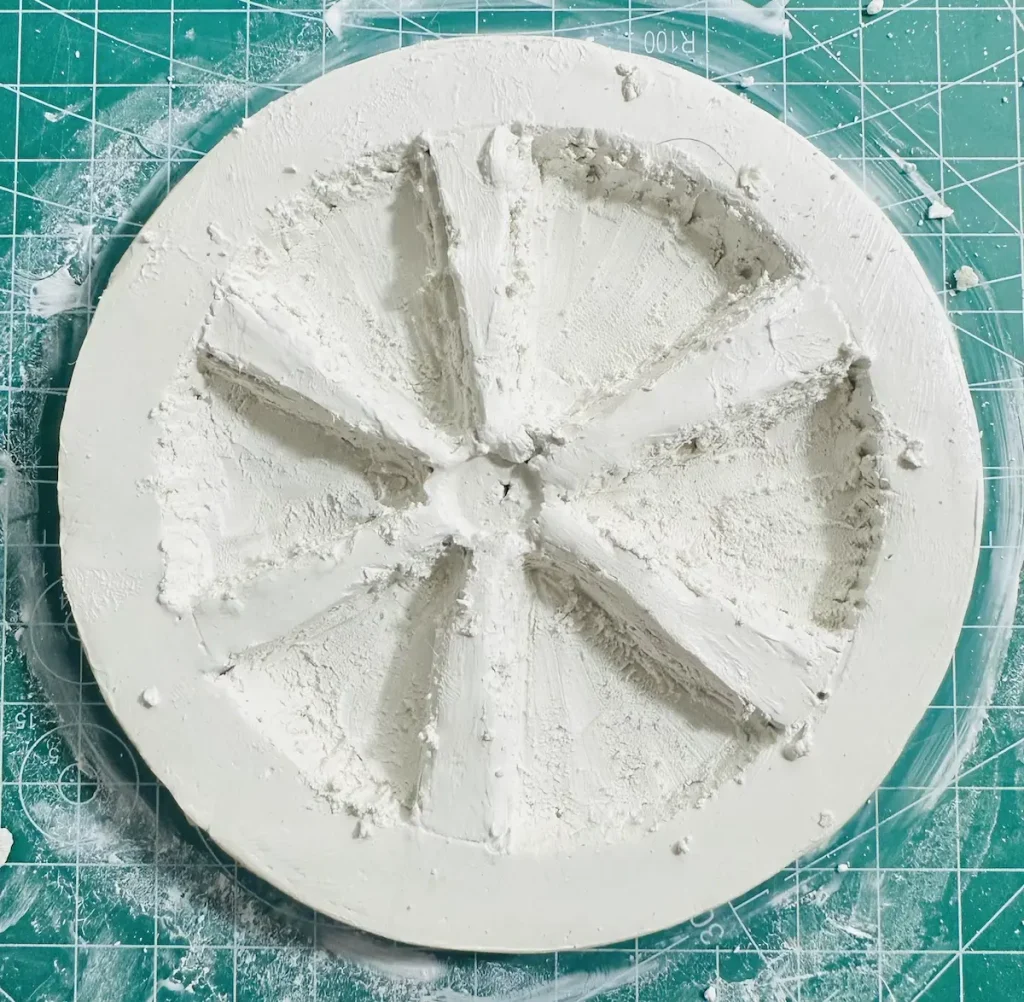
Step 5: Smoothing the edges and floor
After hollowing the clay out, wet your index finger by dipping it in the water and gently glide over the hollowed spaces and edges to smooth the clay out.
You need to be extra careful if the carved wells are too small because your index finger might not be able to reach those locations. Use a damp sponge or silicon clay tool for that. 🧽
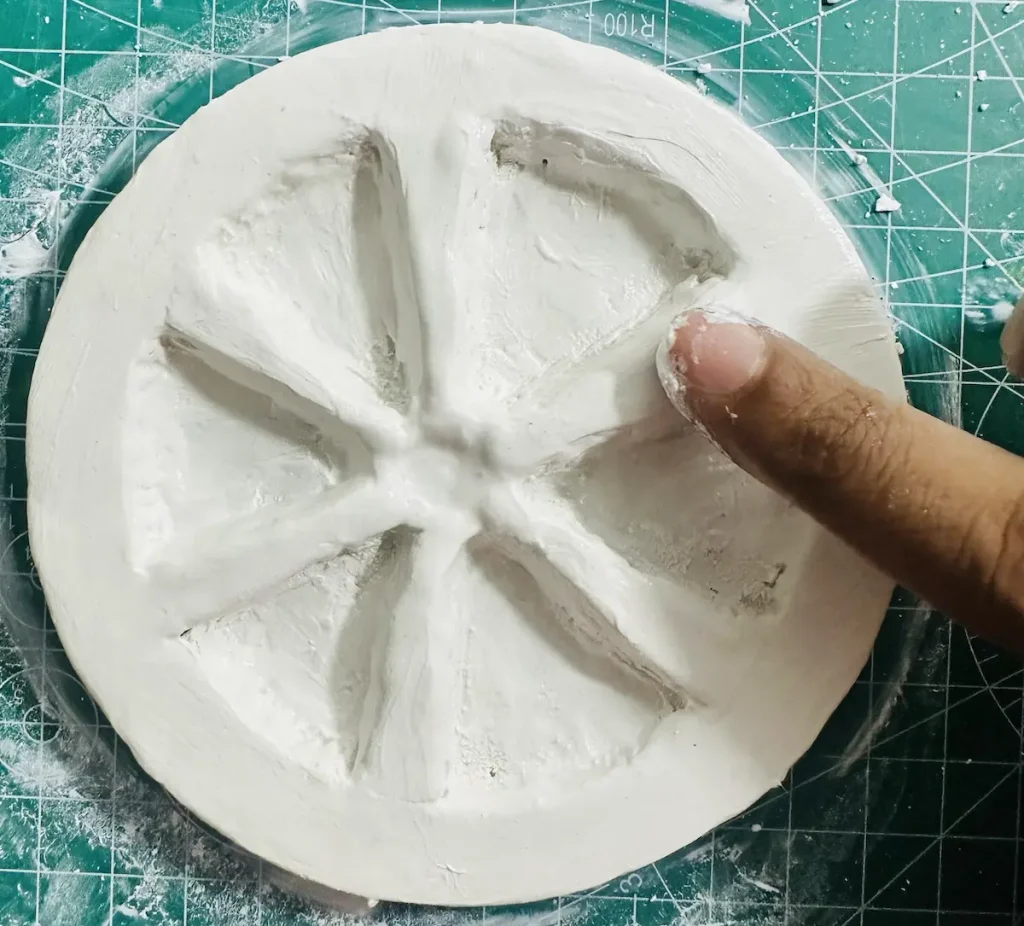
I faced that issue during my orange tray project because the orange dividers I scooped were small and my fingers could not reach every location inside to smooth.
Plus, make sure to trim your nails before smoothing because nails can damage the floor or the edges, which are hard to fix because of the narrow openings.
Smoothing makes the hollowed areas nice and polished. This makes the painting process a lot easier. 🎨
What to do if you poke a hole in your clay 🕳️
If you accidentally hit the bottom and poke a hole in air dry clay while hollowing, do not panic.
Take a little bit of fresh clay and mix it with an equal amount of water until it makes a slippery paste, which is called the “slip”. This “slip” can be used as a cement to fix patches and also as an adhesive to attach two air dry clay pieces together.
Simply take a little bit of paste to your finger or tool and apply it over the hole you poked.
Don’t worry about the amount of slip you use. Use as much as you want.
After fixing the patch with slip, let the project dry fully for 2 days.
Then sand the seam of the fixed area with fine-grit sandpaper until there are no visual marks.
But if sandpaper cannot reach the area you fixed, you’ll have to varnish the seam during the painting process with coats.
FAQ ❓
How do you hollow out air dry clay?
You can hollow out air dry clay by scooping and scraping a thick clay slab.
Can you carve air dry clay while wet?
No, carving wet air dry clay will deform the shape. Wait until it becomes leather-hard and firm, which is cool to the touch, to start carving.
What tools do you use to scoop out clay?
Ribbon tool and clay carving tool
How thick should air dry clay be for a trinket tray?
½ inch thick or more.
How do you fix a hole if you poke through air dry clay?
You can patch a hole using slip
Final thoughts
Now you know how to hollow out air dry clay properly without poking through the bottom using easy techniques.
You can use the things you learned to make trinket trays, dishes, incense holders and other home decor items.
I’d love to see those projects you made by hollowing out the clay. Be sure to tag @clayandmestudios. See ya again. Cheers! 🤟🏾