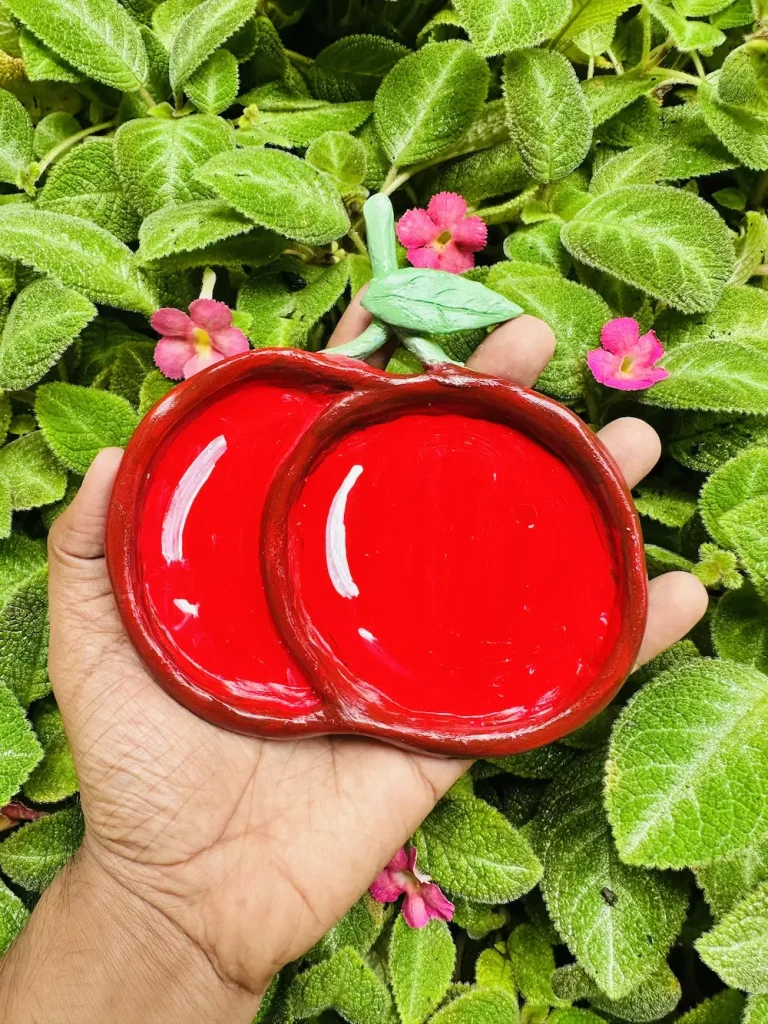
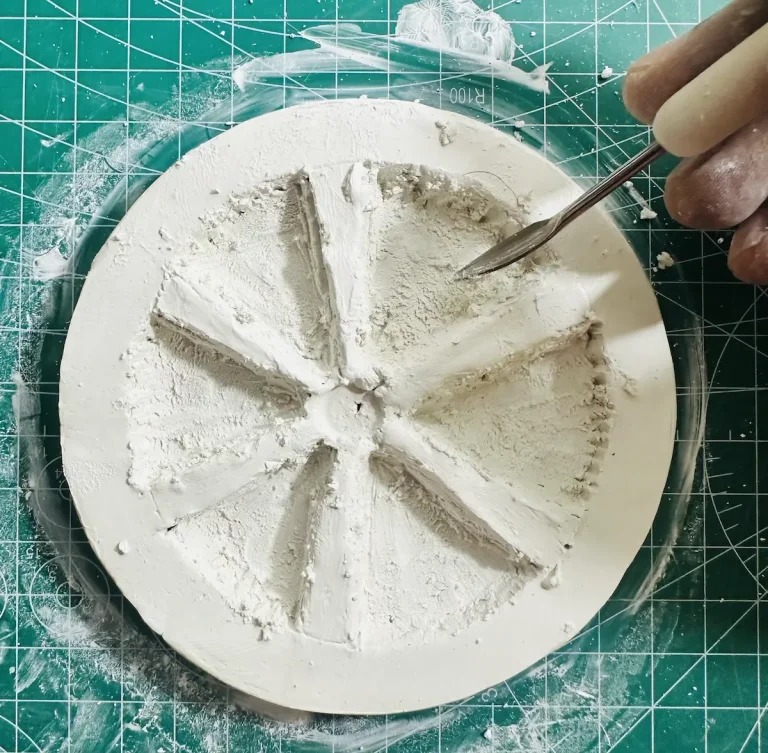
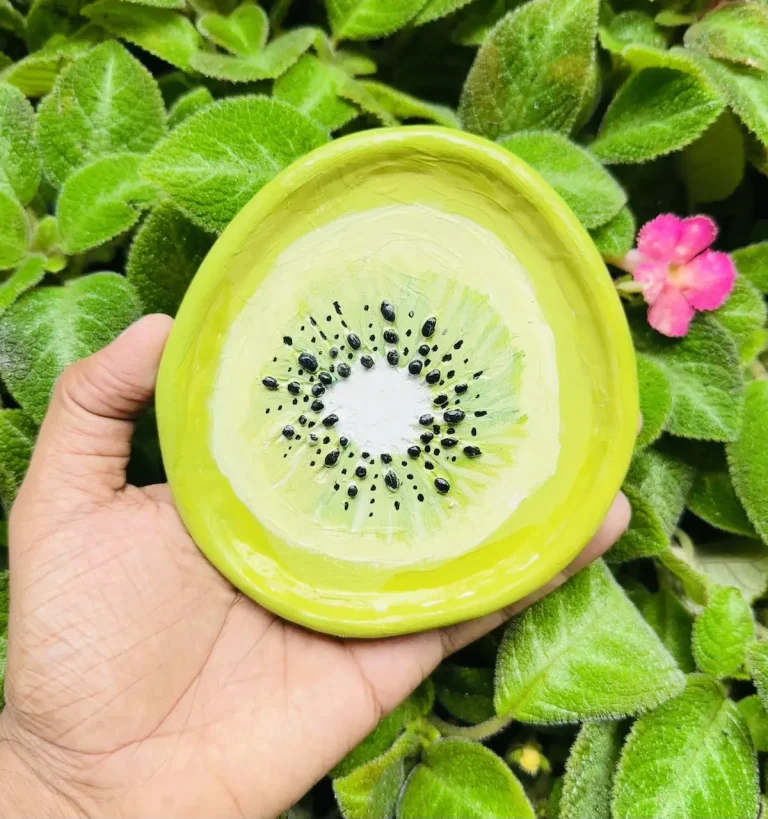
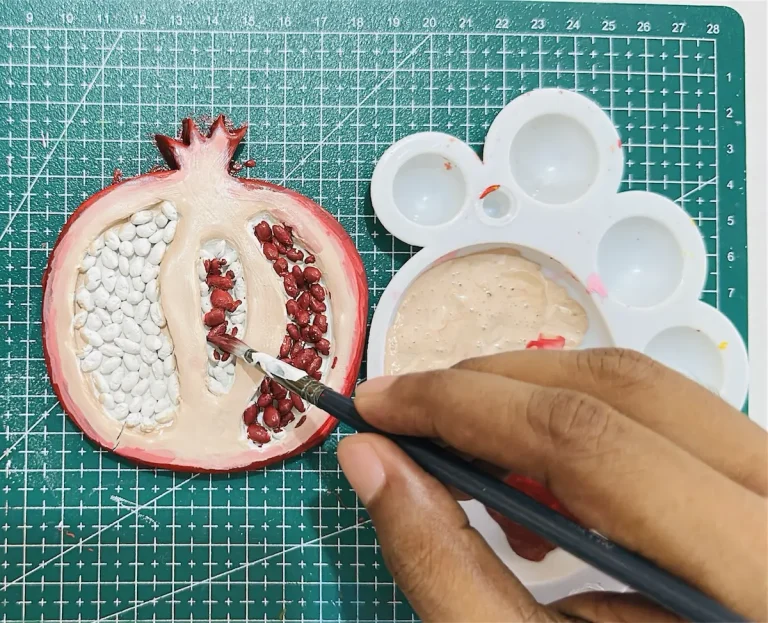
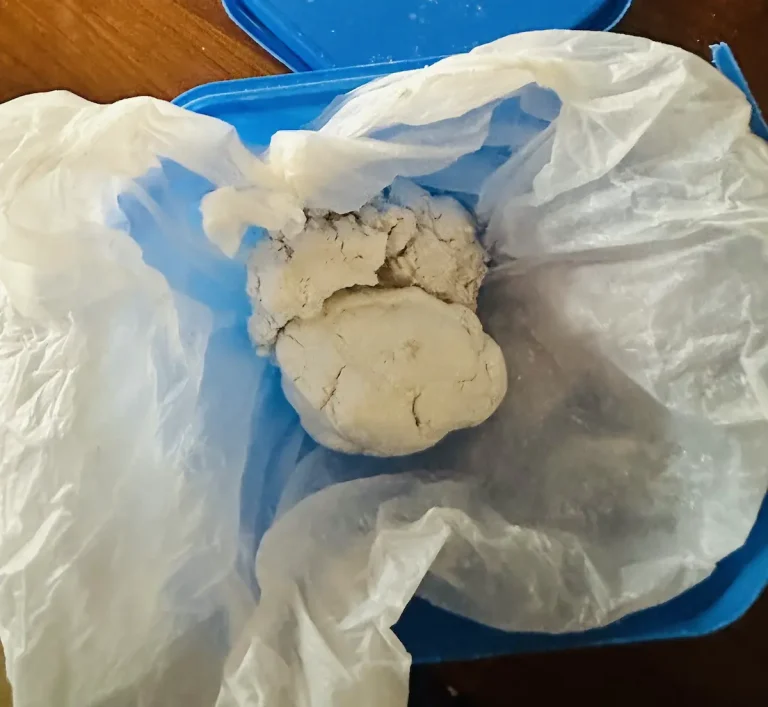
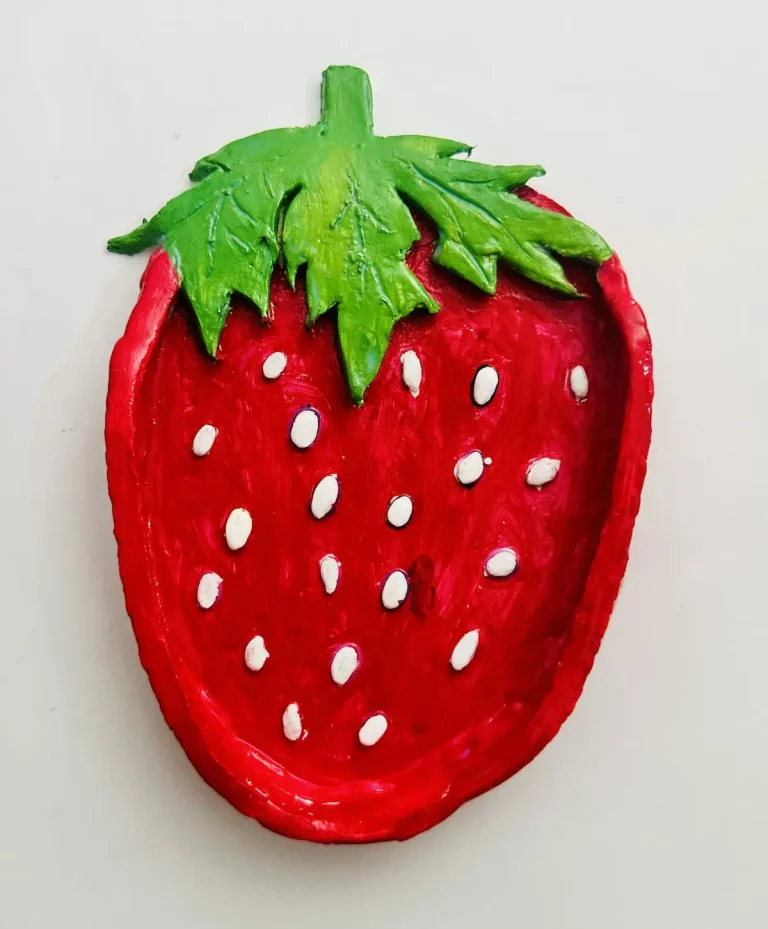
Getting smooth and even edges is essential to get the nice appeal we want when making clay trays, especially when using air-dry clay, because it is prone to getting messy. ✨
When the project is nice and smooth, the value of it increases a lot more than a rough-surfaced one. That is important, especially when you’re making a decorative piece or when you are making clay trays for selling. 💰
But what if I told you the key to getting smooth and even edges on any air-dry clay tray is your finger? Yes, your finger. 👇
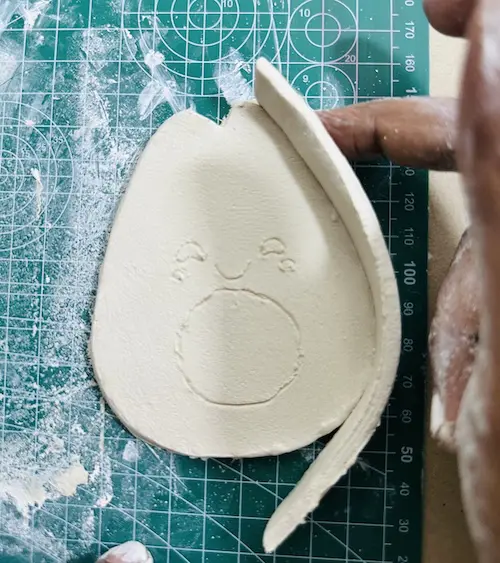
I’m not an expert and have only completed 3 trinket trays as of this writing.
I’m also a beginner clay artist like you, and I have not tried all the techniques I share with you guys here. 🎨
Yes, I have tried most and am still learning how to use some. I’ve done my research and want to share what I’ve tried, the results I saw, and what I’m still learning. I’ll also note what I plan to try in future projects. All are here. 📚
So, let’s dive in!
Why achieving smooth edges on clay trays matters
Smooth edges on clay trays are a must because rough edges can make a clay tray look unfinished. Who likes to see an unfinished project? Do you use a clay tray with rough edges to decorate your home? I don’t. 🏠
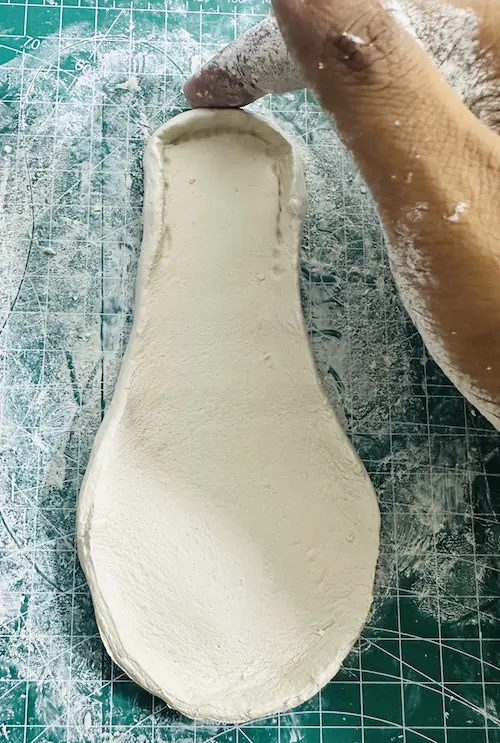
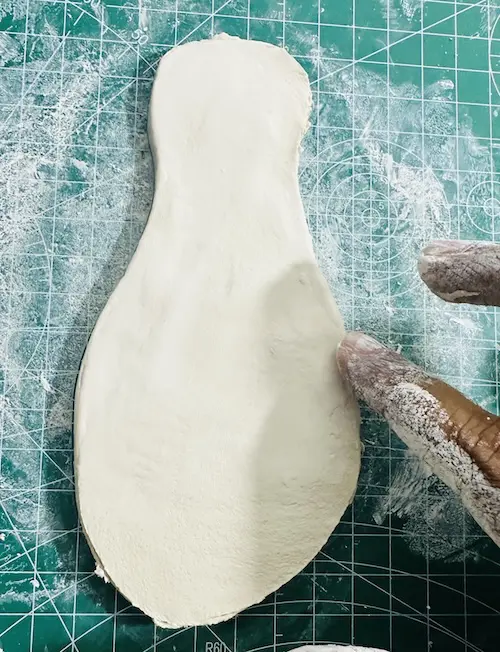
Achieving smooth edges on air-dry clay trays prevents the clay surface from cracking and reduces chipping.
Clay trays with smooth edges protect other items like your furniture from scratches. Plus, smooth edges give your finished tray piece a clean, professional look.
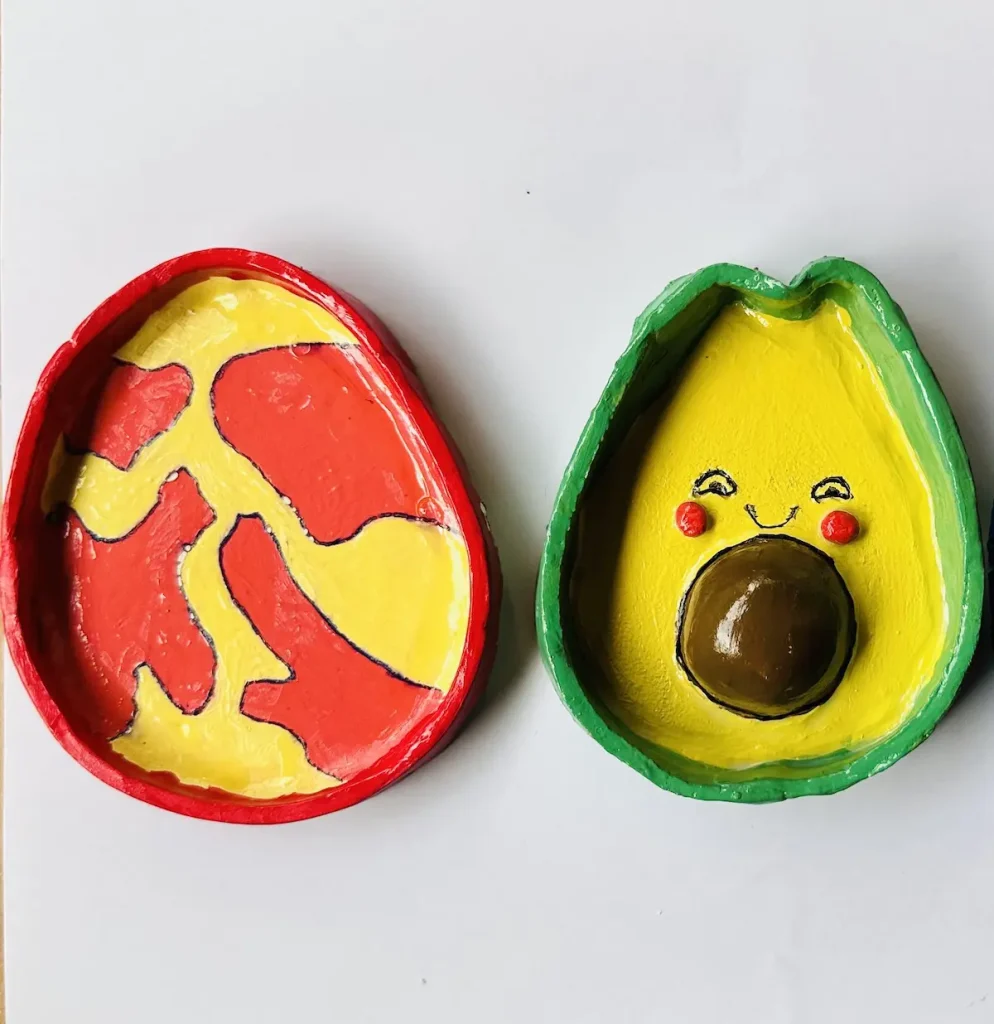
When the clay edges are smooth, you can achieve better protection from sealer because air-dry clay absorbs water easily. When you apply a sealant, smooth edges allow the liquid to cover the surface evenly without diving into rough edges or leaving bare white spots like patches.
Calling a clay tray project “completed” means it should have smooth and even edges. Otherwise, the people who look at your project will think that you’re a liar and not a quality person with quality work. 🧐
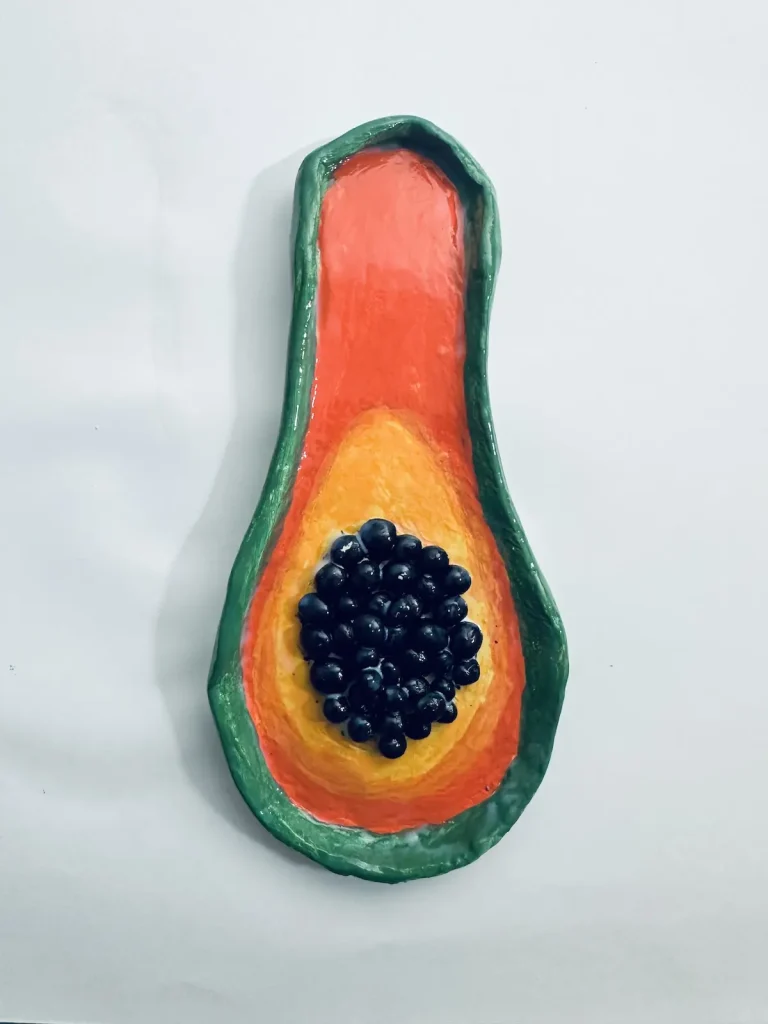
But everything is fine if you’re a beginner like me. We are still in the learning phase, and day by day, our trinket trays will become smoother because we learn new techniques along the way. 🌱
So, don’t worry if your tray looks rough with uneven edges. Mine also look the same. Haha! 😂
But we should improve at getting smooth edges day by day by keeping on practicing. 💪
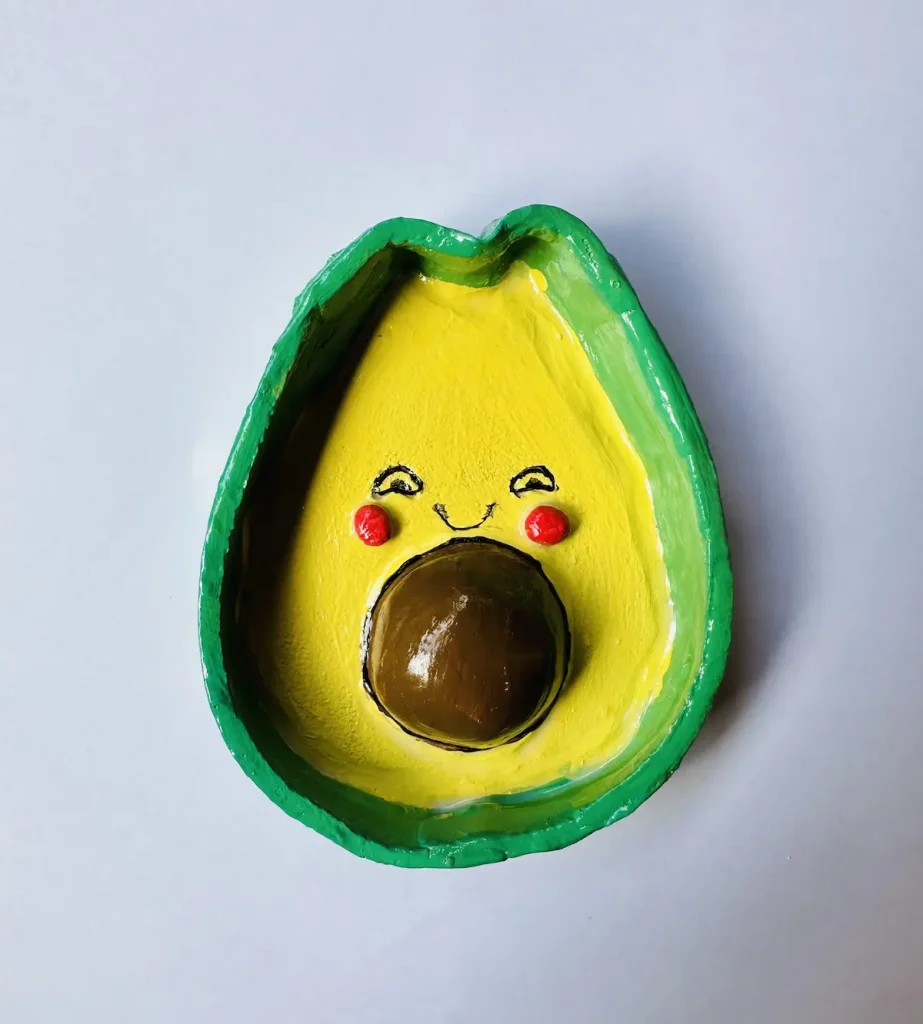
Let me tell you what I know currently. These are the easiest steps because, as I told you, I’m also not an expert.
Tools for smoothing the air-dry clay when it is wet
- Damp sponge
- Cup of water
- Fine grit sandpaper (The higher the number, the finer the sandpaper is)
- Paintbrush
- Ball tool (optional)
The most important tool is your finger for wet smoothing.
Tools for smoothing the air-dry clay when it is dry
- Fine grit sandpaper (The higher the number, the finer the sandpaper is)
- Tissue papers
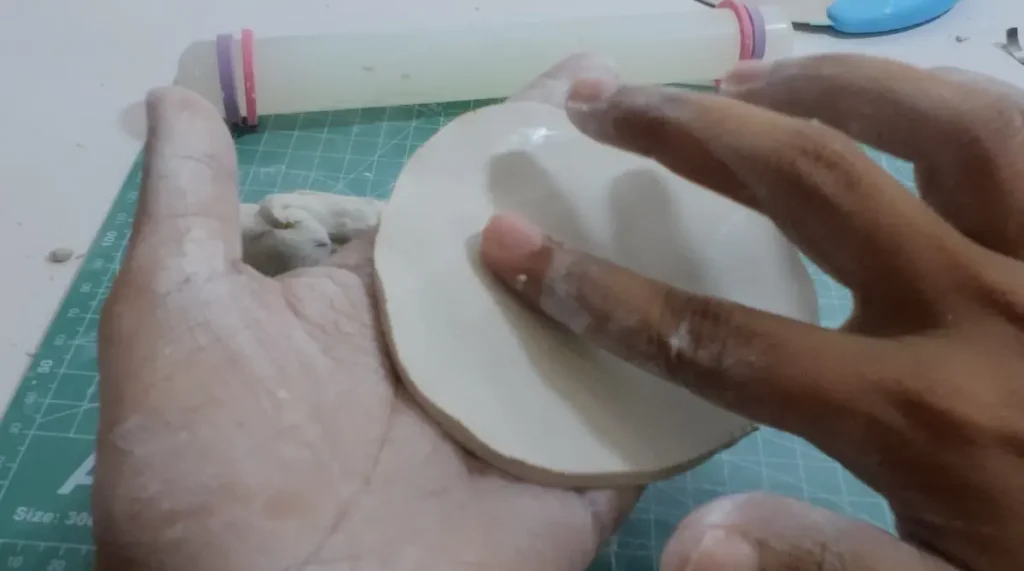
Smoothing edges while the clay is wet
You need to do the smoothing as soon as you attach the clay tray rim to the tray base. Don’t waste any time, because clay dries due to water evaporation, which makes smoothing hard. ⏳
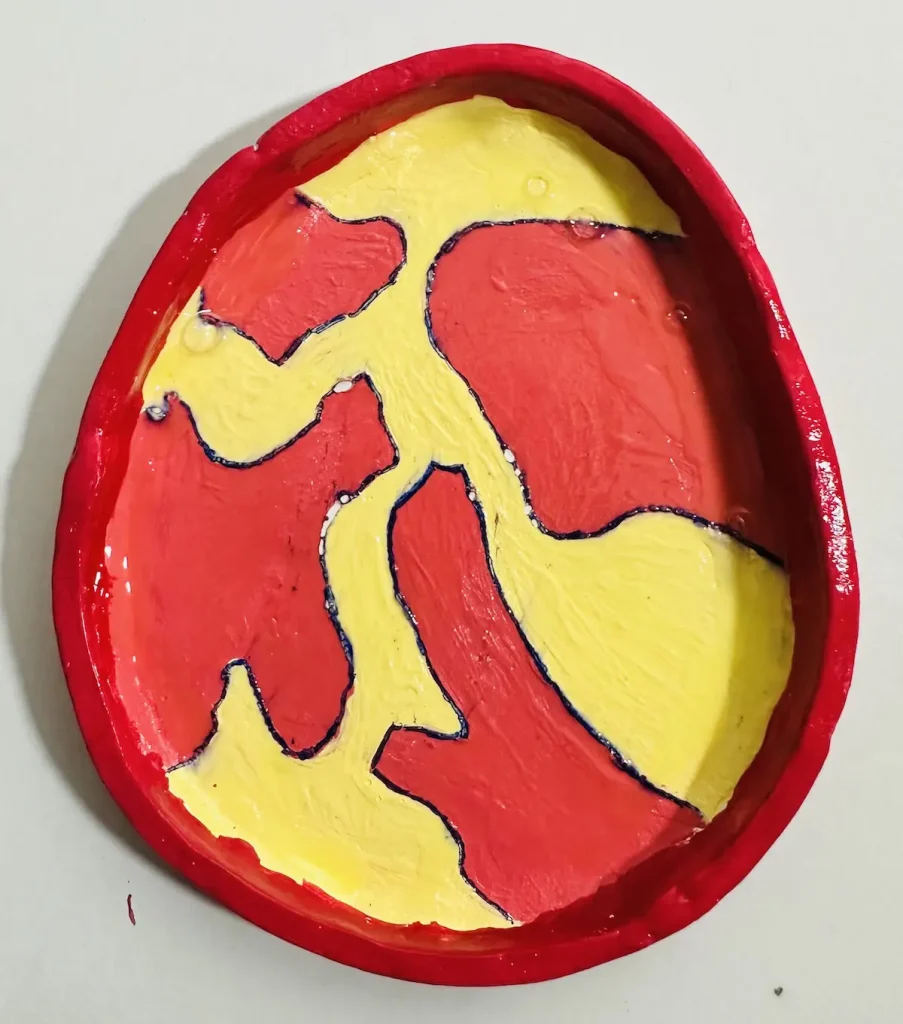
Smoothing air-dry clay when it is wet is so much easier than when it is dry because you can remove cracks and rough spots simply by sliding with your fingers with a little bit of water. 💧
Therefore, I always recommend smoothing when the clay tray is still wet or during the tray making process.
This is how it is done,
The “Water and Finger” Technique
The water finger technique is the easiest way to smooth the edges of your clay tray edges.
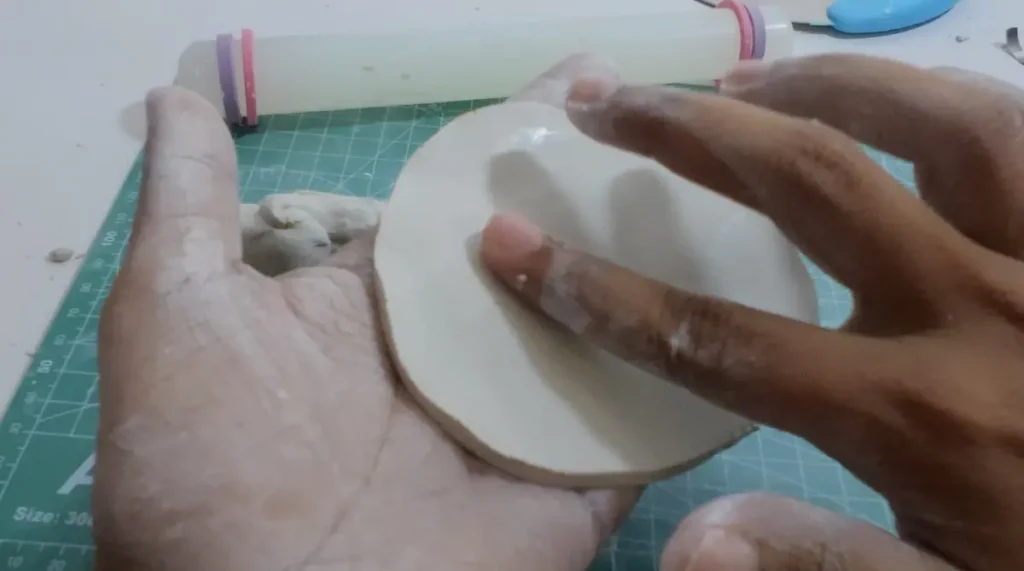
First, take the cup of water and then dip your index finger into it. Then take the clay piece or tray with your other hand and gently rub your finger and sweep it over the wet clay surface and gently glide over the rim. Do it in really slow motion. 👆
The water softens the top clay layer and fills tiny gaps.
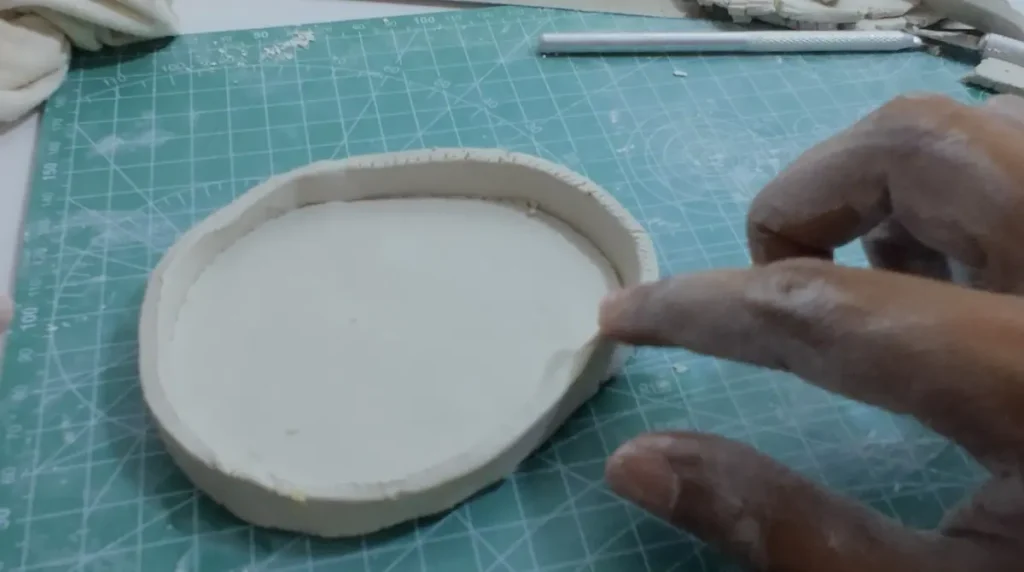
Make sure to add water in small amounts. Too much water can weaken and deform the clay.
This is the method I follow every time because it does not require any tools.
If there are locations you can’t visit with your fingers, like sharp angles on the tray rim, use a paintbrush or ball tool after dipping the edge of it into water. 🖌️
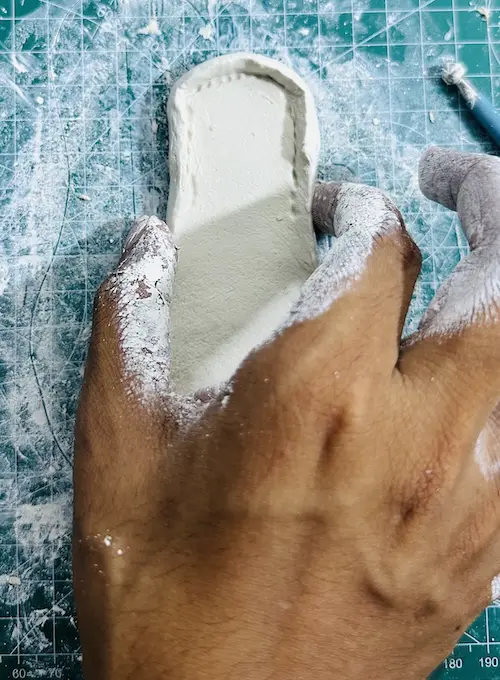
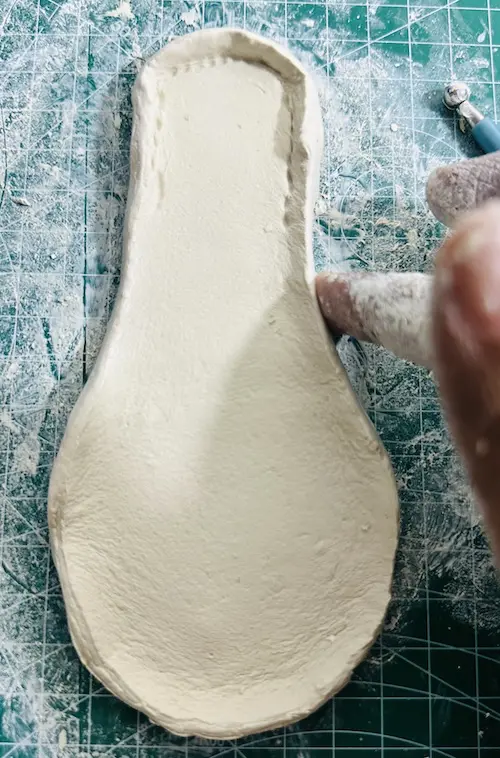
Make clean cuts
Use a sharp cutting tool or sharp blade to cut the edges of the air-dry clay tray. You should trim the edges, not tear. Tearing edges forms rough surfaces, which can make it harder to smooth.
Smooth the seam
You know where the clay tray base meets the tray rim? That’s where you should blend and smooth the most because seams are prone to cracks. 🔍
I add a thin coil like clay seam along the joint and gently press along the joint. Then smooth and blend it with the clay using water and your finger.
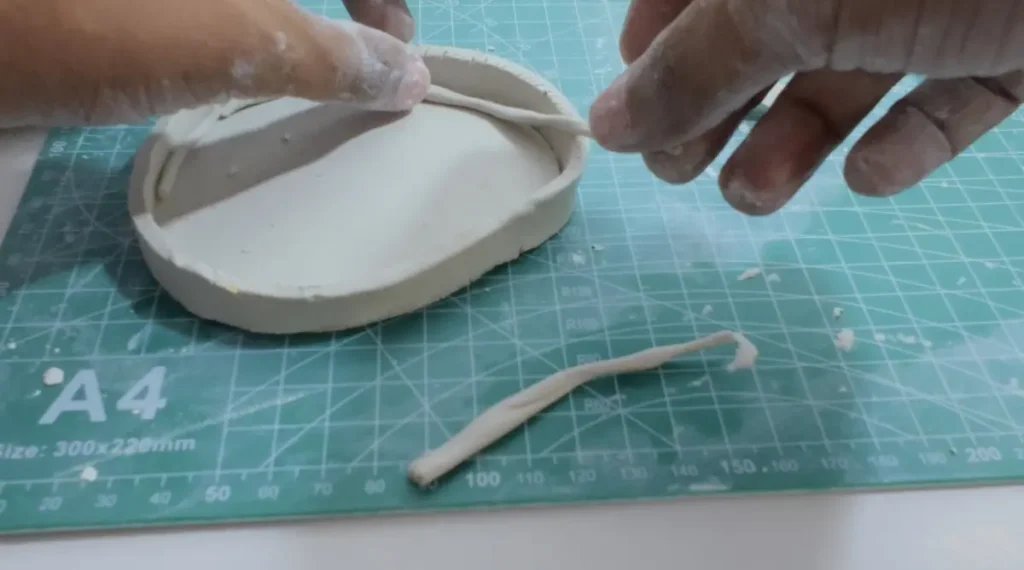
This seam helps the stress points of your tray dish. Having a 90-degree angle between the rim and tray base gives stress to the joint when the clay shrinks during drying.
So, having a seam between them helps to distribute weight and drying tension evenly along the tray.
Plus, it secures the bond even more. I highly recommend you add it.
Compress edges with a spoon
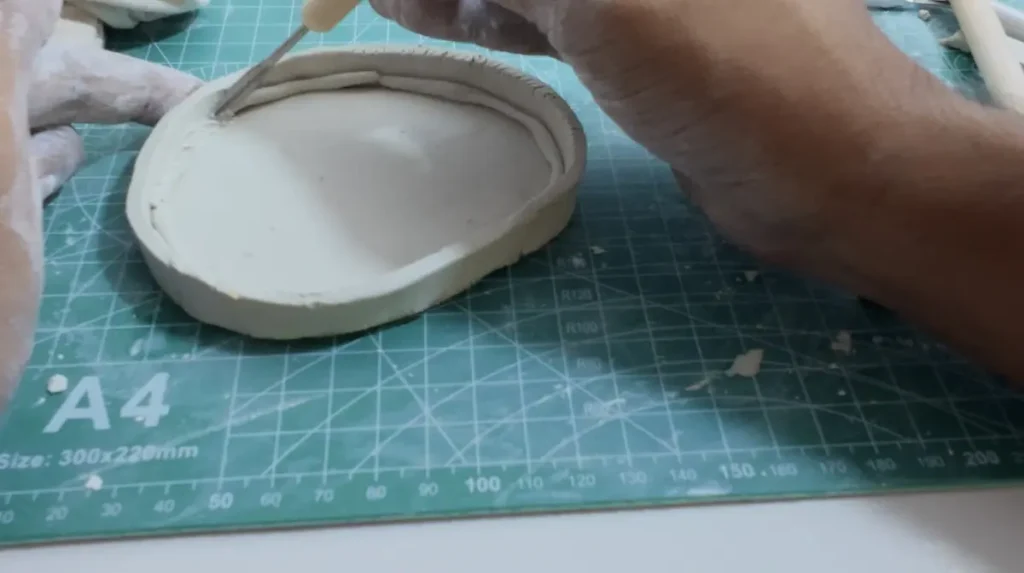
You can use the back of a spoon to shape the edges of the clay tray with no rough, sharp points. 🥄
If you’ve got no spoon, a plastic card is also fine to compress and shape the rim evenly.
Using a damp sponge
Sliding a damp sponge over the tray rim covers up the porous structures on the tray edges and makes the surface look so smooth.
Rinse the sponge often with the cup of water. Make sure to keep it damp, not soaking. 🧽
Or you can use a paintbrush. Damp synthetic brush in a raking motion can wipe out harsh lines on tray edges.
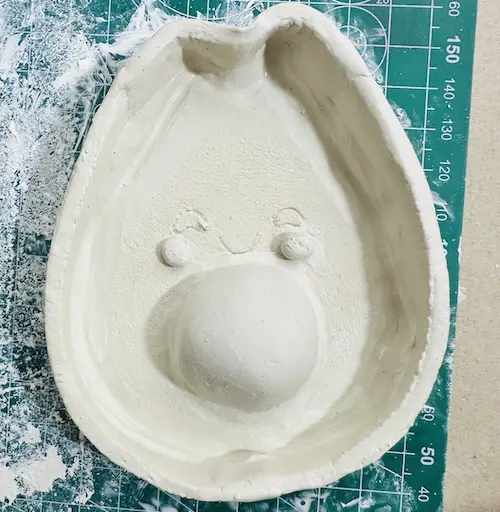
How to smooth edges after the clay is dry
I have noticed sometimes cracks and imperfections on the edges happen when the clay tray is dried and cured.
Don’t worry. Even though fixing rough edges is easy when clay is wet, there are several options you can try out for dried clay trays as well. ✅
Sanding air dry clay trays
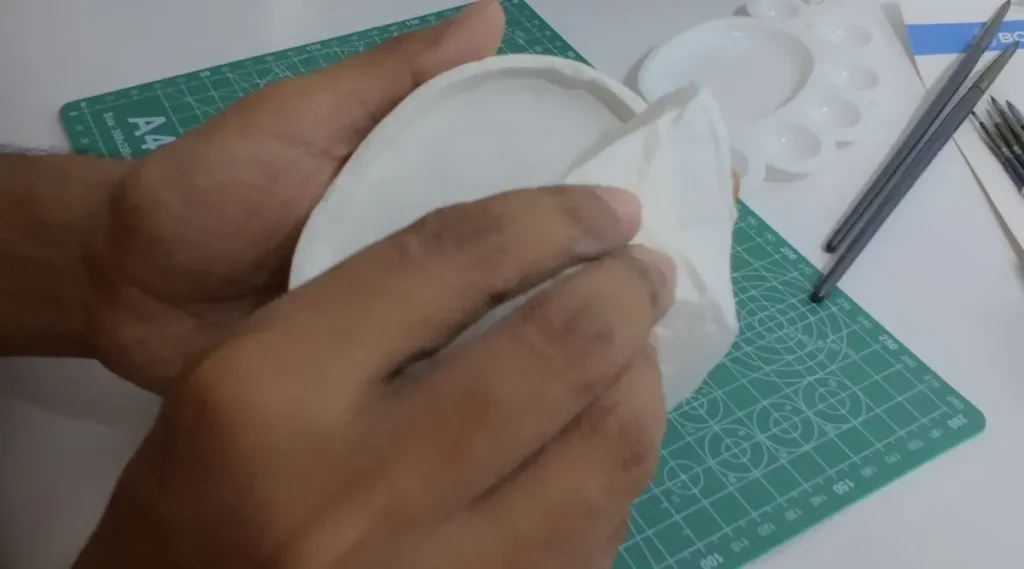
Sanding is the best method to get smooth, even edges on air-dry clay after the clay is dried. Use fine grit sandpaper (higher number like 160-240 grit).
Yes, you can sand air dry clay pieces. They won’t break.
I haven’t tried it out yet to smooth edges after the clay tray is dry because I try my best to smooth when clay is wet, but based on many online resources, it is possible.
Sanding helps to remove residue that is left on the surface when drying, and it removes uneven bumps and gives a soft and smooth finish.
Make sure to sand gently in one direction to avoid causing more cracks and wipe away dust to avoid troubles when painting.
Fill Cracks and Chips with “Slip”
If the cracks on the edges of your clay tray are a bit large and unable to be covered by sanding, you can make a thing called “slip.” Slip is basically a mixture of clay made by mixing clay and water in a 1:1 ratio. It’s like a glue. 🍯
You can apply it into those porous areas inside cracks and cover them up.
Then let them dry for 24 hours and smooth again with a damp sponge.
You can try this out even when your clay tray edges are uneven. Since this is basically air dry clay. You can add them to thinner edges to make them look big and then even out along the edge to avoid unevenness.
Common mistakes that ruin clay edges (and how to fix them)
- Using too much water: Too much water turns clay into a muddy-like thing and then deforms the structure. Edges will look more chunky and not even. ⚠️
- Rushing the drying process: Air-dry clay tray projects should dry for at least 24-48 hours, or even more if the project is thick. Rushing the drying process causes edges to warp and crack. 🛑
- Using too many tools: You only need your index finger and a bit of water to smooth and even out edges. Using too many tools makes edges uneven, and you’ll end up with a frustrating experience. 🚫
How do you smooth rough edges on air dry clay?
You can smooth rough edges by gently gliding your index finger along the rough edges on air dry clay after dipping it in water.
Can I smooth air dry clay after it dries?
Yes, sand along one direction using a fine grit sandpaper to smooth air dry clay after it dries.
Why does my air dry clay crack while drying?
Using too much water for conditioning the clay at early stage and when smoothing the surface can cause cracks while drying.
Do I need to sand air dry clay before painting?
Yes, sanding makes the clay smooth and remove uneven bumps.
Can I smooth air dry clay using only water?
Yes, you only need water and your index finger to smooth air dry clay.