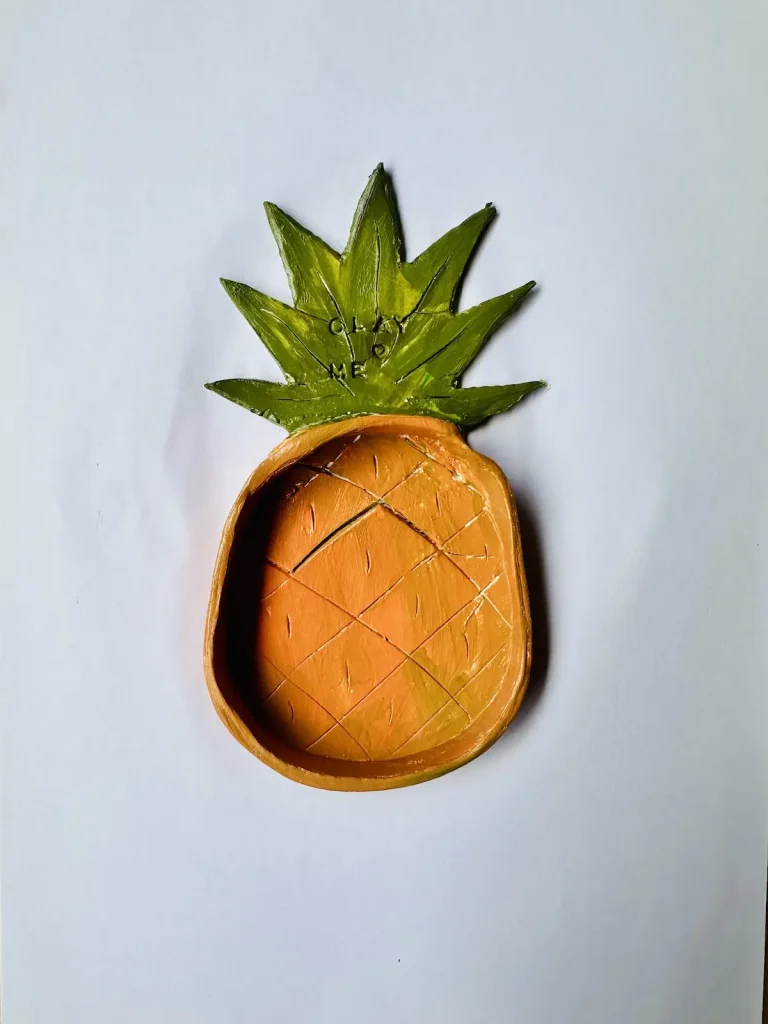
Yes, we all know how to cut perfect shapes with air dry clay every single time. With cookie cutters, right? Yes, you’re right but what if you have no cookie cutters in the house, or your mom strictly advises you not to use them because she is afraid you’ll lose them or won’t clean them properly after using and your family members end up eating air dry clay while eating cakes or cookies made with those cutters. Lol I’m kidding.
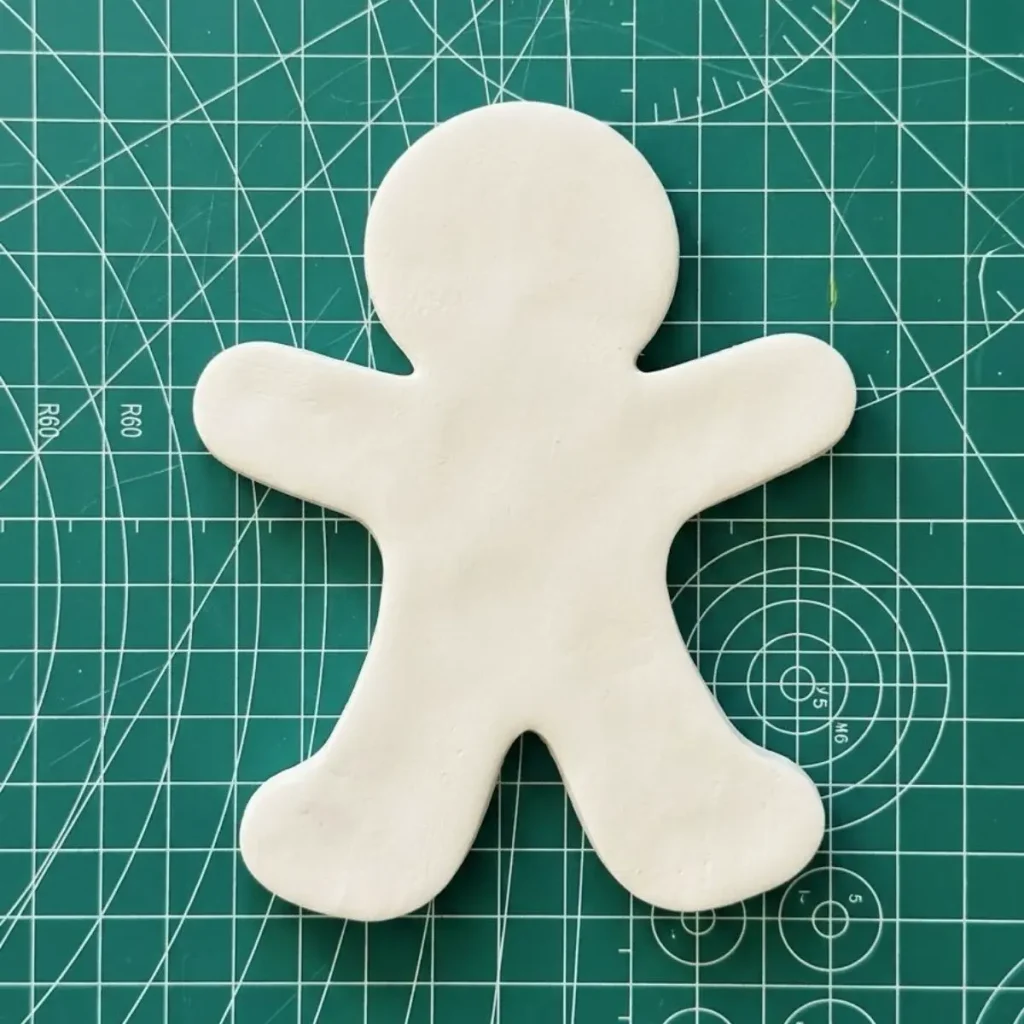
But I’m gonna tell you an easier method of cutting perfect shapes every single time with air dry clay without using cookie cutters, plastic cutters or any other expensive items. You just need an internet connection, a piece of paper and a printer.
Let’s dive in!
Why you don’t need expensive clay cutters
Air dry clay is a beginner friendly clay type. It is cheap, easy to use and you don’t need expensive tools as gurus suggest to make something beautiful with it.
The same goes with cutters. If you don’t have them, don’t even waste time searching for them, go to a store and purchase them. Probably you’ll end up getting the wrong size.
Yes, they are nice to have but you’re here because you don’t ahve them and even I don’t have them right now.
But I do follow a simple method to get perfect shape in air dry clay without those metal or plastic cutters.
Let me show you.
Video tutorial
I have made a dedicated video of how to use the paper template method to get the perfect shape you want in air dry clay. Feel free to watch,👇🏿
The paper template method
For the paper template method, you only need an active internet connection, a piece of paper, a printer and a X-acto knife or any other clay cutting tool or small knife.
Here’re the steps I follow,
Step 1: Find and print your shape
We all know how to use Google right? I know you do because otherwise you won’t end up here. Lol.
First of all, open your browser Chrome or Safari or Microsoft Edge or Opera or Firefox or whatever and type “Google images” in the search bar and press Enter.
Next click or tap the first search result, which is obviously Google Images (https://images.google.com/).
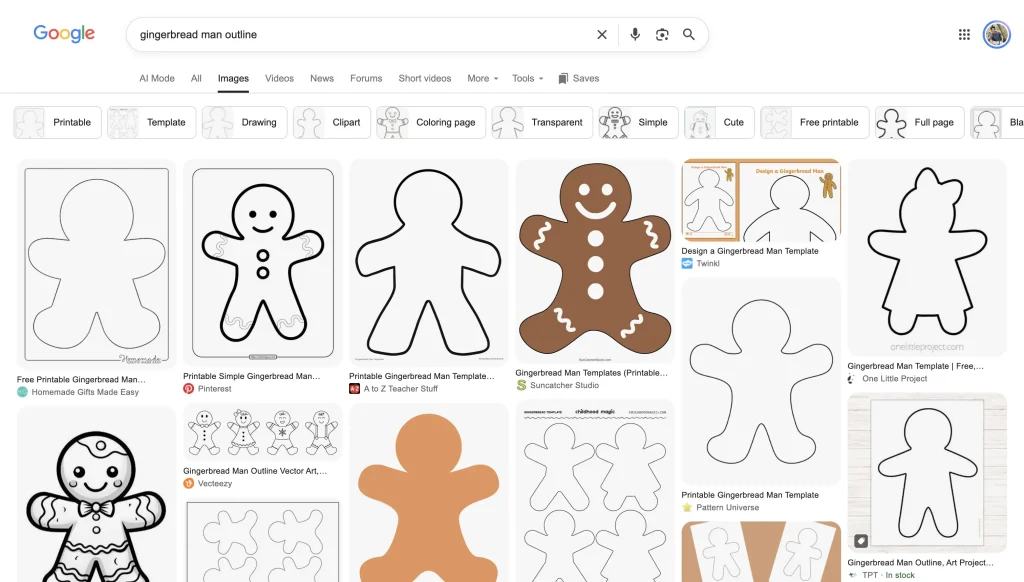
Now, in the Google Images search bar, type the shape you want to cut in your air dry clay with the “outline” keyword at the end.
It can be for silhouettes, line art, or coloring pages.
For example, if I want to make avocado shaped trinket tray, search “avocado outline” in Google Images.
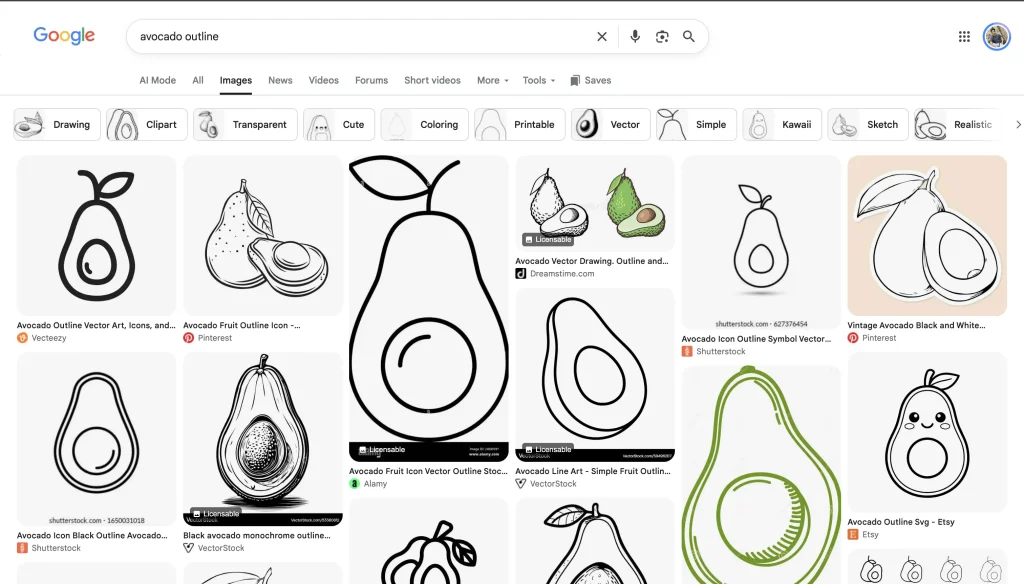
Next, select the image you like to make from them and download it, and take a printout of that image on paper.
Sizing your image correctly
Air dry clay shrinks as it dries because of the evaporation of the moisture inside. Due to the shrinkage, your air dry clay piece will become smaller as it dries.
Therefore, when you’re printing out the image you selected, select slightly larger than the final desired size.
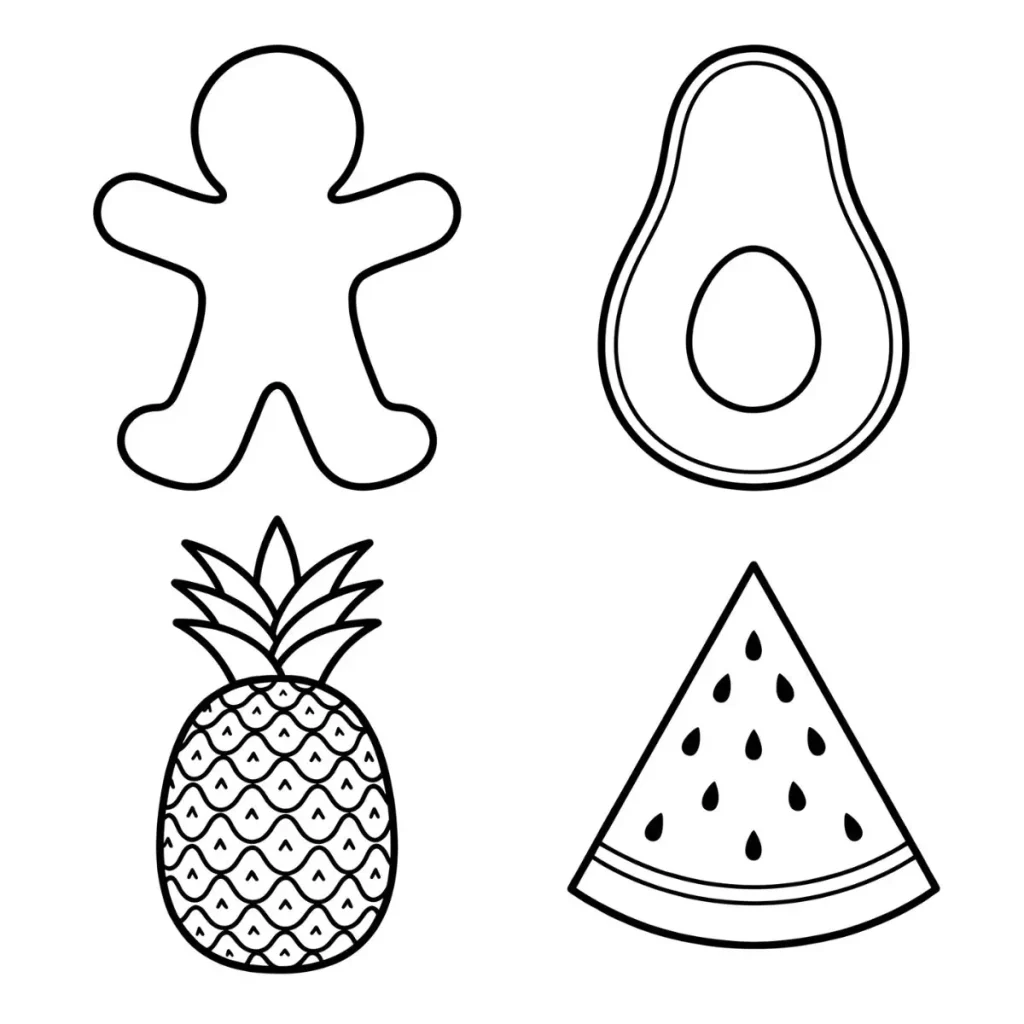
Take the image 10% larger than the actual size you want because generally air dry clay shrinks 5% to 12% as it dries.
Step 2: Cut out your paper template
Now cut around the outline of your printed image.
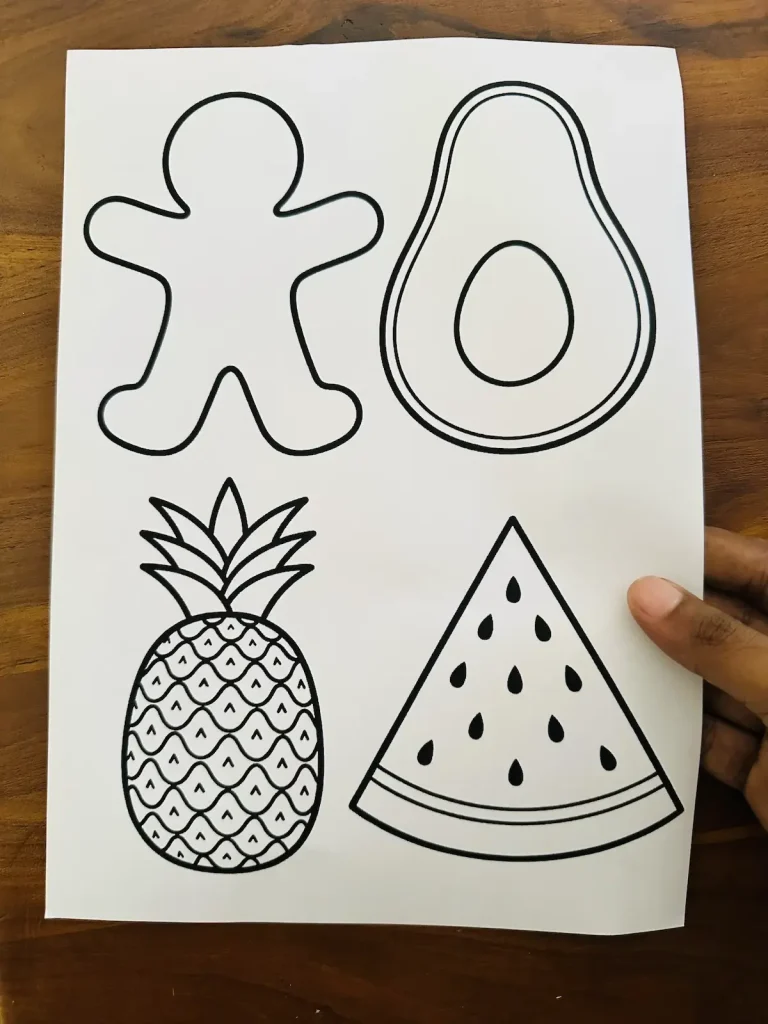
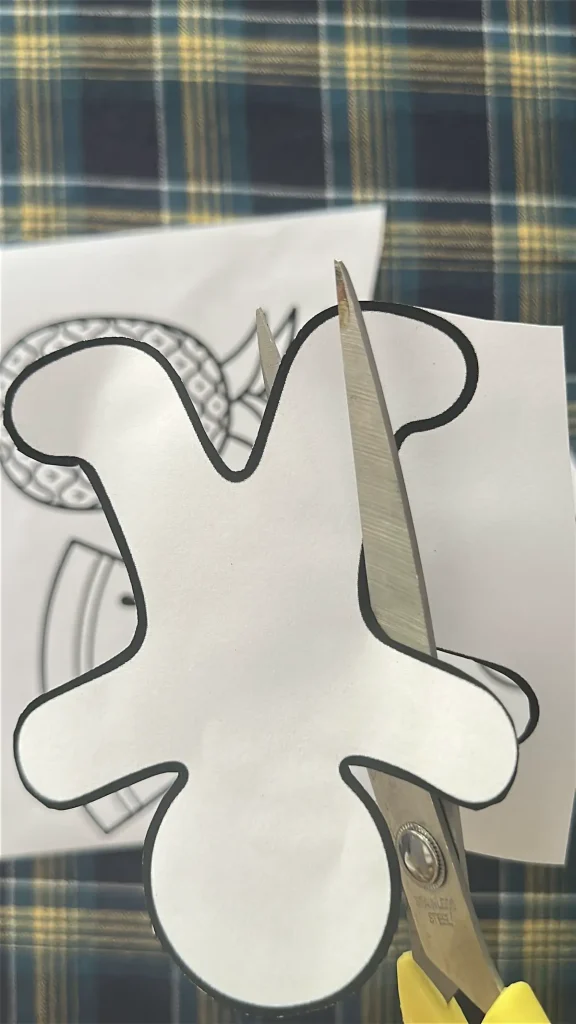
Cut the image carefully without moving the shape with sharp scissors because we need lines to be straight and curves to be curled properly to get a nice and clean final shape in air dry clay.
Read: How to Shape Organic Air Dry Clay Forms Without Molds or Cookie Cutters
Step 3: Knead and roll out your air dry clay
After making the paper template, take a fresh clay piece and knead it so well until it becomes soft using the push, pull and press technique, like making pizza dough.
After kneading, place the clay piece on your working mat and roll to an even thickness. If you are willing to hollow out the clay and make a tray out of it, aim for ½ inch thickness. Otherwise, aim for ⅓ inch thickness.
Don’t make the clay slab too thick because you’ll find it hard to cut around the outline of the shape because you’ll have to cut deep and some clay parts may not cut properly and you may end up with torn up edges.
Plus, don’t make the clay slab too thin because it may warp as it dries and be prone to cracks due to poor structural integrity.
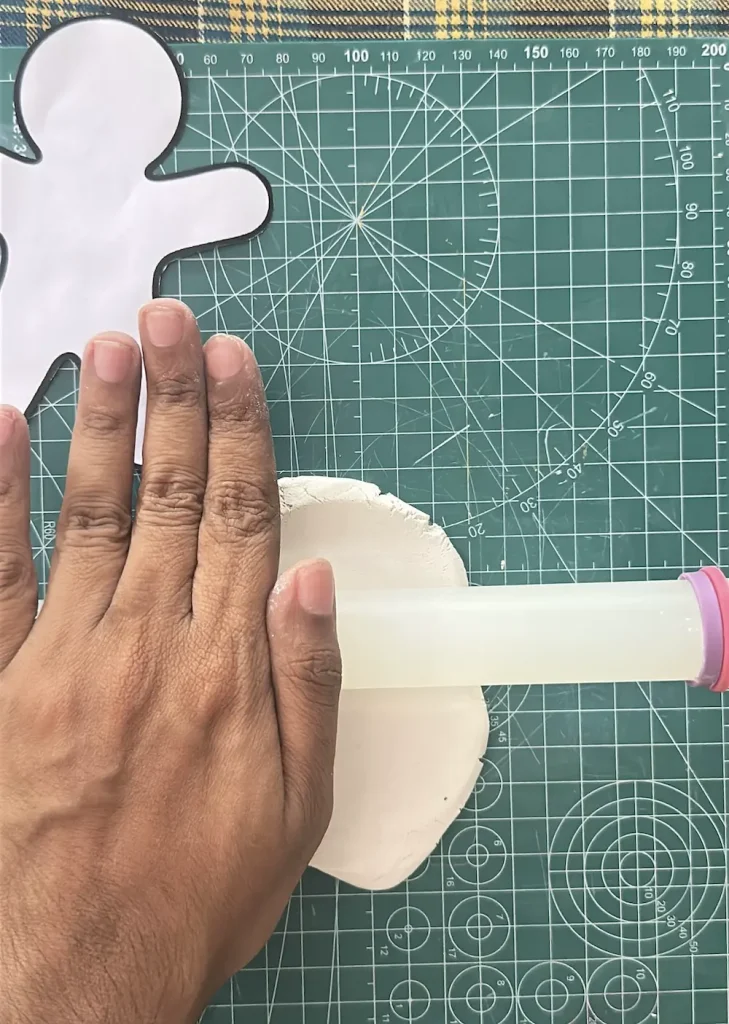
Step 4: Place the template on the wet clay
Now place the paper template on the middle area of your wet clay and press it down gently without damaging the surrounding clay. But don’t sink it completely because clay may pop out and you’ll end up with cracked edges.
Make sure not to move it even the slightest amount while cutting to get the perfect shape you wanted.
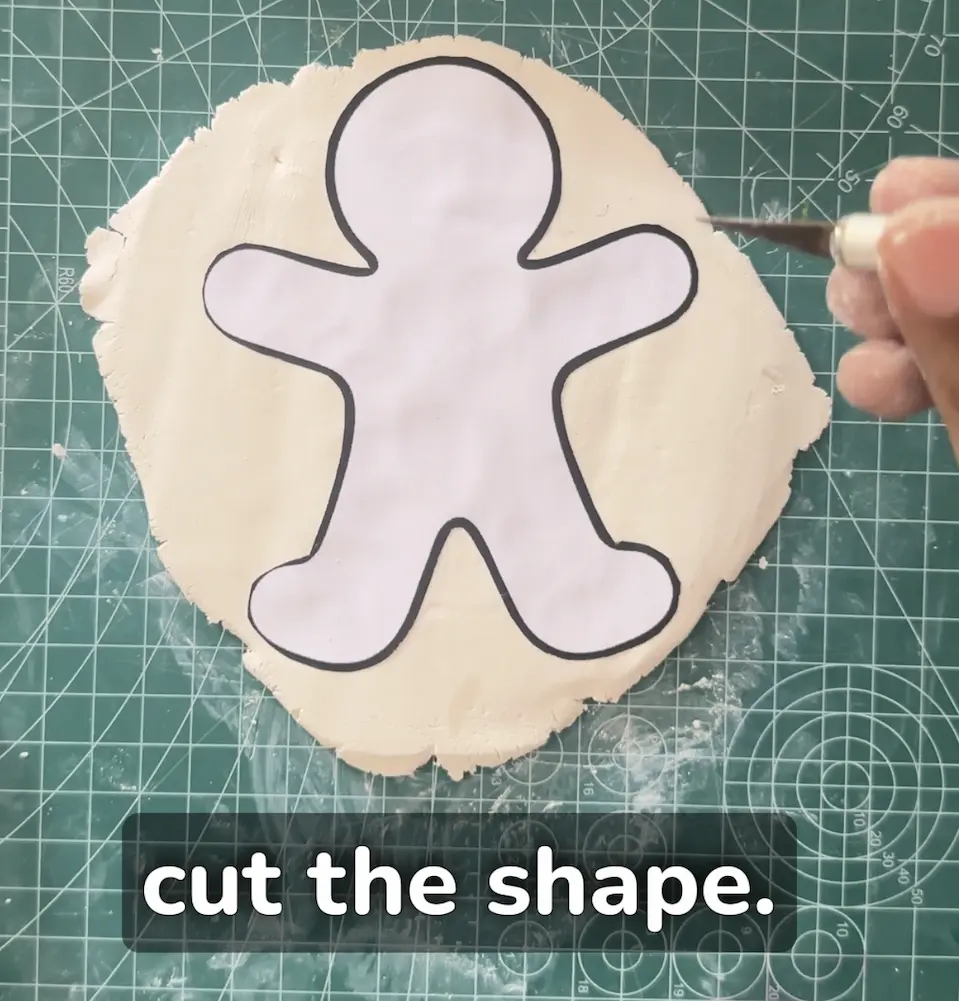
Step 5: Cut around the edges
Now cut along the outline of your paper template on the clay slab using the X-acto knife.
Don’t drag the knife horizontally without lifting it up while cutting because pulling the knife horizontally through wet clay increases the friction and stretches the clay.
By doing this, micro cracks will be formed around the edges and the clay will tear apart when I try to lift it up after rolling.
When you’re cutting around the edges, plunge the blade straight down into the wet clay and take it out again, plunge and take the blade out for clean cuts. Dragging horizontally through sticky wet clay forms blunt and torn edges.
If you don’t have an X-acto knife, use a needle, a toothpick, or a thin craft blade for the cleanest drag-free cut. But make sure to follow the same cutting procedure I described above.
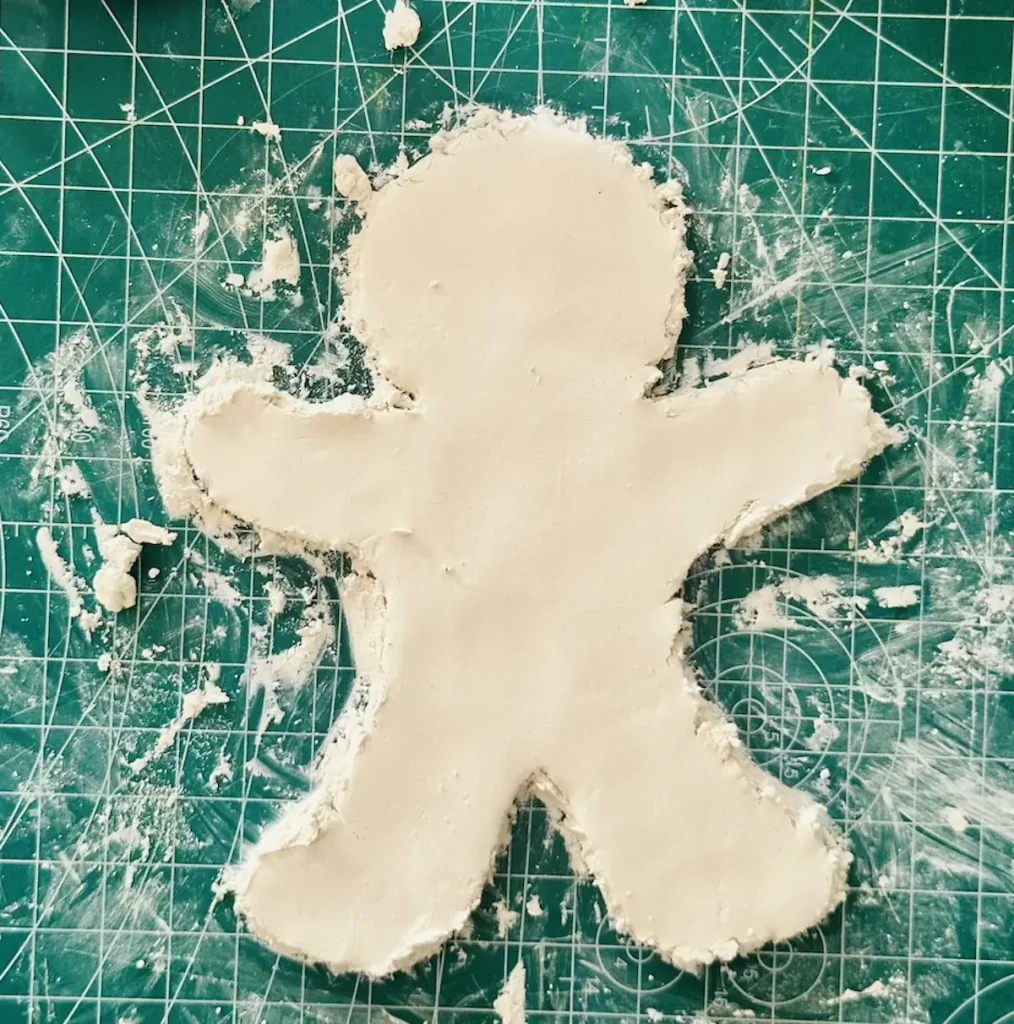
Step 6: Remove the paper and smooth the edges
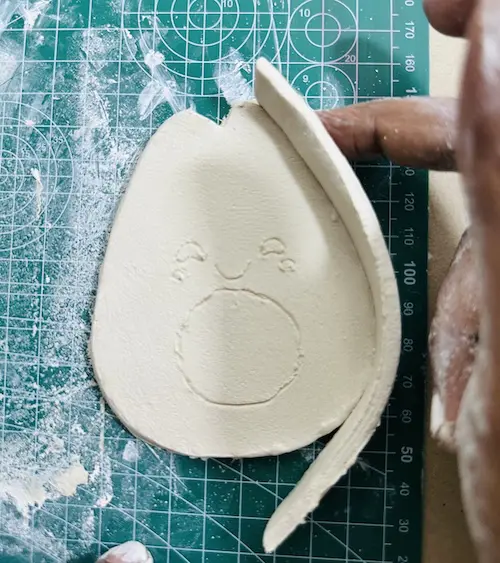
Carefully lift and remove the paper template.
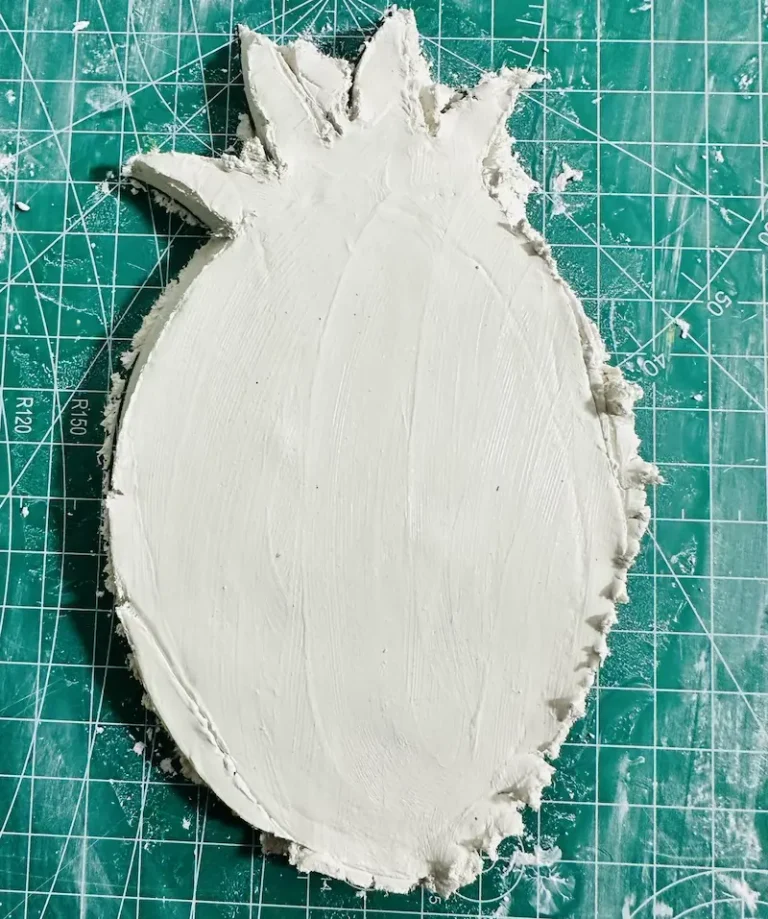
Now you can see how perfectly shaped your air dry clay slab is. But it may have unevenness, bumps, tiny scratches and micro cracks around the edges. Here’s how to fix them.
Dip your index finger in a cup of water and glide gently and repeatedly over the edges of the wet clay slab until those tiny imperfections vanish.
This way you can smooth out the cut lines and get nice, clean and shapr edges.
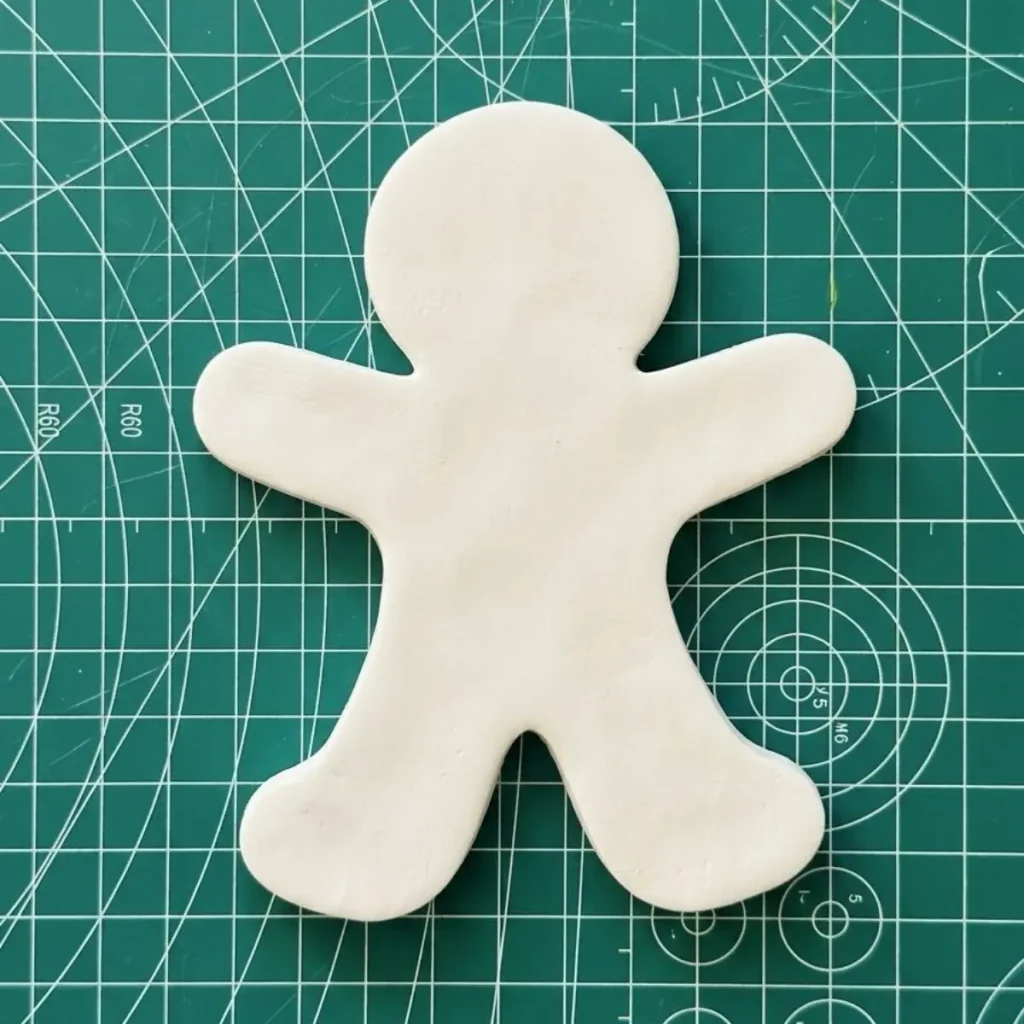
Alternative household items for cutting basic shapes
Here’re some other things you can use to make perfect shapes in air dry clay,
- Cups
- Glasses
- Bottle caps
- Rulers
Make sure to get the size you want and not to move it while cutting the clay slab.
Common mistakes when cutting clay without cutters
- Adding too much water when kneading and smoothing makes torn up and messy edges.
- Drag the knife along the clay horizontally without lifting causes torn up edges.
- Using unsharp scissors for cutting paper templates.
- Letting clay dry too much before cutting and edges will start to crumble and tear.
Final thoughts
Now you know exactly what to do when you want to make a perfect shape in air dry clay without seeking for cutters.
Paper template is easy. But I recommend you invest in proper cutters once you become good at it because your printer may run out of ink.
Whatever happens, just don’t stop making! Cheers! 🤟🏾