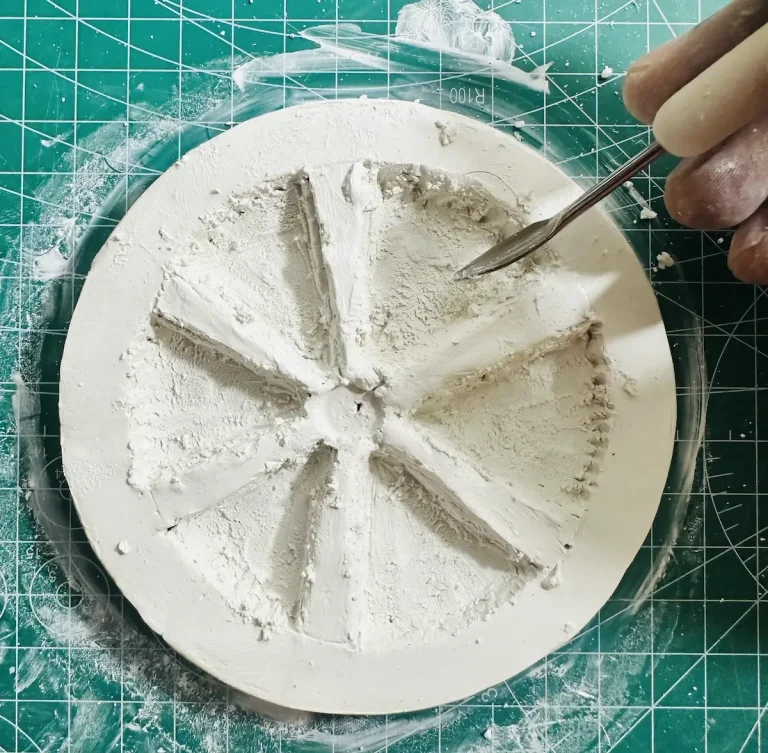

Did you know kiwi fruit got its name from the national bird of New Zealand because both are small, fuzzy and brown?
Today we are making a cute Kiwi trinket tray with air dry clay. The flesh inside has different shades of green, which means we have quite a work to do when painting this project.
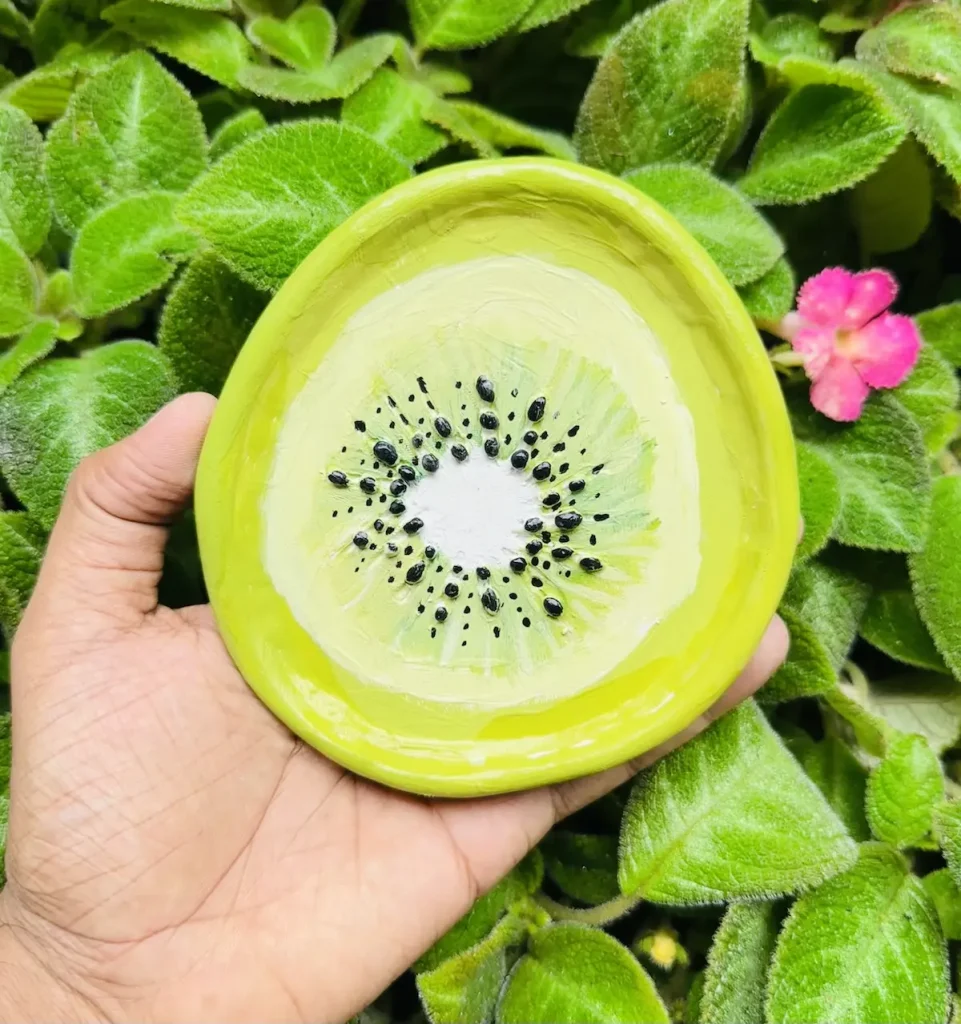
In this tutorial, I’ll explain to you each and every step I have taken to make this beauty and all the mistakes I made along the way and how I fixed them. I’m also a beginner like you and I try my best to explain each step as simply as possible because complex techniques are not for us, only for the experts.
Ok, let’s dig straight into making!

Why did I select air dry clay?
You can make this kiwi trinket tray with air dry clay, polymer clay or any other type of clay, but I specifically went for air dry clay because it is not expensive and easier to shape and fix mistakes.
Air dry clay does not need to be kiln fired or baked when drying and curing like polymer clay because it dries in the air and it is 2x or sometimes 3x cheaper than polymer clay.
You can fix mistakes such as micro cracks, bumps, tiny imperfections and scratches on air dry clay slab by gliding your wet finger repeatedly on the wet clay until they vanish. Simple as that.
If you’re a beginner like me and need to learn air dry clay tips and techniques, I think air dry clay is the best one for you because it is the most beginner friendly clay with lots of benefits and only a few cons.
Supplies you’ll need
- Air dry clay (DAS, Mont Marte, Jovi or any reputed brand you can find is okay)
- Acrylic rolling pin
- PVC mat or silicone mat (or non-stick surface)
- Clay crafting tools
- Clay cutting tool (X-acto knife or small knife)
- Cup of water or spray bottle
- Acrylic paints
- Gloss varnish
- Paintbrushes
- Paper towels
- Optional: Sponge or silicone sculpting tool (or you can use your finger)
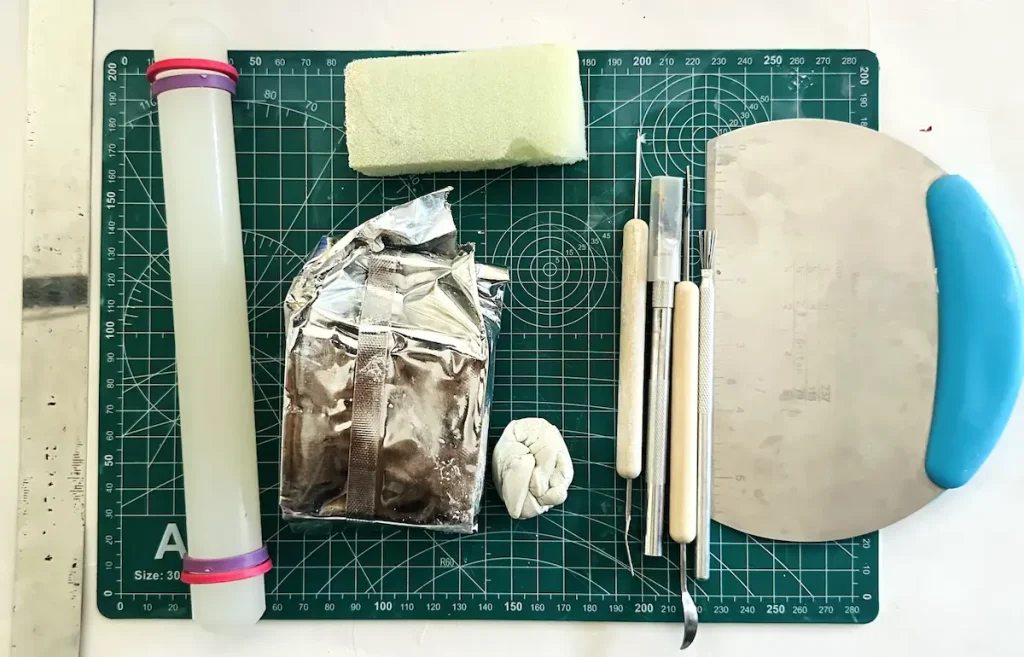
If you couldn’t find any of the following materials and tools except the air dry clay, please check your kitchen drawers you’ll find a handful of items that can replace above clay crafting tools.
Easy diy kiwi trinket tray tutorial video
I have recorded everything I did to make this beautiful piece. I recommend you to watch it before start making to get an idea about all the steps I took, tips and techniques I used, mistakes I made, and how I fixed them.
Feel free to watch and try it out! 📺
Finished watching the video? Let’s take a peek at the detailed written step by step guide.
Step by step kiwi trinket tray tutorial
Before you start making it, open all the windows in your working room or go to a well ventilated area because I don’t want you to cough during the process due to fine air dry clay particles.
Step 1: Condition and knead the clay
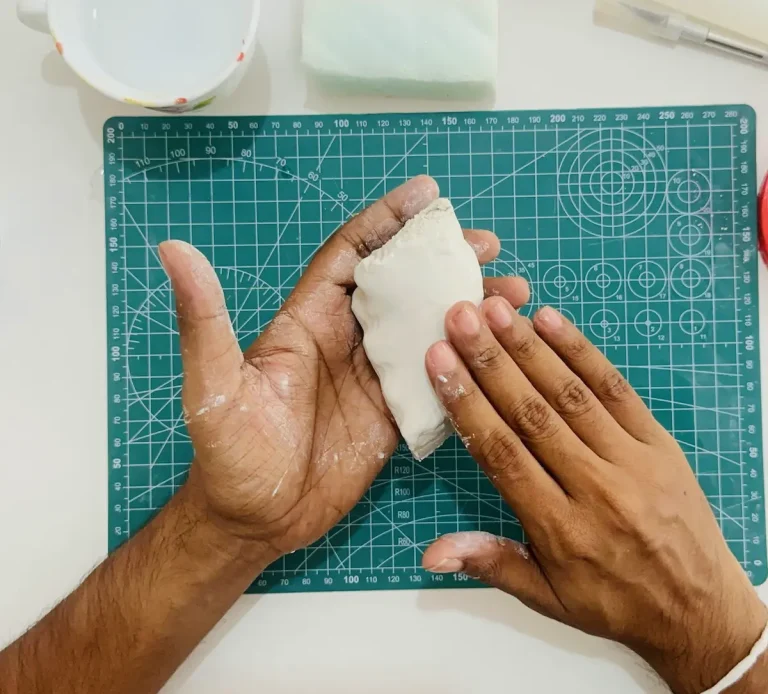
- Take a piece of fresh air dry clay and condition it by tapping a little bit of water on the surface.
- Then start kneading the clay using push, pull and press techniques just like you’re making a pizza dough.
- Add a little bit of water while kneading to remove the stiffness of the clay.
- Keep kneading until the clay becomes soft enough for shaping.
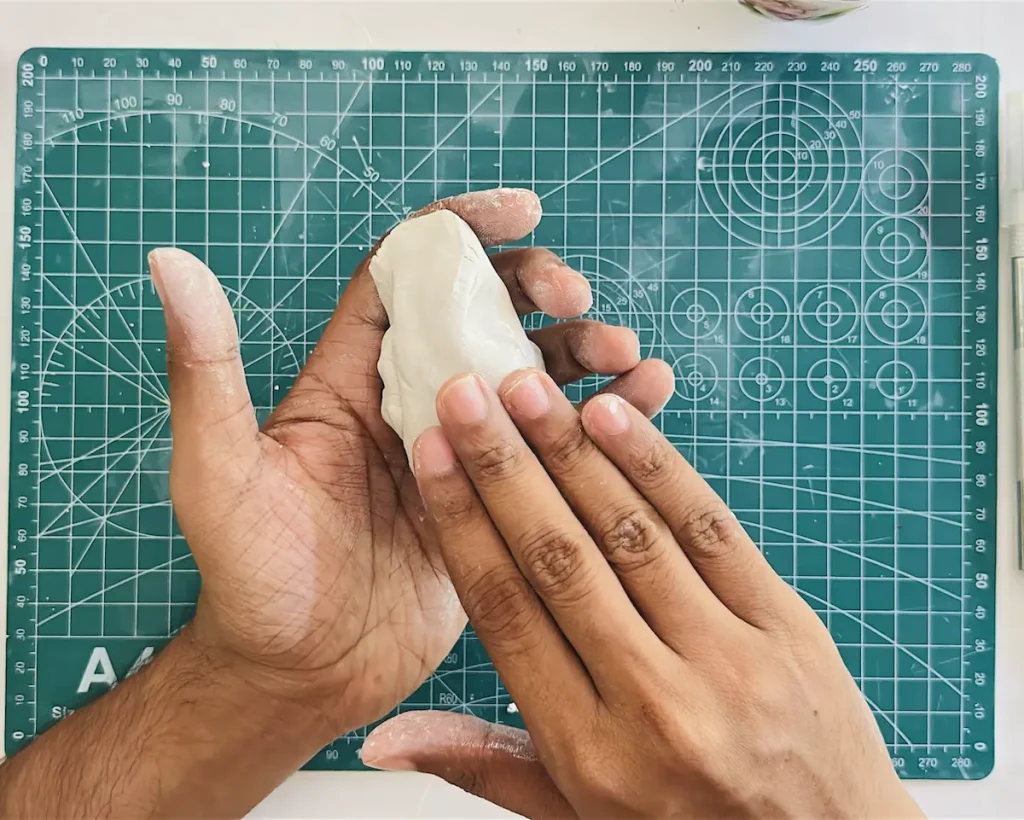
Kneading is a must before you start anything with air dry clay because air dry clay is a highly porous material with lots of moisture and air pockets inside and kneading helps to spread moisture evenly and release the air out.
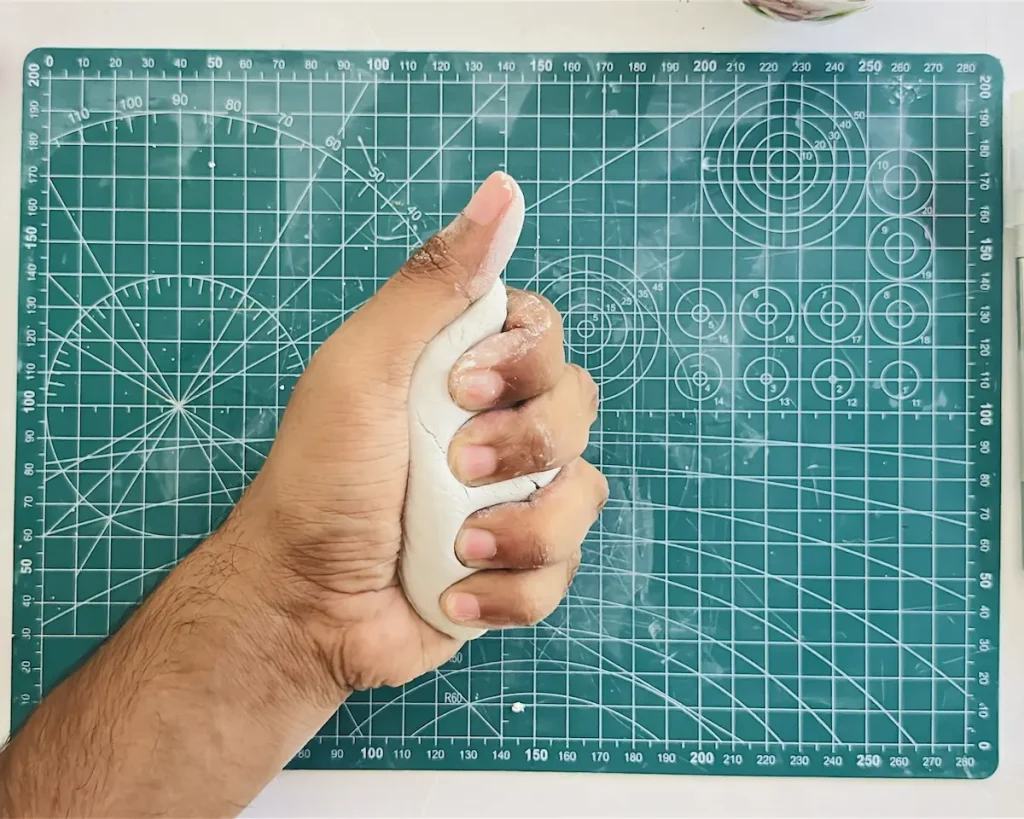
Otherwise, unevenly distributed moisture will evaporate unevenly as the clay dries, causing uneven shrinkage. Due to the uneven shrinkage, cracks will start to form and they get deeper and wider as the clay dries.
Also make sure to use only a little bit of water when conditioning and kneading the clay because excess water cause the surface cracking of air dry clay too.
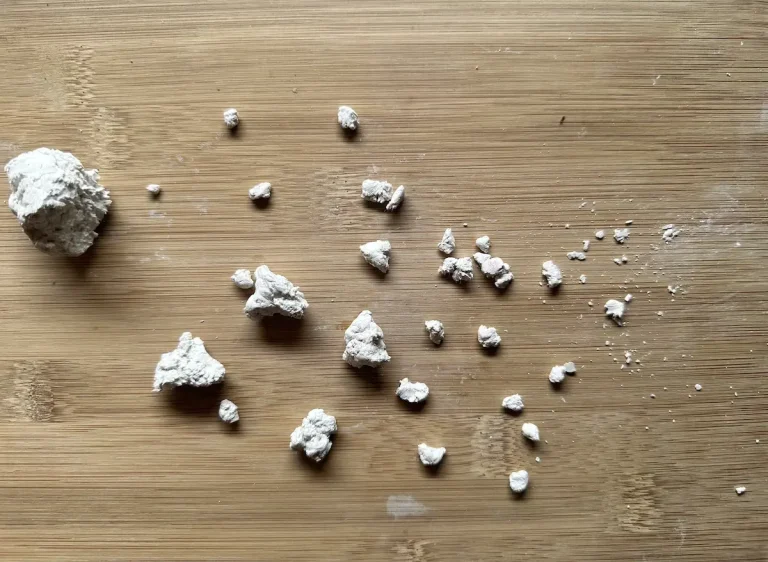
Use the ideal amount of water when kneading that just enough to make it soft. Too much water causes cracks and a lack of water causes the clay to crumble.
Don’t worry, you’ll know how much water is needed and how soft clay is while kneading. It’ll improve with regular practice.
Step 2: Roll the clay
- Place the kneaded clay piece on the mat and press and flip it a couple of times onto the mat using your palm to ready the clay for rolling.
- Next, roll the clay using your rolling pin to an even thickness of ¼ inch.
- Flip, turn and rotate the clay slab while rolling.
- Smooth out the rolled clay slab to remove any bumps and micro cracks on the surface.
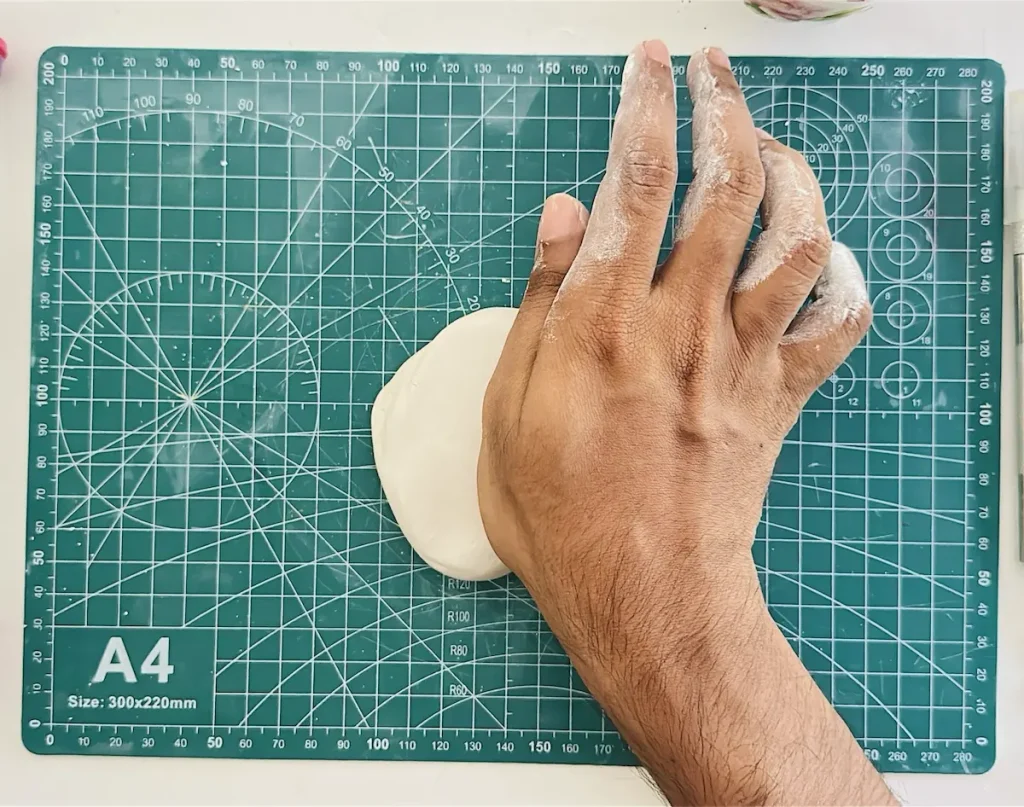
Rolling to an even thickness of ¼ inch is a must because if you roll the clay slab too thin, it will lose structural integrity and be prone to warp as the clay dries due to shrinkage.
If you roll the clay slab too thick, it will take days or sometimes weeks to dry completely.
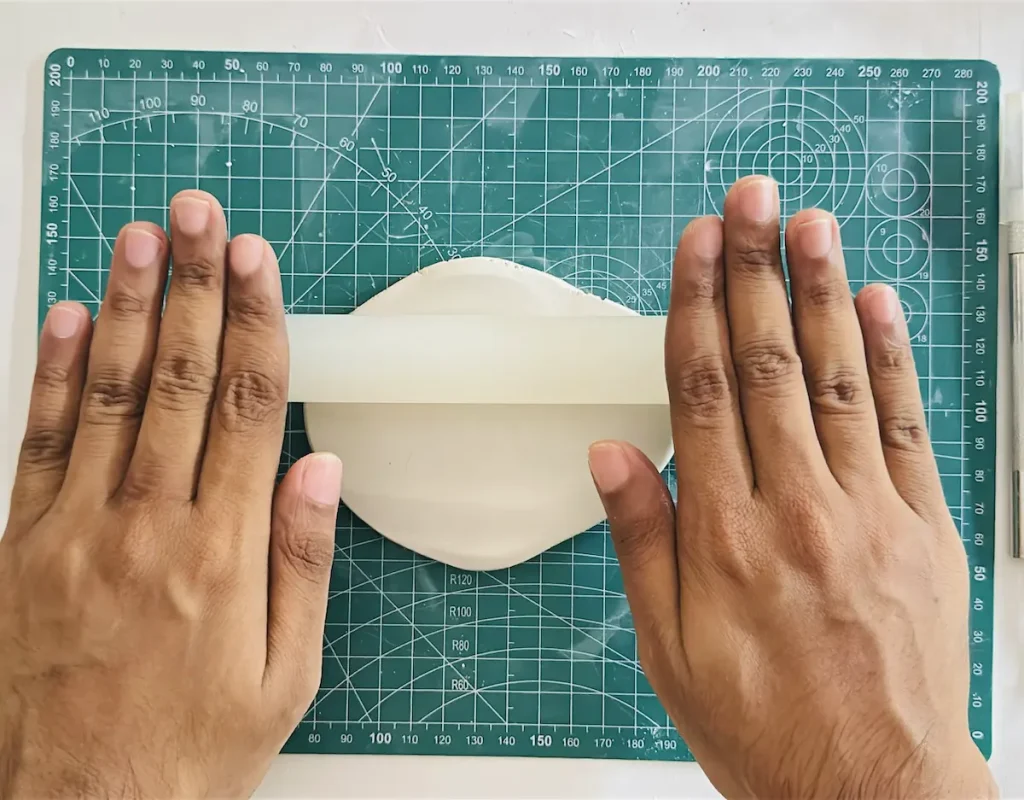
Always make sure to keep the thickness between ½ inch to ¼ inch.
Flipping, turning and rotating the clay slab while rolling is essential to avoid clay from sticking to your mat.
Even when using a non-stick rolling pin (like acrylic) or mat (like PVC or silicone), moisture released during rolling can create a vacuum suction seal between the clay and the mat.
Lifting the clay without repositioning it often causes it to tear. Rotating and shifting the clay slab regularly prevents it from sticking or tearing.
Here’s how to smooth out the clay slab,
- Take a cup of water.
- Dip your index finger in it.
- Place your wet finger on the clay slab.
- Glide the finger repeatedly over the clay slab until tiny imperfections vanish.
Make sure not to use too much water when smoothing out the clay slab to avoid clay from cracking as it dries.
Step 3: Trace and cut the kiwi fruit shape
- Trace the egg, oval or round kiwi fruit shape on the clay slab freehand.
- Cut along the traced lines.
- Smooth out the tray base.
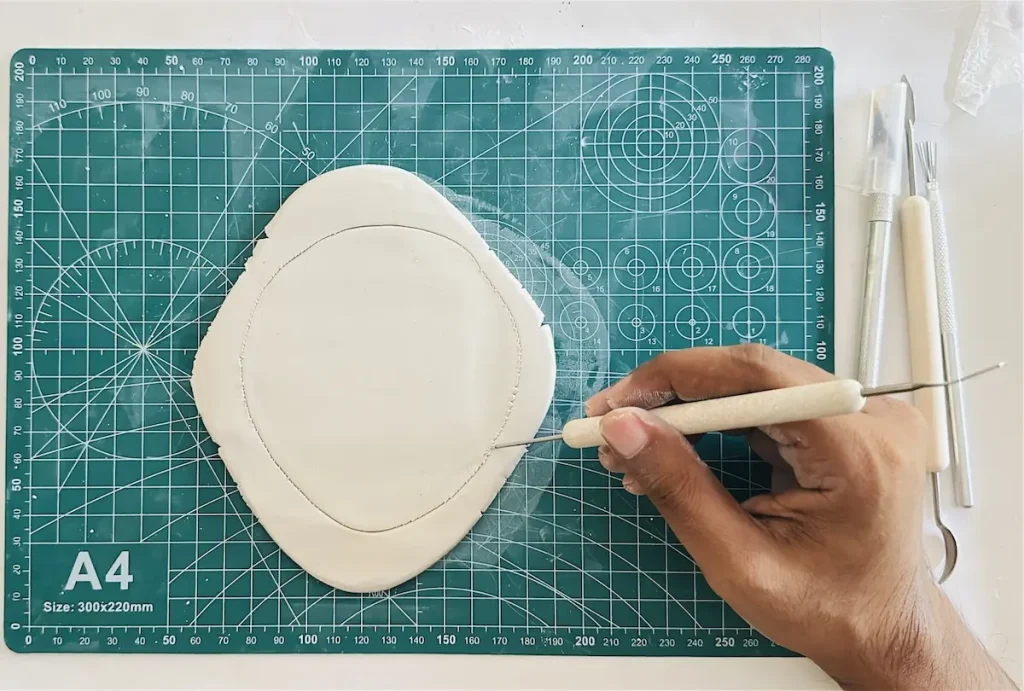
I didn’t use any mold, paper template or cookie cutter for tracing the kiwi shape because it is an organic thing that comes in slightly different shapes.
I used freehand because I wanted to make it look unique and freehand drawing helps to improve my drawing skills as well.
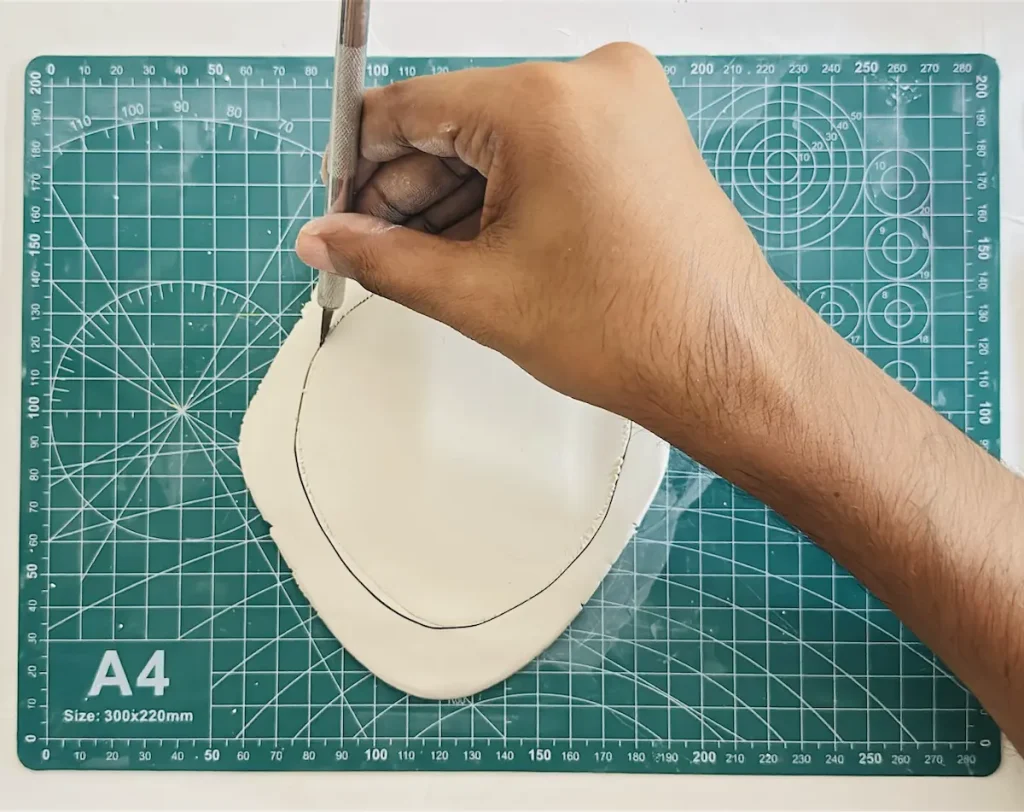
If you really want to perfect egg shape try the paper template method which is quite easy.
After tracing the shape, cut along the traced lines with X-acto knife or a small knife.
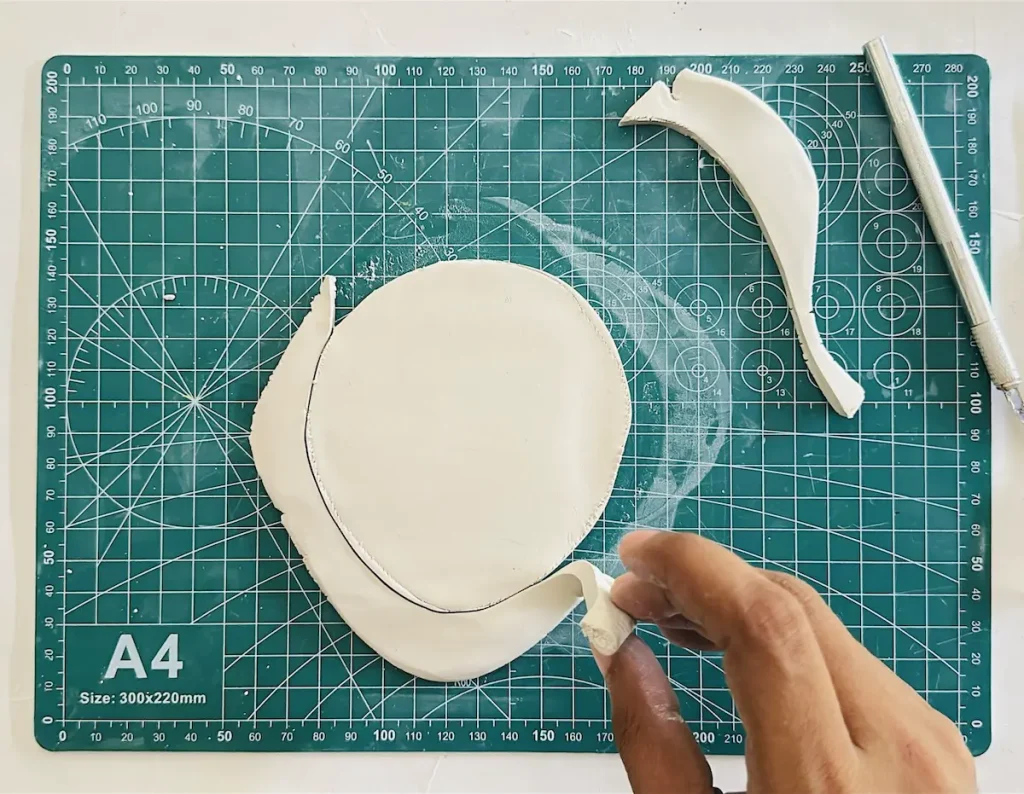
Make sure to lift the knife while cutting around the edge of the kiwi tray base instead of dragging it horizontally because edges may tear off and clay may be dragged off with the knife during horizontal cutting.
Lift the knife from time to time when cutting and clean the blade by removing the attached tiny air dry clay pieces to get nice, clean and sharp edges around your kiwi trinket tray.
Good job friends! Now we have successfully made the tray base. Now it’s time to make the rim.
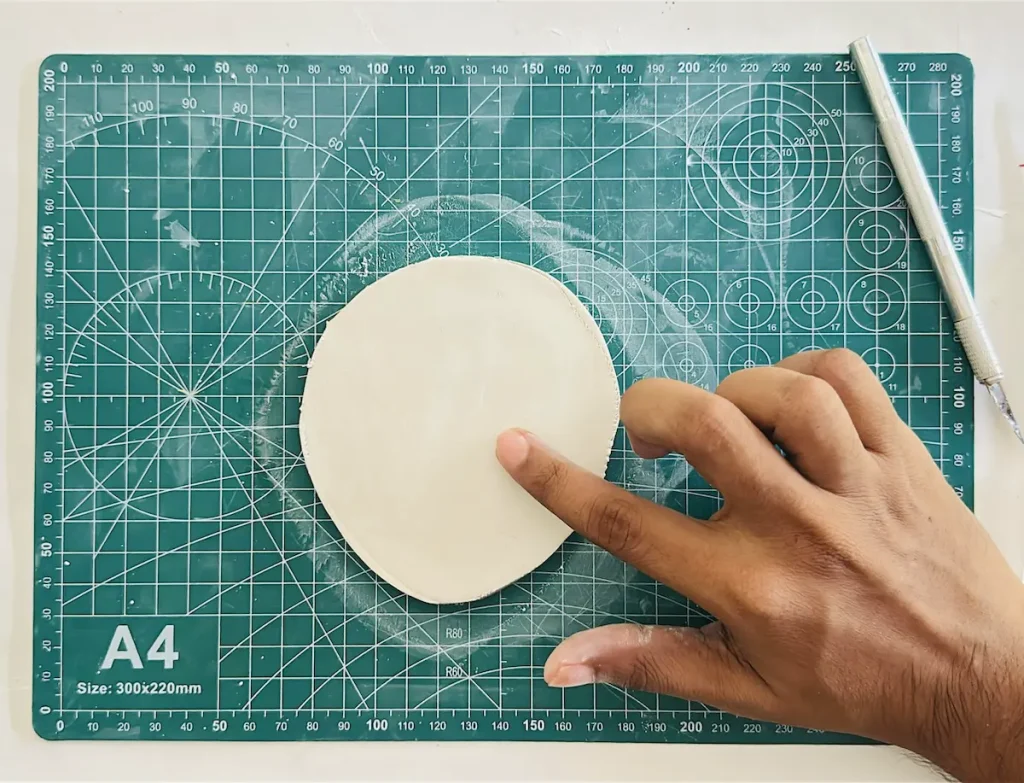
Step 4: Roll and attach the tray rim
- Take a fresh piece of clay and knead it well.
- Roll it like a snake with an even diameter along the length.
- Score one side of the tray rim and along the edge of the tray base.
- Apply slip on the scored areas or tap the scored areas with a little bit of water.
- Attach the tray rim to the tray base.
- Cut the tray rim edges at an angle and join.
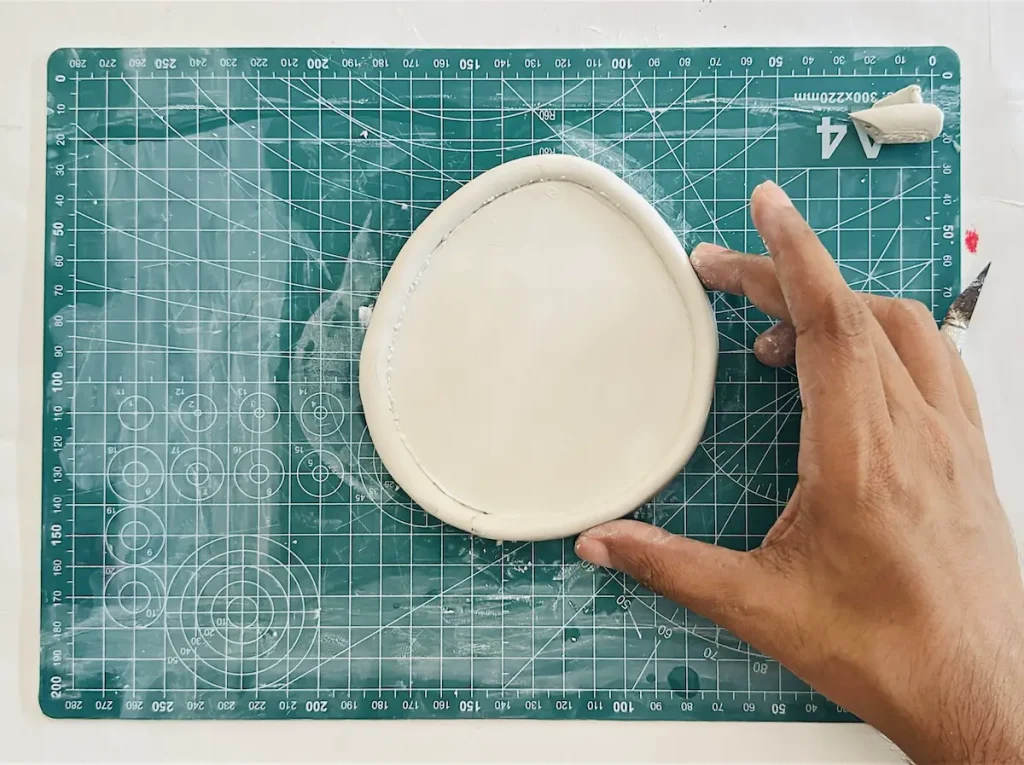
- Smooth it out.
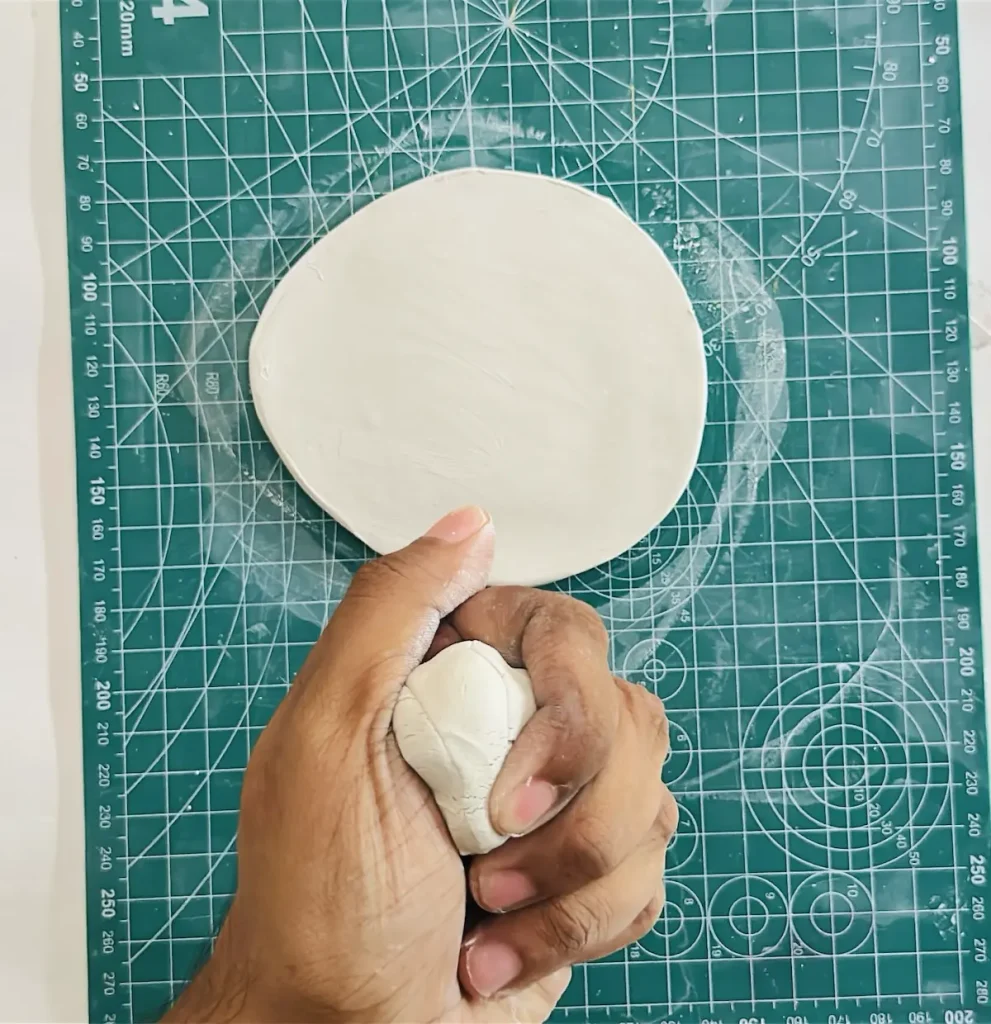
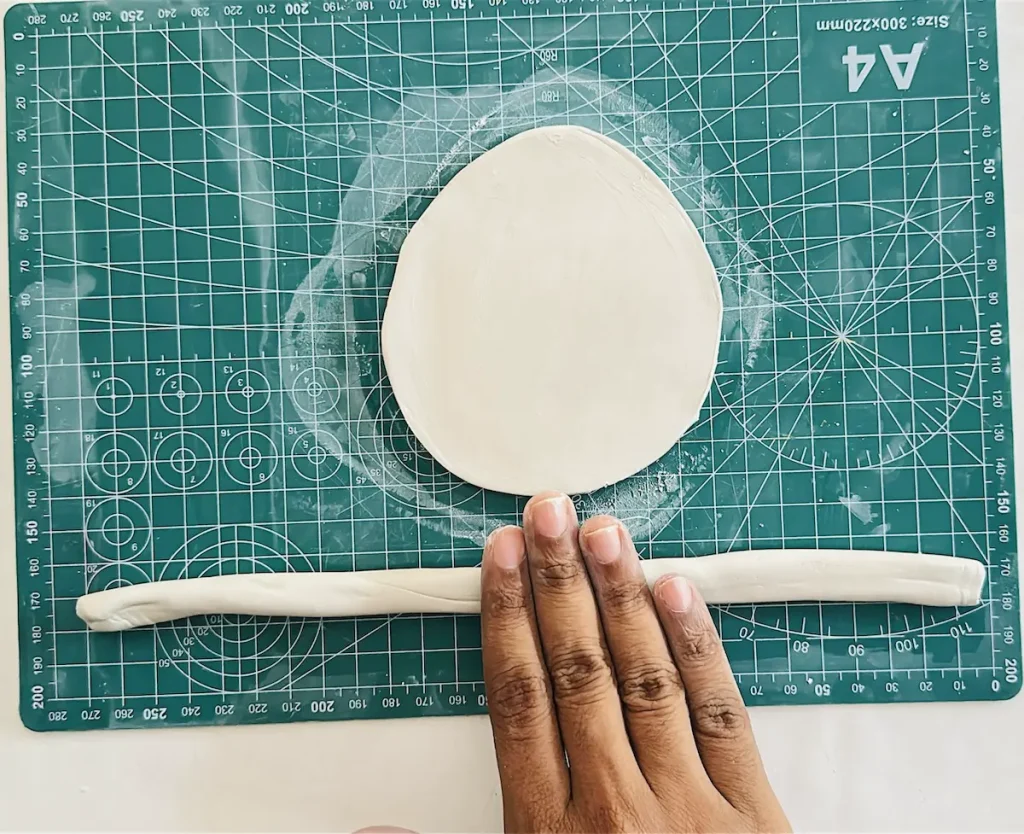
Follow the score and slip technique when attaching two air dry clay pieces together because air dry clay does not attach just by pressing together.
Scoring means scratching the area that attaches with each other, which helps to form a better grip between the surfaces.
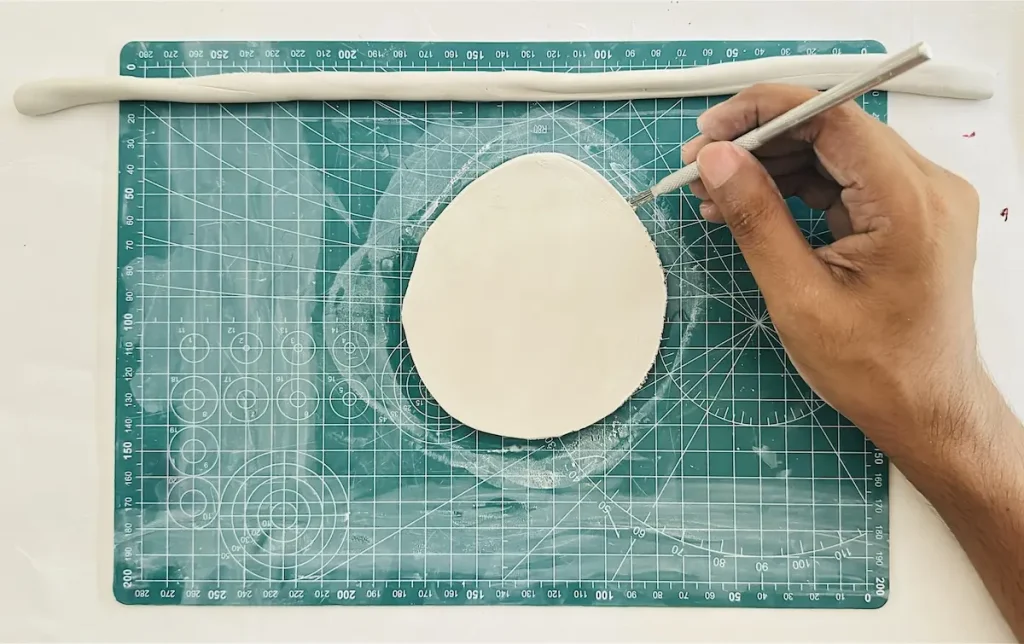
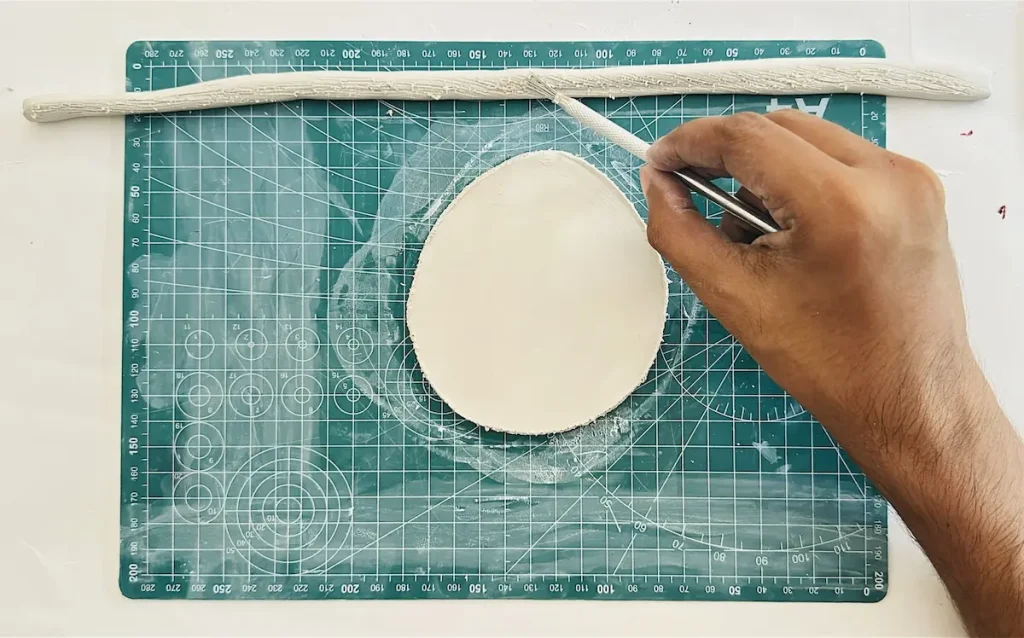
Then apply the slip as I mentioned above. Slip is a creamy mixture of air dry clay and water. You can make it by mixing tiny air dry clay pieces with an equal amount of water thoroughly in a small plastic can and letting it sit for several hours before use.
It works as an adhesive glue which helps to attach two air dry clay pieces. Or you can simply just tap the scored surfaces with a little bit of water, as I did, because I didn’t have the slip paste. Both work fine.
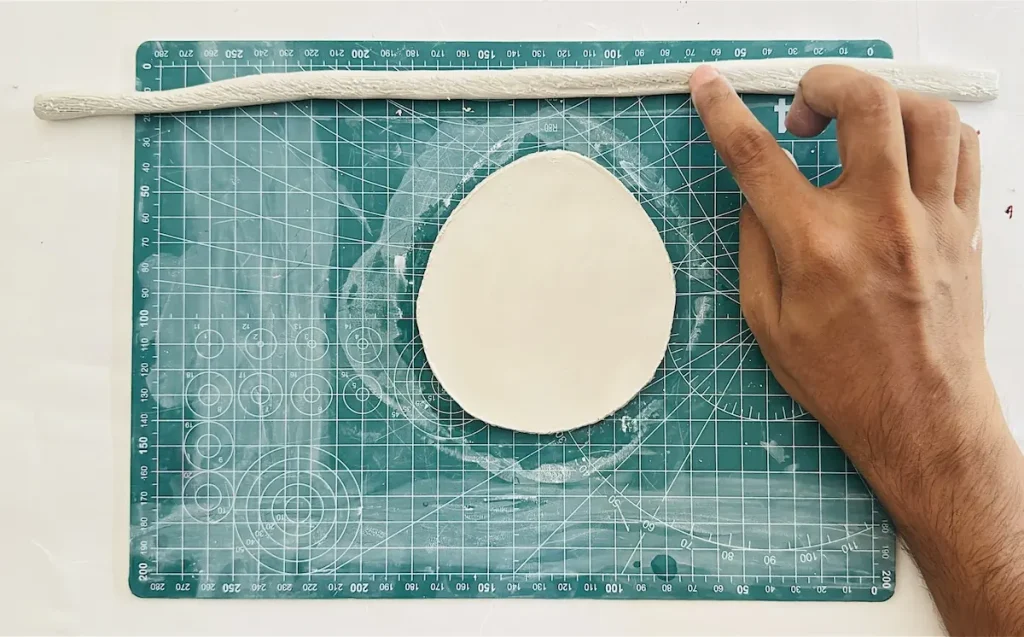
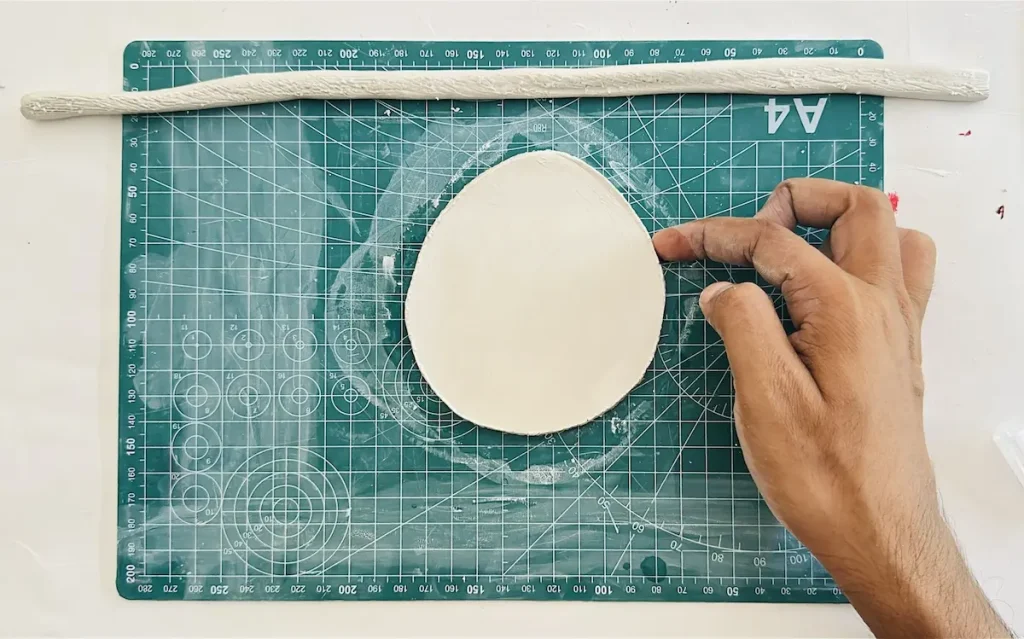
By cutting the edges of the tray rim at an angle, they become easier to join each other and the tray rim won’t rise up where the joint is.
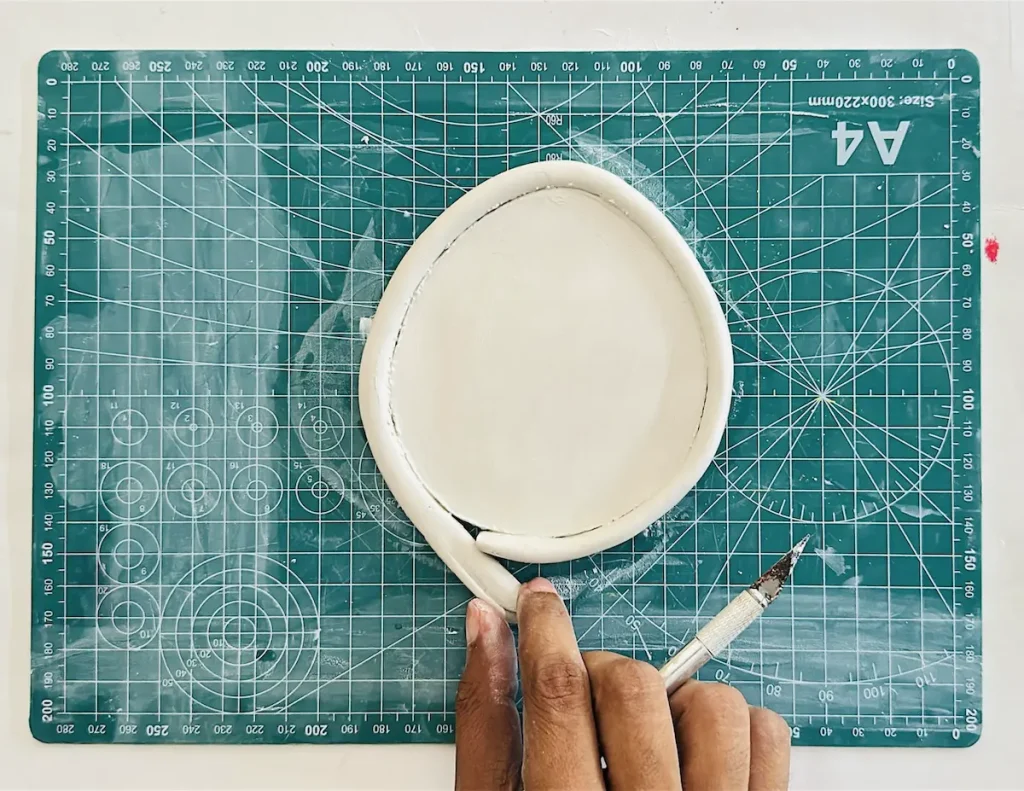
After attaching the tray rim to the base, hold it with your fingers for a few seconds before releasing, and make sure to smooth the whole tray surface once you’re done with the attaching part.
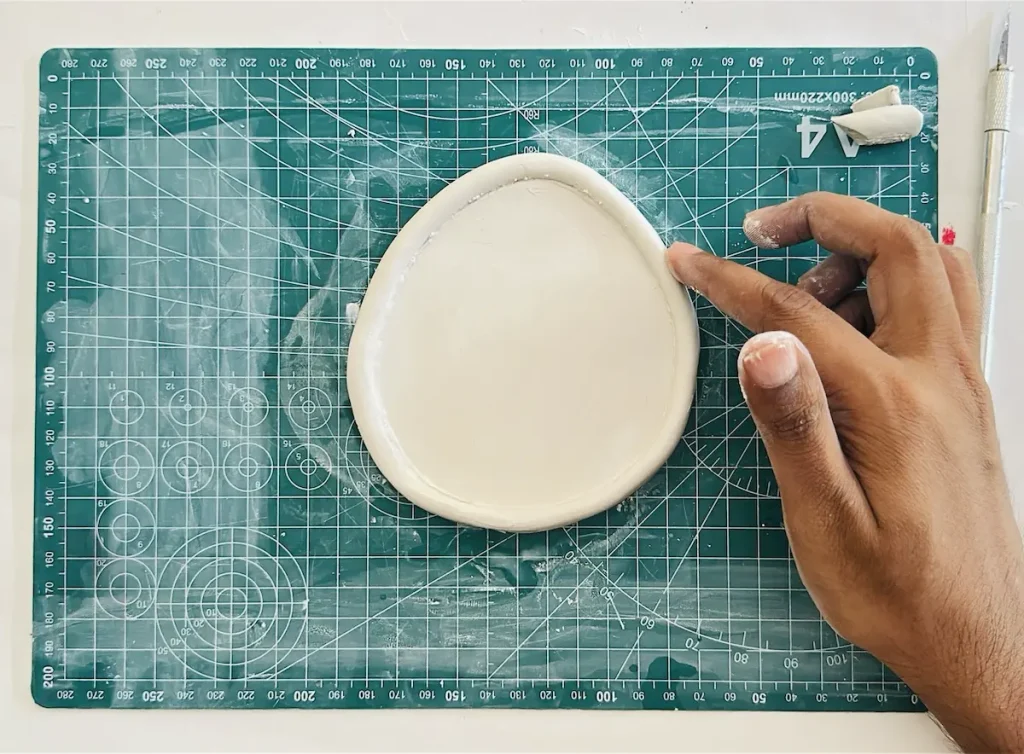
Step 5: Reinforce with a thin clay coil
- Make a thin clay coil by rolling.
- Attach it along the joint between the tray base and the rim.
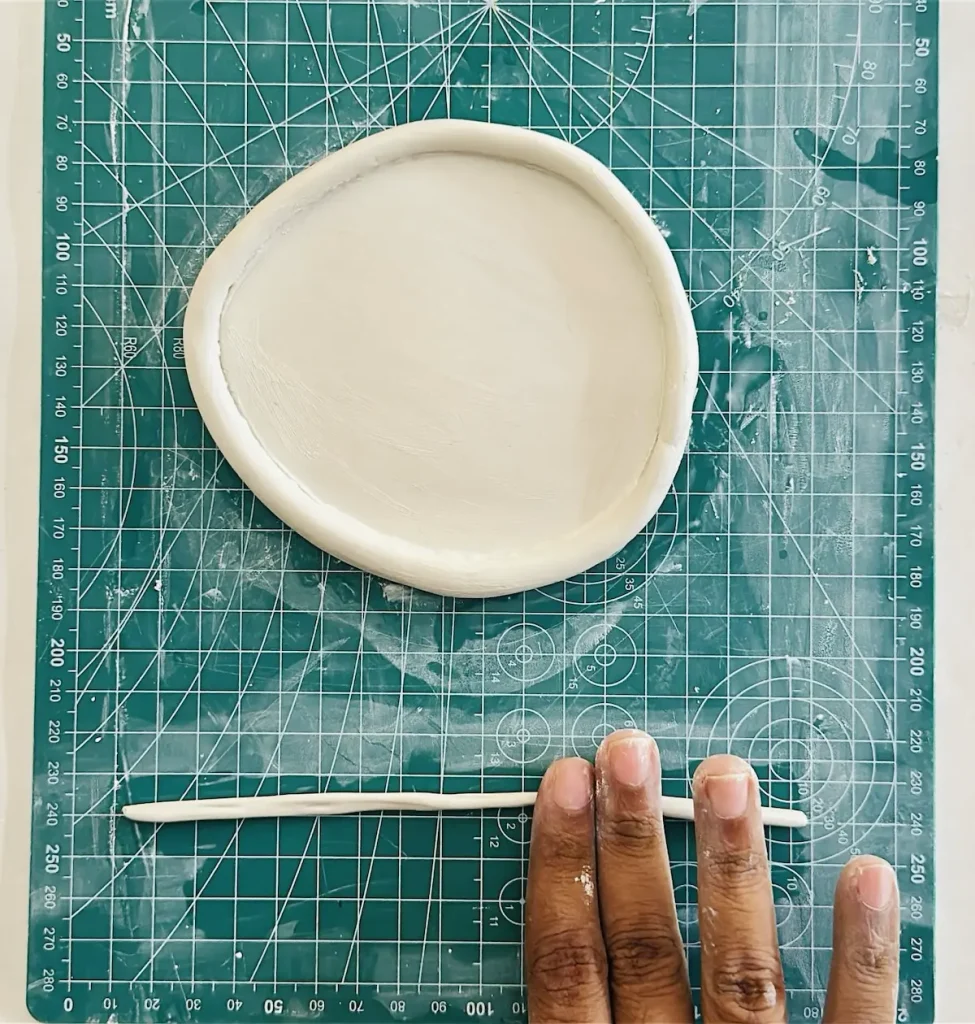
When the tray rim attaches to the tray base, it creates nearly a 90 degree angle. When the clay dries, a lot of pressure is forced towards this sharp angle point because of the shrinking of the clay.
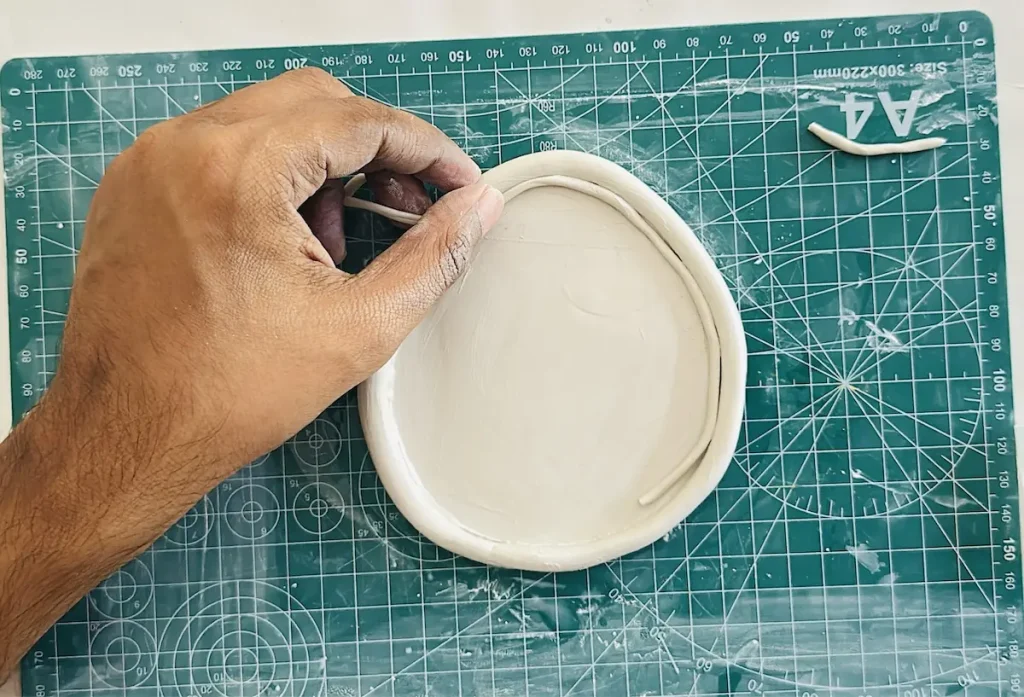
The main purpose of applying an extra seam layer of air dry clay to the joint is to spread the pressure that is focused towards this sharp angle and make it more round.
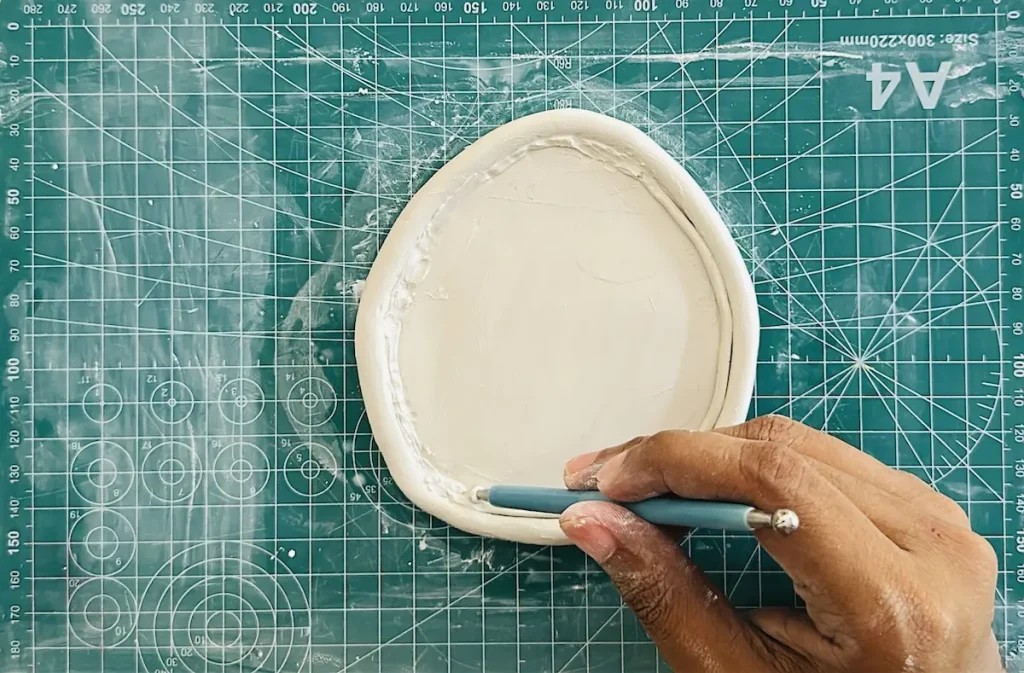
Make the clay coil as thin as possible because we don’t want it to look like a separate piece of thing compared to the tray base.
Wrap it around the edge of the tray base where the tray rim meets and smooth it well with a little bit of water until the seam vanishes.
By adding this, you can ensure the tray rim and tray base will not be separated as the clay dries.
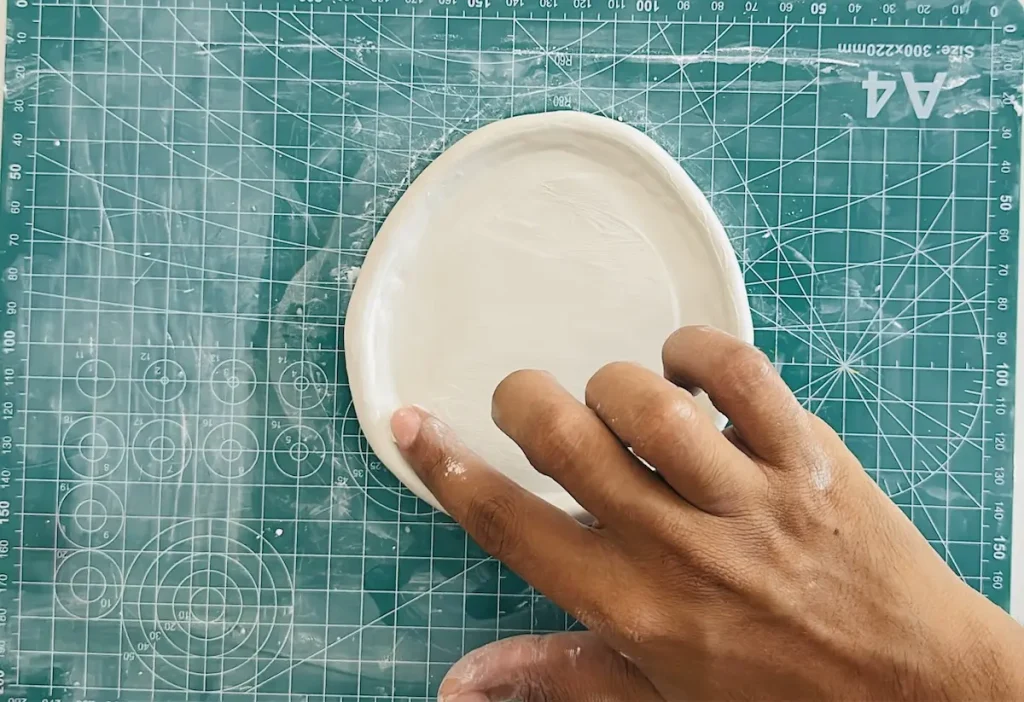
Step 6: Add seeds
- First, mark the seed locations in the middle of the tray base, which are known as the loculus.
- Roll tiny clay balls to make the seeds.
- Tap the loculus area you marked with a little bit of water.
- Attach seeds as spread in a ring pattern radiating outward from the central core.
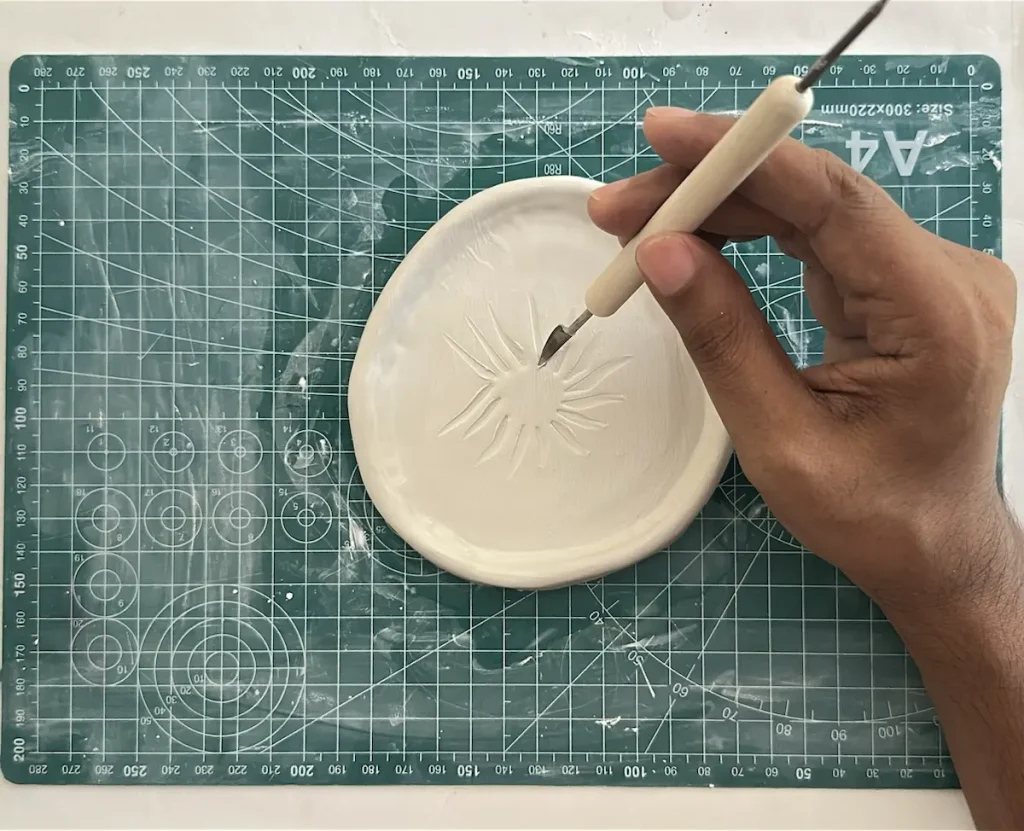
This detailing part is essential to give a realistic look for your kiwi tray. The central core has no seeds and seeds spread outward along the loculus areas we marked.
You can use a toothpick or sculpting tool to mark the loculus areas.
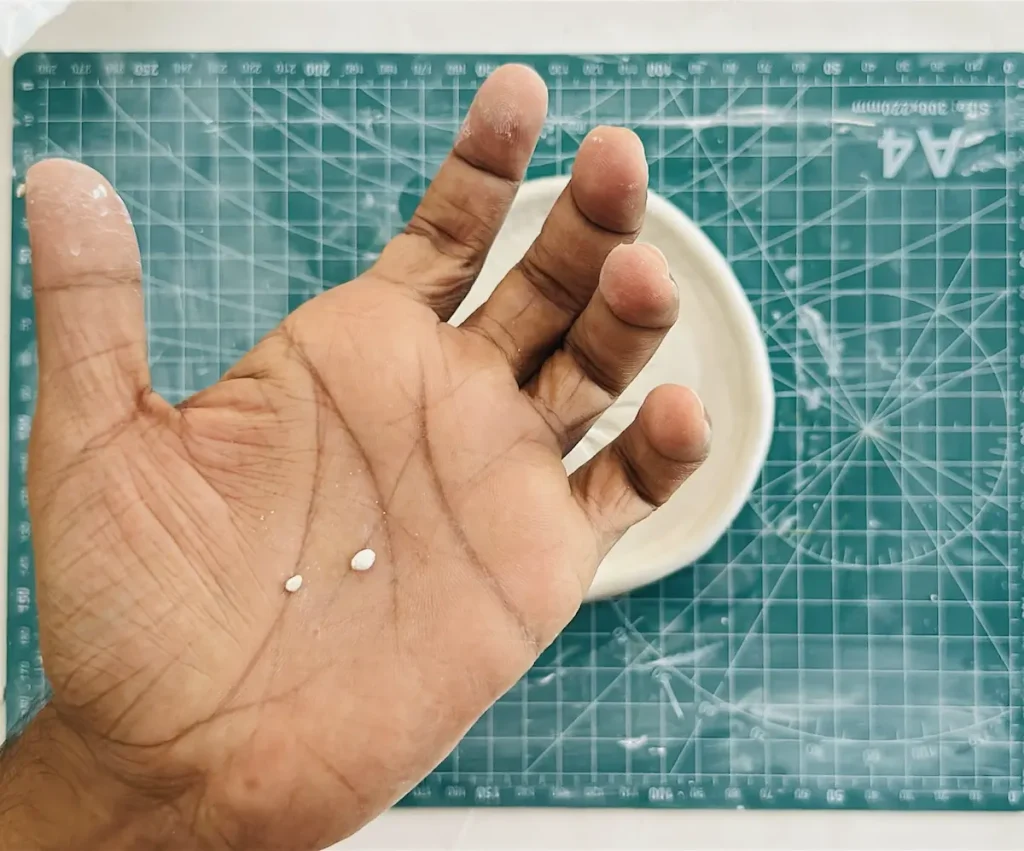
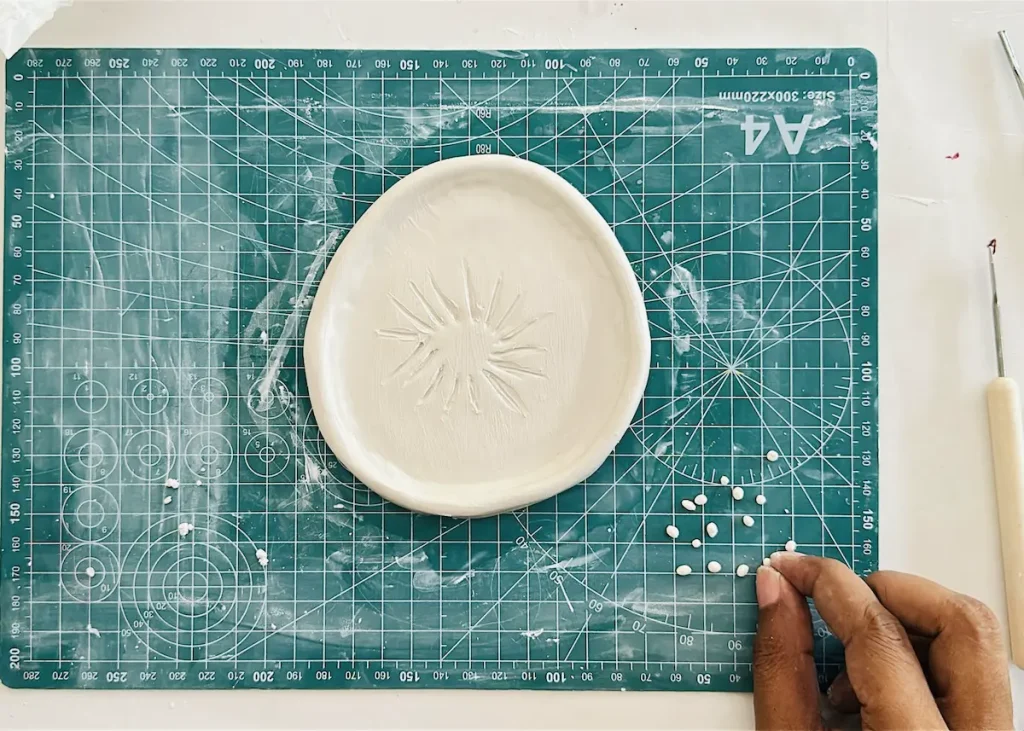
Congratulations my guys and girls! You have successfully completed making the kiwi trinket tray with air dry clay. But it is still wet.
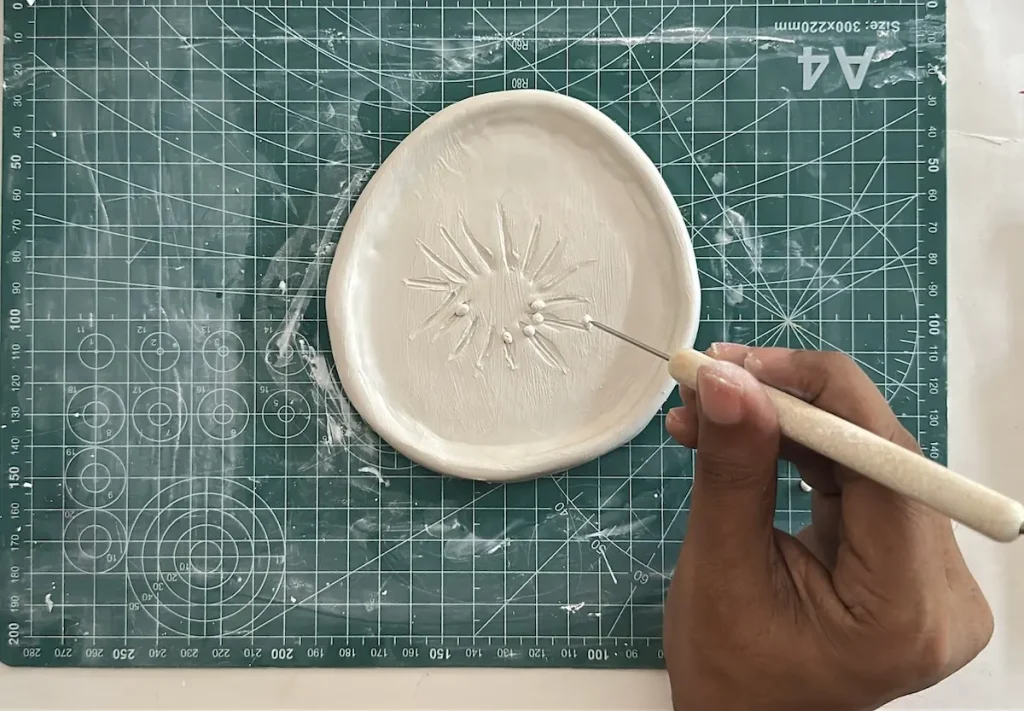
Step 7: Let it dry
Now let your finished kiwi trinket tray dry for 48-72 hours in a cool and well ventilated area.
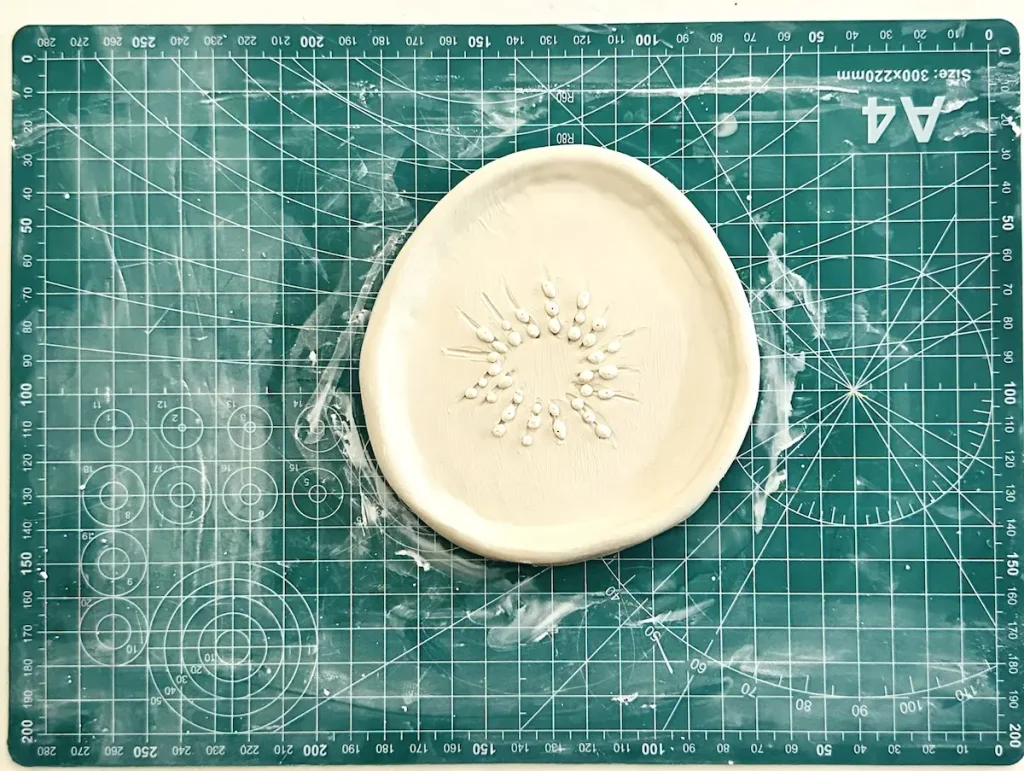
Let it dry slowly and never place it under sunlight or apply a heat source expecting it to dry faster. Yes, it’ll dry fast, but you’ll end up with a cracked surface because rushing the drying process accelerates uneven and rapid water evaporation, which causes uneven shrinkage as a chain reaction. Uneven shrinkage of air dry clay causes surface cracking.
I highly recommend letting it dry slowly. Drying time depends on the amount of water you used when kneading and smoothing the clay, the humidity of your area and the thickness of the tray base and rim.
After 48 hours, check if there are any grey patches because grey areas mean the clay is still wet. Air dry clay turns pure white when it is fully dry.
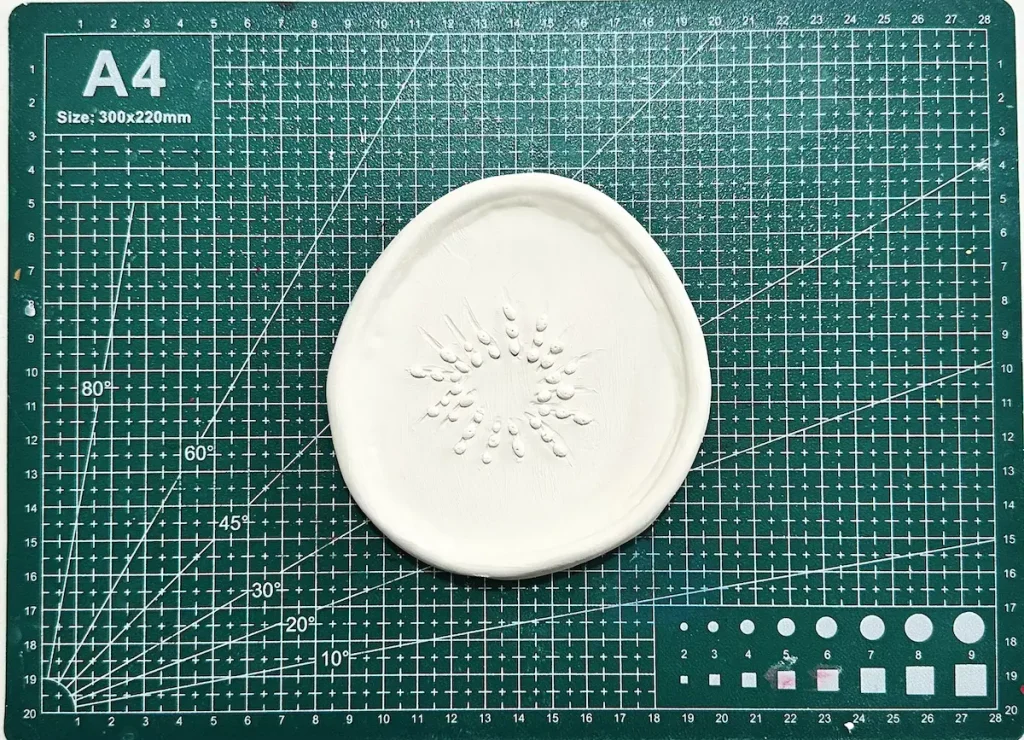
Step 8: Paint the tray
Once the tray is dried fully, you can start to paint it. I use acrylic paint for my kiwi trinket tray because it is considered the best paint for air dry clay for the following reasons,
- Acrylic paint dries quickly within 2 hours.
- Comes in vivid colors.
- Gives a glossy and smooth finish.
- No need for water to dissolve because water weakens the air dry clay.
- Makes a water resistant coating.
Apply 2-3 even coats of acrylic in one direction to get a beautiful finish with no errors.
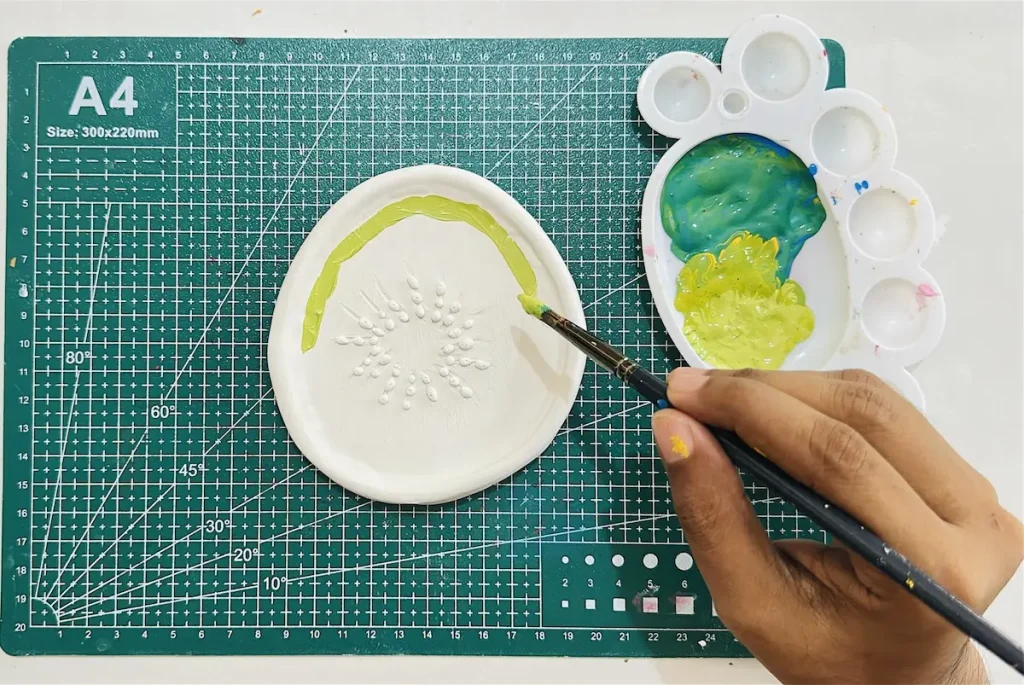
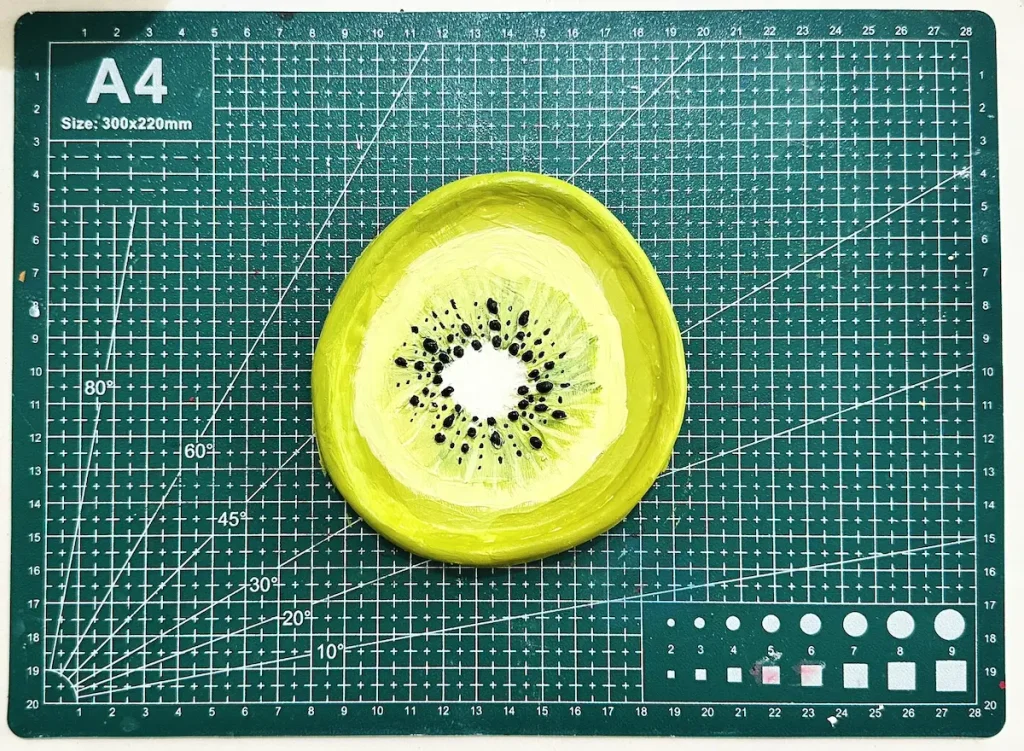
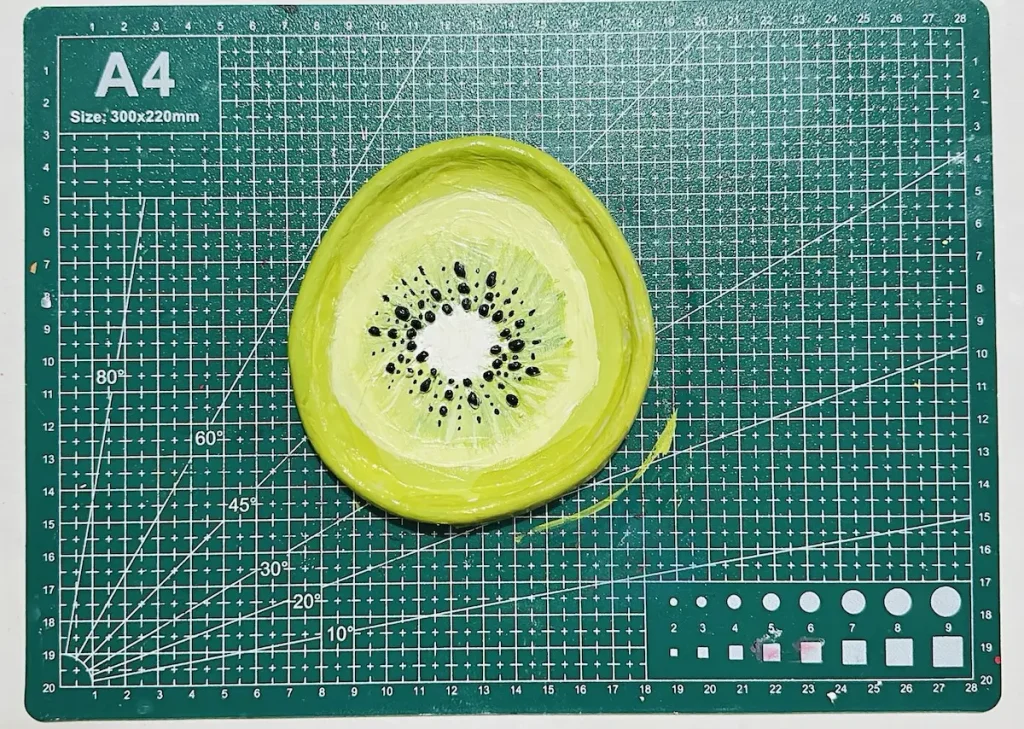
I started painting from the tray base.
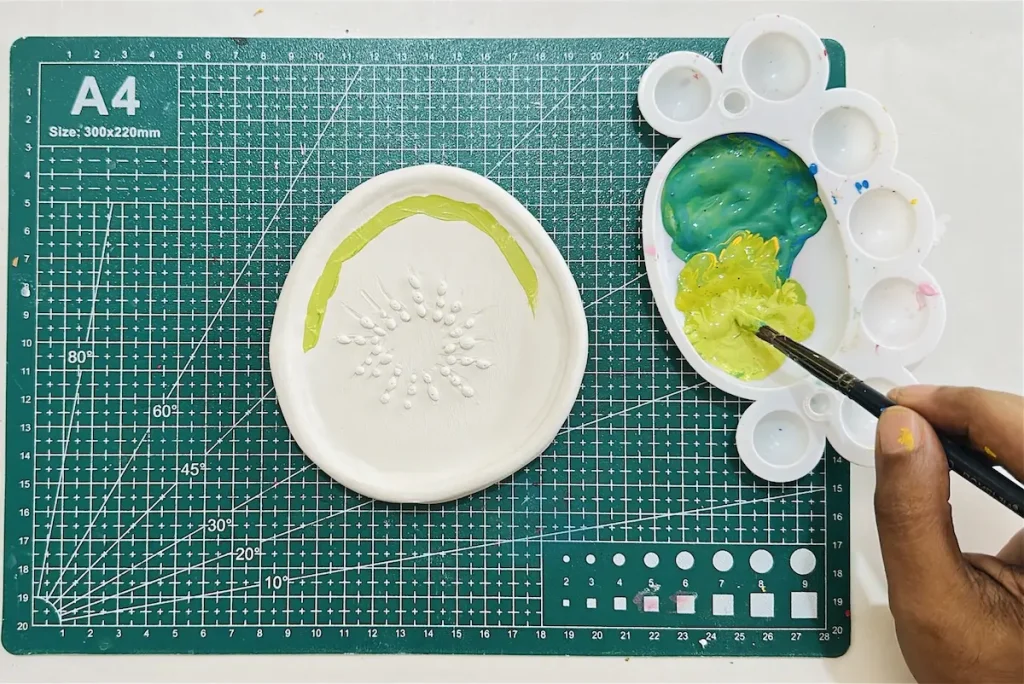
The outer area of the tray was painted in more green color.
The flesh area was painted in pale green color.
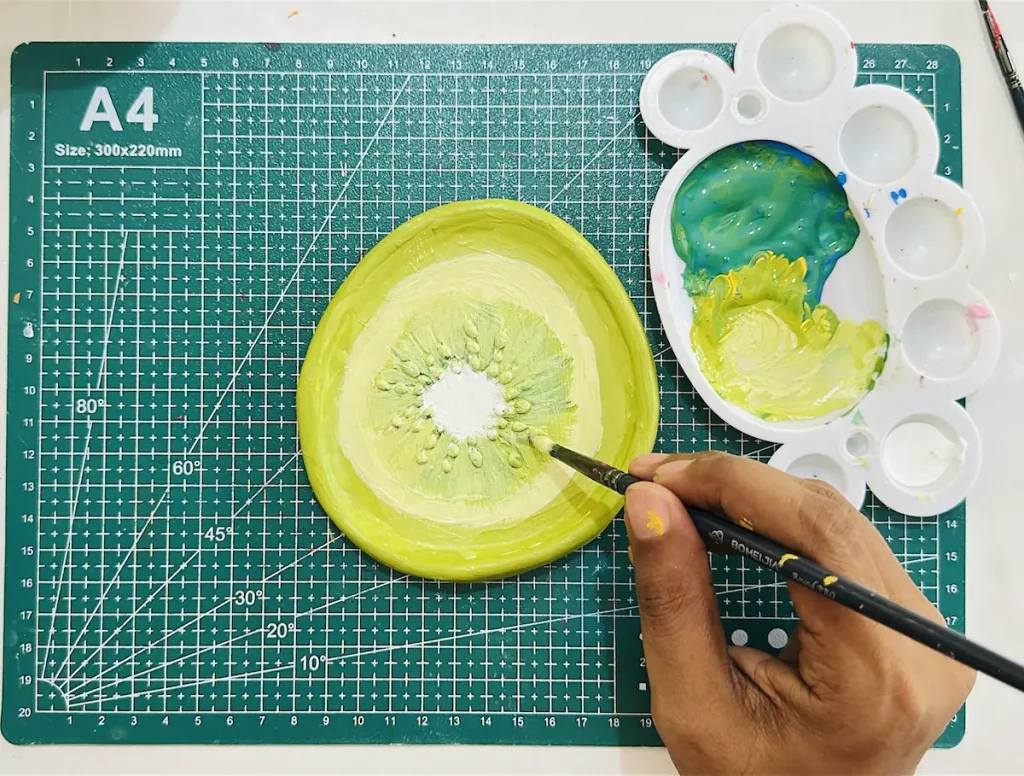
The central core was painted in white.
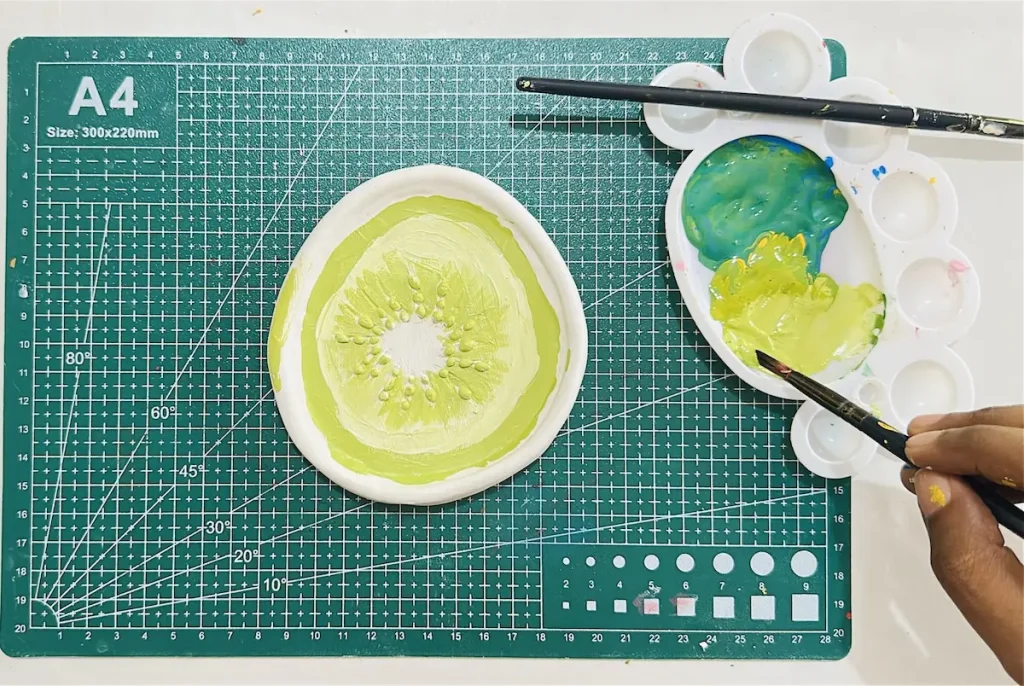
Seeds were painted in black.
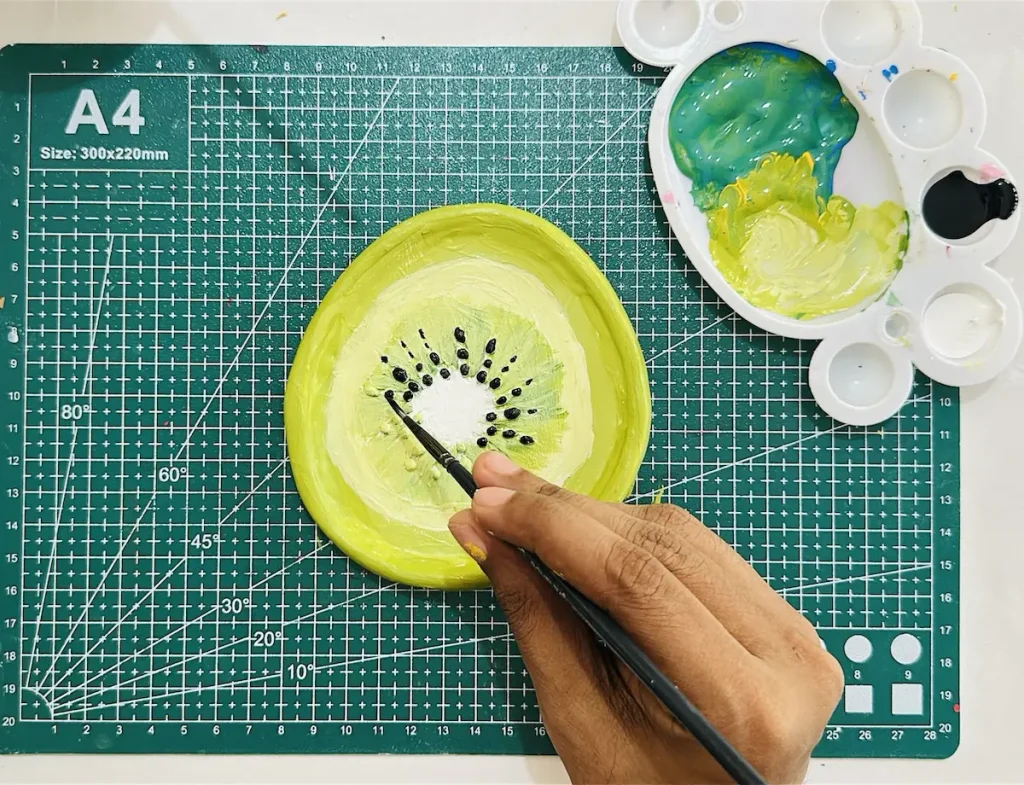
The tray rim was painted in the same green color I used to paint the outer area.
After applying the final coat, let it dry for 2 hours before sealing.
Step 9: Seal the kiwi trinket tray
I use gloss varnish for sealing my kiwi trinket tray. Or you can use UV resin, polyurethane varnish, or epoxy resin if you really need that glassy like finish.
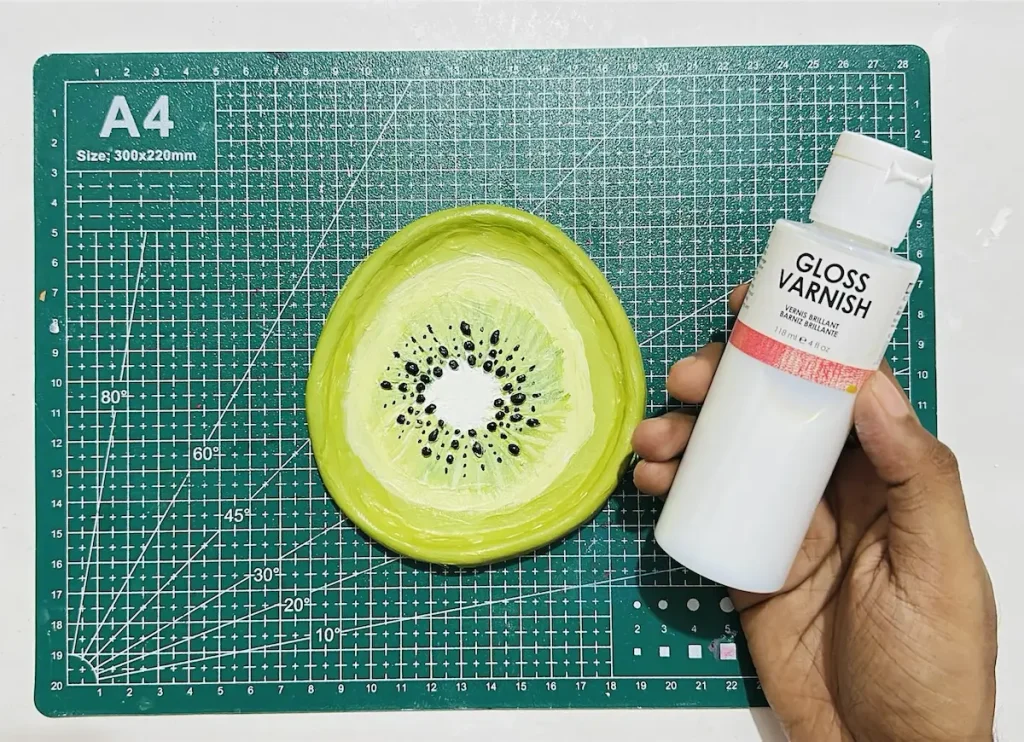
Gloss varnish provides long term protection to your air dyr clay project by making a water resistant coating. It prevents outside moisture from going inside the clay because as soon as moisture contact the clay, it will get absorbed and moisture weakens the clay from inside.
Actually, the worst enemy of air dry clay is water. So consider that well when you’re sealing.
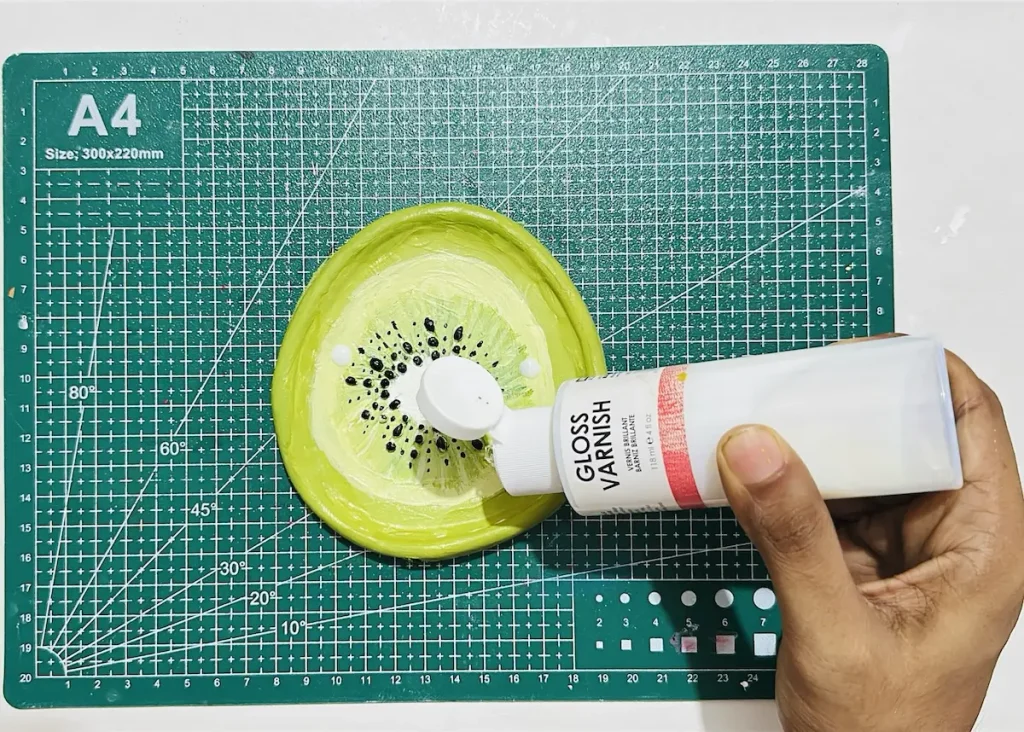
All the above sealers I mentioned have that water resistant or waterproofing ability, so you have nothing to worry.
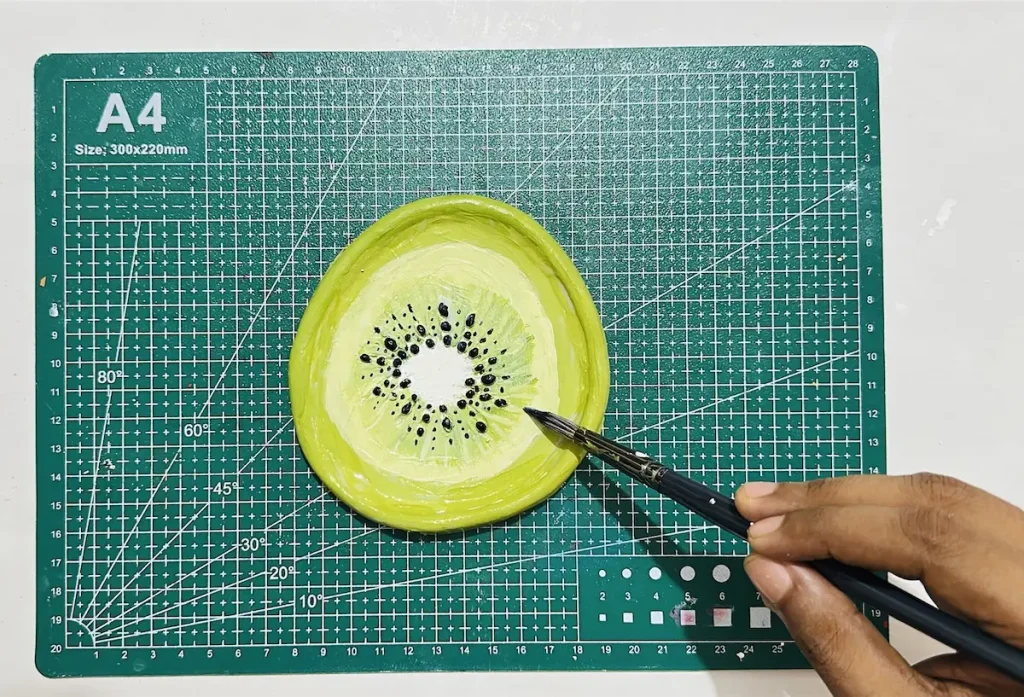
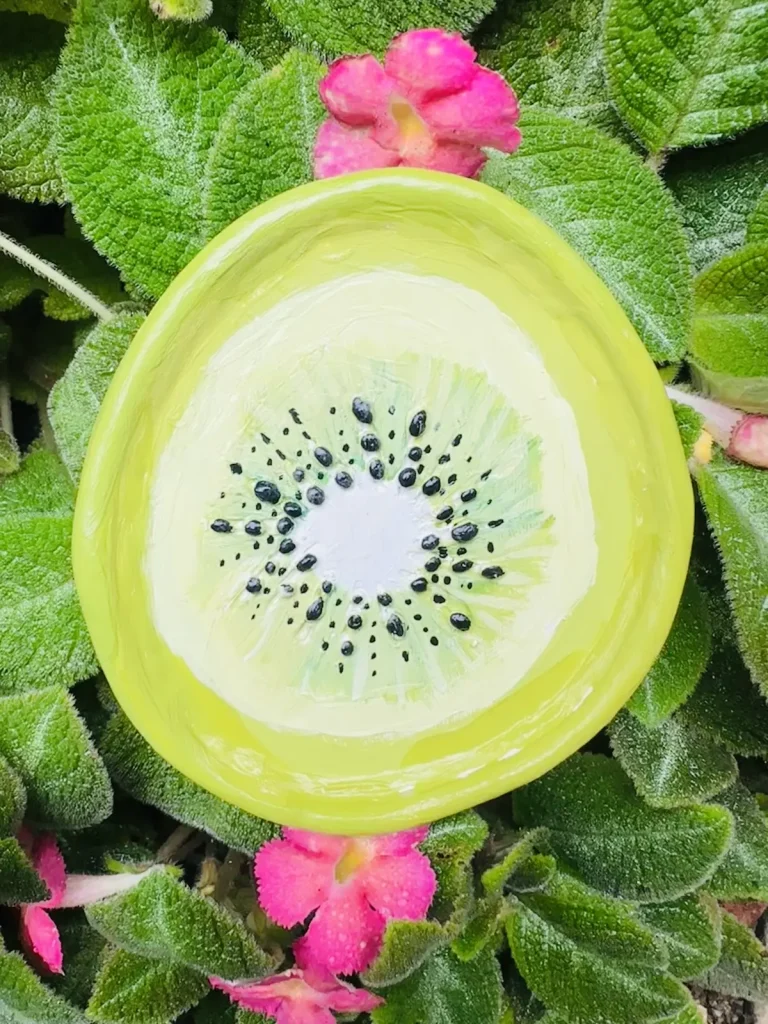
Apply 2-3 even coats of sealer along one direction of your project to get a glossy ceramic like finish.
Let each coat of gloss varnish dry for 24 hours. After the final coat of sealer, let the project dry and cure for 24 hours.
That’s it! That’s how I successfully completed my kiwi trinket tray. It was such a wonderful journey and I was able to learn a lot.
Final thoughts
You have reas someone else’s accomplishment. Now I challenge you to accomplish this as I did. Trust me, it is not hard. If I did, you can too because I’m also a beginner like you.
I have successfully added another trinket tray to my fruit inspired trinket tray projects series. I’m proud. Now It’s time for you.
I have described everything I did to make it from A to Z with tips, techniques and tricks.
Feel free to ask any questions you have about this project in the comments section. I’ll answer them all.
Be sure to tag @clayandmestudios in your kiwi trinket tray project. I sure love to see them when you do. I’ll see you next time with another cool project! Cheers! 🤟🏾
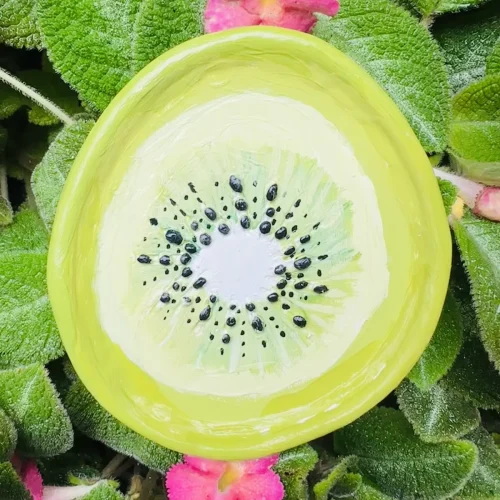
Easy DIY Kiwi Trinket Tray with Air Dry Clay

Supplies Needed
Air dry clay (DAS, Mont Marte, Jovi or any reputed brand you can find is okay)
Acrylic rolling pin
PVC mat or silicone mat (or non-stick surface)
Clay crafting tools
Clay cutting tool (X-acto knife or small knife)
Cup of water or spray bottle
Acrylic paints
Gloss varnish
Paintbrushes
Paper towels
Optional: Sponge or silicone sculpting tool (or you can use your finger)
Instructions
1. Condition & Knead the Clay 🤲
- Take fresh air dry clay, add a tiny bit of water, and knead using push-pull-press motions (like pizza dough!) until soft. This removes air pockets and prevents cracking later.
2. Roll the Clay Slab 🪵
- Roll clay to an even ¼-inch thickness. Rotate and flip the slab repeatedly to prevent sticking. Smooth away tiny surface cracks using a wet finger.
3. Trace & Cut the Kiwi Base 🥝
- Freehand draw an organic egg/oval kiwi shape onto the slab. Carefully cut along the lines, lifting the knife frequently to clean off clay residue.
4. Roll & Attach the Rim 🥣
- Roll a thin clay snake for the rim. Score (scratch) both the edge of the base and the rim, apply water/slip, and press them together firmly. Cut rim ends at an angle to join smoothly.
5. Reinforce the Joint ⭕
- Roll a super thin clay coil and smooth it into the inner joint where the rim meets the base. This keeps your tray from cracking or separating as it dries.
6. Add the Seeds & Core Details 🖤
- Mark the central core (loculus area). Roll tiny clay balls for seeds and attach them in a radiating ring pattern around the center using a dab of water.
7. Dry Slowly ⏳
- Let the tray air dry in a cool, ventilated area for 48–72 hours. Avoid heat or direct sunlight to prevent cracking. Wait until the clay turns pure white!
8. Paint the Fruit Colors 🎨
- Apply 2–3 thin coats of acrylic paint: outer rim & edge in deep green, inner flesh in pale green, central core in white, and seeds in black. Let dry for 2 hours.
9. Seal for Protection 🛡️
- Apply 2–3 thin coats of gloss varnish (letting each coat dry for 24 hours) to make your tray water-resistant with a shiny ceramic finish!