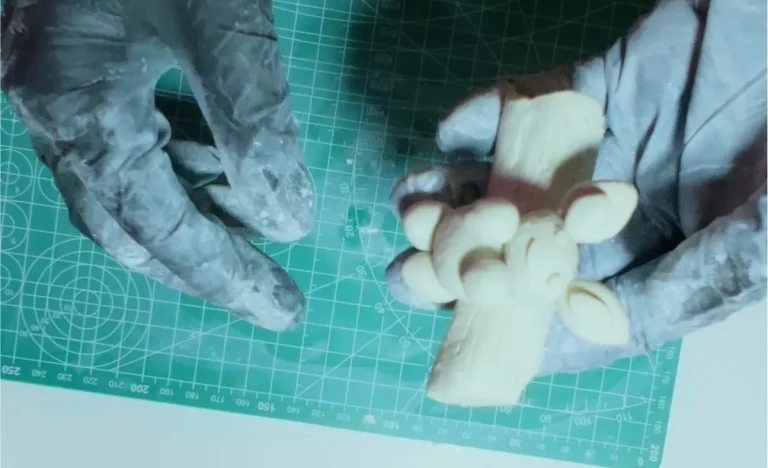
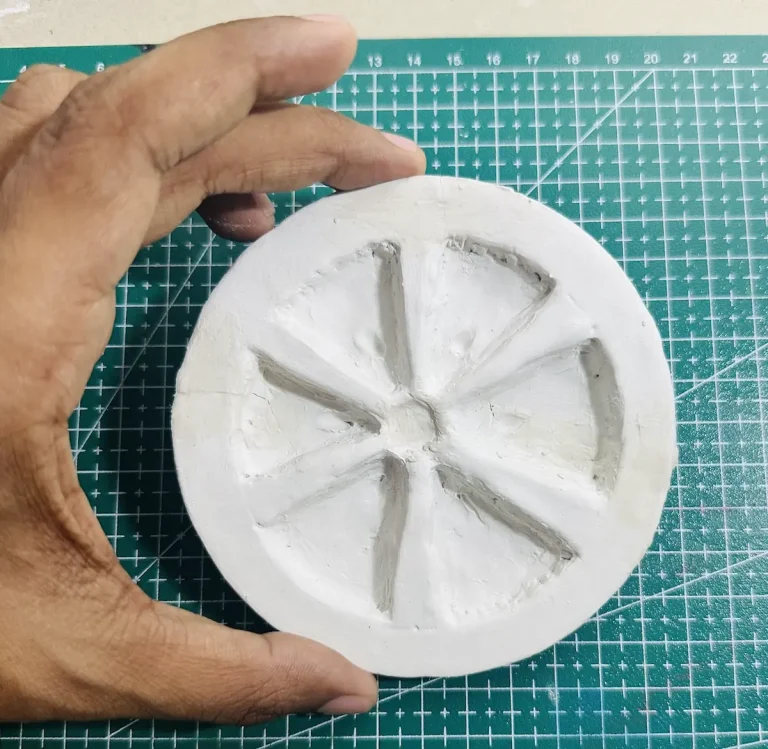
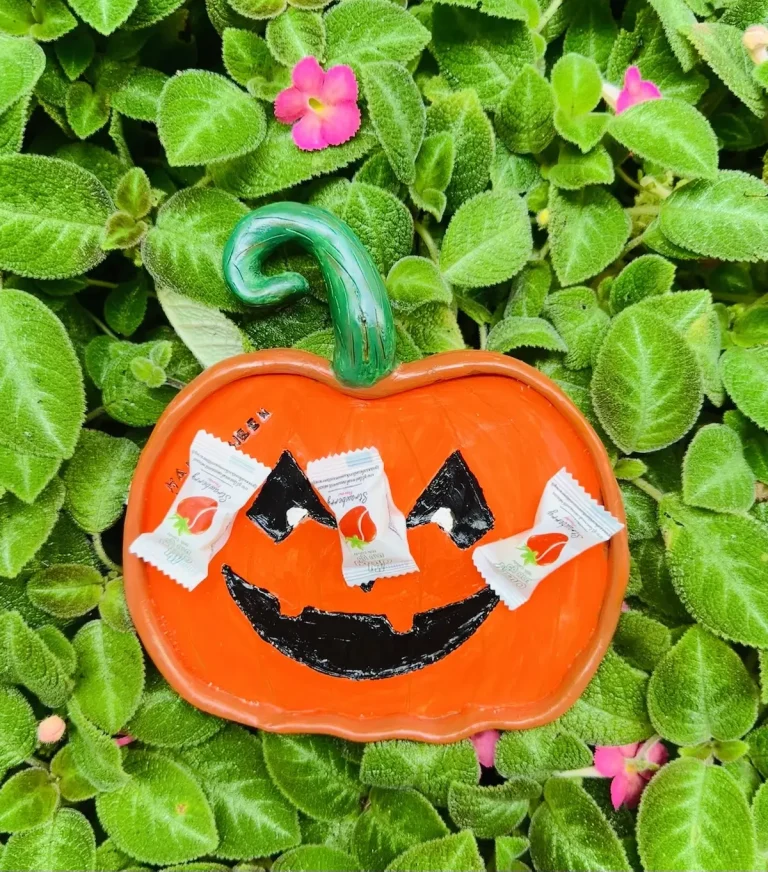
After a completely failed attempt at my air dry clay rabbit project, which is the first project I did on my journey to become a clay artist, I felt super frustrated. I made lots of mistakes during the project as a beginner and also learned a lot by doing research afterward.
I took a break and thought whether I should continue with air dry clay. Then I found this quote:
“Failure is simply the opportunity to begin again, this time more wisely.”— Henry Ford
That’s when I started thinking again that I should continue this and start making something beginner-friendly. Finally, I came up with the idea that I should start making a tray—a trinket tray.
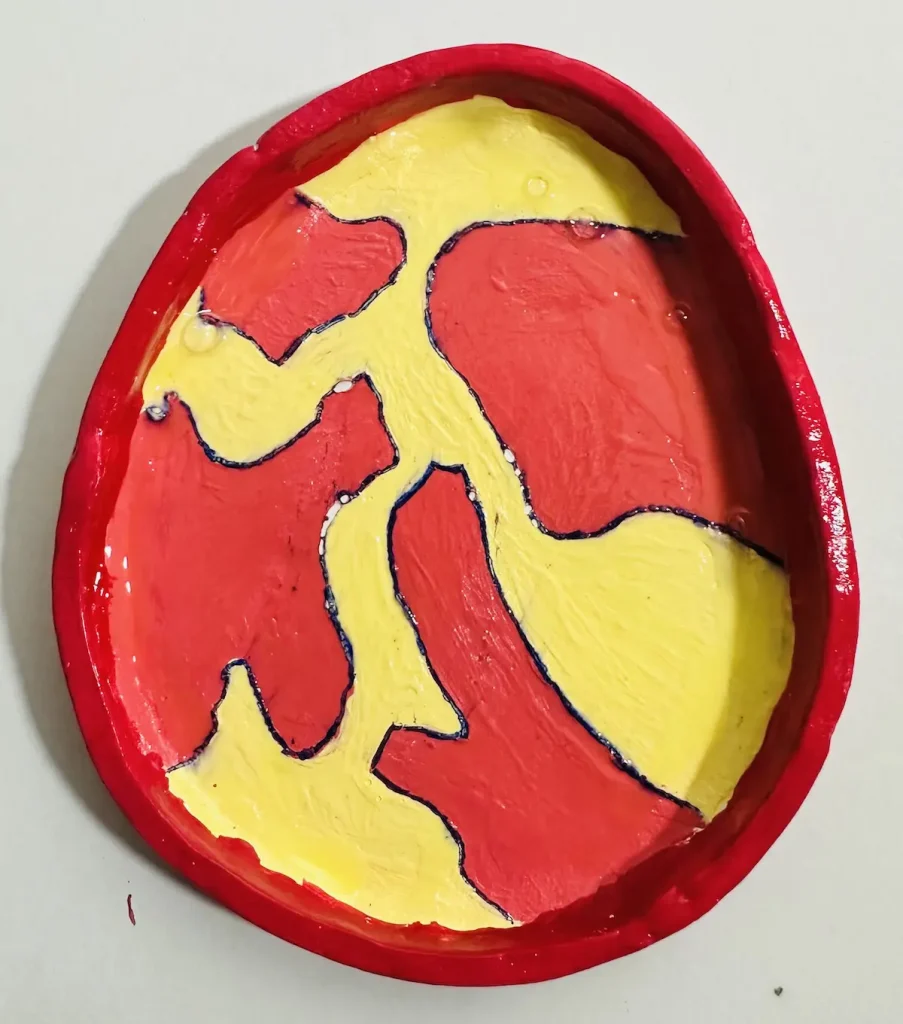
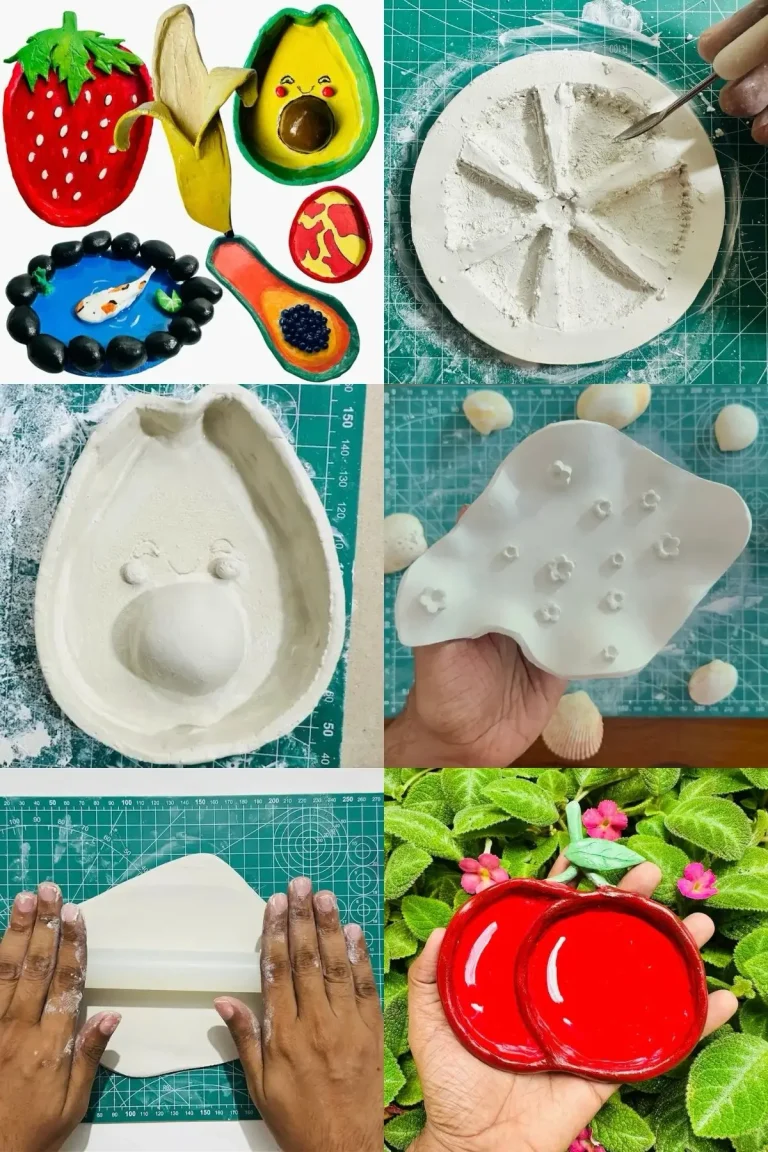
I was curious about the result. But finally, it came out better than I thought. I was super happy because this is my second air dry clay project and, most importantly, this was my first fully completed project. ✨
This time I did my research before beginning the project by watching a couple of YouTube videos and reading some articles on how I should make the tray base, rim, and how to attach them. Plus, painting plays a huge role and I researched how to do that as well. 🎨
But in this project, I also made a lot of mistakes, though not as many as I did in my rabbit project lol. But that’s okay. Every mistake I made taught me a valuable lesson.
You, me, we are all beginners, right? Beginners do make mistakes and that’s fine.
Okay, enough chit-chat, let’s get to work! 🛠️
Why air dry clay is perfect for making a trinket tray
Air dry clay is super beginner-friendly. You don’t need to know difficult skills to shape, attach, paint, and seal the clay.
I selected a trinket tray to make because it doesn’t need fine detailing. Plus, I’ll be able to learn clay-attaching techniques which are essential when making mugs, bowls, dishes, candles, and many more. Learning how to make a trinket tray opens paths to make many different things. So, that’s an advantage.
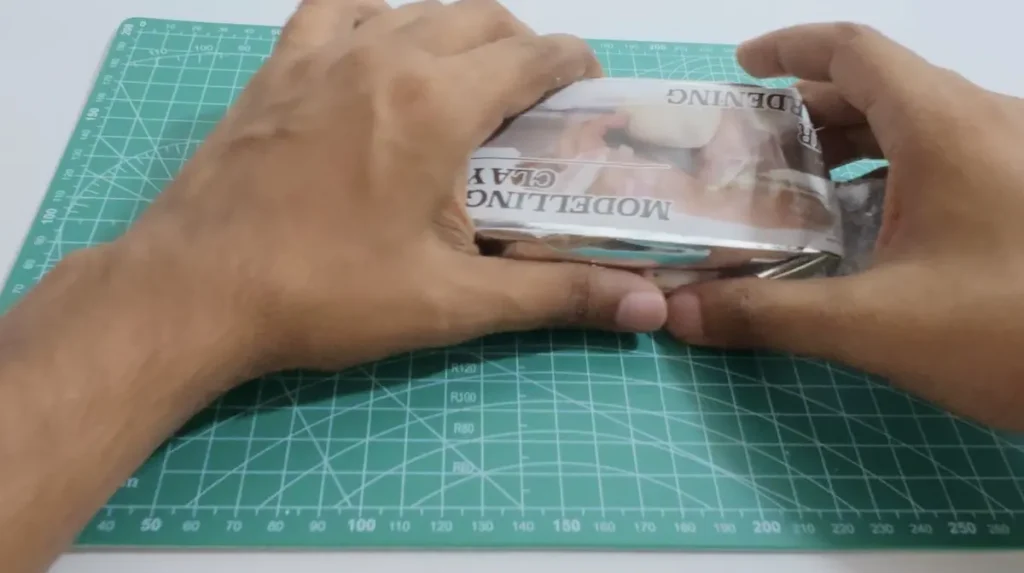
Most importantly, air dry clay is cheap, unlike polymer clay. Generally, polymer clay is 4 to 6 times more expensive (or more) per ounce than air dry clay. 💸
Making a trinket tray requires a lot of clay because the base and the rim are both a bit thick. Since you’re a beginner, clay wastage is high. You can’t waste clay if the clay is expensive.
I’m not telling you it’s okay to waste clay, but it commonly happens at beginner stages because you’re still learning to shape. So, cost-effectively, air dry clay is the best.
Air dry clay dries at room temperature when it is exposed to air due to moisture evaporation inside. Therefore, it requires no kiln or baking. Easy peasy, right! 💨
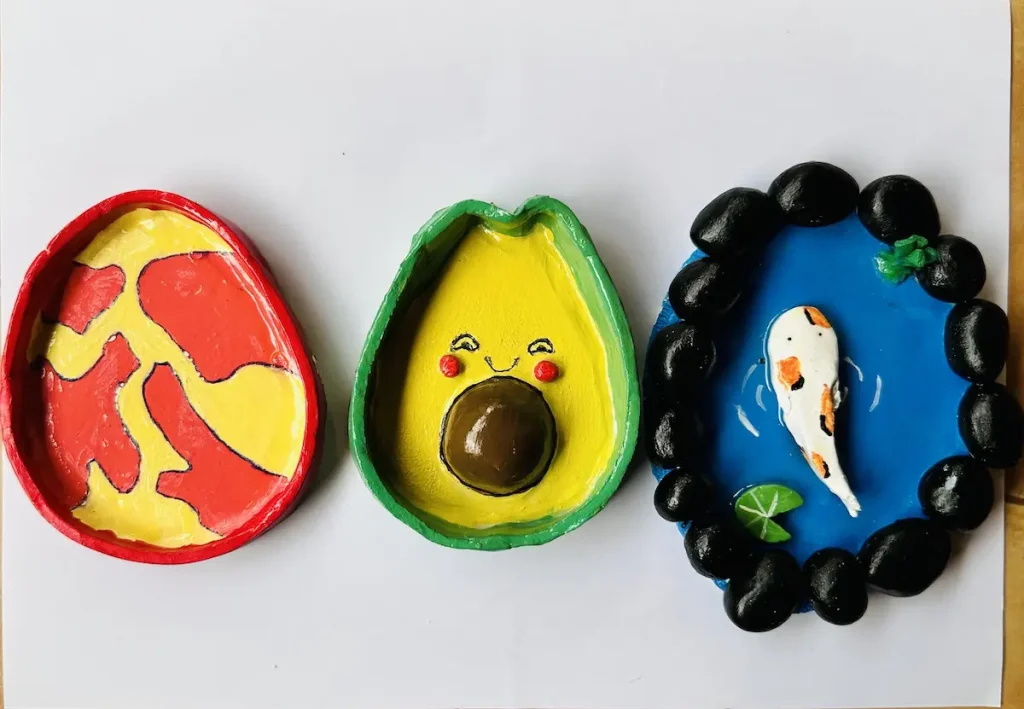
A trinket tray is not a miniature-type project that needs fine detailing and more sculpting. That’s also a key point why you should go with air dry clay, because it is not good enough for tiny projects.
With simple, basic techniques, you can make a beautiful tray with air dry clay as I did. Don’t worry. I’ll tell you the step-by-step method in detail with the mistakes I made along the way.
Learning from someone who just figured something out can be more effective than learning from a detached master.
Materials you’ll need for making a trinket tray
Completing a project with air dry clay has two parts. One is shaping and the other one is painting and sealing. Drying time is the break between part 1 and part 2. That’s how I feel, haha.
First, let me show you the supplies I used for shaping the trinket tray. Don’t worry, I won’t tell you about expensive supplies. We are budget-friendly beginners…
Supplies for shaping
- Air dry clay (any brand is ok you can find)
- Acrylic rolling pin or cooking rolling pin
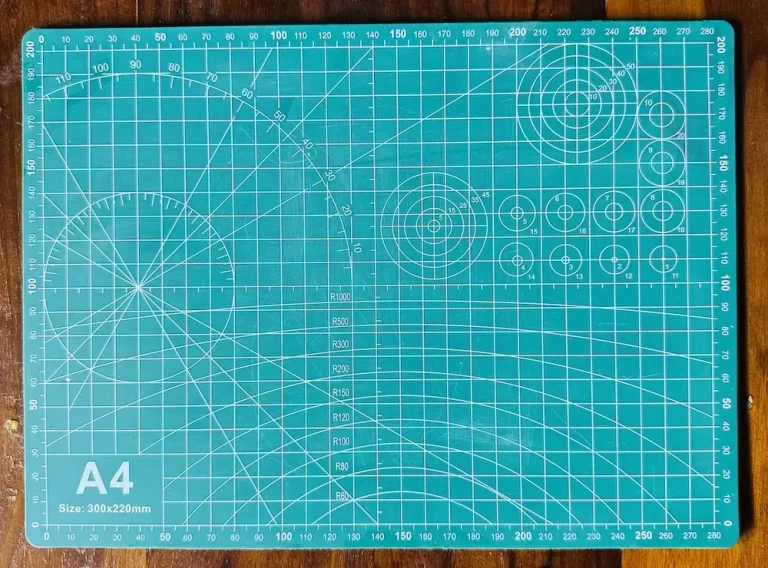
- PVC mat or silicone mat (a wooden cutting board is also okay, but it should not be sealed)
- Clay tools
- Clay cutting tool (or small knife)
- Fine sandpaper (good to have, but i didn’t have)
- Cup of Water or spray bottle
- Paper towels
- A ruler
- Optional: Sponge or silicone sculpting tool (or you can use your finger)
Supplies for painting and sealing
- Acrylic paint (pink, yellow, white)
- Paintbrushes
- Paper towels
- Gloss varnish or UV resin (I used my wife’s nail polish since I didn’t have a sealer lol. She still doesn’t know.) 🤫
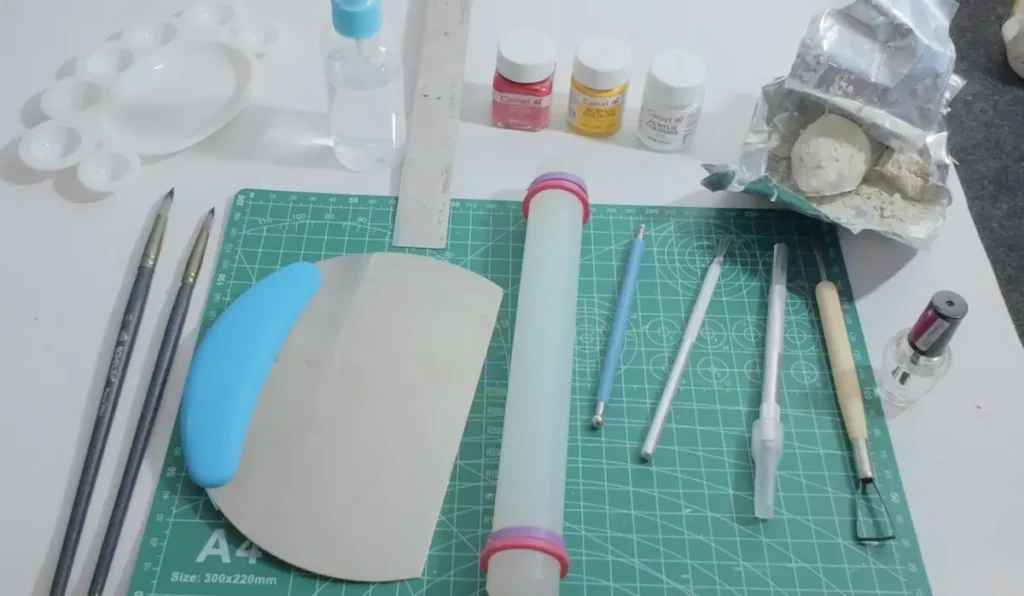
Easy diy trinket tray tutorial video
Below is the full tutorial video on how to make this DIY trinket tray with air dry clay. I’ve included every technique I used, mistakes I made and how I fixed them in detail.
The full step by step written instructions below.
How to make a clay trinket tray?
Make sure to open windows and make your place well-ventilated. Here are the simple DIY steps you can follow to make a cute trinket dish using air dry clay:
Step 1: Conditioning the clay
Conditioning air dry clay includes kneading, warming up, and making the raw clay soft and pliable.
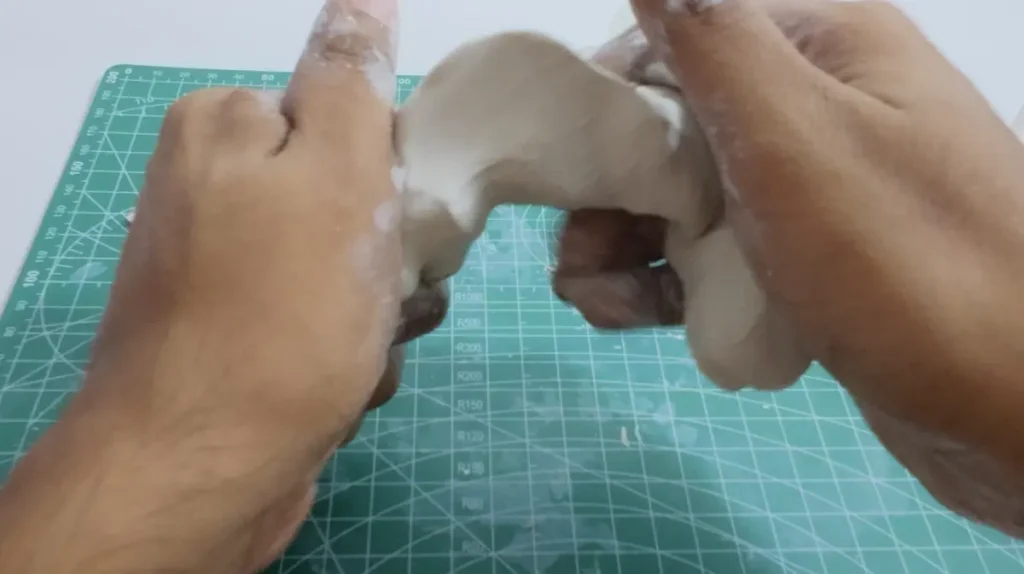
First, you need to place the air dry clay on your working mat and add a little bit of water to your hands. Or you can spray a little bit of water. 💧
Then start kneading the clay just like making a dough. Kneading helps remove air bubbles and create a smooth, crack-free texture.
This step is universal for making any air dry clay project. Conditioning comes first.
Step 2: Rolling the clay
Now it’s time to make the base of your trinket tray. 🥣
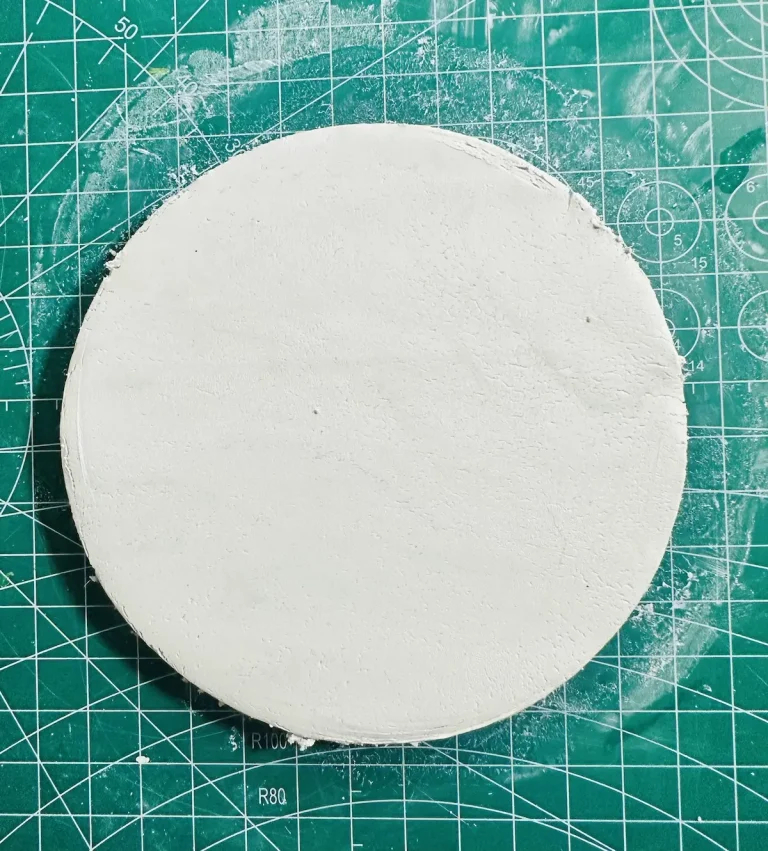
After conditioning, place the dough-like clay on the mat and press it several times to the mat using your palm. Then take the rolling pin and roll it to an even thickness.
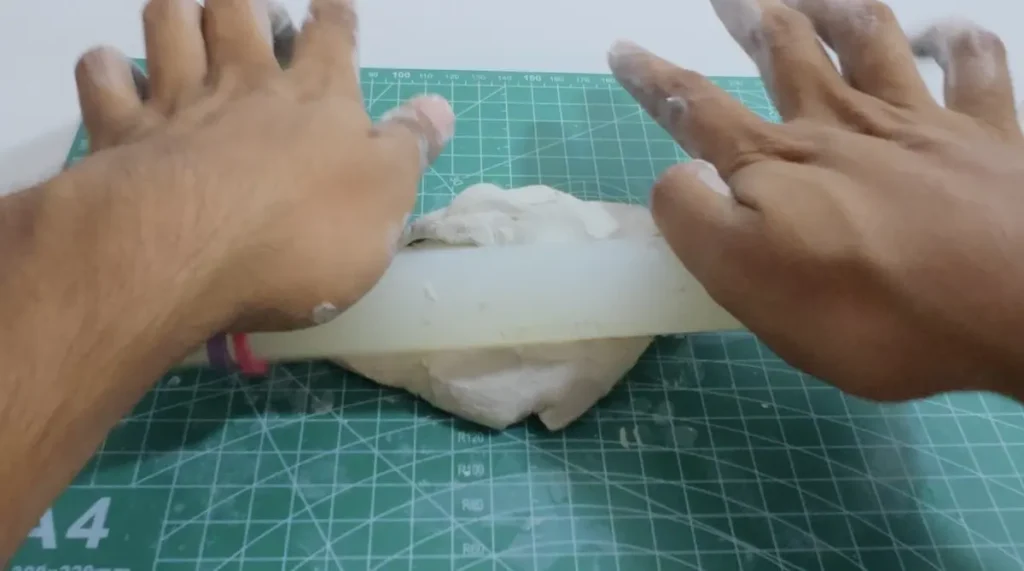
In order to get an even thickness, you can use rubber rings or guide rings on the rolling pin. Or you can use thickness rulers.
It’s best to aim for a ¼-inch even thickness to avoid the clay base from becoming fragile.
A thicker clay base means it has less tendency to crack when drying and lifting up. Plus, there’s more surface area for the rim to attach, which helps to make a stronger bond.
Step 3: Cutting out the shape of the tray base
After rolling, take the cutting tool and trace and cut the tray along the outline of the base as you want. You can even use a cookie cutter or the lid of a bottle if you need the base to be perfectly circular. ⭕
But I was lazy and I did the shape however my hand moved lol. You can make the base circular, square, oval, triangle, or freestyle.
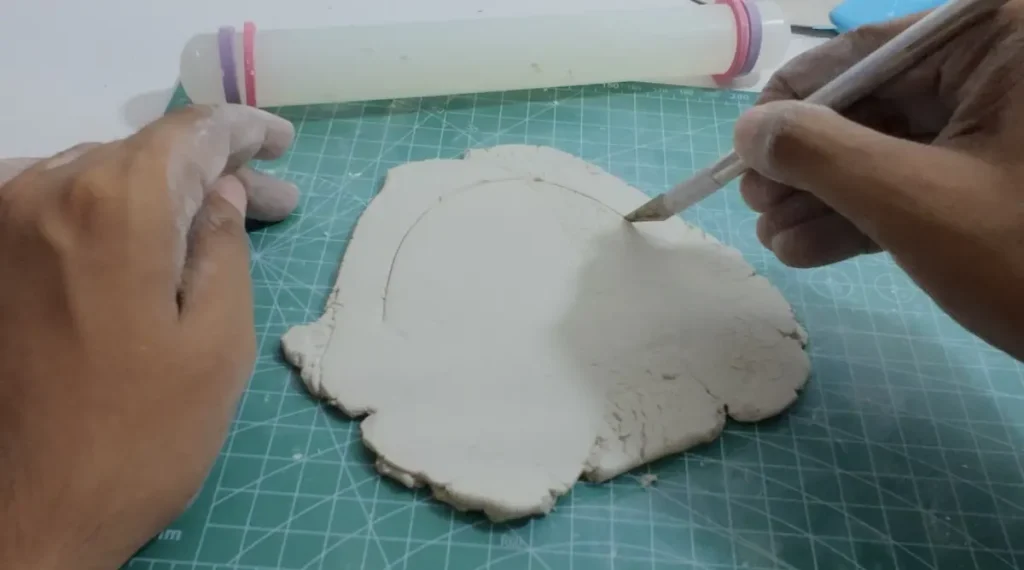
If you’re afraid to go straight in with the clay cutting tool, first you can trace the outline with a pencil and then use the cutting tool.
After cutting the base, remove the excess clay. Don’t think the excess clay is wastage. We will use it in a later stage for making the tray rim.
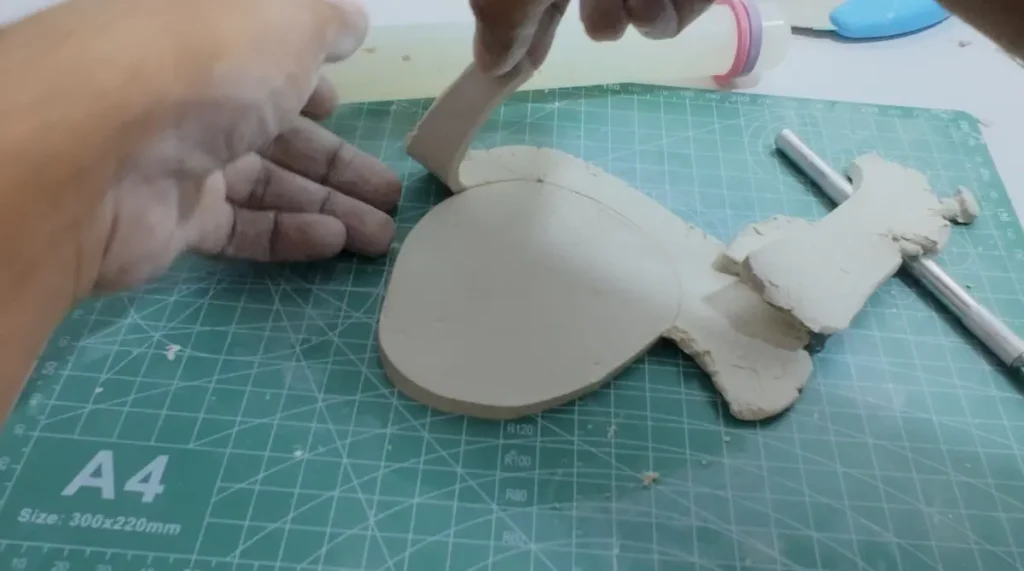
Mistake I made during rolling the clay ❌
Now let me tell you one of the main mistakes I did during this project. I noticed the mistake when I tried to remove the excess clay after cutting the tray base. The excess clay did not lift up smoothly. It was stuck to the surface. Plus, it was stretched and ripped when lifting.
Suddenly I noticed something was wrong.
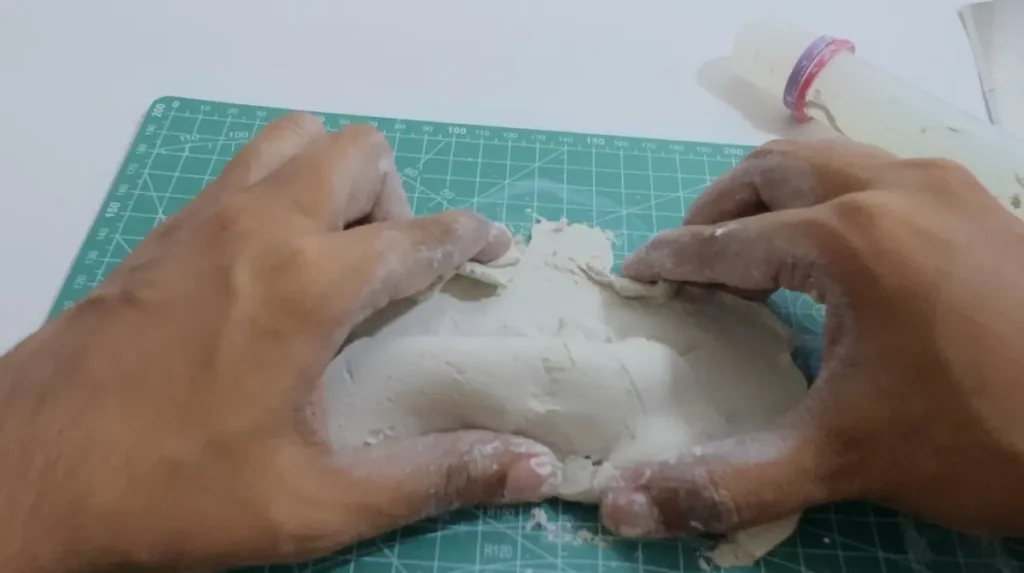
After removing the excess clay, I tried to lift up the clay base I shaped, and it broke my heart. 💔
Yes, the mistake I made was when rolling the clay. I placed the clay on the mat and kept rolling until it reached the thickness I wanted, which is about ¼ inch.
I thought the base would lift up smoothly even though I kept rolling and rolling nonstop until it reached my thickness. But I was wrong.
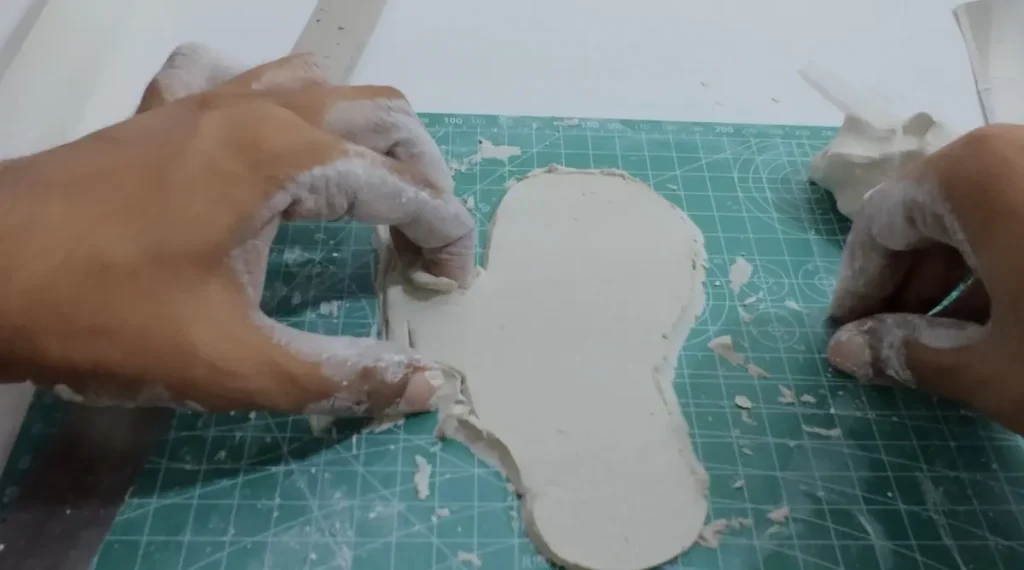
After rolling and cutting, when I tried to lift up the clay base, it was stuck tightly to the surface. It was so hard to lift and I had to put in extra force.
When I tried to lift it up with high force, unfortunately, the clay was instantly stretched, distorted, and ripped.
Back then I didn’t know why this happened, so I again collected the ripped clay, made a dough, and started kneading again. Then I started rolling again and finally ended up with the same result when lifting it up.
Likewise, this happened 3 times, which means 3 failed attempts.
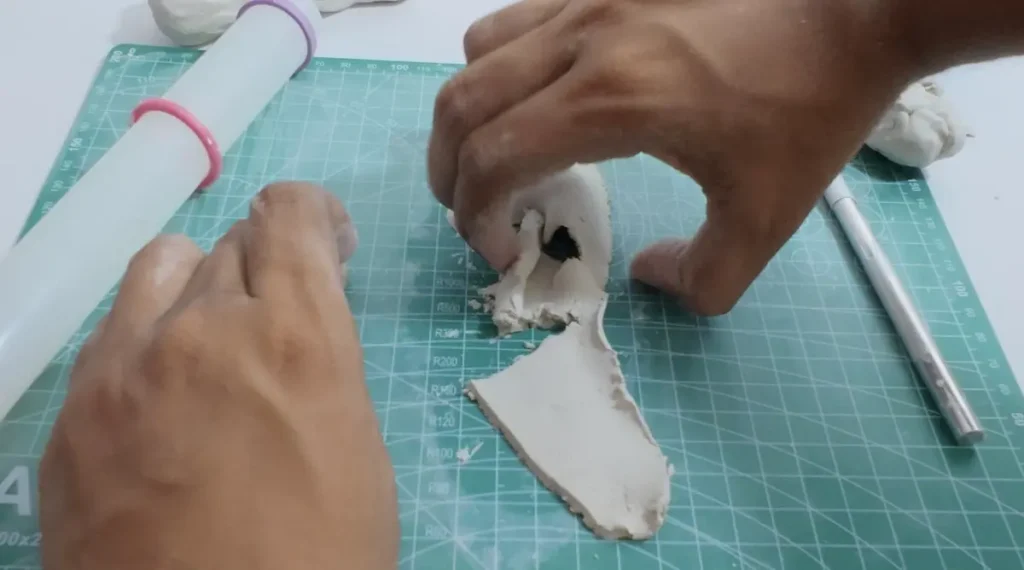
During the third attempt, I even put some powder onto the surface before rolling because I wanted to make the powder layer a barrier to avoid clay from sticking to the surface. But sadly, that attempt also failed.
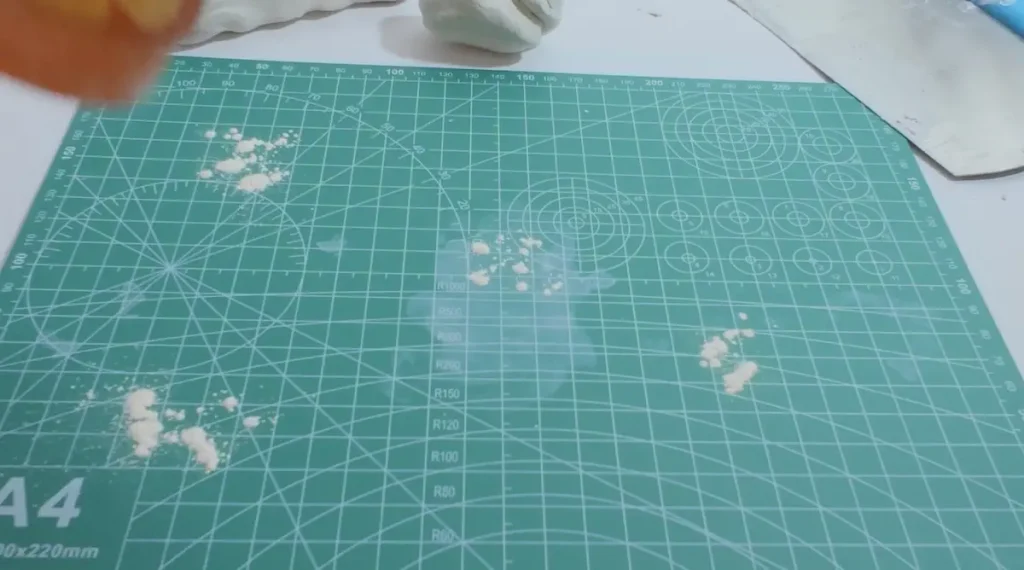
Then I quit, took a break, and went to tell what happened to a trusted adult, who is obviously my wife. Haha.
She gave me such valuable advice which helped my entire clay artist journey. The advice was universal and can be applied to any clay project.
You must flip, rotate and lift up the clay while rolling to avoid clay from sticking to the surface. You simply have to pick up the clay and flip it over after every two or three rolls. Plus, turn the clay piece 90 degrees each time you flip it to distribute pressure evenly.
This was golden advice, and I tried it in my 4th attempt. The excess clay removed smoothly and I was able to lift up the base with no high force, and it came out smoothly like a pizza coming out of the oven. 🍕
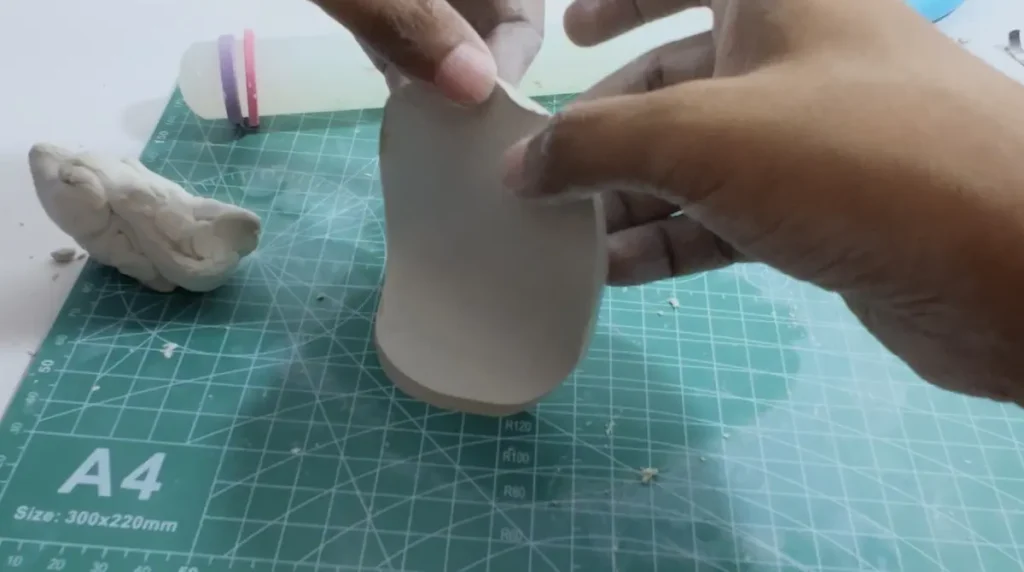
I can guarantee no guru will teach you that method. I even blamed my PVC mat, thinking it was fake because clay stuck to it even when the internet says it’s impossible. But it ended up being my skill issue. Lol.
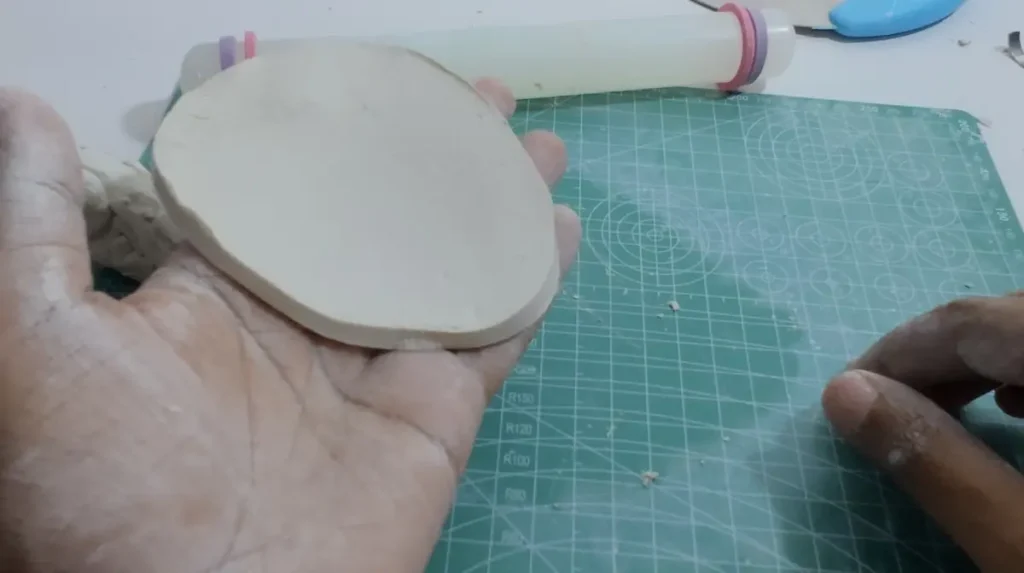
Step 4: Smoothing out bumps, cracks and edges of the base
After cutting the base shape of your trinket dish, it’s time to smooth it out. For this, you can use a damp sponge, silicone sculpting tool, or even your finger. I used my fingers, and let me tell you how.
Take the cup of water nearby, dip your finger into it, and quickly place it on top of the tray base. Then press lightly and sweep smoothly across the surface in a single, fluid motion to smooth the clay’s surface and edges before it dries. 🧼
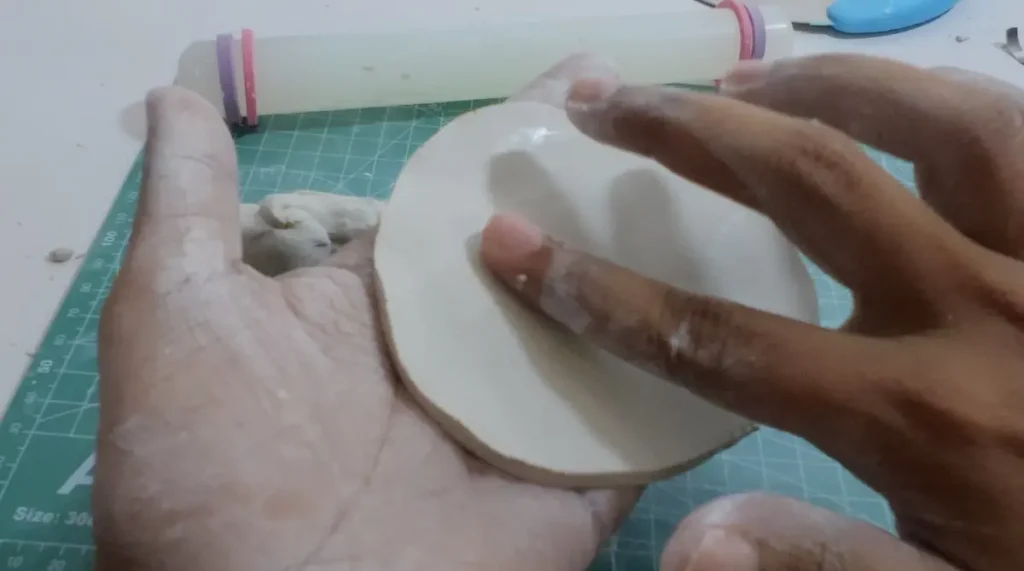
Take your finger along the edge of the tray base to make the edge a bit round and more smooth.
This smoothing step is a must to get an aesthetic, clean look for your tray.
If you couldn’t smooth the surface, the bumps and cracks will appear even more after the project has dried, and it will make the painting step hard because covering up bumps and cracks is not easy with paint.
Water is your best friend when it comes to working with air dry clay, but make sure not to use too much water because it can cause high uneven shrinkage and eventually make cracks on the surface when drying.
Step 5: Making the tray rim
After shaping and smoothing the tray base, it’s time to make and shape the tray rim.
Take the excess clay you put aside and add a little bit of water onto it and onto your palm and start conditioning it well.
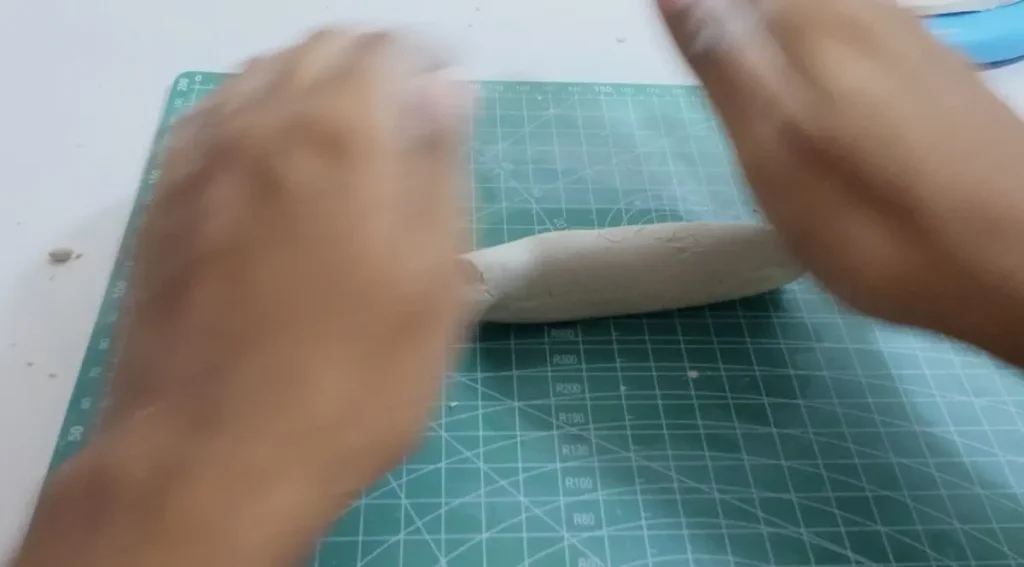
Since the clay piece was placed aside for some time, it might get a bit tough, but adding a little bit of water and kneading will make it soft again.
If you feel like the excess clay is not enough to make the rim, take a little bit of fresh clay and mix it with the clay you already have in your hand by kneading.
Then, roll the clay using a rolling pin, following the technique I told you above to achieve an even thickness of about ¼ inch as we took earlier.
Then take the cutting tool and trace and cut a long line (rectangular-like) clay piece.
Now you have the shaped clay tray base and a thin line for the tray rim (lip).
Step 6: Score and slip the edges of the tray base and rim
Now take the scoring tool and score along the edge of the tray base and the rim. Scoring and slipping is essential to create a strong bond between the tray base and the rim. 🔗
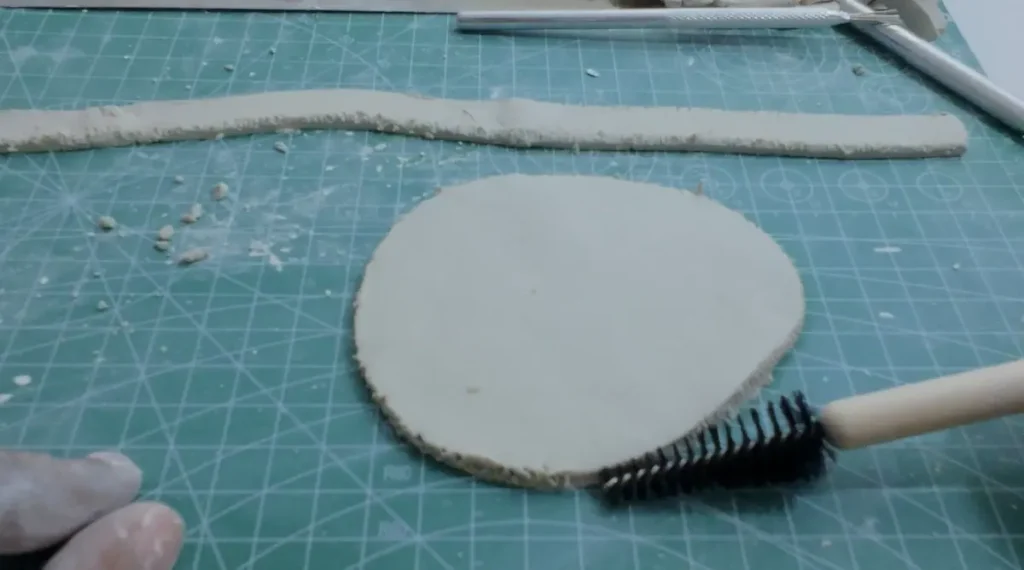
It avoids breaking the joint between the tray base and rim when they are drying.
Scoring helps to create adhesion between the surfaces so they’ll get a nice grip.
Score a cross-hatch pattern on both edge surfaces (base and rim) for better adhesion.
After scoring, dip your finger in the cup of water and tap the scored surfaces. This will make the scored edges wet and help them to attach well. Here, water works like glue.
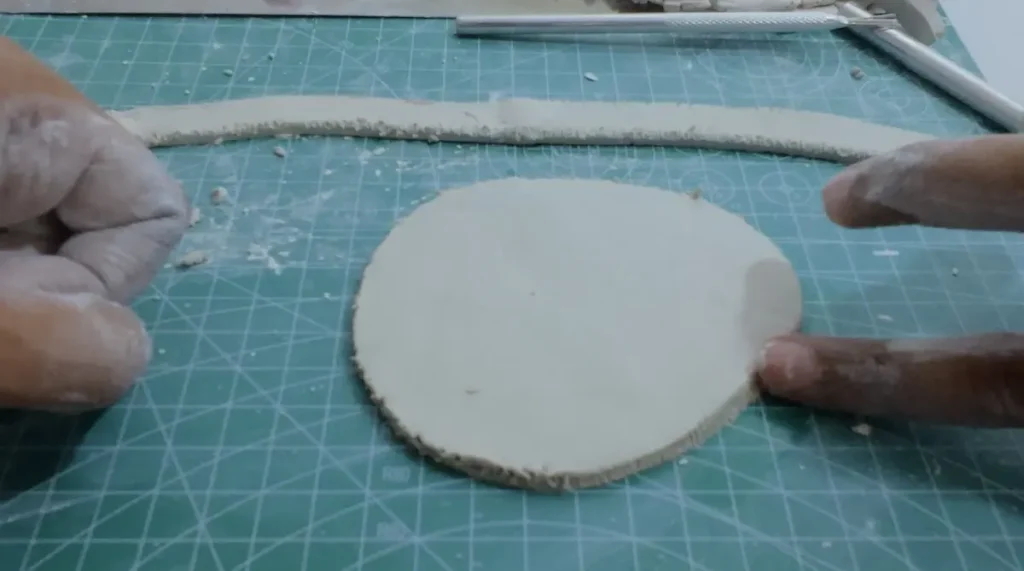
You can use the score-and-slip method to attach any air dry clay pieces together for any project.
Step 7: Attach tray base and the rim
After wetting the scored edges of the tray base and the long rim, don’t wait for too long before attaching them because the water can evaporate quickly.
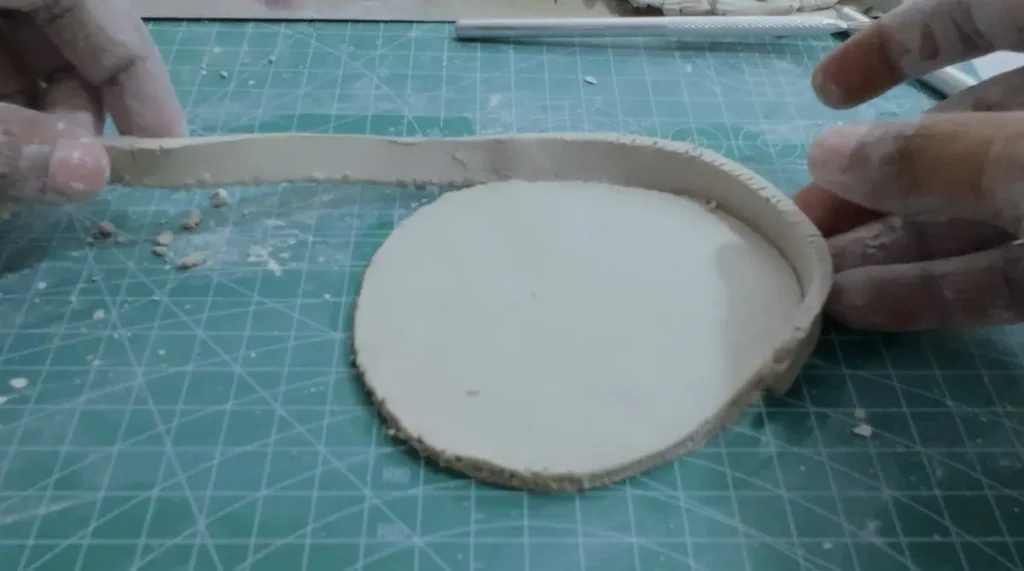
Take the rim and gently press it along the edge of the tray base and cut off any excess.
Then attach the ends of the rim using water and blend by sliding the clay using your fingers.
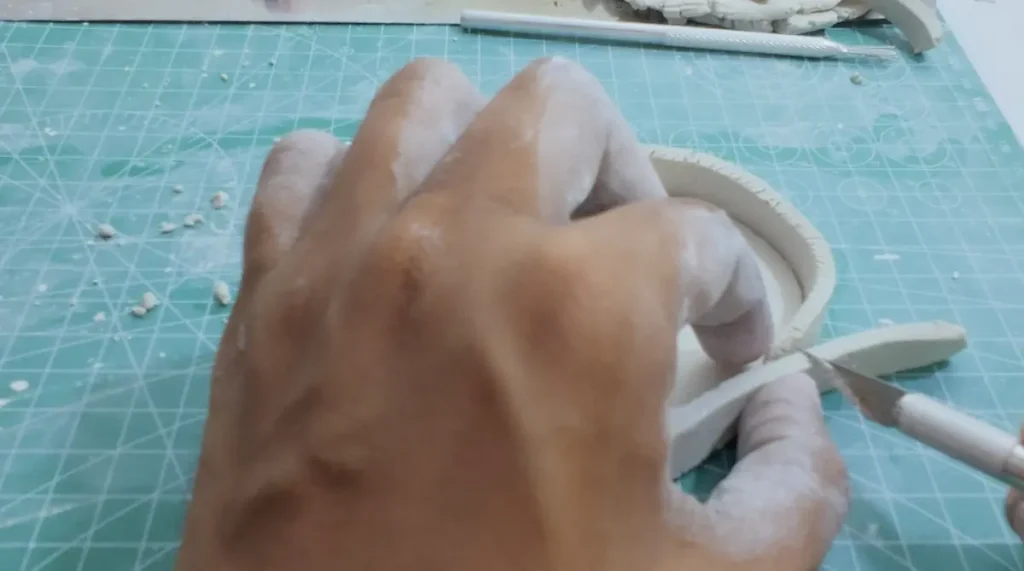
Now the rim and tray combo is completed and displayed as a tray.
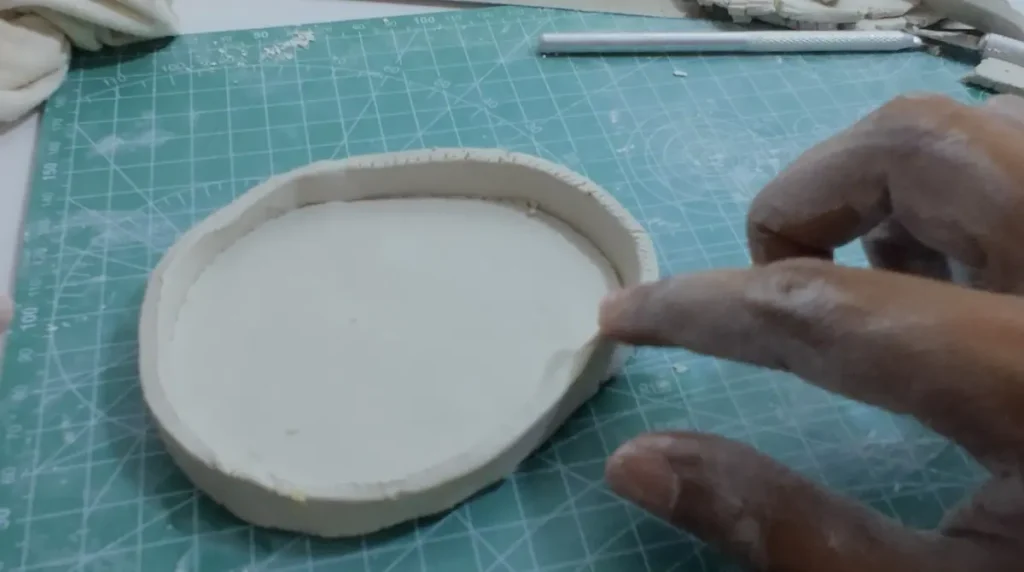
Step 8: Add a thin coil between tray rim and base
This step is a bit optional, but I highly recommend you do it to improve the structural strength of your tray. Take a very small piece of clay, condition it, and then roll it to make a thin coil or thin seam.
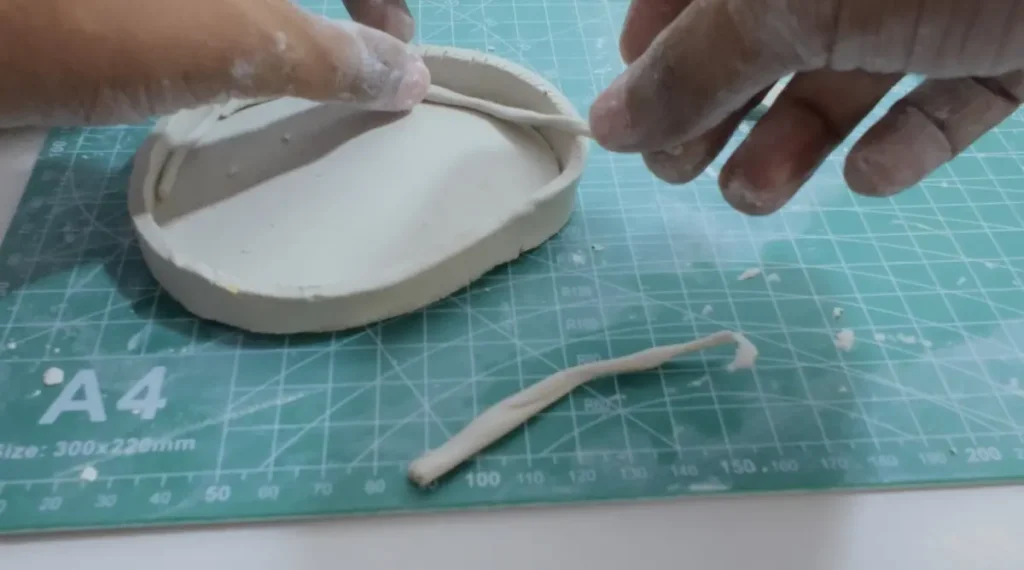
Then place it along the bond of the tray rim and base we made earlier and gently press along the joint. Then smooth and blend it with the clay using water and your finger.
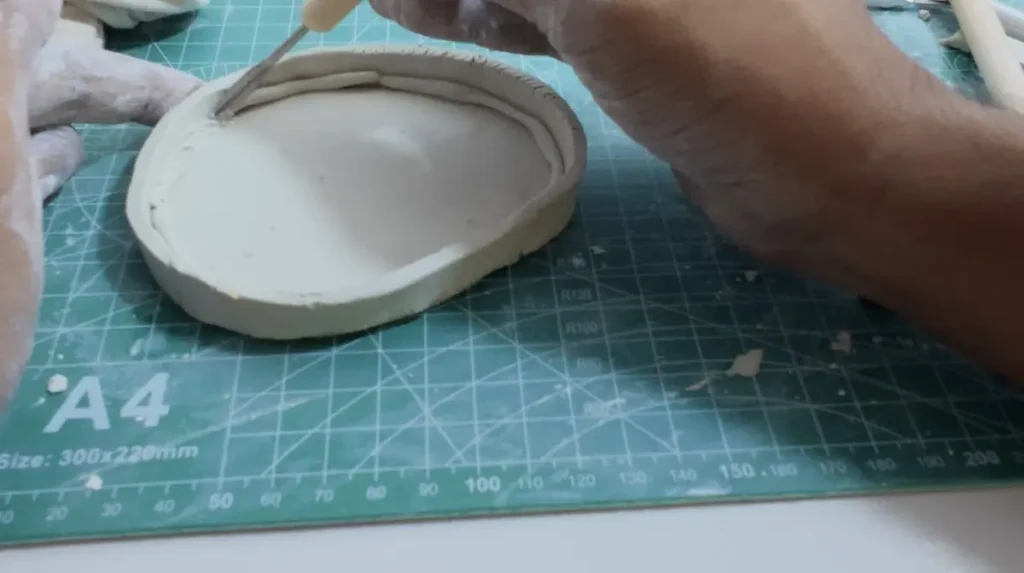
This seam helps the stress points of your tray dish. Having a 90-degree angle between the rim and tray base gives stress to the joint when the clay shrinks during drying. So, having a seam between them helps to distribute weight and drying tension evenly along the tray.
Plus, it secures the bond even more. I highly recommend you add it. 🩹
Congrats! Now shaping your trinket tray is done. 🎉
Step 9: Let the tray dry
Now let the beautiful trinket tray you made dry for at least 24-48 hours. Check the project after 24 hours and if you still feel the surface is wet, let it dry for another 24 hours. ⏳
Keep it in a cool, well-ventilated area to dry. Do not place it in the sun, which can cause quick evaporation and uneven shrinkage, which can lead to cracks on the surface.
Slow drying is a must for a positive result.
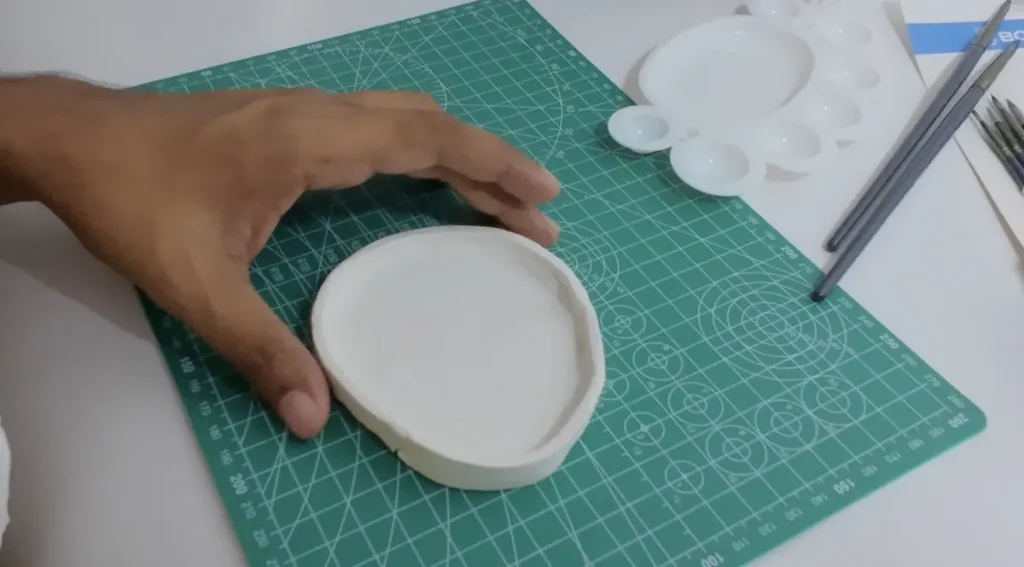
Step 10: Sanding
Once the trinket tray has dried fully, sand the whole surface, including rough edges, using a fine-grit sandpaper.
I couldn’t do it because I didn’t know sanding was a thing. But after doing some research, I found that sanding the surface of an air dry clay project before painting gives you a smooth surface and makes it easy to paint.
Clean the surface using paper towels after sanding to remove the residue.
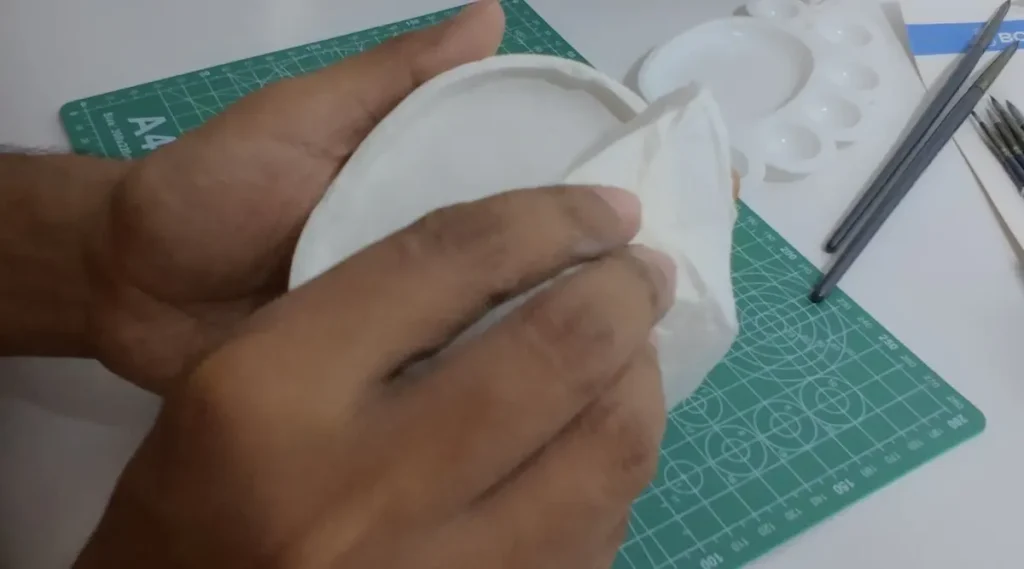
Step 11: Painting clay tray
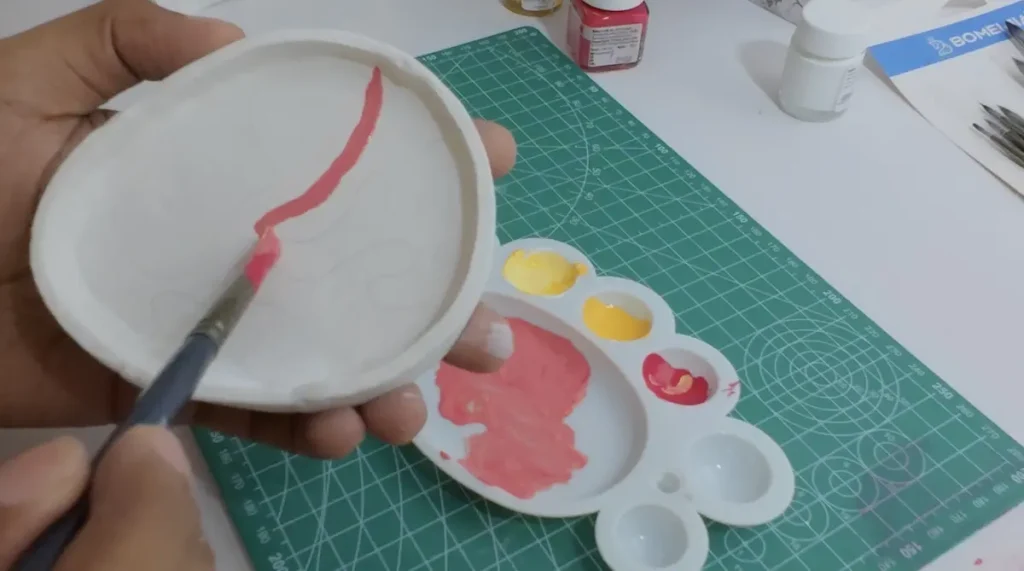
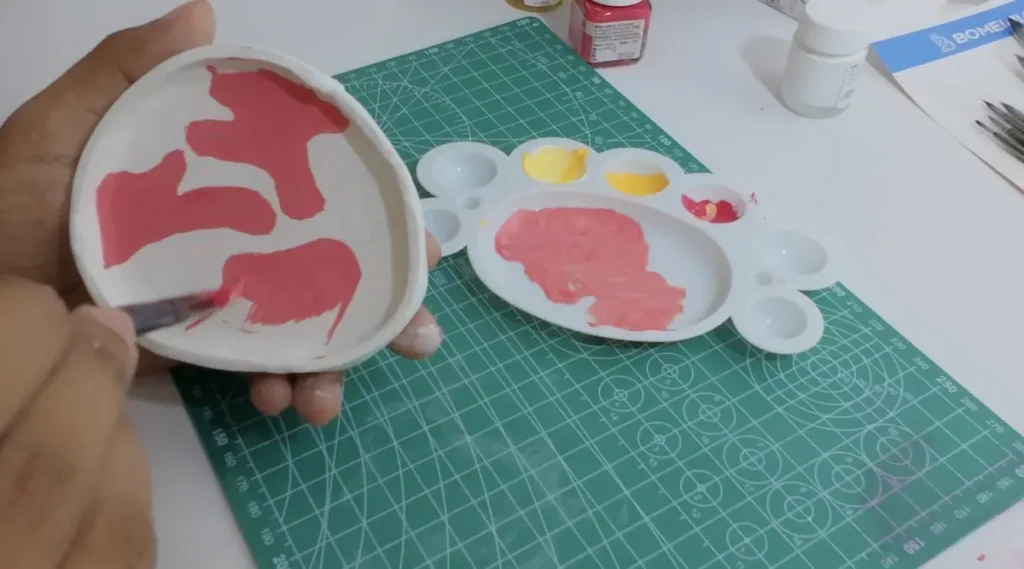
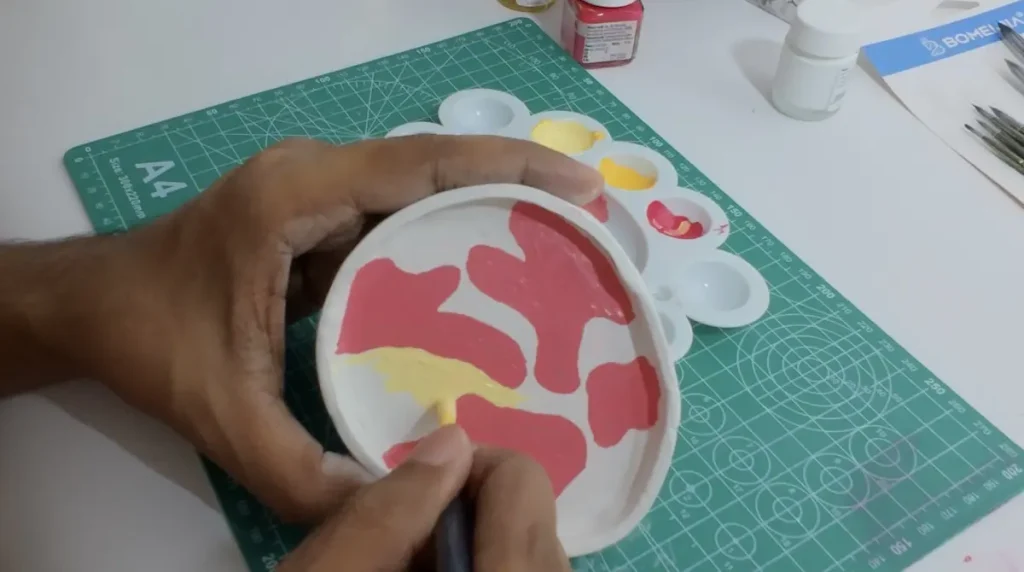
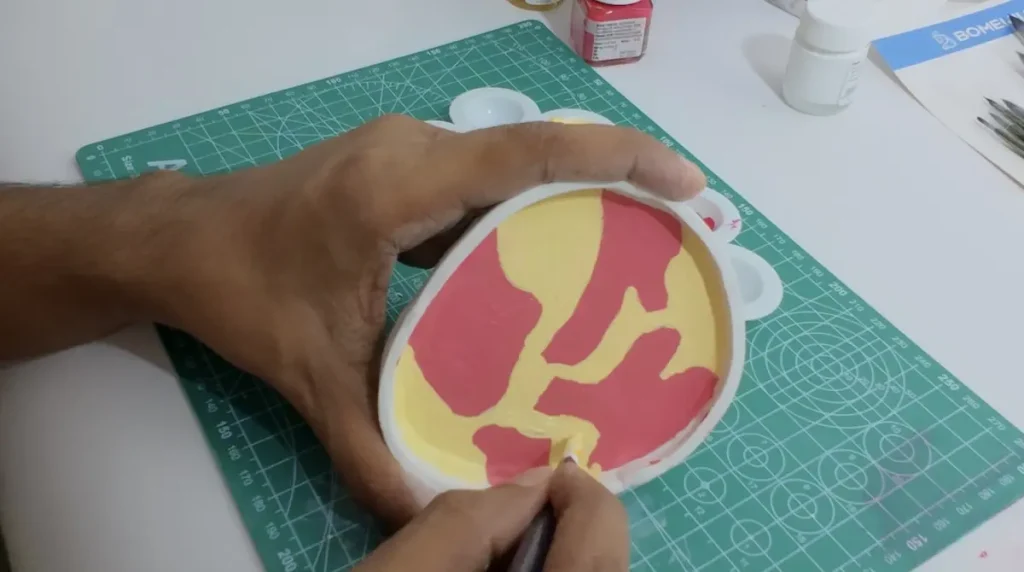
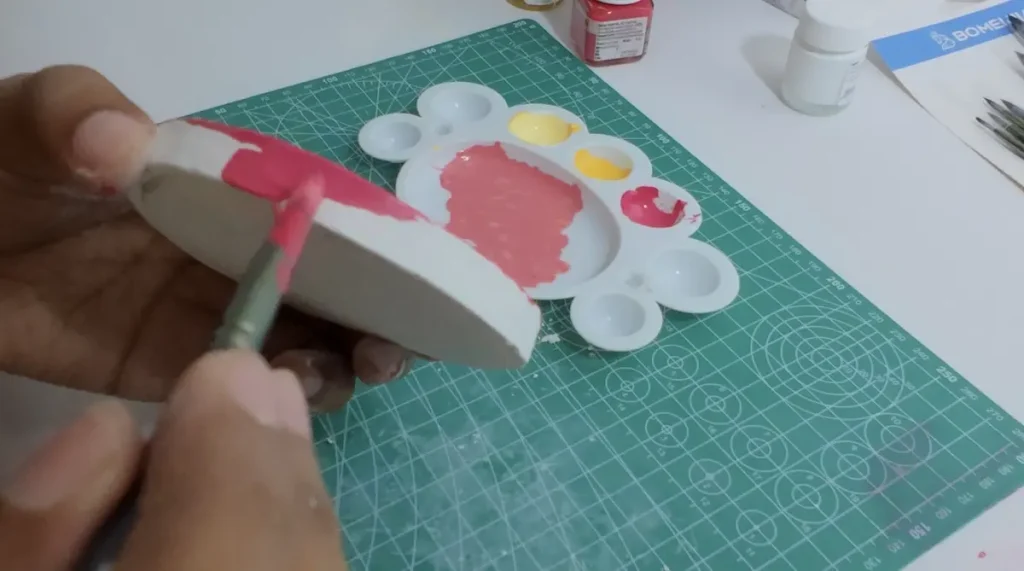
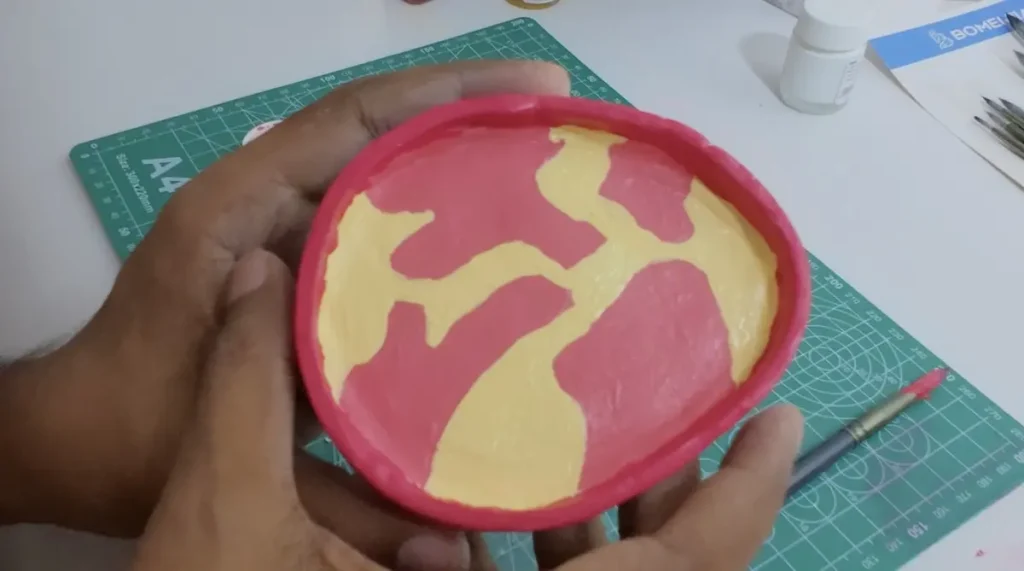
Now trace the design you like on the tray base using a pencil. Then start painting in any color using acrylic paints. Acrylic paint is the best paint option for coloring air dry clay projects.
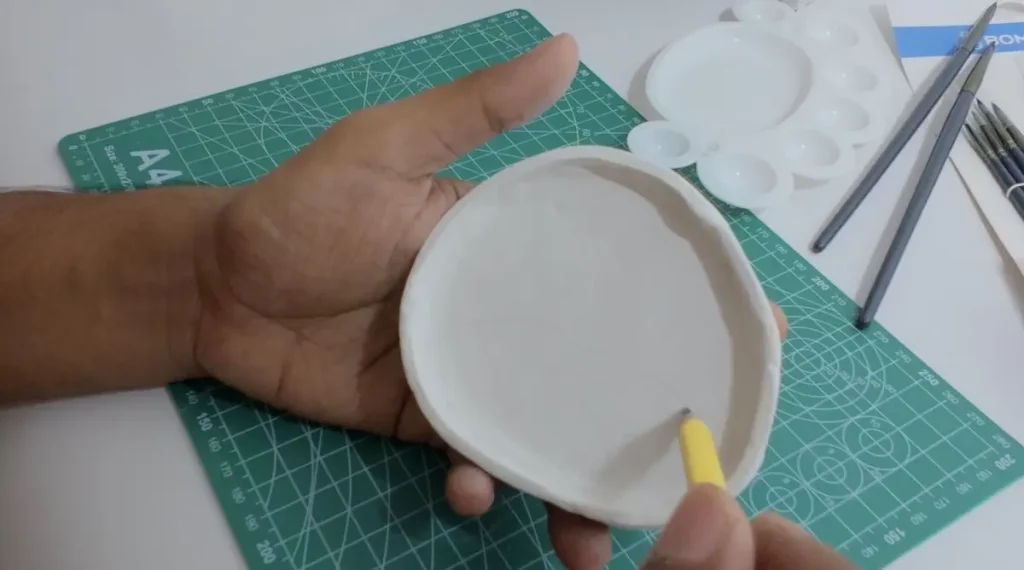
You can use bottled acrylic or tube acrylic for air dry clay projects. Both work fine. 🎨
I used bottled acrylic. Since I had no painting experience, I was bad at mixing and some of the acrylic paints were contaminated with the wrong colors because I dipped already used brushes.
So, I think using tube acrylic paint is better than bottled acrylic, especially when you’re a beginner. Plus, their wastage is less than bottled acrylic because you only take the amount you want onto the palette.
Step 12: Sealing your trinket dish
Sealing is a must after painting an air dry clay dish because it gives a gloss effect (you can use matte sealers as well for a matte look) and, most importantly, protects your tray from moisture. 🛡️
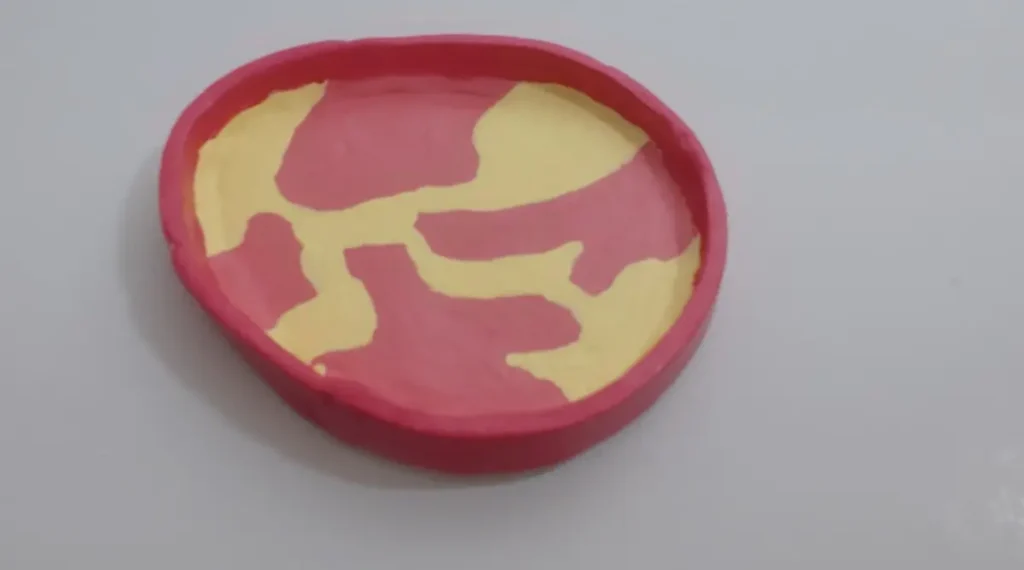
Generally, air dry clay has a porous structure and it will soften if exposed to moisture. So applying a sealant is mandatory to protect the paint and clay.
Usually, it is best to seal your air dry clay project with UV resin or acrylic gloss. But I didn’t have either of them. Actually, I forgot to buy a sealer before starting the project.
Therefore, I used my wife’s nail polish. She still doesn’t know that. I applied nail polish evenly on the painted surface. 💅
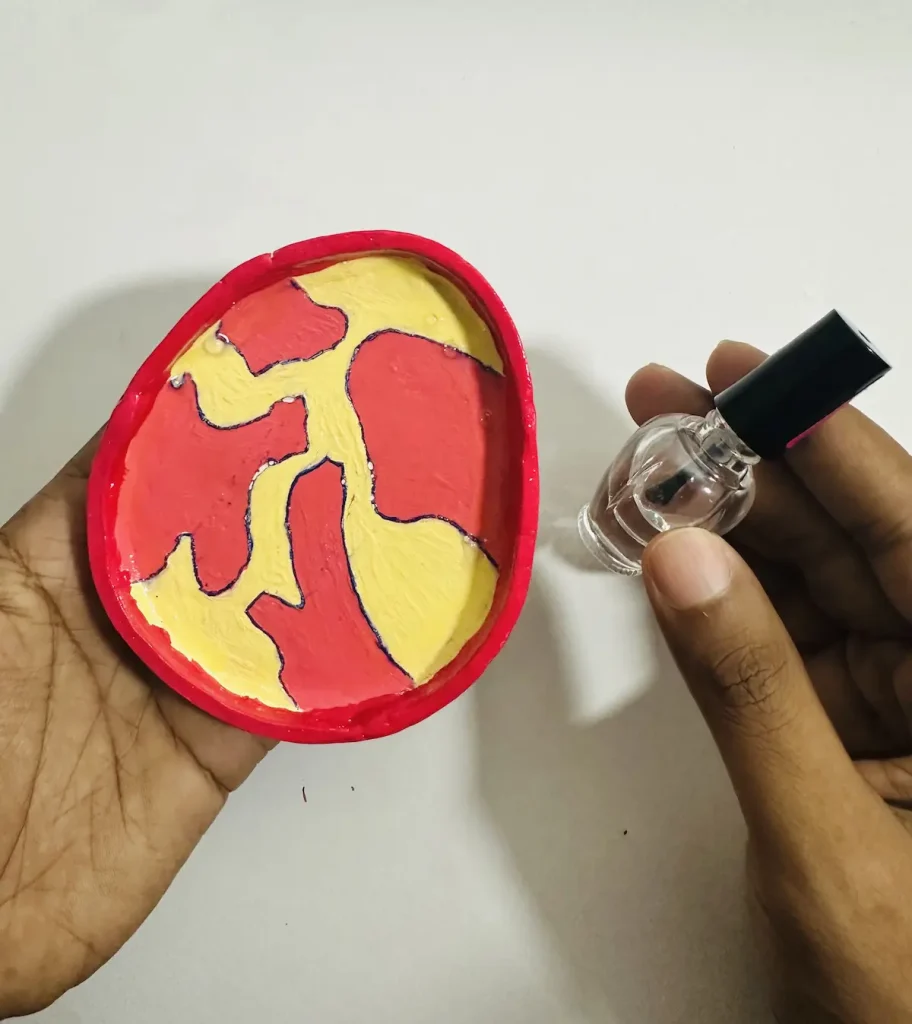
But I highly do not recommend applying nail polish as a sealer to your air dry clay projects because it can’t give the best protection you want.
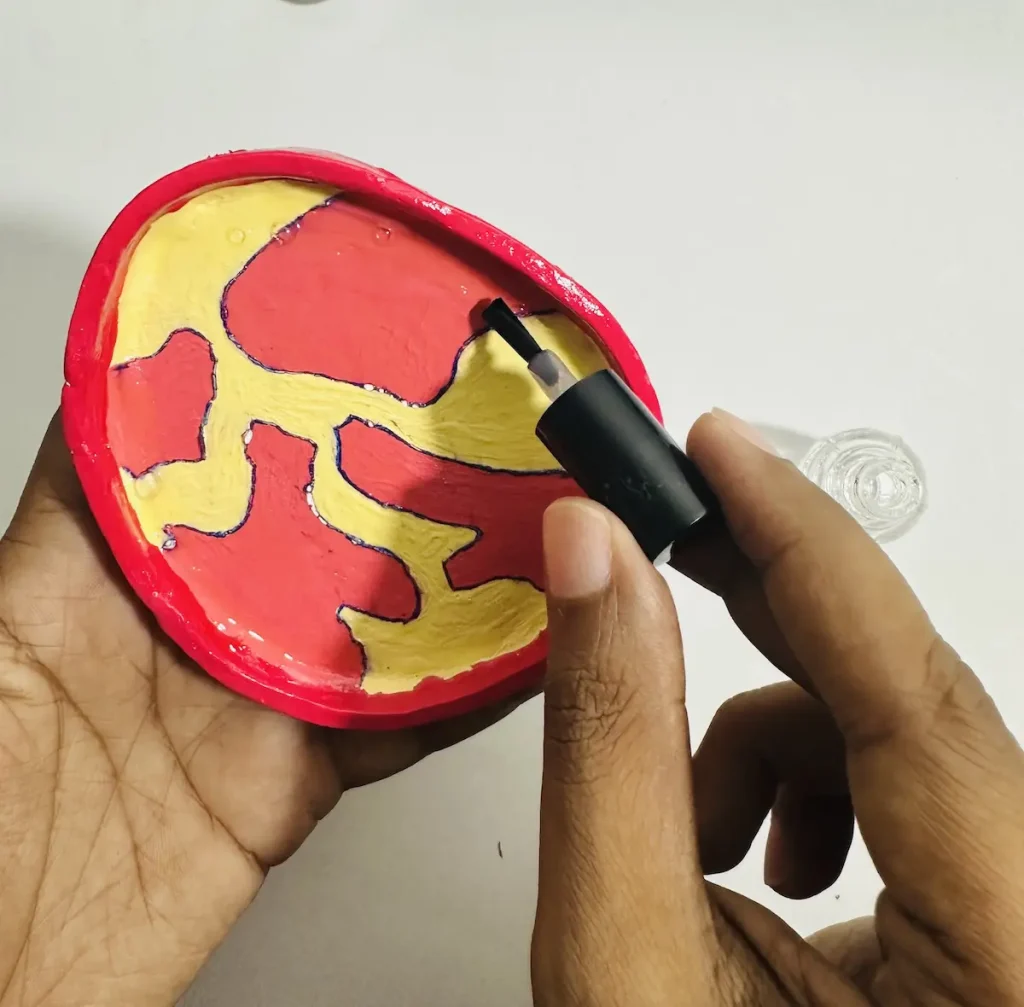
Most importantly, I have noticed paint tends to peel off when I continue applying nail polish because the solvents in the nail polish chemically react with the acrylic paint underneath, lifting it off the porous, inflexible clay surface.
Plus, it is not a long-term solution. You can use it only for temporary, small decorative clay projects. But it’s still better to go with a proper sealer.
What I learned from my first completed clay project
- Flip, rotate, and lift up the clay while rolling to avoid the clay from sticking to the surface.
- Never use nail polish as a sealant for air dry clay projects.
- Plan before you start making.
Final thoughts
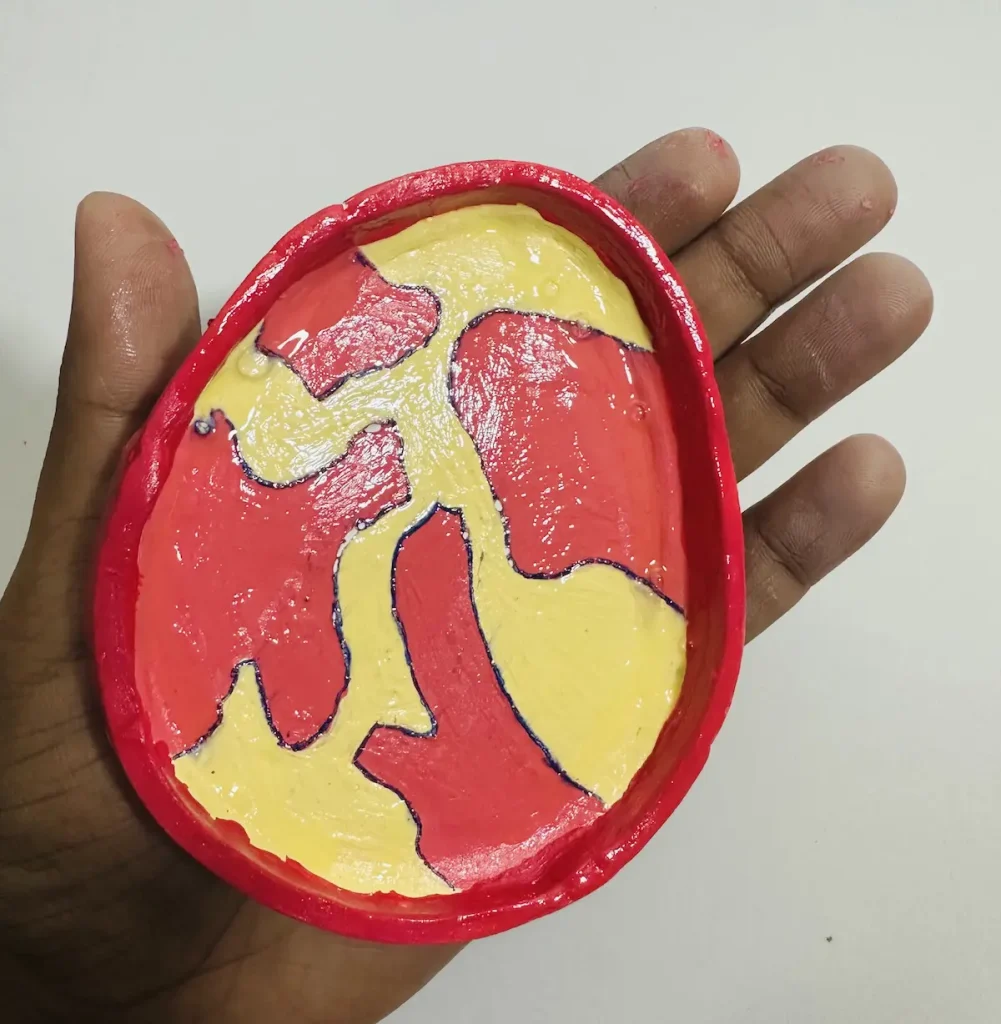
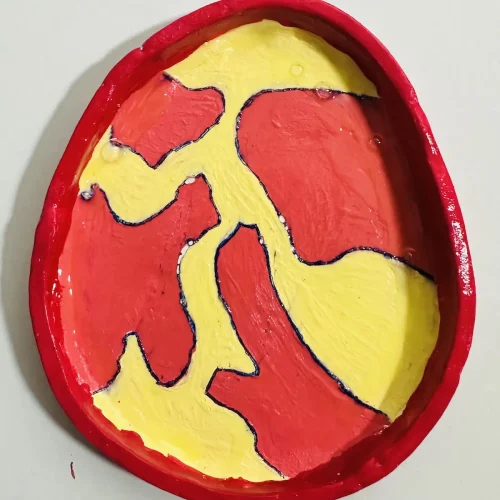
However, even with all the mistakes, I am so happy with how my second air dry clay project came out. It is beautiful, especially because I am a beginner.
I gifted it to my wife to use as a ring tray. I think I have provided you with all the information you need, tips, and every mistake I made with solutions. Now it’s your time to make your beautiful, cute trinket tray with air dry clay.
Be sure to tag @clayandmestudios in your trinket tray dish creations. I sure love to see them when you do. Until next time! Cheers! 🤟🏾
People also ask (PAA) questions
How long does air dry clay take to dry?
24-48 hours or longer if the project is too thick.
How do you keep air dry clay from cracking?
Use little bit of water when conditioning and avoid drying it in the sun.
Do you need to seal an air dry clay trinket tray?
Of course. Sealing air dry clay trinket tray is a must to protect paint and clay from moisture.
What kind of paint do you use on air dry clay?
Acrylic paint.
Is air dry clay waterproof?
No.
DIY Trinket Tray

Supplies Needed
Air dry clay
Acrylic rolling pin or cooking rolling pin
PVC mat or silicone mat or unsealed wooden mat
Clay tools
Clay cutting tool (or small knife)
Fine sandpaper
Cup of water or spray bottle
Paper towels
A ruler
Sponge or silicone sculpting tool (optional)
Acrylic paint (pink, yellow, white)
Paintbrushes
Gloss varnish or UV resin
Instructions
Step 1: Condition the Clay
- Place your clay on the mat, add a little water, and knead it well. This creates a smooth, crack-free texture. Remember, conditioning comes first! 🥇
Step 2: Roll it Out
- Roll your clay to a 1/4 inch thickness.
Step 3: Cut the Base
- Use a cutting tool or cookie cutter to shape your base. You can go round, square, or freestyle. Remove the excess clay—don’t throw it out! We need it for the rim. ✂️
Step 4: Smooth the Edges
- Dip your finger in water and gently sweep it over the surface and edges. A damp sponge works, too. This prevents cracks and makes painting way easier later. 💧
Step 5: Make the Rim
- Take that excess clay, condition it again, and roll it out to a 1/4 inch thickness. Cut a long, rectangular strip for your rim.
Step 6: Score and Slip
- Score a cross-hatch pattern on the edges of both your base and your rim. Tap a little water onto the scored areas—this acts like glue and creates a super strong bond. 🛠️
Step 7: Attach the Rim
- Gently press the rim along the edge of your base. Trim any excess, then blend the ends together with your fingers and a drop of water. 🥣
Step 8: Reinforce the Joint
- Roll a tiny coil of clay and place it inside the joint where the rim meets the base. Smooth and blend it in. It helps distribute weight and prevents cracks while drying. Highly recommended! ✅
Step 9: Let it Dry
- Leave it in a cool, well-ventilated spot for 24-48 hours. Avoid direct sun, or it might crack. Slow and steady wins the race! 👍
Step 10: Sanding
- Once fully dry, lightly sand the surface and edges with fine-grit sandpaper for a professional finish. Wipe away the dust with a paper towel. 💡
Step 11: Paint Your Design
- Sketch your design with a pencil, then grab your acrylic paints. Tube acrylics are usually easier to manage than bottled ones. 🖌️
Step 12: Seal it Up
- This is non-negotiable! Use a proper gloss varnish or UV resin to protect your tray from moisture. (And please, don’t use nail polish—my wife still doesn’t know about that one!) 💅
Video
Notes
- Please read blog post in its entirety for more tips + tricks.
Don't forget to tag @clayandmestudios with your creations! Cheers! 🤟🏾