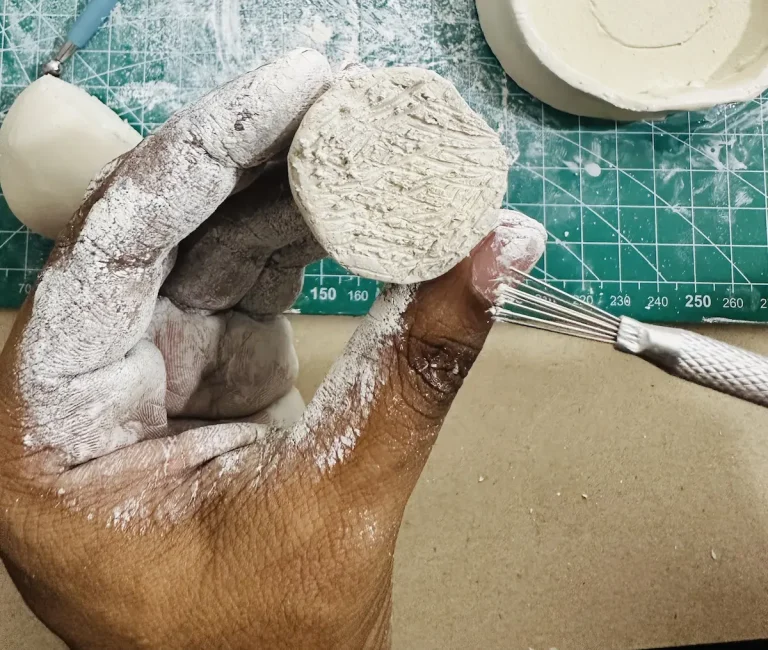
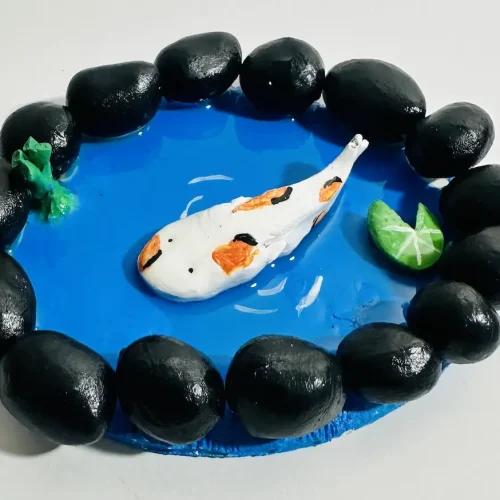
Air dry clay is one of the best clay types to make decorative items. I was thinking about what I should make for my third air dry clay project and came up with the idea of making a pond.
Then, before starting the project, I watched some reels on social media and saw beautiful air dry clay ponds, including a koi fish.
Since I love Japanese culture and want to make something vivid, I thought to make not just a pond, but a koi fish pond.
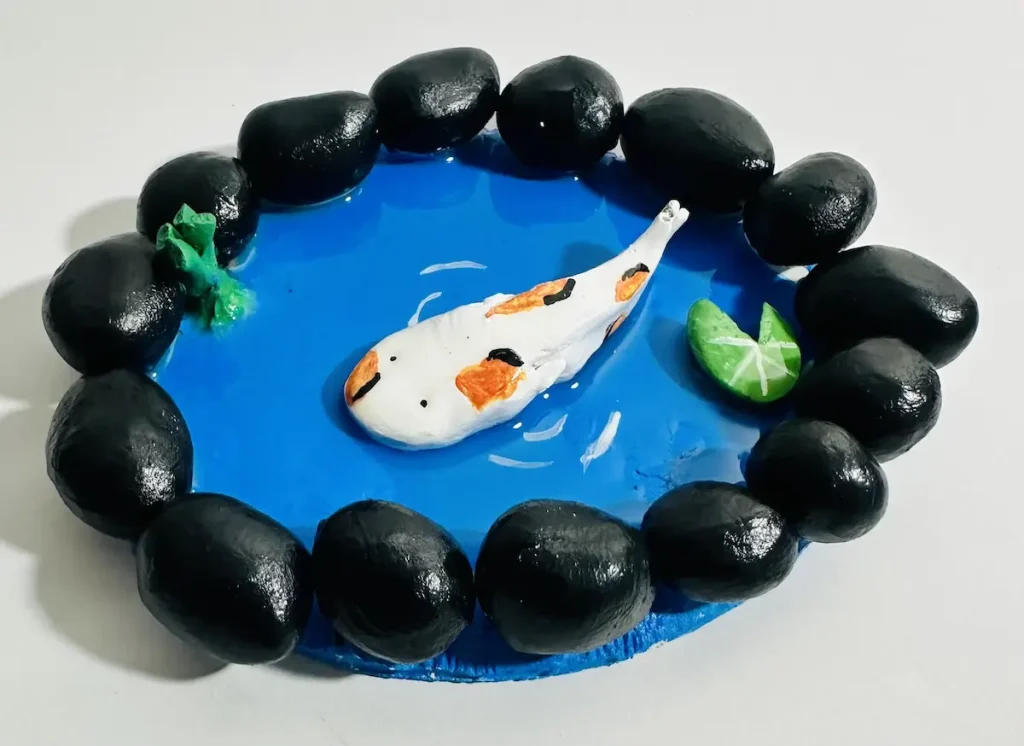
I have shot the whole process of making this beautiful koi fish pond. Actually, you’re the one who must decide whether it is beautiful or not. Lol.
As a beginner, and as my third air dry clay project and my second completed project (because my first rabbit project was ruined), I was happy with the result I got.
If you’re a beginner too, like me, this is the best tutorial for you because I tell every mistake I did and the techniques I followed to get this result.
I also watch and make projects from a beginner’s point of view as you do, so you won’t see expert, professional, or hard-to-follow techniques here. All are simple and easy…
Enough talking, let’s get to work! 🔨
Materials needed for this miniature clay project
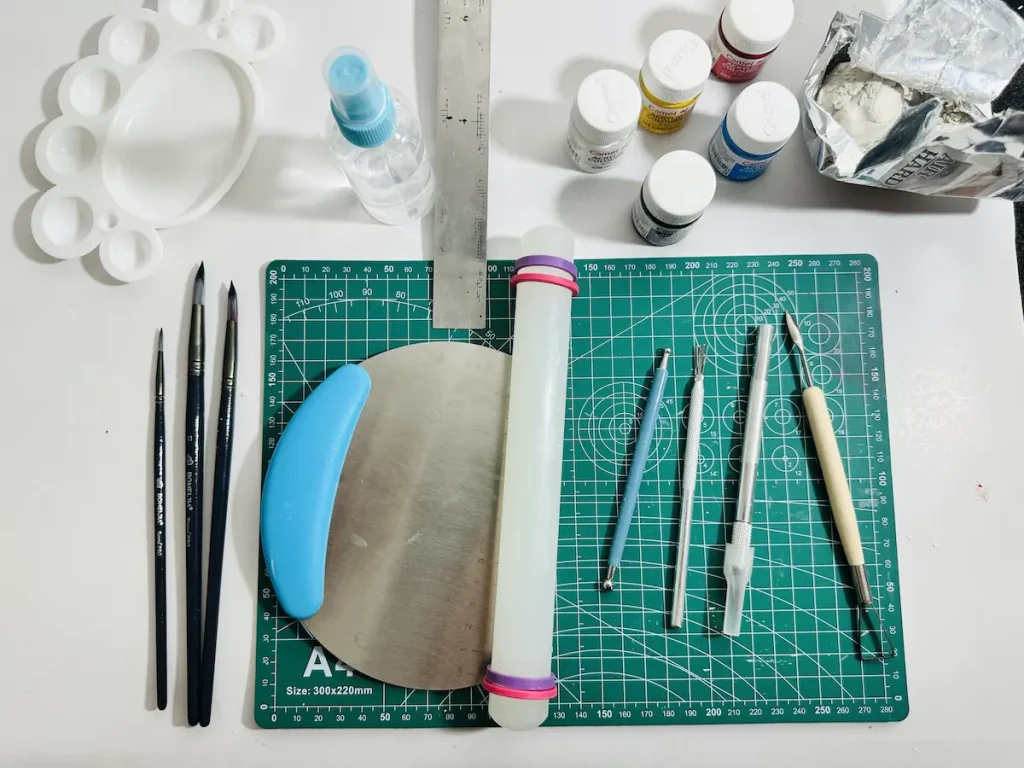
Let me tell you all the supplies I used. If you don’t have any of them, don’t worry. Replace it with one in a similar shape which can be found in your home.
Supplies for making and shaping
- Air dry clay (any brand you can find is okay)
- Acrylic rolling pin or cooking rolling pin
- PVC mat or silicone mat or an unsealed wooden cutting board
- Clay tools (or use toothpicks)
- Clay cutting tool (or small knife)
- Fine sandpaper (good to have, but I didn’t have any)
- Cup of Water or spray bottle
- Paper towels
- Optional: Sponge or silicone sculpting tool (or you can use your finger)
Supplies for painting and sealing
- Acrylic paint (blue, black, white, crimson, yellow)
- Two-part epoxy (resin and a hardener)
- Plastic cup
- Paintbrushes
- Respirator
- Paper towels
If you’ve gathered everything, get ready. It’s time to have fun!
Easy diy koi fish pond tutorial video
As always, below I’ve included the full tutorial video on how to make each section of this diy koi fish pond with air dry clay, and how I painted and sealed it. I’ve included every technique I used, mistakes I made and how I fixed them in detail.
Now let’s look at the written step by step tutorial.
Making the air dry clay koi pond
Before starting, wipe dust off your mat. A clean surface is a must for better results. Here are the simple DIY steps you can follow to make a koi fish pond using air dry clay.
Step 1: Making the pond base and rocks
Here are the little steps you need to follow when making and shaping the clay base and rocks.
1. Conditioning the clay
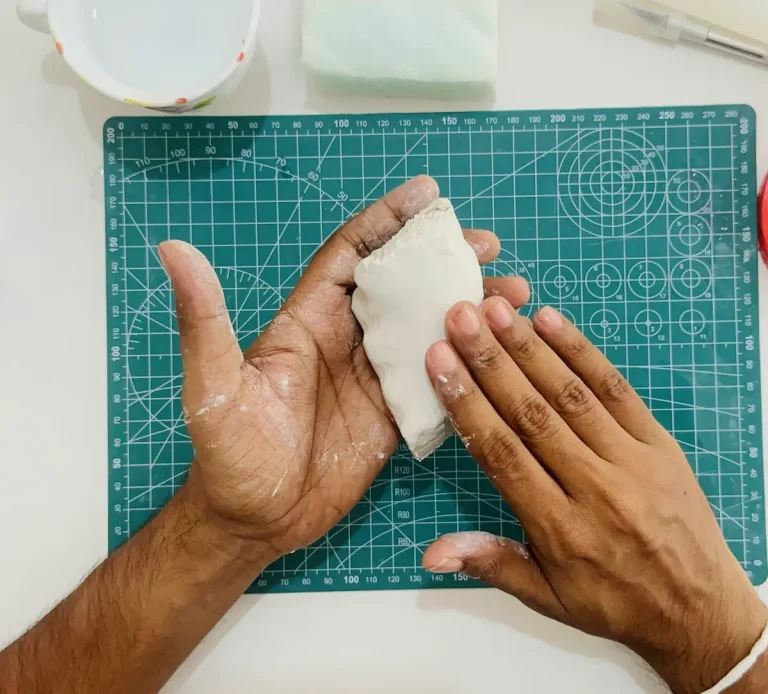
First, take the air dry clay piece on your mat or whatever surface you use and start conditioning it.
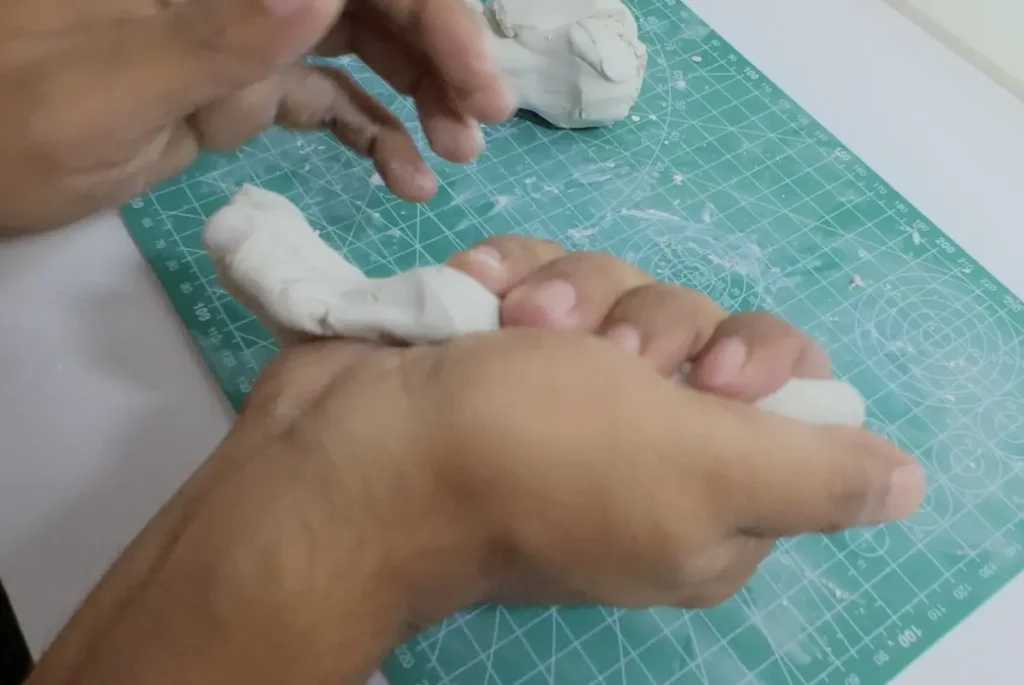
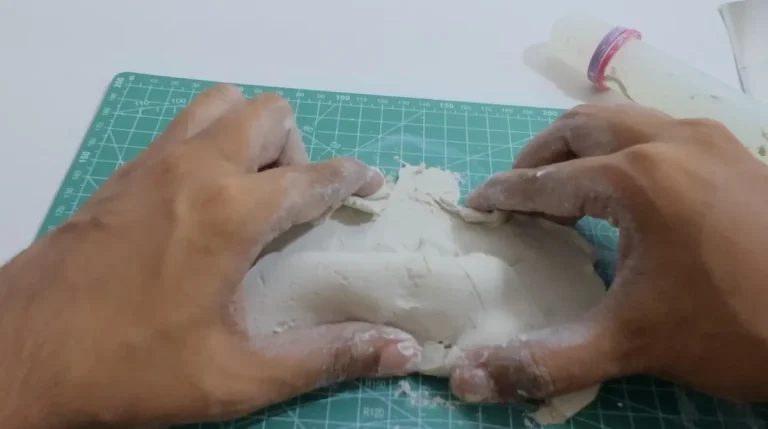
Take the cup of water near you and dip your fingers to take a little bit of water. Then apply a little bit on top of the clay piece. Now with the slightly wet air dry clay and with a wet hand, knead the clay piece like dough. Yes, the same as when you’re making bread.
As you knead, you’ll feel the air dry clay become more and softer, which is a good indicator. This means we can give it the shape we want with no struggle.
Kneading helps remove air bubbles and create a smooth, crack-free texture.
2. Rolling the clay
Now press the clay against the mat using your palm several times. Then, start rolling the clay piece using the acrylic rolling pin.
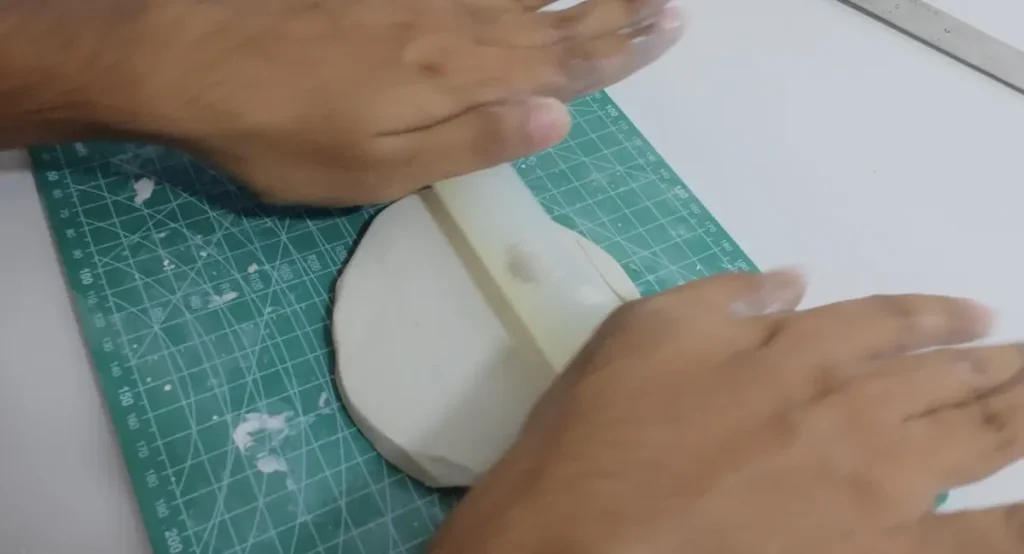
You must flip, rotate and lift up the clay while rolling to avoid clay from sticking to the surface. You simply have to pick up the clay and flip it over after every two or three rolls. Plus, turn the clay piece 90 degrees each time you flip it to distribute pressure evenly.
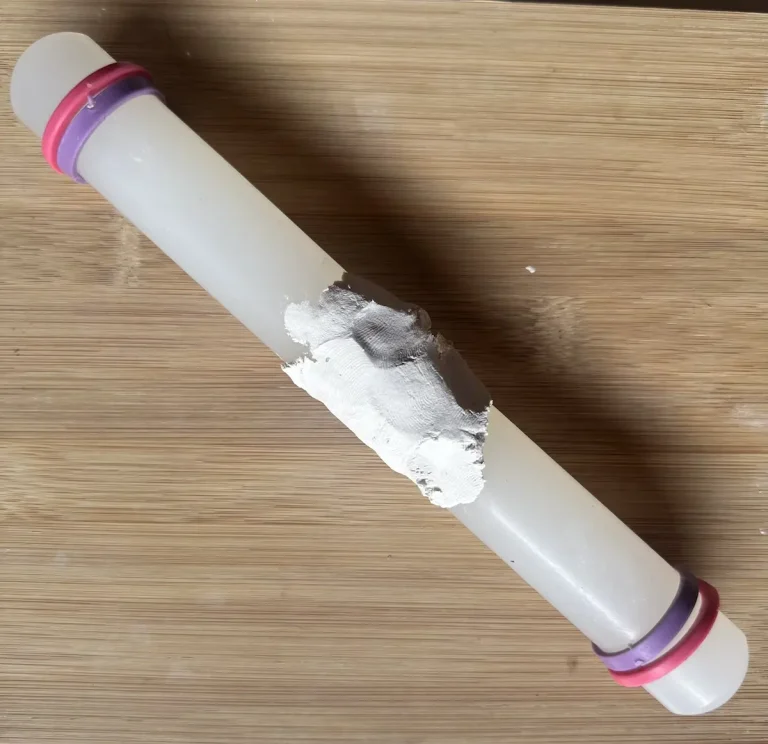
Rolling is essential for making the pond base and getting an even thickness. I use rubber rings around the rolling pin as guides for even thickness or you can use thickness rulers as well to get the thickness you want.
I highly recommend you not to go too thin with the base. A thin base is fragile and tends to crack easily because air dry clay shrinks and warps as water evaporates when drying. So, it is better to go with a thick base.
I aimed for a ¼-inch base.
3. Cutting out the shape of the pond base
I didn’t have cookie cutters or round shapes to get the pond base circular. Plus, I thought why can’t the pond base be whatever shape it wants? Some can be circular, some can be oval, and some can be whatever shape it wants.
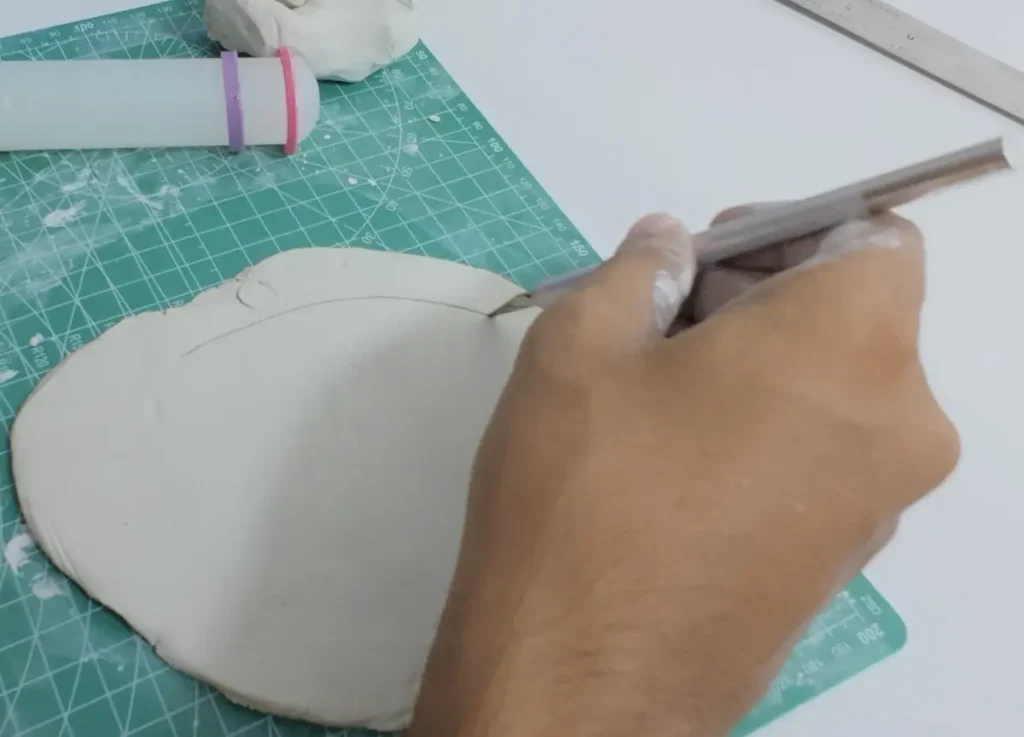
I took the cutting tool and drew the base as my hand moved, and it came out better than I thought. Simply trust your instinct.
If you’re afraid to go straight in with the clay cutting tool, first you can trace the outline with a pencil and then use the cutting tool.
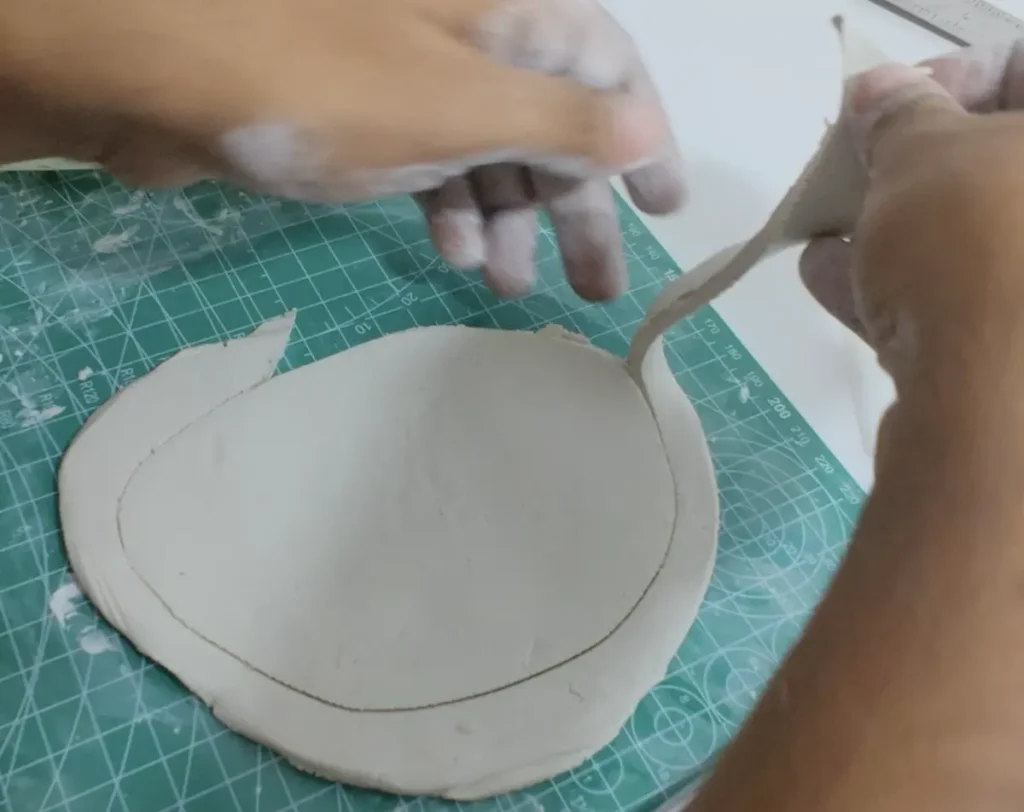
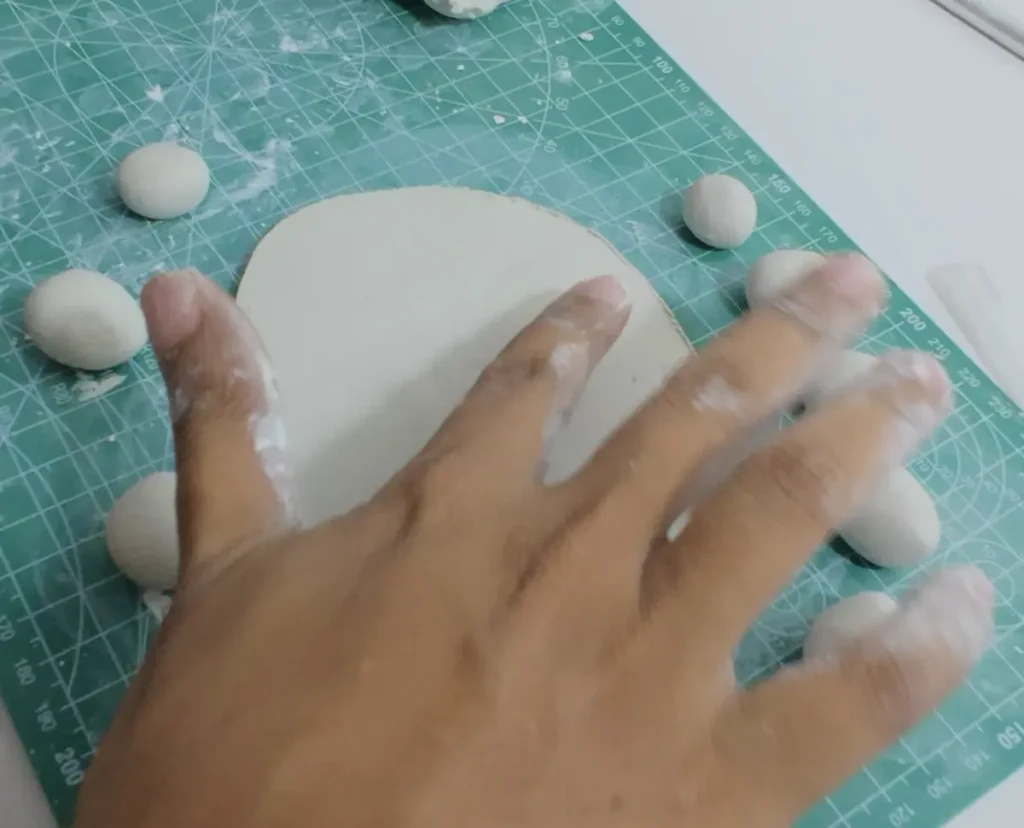
After cutting the pond base, I removed the excess clay and placed it aside to make the clay rocks.
4. Shaping the clay rocks
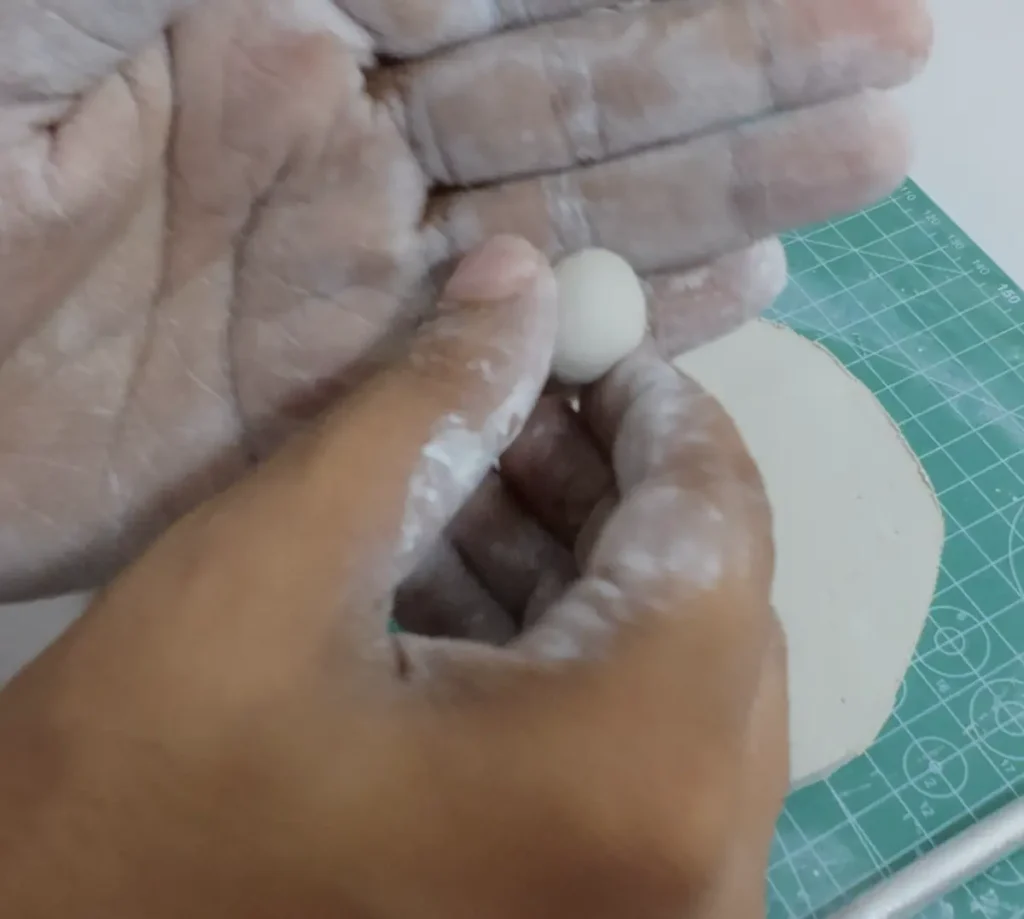
Keep the pond base aside for a bit. Grab the removed excess clay from the pond base project and take tiny pieces from it to start rolling balls.
Don’t make balls too big or too small. Just need average-sized rocks compared to the pool base we shaped.
5. Attach clay rocks to the pond base
Now follow score and slip method to attach clay rocks you made along the outline of pind base.
First, you need to score along the edge of the pond base. This is where rocks attach.
Then score the area of each clay rock that touch the pond base. Then dip your finger in water and wet the scored surfaces by tapping.
Then quickly place the clay rock on the pond base and gently press it. Please be gentle. We don’t want to displace the rock and base.
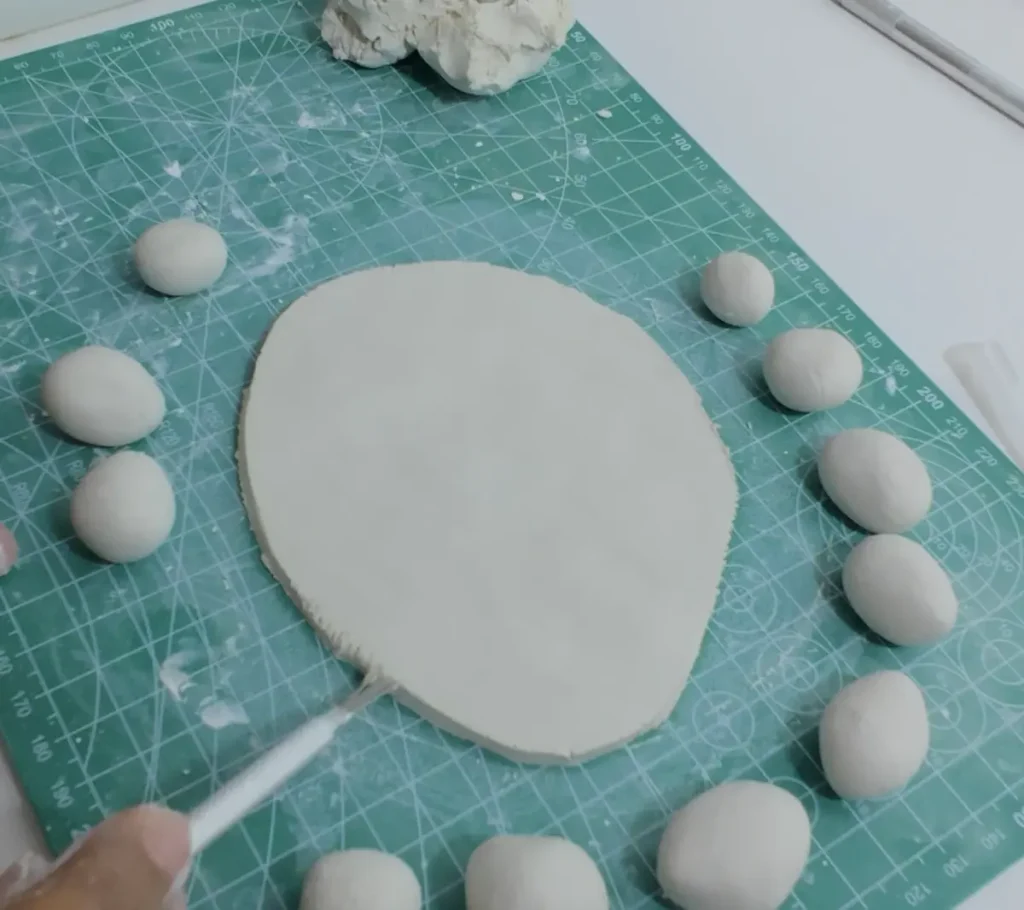
Likewise, attach all the rocks you made along the outline of the pond base.
Score and slip is essential to attach two air dry clay pieces. Otherwise, they won’t attach well and end up falling apart when drying. This is what happened to my first air dry clay project, which was completely ruined because I didn’t follow the score and slip method properly.
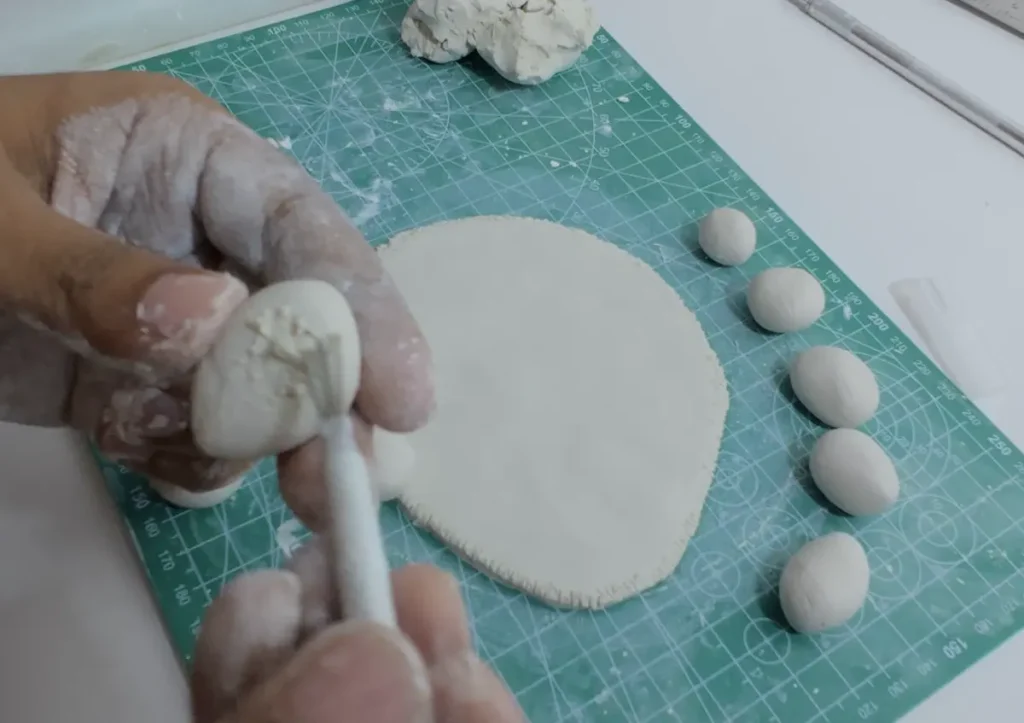
You can use a special mixture of clay and water which is called “slip” instead of water as well. This mixture is made by mixing air dry clay and water in a 1:1 ratio. You can keep it in a sealed bottle and use it as a glue when you want to attach two clay pieces together.
I just used water because it was easy and I didn’t have slip and was lazy to make it. Plus, water worked just fine.
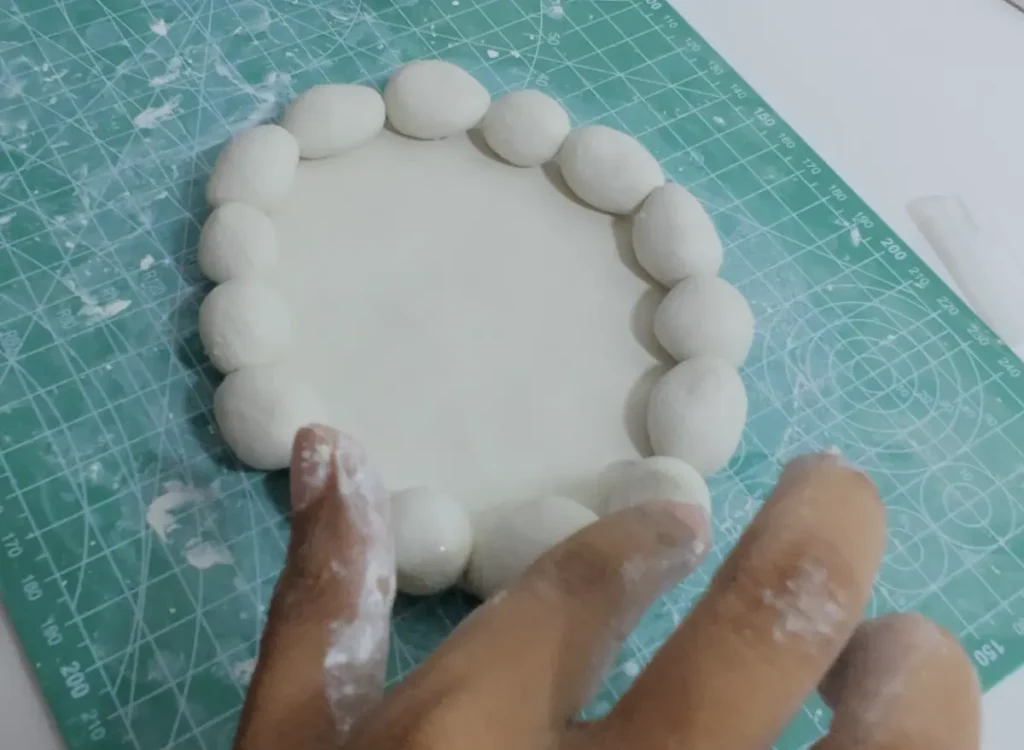
Congratulations! Now you have successfully completed making the pond base and rocks. Now it actually looks like a pond. Just need something to make it alive.
Step 2: Shaping the miniature koi fish
Take the excess air dry clay if any or take a fresh small piece of clay and condition and knead until it becomes pliable. Then, take the soft clay piece and start shaping the koi fish.
You don’t need to add fine details because most fine details may blur out during the drying stage of air dry clay due to shrinkage. Plus, air dry clay is not ideal for small projects.
Therefore, just take a clay piece and try your best to get the fish shape.
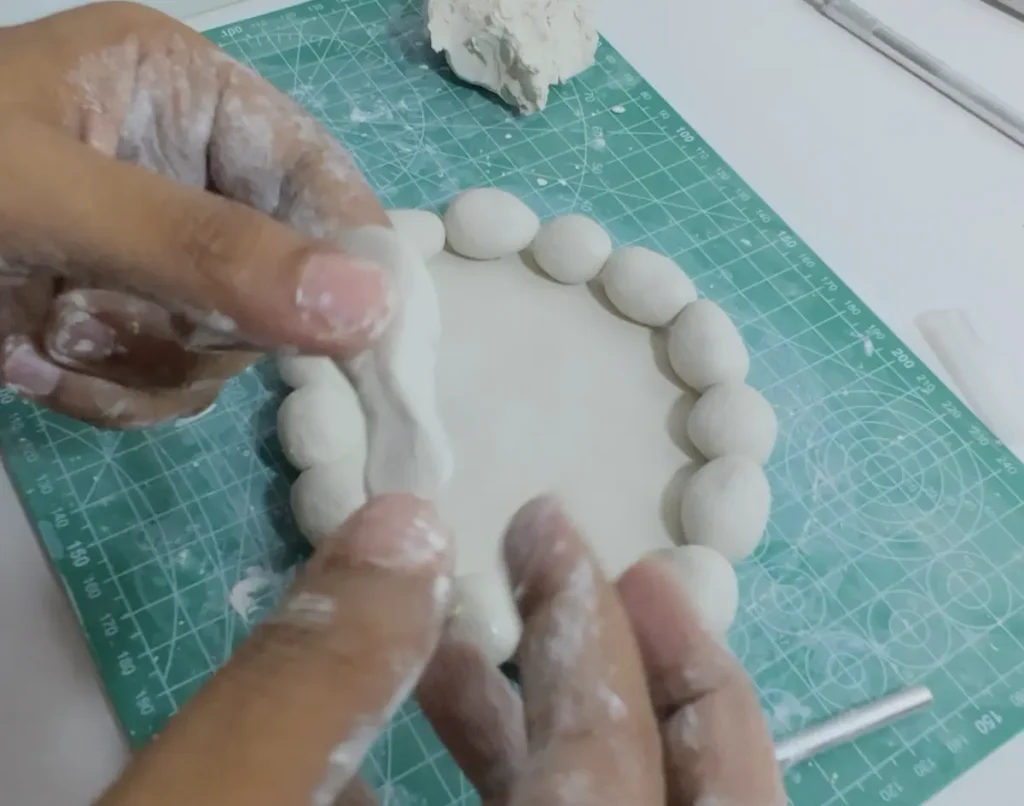
Use your fingers to get the streamlined shape body of the fish. Body should be a smooth, tapered shape that is narrow at both ends and wider in the middle.
Use a cutting knife or scissors to cut and shape the fin of the fish and other details.
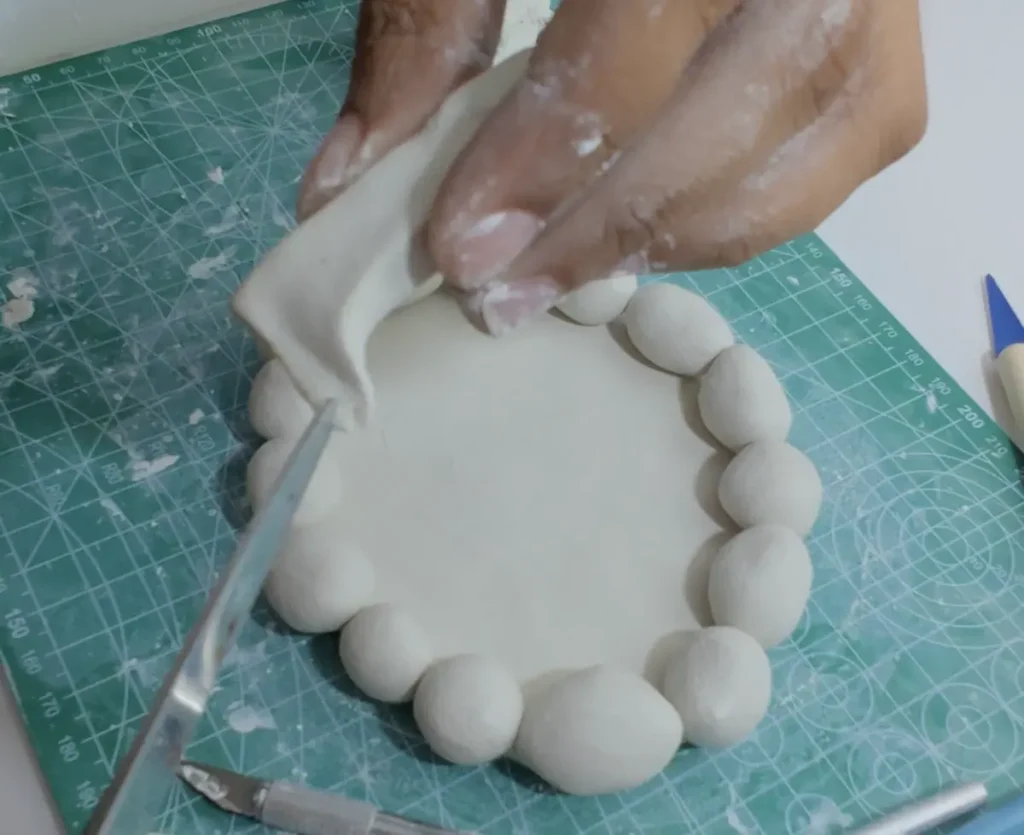
After shaping the fish, make sure not to attach the koi fish on the pond base because painting fine details can be hard when the koi fish is on the pond. You’ll have to take the whole pond with rocks when you’re painting the fish, which is risky because clay rocks can fall apart.
Therefore, we’re going to make the pond and fish separately, paint them separately and then place koi fish in the middle of the pond before sealing and then let epoxy resin handle the attachment part. It will work as a glue for the koi fish which is a smart play.
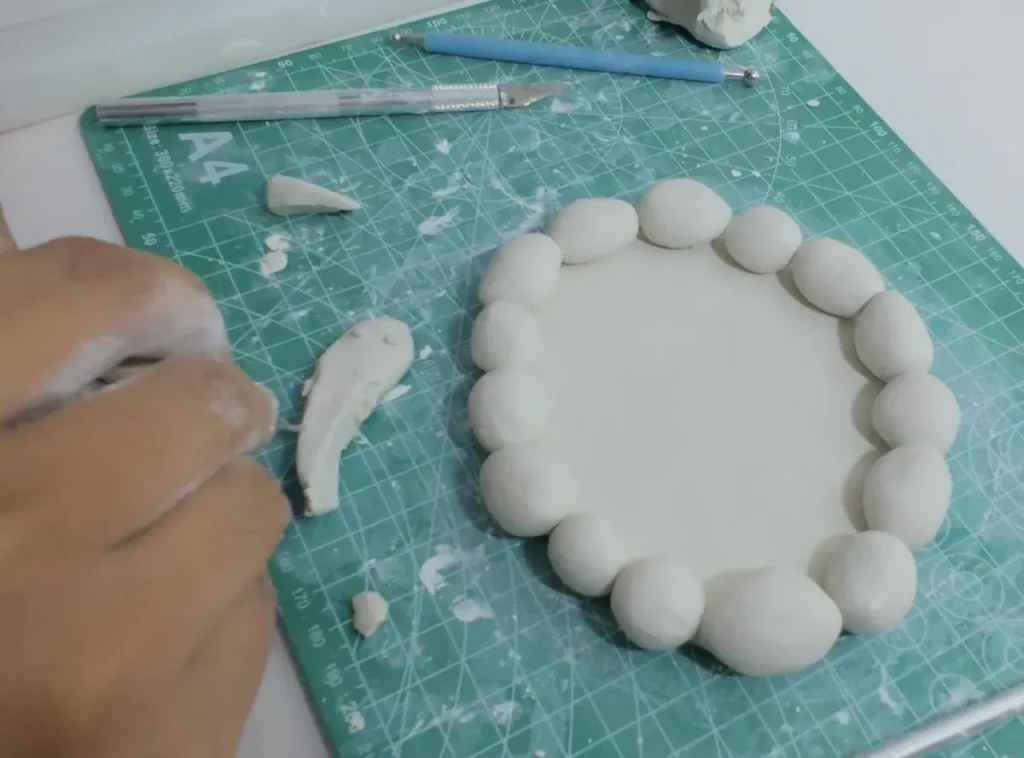
Step 3: Adding pond plants and lily Pad
Now time for decorations! 🎨
You can do this step as you want. I made thin coil-shaped air dry clay pieces and attached them to make a pond plant. Made its base a bit larger so I can score and attach it to the pond base resting between the rocks.
Then, I rolled a very small piece of air dry clay and cut a round shape. Then removed triangular shape part from it using the cutting tool to make a lily pad.
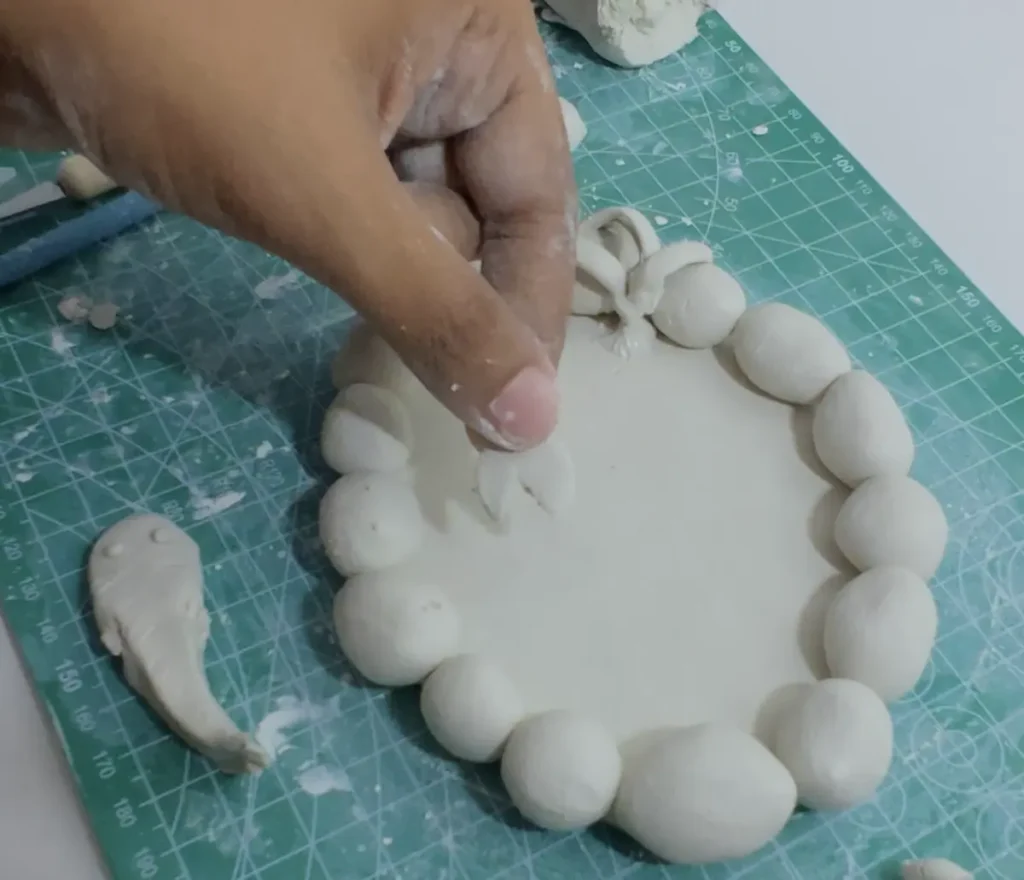
Attached lily pad too to the pond base by score and slip method.
Make sure not to attach lily pad in the middle because middle is for the koi fish which we add in later stage to the pond.
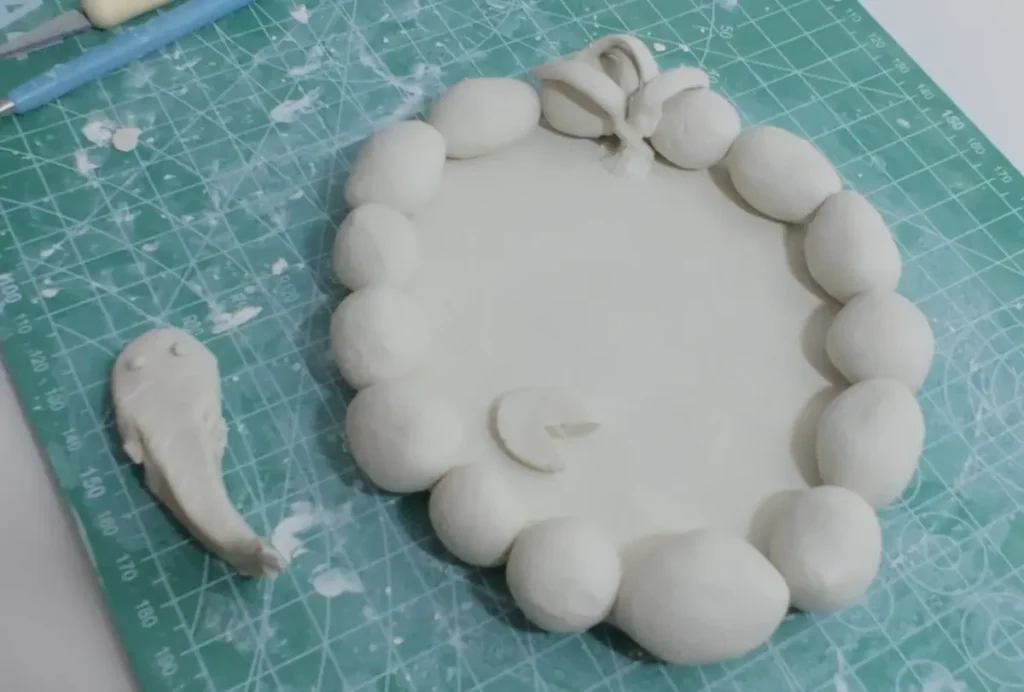
Step 4: Let the pond and koi fish dry
Since we’re done making and shaping the project, let the pond and koi fish dry for 2 days. Let the project dry in a cool, well-ventilated space. Not in direct sunlight because quick drying causes uneven shrinkage, which can lead to cracking.
Air dry clay is prone to cracks, so slow drying is a must before painting.
Upon drying the moisture inside will be evaporated and give nice, pure white look to the project.
After 2 days, check if there are any dark wet spots. If there are none. You can start painting.
Step 5: Painting the air dry clay pond and koi fish
If the project is well dried, you can start painting. I used acrylic paint and i highly recommend you to use acrylic paint as well. The main reason is that, in this project, since we use epoxy resin for sealing, having a waterproof surface is a must. Acrylic paint works as that sealer underneath epoxy resin.
Same if you’re going to seal with UV resin. Otherwise, moisture inside of the air dry clay tend to react with resin and give a dull look.
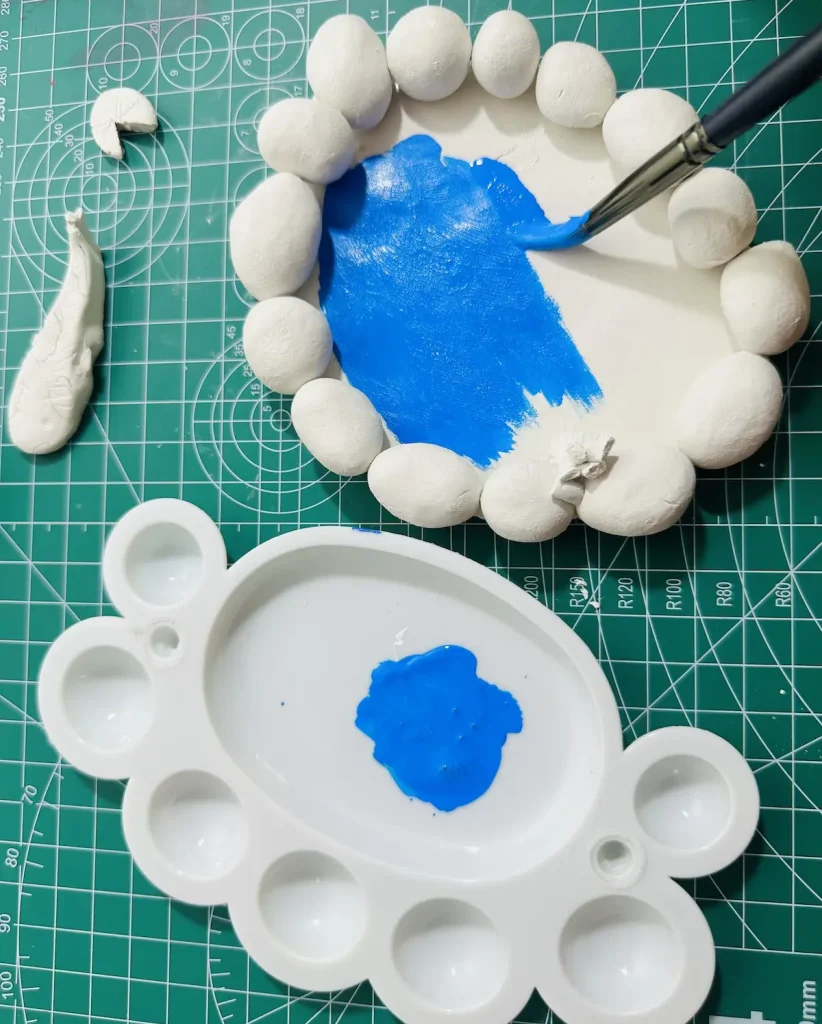
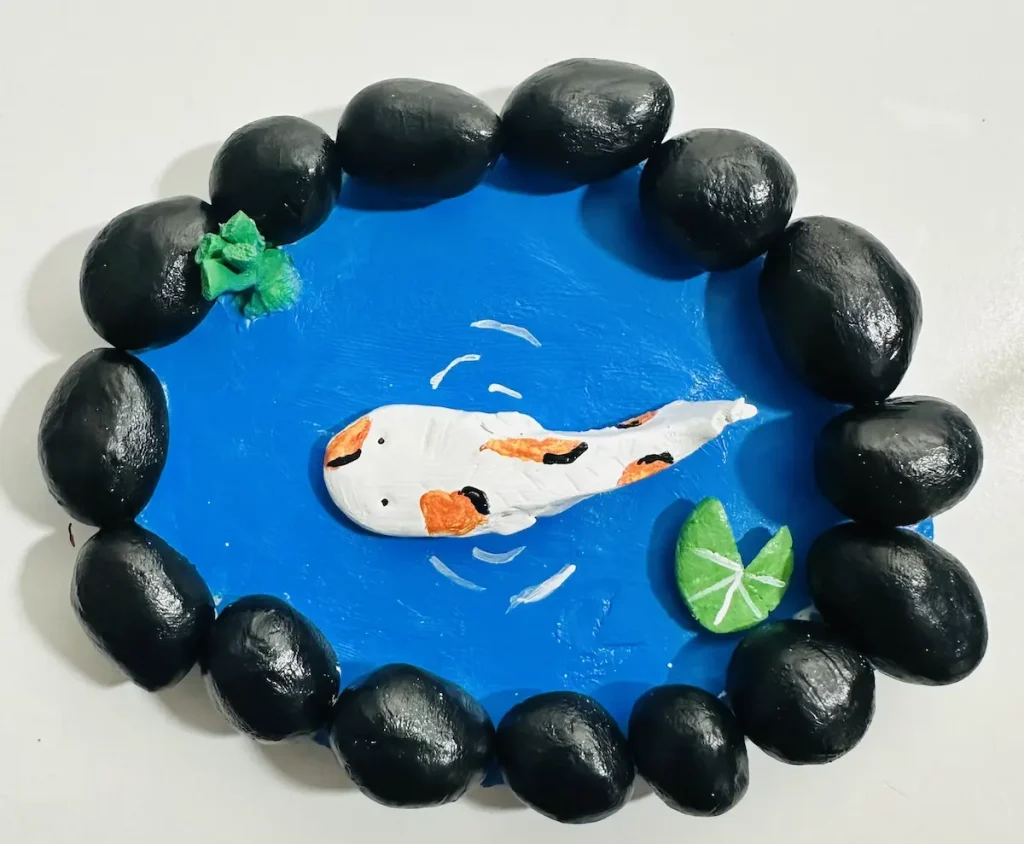
First, I took the pond and started painting it with blue for water, black for rocks and green for plants and lily pad.
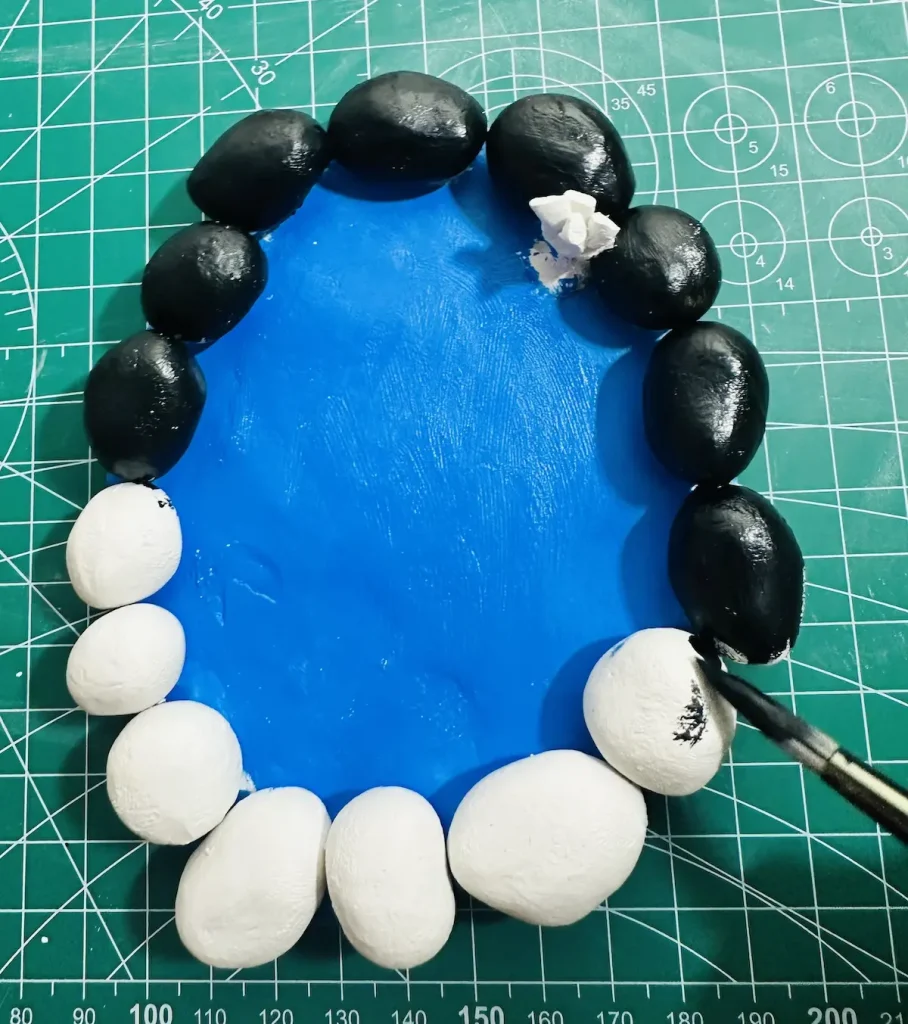
I drew some lines to show the motions that occur when koi fish is there.
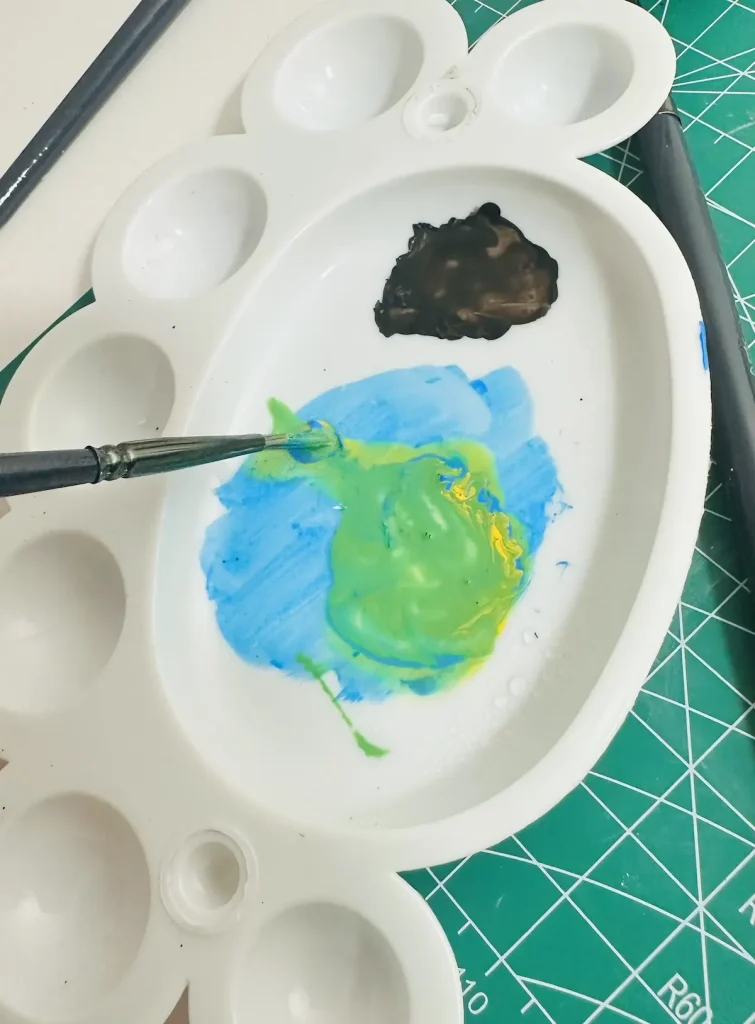
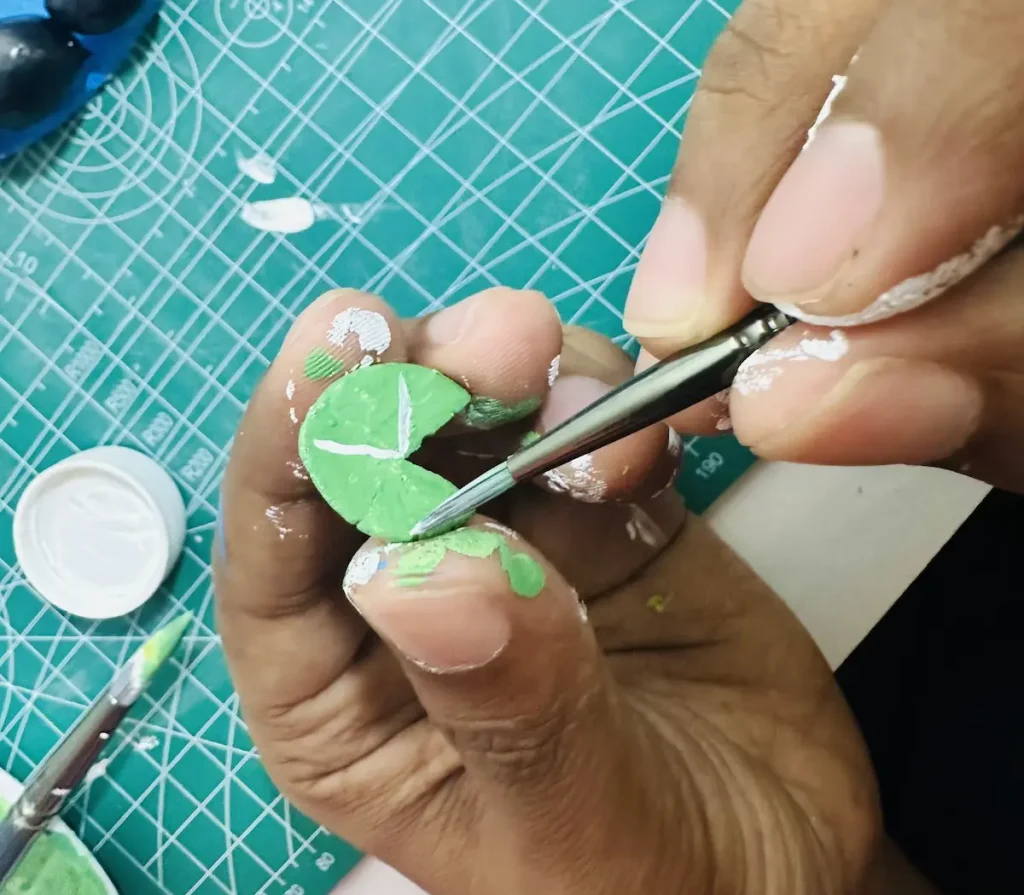
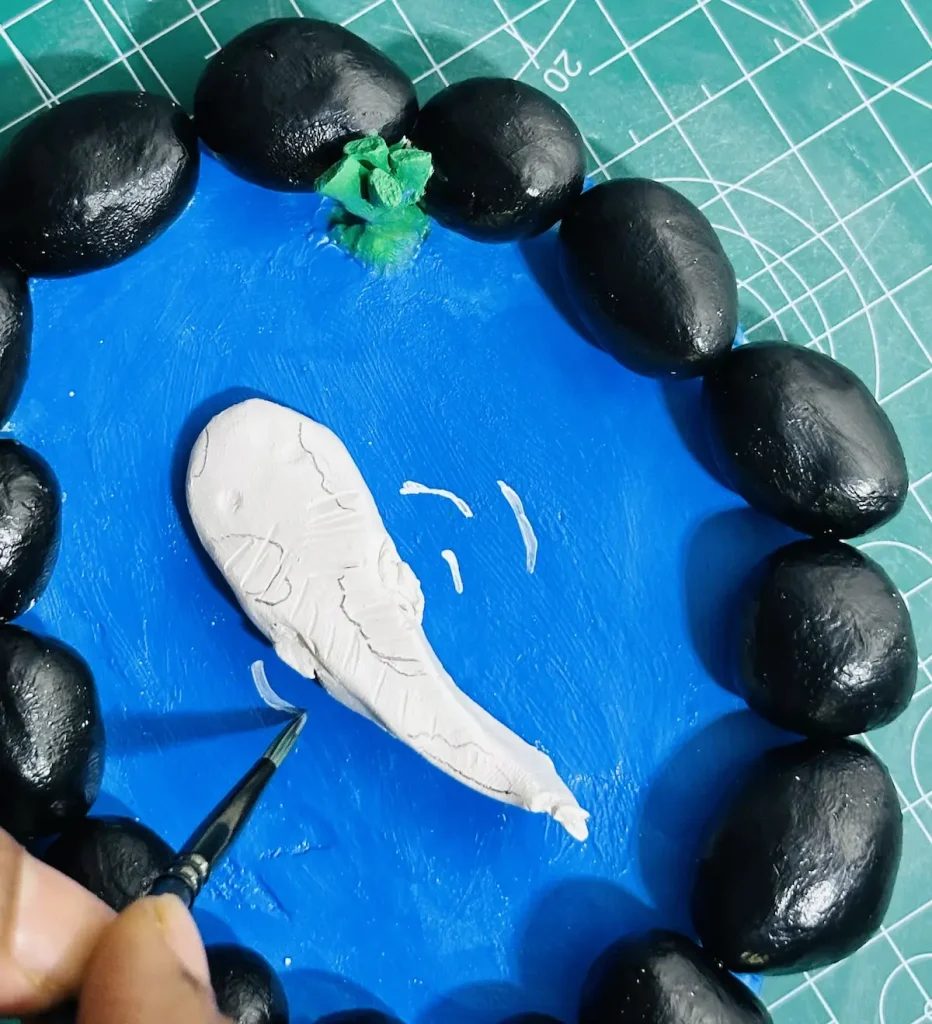
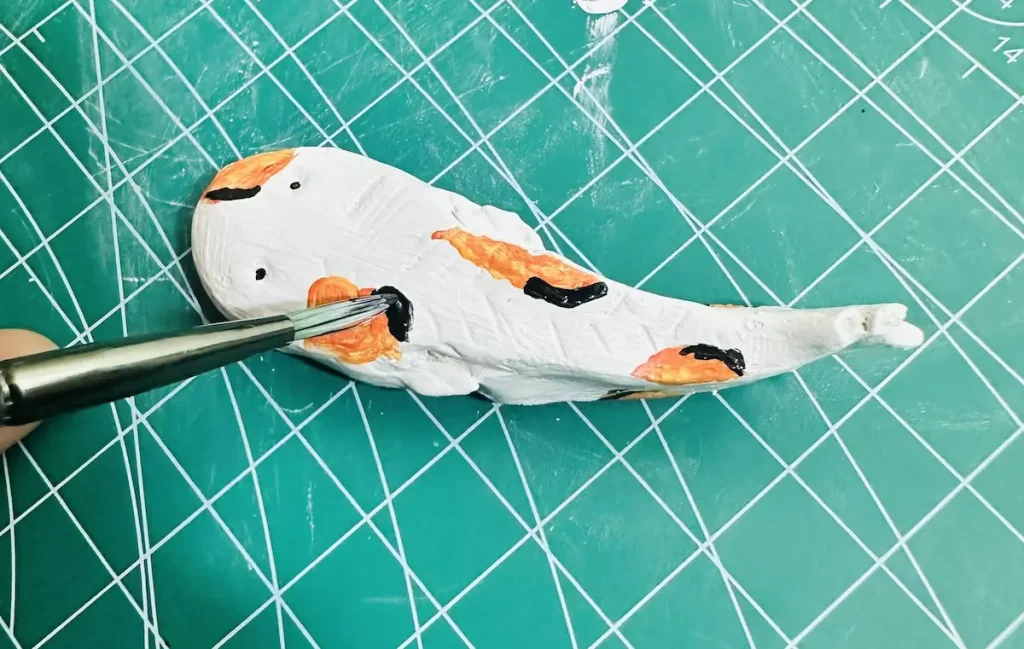
Then I took the koi fish and painted it following the patterns of Japanese koi fish. I painted Kohaku and Sanke patterns on the fish with a fine-detail paintbrush.
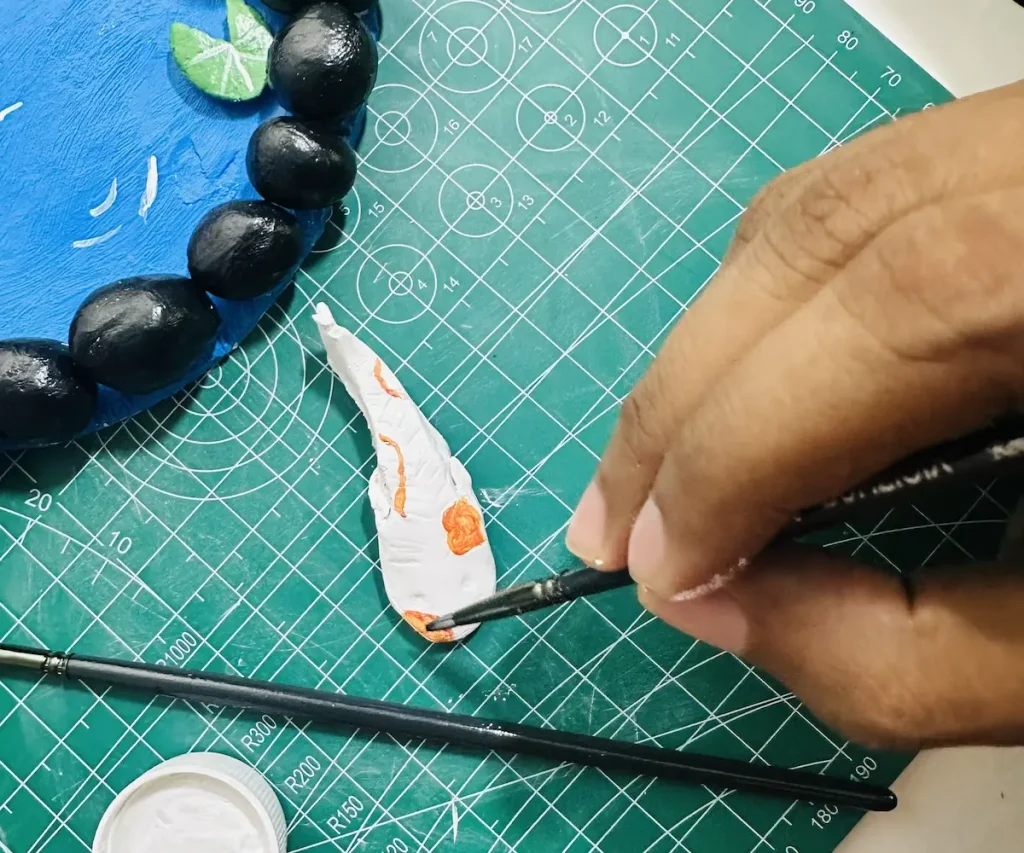
I struggled with painting the koi fish because I lack patience. It needs your full focus and high patience to get a nice result.
After painting the pond and koi fish, I placed the koi fish on the pond and let the whole project dry for 2 hours before sealing.
Step 6: Sealing the air dry clay koi fish pond
Sealing air dry clay is a must to protect it from moisture and dust, and for the nice appeal. Otherwise, moisture will go inside and ruin the project by forming cracks. Unsealed air dry clay reacts poorly to wet mediums.
Sealing gives long-term protection and a glossy look that helps to increase the value of the product you made.
Take the whole project to a well-ventilated area before you start sealing. You can use UV resin, gloss varnish, or epoxy resin to seal air dry clay projects. I used epoxy resin.
If you plan to use UV resin or epoxy resin as I did, wear a respirator because they contain VOCs (Volatile Organic Compounds). Liquid resins release harsh chemical vapors and fumes into the air when they cure or dry. It doesn’t matter if you use a paintbrush or spray; safety is a must!
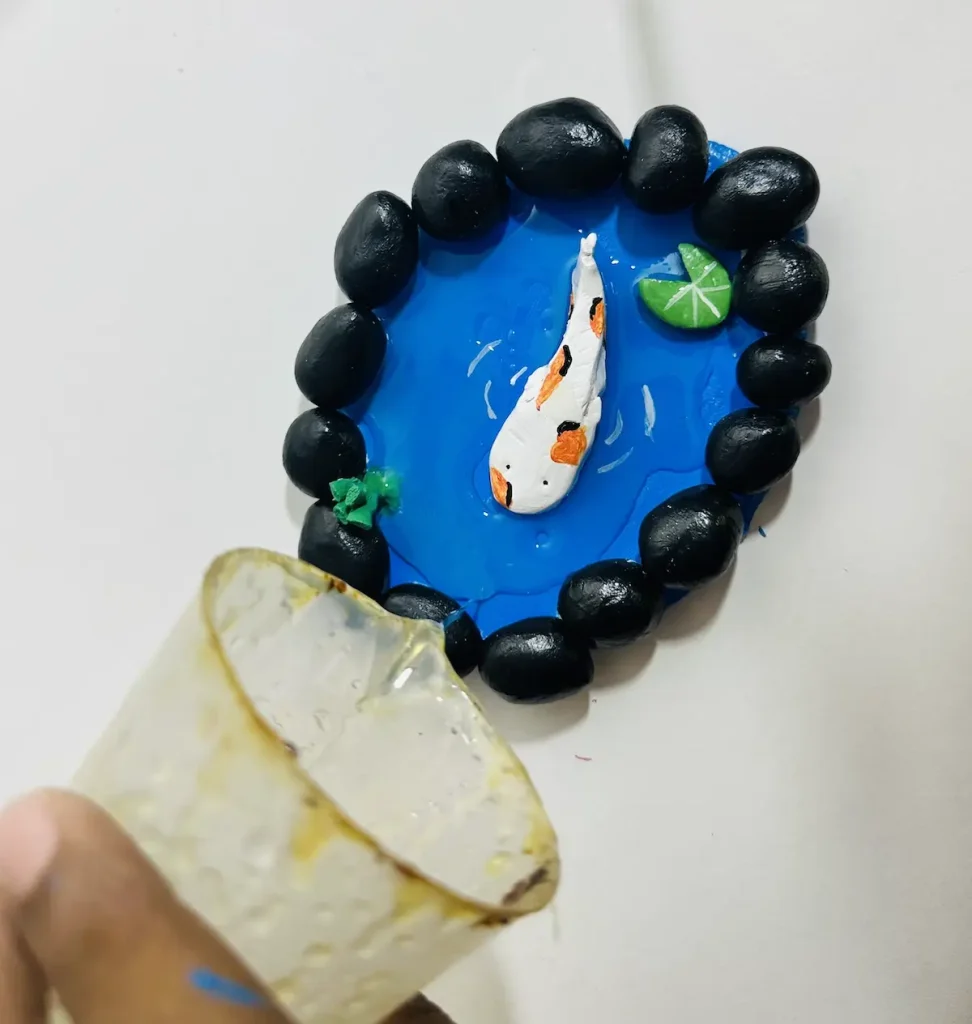
Since I used epoxy resin, make sure to grab two part epoxy resin, which is an epoxy resin that comes with a hardener. Dont grab just epoxy resin because it doesn’t dry on its own. You need the hardener.
First, mix the epoxy resin with the hardener equal volumes in a plastic cup and then mix thoroughly. No you don’t need to measure, just take approximate volumes. I did the same.
Now, pour the epoxy resin you made by mixing or any other sealer on the pond base and koi fish.
If you use epoxy resin, I poured a lot in layers in layers to make fish look suspended at different depths and to give the water a feel.
If there’re bubbles, remove them using a lighter or heat gun. But I didn’t worry them about much because water do have bubbles right? So, it’s fine.
Seal the whole koi fish pond using a paintbrush. Apply evenly on pond base, rocks, koi fish and plants without leaving any space.
Now let the koi fish clay pond dry for 24-48 hours. Sometimes this may take 72 hours depending on the amount of resin you used.
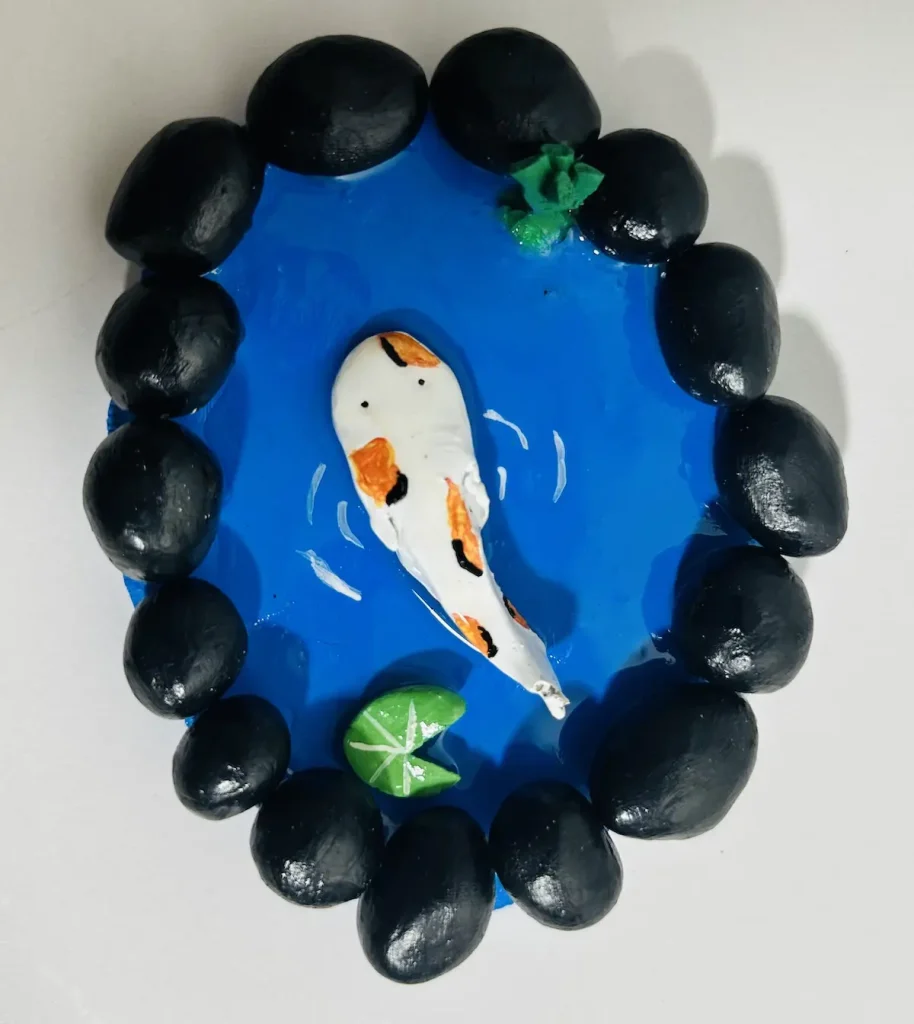
The outcome was so beautiful, and I was fully satisfied with my 3rd air dry clay project. I love it!
Final Thoughts
Plan ahead before you start making an air dry clay koi fish pond. Even though this project looks like a lot, it was easy. Most of them are just balls you can make using your hands. The only difficult part I experienced was when painting the koi fish. All others were so easy and I was able to learn a lot about shaping, painting, and sealing during the project.
If you’re a beginner, I highly recommend you try this out, which is a huge step in becoming an expert clay artist.
Now it’s your time to make your cute koi fish pond with air dry clay.
Be sure to tag @clayandmestudios in your clay koi fish pond creations. I sure love to see them when you do. Until next time! Cheers! 🤟🏾
How do you make fake water for miniature ponds?
Apply epoxy resin in layers and let the bubbles form to give fake water effect for miniature ponds.
How do you seal air dry clay before adding resin?
Paint with acrylic paint to seal the air dry clay or use a waterproofing sealer. Don’t paint air dry clay with watercolors, which won’t waterproof your air dry clay project. Without a sealer, resin reacts with air dry clay, resulting in a dull look.
DIY Air Dry Clay Koi Fish Pond

Supplies Needed
Air dry clay (any brand you can find is okay)
Acrylic rolling pin or cooking rolling pin
PVC mat or silicone mat or unsealed wooden cutting board
Clay tools (or use toothpicks)
Clay cutting tool (or small knife)
Fine sandpaper (good to have, but I didn’t have any)
Cup of Water or spray bottle
Paper towels
Optional: Sponge or silicone sculpting tool
Acrylic paint (blue, black, white, crimson, yellow)
Two-part epoxy (resin and a hardener)
Plastic cup
Paintbrushes
Respirator
Paper towels
Instructions
1. Prepare the Tray Base
- Condition your clay, roll it (aim for ¼ inch), and cut your pond shape! ⭕
2. Build Clay Rocks
- Make little clay balls and attach them around the edge using the “score and slip” method. 🪨
3. Shape the Koi Fish
- Shape a smooth, streamlined fish. Keep it simple! 🐠
4. Add Pond Plants
- Attach your clay plants and lily pads with score and slip. 🍃
5. Let it Dry
- Let your creation dry for 2 days in a cool, ventilated spot. 🌬️
6. Paint Time
- Paint your pond and fish. Focus is key! 🎨
7. Seal the Clay Koi Fish Pond
- Mix your resin (don’t forget the hardener!) and pour to create that beautiful water effect. Let it cure for 24-48 hours. 🌊
Video
Notes
- Please read blog post in its entirety for more tips + tricks.
Don't forget to tag @clayandmestudios with your creations! Cheers! 🤟🏾