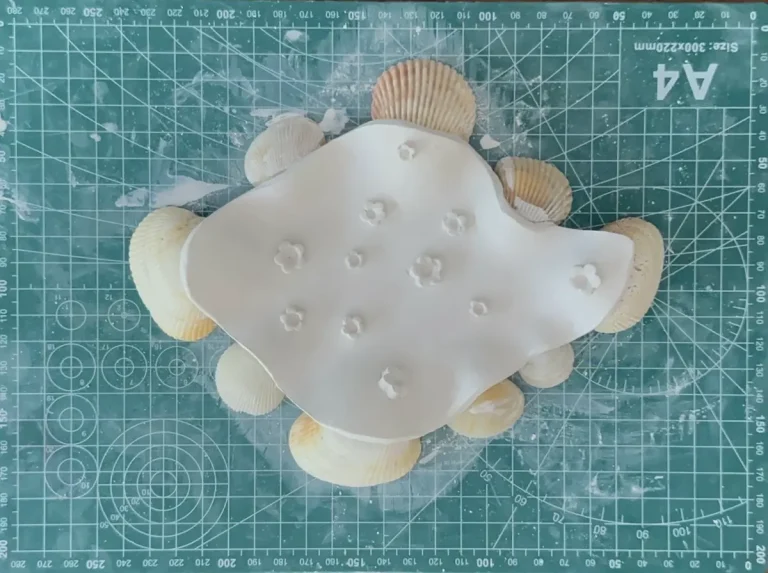
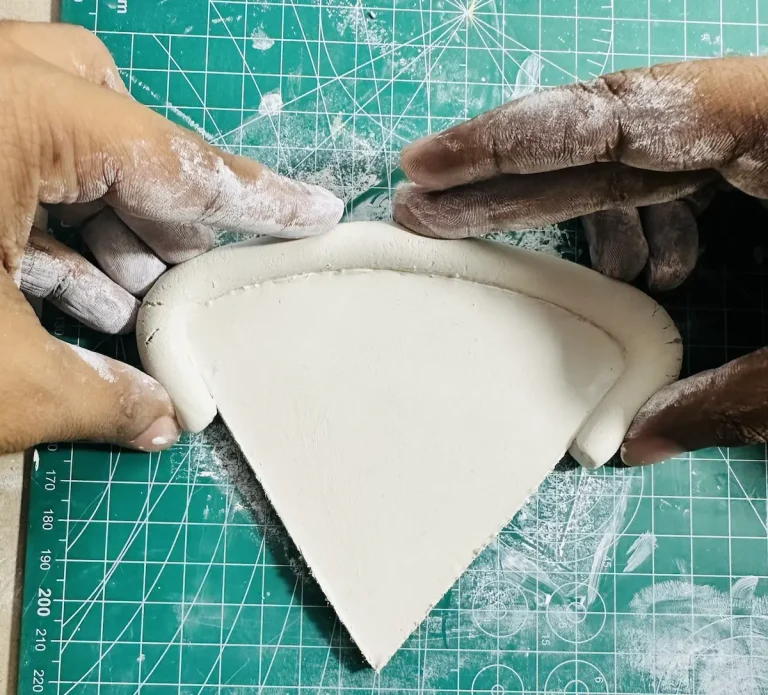
I know from experience how annoying it is when your air dry clay keeps sticking to the table once you roll it.
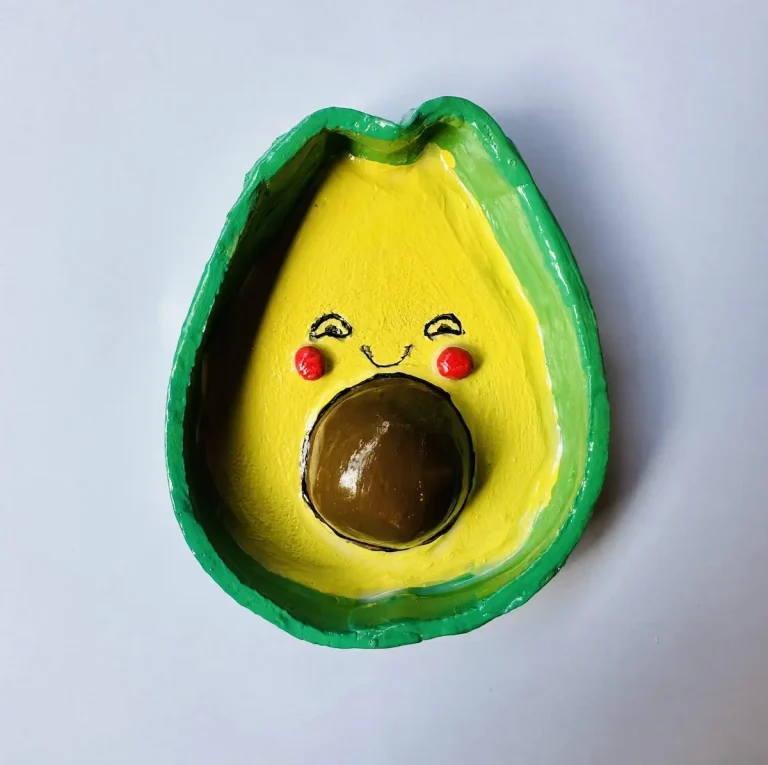
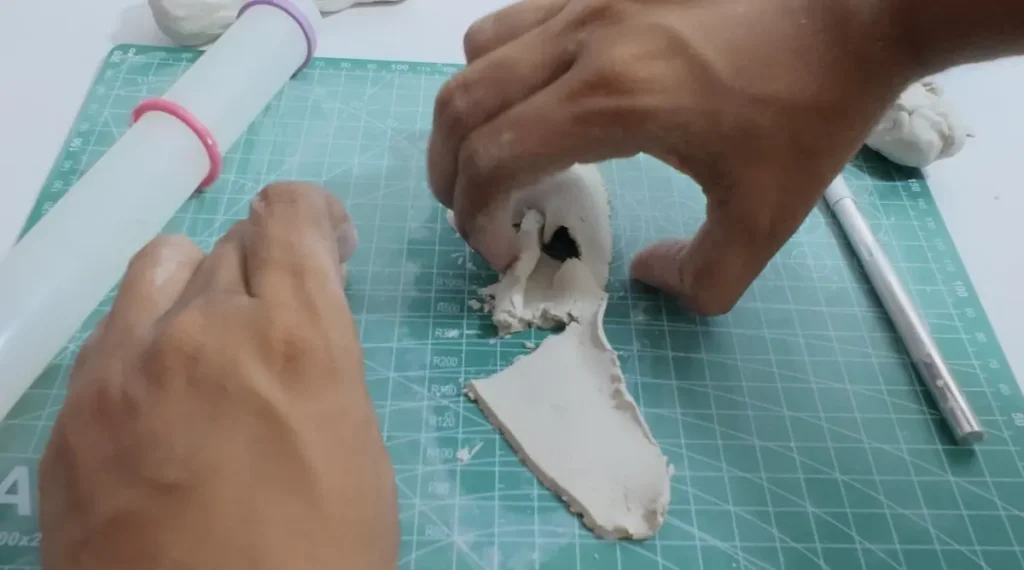
When I was making my second air dry clay project, which is a trinket tray, I had to redo the kneading and rolling process 4 times, yes 4 freaking times because every time I tried to lift the clay piece after rolling, it got stuck to the table. Even at one point, I thought of quitting air dry clay and switching to something else like polymer clay.
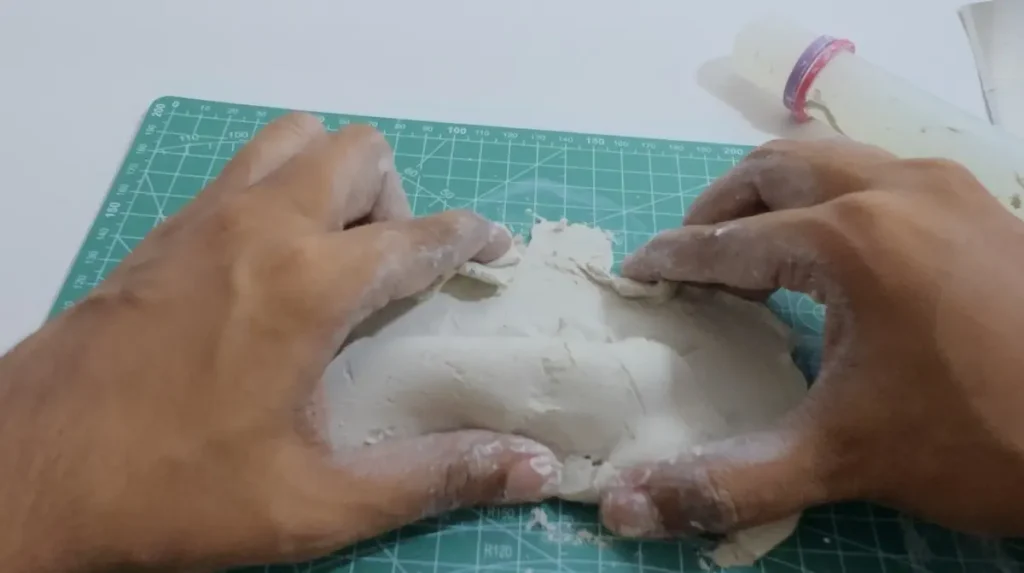
Finally, my wife came out and rescued me. The technique she told me to follow saved my clay artist dream. Because of her advice on handling clay, now I’m able to knead, roll, cut and lift up air dry clay without sticking it to the table. ✨
Let me tell you what that is and how you can easily apply it for any air dry clay project you want.
Why air dry clay is prone to sticking
Air dry clay is prone to sticking because moisture, fine binders or glue inside come outside upon kneading and rolling the clay and activate when it becomes wet.
Here are the common reasons I found why air dry clay sticks,
- High moisture content: Air dry clay contains high moisture content and it becomes wetter when you add a little bit of water when kneading to make it softer. Water acts like an adhesive agent against hands, tools, and the table. 💧
- Water-soluble fine binders: Air dry clay contains organic binders such as cellulose or starch-based glues. They become really tacky when exposed to moisture.
- Working on an ultra smooth surface: If the table you’re working on is an acrylic mat or glass, which are super smooth, it creates an airtight seal that acts like a suction cup against the wet clay. Therefore, clay tears apart when you’re trying to lift up the clay after rolling.
- Working on an unsealed surface: If the working table is an unsealed wood or canvas, they absorb the moisture of your air dry clay while rolling. Raw wood fibers create a mechanical bond between the clay and the table. This makes air dry clay stick in the wood grain or dry out too fast at the bottom layers. This doesn’t work like suction cups but clay tends to crack or rip when pulled up.
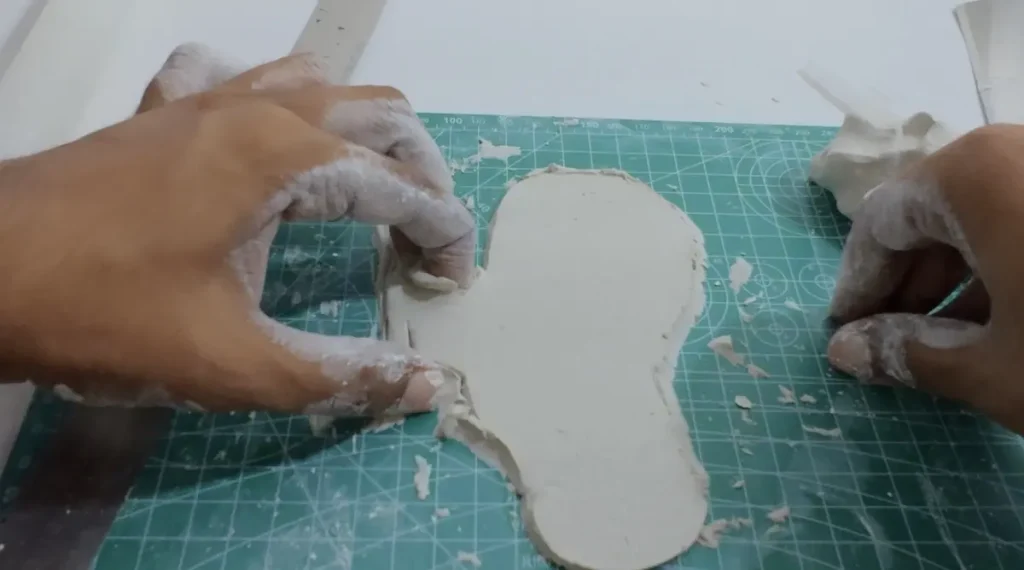
Air dry clay has a porous structure. Due to the pressure you put on top of the clay while rolling, the water and fine binding agents come out through those porous holes and seals around each hole, creating a vacuum.
Likewise, rolling creates a large number of small, strong suction areas against a sealed, ultra smooth table surface. So, when you try to lift it up after rolling or shaping, it makes the thin clay too weak to peel off cleanly and tears apart.
But why does air dry clay stick to our palms? The same principle, my friend. 🤔
When you take it out and knead the clay using your hands, the moisture inside the air dry clay warms up and water and fine binding agents release to the surface.
This is why air dry clay sticks to your hand, especially after you wet it and add a little water before kneading to make it softer.
Therefore, in order to avoid air dry clay from sticking to the table, you need to be concerned about its moisture level, and the condition of the table surface you’re working on and most importantly, there’s a simple technique you can follow, which I learned the hard way and will explain later.
Best surfaces for rolling air dry clay
Do not pick a sealed, ulta smooth, glossy surface for working with air dry clay. The clay will stick terribly and tear apart when lifting.
Instead, use one of these surfaces,
PVC mats
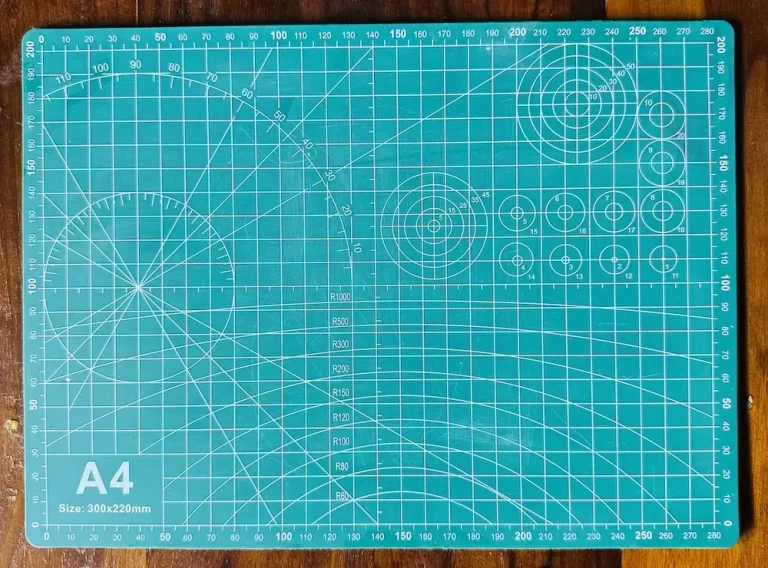
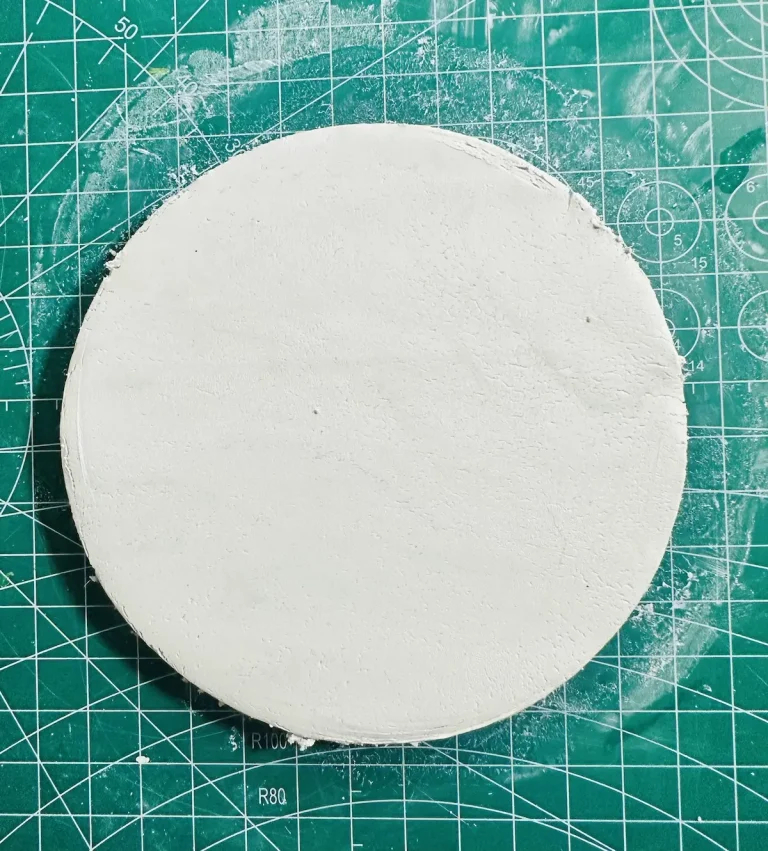
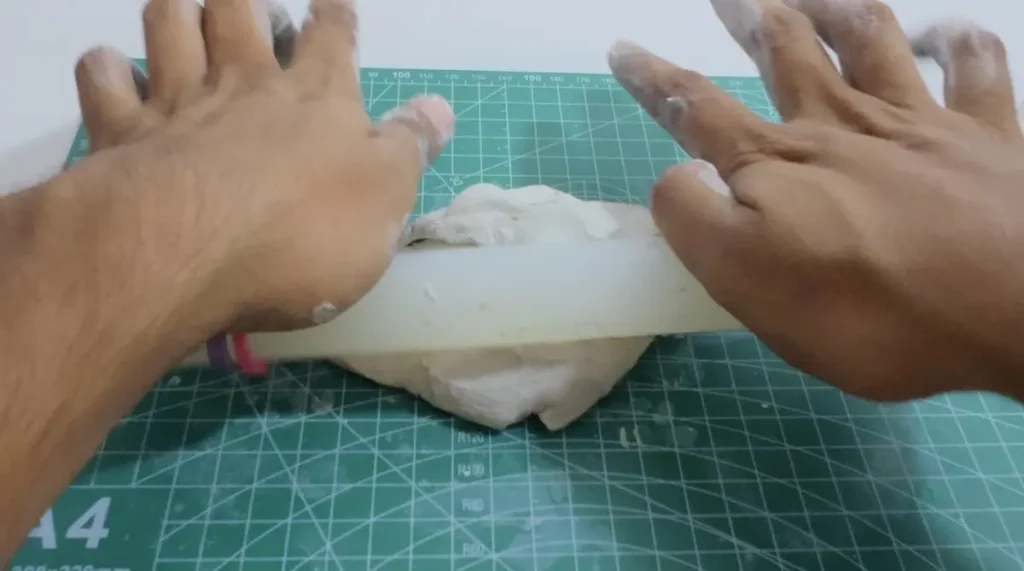
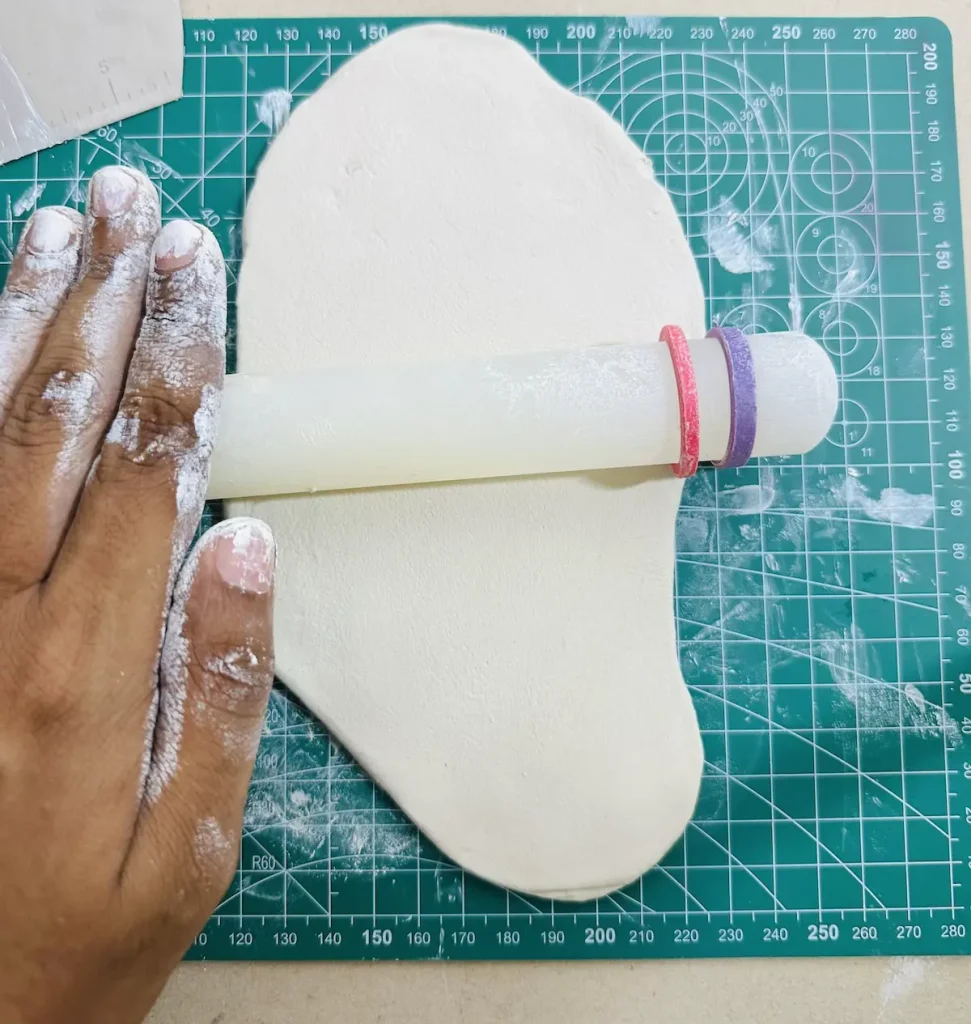
I use an A4-size PVC (Polyvinyl Chloride) mat for working with air dry clay. It is smooth (not ultra smooth), easy to peel, and durable. Most importantly, easy to remove and leftover air dry clay and clean.
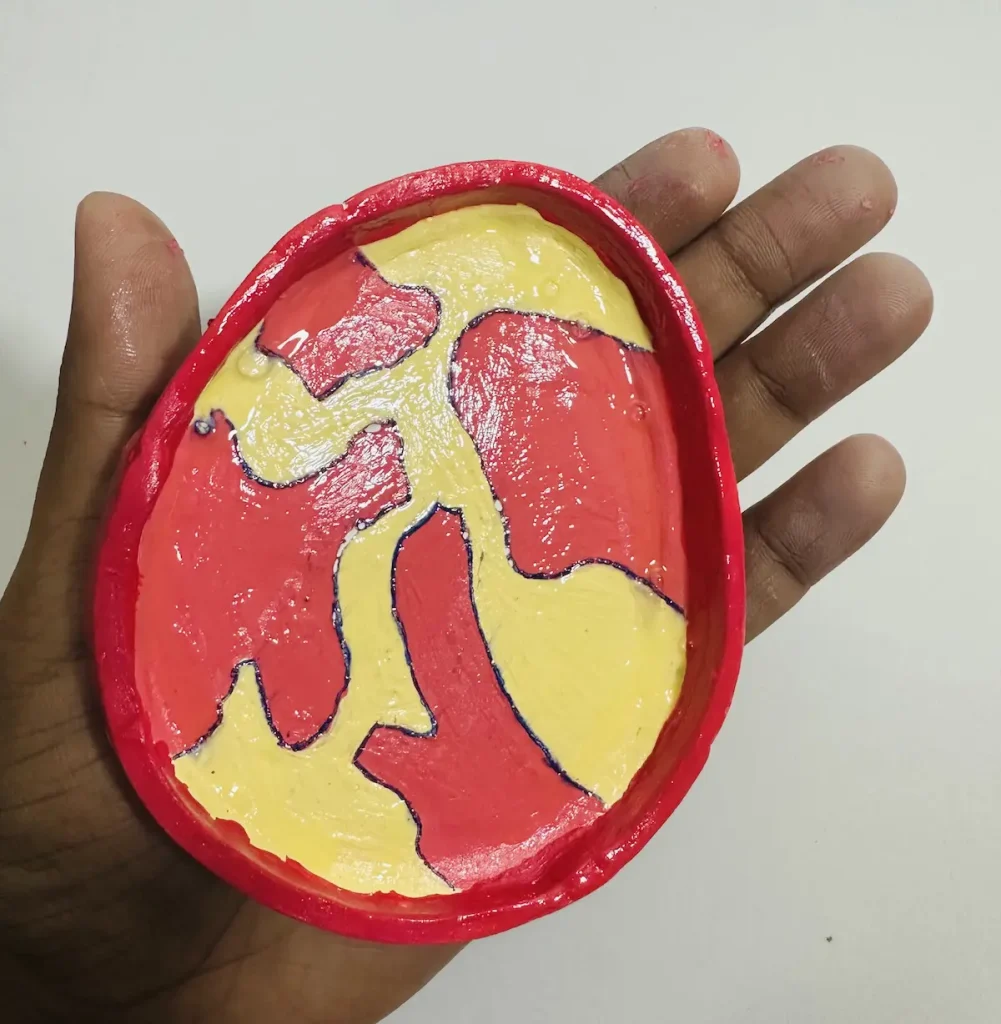
Currently, I have made 2 trinket trays and one koi fish pond with this PVC mat, and it didn’t cause me any trouble. 🐟
Silicone mats
Silicone mats are also a top choice surface to work with air dry clay. They have self healing ability, which leaves no scratches and knife marks. Silicone mats do not stick to air dry clay. 🛠️
Plus, I have found that silicone mats come in different sizes and colors.
Unbleached cotton canvas & duck cloth
Unbleached cotton canvas and duck cloth are great to work with air dry clay because they are heavy. They don’t move here and there when the clay moves because they do not stick with clay. 🧶
Untreated weave stops wet air dry clay from forming a suction-like seal. Plus they allow clay pieces to peel away easily.
The reason for using unbleached cotton over bleached cotton canvas for air dry clay is because the bleaching process uses harsh agents (like chlorine or hydrogen peroxide) and optical whiteners that destroy the natural integrity and tensile strength of cotton fibers.
Parchment paper and wax paper
If you could find the above materials, parchment papers and wax papers are also good to work with air dry clay. But I have to tell you they are not the best. They don’t provide the same quality like the materials I told you about above. 📄
These are budget friendly options and wax paper tends to leave residue as well. So, be cautious.
I highly recommend you to use a silicone mat or PVC mat or unbleached cotton or duck cloth for better results. ✅
The “rotate and flip” method for non-stick rolling
Now I’m gonna tell you a failproof method which stops your air dry clay from sticking to the surface while rolling. 🔄
I follow this method for every single one of my projects after I failed several times when making my first trinket tray.
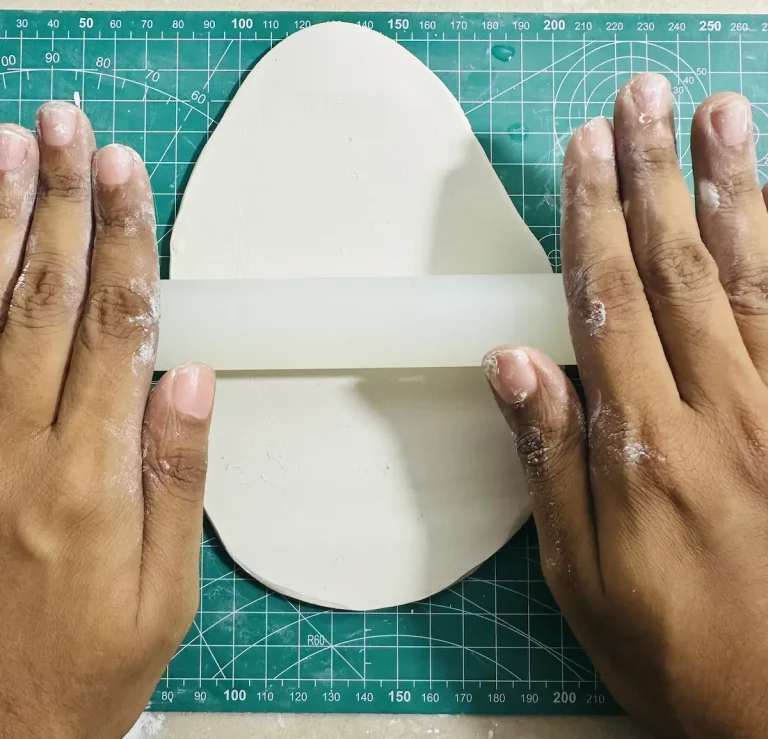
When you place the air dry clay on the surface after kneading for rolling, amke sure to turn it, flip it and rotate it 90 degrees after each rolling rounds.
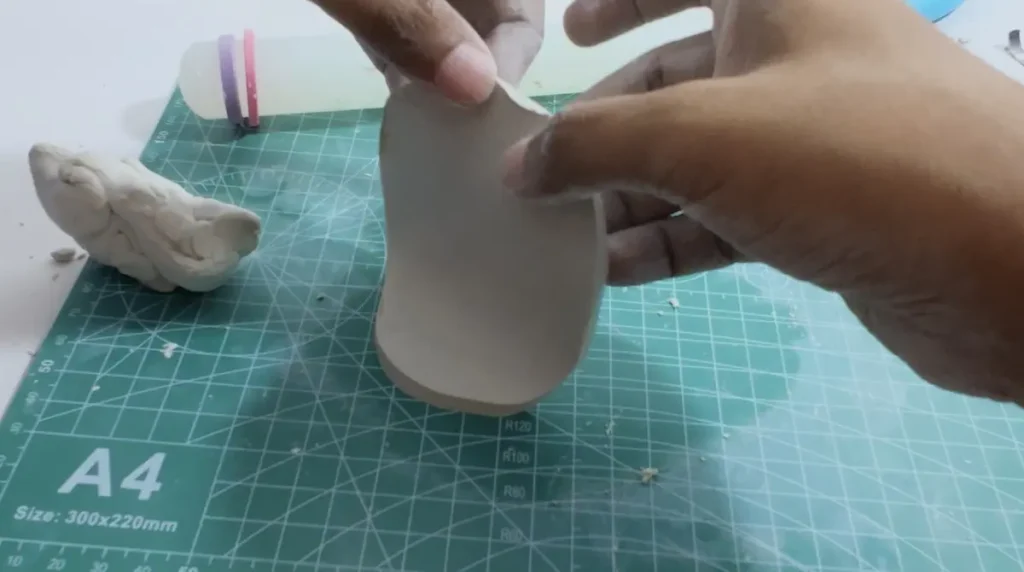
For example, do the rolling for 2 up, 2 down and stop. Then, lift the clay piece and flip it and again continue rolling 2 up, 2 down and stop. Then, turn the clay upside down and again continue rolling 2 up, 2 down and stop. Next rotate the clay piece for 90 degrees and again continue rolling. Repeat this process until the clay piece reaches the thickness you want.
Since we keep lifting the clay up and change its position after several rolling rounds the air dry clay won’t get a single chance to stick to the working surface.
You simply just have to flip, turn and rotate air dry clay piece every 2-3 passes of the rolling pin.
Easy right? My wife gave this advice and it works so good. No clay tear apart and can get the thickness you want without worrying about clay adhesion to the surface. 🙌
What to do if your air dry clay is still sticking
Sometimes not a single solution can fix problems of all the people. If you still find your air dry clay is sticking, try,
Apply cornstarch or powder on to the surface
Before you start rolling the clay piece, add some powder or cornstarch on to the surface and spread it all over using your fingers.
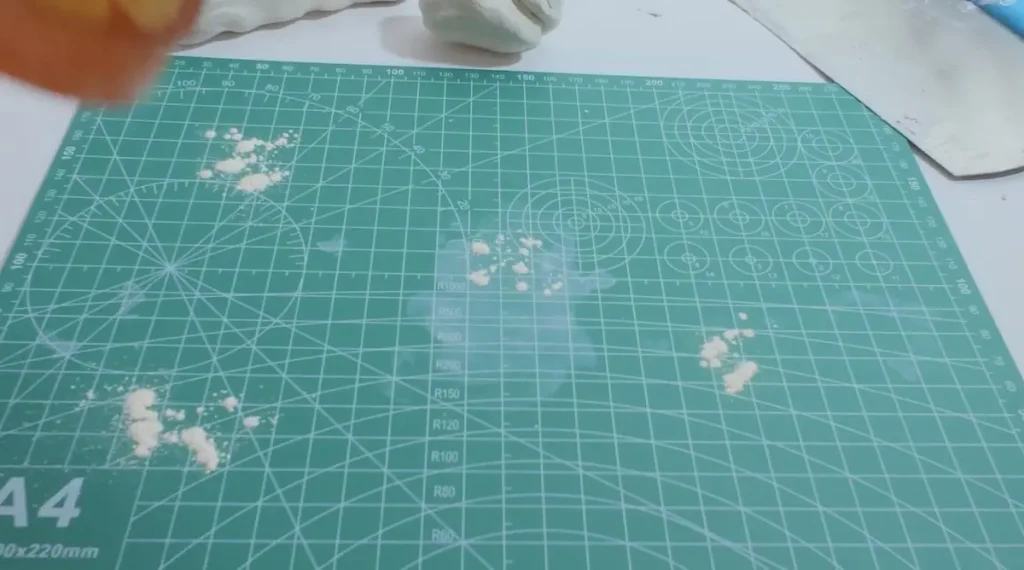
Then place the air dry clay piece and start rolling. Here, cornstarch or powder work as a barrier which avoids air dry clay from contacting the surface. 🧂
Therefore, binding agents inside air dry clay don’t contact with the table and the surface cannot create an airtight seal that acts like a suction cup against the wet clay.
Stop clay from sticking to your rolling pin
Now you know how to stop air dry clay from sticking to the surface. But what if it still sticks to your rolling pin?
Your rolling pin can be a wooden one or acrylic one like mine. Here are solutions,
For wooden rolling pin
- Wax it with beeswax or mineral oil to make a barrier between the rolling pin and the clay.
- Let the rolling pin dry completely because a wet wooden rolling pin sticks with wet air dry clay.
- Place a piece of parchment paper or plastic wrap over the clay when rolling.
For acrylic rolling pin
- Dab cornstarch or powder over the acrylic pin before rolling to work it as a barrier.
- Place a piece of parchment paper or plastic wrap over the clay when rolling.
How to safely lift air dry clay up that is already stuck
I have faced this problem when I was working on my first trinket tray project. But unfortunately the clay was torn apart each time I tried to lift it up when it was stuck to the surface. 😟
But later I knew, there’s a possibility to rescue the clay without tearing apart by using a flexible blade. You need to carefully sneak the blade in between the clay and surface and lift it up carefully.
Or you can wait until the clay dries. Upon drying the moisture of air dry clay evaporates and shrinks the clay. Upon shrinking the grip between the clay and surface will loosen and you can take the clay out easily. But the sad thing is you have to wait 24-48 hours until the clay is dry. ⏳
If you face this kind of situation, I recommend you to take the clay out little by little even after it tore apart and start again. That’s what I did. Time wasted but I didn’t have to wait for 2 days to complete the project.
Final thoughts
I use a PVC mat as my working surface. Likewise I want to tell you to switch to a quality air dry friendly material like a silicone mat, PVC sheet or unbleached cotton to avoid the clay from sticking.
The procedure of taking the stuck clay out is frustrating and boring. Plus, make sure to follow my flip and turn technique. I guarantee you won’t go wrong. Happy making my friend! Cheers! 🤟🏾