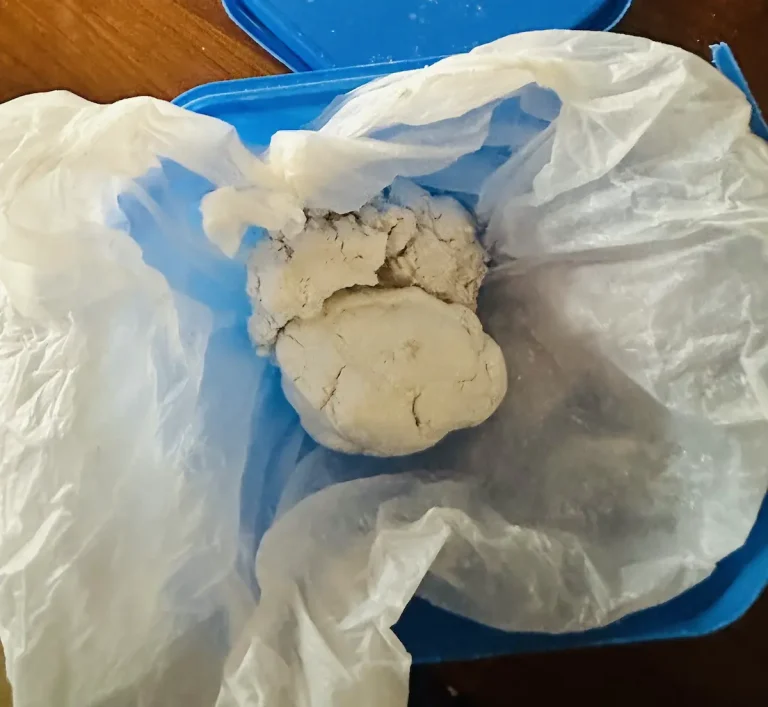
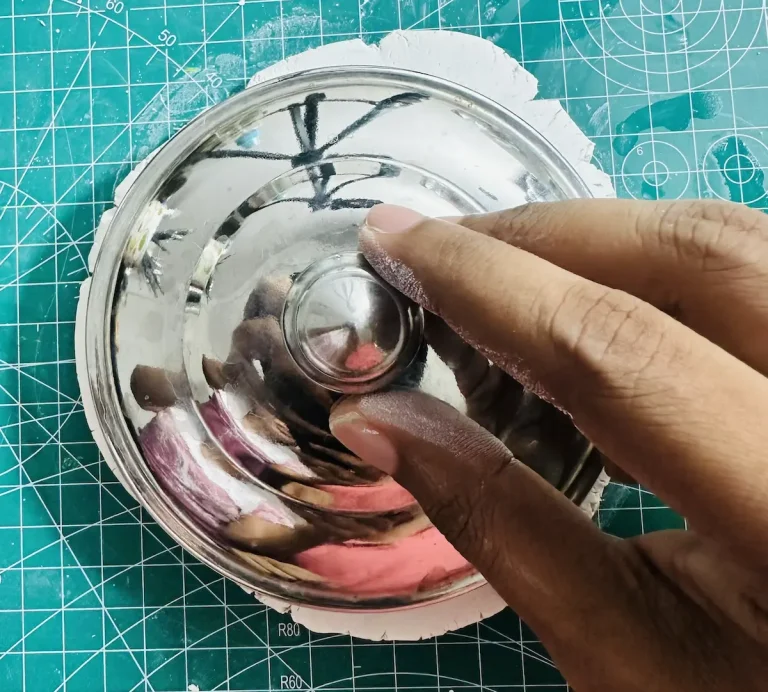
Last week, when I was looking at my fruit inspired air dry clay projects gallery, I noticed how cute and vibrant my avocado trinket tray is. I liked how it shaped.
That’s when the pear came to mind because avocado and pear share a similar shape. I didn’t waste a second. Grabbed a fresh air dry clay piece and started making my new pear trinket tray.
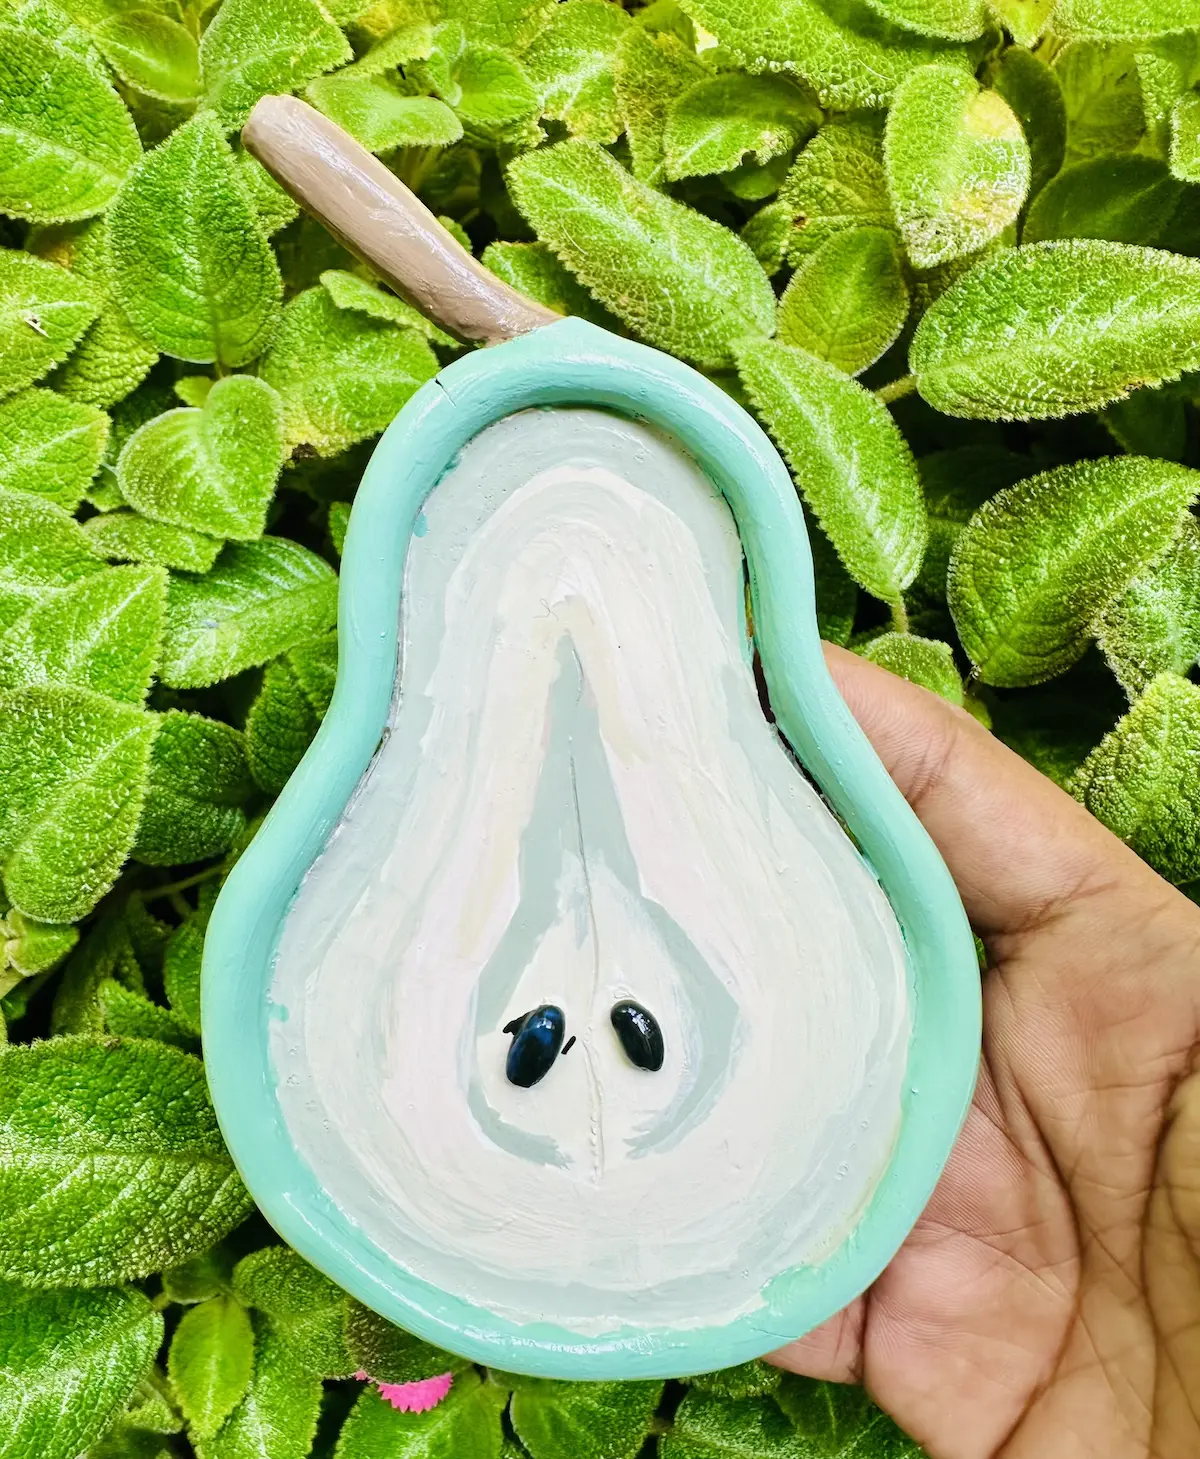
Before I walk you through the procedure, I want to let you know I’m also a beginner with air dry clay and have no years of experience. I have made several trinket trays with air dry clay and I do make mistakes and learn as I walk in this journey.
So in this tutorial, I’m not gonna give you expert complex steps. They are literally not for beginners like us. I have tried them and failed successfully.
I’ll tell you each and every simple step I followed, mistakes I made, how to avoid them and how you can achieve a better pear trinket tray than mine.
Ok! Enough chit chat! Let’s start making!
Why did I use air dry clay?
This is the first question every beginner has. Why the hell did this man use air dry clay instead of polymer clay or any other type of clay? Don’t worry, I gotchu.
I have listed all the reasons why I went with air dry clay,
- Air dry clay is not expensive.
- Easy to shape.
- Able to fix mistakes (scratches, bumps, unevenness) by smoothing out the clay.
- Dries out in the air.
- No kiln or bake needed.
- Beginner friendly clay.
As beginners, we do make lots of mistakes, and we like to experiment with clay. During those experiments and mistakes we made, we waste lots of clay. And it’s completely fine. A person who is not trying to do new things with clay won’t learn anything new.
But on the other hand, if we use an expensive clay type like polymer clay, which is 2 to 3 times more expensive than air dry clay, we don’t always try to think outside the box and make new things with it. Because we are afraid we will lose money if we waste even a little bit of clay.
But that’s not an issue with air dry clay. You have enough room for making mistakes, learning from them and doing experiments because it is cheap.
That’s the main reason why I love air dry clay, especially as a beginner.
Yes air dry is messy and you can never work cleanly. But that’s also a part of the journey.
Materials needed
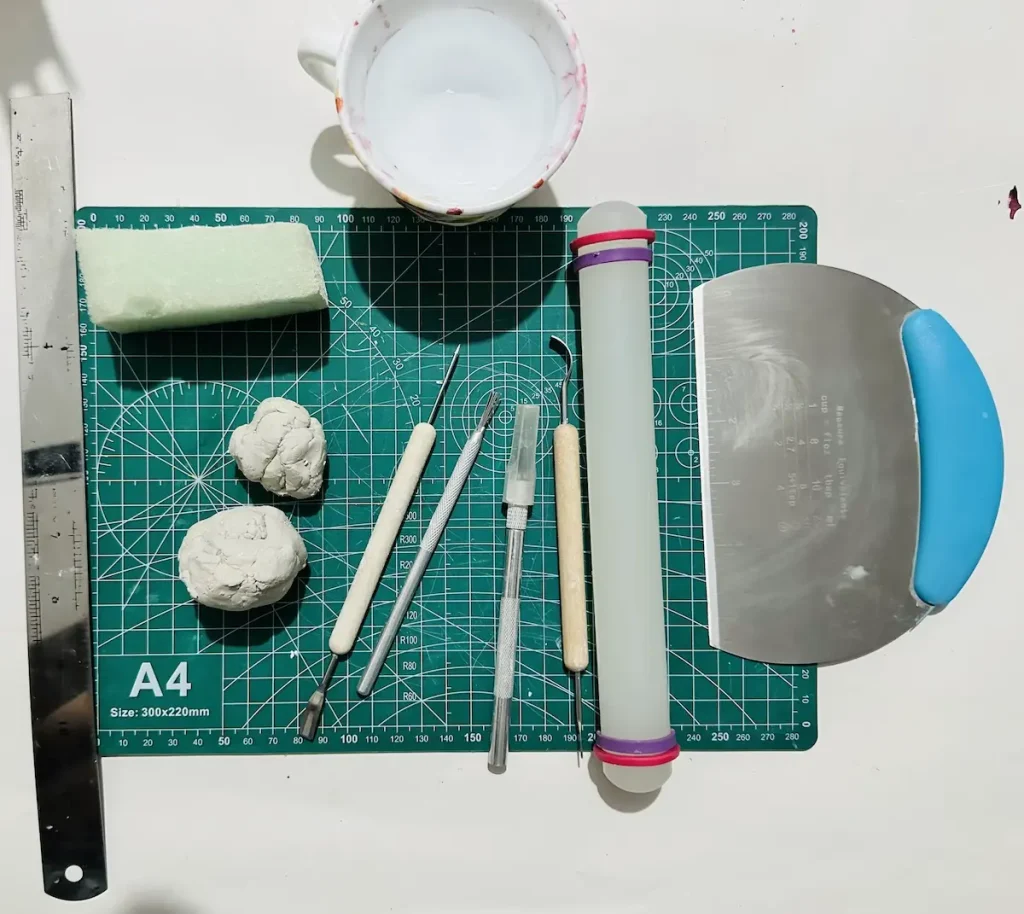
If you couldn’t find any of the following materials and tools except the air dry clay, check out your kitchen drawers instead of running to the nearest store because we need to be budget friendly as beginners. Learn and purchase items you don’t have as you progress.
- Air dry clay (DAS, Mont Marte or any reputed brand you can find is okay)
- Acrylic rolling pin
- PVC mat or silicone mat (or non-stick surface)
- Clay crafting tools
- Clay cutting tool (X-acto knife or small knife)
- Cup of water or spray bottle
- Acrylic paints
- Gloss varnish
- Paintbrushes
- Paper towels
- Optional: Sponge or silicone sculpting tool (or you can use your finger)
Easy diy pear trinket tray tutorial video
I have recorded the whole process while I was making so you can learn all the steps I took, tips and techniques I used, mistakes I made, and how I fixed them when making this DIY beautiful fruit inspired tray with air dry clay.
Feel free to watch and try it out! 📺
Finished watching the video? Let’s take a peek at the detailed written step by step guide.
Step by step pear trinket tray tutorial
Before you start making, go to a well ventilated area or open windows in your room. Air dry clay contains tiny dust particles can cause breathing issues.
Step 1: Conditioning and kneading the clay
Cut a fresh air dry clay piece from the big chunk of clay and tap a little bit of water on the surface to condition the clay.
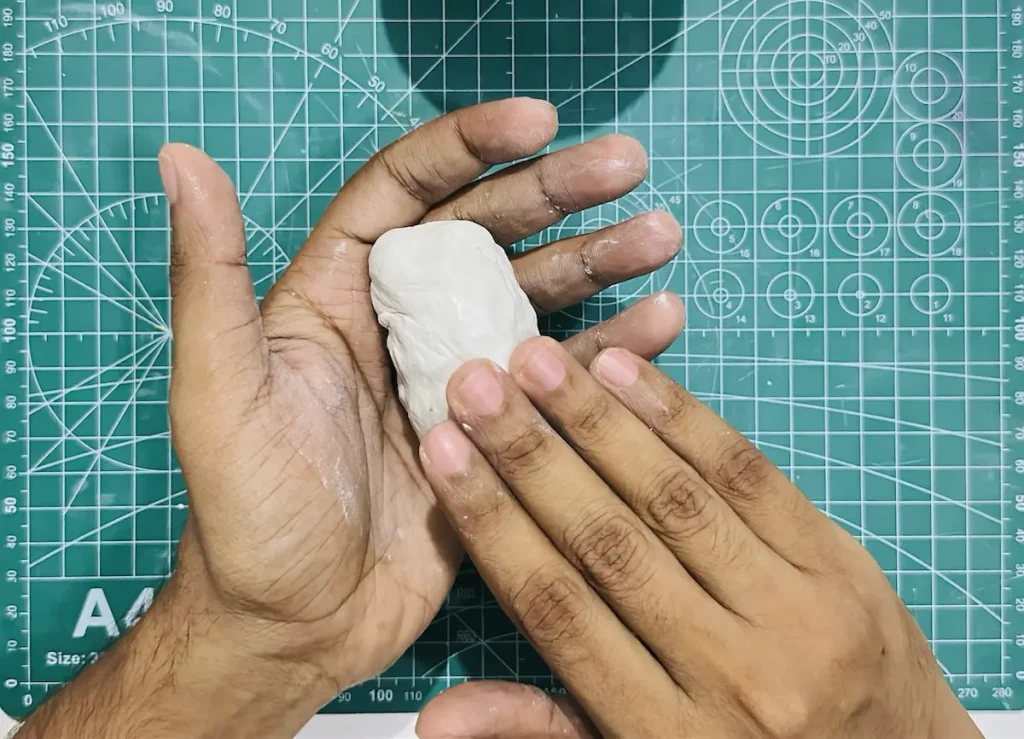
After conditioning the clay, wet your palms and knead the clay well by pushing, pulling and pressing with force. Yes, just like when you are making a pizza dough.
Knead the clay well for 3-5 minutes until it becomes soft enough for shaping.
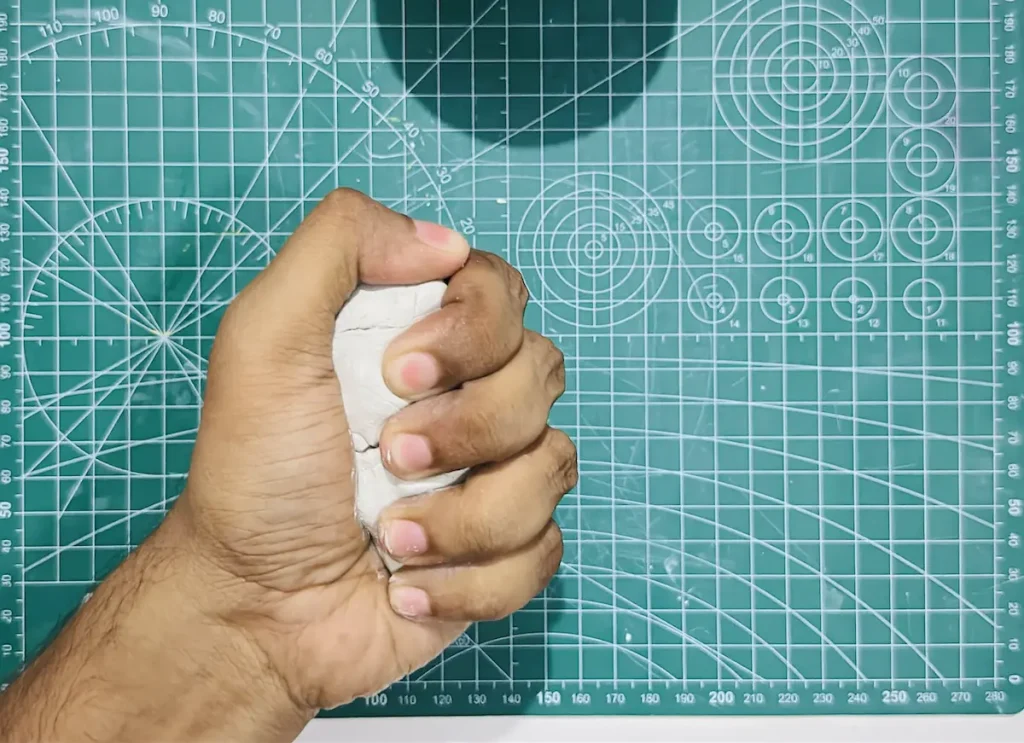
Don’t apply too much water when conditioning or kneading air dry clay because more moisture inside means a higher water evaporation rate when drying, which leads to surface cracking.
Let me tell you the importance of kneading in brief,
Air dry clay is a highly porous material with lots of moisture and air pockets inside, spread in an unorganized way. When the clay is drying the moisture is released by evaporation and the clay will start to shrink. Since the moisture is not spread evenly, moisture evaporation occurs at different rates in different areas of the clay, resulting in uneven shrinkage.
Due to the uneven shrinkage, a tension builds up inside layers of the clay and causes microcracks on the surface as clay dries. Those cracks become larger and larger because the outside layer of air dry clay dries faster than the inside, resulting in more and more uneven shrinkage.
But if you knead the clay before sculpting it, the above destruction won’t happen. Kneading spreads the moisture evenly across all the layers of air dry clay and releases the trapped air inside. When the clay is drying, moisture evaporates at the same rate from every side of the clay, causing no uneven shrinkage or cracking.
The moisture distribution of air dry clay while kneading makes the clay soft enough for shaping.
See, kneading not only makes the clay soft, but it also plays an essential role in your project making.
Step 2: Rolling the clay
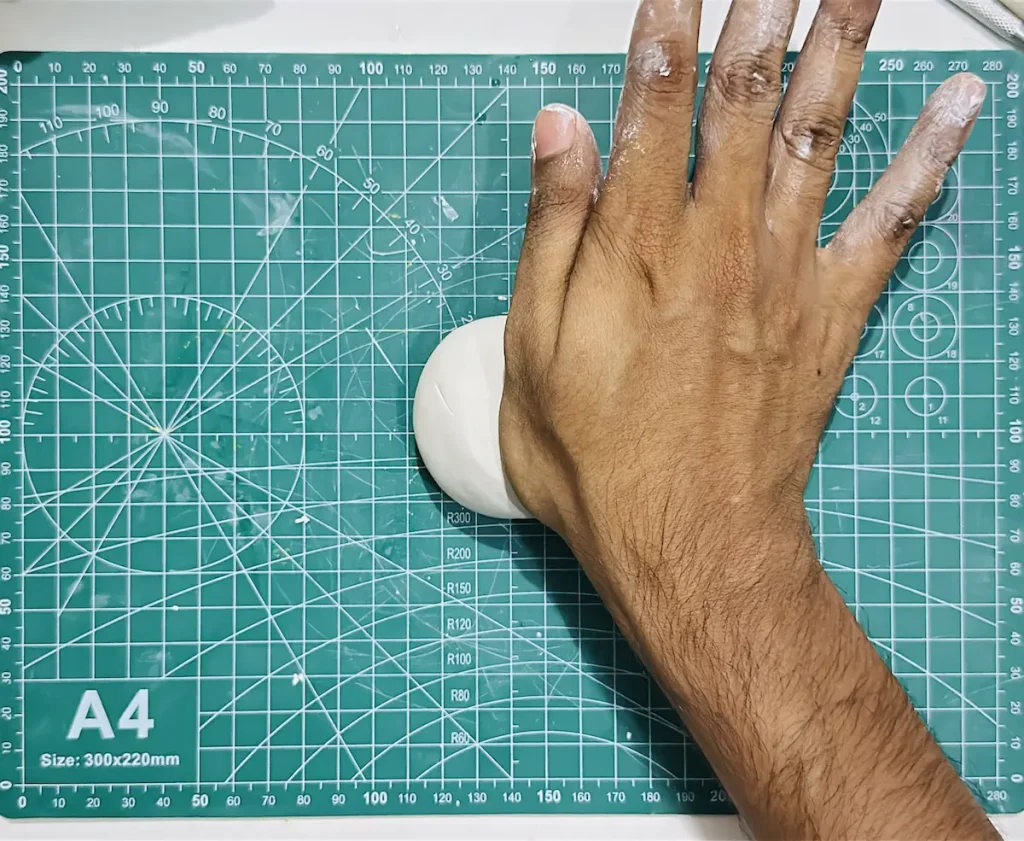
Place the kneaded clay slab on your mat and roll to an even thickness of about ¼ inch.
Don’t make the clay slab too thin because it will lose structural integrity and form cracks. Making the clay slab too thick will take your project too many days or even weeks to dry completely.
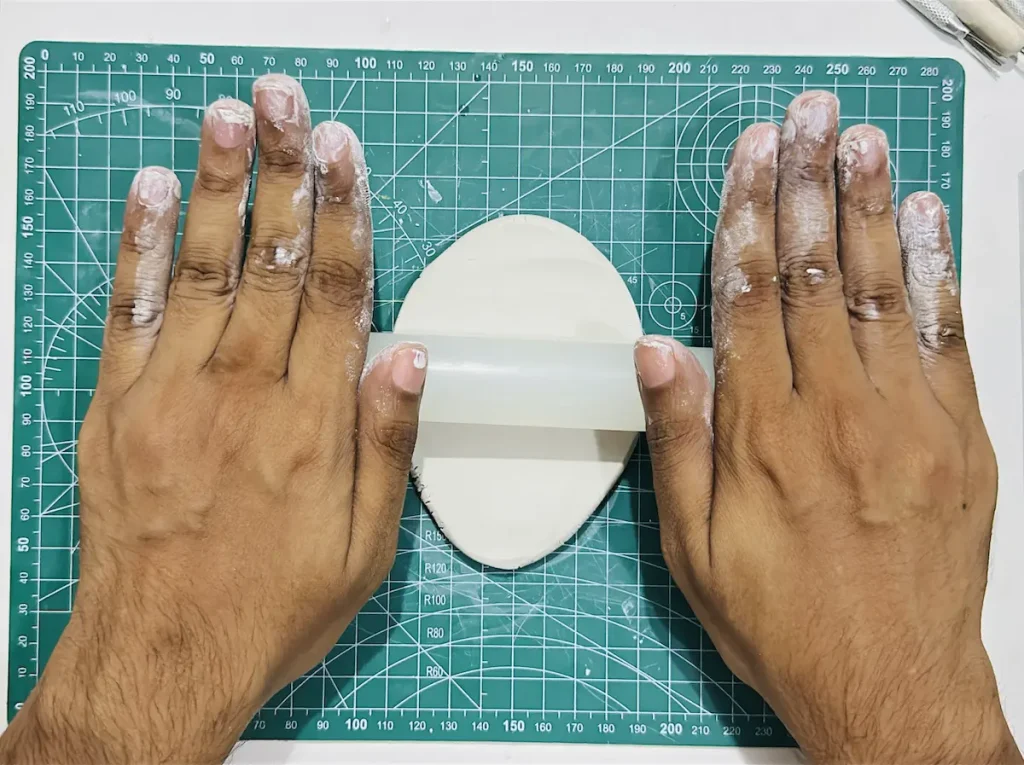
I use an acrylic rolling pin because it is non stick. Yes, you can use your wooden cooking rolling pin but make sure to wrap it with parchment paper to stop clay from sticking to it.
I use a PVC mat because it is also a non stick material. Silicone also a better option if you can find one.
But even though you use non stick mat, I highly advise you to flip, turn and rotate the clay slab while rolling the clay to avoid it from sticking to the mat. Because rolling a wet air dry clay slab in the same position makes a vacuum like seal between the clay and the mat, which makes the clay tear apart when you try to lift it up after rolling.
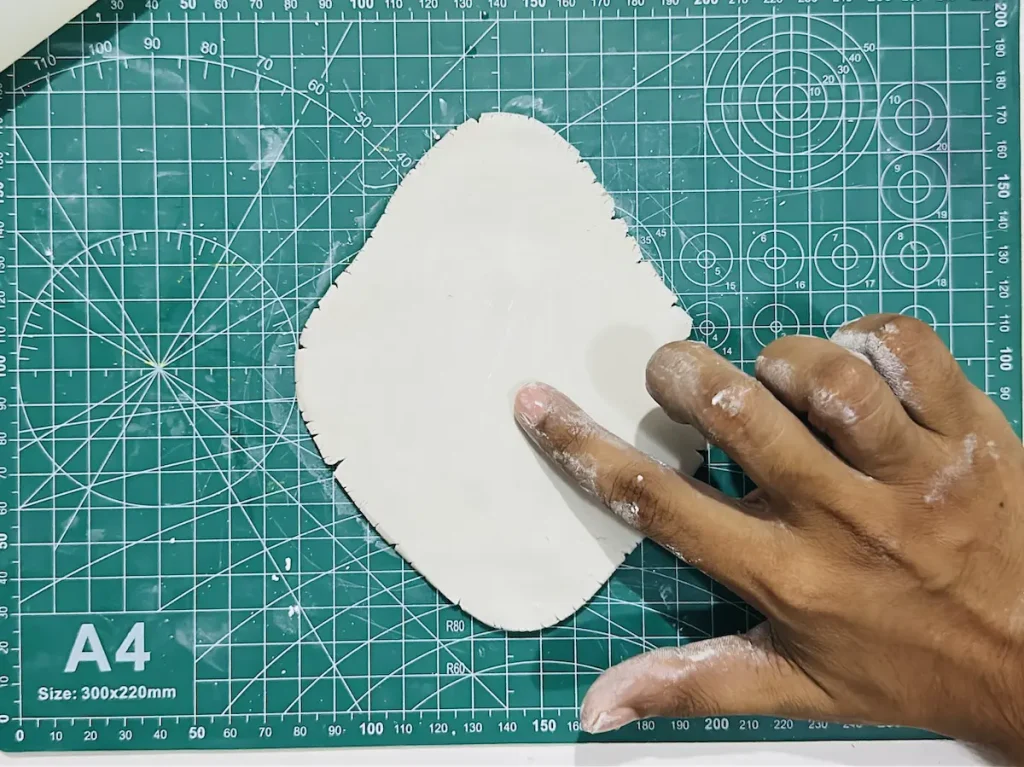
After rolling the clay slab to an even thickness, dip your index finger in the water and glide over the wet clay to remove any bumps, tiny scratches and micro cracks on the surface and smooth it out.
Smoothing is essential from now onwards after each step. Don’t forget that!
Step 3: Tracing and cutting the tray base
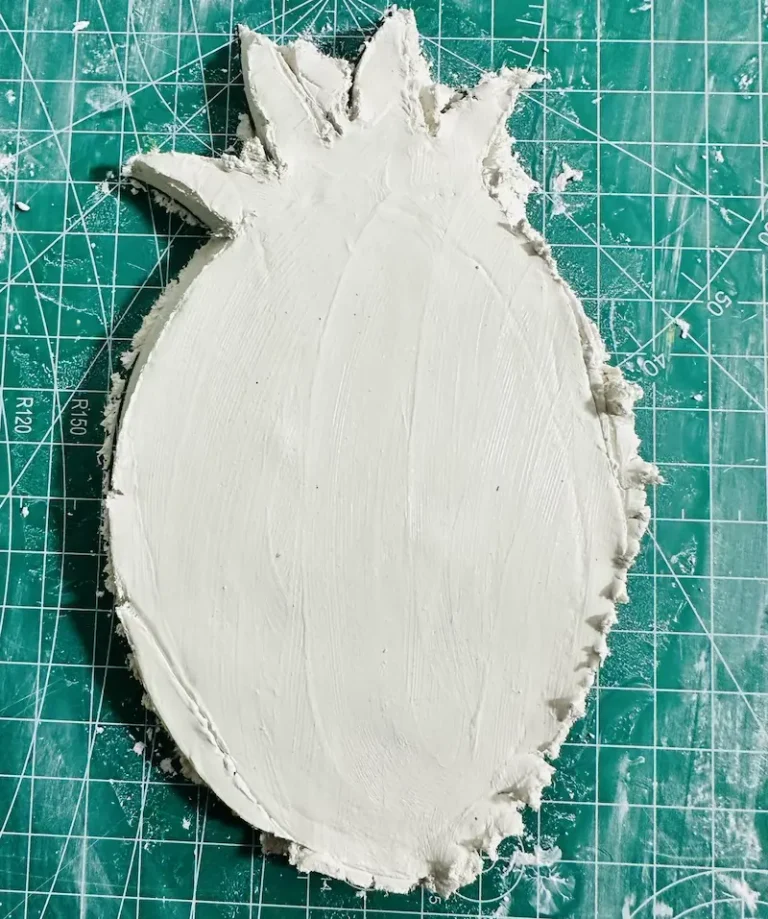
Take your clay tracing tool or a pencil with a sharp point and trace the pear shape.
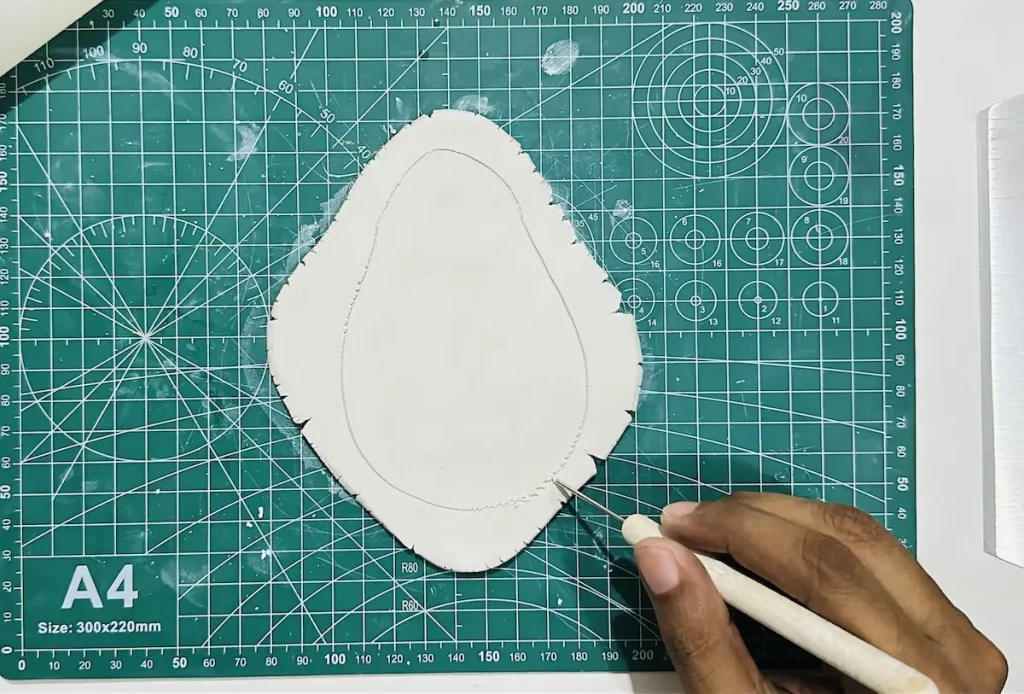
Tracing is important before cutting, especially if you’re not using a mold, cookie cutter or stencil.
Since this is an organic shape, I recommend you try freehand cutting because it will develop your drawing skills.
I’m so bad at drawing and try to trace freehand to improve.
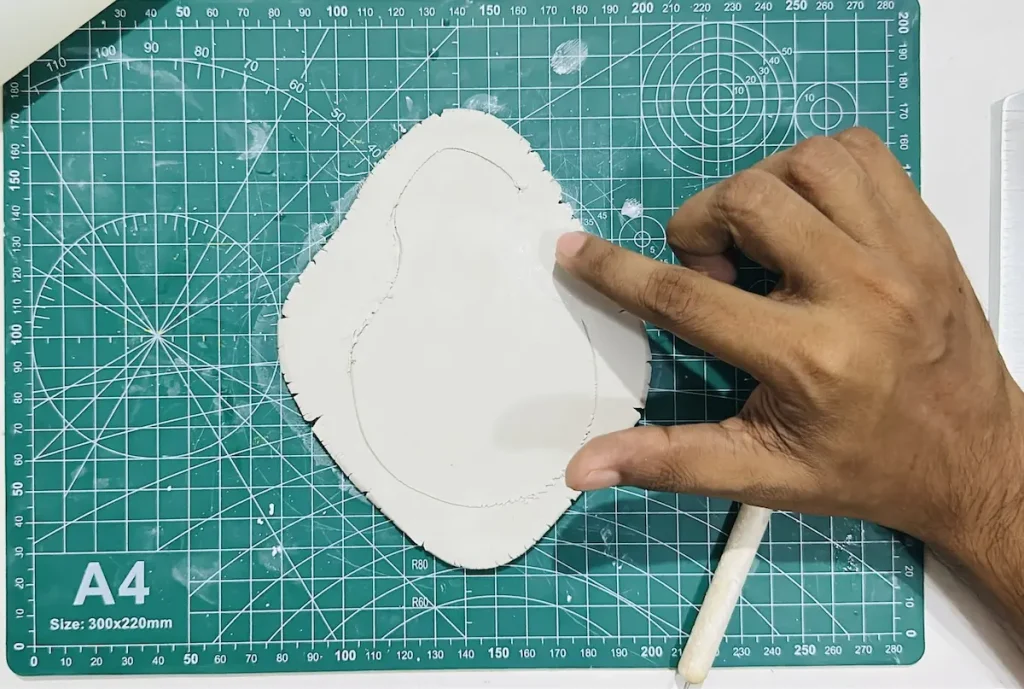
I made a mistake while tracing the pear shape. But that’s ok because you can easily erase the mistakes you made when tracing by gliding and smoothing the clay as I did.
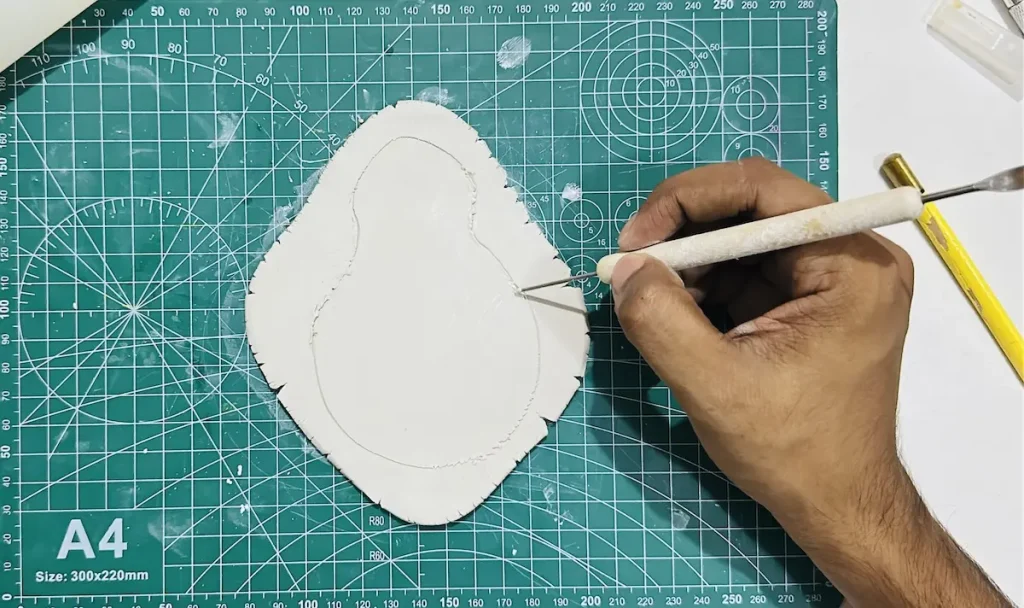
After tracing the shape cut along the traced lines with X-acto knife or a small knife.
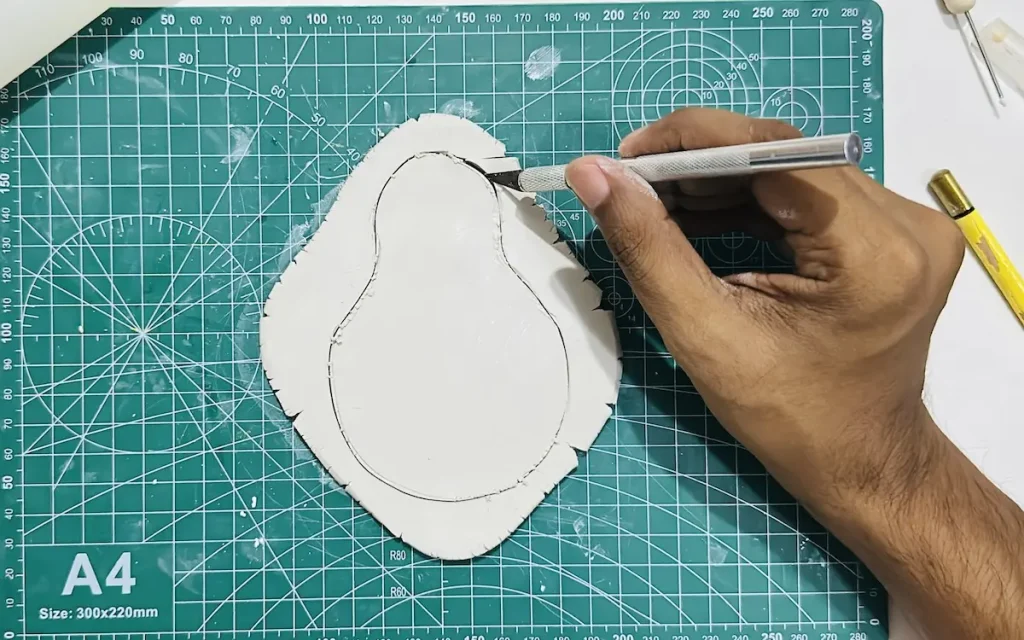
Make sure to lift the knife while cutting the edges instead of dragging horizontally because edges may tear off and clay may be dragged off with the knife during horizontal cutting.
Lift the knife from time to time when cutting and clean the blade to remove the attached tiny air dry clay pieces to get nice, clean and sharp edges around your pear trinket tray.
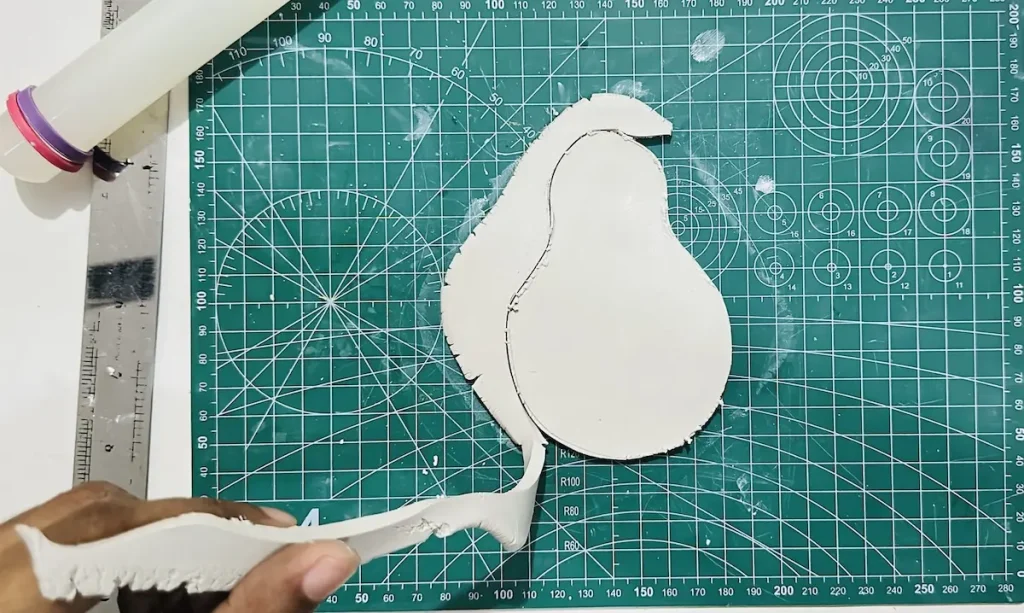
Now we have successfully made the tray base. Now it’s time to make the rim.
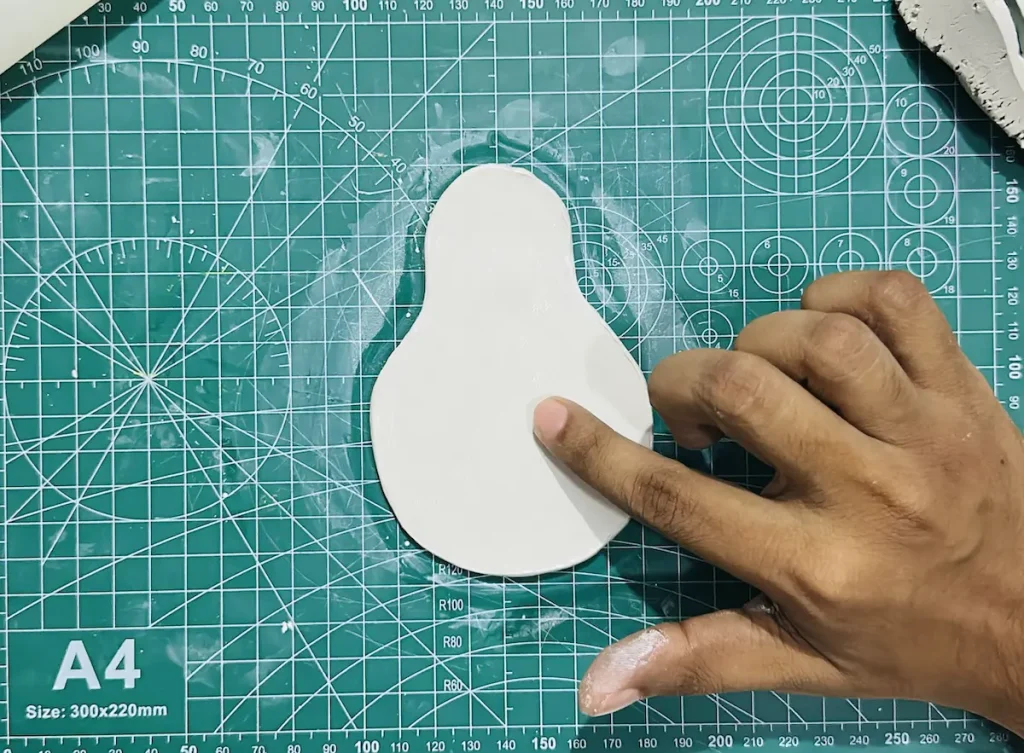
Step 4: Rolling and attaching the rim
Take a fresh clay piece and knead it well. Next roll to an snake shape, keeping an even thickness everywhere.
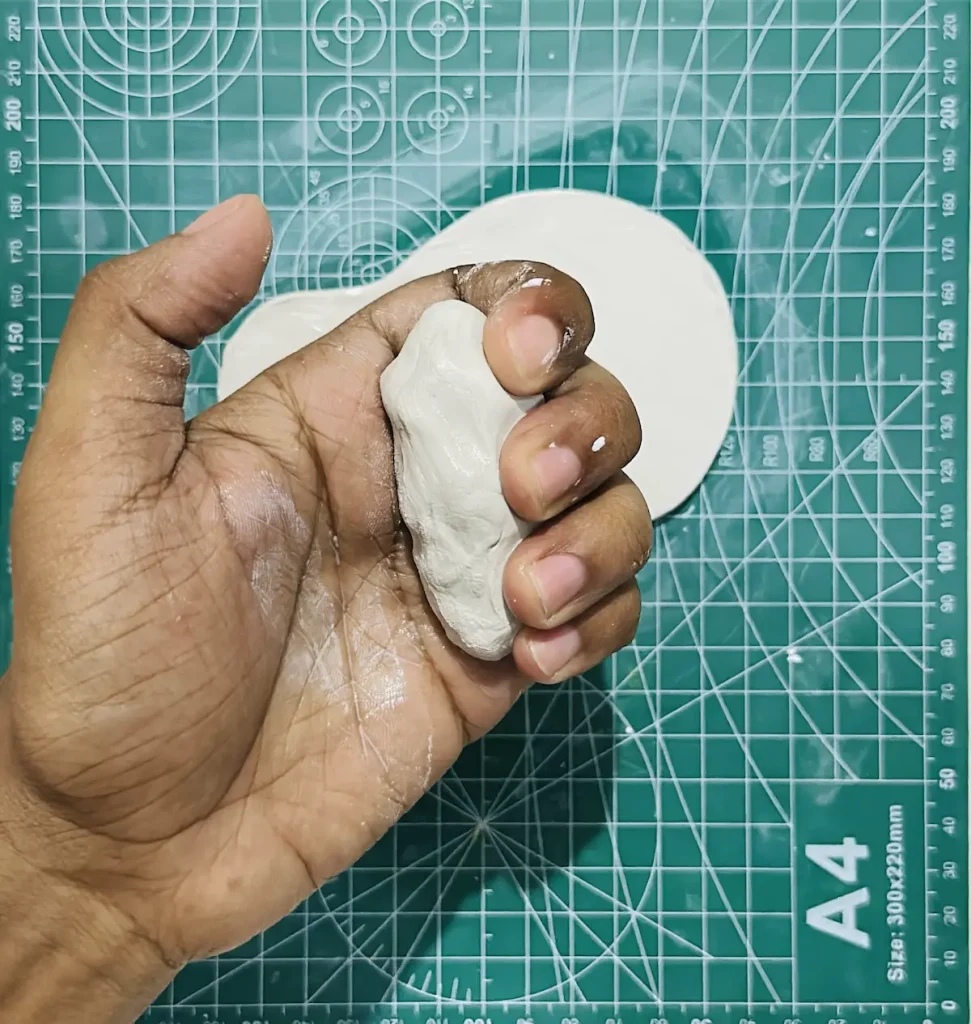
You can either make wall like tray rim or a round cylinder shape rim. Here I make a cylinder shape one, so having an even thickness is a must for a better finish.
Use your fingers and palms to shape it.
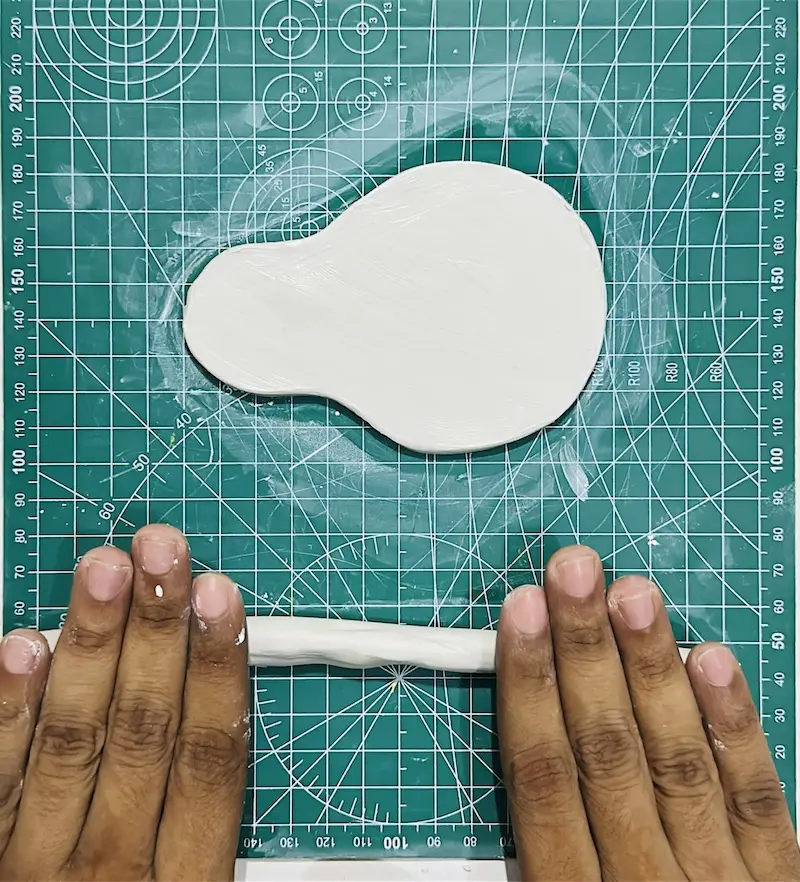
After making the tray rim shape, now it’s time to attach the rim to the base. You can’t just attach two air dry clay pieces by pressing them together. You need to follow the score and slip method.
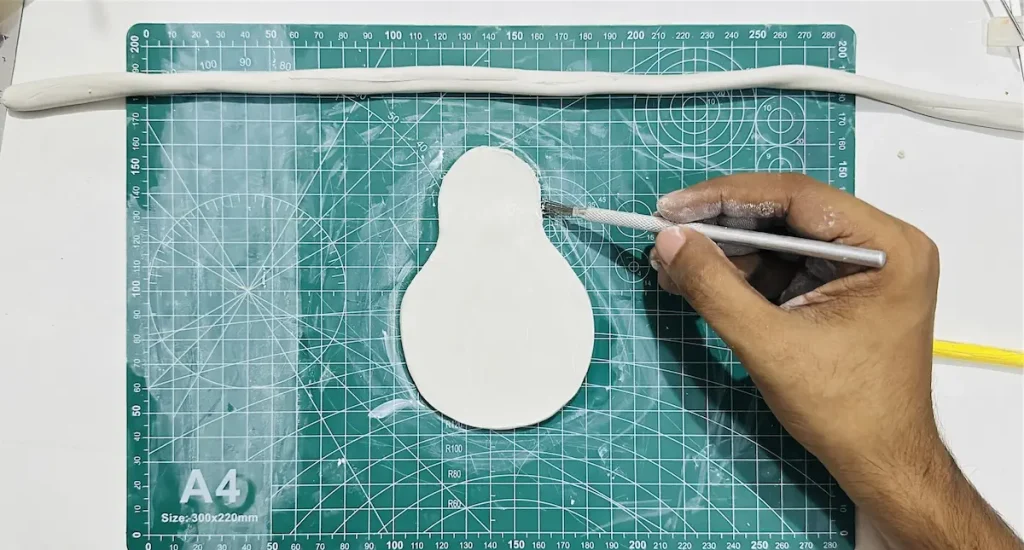
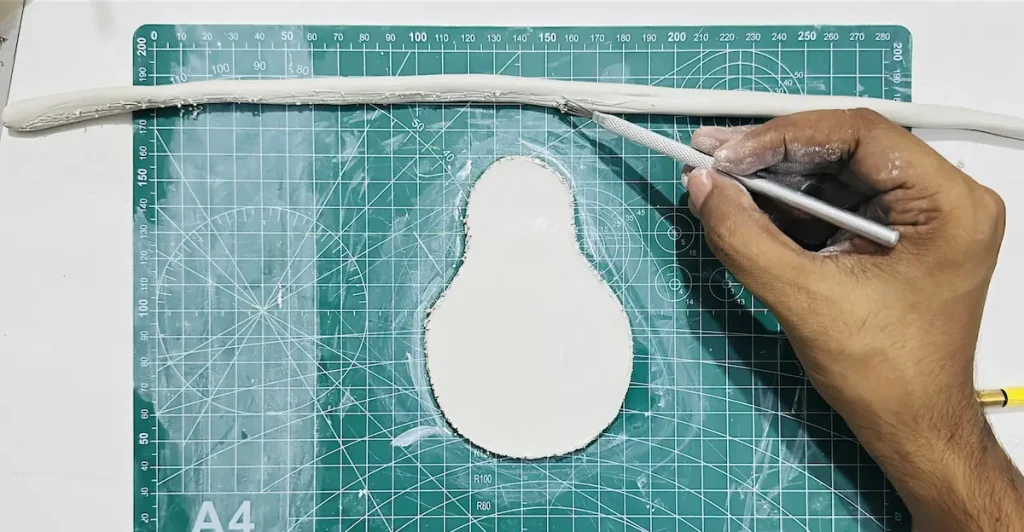
First, score one side of the tray rim you made from one end to the other. Next, score along the edge of the pear shaped trinket tray base. You can use clay scoring tool or a toothpick for this scoring process.
After scoring the surfaces, you can either tap them with a little bit of water or apply slip.
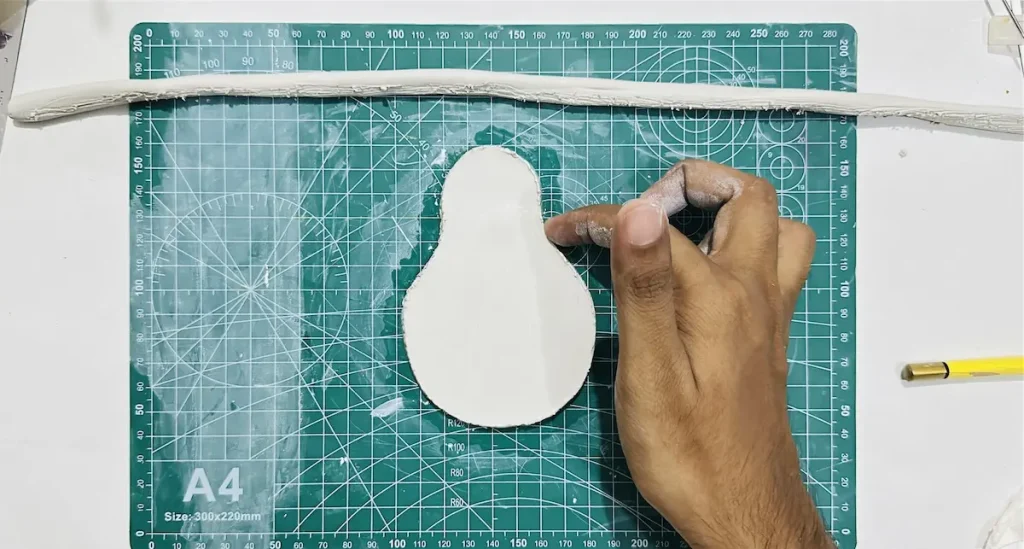
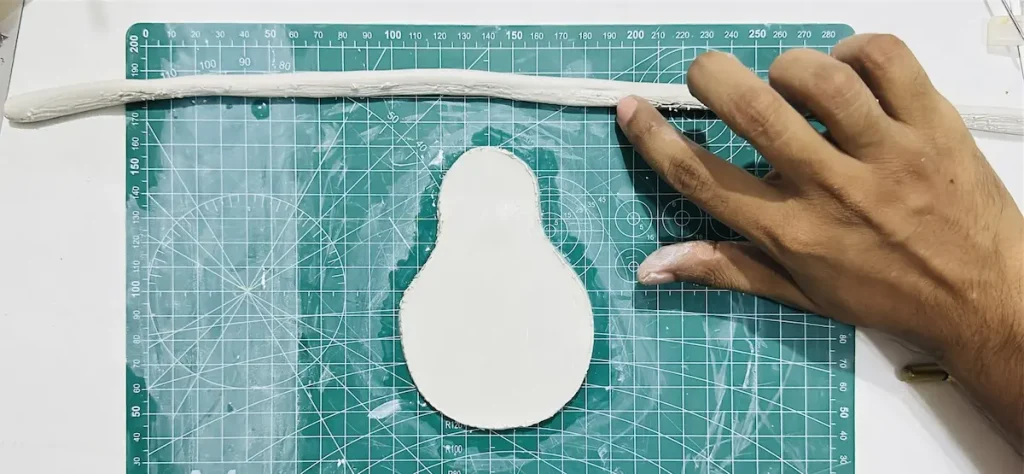
Slip is a mixture of clay and water. You can easily make it by mixing equal amounts of tiny clay pieces with water and mixing them thoroughly inside a small plastic can. Let it sit for 2-3 hours and you’ll get a creamy paste. It works as an adhesive glue which can be used to attach two air dry clay pieces together.
So you can either use the slip or simply just tap the scored surfaces with a little bit of water, as I did, because I didn’t have the slip. They help for a better grip.
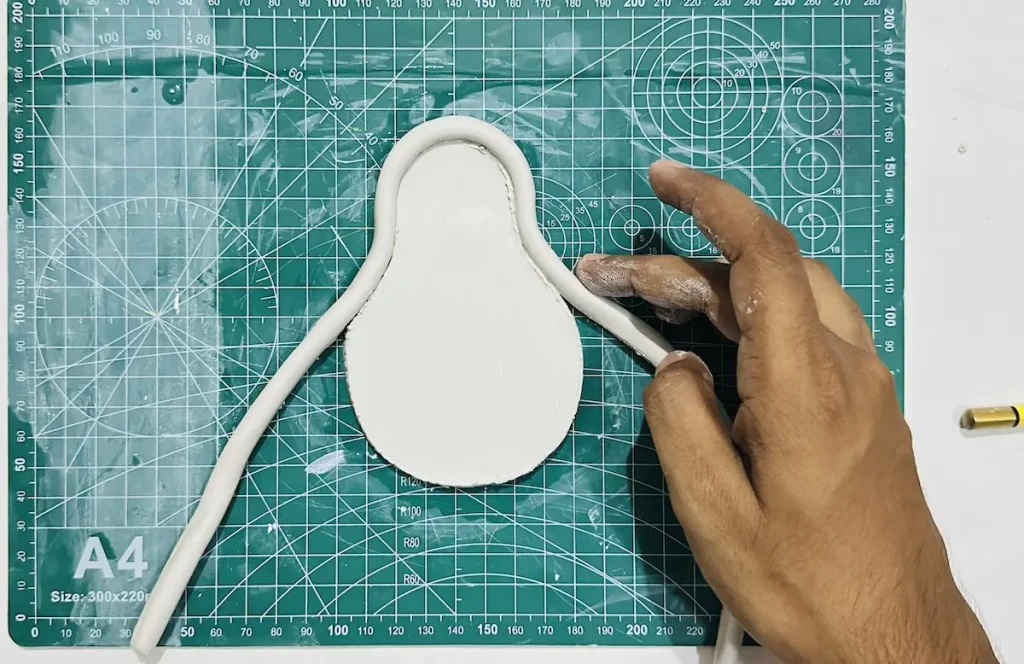
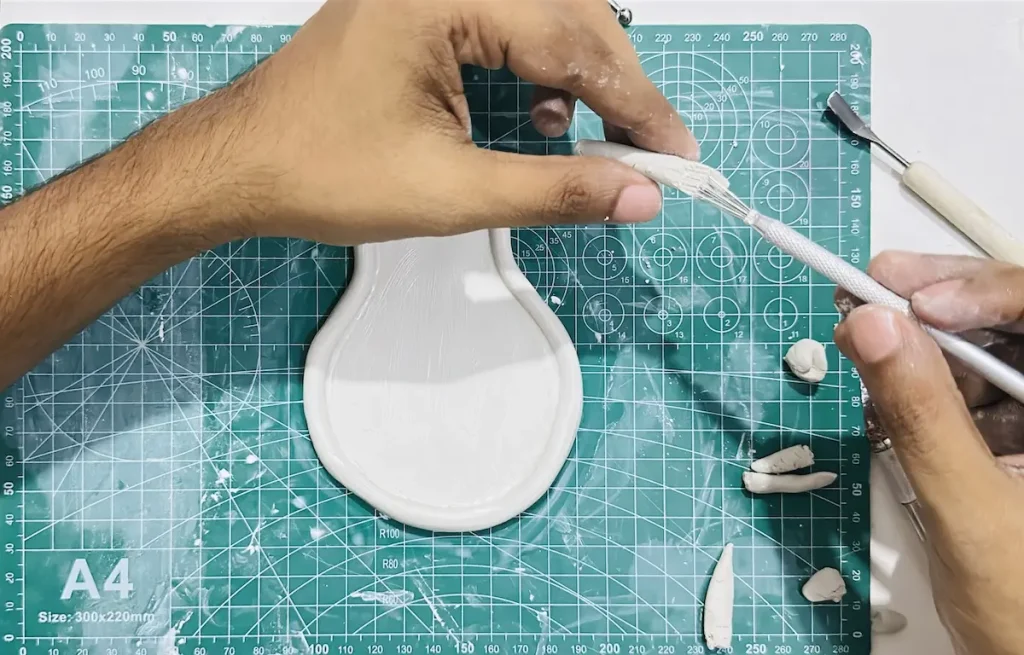
Now carefully attach the tray rim around the tray base. Make sure to keep the original shape of tray base without pressing the tray rim too hard. Hold the tray rim for a few seconds until they attach and cut the edges of the tray rim at an angle and attach them.
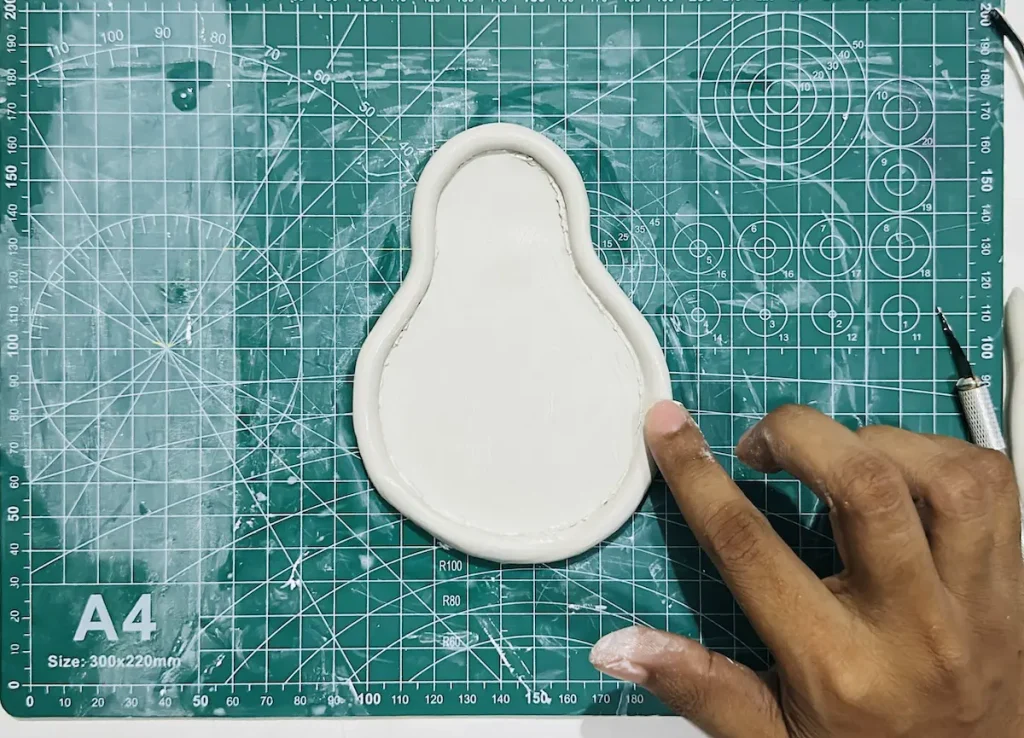
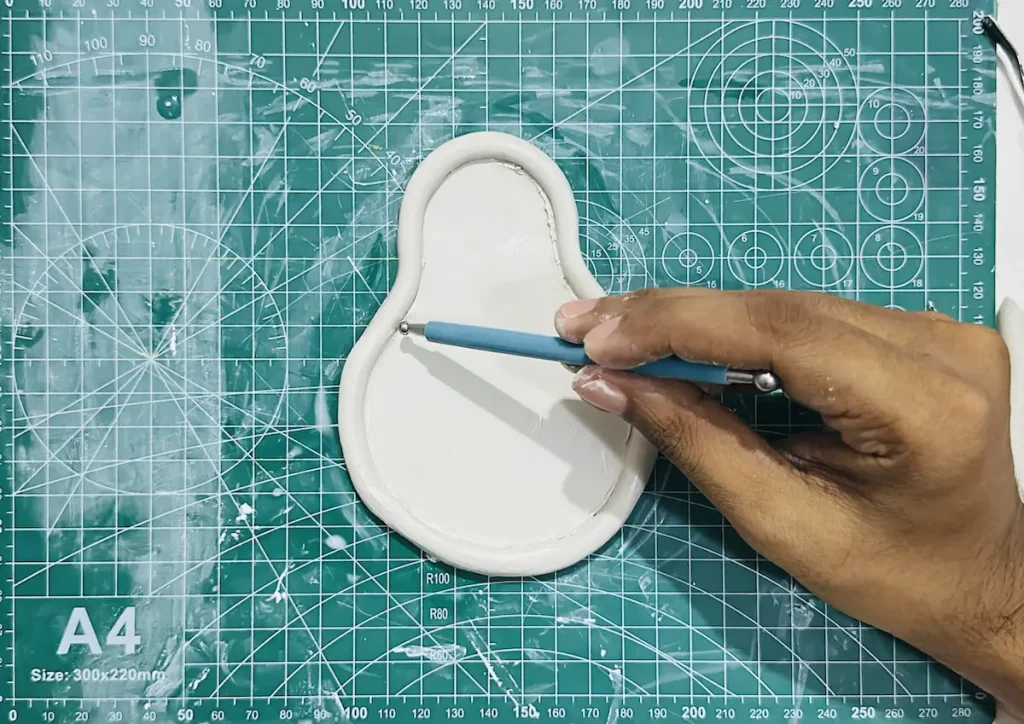
Once you attach them, smooth out the tray rim and tray base with a little bit of water to remove the seam and remove tiny scratches that occurred while bending the tray rim around the base.
Step 5: Adding seeds, stem and details
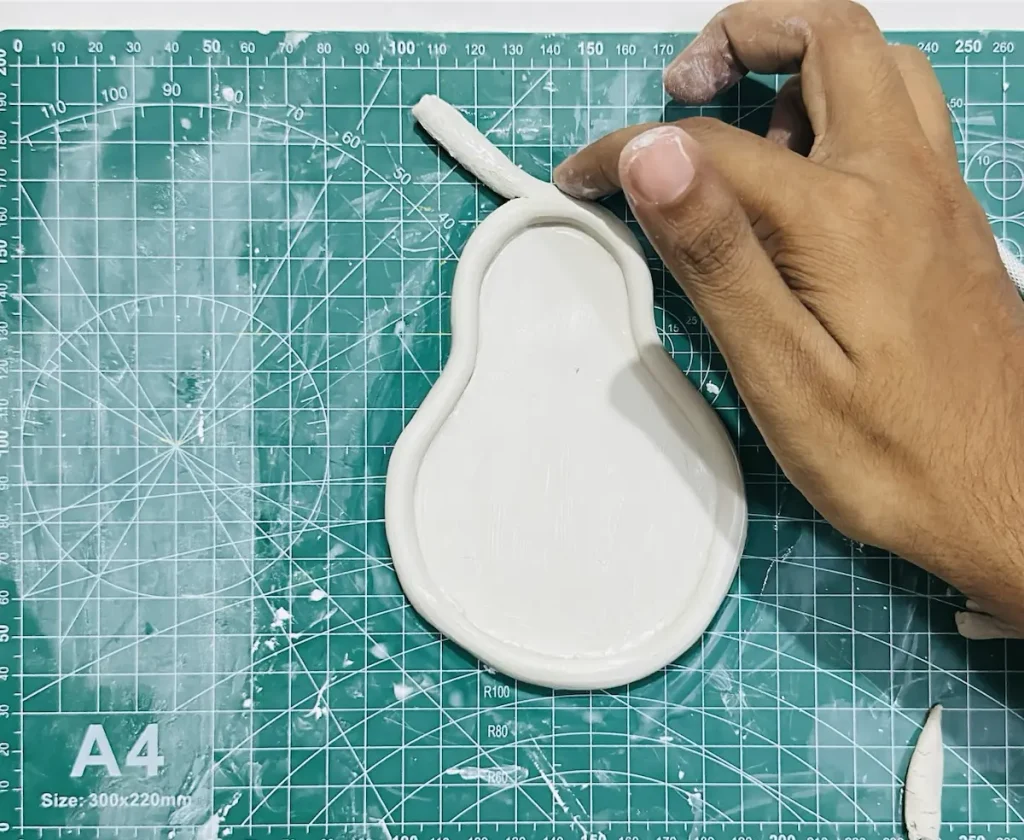
Knead a tiny air dry clay piece and shaped it to make the pear stem and attached it after scoring the bottom of it and a small area of the top of the tray rim.
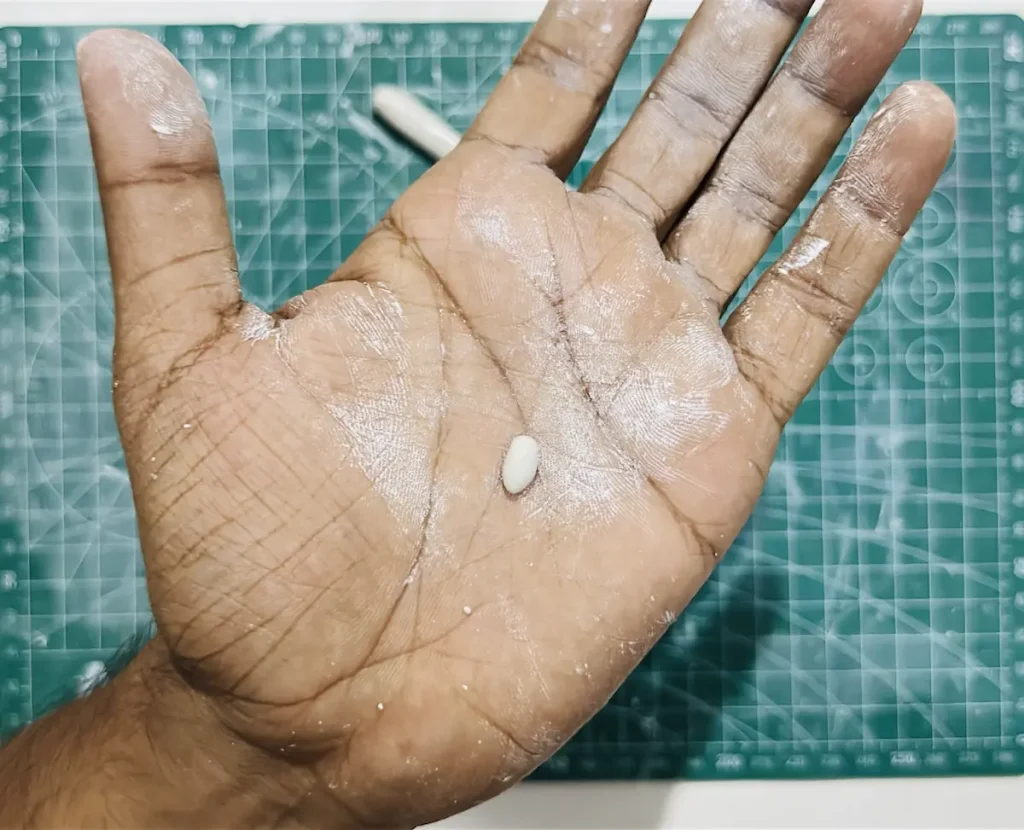
I made two tear drop shaped clay seeds by rolling them on my palm and attached them to the tray base after marking and wetting the area.
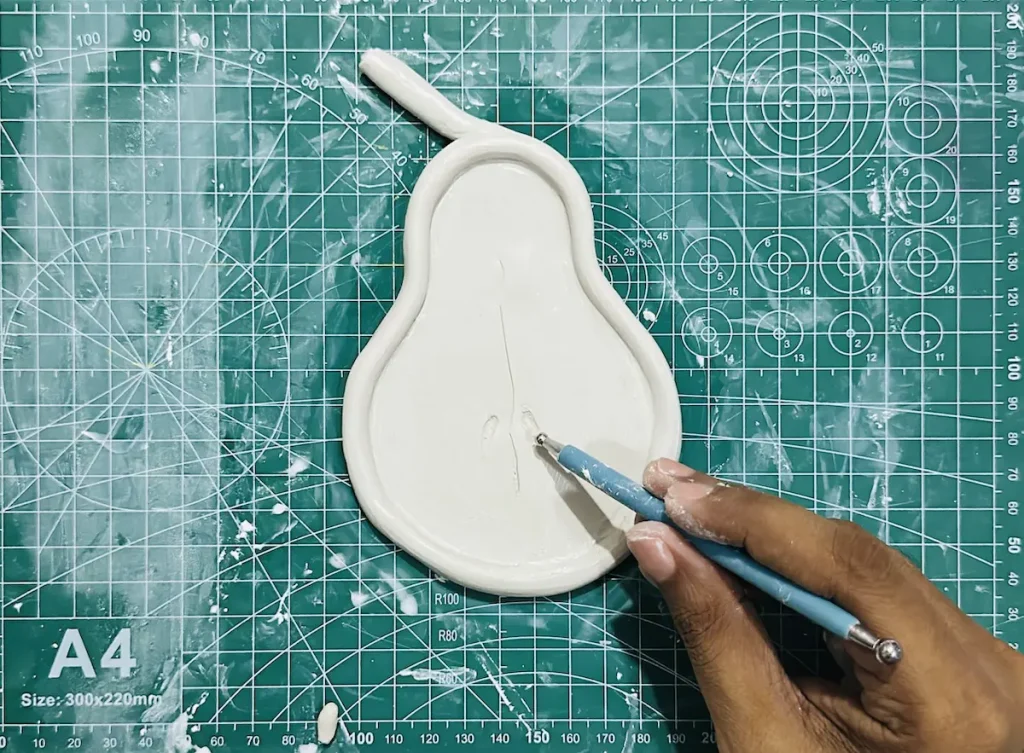
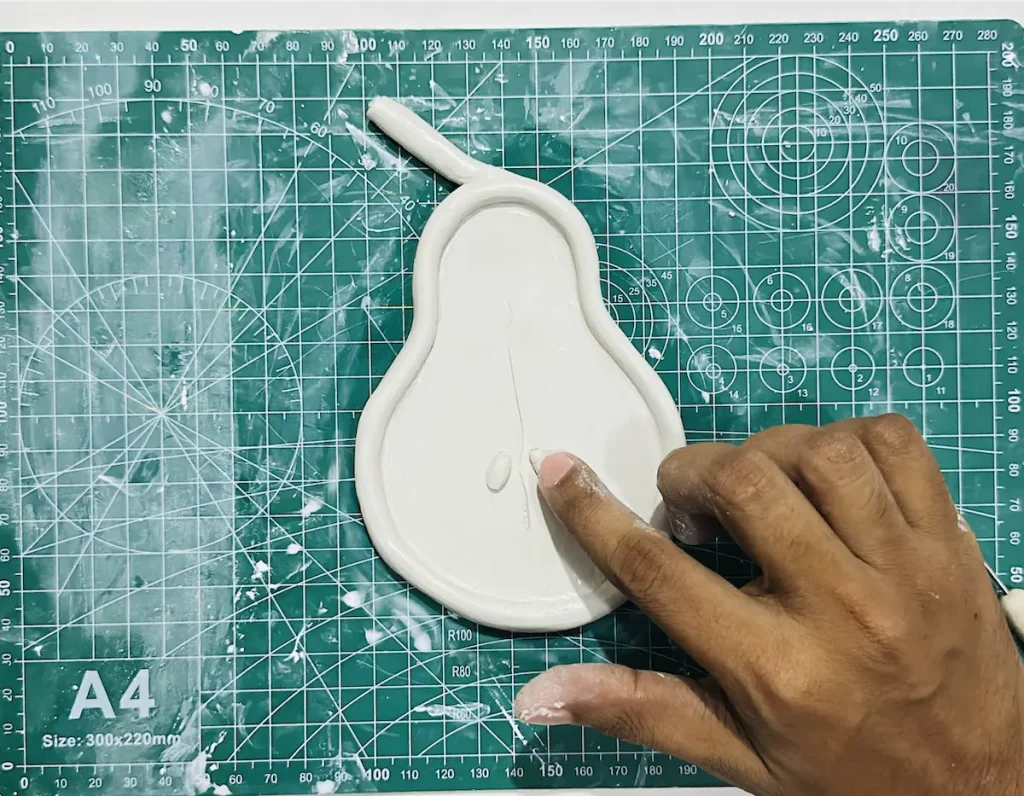
Added some fine details as well to make the tray look more realistic.
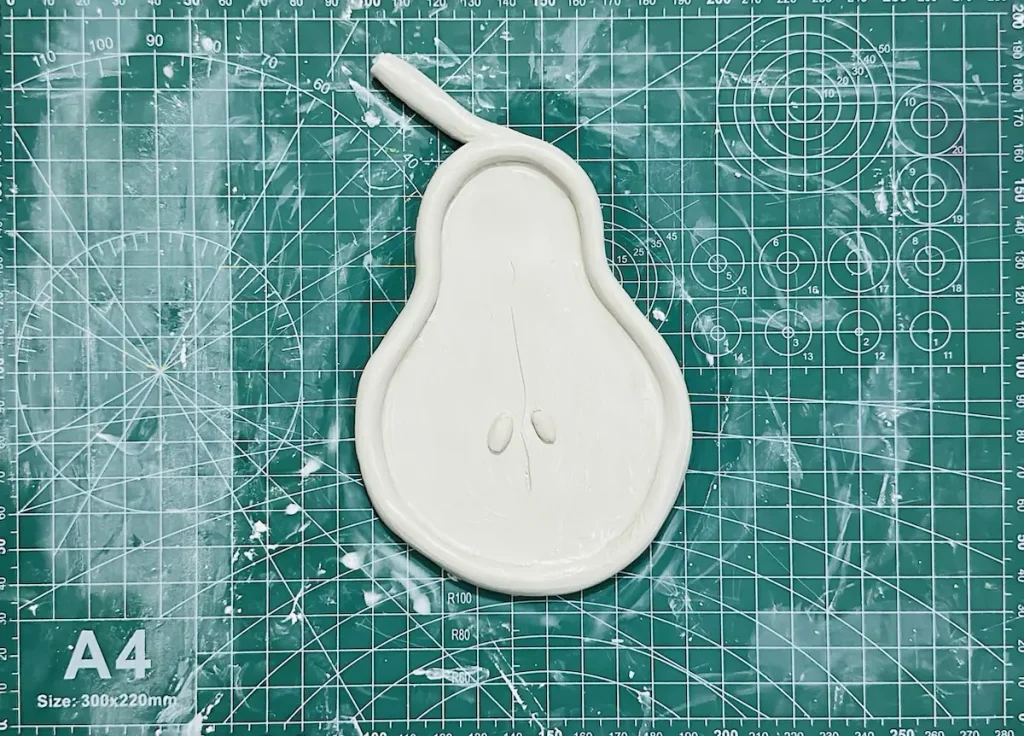
Congratulations my friends! You have successfully made the pear trinket tray. But hold on! The finishing part is still there and it is still wet.
Step 6: Drying the clay tray
Let the pear trinket tray you made dry for 48 hours in a cool well ventilated area. Flip the piece time to time for even and efficient drying. Plus, it helps to avoid the clay from warping because no excess force occurs due to the shrinkage of the clay, which can curl the clay up.
Let the project dry slowly. Rushing the drying process causes uneven shrinkage because outside layers dry faster compared to inner layers and that builds up tension and the tray will end up with cracks on the surface.
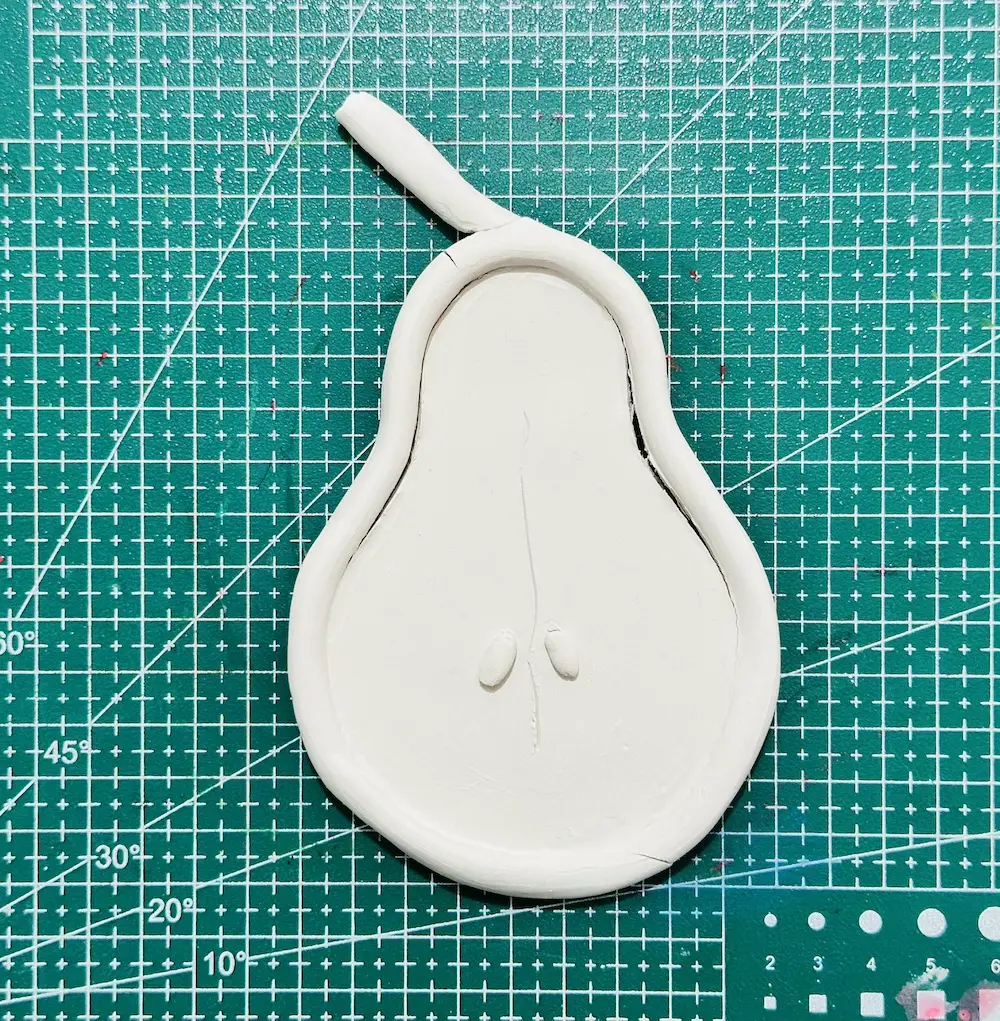
Don’t place the tray in the sun, outside or apply a heat source to increase the drying speed. As I told you, they will trigger uneven shrinkage due to uneven moisture evaporation and form cracks.
After 72 hours, check if there is any grey patch on the surface. Grey patches mean the clay is still wet and you need to let it dry for another 24 hours. Once the clay is fully dried, it will display a more pure white color.
Step 7: Painting the pear trinket tray
Once the tray is fully dried you can start painting it. I use acrylic paint because it is considered the best paint for air dry clay.
Acrylic paints come in vivid colors, gives a glossy look, are easy to apply, no need of water because water is absorbed by the air dry clay, making the clay weaker and causing it to lose its joints.
Plus, acrylic paint makes a water resistant coating over air dry clay, which is important because water is the worst enemy of air dry clay.
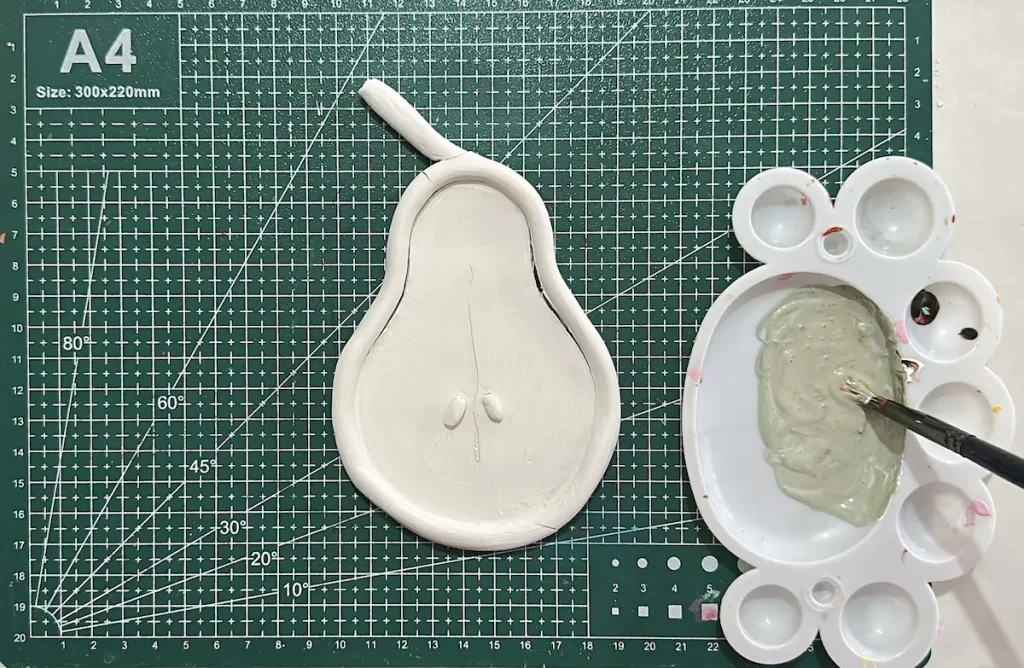
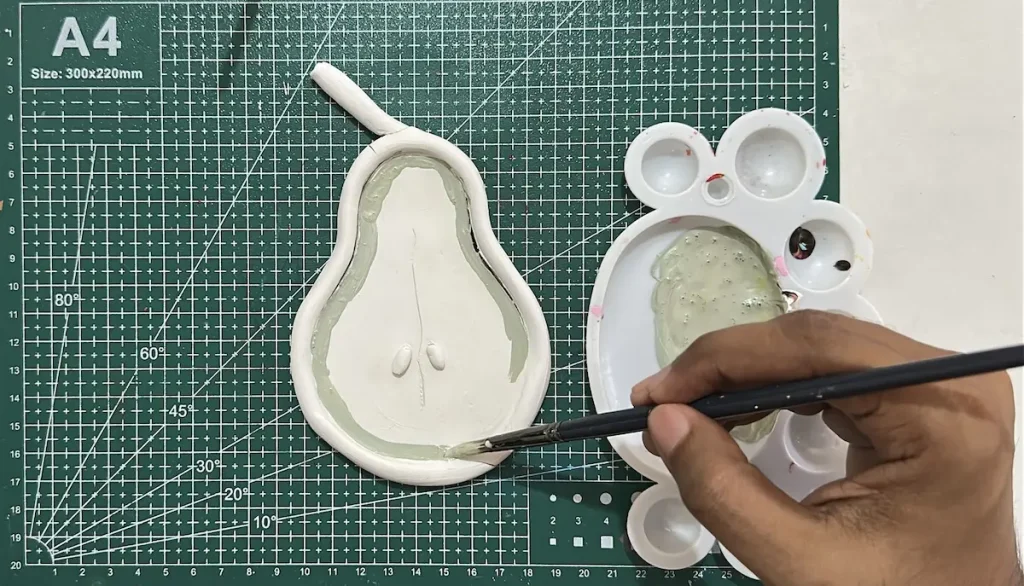
Apply thin and even coats of acrylic in one direction to avoid forming brush marks, tacky and mushy spots on the surface.
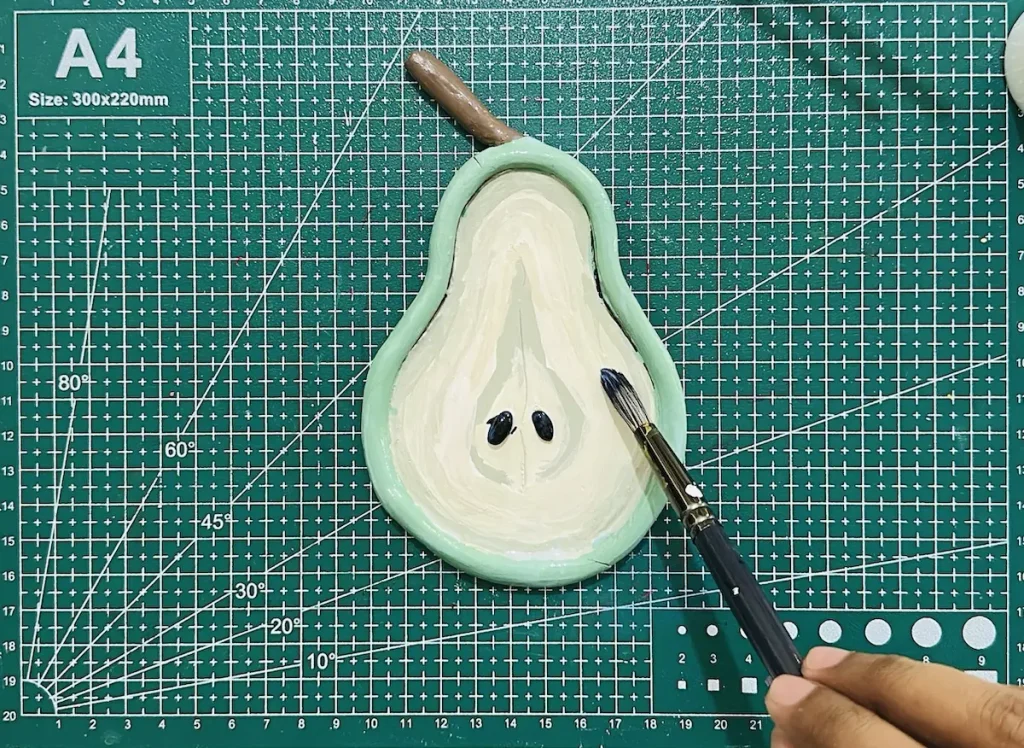
I mixed different colors of acrylics to get pastel-like colors and applied them with flat and tiny paint brushes.
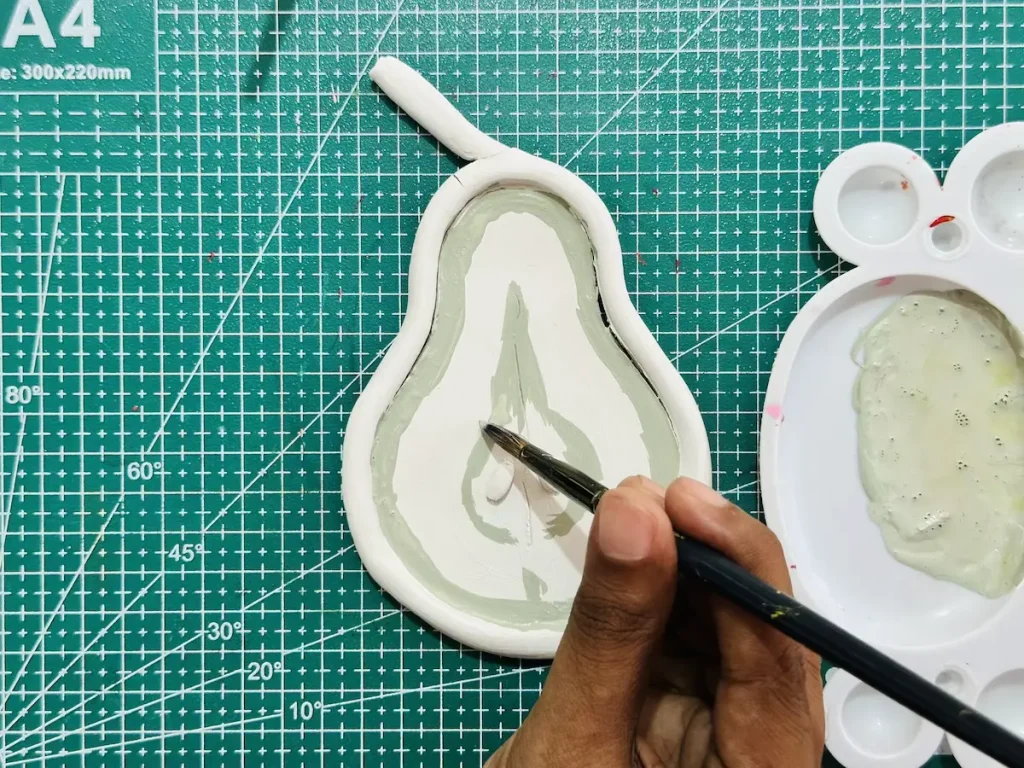
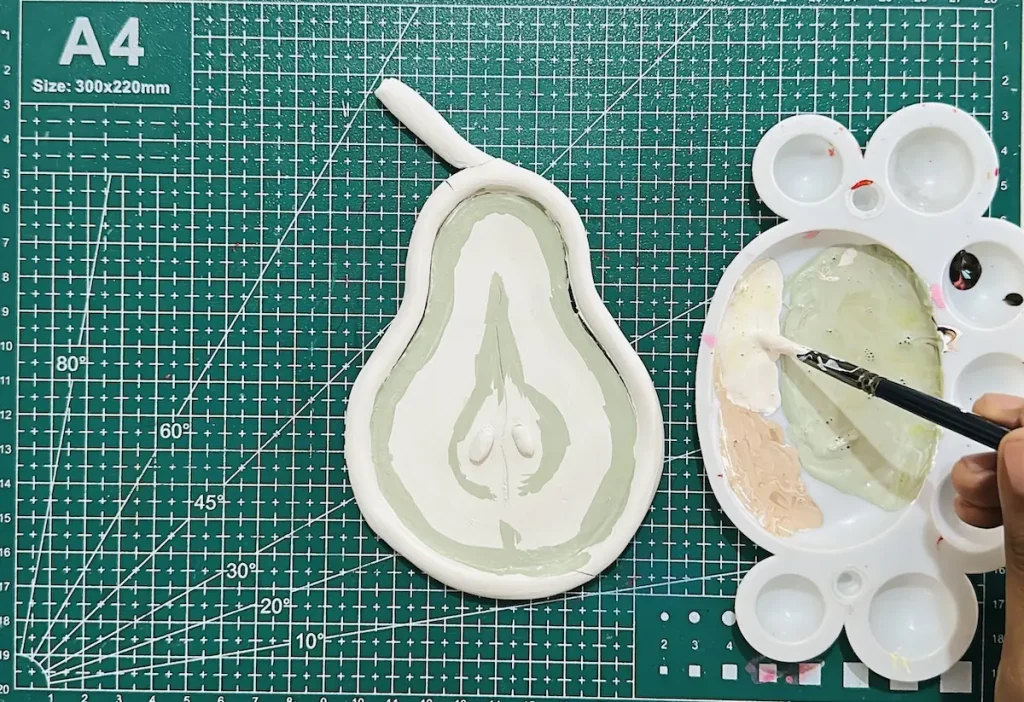
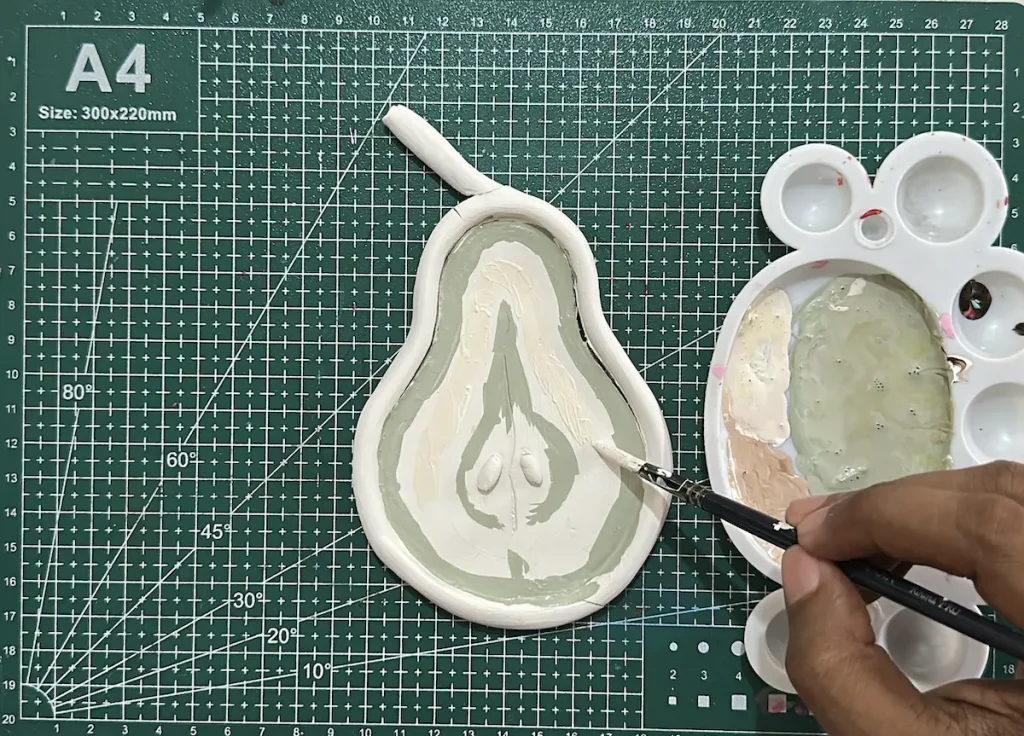
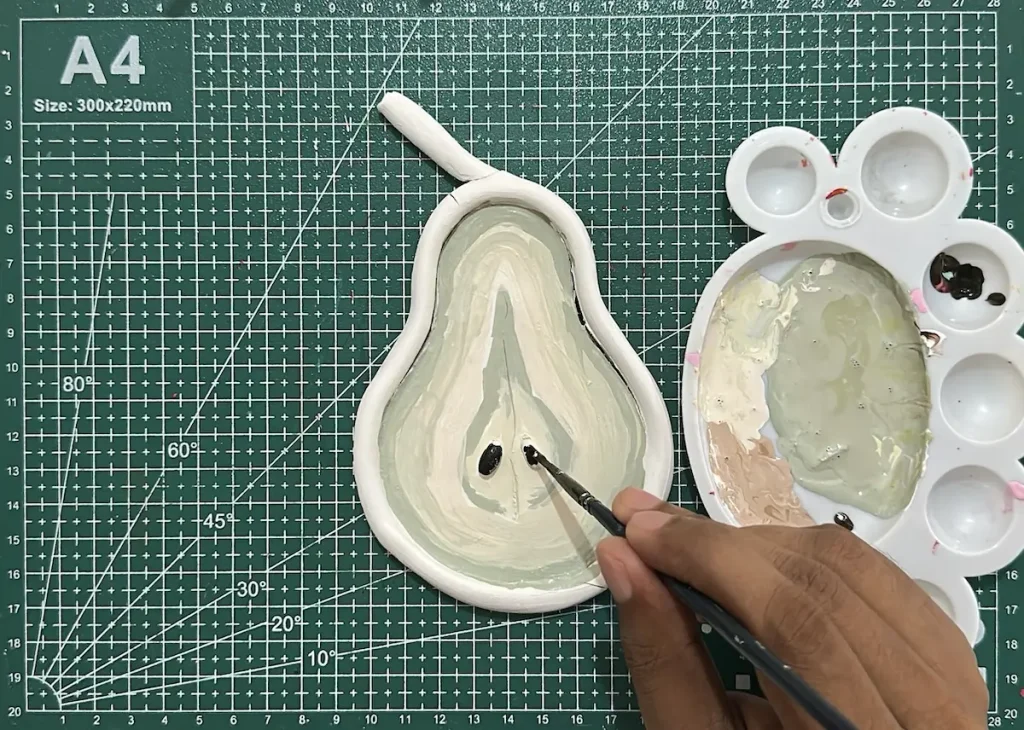
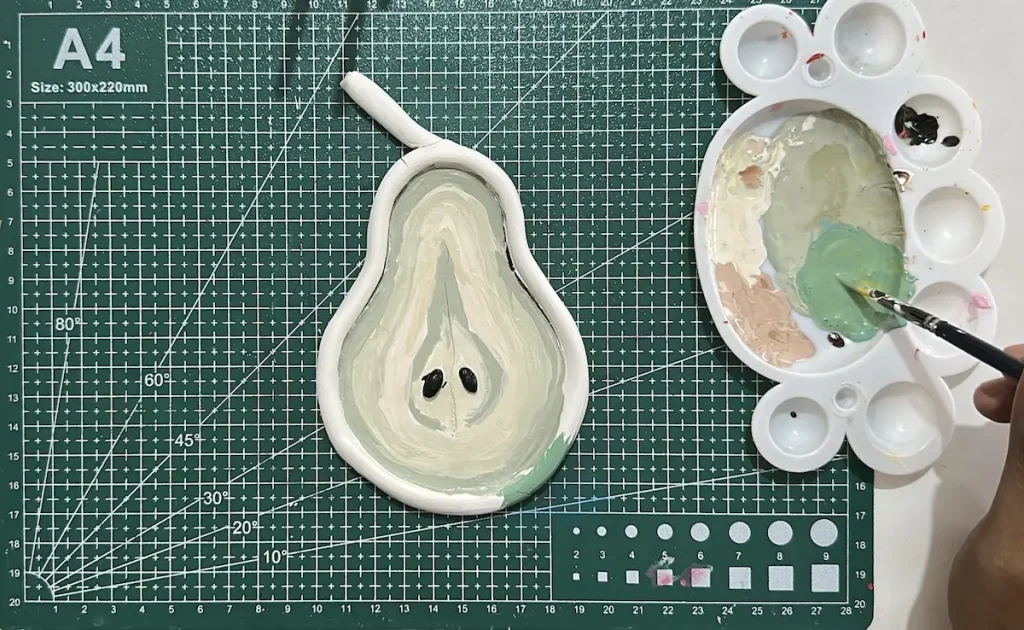
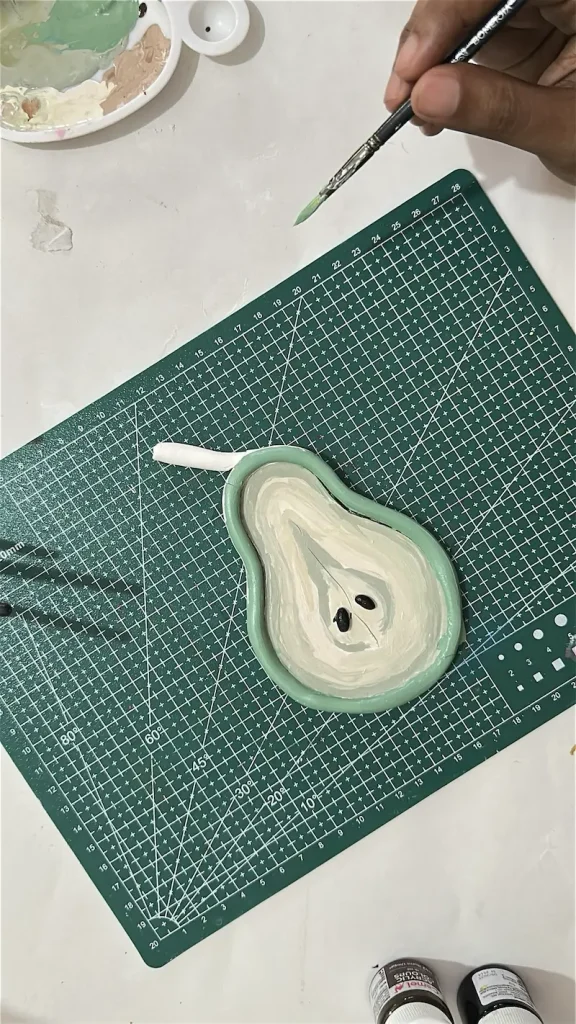
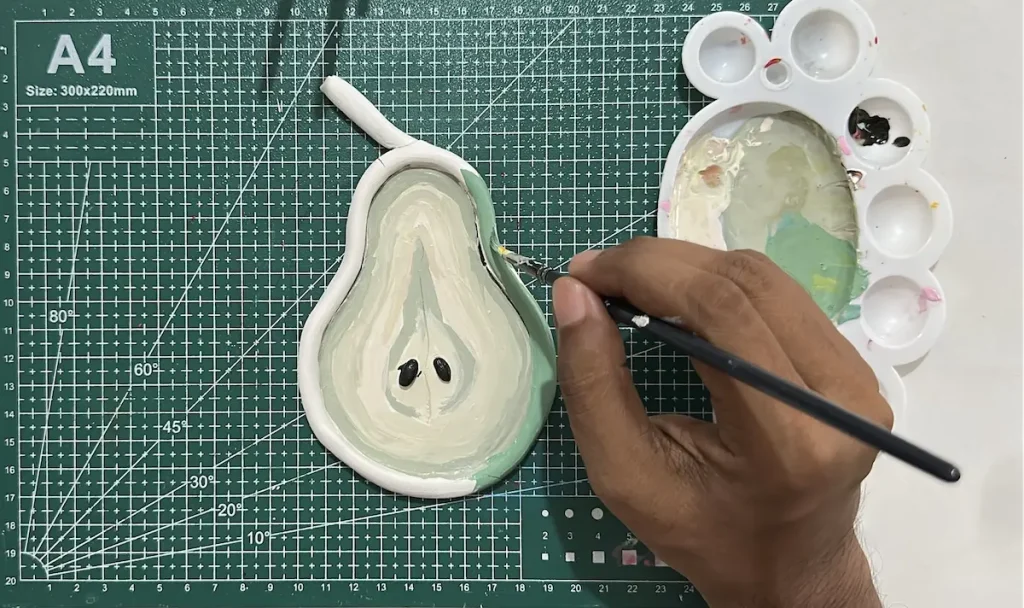
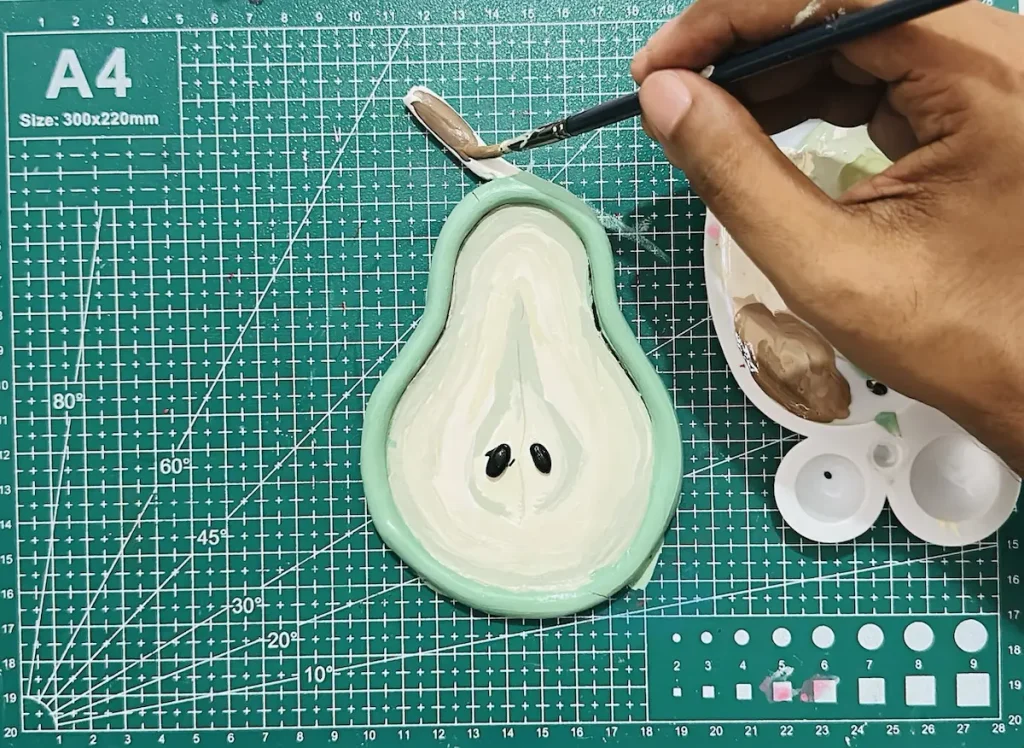
Apply 2-3 acrylic paint coats for the best result and let each coat dry for 2 hours before applying another.
After the final coat, let it dry for 2 hours before sealing the project.
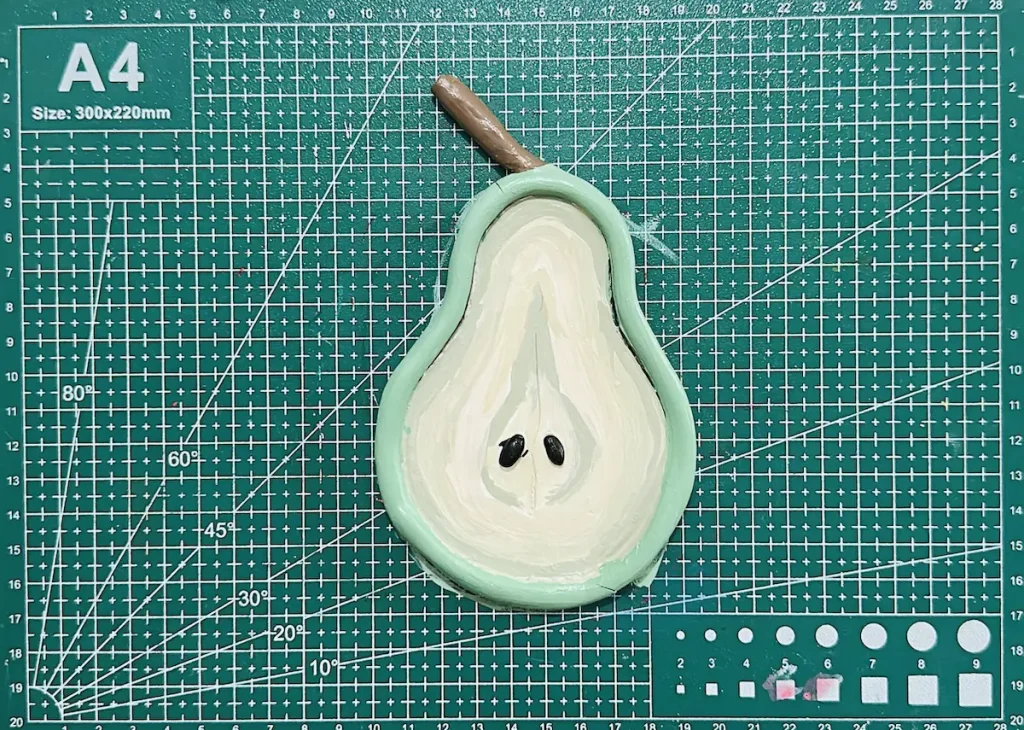
Step 8: Sealing the tray
I use gloss varnish for sealing because it offers long term protection from water by making a water resistant coating over the project and gives a glossy, ceramic like finish.
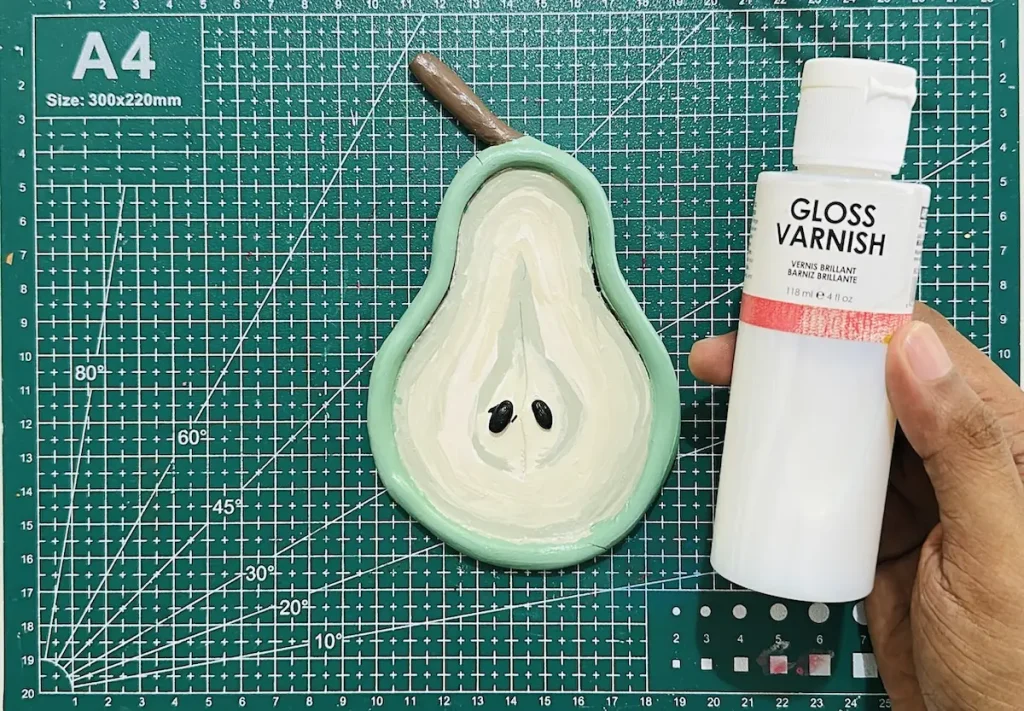
Or you can use UV resin, polyurethane varnish or epoxy resin if you want a more glassy like finish.
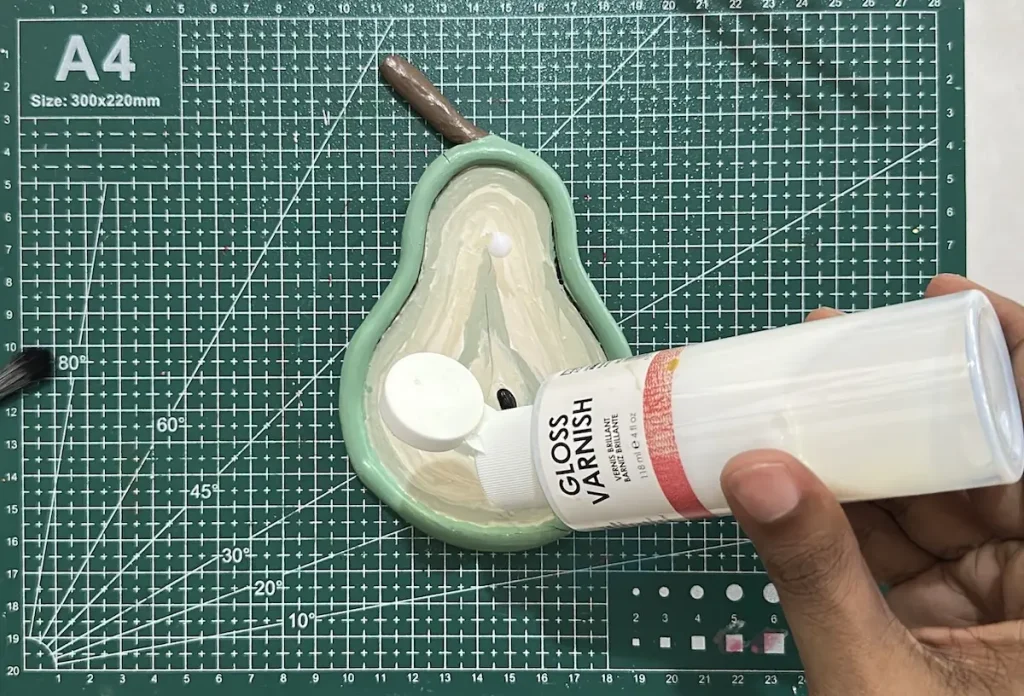
Apply 2-3 thin and even coats of gloss varnish and let each coat dry for 24 hours before applying another.
After the final coat of sealer let it dry and cure for 24 hours.
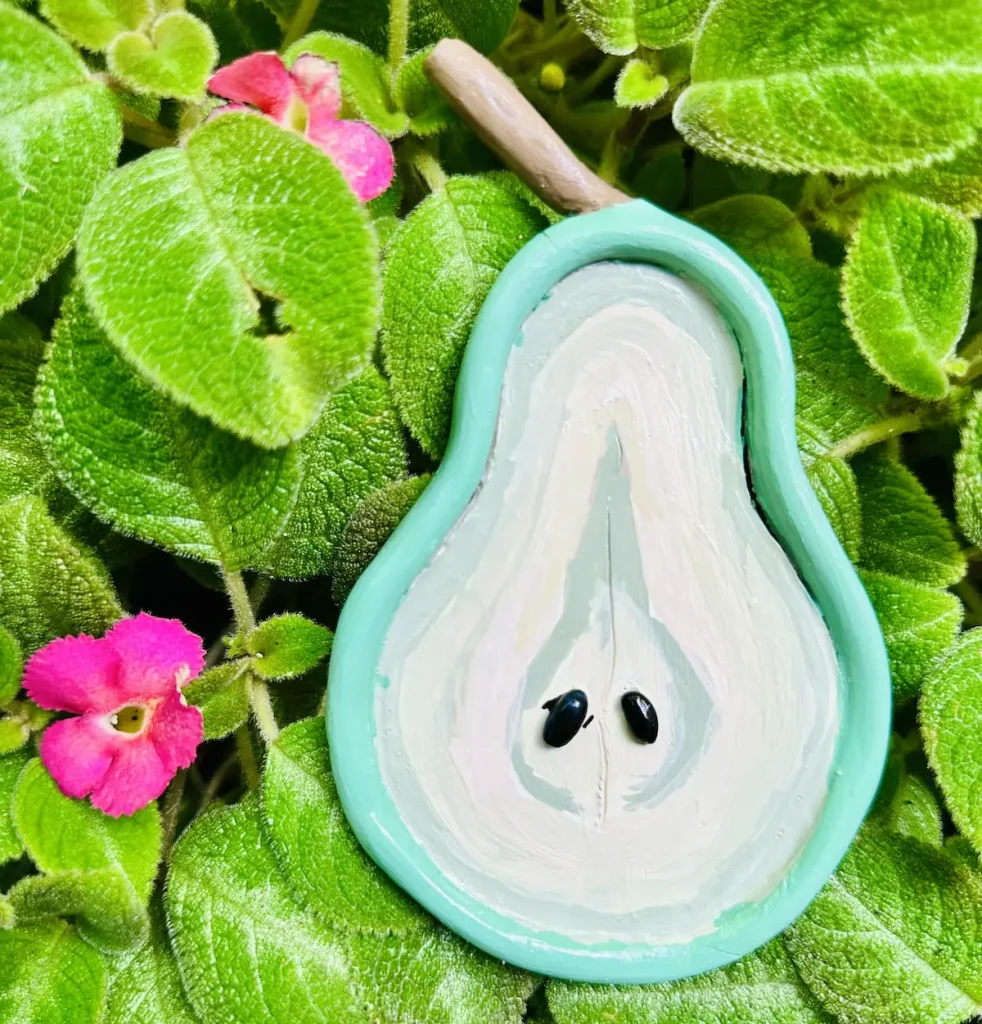
Well done, guys and gals! We have successfully sculpted a pear trinket tray with air dry clay. I’m so happy.
Final thoughts
I have given you every step I followed, simple ways to do things, and alternative options you can try out. So you can’t stay lazy. Start making one within this week. I want you to improve with me.
As a beginner, we should gather and share things we know with each other. The comments section is open for you to mention the things you learnt while you’re making this pear trinket tray. I’d love to hear from you.
Now it’s time for you to start making one. Hold on! One thing! Be sure to tag @clayandmestudios in your pear trinket tray project. I sure love to see them when you do. I’ll see you next time with another cool project! Cheers! 🤟🏾
Ready to get creative? 🍐 Before you dive into the fun part, here is a quick-reference summary of the steps so you can keep everything on track while you work! ✨
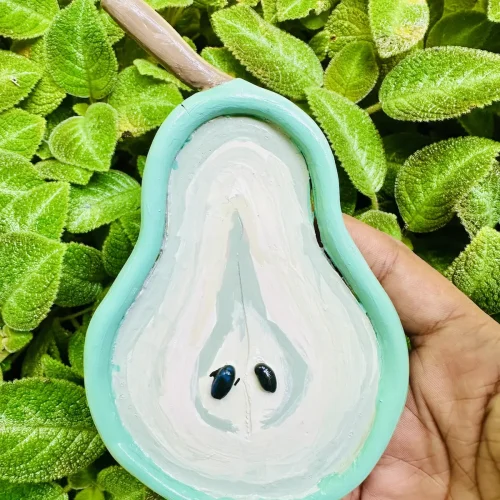
DIY Air Dry Clay Pear Trinket Tray

Supplies Needed
Air dry clay (DAS, Mont Marte or any reputed brand you can find is okay)
Acrylic rolling pin
PVC mat or silicone mat (or non-stick surface)
Clay crafting tools
Clay cutting tool (X-acto knife or small knife)
Cup of water or spray bottle
Acrylic paints
Gloss varnish
Paintbrushes
Paper towels
Optional: Sponge or silicone sculpting tool (or you can use your finger)
Instructions
1. Prepare & Knead the Clay
- Wet your palms slightly and knead your clay for 3–5 minutes. Don’t over-water it, or you’ll risk surface cracks later! Kneading helps distribute moisture evenly.
2. Roll the Clay
- Roll to a ¼-inch thickness. Remember to flip and rotate your clay frequently—this prevents a “vacuum seal” between the clay and the mat, which stops it from tearing.
3. Cut the Pear Tray Base
- Trace your pear shape, then cut along the lines. Clean your knife blade often to remove stuck clay; it helps you get those nice, sharp edges!
4. Attach the Tray Rim
- Roll a “snake” for your border. Use the “score-and-slip” method (scratch the surfaces and add a dab of water) to bond the rim to the base securely.
5. Add Cute Details
- Sculpt your stem and seeds. After attaching them, use a damp finger to smooth out any seams so they look seamless and natural.
6. Dry Slowly
- Let it dry for 48–72 hours in a ventilated spot. Flip it occasionally to prevent warping. If you see grey patches, it’s still wet—keep waiting!
7. Paint 🎨
- Apply 2–3 thin coats of acrylic paint. Tip: Brush in one direction to avoid streaks and tacky spots. Let each coat dry for 2 hours.
8. Seal & Protect the Tray 🛡️
- Finish with 2–3 thin coats of gloss varnish for a professional, water-resistant shine. Let each coat cure for 24 hours.