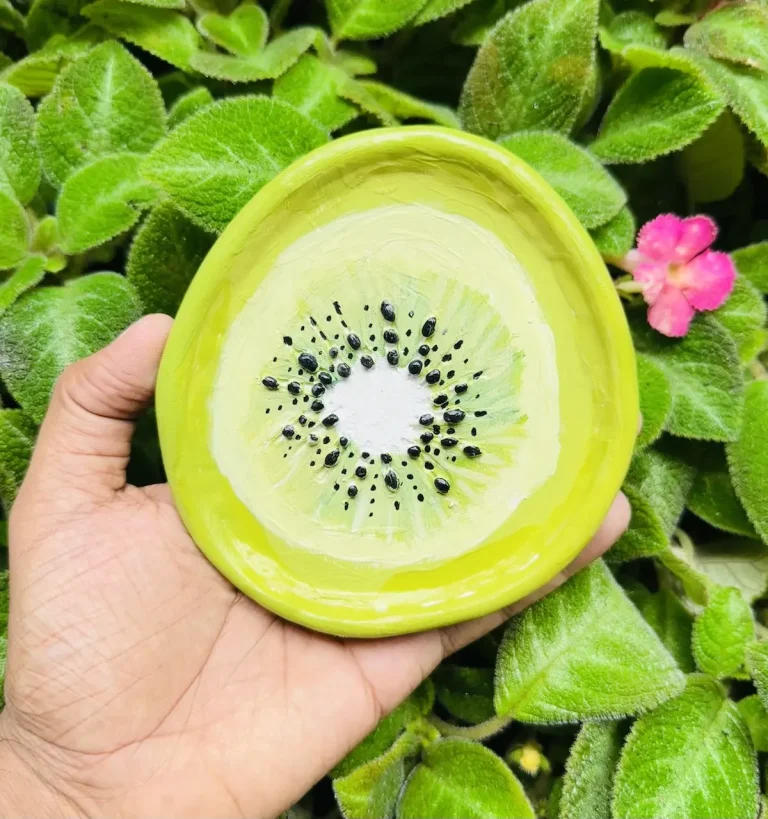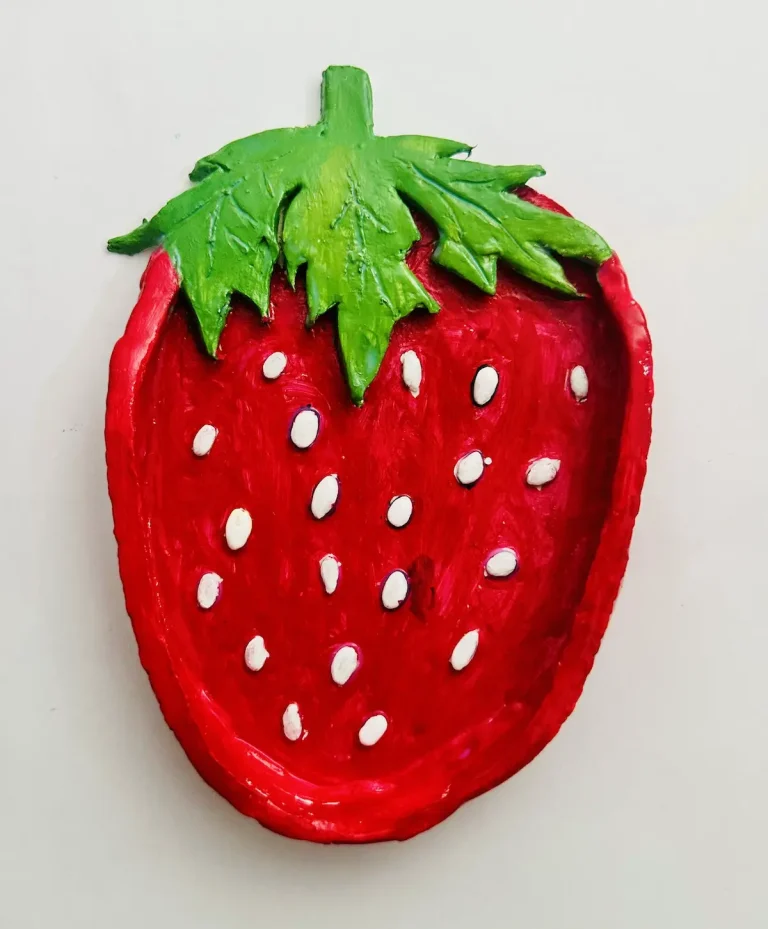

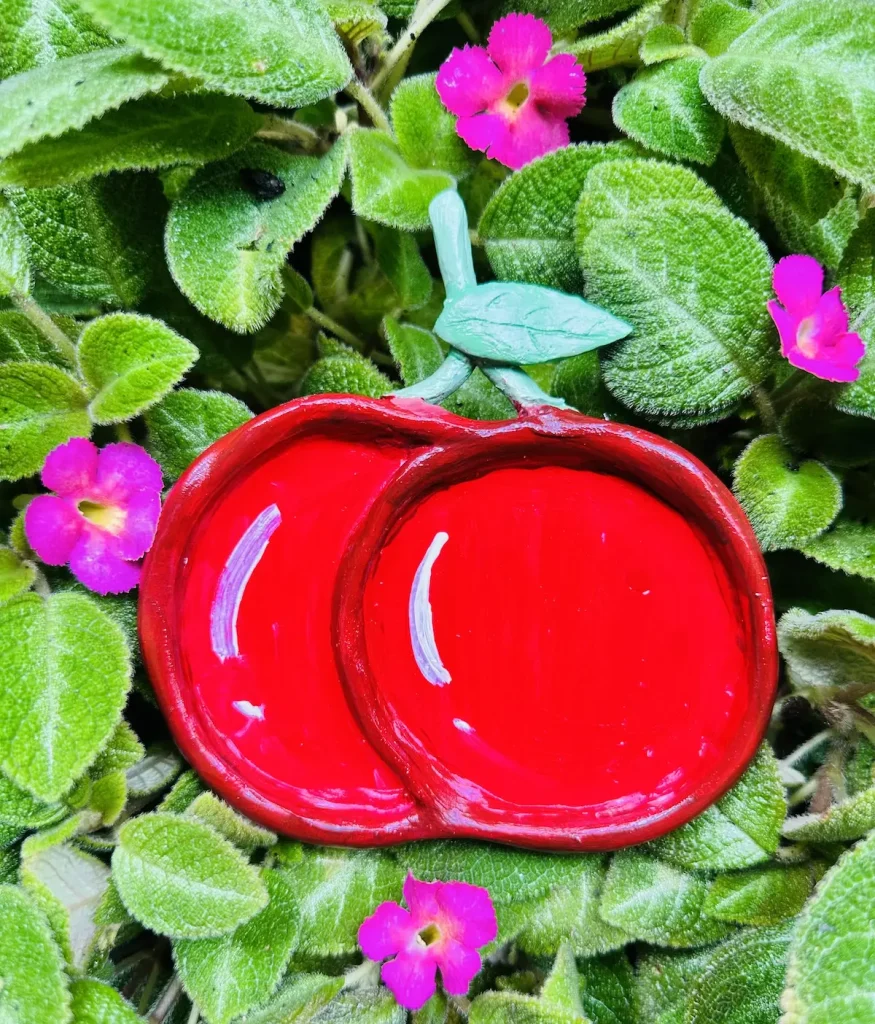
“Life is just a bowl of cherries. Don’t take it serious, it’s mysterious”. Welcome to my another fruit inspired trinket tray tutorial. This time its Cherry! 🍒
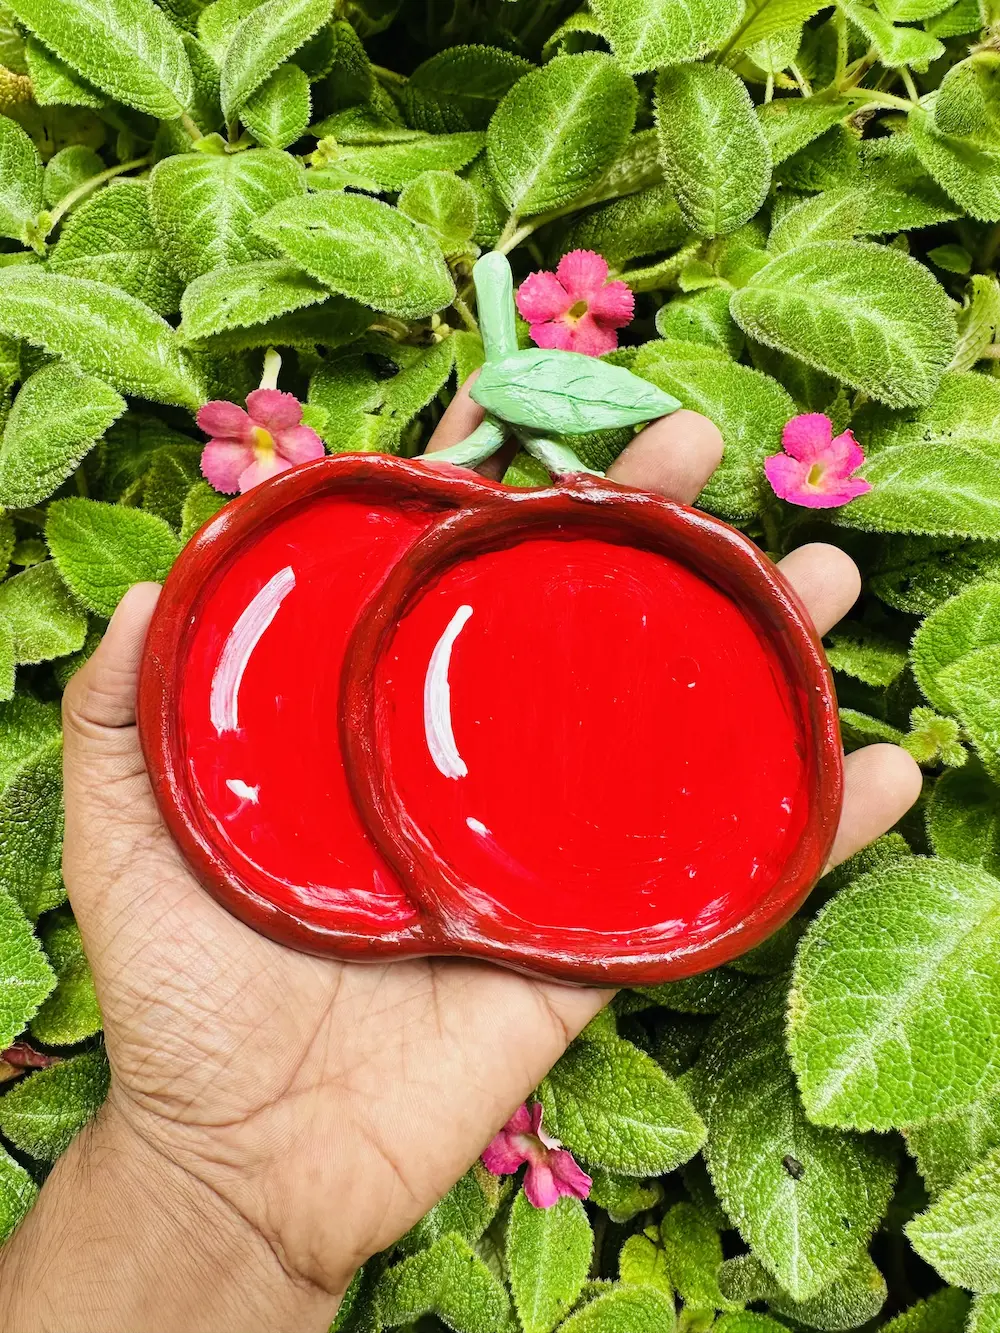
I planned to make them as vibrant as possible with realistic features. I think I have succeeded. But you decide. 😊
I’ll tell you easy, simple steps I followed to make this beautiful trinket tray because I’m also a beginner like you who does not like to follow difficult expert tutorials. They are not for us. They do not show mistakes that can be made during the project and the original emotions behind those tiny wins, like making the tray base perfectly rounded.
They are for experts and they rarely make mistakes, and even if they do, they don’t publish them on the internet.
But here, the scenario is completely different. I’ll share with you guys everything I did, every mistake I made, and how I fixed them using simple tricks to achieve this beautiful cherry masterpiece.
Too much talking! Not Good! Let’s start making without wasting time!
Why did I use air dry clay?
I used air dry clay because it is cheap lol. I don’t have enough budget to go for polymer clay and I don’t want to kiln or bake. I like a clay that dries in the air and is able to be shaped with little effort.
So air dry clay is the best because it can be shaped just by tapping a little bit of water. But be careful because too much water weakens the air dry clay and forms cracks on the surface.
As a beginner, I do make lots of mistakes and do lots of experiments with clay. If I went for an expensive clay type like polymer clay, I’m afraid of making mistakes and I never ever think of doing experiments because every clay piece is valuable.
You might think not making mistakes is a good thing. Yes, that’s right. But as beginners, mistakes are part of us that help us to do better next time. They are our teachers.
So I encourage you to try to do new things with your clay and experiment with it without worrying about the wastage or time or money. That’s the exact reason why I used air dry clay.
Basically air dry clay is,
- Not expensive.
- Easy to shape.
- Able to fix mistakes (scratches, bumps, unevenness) by smoothing out the clay.
- Dries out in the air.
- No kiln or bake needed.
- Beginner friendly.
Hope that clears up!
Tools and materials you need
- Air dry clay (DAS, Mont Marte or any reputed brand you can find is okay)
- Acrylic rolling pin
- PVC mat or silicone mat (or non-stick surface)
- Clay crafting tools
- Clay cutting tool (X-acto knife or small knife)
- Cup of water or spray bottle
- Jar lid
- Acrylic paints
- Gloss varnish
- Paintbrushes
- Paper towels
- Optional: Sponge or silicone sculpting tool (or you can use your finger)
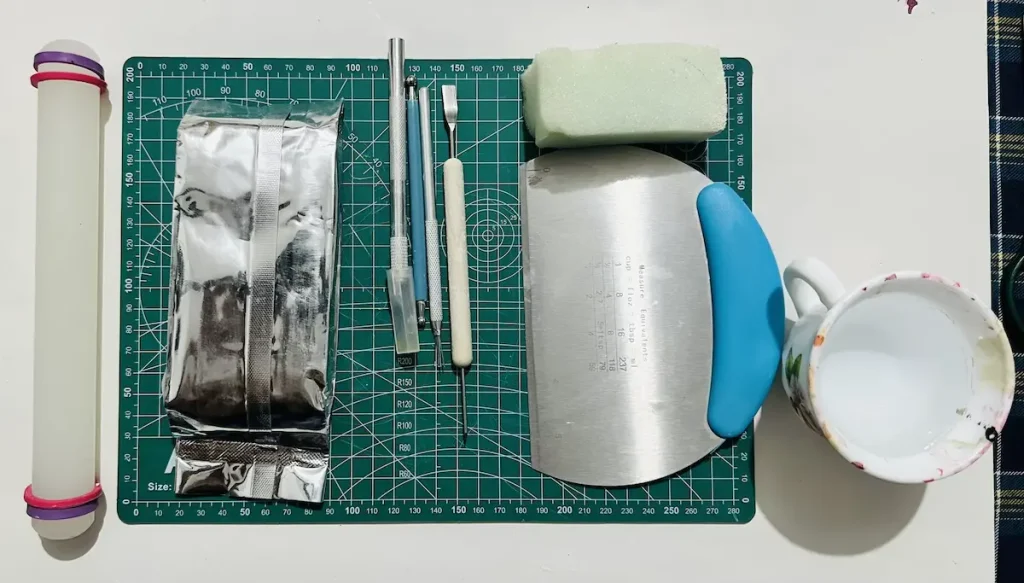
If you couldn’t find any of the above tools or materials except the air dry clay and acrylics, open your kitchen drawers and find an alternative. I’m sure you’ll find useful tools like toothpicks and small knives. You don’t need expensive tools to make this project.
Easy diy cherry trinket tray tutorial video
I have recorded all the steps I have taken to make this cherry trinket tray with air dry clay and uploaded on YouTube.
Feel free to watch and try it out! 📺
Finished watching the video? Let’s take a peek at the detailed written step by step guide.
Step by step cherry trinket tray tutorial
First of all, go to a well ventilated area or open all the windows in your room because tiny air dyr clay particles can make you cough a lot. Wear a pair of gloves to avoid getting your hands messy or if washing hands frequently bothers you. Safety first!
Step 1: Conditioning and kneading the clay
Conditioning and kneading are the most important step before you start any project with air dry clay.
First of all, take a fresh piece of air dry clay and condition it by tapping a little bit of water onto the surface.
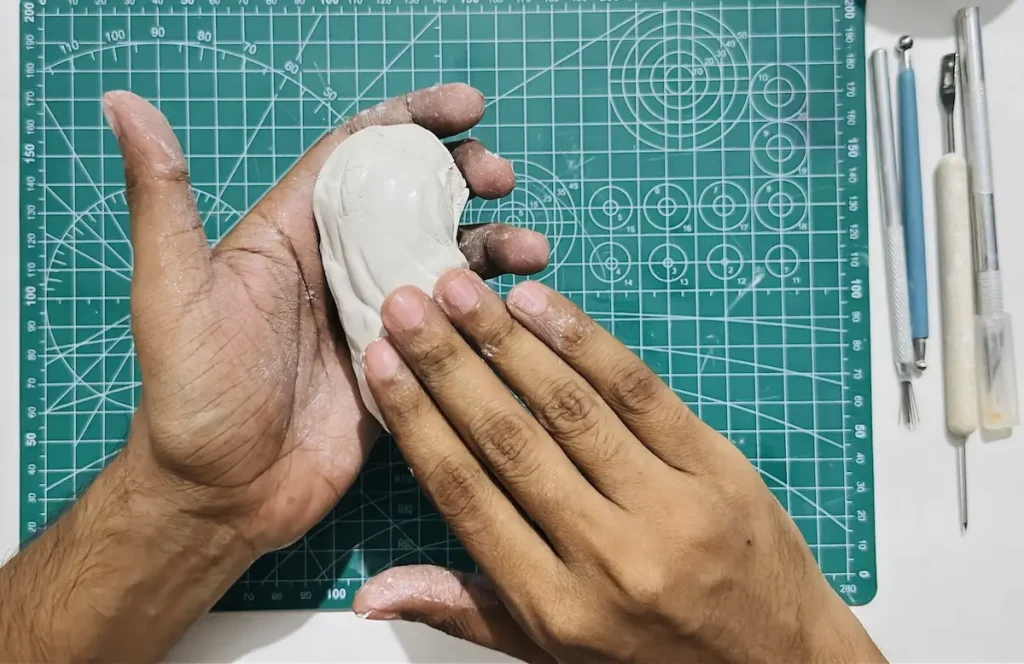
Then start kneading by pulling, pressing and folding the clay with force like you’re making a pizza dough. Do this for 3 to 5 minutes with adding a little bit of water from time to time until the clay becomes soft enough and pliable for shaping.
Air dry clay is a highly porous material with lots of moisture and air bubbles inside and kneading helps to spread the moisture evenly across all the areas of the clay and release the air bubbles.
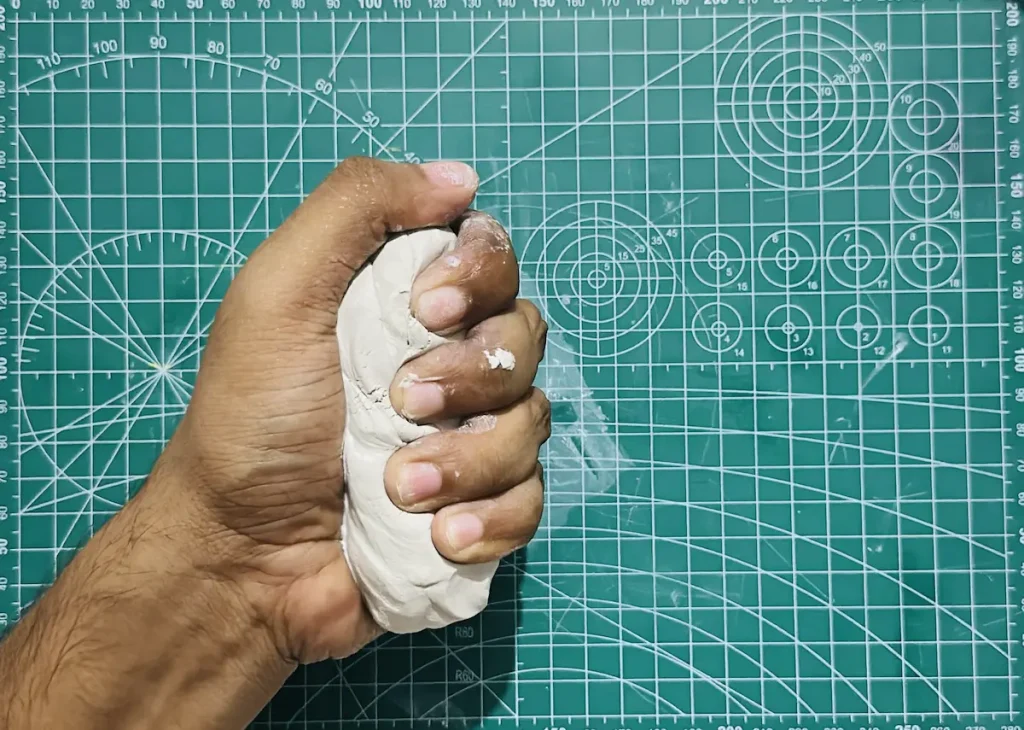
Air dry clay shrinks as it dries due to the evaporation of water. If you couldn’t knead the clay properly, most of the moisture will be trapped inside and will evaporate much more slowly compared to the moisture outside due to regular air exposure as your air dry clay project dries.
This causes uneven shrinkage.
Due to the uneven shrinkage, clay tends to build tension between the layers and warp. When this tension becomes higher and higher, microcracks will start to form on the surface. These cracks will become deeper and deeper as the clay dries.
But this won’t happen if you were able to knead the clay properly in the first place. It spreads the moisture evenly and shrinkage will happen at almost even rate due to the same moisture evaporation speed across all the layers of the clay. No uneven shrinkage means no cracks will be formed. Simple as that!
Another thing is never use too much water when kneading the clay because too much water leads to cracks on the surface due to faster moisture evaporation as the clay dries and also it weakens the clay. Slow drying is a must to avoid forming cracks.
Use the ideal amount of water when kneading that just enough to make it soft. Too much water causes cracks and a lack of water causes the clay to crumble.
Step 2: Roll the clay
Now place the kneaded clay piece on your mat and repeatedly press and flip it a few times using your palm to ready the clay slab for rolling.
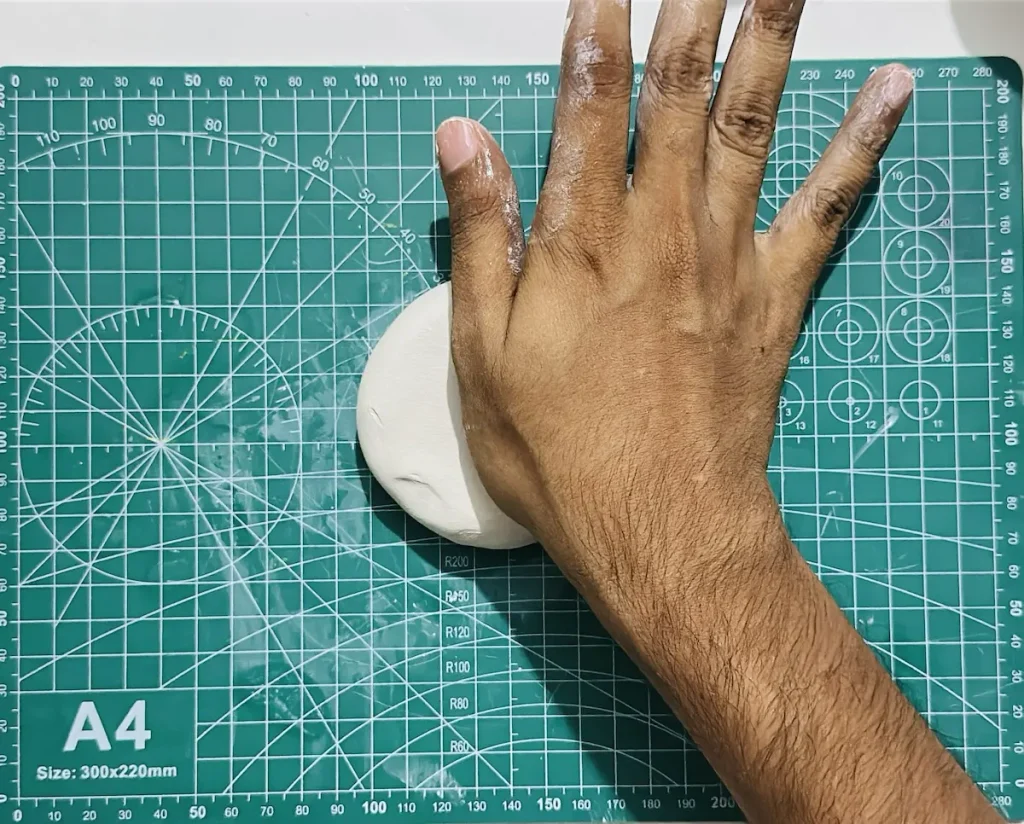
Next, roll the clay slab to an even ¼ inch thickness. If you plan to hollow out the clay to make the tray base, plan for ½ inch thickness. But for this cherry project, ¼ inch thickness is enough because we are going to attach the tray rim separately.
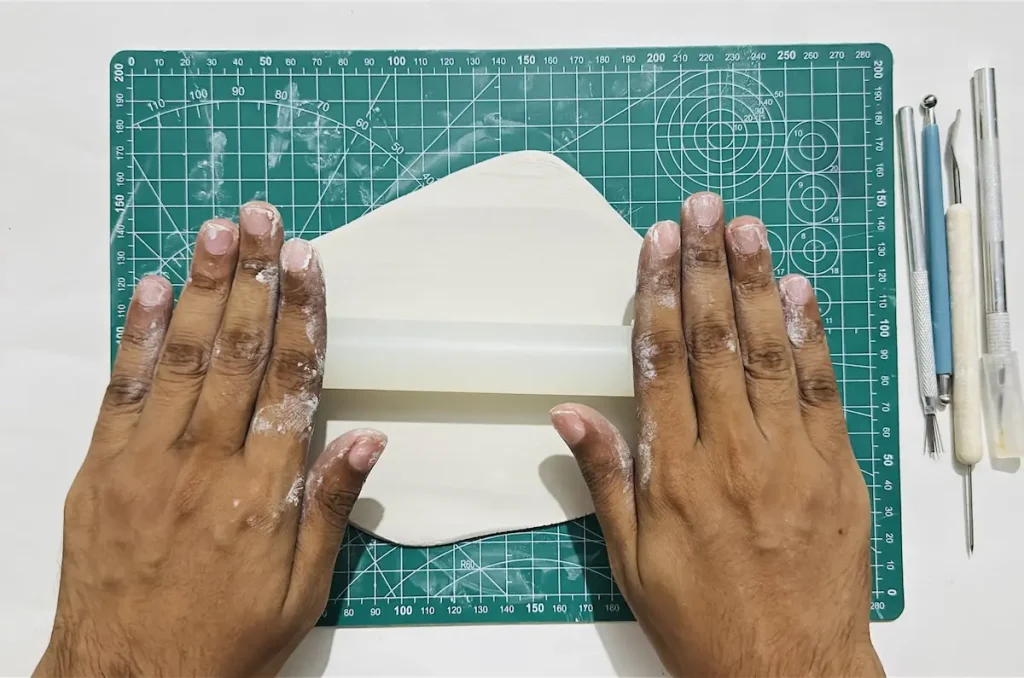
I use an acrylic rolling pin and a PVC mat for rolling the clay slab because they are non stick. If you plan to use a wooden one, make sure to place parchment paper below and on top of your clay slab before rolling to avoid clay from sticking to your mat or the wooden rolling pin. Porous materials like wood suck out the moisture of air dry clay and make a good grip with the clay, which may cause the clay to tear apart when rolling and lifting.
Even though you use non stick mat, I highly advise you to flip, turn and rotate the clay slab 90 degrees while rolling the clay to avoid it from sticking to the mat. Because rolling a wet air dry clay slab in the same position makes a vacuum like seal between the clay and the mat, which makes the clay tear apart when you try to lift it up after rolling.
After rolling, smooth the clay slab by dipping your index finger in a cup of water and gliding it repeatedly on the wet clay slab until it removes the small bumps, micro cracks, splits, scratches and tiny mistakes.
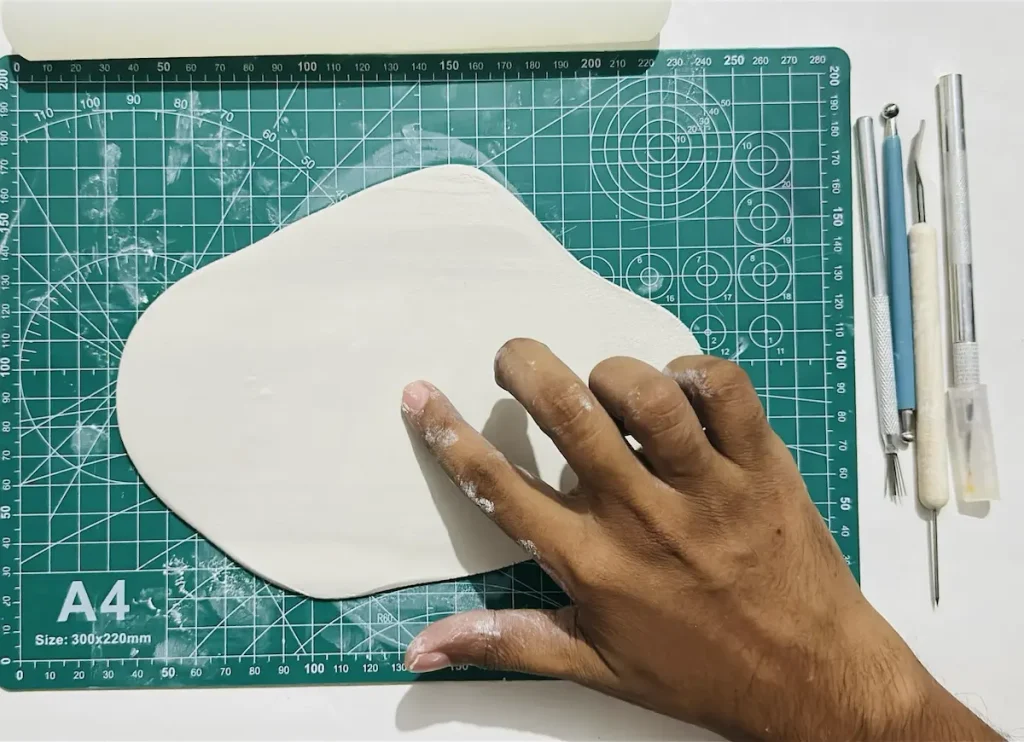
Smoothing the clay slab after each step is a must to get a fine looking piece in the end.
Step 3: Tracing and cutting the tray base
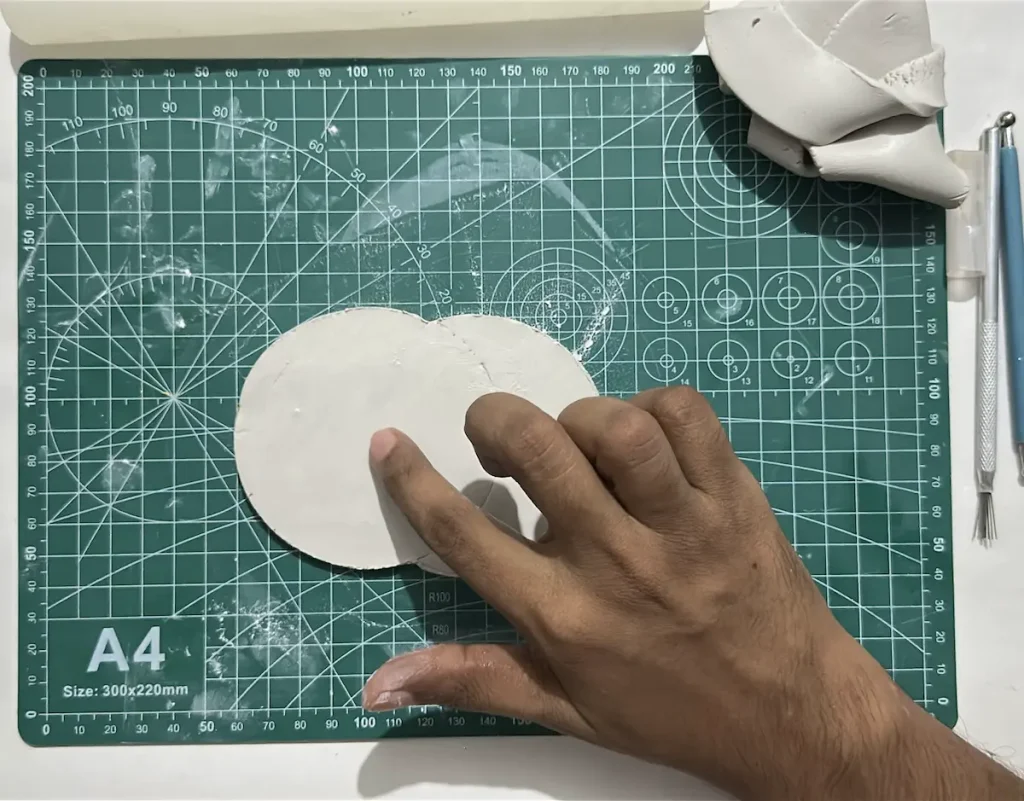
I used a plastic jar lid for tracing the shape of the cherry. Since I planned to make a tray with two cherries, I need to trace two round shapes nearby.
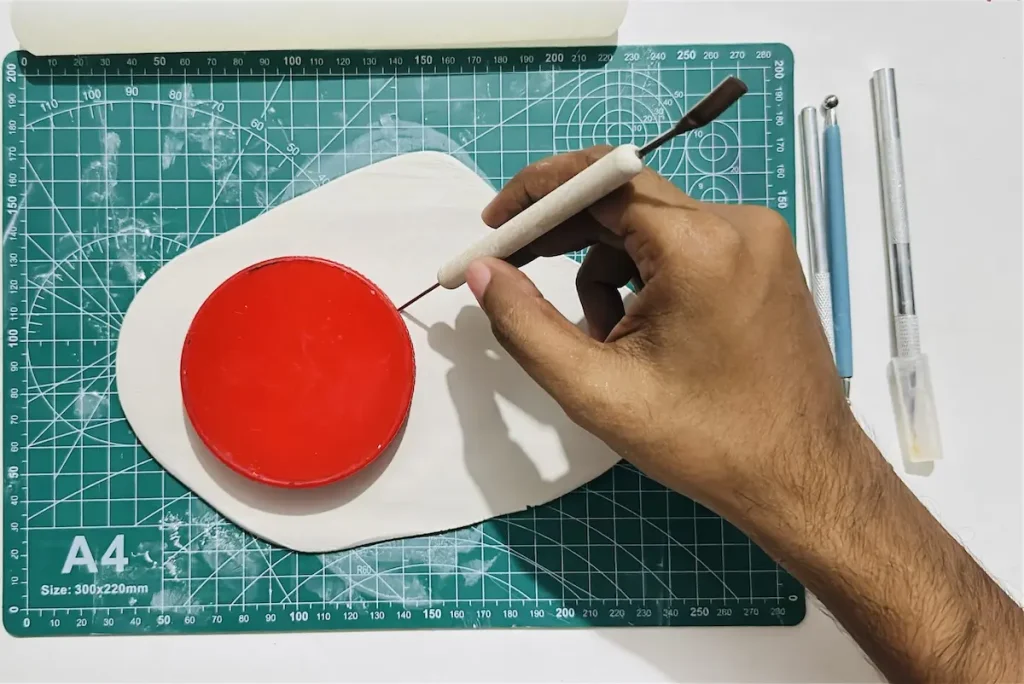
You can use a plastic, metal or any other lid. Just make sure they’re big enough because otherwise you’ll find hardtime when attaching the tray rim.
Place the jar lid you selected in the center of the clay slab and trace around it using the tracing tool or a toothpick. Do the same for the second cherry as well. Trace them nearby.
After tracing is done, take the jar lid out and cut along the traced outline using the X-acto knife.
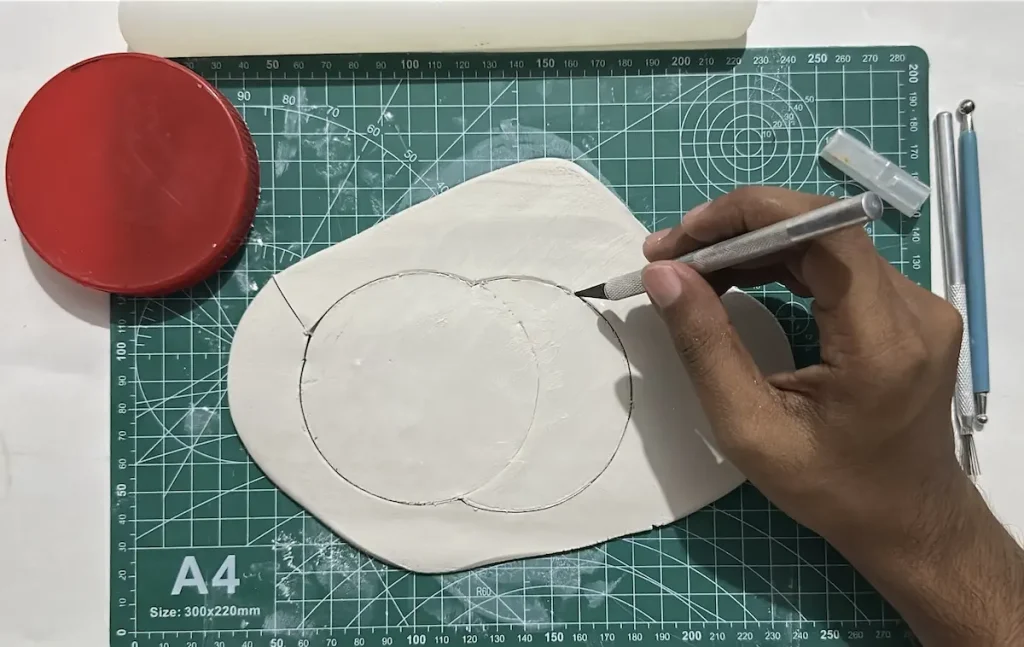
When cutting, make sure not to drag the knife horizontally with the clay because clay may stick to the knife and drag along, forming cracked and torn edges.
Lift the knife while cutting the edges and remove the attached tiny air dry clay pieces to get nice, clean and sharp edges.
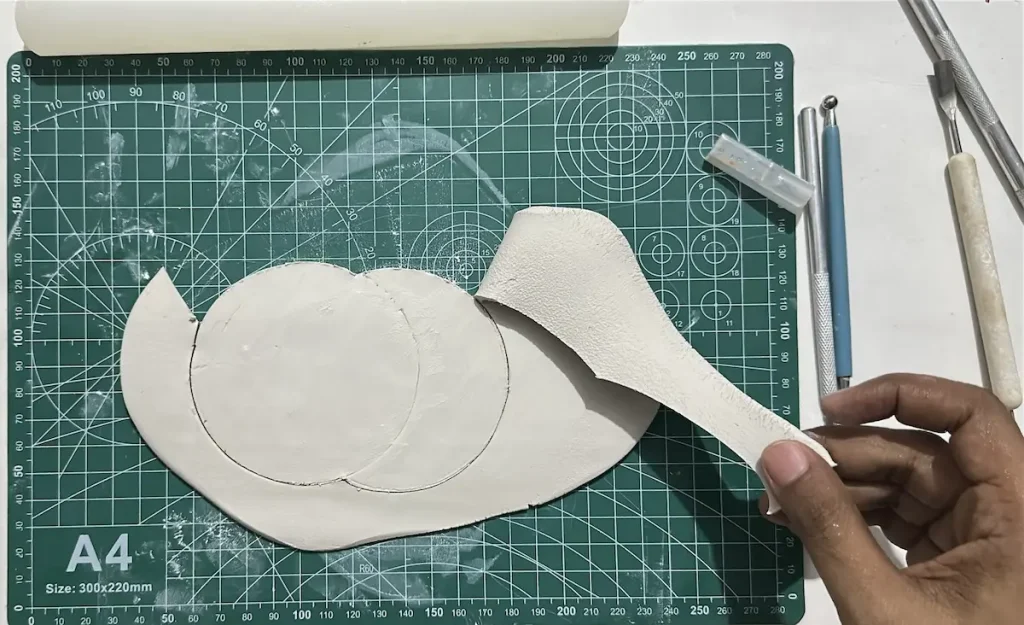
Congratulations friends! You have successfully made the tray base. Now it’s time to make and attach the tray rim.
Step 4: Rolling and attaching the rim
First of all, take a fresh piece of air dry clay, condition and knead it well. Then, roll it like a snake to an even thickness.
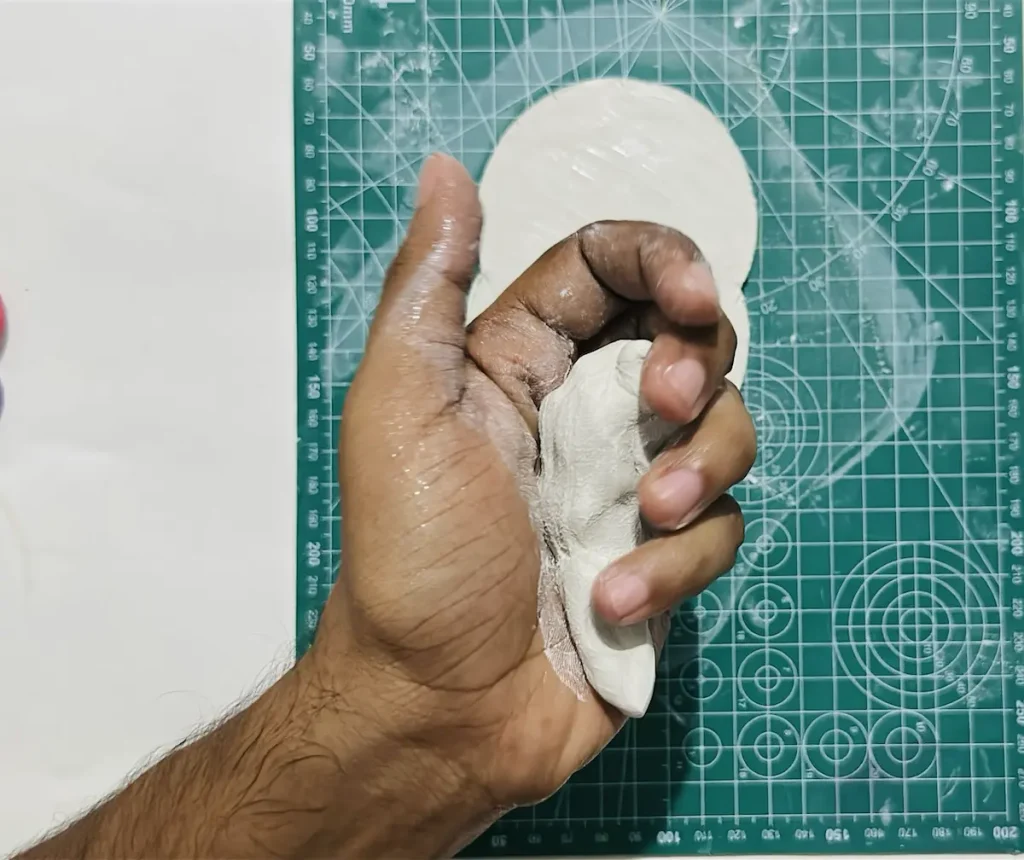
I planned to make a cylinder like shape as the tray rim instead of wall space so I had to maintain the same diameter everywhere using my palms and fingers.
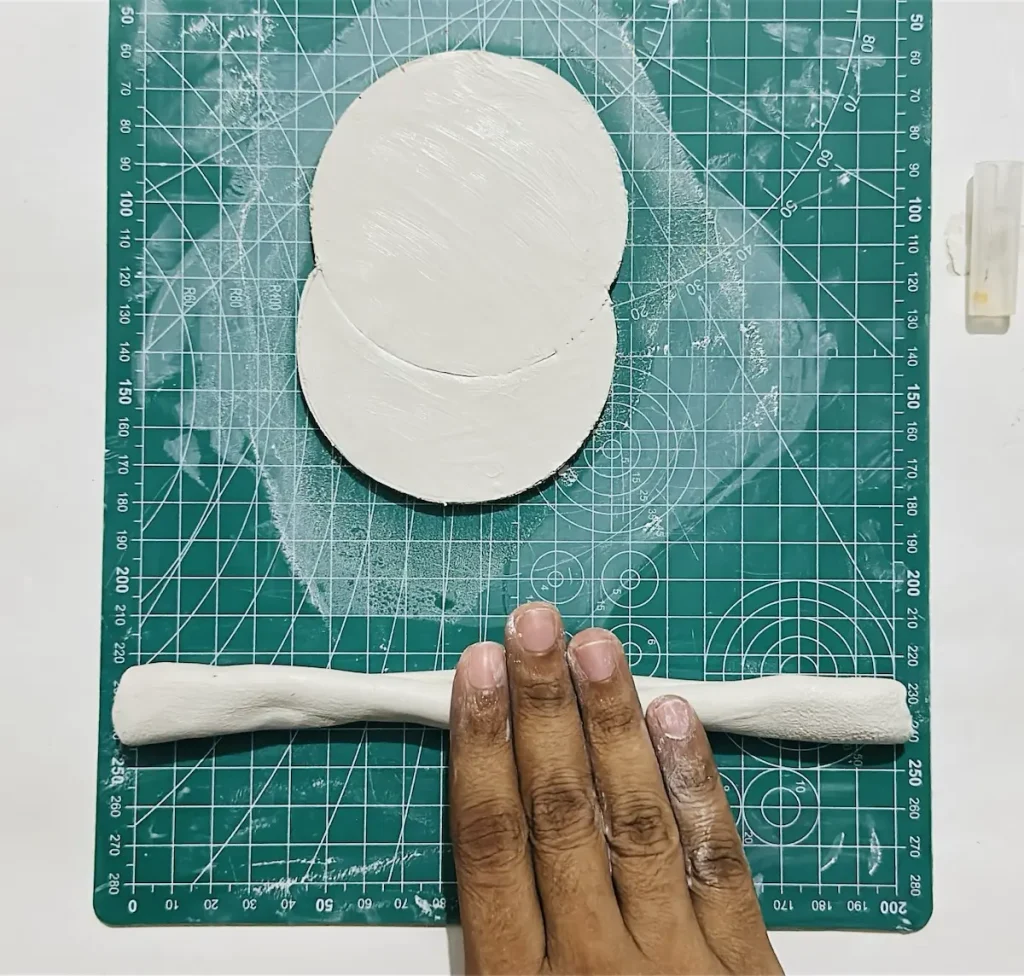
I didn’t roll it too thin because that can cause clay to crack as it dries.
After making the snake like long rim, its time to attach it to the tray base we made earlier.
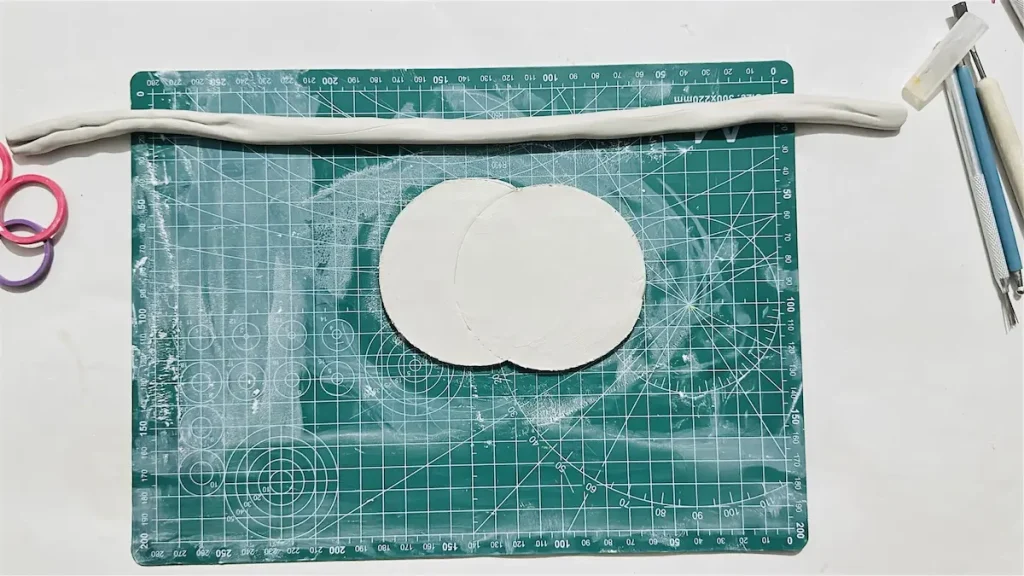
Before attaching, you need to make sure both surfaces have enough adhesion. Otherwise air dry clay does not stick together. You can’t do it by just pressing wet air dry clay pores together. They will definitely loosen and break as the clay dries.
So, you need to follow the score and slip method when attaching tray rim to the tray base.
First, I scored around the edge of the cherry tray base using my scoring tool or you can use a toothpick. You just have to scratch the area that comes into contact with the tray rim.
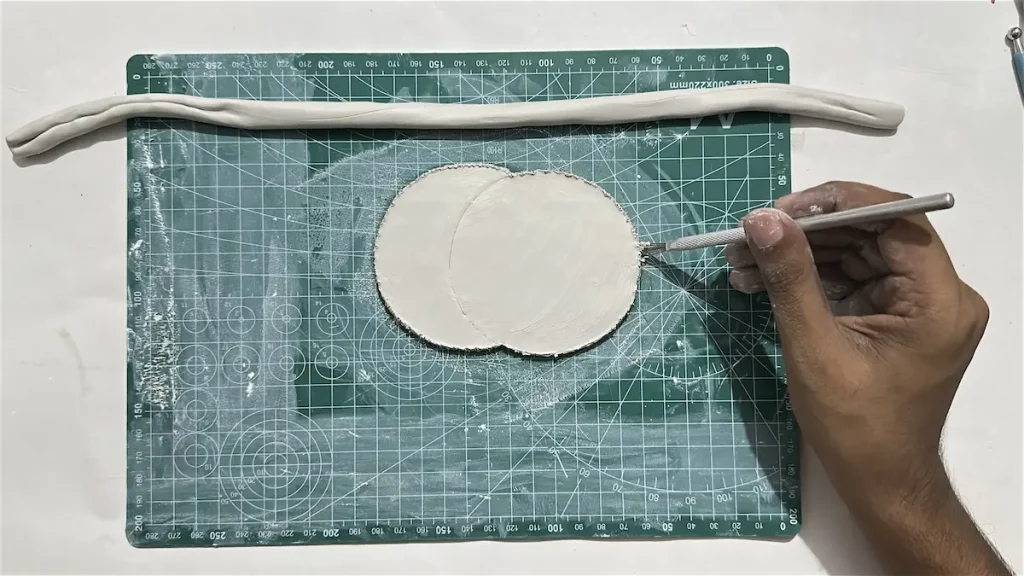
Then I scored along the bottom area of my cylinder snake shape tray rim.
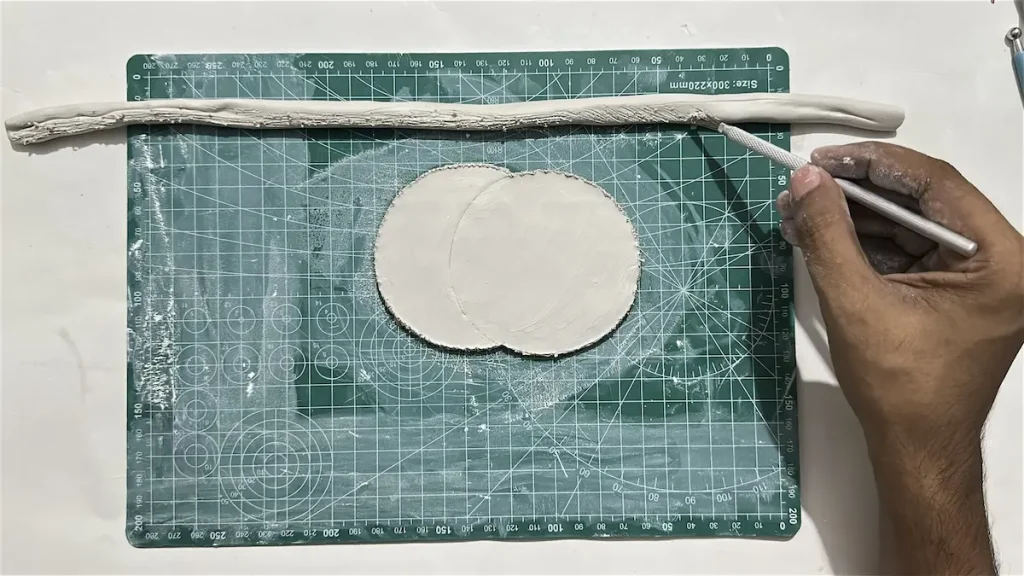
After scoring, you need to tap those scored areas with a little bit of water. Or better if you can apply an air dry clay and water mixture called slip.
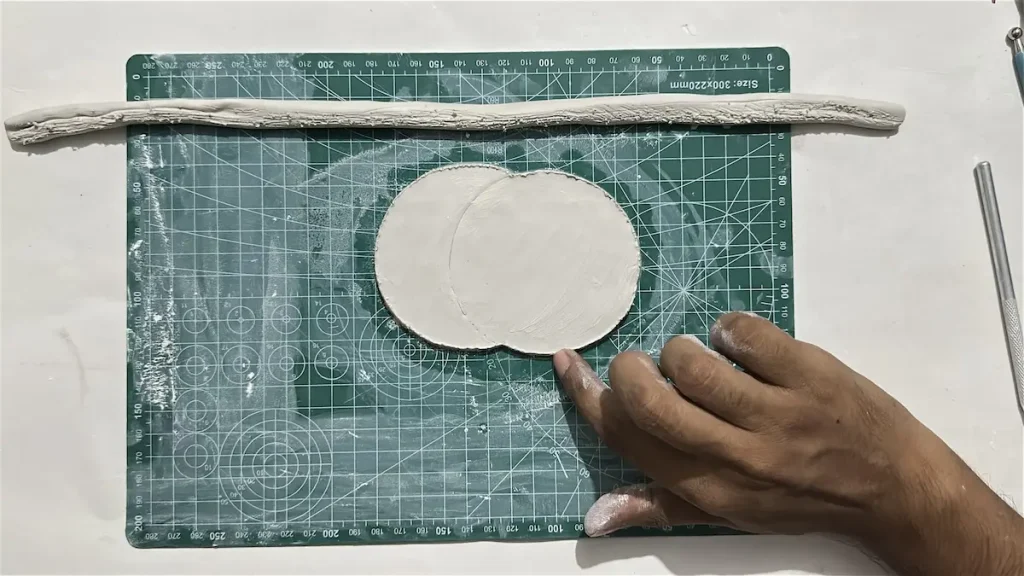
Slip is basically a creamy paste that can be made by mixing tiny pieces of air dry clay with an equal amount of water thoroughly in a small can. Then let it sit for a couple of hours to settle and you’re done. You can use this creamy paste as an adhesive to attach air dry clay pieces together. You can even store and use it for future projects as well.
I didn’t have the slip, so I just used the water and it worked just fine.
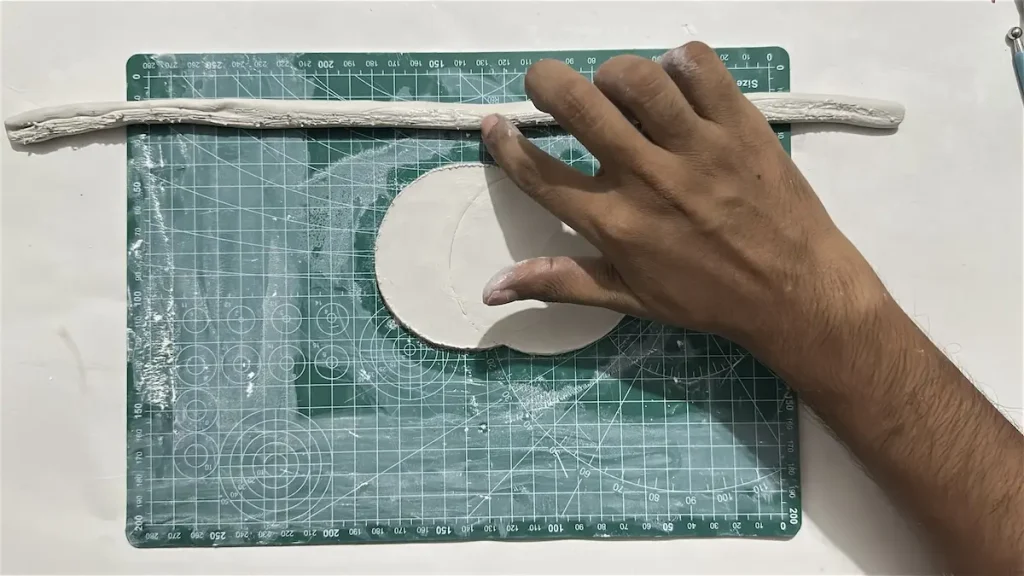
After scoring and tapping a little bit of water, I attached the tray rim I made around the cherry trinket tray base carefully without changing the round shape of the cherry base.
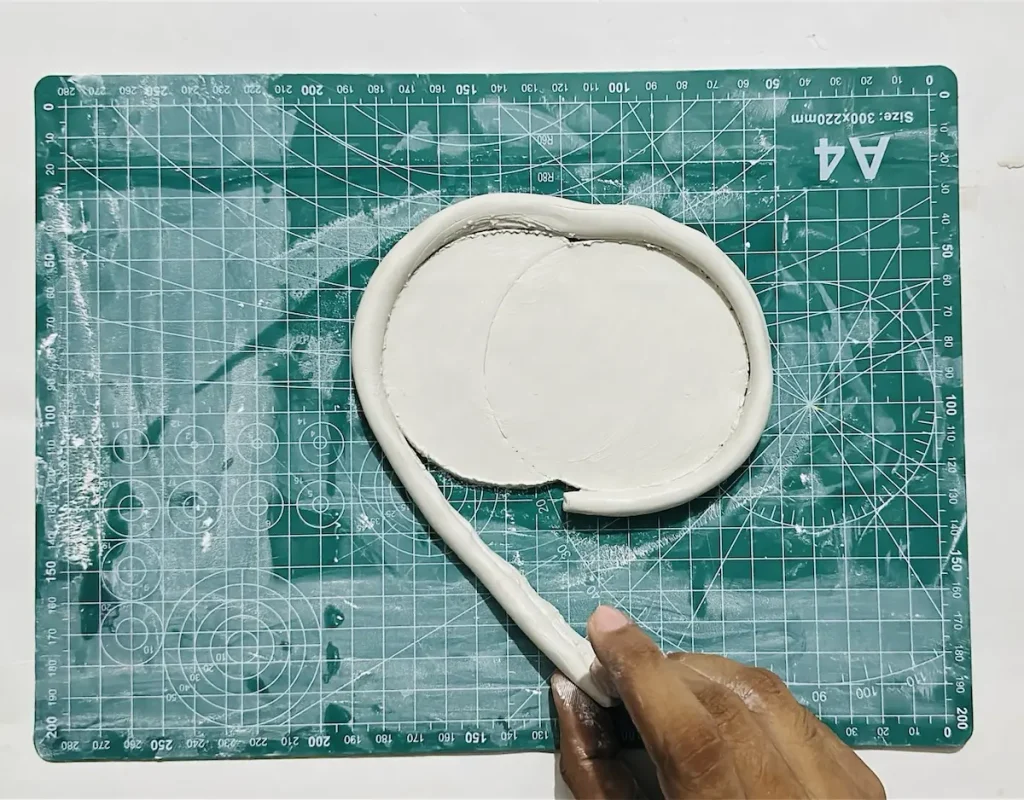
After covering around the tray base, cut the edges of the tray rim at an angle and attach them.
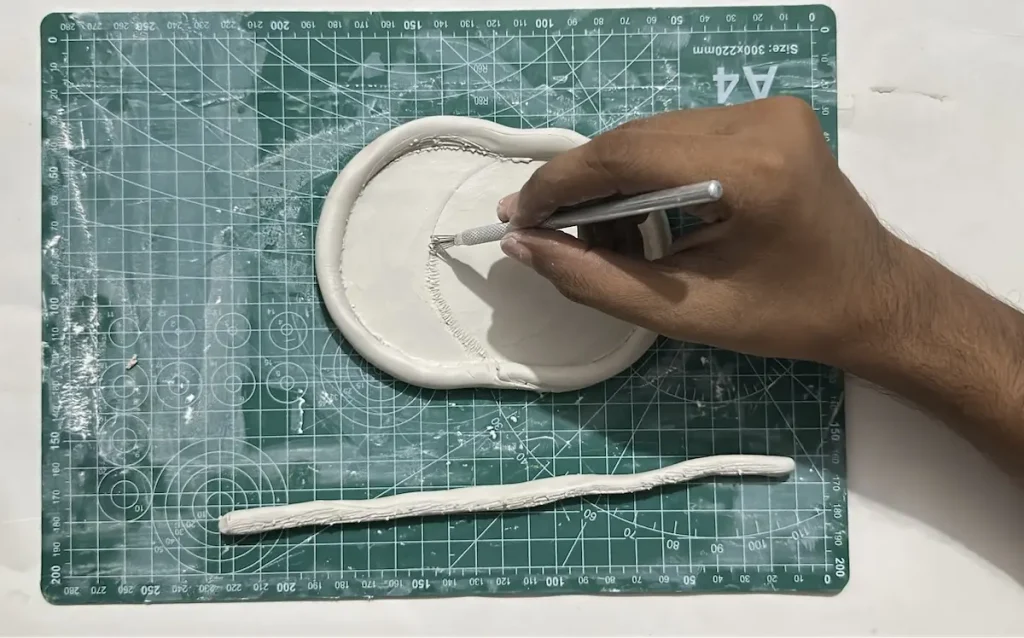
Step 5: Reinforce with a thin clay coil
As you know, there is a sharp 90 degree angle between the tray base and the rim after they are combined. As the clay dries and shrinks the stress level of this sharp angle will increase and it may lose separating tray rim and the base.
In order to make the joint between the tray base and rim stronger, I made a thin clay coil.
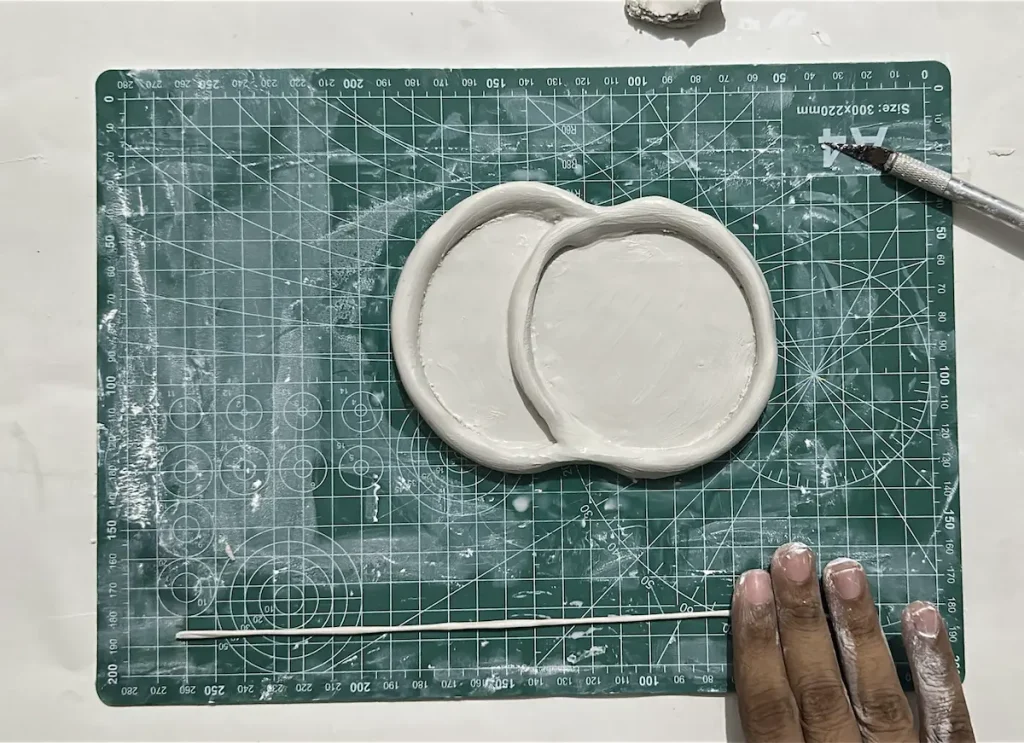
To make that I used a small piece of clay and rolled it as thin as possible.
Finally, it looked like a thin clay coil. I attached it around the tray base on top of the joint between the base and rim to make the joint a bit rounder, replacing that sharp 90 degree angle. This helps to spread the stress evenly as the clay dries and avoid the tray rim from separating from tray base due to shrinkage.
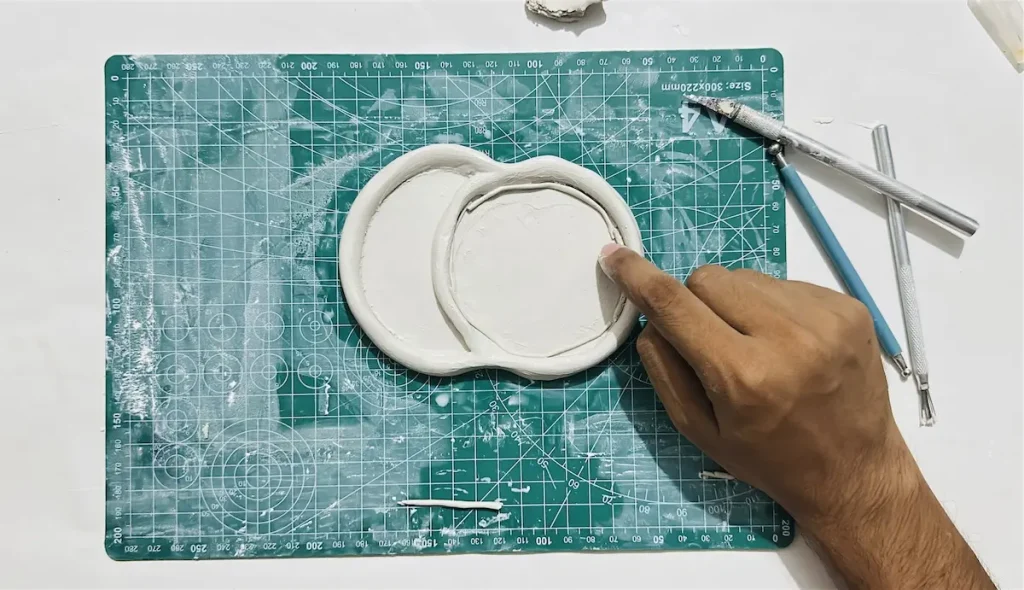
I highly recommend you add this type of thin clay coil to anywhere you feel that can be stressed out as the clay dries. It helps to improve the structural strength of your project.
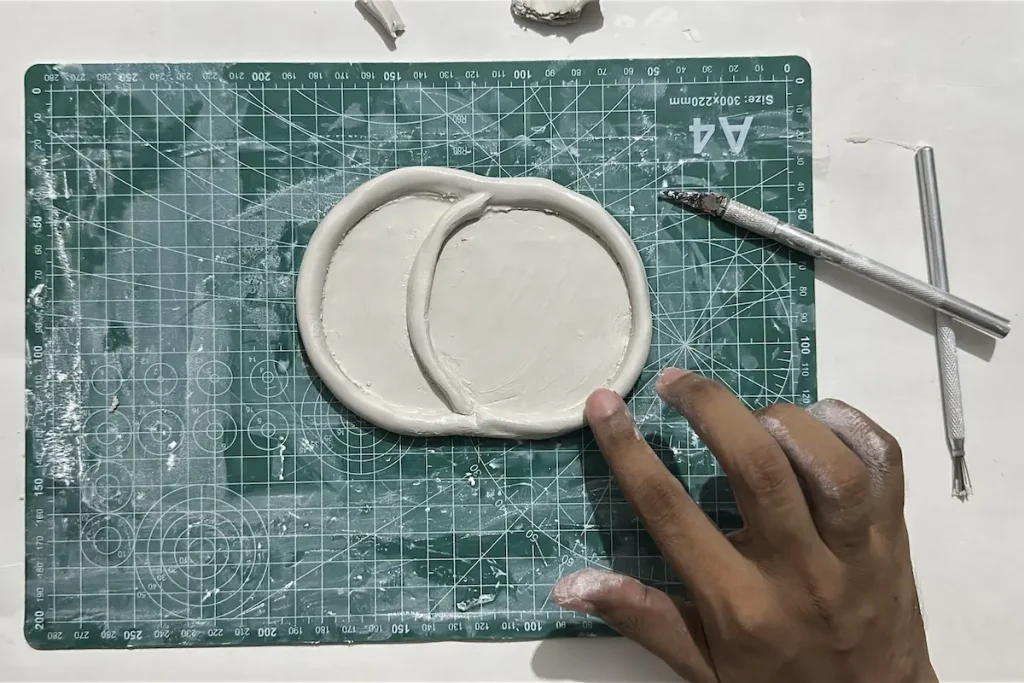
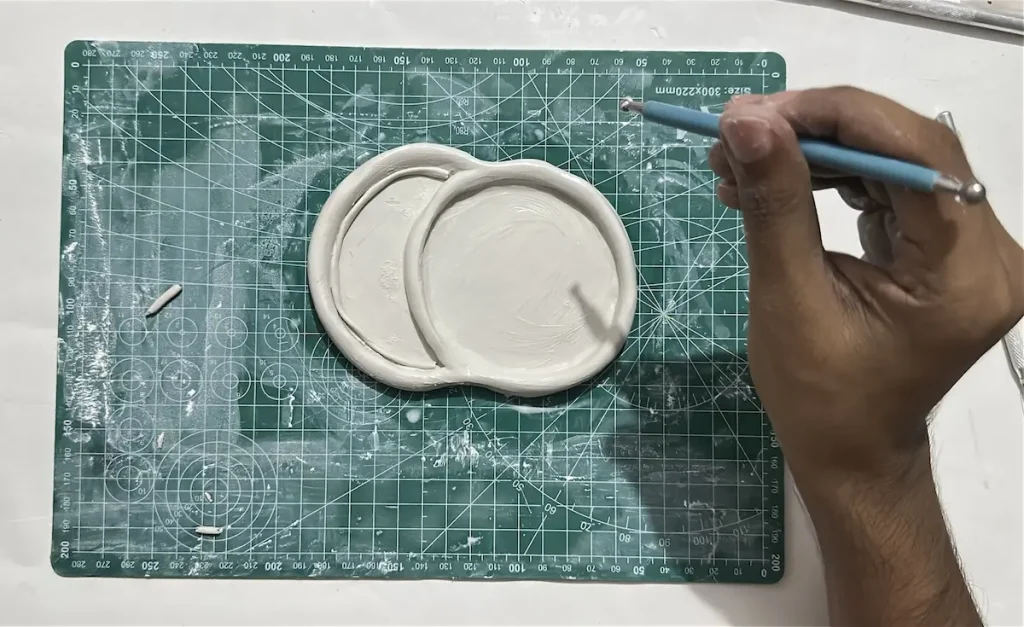
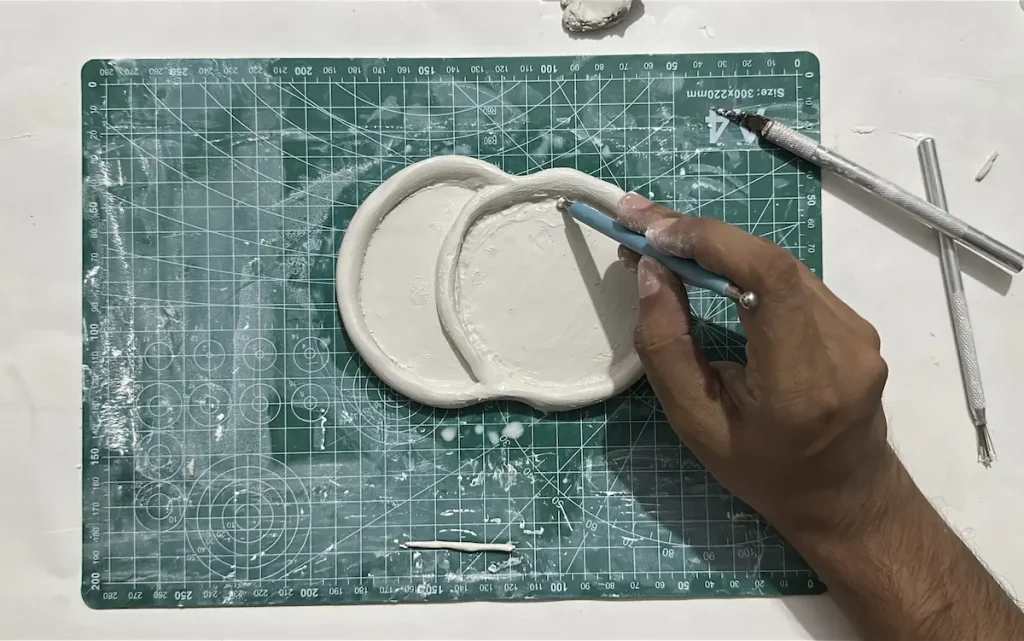
After attaching thin clay coil, smooth out the entire cherry trinket tray with a little bit of water to remove the seam and remove tiny bumps and scratches that occurred while bending the tray rim around the base.
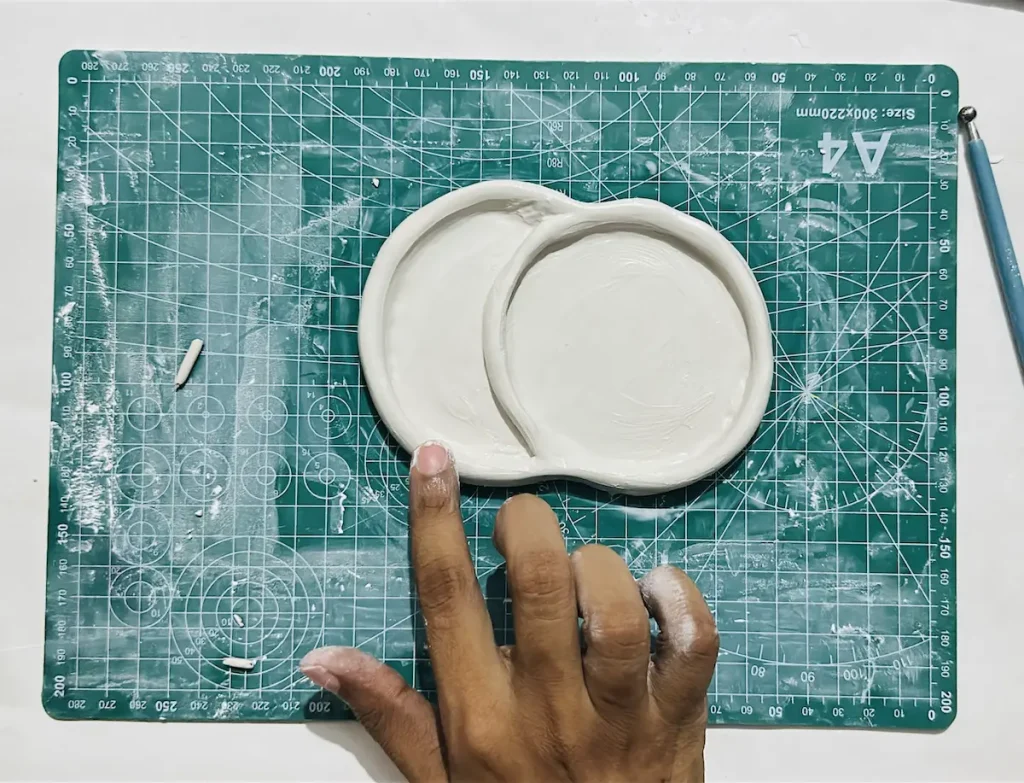
Step 6: Attach the stem and leaf
After making the tray, I wanted to make it even more realistic by adding a stem and a small leaf.
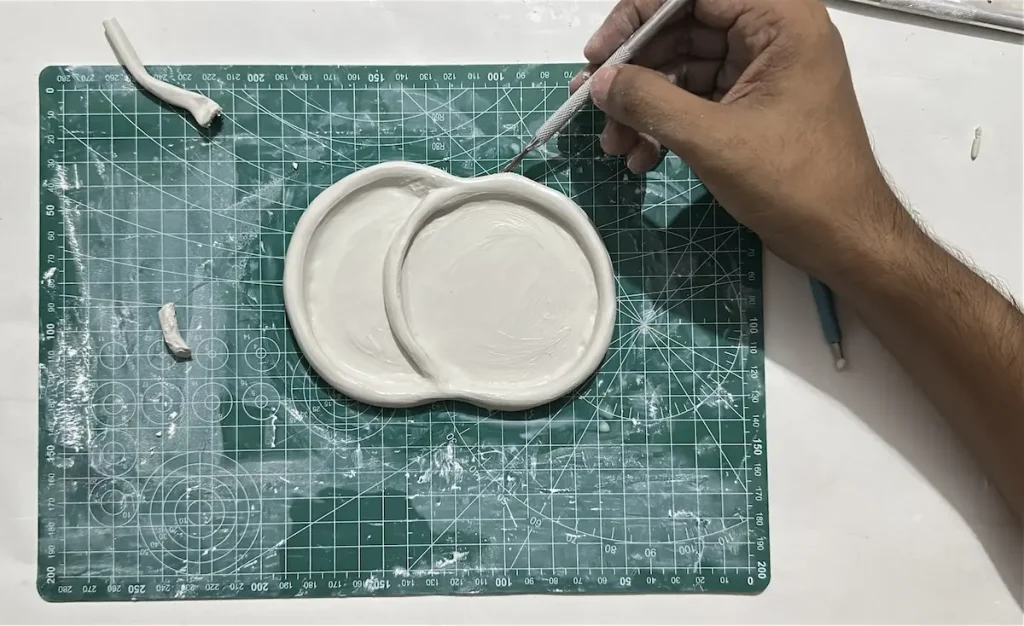
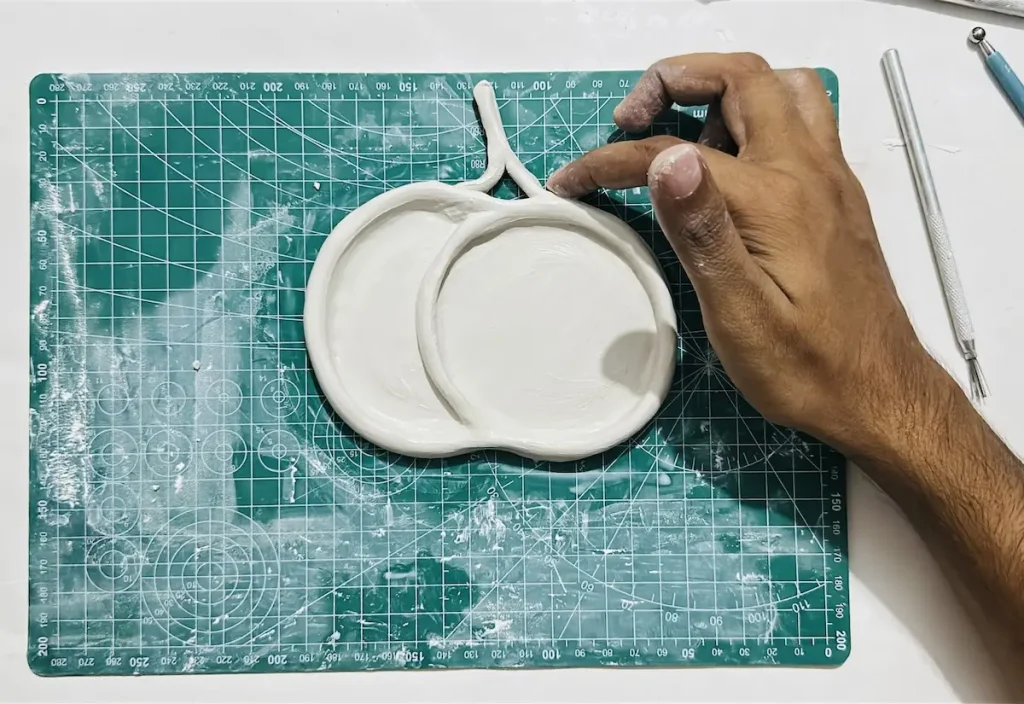
So I shaped a small piece of air dry clay to a stem and attached it to the top of the tray rim by score and slip method.
Made a leaf and scored the bottom area of it add placed it on top of the stem.
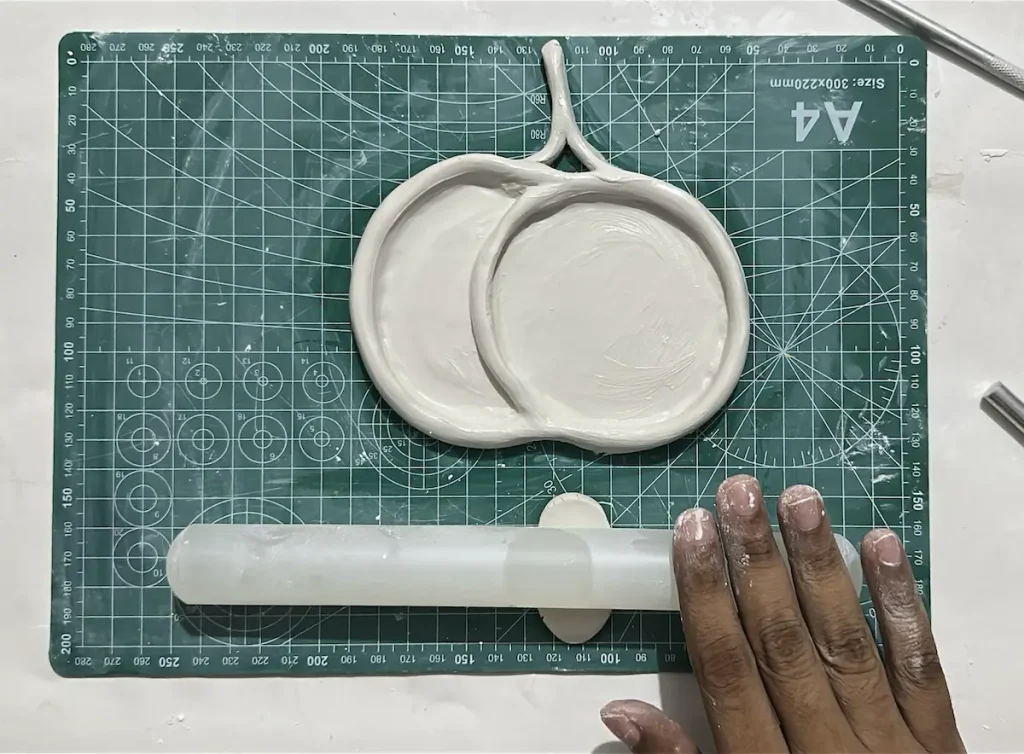
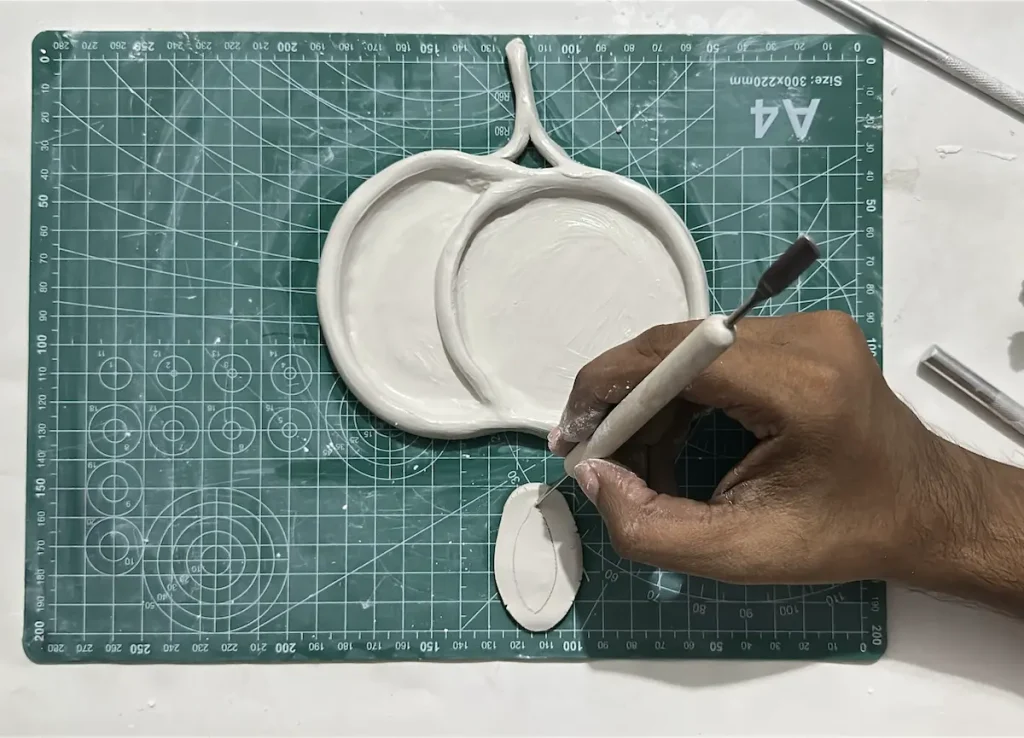
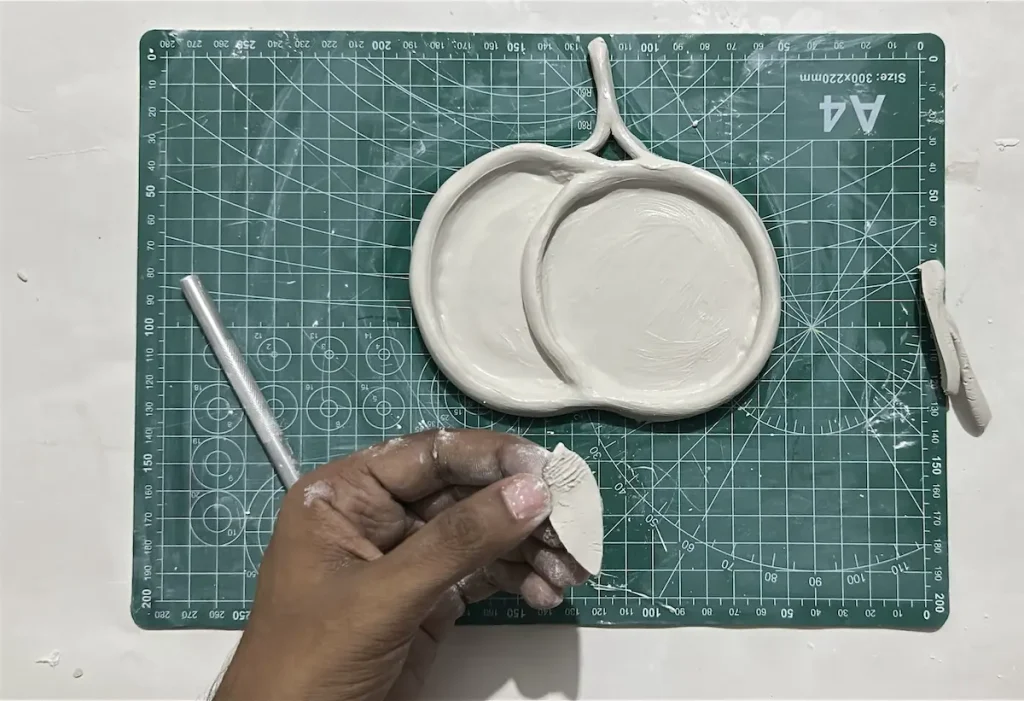
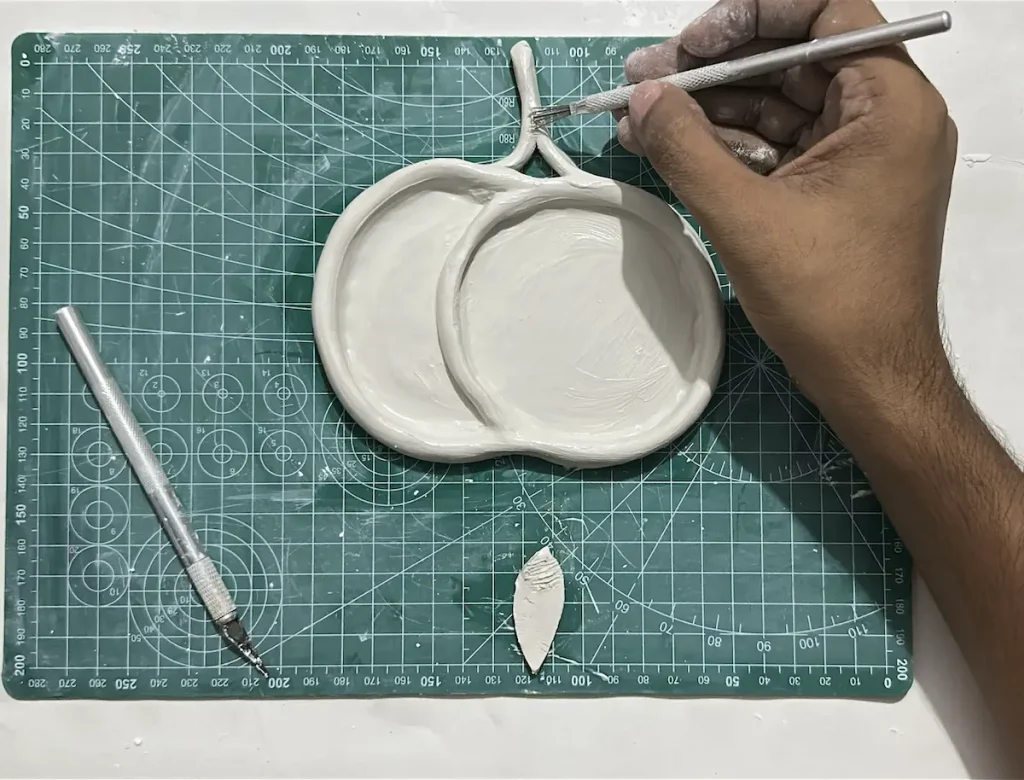
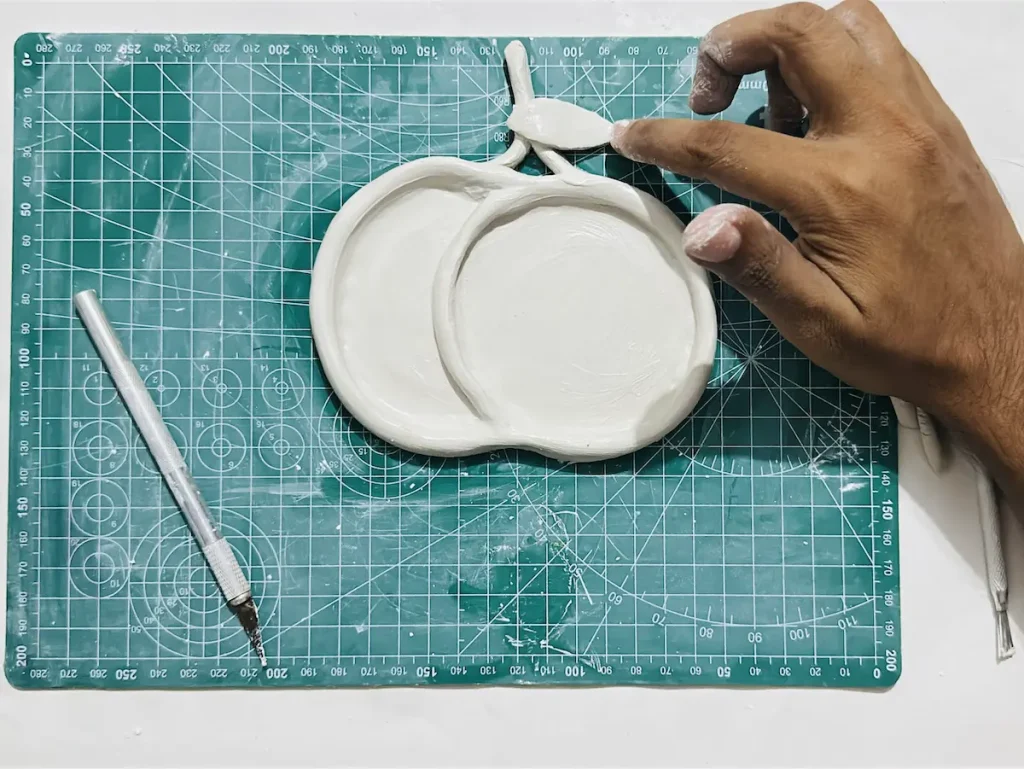
Now you have successfully completed the sculpting part of the cherry trinket tray. But it is still wet its time to let it dry, paint and seal.
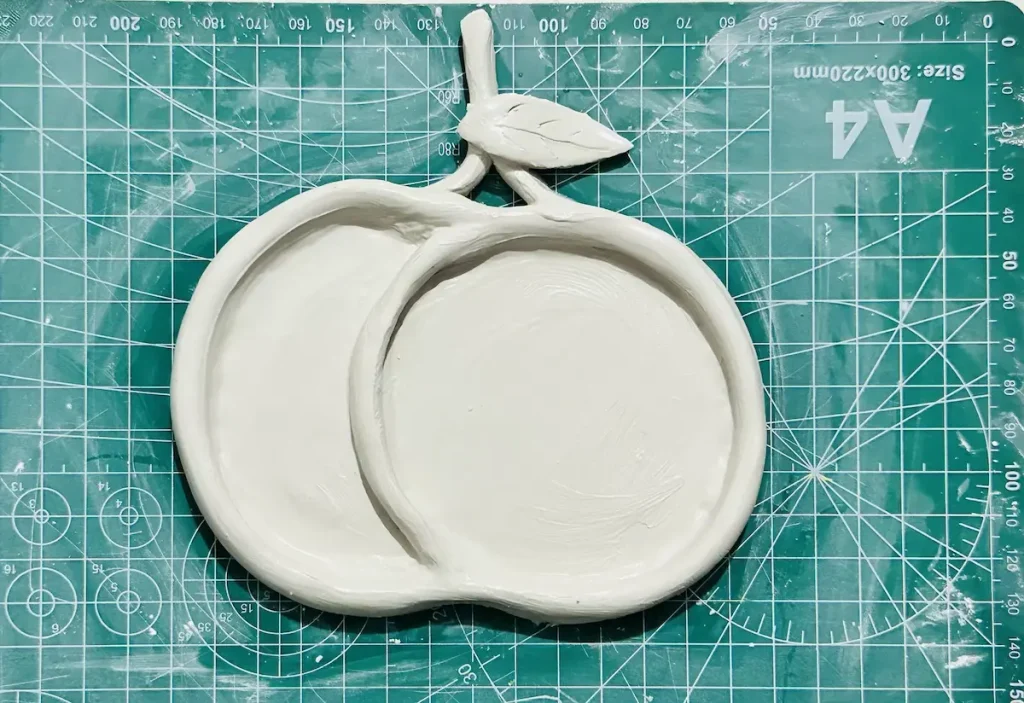
Step 6: Let it dry
Now let the cherry trinket tray dry completely for 48 hours in a cool, well ventilated area out of direct sunlight. After 48 hours check for grey patches on the surface. If there are some, let it dry for another 24 hours.
Flip the piece from time to time for even and efficient drying avoid the tray base from warping.
Do not rush the drying process by placing your project under sunlight, outside, baking or applying an artificial heat source because they cause rapid water evaporation and lead cracks on the surface due to uneven shrinkage.
I highly advise you not to interrupt the drying process because one single mistake can ruin your entire project and your hours of work can be wasted. So, let it dry slow.
Make sure not to paint the project until it completely dries. Air dry clay turns into a pure white look when it is bone dry.
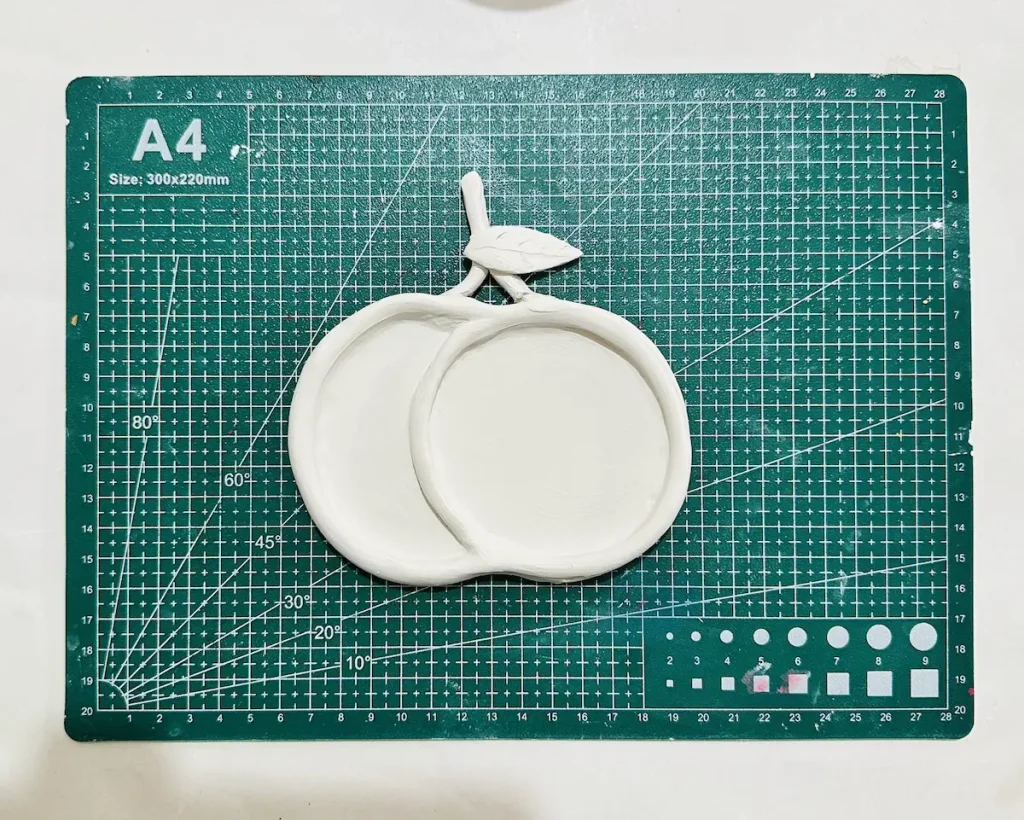
Step 7: Paint the cherry trinket tray
Once the project is completely dried, you can start painting it. I use acrylics because they are the best paint for air dry clay. Acrylic paints come in vivid colors, no need to use water because water weakens the clay, dries in the air within 2 hours, gives a glossy finish.
Plus, acrylic paints make a water resistant coating over your air dry clay project which is great.
The above benefits cannot be granted from watercolors or any other paint. This is why I always recommend acrylic paints.
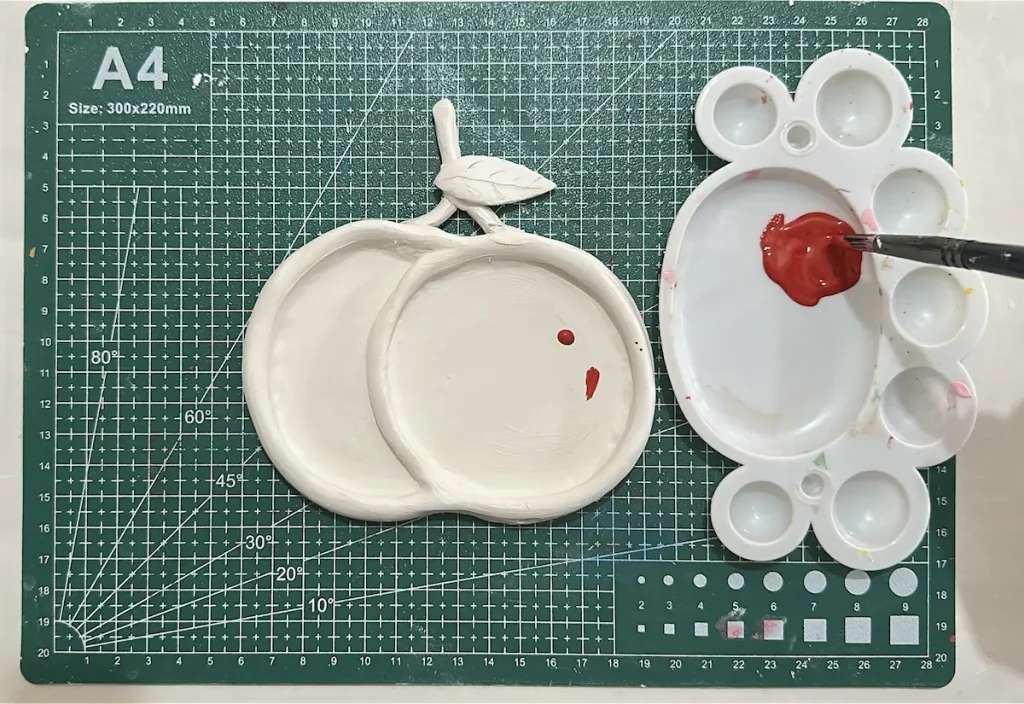
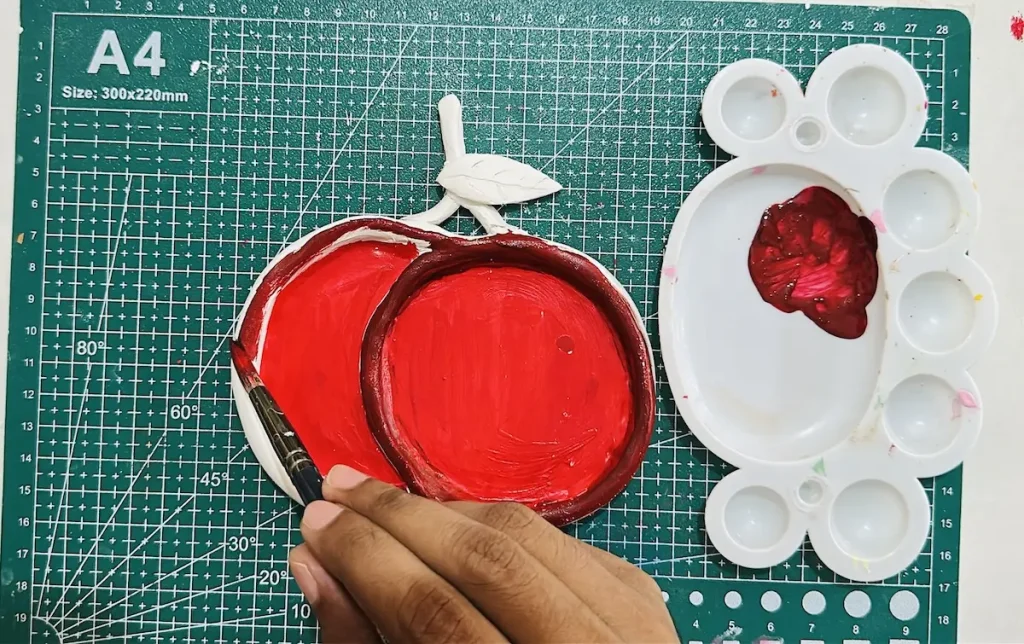
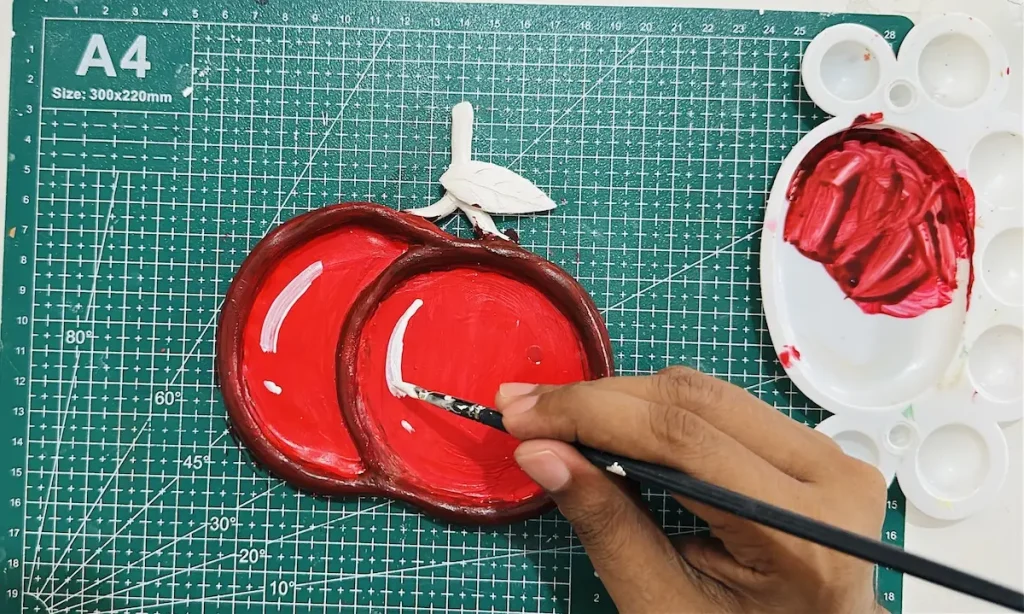
I started painting the middle of the tray base with vibrant red.
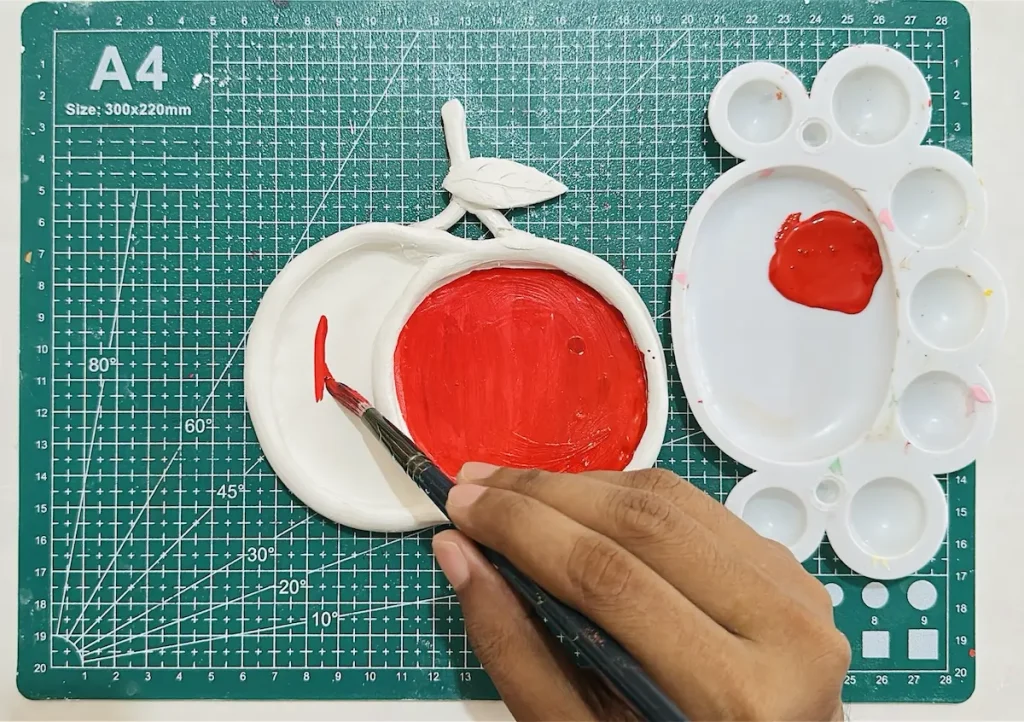
Then the tray rim was painted with a little bit darker red.
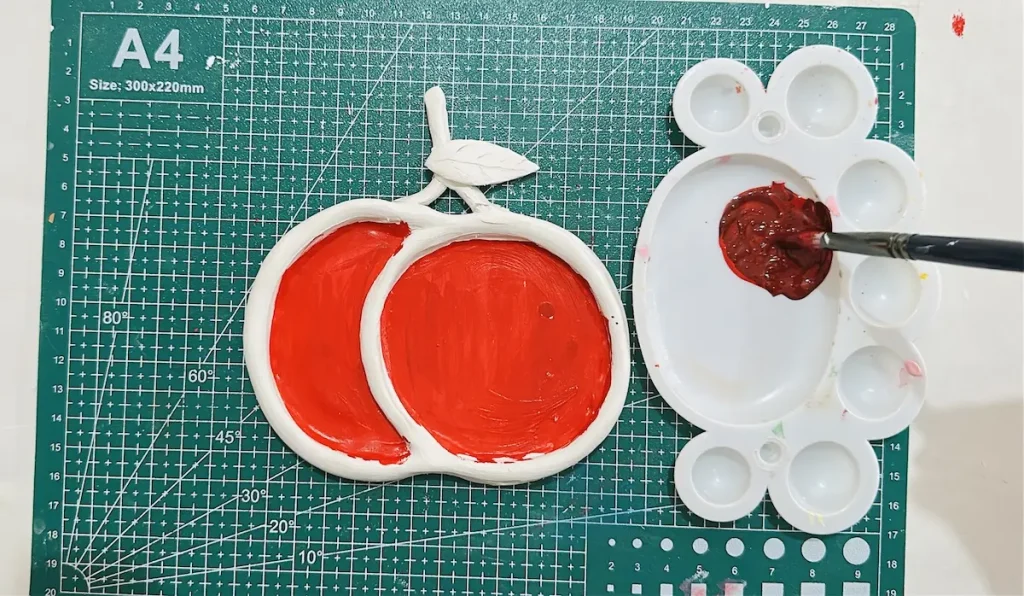
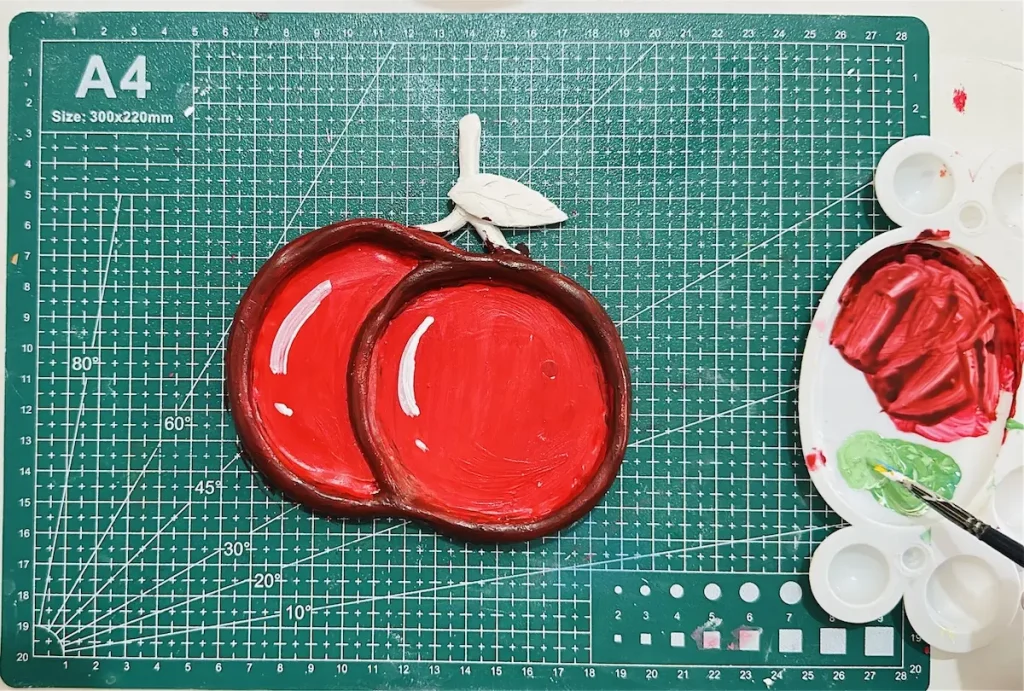
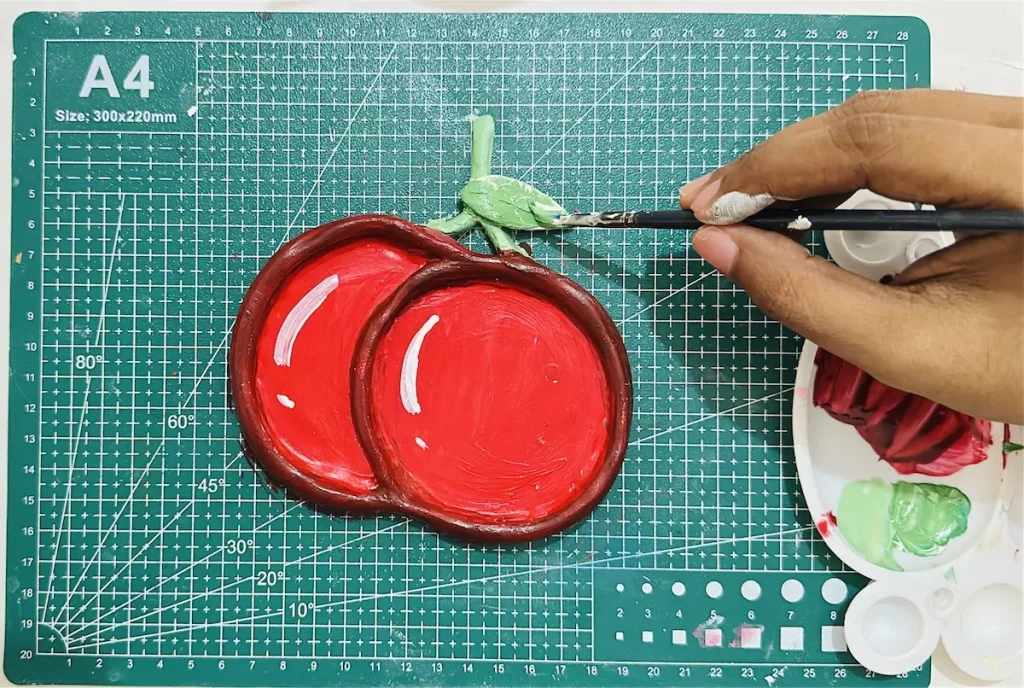
Finally, the stem and the leaf were painted with pale green color.
Make sure to apply thin and even coats of acrylic paint in one direction to avoid forming mushy, tacky and cloudy spots. Apply 2-3 coats to acrylic paint and let each coat dry for 2 hours before applying another.
After the final coat, let it dry for 2 hours before sealing the project.
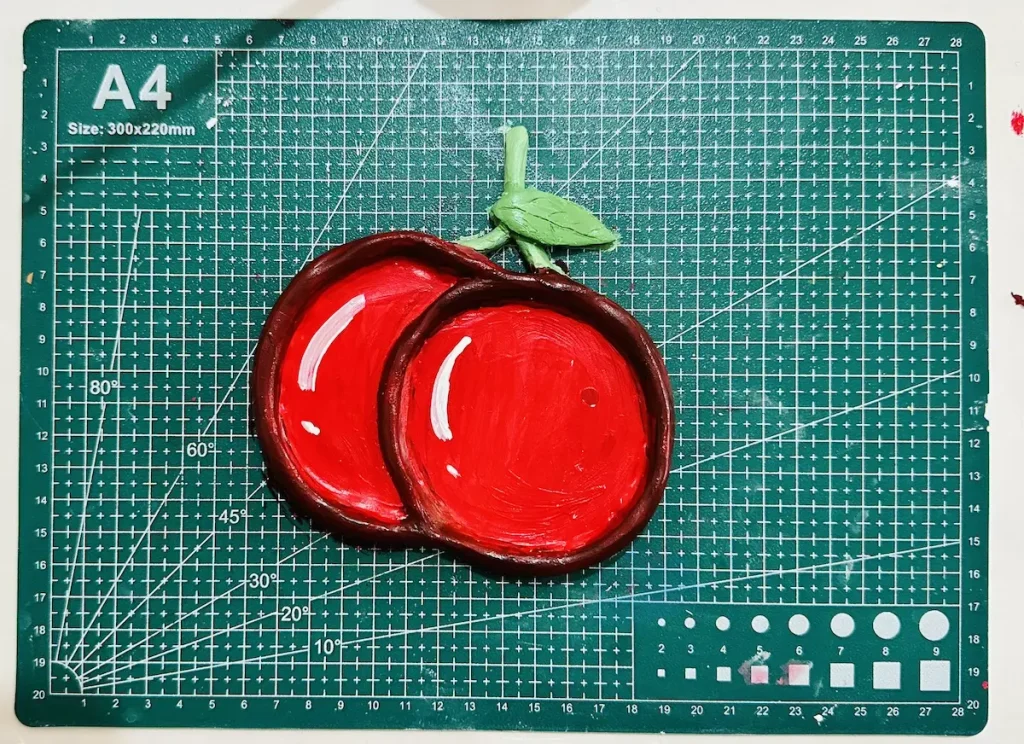
Step 8: Seal the tray
You can use your cherry trinket tray with gloss varnish, UV resin, polyurethane varnish or epoxy resin if you want a glossy, like finish.
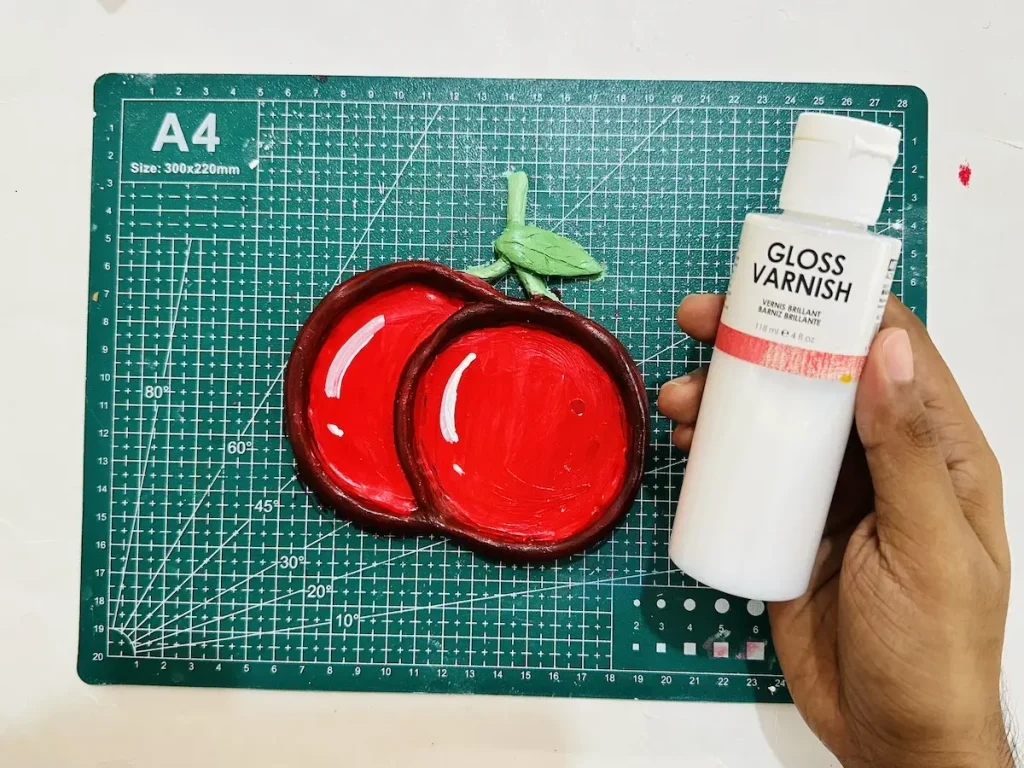
I used gloss varnish and the results were so good. Gloss varnish gives a glossy ceramic like finish and protects your air dry clay project from outside moisture because it makes a water resistent coating around the project.
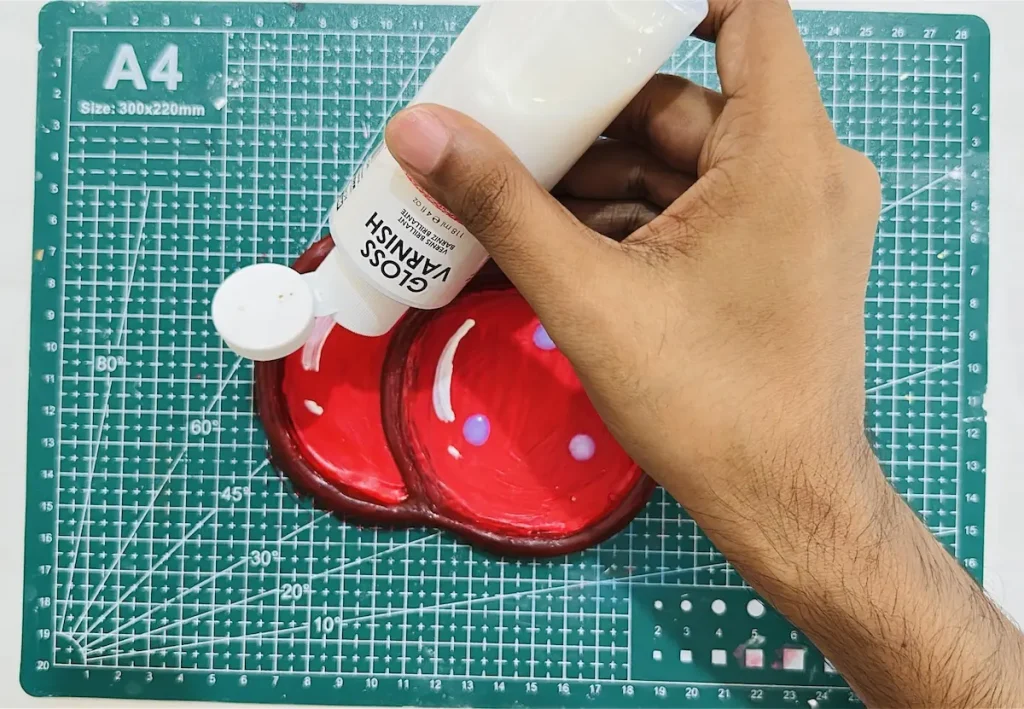
Apply 2-3 thin and even coats of gloss varnish in one direction and let each coat dry for about 24 hours before applying another.
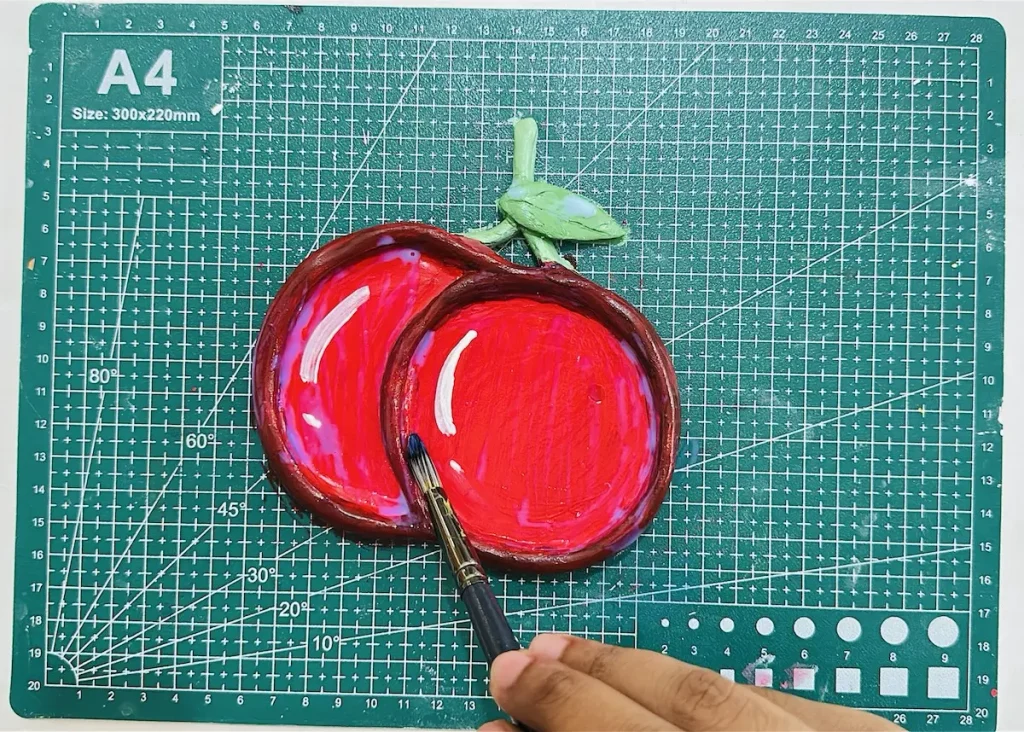
After the final sealer coat, let it dry and cure for 24 hours.
Congratulation smy friends! We did it. Actually, I did it. Lol. Now it’s time for you to begin! Show your colors.
Final thoughts
I have described all the steps I have taken and techniques I used to make this beautiful cherry trinket tray with air dry clay. Now it’s time for you to make one even better.
Always make sure to use as little water as possible when kneading, smoothing and sculpting your project because too much water weakens and ruins your project by causing cracks.
The comment section is open for you to publish your feedback and things you know by working with air dry clay, which might be useful for someone else in the community.
Be sure to tag @clayandmestudios in your cherry trinket tray project. I sure love to see them when you do. I’ll see you next time with another awesome project! Cheers! 🤟🏾
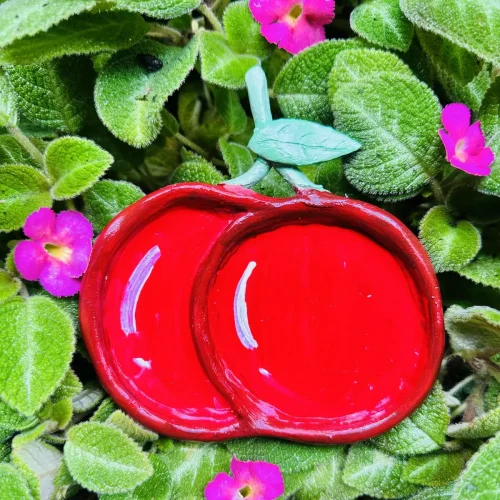
DIY Cherry Trinket Tray with Air Dry Clay

Supplies Needed
Air dry clay (DAS, Mont Marte or any reputed brand you can find is okay)
Acrylic rolling pin
PVC mat or silicone mat (or non-stick surface)
Clay crafting tools
Clay cutting tool (X-acto knife or small knife)
Cup of water or spray bottle
Jar lid
Acrylic paints
Gloss varnish
Paintbrushes
Paper towels
Optional: Sponge or silicone sculpting tool (or you can use your finger)
Instructions
Step 1: Knead & Condition the Clay 🧼
- Add a tiny bit of water and knead for 3–5 minutes. This releases air bubbles and spreads moisture evenly to prevent cracks as it dries! Don’t over-water.
Step 2: Roll Out the Clay 🪵
- Press flat with your palm, then roll to 1/4 inch thickness with an acrylic rolling pin. Turn and rotate 90° often so it won’t stick! Smooth out minor cracks with a damp finger.
Step 3: Trace & Cut the Cherry Base 🍒
- Place your jar lid twice to trace two overlapping cherry circles with a toothpick. Cut along the lines with an X-acto knife (lift the knife, don’t drag!).
Step 4: Roll & Attach the Rim 🐍
- Roll a clay snake to uniform thickness. Score the rim base and tray edge with a toothpick, add a drop of water (or slip), and wrap it around the tray edge.
Step 5: Reinforce the Joint 💪
- Roll a super thin clay coil and smooth it inside the corner joint between the base and rim. This distributes drying stress and stops the rim from snapping off!
Step 6: Sculpt Stem & Leaf 🍃
- Shape a tiny clay stem and leaf. Score & attach them to the top of your cherries using a splash of water.
Step 7: Slow Dry (48 Hours) 🌬️
- Let it dry in a cool, ventilated room away from sunlight or heat. Flip it occasionally to keep the base flat and warp-free.
Step 8: Paint & Seal 🎨
- Paint the cherry center vibrant red, the rim dark red, and stem/leaf pale green using 2–3 thin coats of acrylics. Once dry, seal with 2–3 thin coats of gloss varnish for a shiny ceramic look!