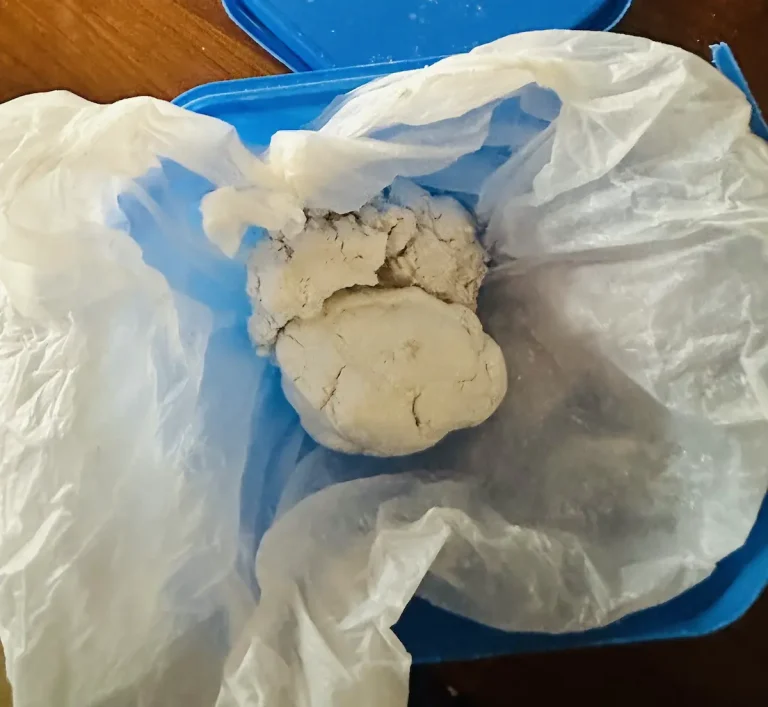
Have you noticed that when you try to make a triangle or square shape using air dry clay, the corners often round out, crumble, or lose their shape?
When I was working with my avocado tray, strawberry tray, banana tray, papaya tray, and koi fish pond, it was not an issue because all had round shapes, round corners, and easy to attach tray rims to the tray bases.
But during my recent watermelon trinket tray project, I struggled when shaping the triangular watermelon slice because the clay is soft and smoothing makes the corners round out without forming a sharp 45-degree angle. 🍉
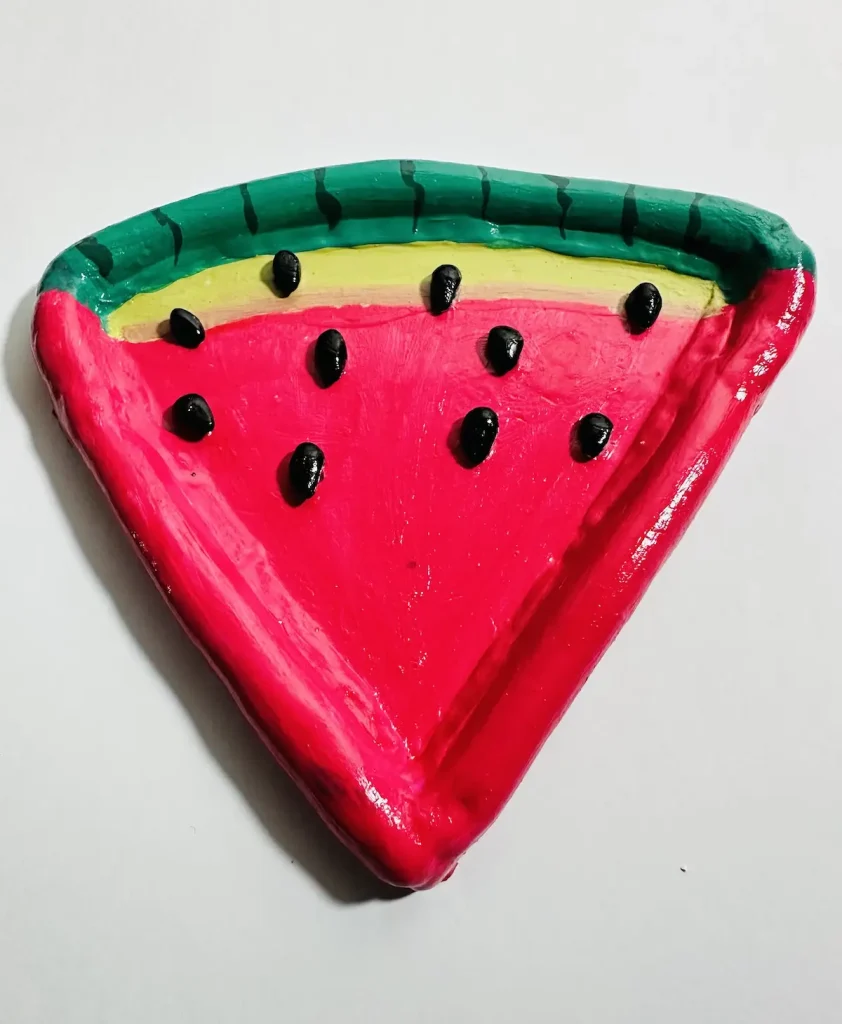
When I tried to attach the tray rim to the tray base, it started to crack at the sharp corners, which was frustrating.
After several failed attempts, I was able to make the watermelon slice triangular in shape with a sharp angle at the bottom.
This made me realize there are some adjustments and methods I should have followed at first when making the triangular shape and keeping the sharp angle steady with no cracks. 💡
Let me tell you what they are and how to fix sharp corners if cracks are already there.
Sculpting geometric shapes in air dry clay
Use a ruler and a pencil when you’re forming geometric shapes like triangles or squares. Freehand drawing comes with lots of errors when making mathematical shapes because it is good for drawing organic shapes only.
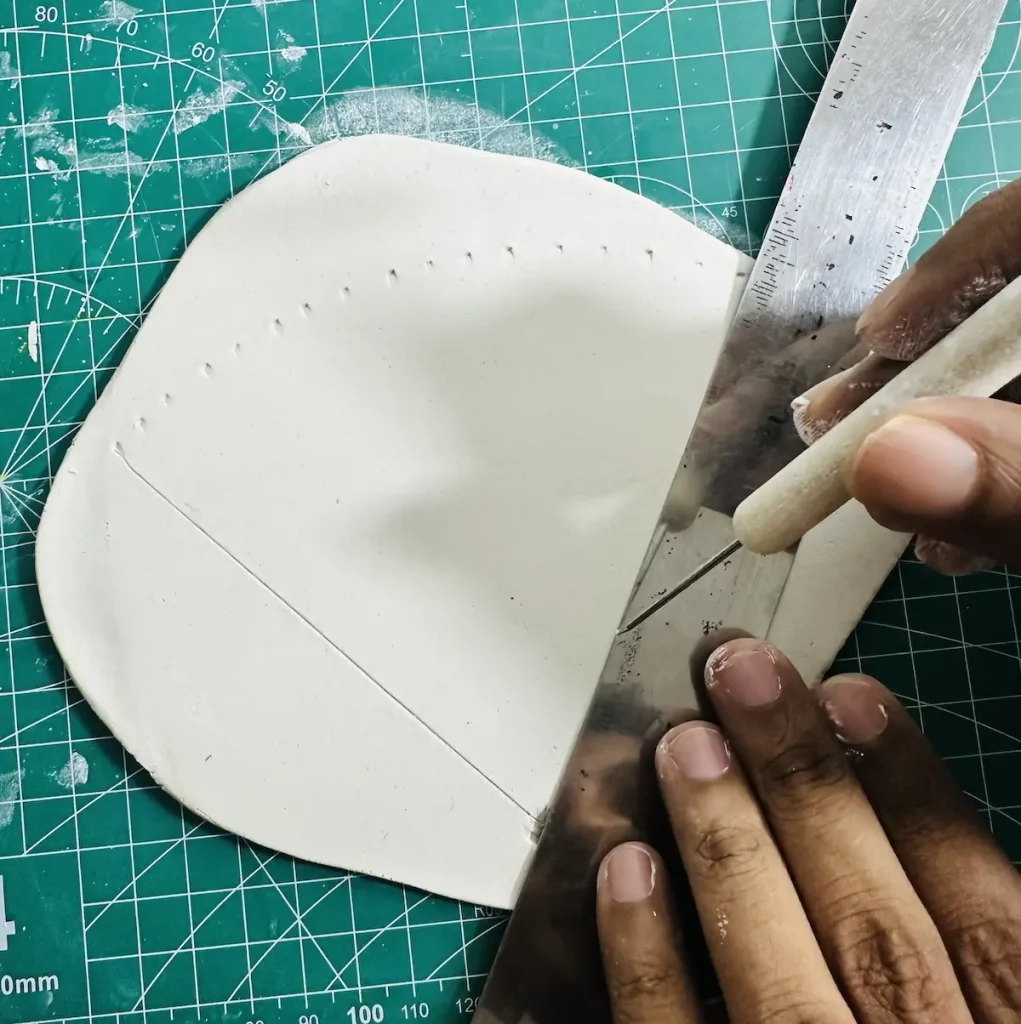
I made all my previous projects by freehand tracing and cutting, and everything went so well with nice shapes. Actually, I was praising freehand drawing until I struggled to trace the triangular watermelon slice.
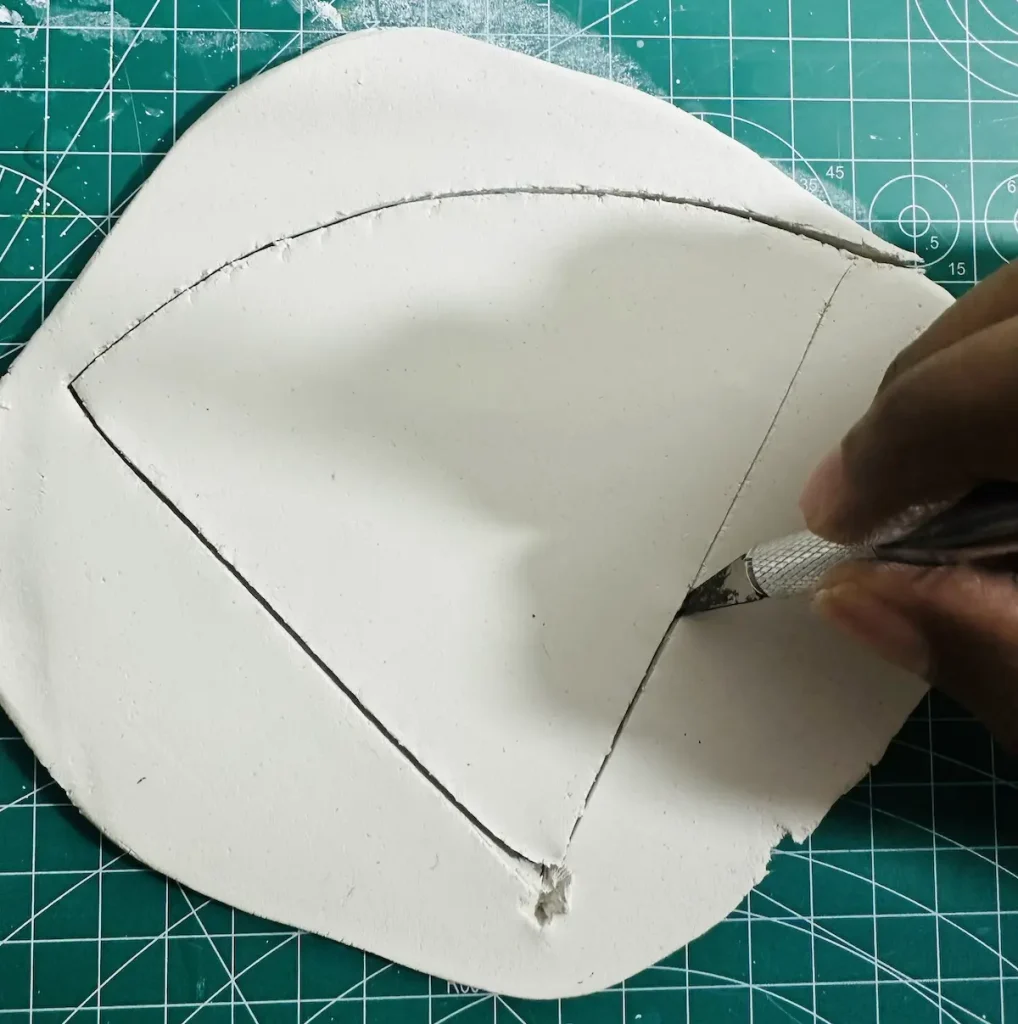
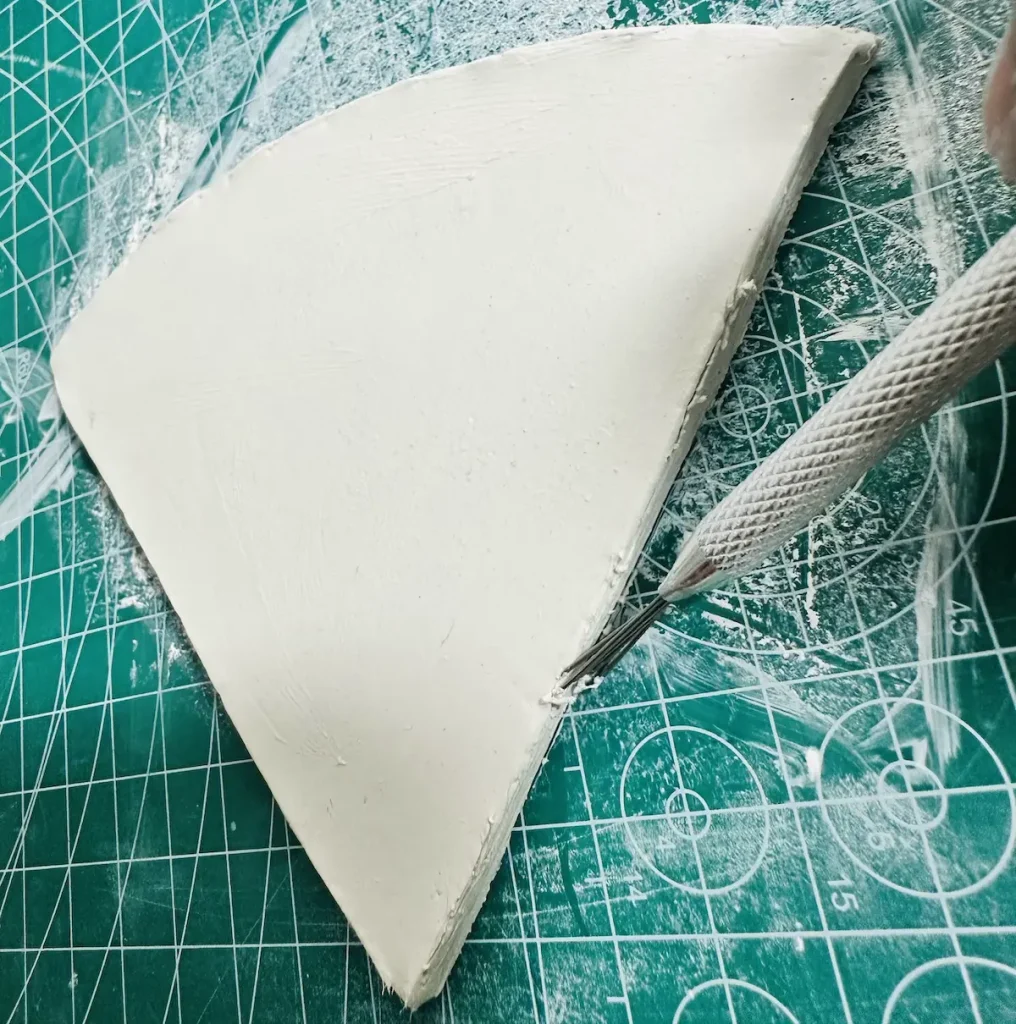
After several failed attempts, I used my ruler and traced the shape I wanted to cut on the rolled air dry clay slab. Then I took the cutting tool and cut along the traced lines with ease. 📏
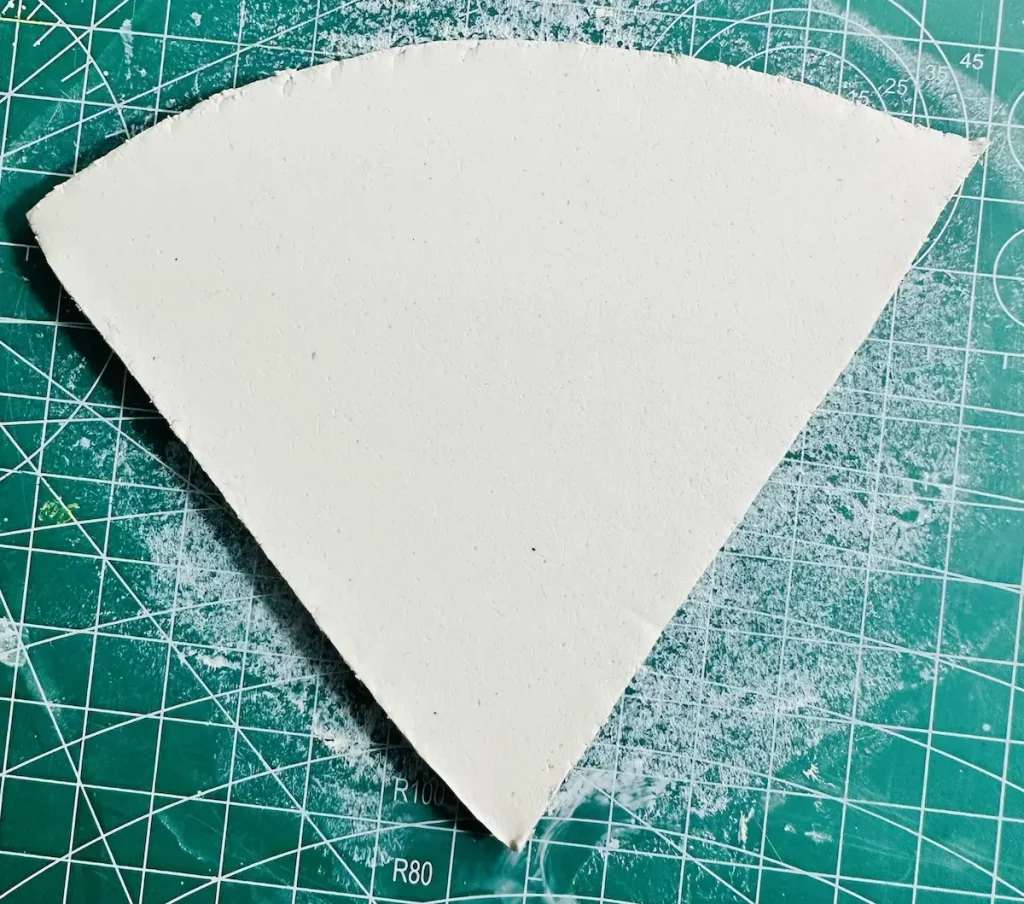
Don’t waste hours making a geometrical shape when you can easily do it using a simple tool like a ruler.
Air dry clay is a beginner-friendly material. It is soft and great at making round corners. But when making geometrical shapes with sharp angles, they create stress points.
Moisture inside the air dry clay that works as adhesion starts to evaporate when the clay is drying.
Since the moisture level decreases, the tension in the sharp angles increases. This results in cracking at the sharp angles. To avoid that, you need to reinforce those sharp angles.
Avoid thick clay slabs for sharp angles
Even though air dry clay is a soft and flexible material, it isn’t when the slab is too thick. I learned that the hard way.
Once I made the triangular shape watermelon trinket tray base, I made a thick clay slab like a roll.
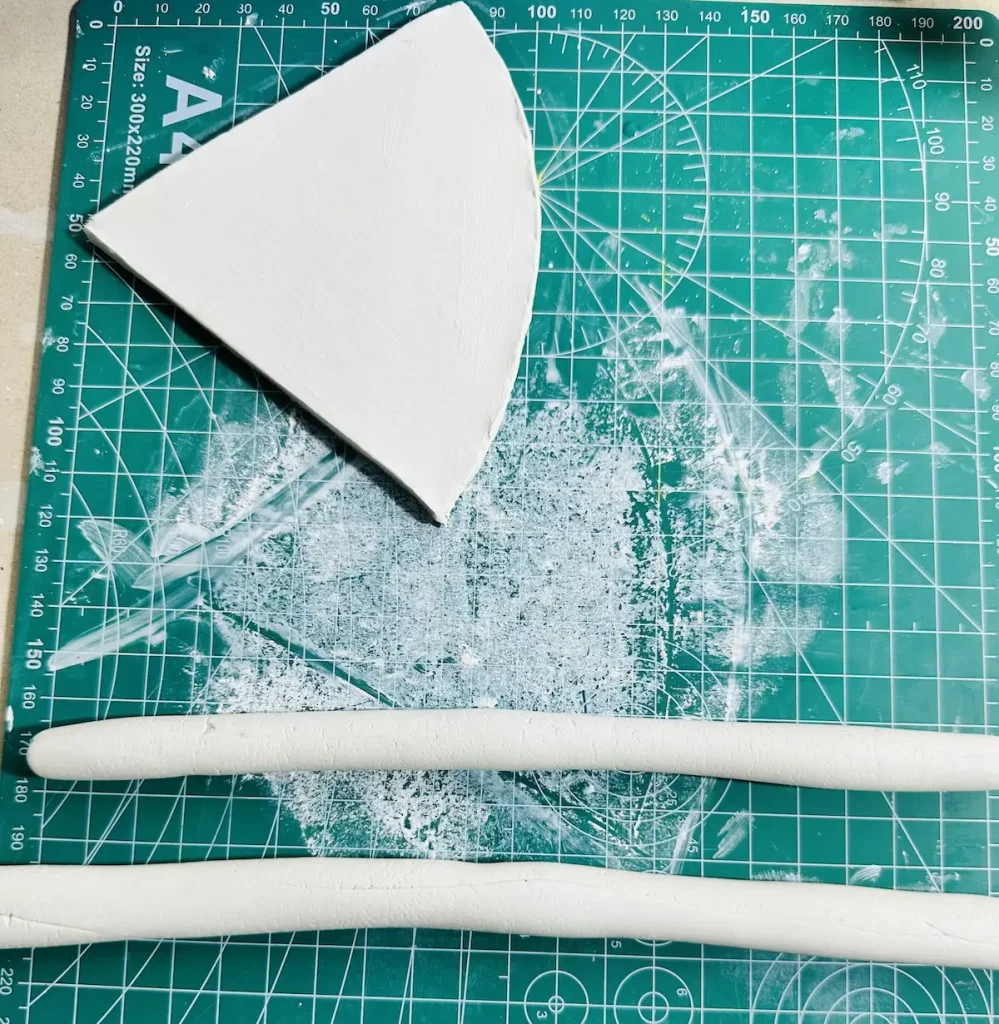
Then scored both surfaces and tried to attach the thick clay slab around the tray base as a tray rim.
But when I tried to bend and attach the clay slab around the sharp edges of the tray base, it cracked. The angles were about 45 degrees and the tension between the layers of the thick rolled air dry clay slab was too strong during bending, which made it crack.
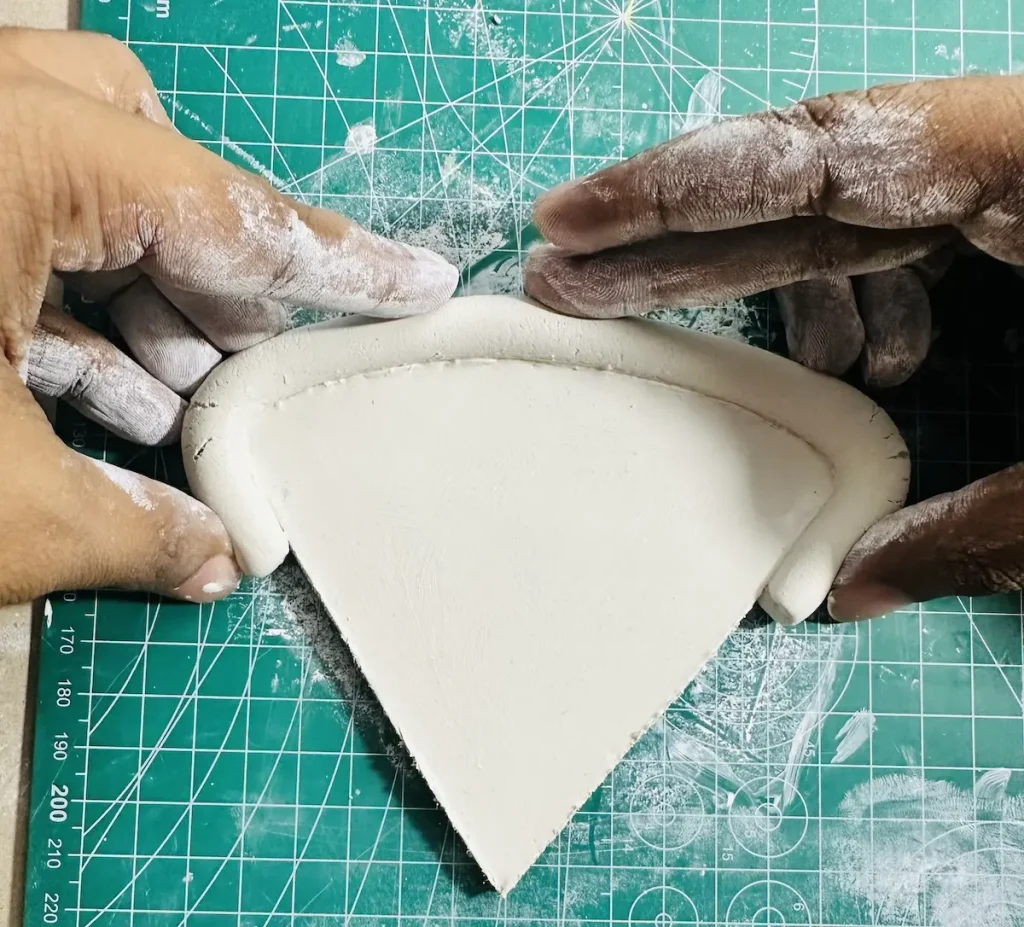
After many reattachments and smoothing, I was able to fix the cracks. But it took me hours.
Then I realized there is a technique that can prevent clay slabs from cracking at the sharp angles, which is by not making them too thick. Go thin!
Thin air dry clay slabs are more flexible than thick ones. Roll thinner slabs or coils for rims and borders. Thinner pieces stretch and bend around sharp corners much more smoothly without cracks.
When you’re making a tray rim for your shaped tray base, it’s okay to get the height as you want because it’s not the issue. But make sure not to make the walls too thick.
Roll more and make the slabs thin before attaching to get rid of cracking. ✨
If your thick clay slab didn’t crack even after bending and attaching at sharp angles, there is a possibility of building up more tension and causing cracks when drying due to the evaporation of water inside. So, better to avoid using thick clay slabs at sharp angles without taking a risk.
How to fix cracked corners on your clay project
What if you saw this article after you attached a thick clay slab and now it shows cracks? Don’t worry, I was in the same boat. 🛶
I was able to fix cracks on my watermelon trinket tray at sharp corners after several attempts. I’ll tell you the easiest fix.
- Identify where the cracks occurred and how big they are.
- Take small fresh clay pieces and roll them.
- Tap a little bit of water onto the cracked areas and the small clay pieces.
- Press tiny clay pieces gently into the cracked gaps.
- Wet your finger and smooth the patched areas by gliding over them until the seams are completely gone.
Don’t smooth too harshly because that can lose the shape of the sharp angle and make it round out.
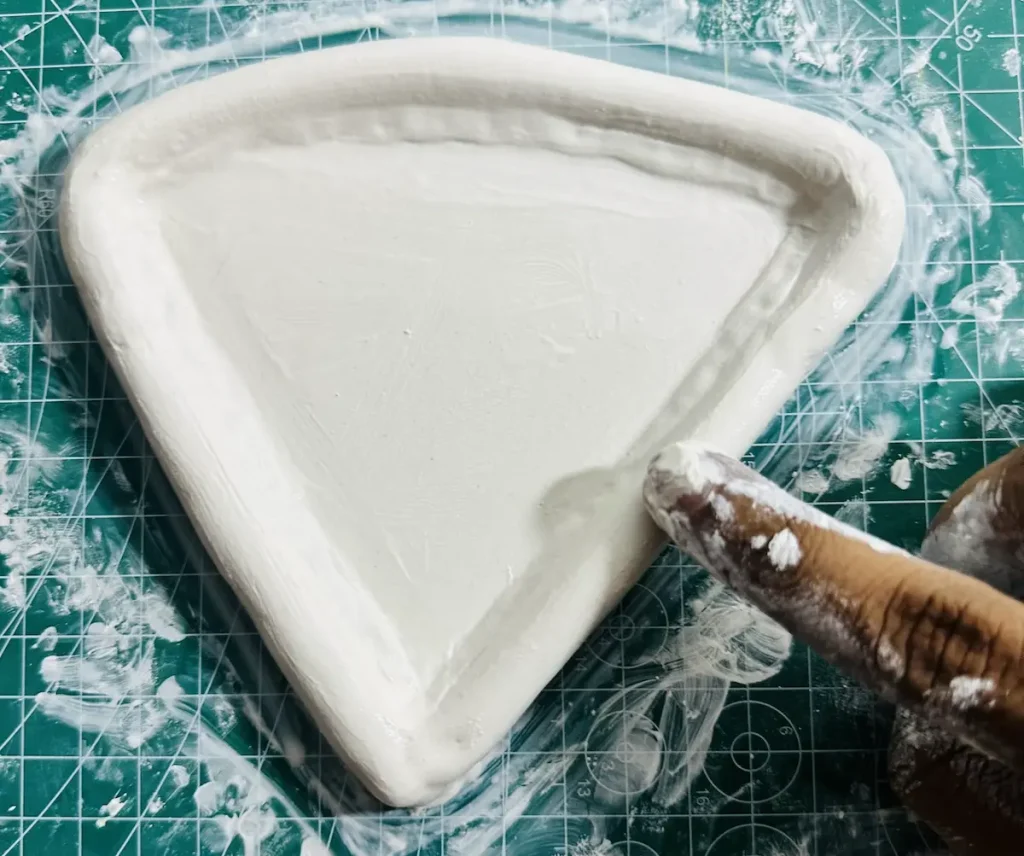
If the cracked corners are dry:
- Make the “slip” by mixing a small amount of fresh air dry clay and water in a 1:1 ratio.
- Apply the slip paste into the cracked gaps.
- Smooth the patched area with a little bit of water using your finger.
- Let it dry for 2 days.
- Sand with fine grit sandpaper until the seams are completely gone.
Tips for working with geometric air dry clay designs
- Score and slip air dry clay on both surfaces before attaching a seam, rim, coil, or tray rim to the geometric design.
- Moisten the clay while bending. 💧
- Let the project dry fully to avoid forming more cracks.
Final thoughts
Now you know how to make geometric shapes and protect sharp angles from cracking with easy techniques. Make thin clay pieces if the bends are too sharp. Simple as that!
I’d love to see the geometric shapes you completed and to know how you reinforce sharp corners. Be sure to tag @clayandmestudios. Cheers! 🤟🏾