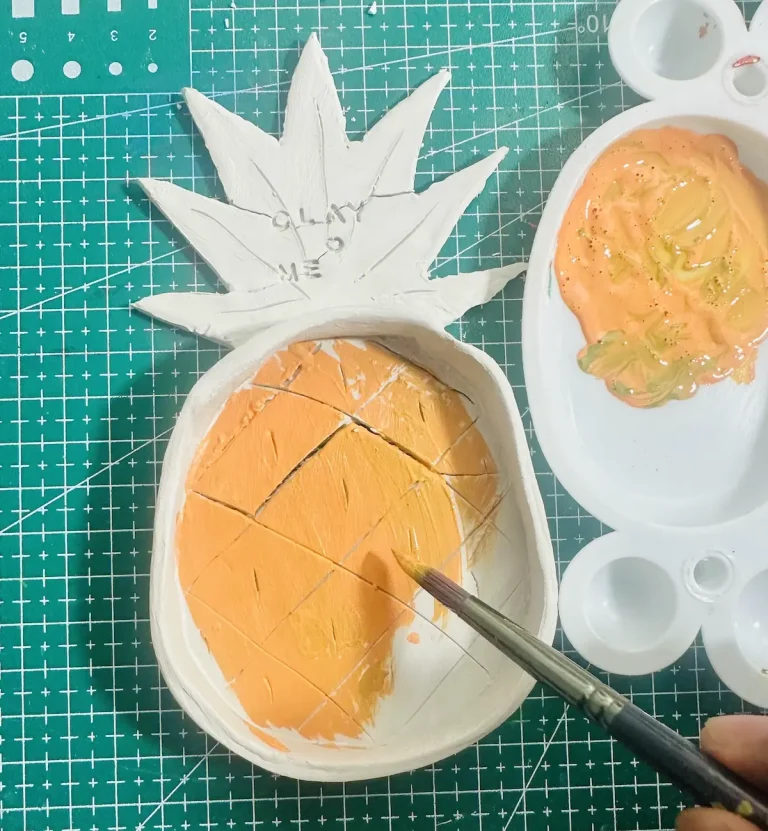
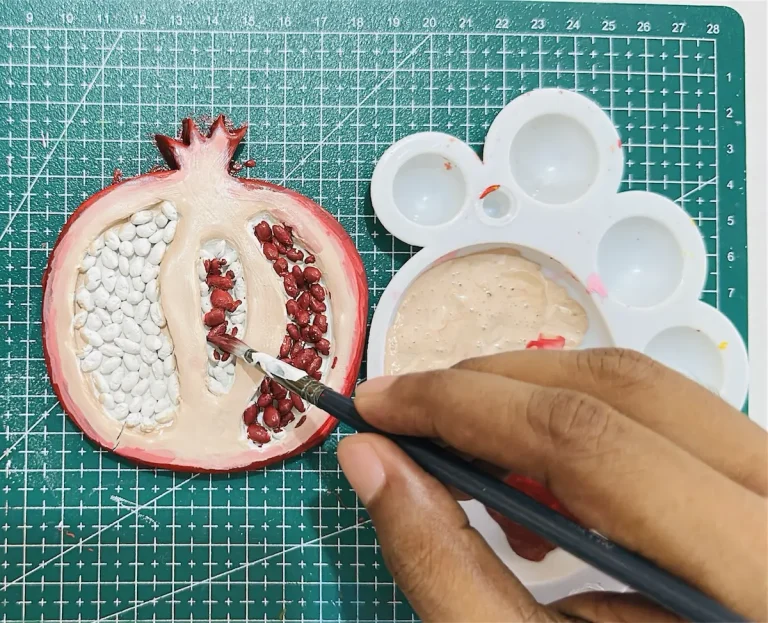
Air dry clay is a highly porous material with lots of moisture inside. Therefore, the tools you use should be compatible with it and a rolling pin is one of them.
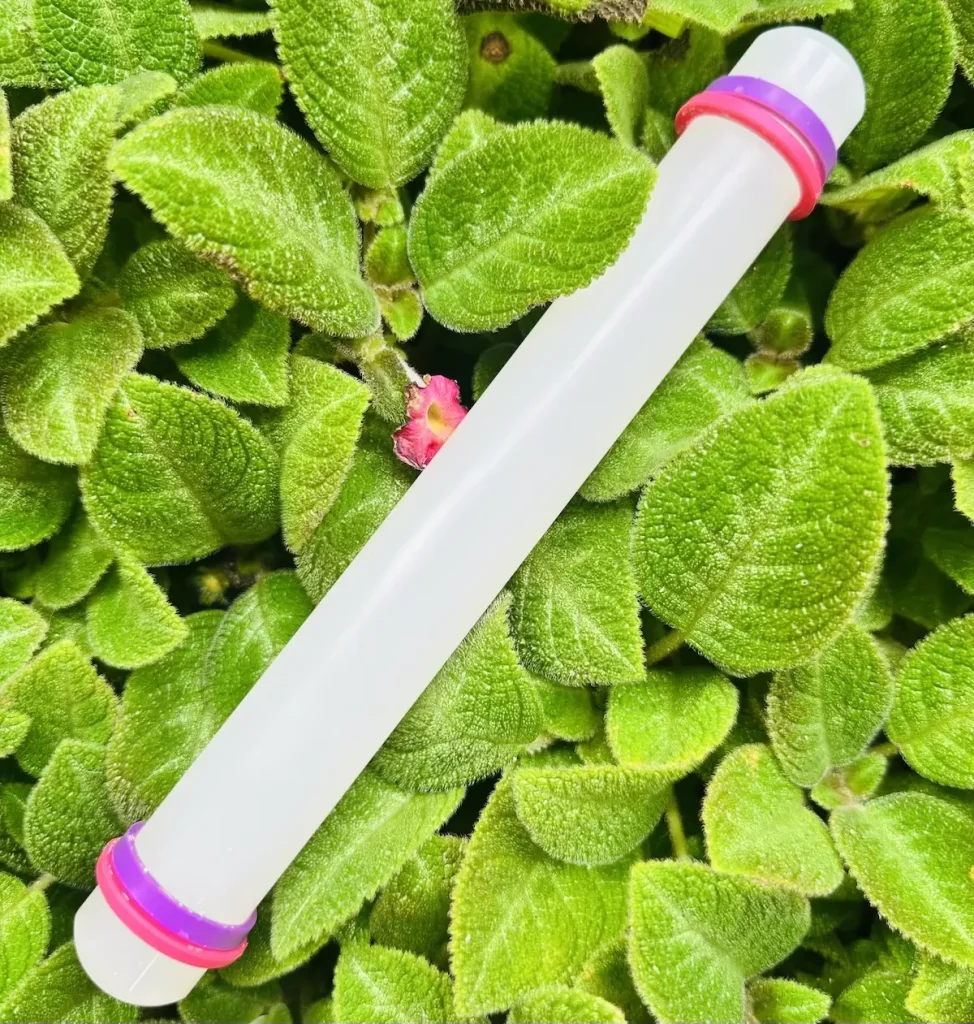
I use an acrylic rolling pin and it gives many positive results and helps me avoid making bad mistakes. If you’re a beginner, I highly recommend you invest in a quality rolling pin because if the clay does not behave as you want, you’ll get frustrated pretty quickly.
This happened when I was working with my first trinket tray project, not because of the rolling, but because of the mat I used. 🎨
I was about to give up on the air dry clay hobby. The clay was stuck so badly to my mat, and it tore apart when I tried to lift it up. 😟
Likewise, the rolling pin also matters. Since I’m also a beginner air dry clay artist like you, let me tell you why you should go with an acrylic rolling pin, what to avoid and how it should be used.
Let’s dig in!
Why your choice of rolling pin matters for air dry clay
Choosing the right rolling pin matters for air dry clay because it is what determines the thickness, the surface texture, and the moisture retention of the clay. 🔍
With the right rolling pin you can avoid the air dry clay from tearing apart when lifting up. Also, it helps the clay from cracking or warping upon drying. ✨
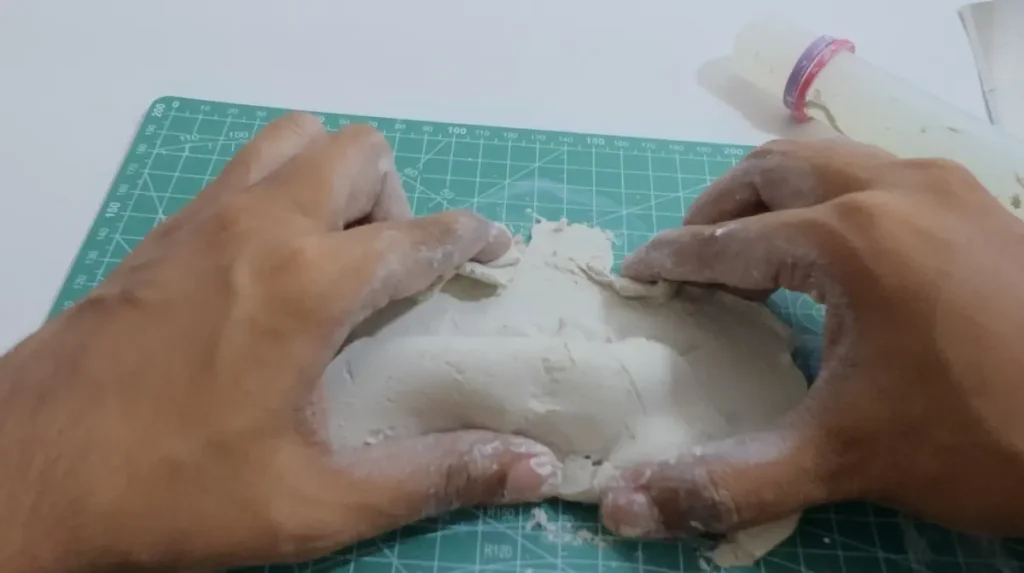
Things you should look for when selecting a rolling pin
- Material rolling pin is made of
- Its surface texture
- Smoothness of the rolling pin surface
- Weight of the rolling pin
- Size of the rolling pin
- No handles (a solid cylinder)
- Availability of thickness guide rings or rails
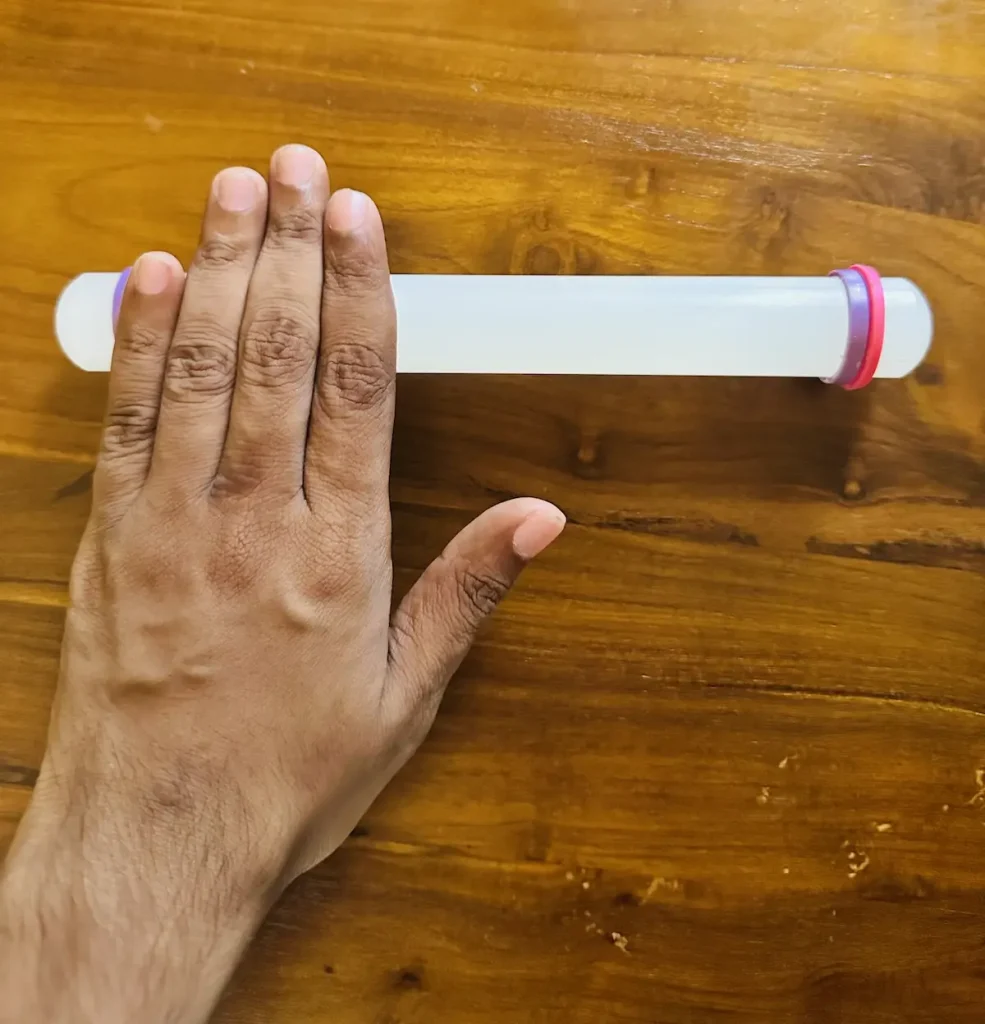
Here’s a table I made using everything I know and what I was able to find online. This chart will help you to find a rolling pin that suits you.
| Feature | Ideal Choice | What to Avoid | Why It Matters |
| Material made of & Non-Stick Quality | • Acrylic • Stainless steel • PVC | • Raw wood • Plastics | Non-porous rolling pins do not stick with air-dry clay and can lift it without tearing. |
| Surface Texture & Smoothness | • Highly smooth • High-gloss finish | • Grainy • Brushed • Decorative | Texture passes directly onto wet air dry clay and a smooth rolling pin for a flat, clean finish. 🛠️ |
| Weight | Lightweight to medium weight (approx. 6–12 oz). | Heavy materials | Too much weight can crush, over-flatten, or warp clay pieces |
| Size | 6 to 12 inches long with a 1-inch diameter. | Large, bulky 18-inch kitchen baker pins. | Smaller rolling pins are easier to handle |
| No Handles (Solid Cylinder) | Straight cylinder rod. | Traditional spinning handles | A solid cylinder helps to spread even pressure. |
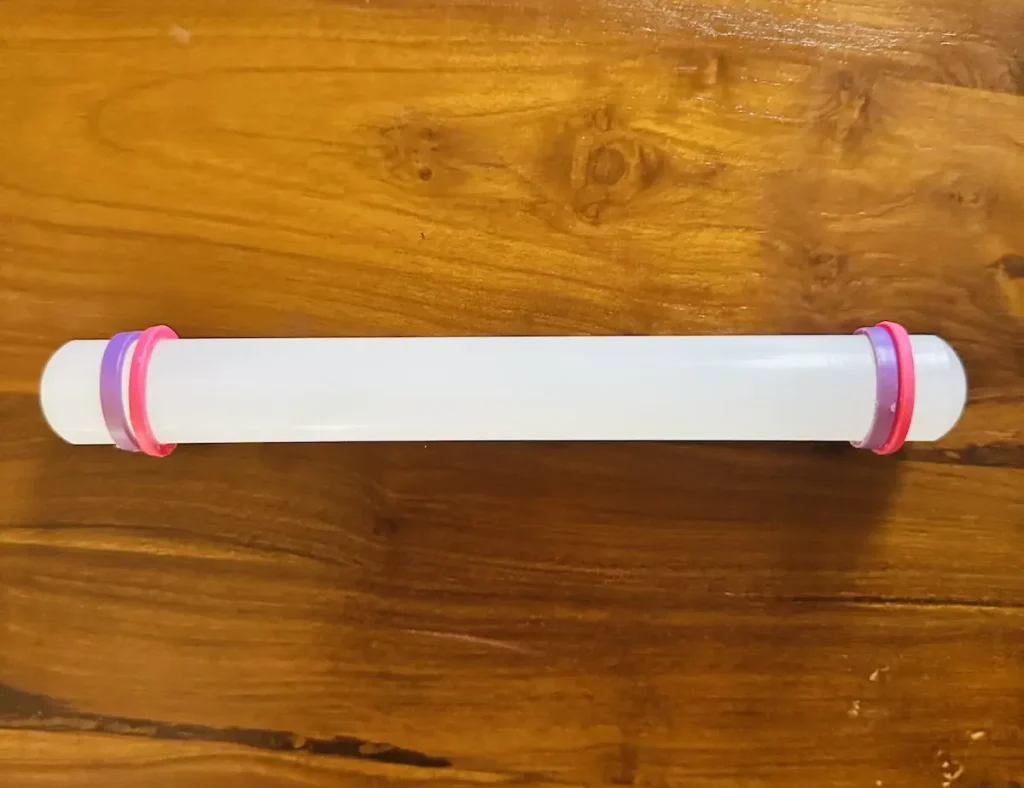
| Thickness Guide Rings / Rails | Removable silicone or rubber rings included. | Guessing the thickness 😂 | Guide rings help you to get even thickness across the air dry clay piece, important when making the tray base. |
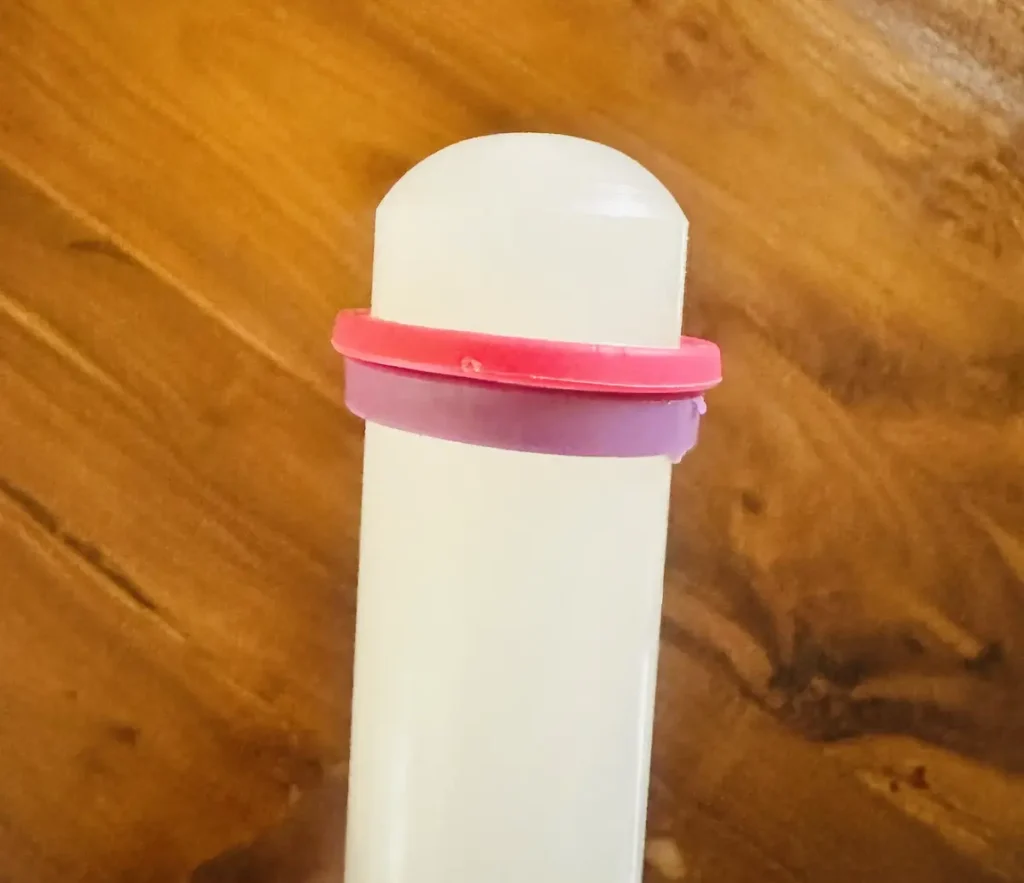
What makes an acrylic rolling pin different?
An acrylic rolling pin is what I use because it has an ultra-smooth surface and air dry clay does not stick to it while rolling.
Plus, it is lightweight and easy to clean by washing. But if you accidentally cut the surface of it with a cutting knife, it will be permanent and may transfer that mark to your soft air dry clay when rolling.
Actually, the acrylic rolling pin is widely used by air dry clay artists due to its high availability and low cost.
Why the acrylic mat sticks, but the roller works
In one of my previous articles, I specifically mentioned not to go with acrylic mats when working with air dry clay because its smooth surface creates an airtight seal that acts like a suction cup against the wet clay. Therefore, clay tears apart when you’re trying to lift up the clay after rolling.
But in this article, I tell you to go with acrylic rolling pin with super smooth finish. BUT WHY?
- Contact area: In an acrylic mat, the contact area touching the wet air dry clay is flat and massive. But in a cylindrical rolling pin, a tiny line area of acrylic contact with wet clay at any moment while rolling.
- Suction potential: In an acrylic mat, air cannot go underneath of the clay piece and form a vacuum. But in acrylic rolling pin, since it has a curved shape, air always goes under it when it rolls without forming a vacuum.
Because of above reasons, going with acrylic material only for rolling pin is the wiser choice.
Pro tip: Follow roll and flip method for non-stick rolling, which means you must flip, rotate and lift up the clay while rolling to avoid clay from sticking. You simply have to pick up the clay and flip it over after every two or three rolls. Plus, turn the clay piece 90 degrees each time you flip it to distribute pressure evenly.
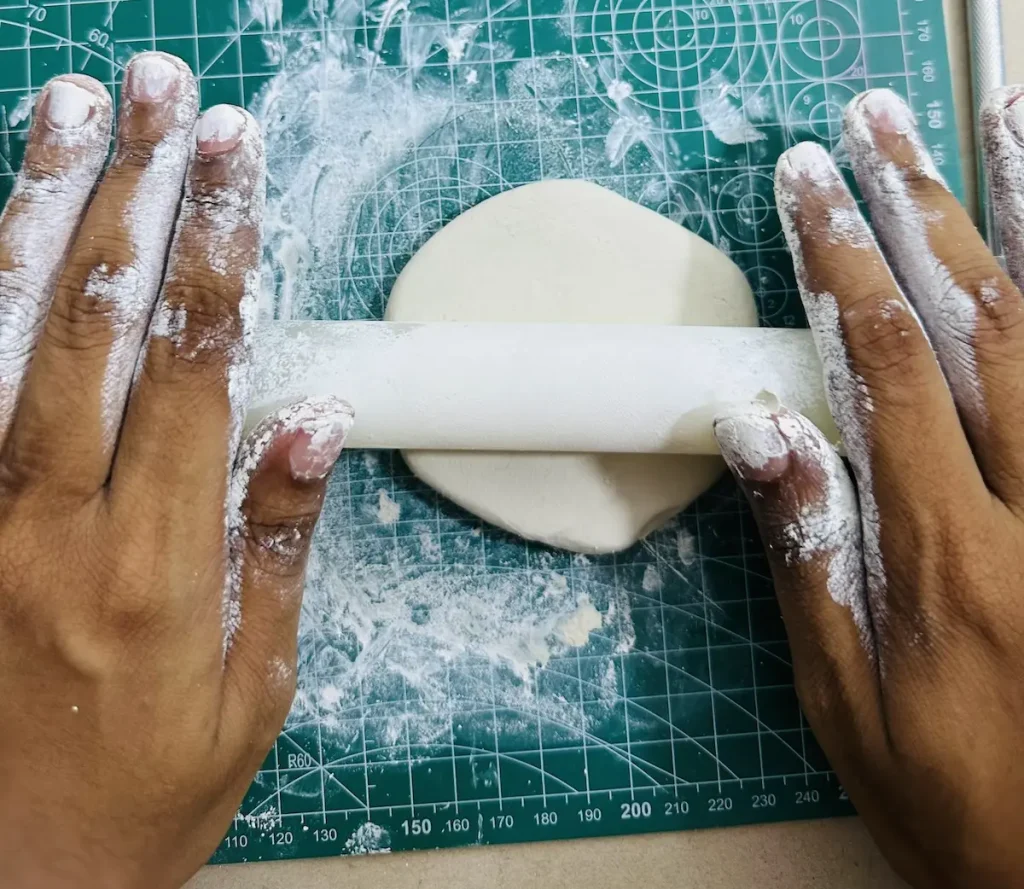
Read: How to Roll Out Air Dry Clay Perfectly (Without It Sticking)
Is an acrylic rolling pin a must-have?
For a professional and smooth finish, I highly recommend you invest in an acrylic rolling pin when working with air dry clay. I’m also a beginner like you who cares about the budget a lot. I dealt with a lot of problems when my clay was stuck to the surface when I was working on my first trinket tray project.
That was frustrating. If you don’t have an acrylic mat now, it’s ok. Start with what you have. A wooden cooking rolling pin is also fine. But keep in mind mistakes can happen and it’s ok.
Next time, try to go with an acrylic rolling pin. Trust me, it’s totally worth it and does not cost an arm and a leg. Cheers! 🤟🏾