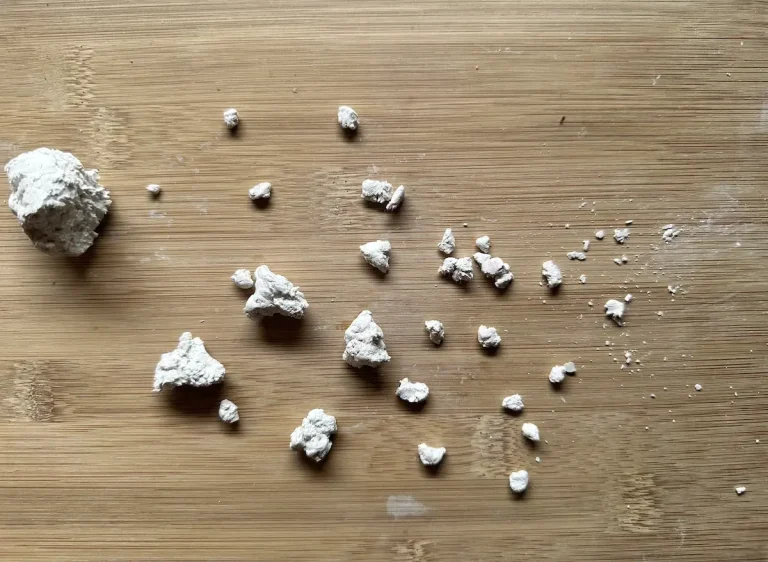
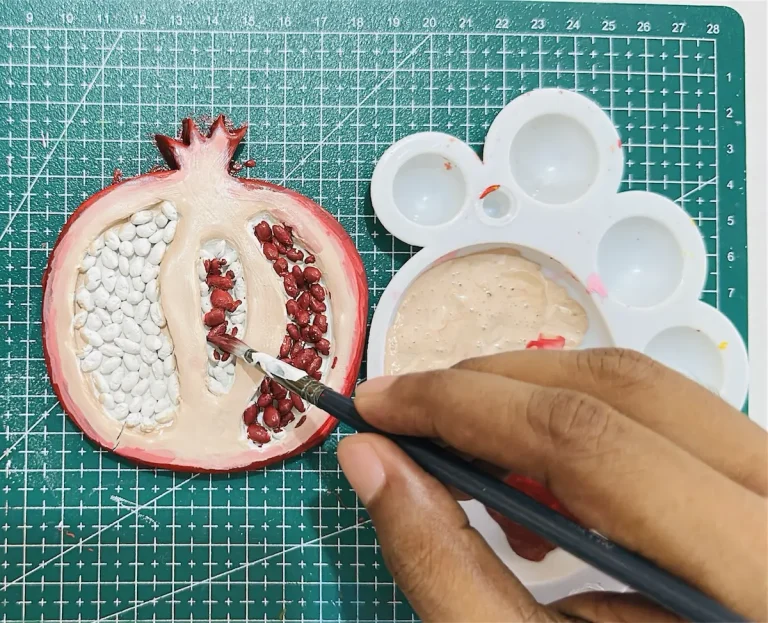
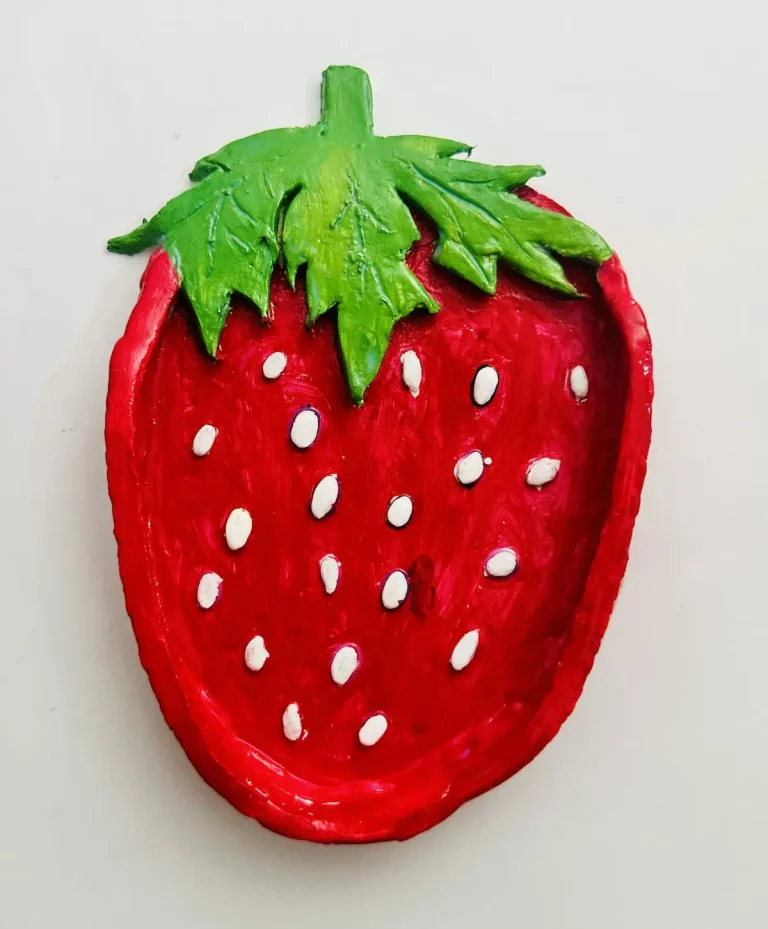
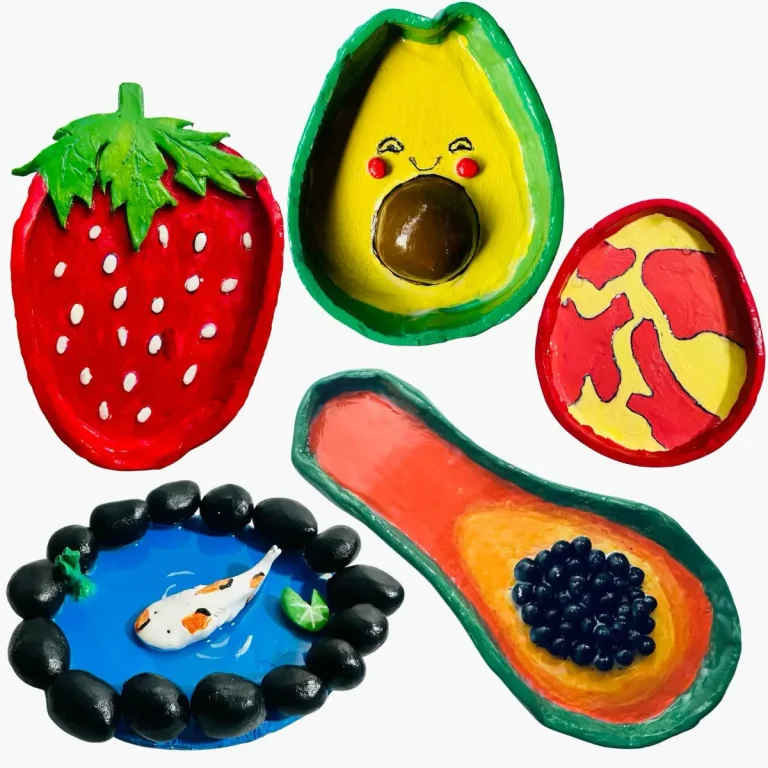
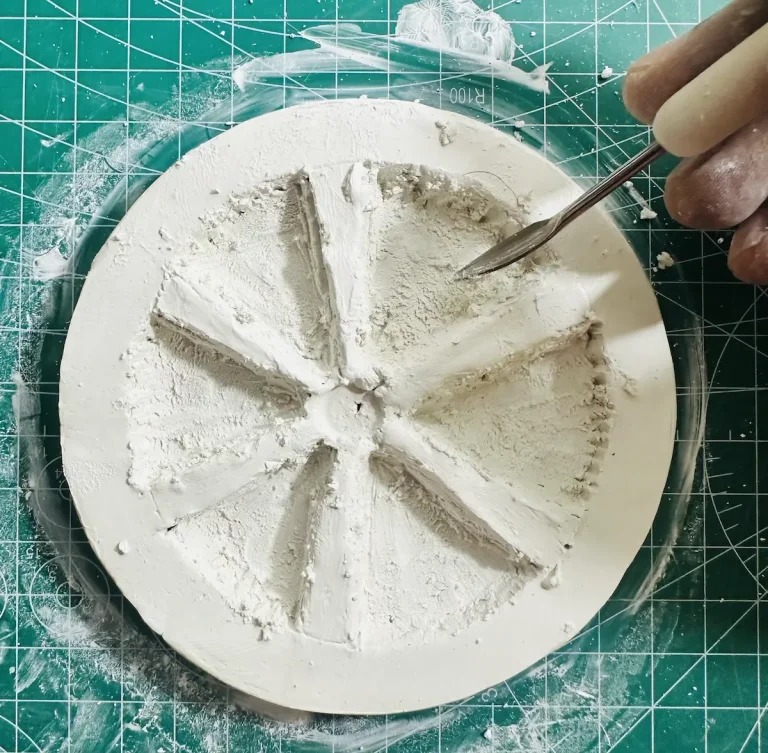
Not all surfaces dry equally. Air dry clay is a highly porous material that acts like a rigid sponge. So when you apply acrylic paint over air dry clay, it dries exceptionally fast because the clay absorbs the moisture of the acrylic paint so quickly.
But when it comes to the acrylic paint drying time of carved air dry clay textures, you need to be careful because you may get microcracks on the surface. Acrylic paint dries at different rates on carved air dry clay textures compared to smooth surfaces.
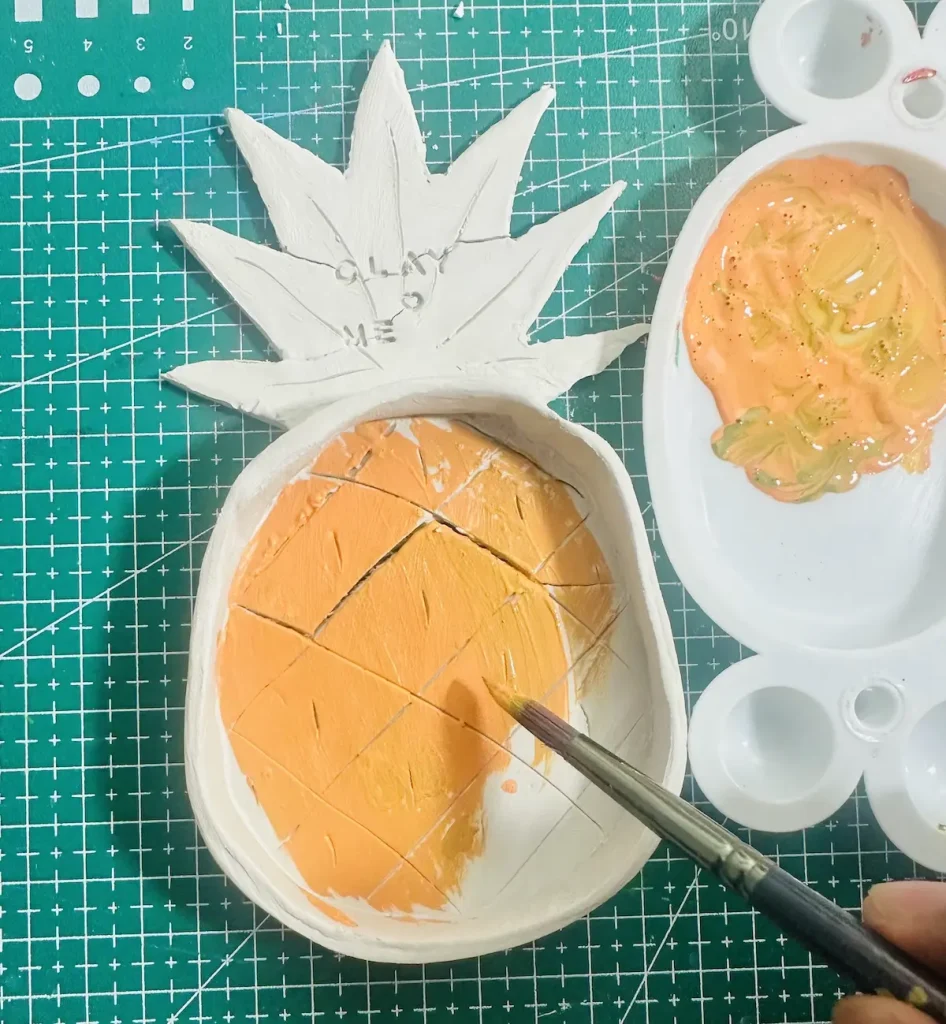
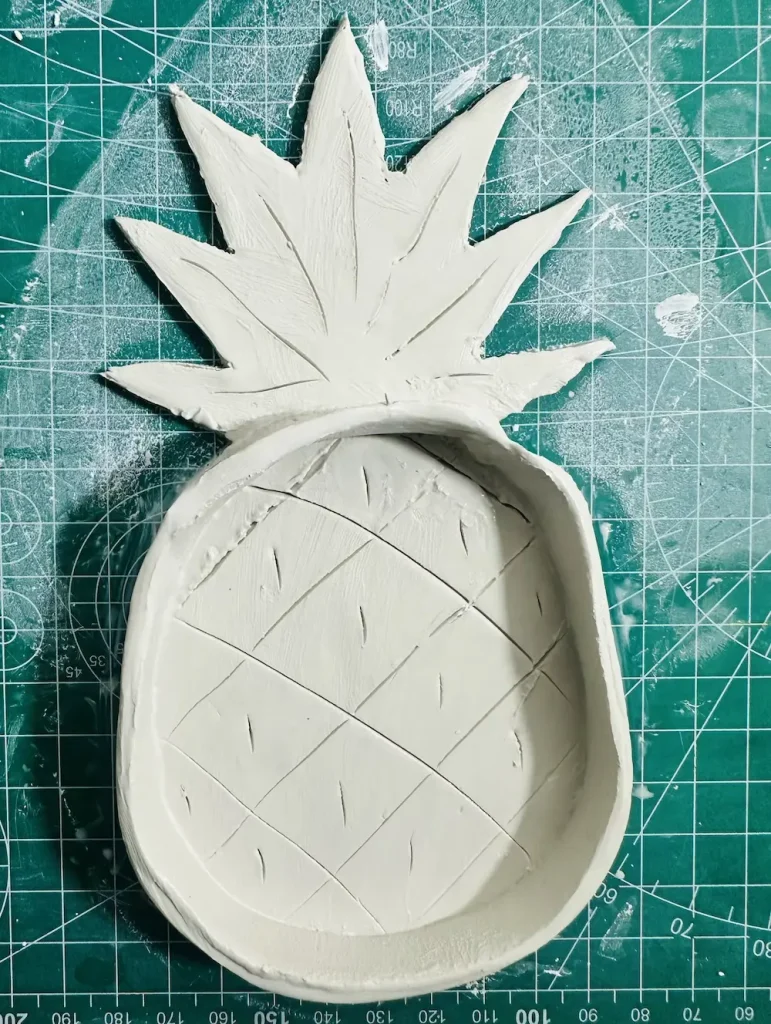
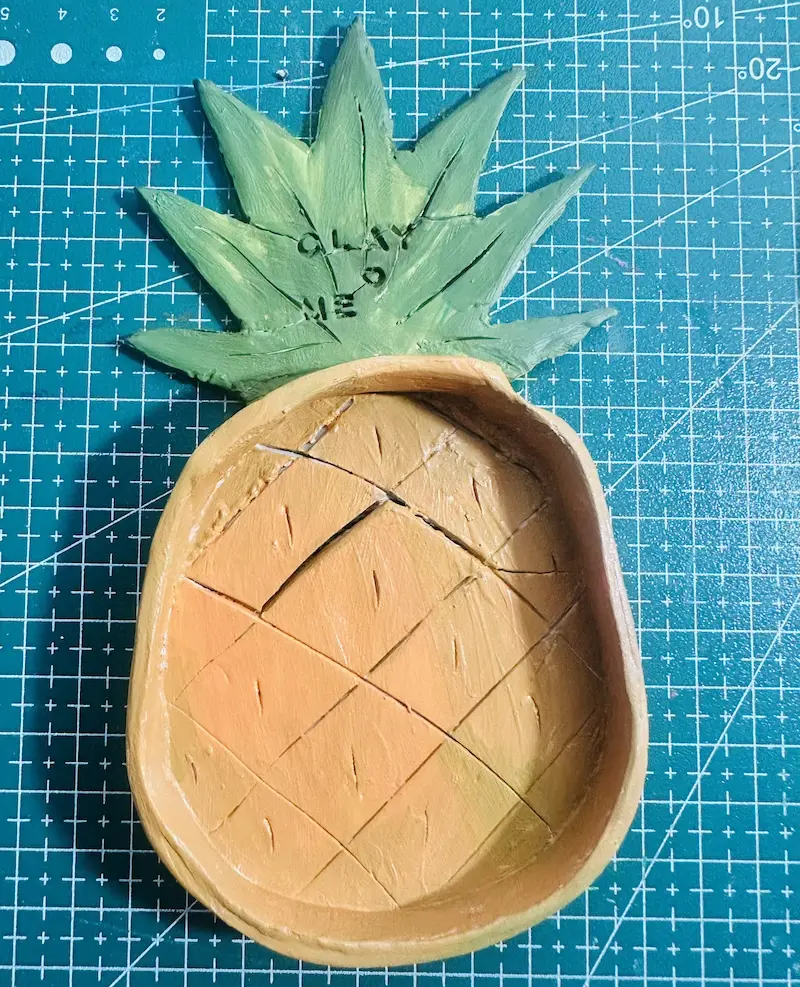
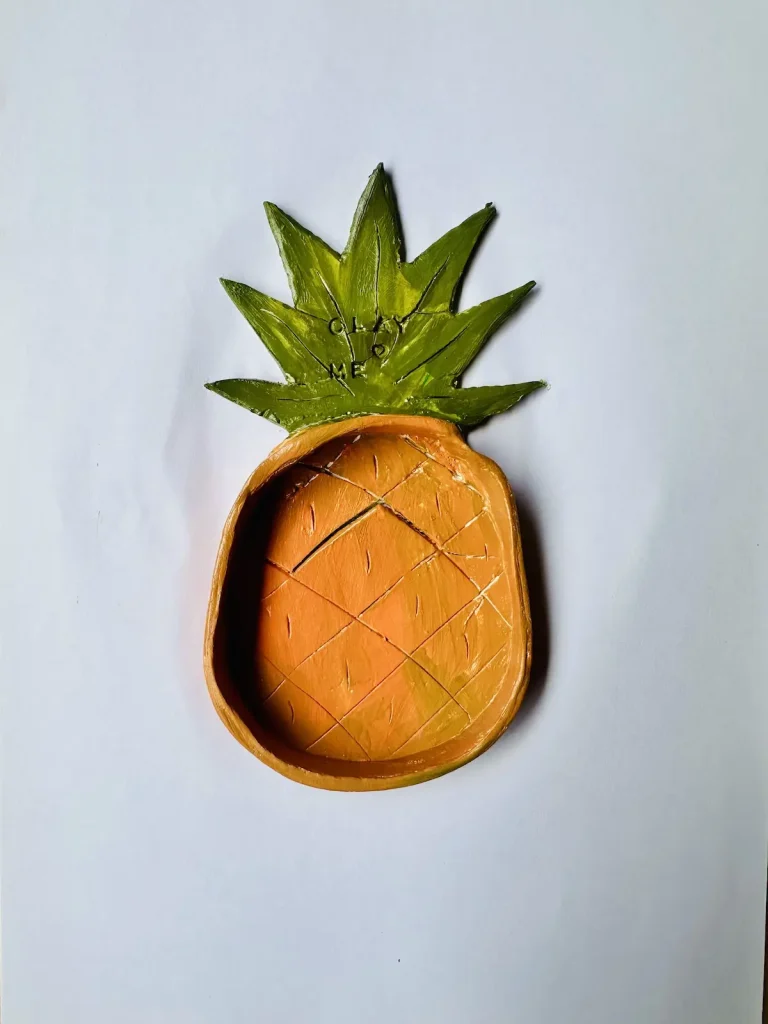
I experienced this when painting my latest pineapple trinket tray project because I carved diagonal lines to mimic the fruit’s natural appearance.
Let me tell you how I manage the drying time of acrylic paint in those recessed areas without ruining the finish and weakening the clay underneath.
I know, friends, this sounds difficult. But trust me, it’s not. I’m also a beginner air dry clay artist like you and able to get a nice and smooth finish with no issues with really simple techniques.
Let’s dig in!
Challenges of painting deep textures on air dry clay
As we already know, air dry clay absorbs moisture of the acrylic paint too quickly compared to other materials. 🎨
But not all the surfaces of air dry clay dry equally. Basically, flat, smooth and exposed acrylic paint on air dry clay surfaces dries faster than carved textured surfaces.
If you did not handle this correctly when painting, you might have to face 3 challenges. They are:
Paint volume and drying rates
When you apply acrylic paints on air dry clay, they naturally flow into deep carvings and pools, forming a gummy texture. This means more acrylic gets collected in carved areas, forming a thick coat.
On the other hand, carved areas lack air circulation like smooth flat surfaces. Therefore, acrylic paint on those carved areas dries more slowly than the other areas.
Usually I wait for acrylic paint to dry 1-1.5 hours before sealing the project. But during my pineapple trinket tray project, I had to wait for 2 hours because acrylic paint trapped inside those deep textured areas was not fully dry within a 1-hour period.
Micro cracks
Now we know acrylic paint traps differently on carved, deep textures compared to smooth, flat surfaces.
In deep clay textures, more acrylic paint means more water inside. The top layer of acrylic paint dries first due to the evaporation of water. The bottom layers of acrylic paint dry slowly because there is no air circulation and water evaporation is blocked by the top dried layer. This causes tension between the layers of acrylic paint.
When this tension surpasses its limits, microcracks will start to form in your acrylic paint because moisture will find its route due to evaporation one way or another.
This is highly unlikely to happen on flat surfaces because the acrylic paint coat is too thin and moisture evaporates evenly due to high air circulation. When the acrylic paint becomes thicker and thicker, especially in carved deep textures, there is a high tendency to form cracks.
Chalky finish
Forming a chalky finish can happen even for smooth surfaces, not only for deep textures. As I told you earlier, due to high porous nature of air dry clay, it sucks out the water and all the binders inside acrylic paint too fast.
After all the moisture inside is gone, acrylic paint leaves just the raw, dry pigment sitting on the air dry clay surface without enough binder to keep it cohesive and vibrant. This results in a dull and chalky finish.
Why you should control the drying time
- Preventing acrylic paint pooling in deep textures: Never apply too much acrylic paint on deep carved clay textures as you do on smooth flat surfaces. The thickness of the coat you apply on deep carved textures should be less than the thickness you apply on flat surfaces because the paint flows naturally, creating a thick coat.
- Avoiding uneven drying and cracking: Uneven drying and cracking happen due to uneven shrinkage of acrylic paint. So you need to make sure the moisture evaporation rates of all the acrylic paint layers in deep textures are almost the same, with no drastic difference that can form cracks.
I know you can’t get an equal drying rate everywhere, but you can try to control the difference. If the drying rate difference is too high, the cracks are more likely to form. That’s what I did.
How to manage acrylic paint drying times
Here I’m going to share with you guys my top strategies I followed when painting my pineapple trinket tray with lots of deep textures to achieve a nice and even finish everywhere with no gummy textures. Don’t worry, they are easy! Anyone can copy!
First, I made sure my pineapple trinket tray project was bone dry before applying acrylic paint. Applying paint on wet clay causes it to peel off.
Method 1: Apply thin, controlled base coats
There are two ways you can do this. One is applying a Gesso before painting your air dry clay project with acrylic paint. Another one is applying your first coat of acrylic paint as a primer. I followed the second way because I don’t have gesso or a dedicated primer to apply before acrylic paint.
I applied a thin and even coat of acrylic paint all over my pineapple trinket tray, covering all the smooth, flat areas and deep, carved areas. Used a flat paintbrush for flat areas and a thin, fine brush for the deep areas.
This Gesso or primer layer helps to fill out all the microporous structures of air dry clay so when the acrylic paint hits the surface, air dry clay won’t get a chance, like it previously did to suck out all the moisture inside of the paint.
It’s like clearing the path before applying the paint on air dry clay.
Applying gesso or primer creates a smooth, non-absorbent barrier and helps acrylic paint layers to dry at their normal slower rate. No micro cracks and no bulky or chalky finish.
Method 2: Pre-seal the surface
Sealing the air dry clay surface before acrylic painting is also an ideal method to stop air dry clay from sucking the moisture from acrylic paint.
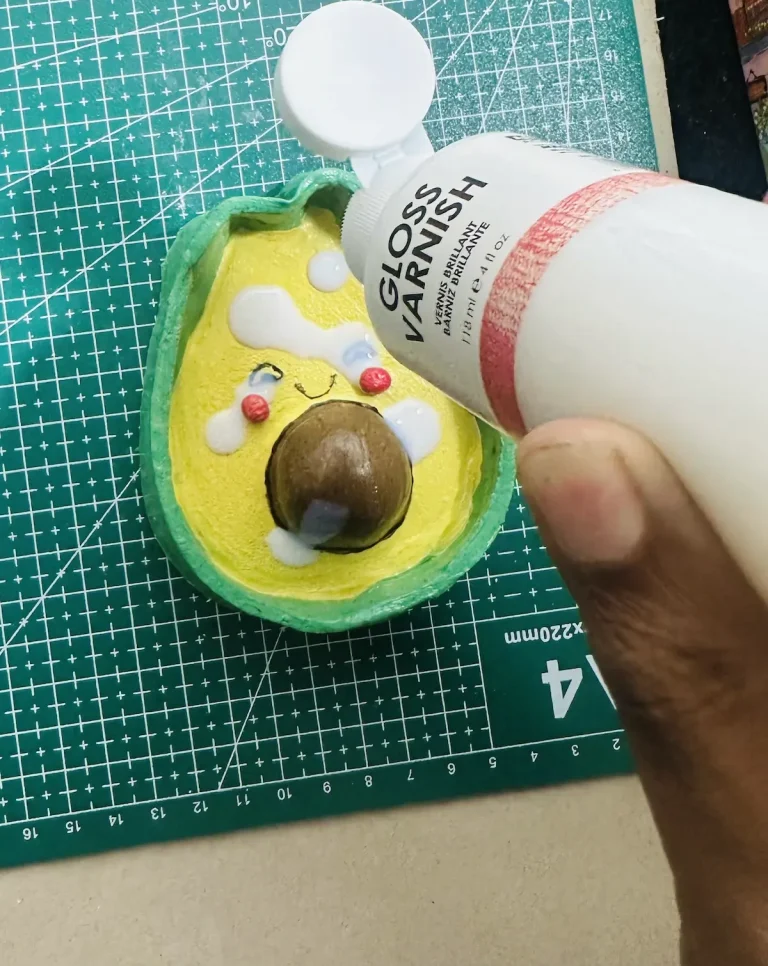
A thin layer of sealer works as a barrier between the clay and paint. You can use gloss varnish, varnish or even nail polish as a sealer. Make sure to apply a thin and even coat.
It does not need to offer top-tier protection to the air dry clay. Its only task is to work as the middleman between the clay and acrylic layer.
Apply a proper sealer after painting the air dry clay project with acrylic for long-term protection.
The above two methods address the porosity of air dry clay and stop acrylic from drying instantly on contact.
Now let’s talk about methods you can control the drying time of acrylic.
Method 3: Use an acrylic retarder
Apply an acrylic retarder before applying the acrylic paint on air dry clay surface. Acrylic retarders slow down the drying time of acrylic paint.
It gives enough time for acrylic paint to blend with air dry clay instead of drying instantly on porous clay.
Slow drying of acrylic paint means a better glossy finish.
Method 4: Control your environment
After applying acrylic paints on your air dry clay project, do not keep it under a fan or place it outside under sunlight or contact direct heat sources to avoid flash drying of air dry clay.
Air dry clay dries faster when the humidity in your area is low, so it’s better to keep the project in a controlled humidity room.
Method 5: Use a fine tip paintbrush for deeply carved textures
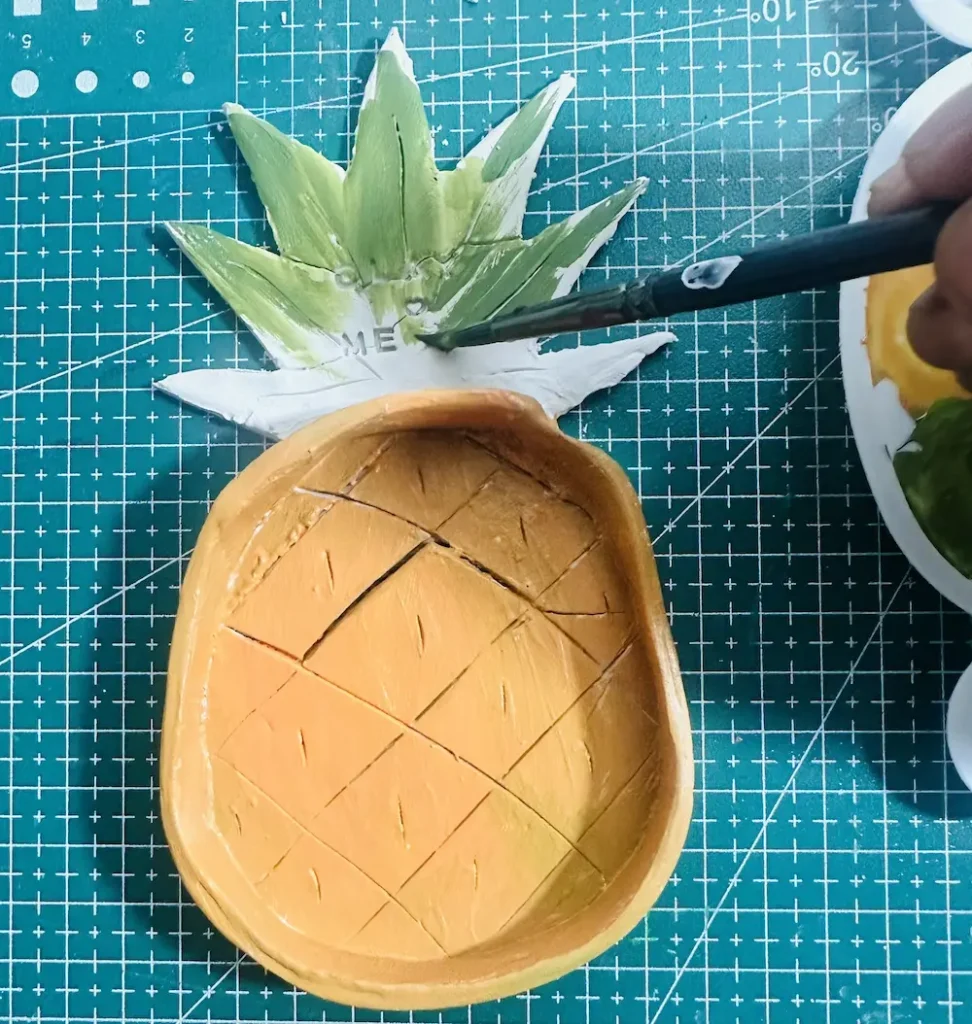
When applying acrylic paint over air dry clay, use a flat paintbrush for flat and smooth surfaces and a fine paintbrush for deeply carved clay textures for a thin and even coat.
Make sure not to let acrylic paint get trapped and collect inside those carved textures. Collected acrylic paint causes uneven shrinkage when drying, forming micro cracks.
I pushed paint over the geometric cuts of the pineapple leaves without filling them.
Method 6: Let it dry slowly for several days
After applying acrylic paint, usually let it dry for 1-1.5 hours before sealing. But if your air dry clay project contains deeply carved textures, let it dry for 2 or more hours. Those deeply textured areas take a lot of time to dry completely because of high acrylic paint concentration.
Apply a sealer and protect your air dry clay project for the long term once the paint is completely dry.
I apply gloss varnish as the sealer, which offers a glossy ceramic like finish. Or you can use UV resin, polyurethane or epoxy resin for a glossy like finish. ✨
How to fix thick, wet paint trapped in a deep cut?
If you notice a thick collection of acrylic paint is trapped in a deep cut of your air dry clay project, you can either remove the excess paint of it using a dry paintbrush carefully without spreading it out to the surrounding areas, or let it dry slowly for hours.
Never ever rush the drying process.
If you can’t remove the excess paint using a dry brush, wait for the gummy like substance to completely dry. Yes, it may take hours, but that’s the punishment you get for applying acrylic paint too thick on deeply carved areas. 😂
Final thoughts
Now you know exactly how to manage the drying time of your acrylic paint, especially when there are deep cuts in your air dry clay projects. Fast drying can cause a lot of issues and you may end up with ugly, chalky and dull looking finish. 🖌️
Patience is the key to success when you’re working with air dry clay. It is porous and gets messy pretty quickly. So you need to be careful. 🧘
I’ll see you again with more useful beginner tips and techniques. Cheers! 👋