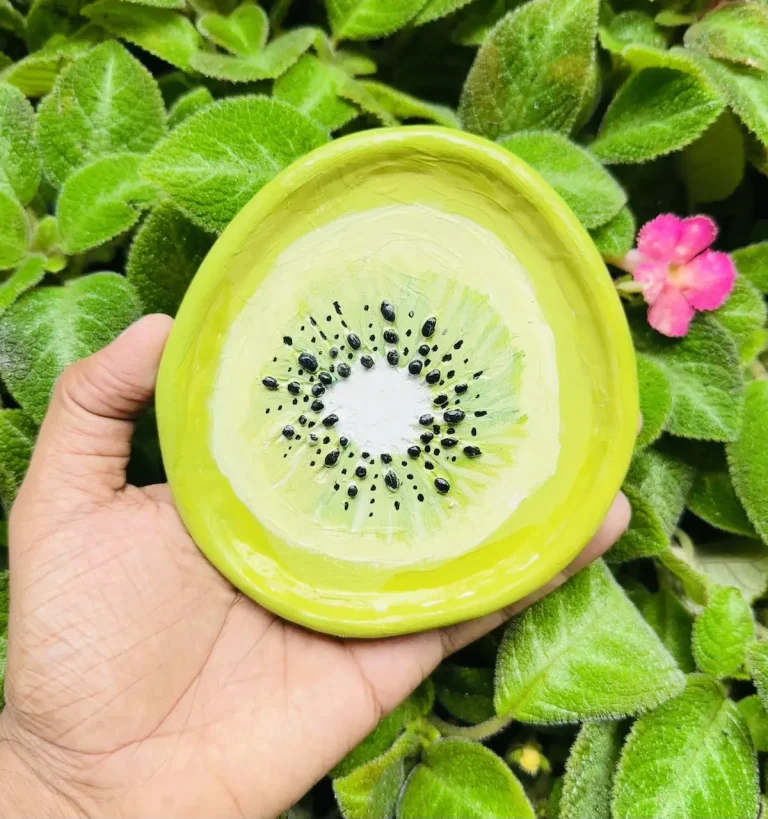
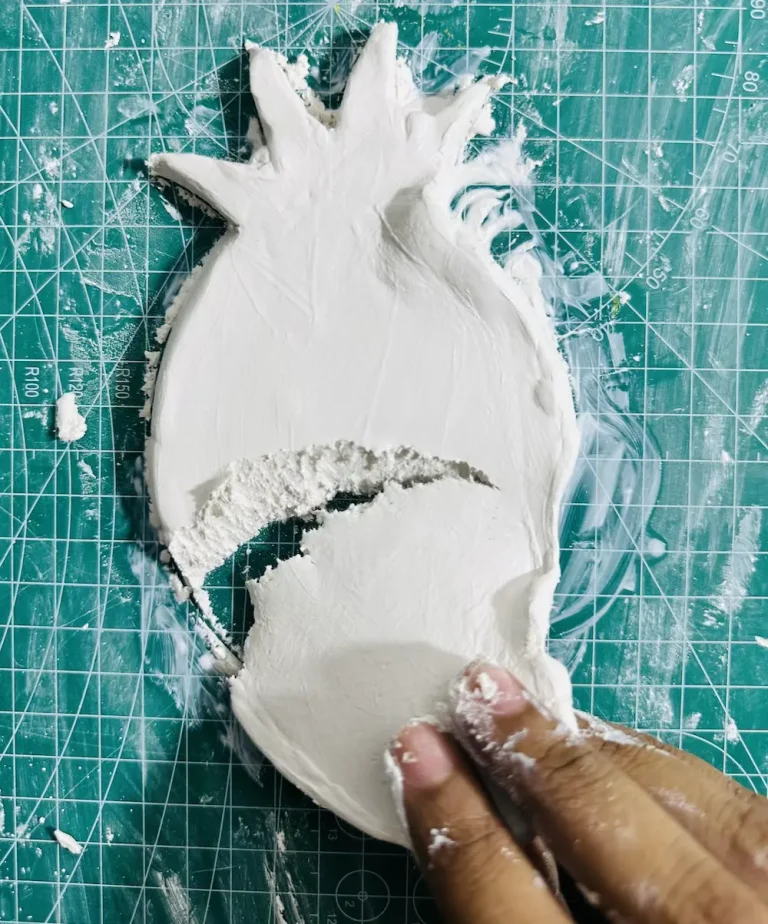
Welcome to another day of my fruit inspired air dry clay trinket tray projects. I just can’t stop making them.
I have made papaya, strawberry, banana, watermelon and avocado trays, and today I’m making an orange trinket tray. Orange means not the color, it’s the fruit. Lol.
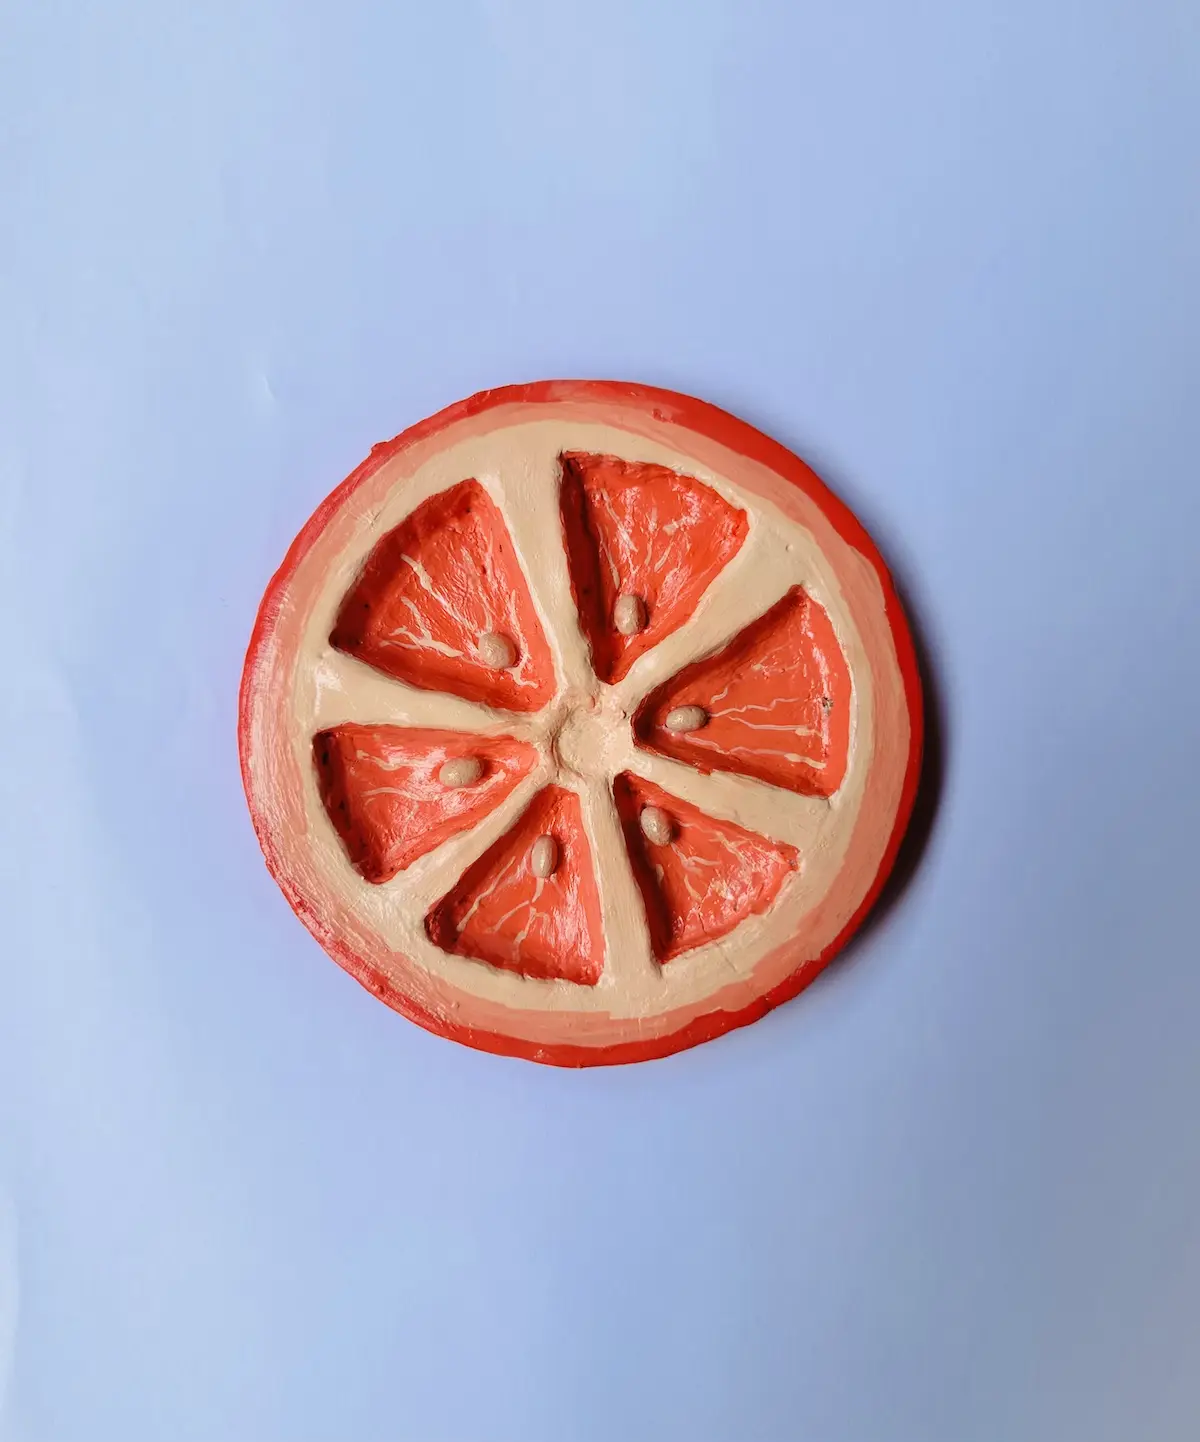
This time I wanted to give a 3D look for this and I scrolled through Pinterest and found ones thanks to the artists who made them earlier.
I was inspired by those images and thought not to copy them, but to add my taste and start making one.
Since I’m a beginner air dry clay artist with only few completed projects, I did my research how to get the 3D nice look to my orange trinket tray with simple and easy techniques.
I think I was able to achieve that! But you decide. You’re the judge.
Actually, I don’t like to follow experts because the tips they give are not always tailored to beginners like us. Instead, I did my own research, learned through trial and error and developed my own method.
I’m gonna share with you guys and gals that process, including all the mistakes I made along the way and how I fixed them.
So, during the project, when you make a mistake as a beginner, you know how to fix it and achieve what you want. Experts don’t tell you that because they rarely make mistakes. Lol.
Too much talking, I’m sorry. Let’s start making!
Supplies you need
Before you read supplies, I want to tell you this. We are still at the learning phase and we don’t have all the supplies and sometimes we don’t have budget for them. If you find anything you can’t find or is expensive (actually they aren’t), just replace that with any household item you have. Most can be found in your kitchen drawers.
- Air dry clay (any brand you can find is okay)
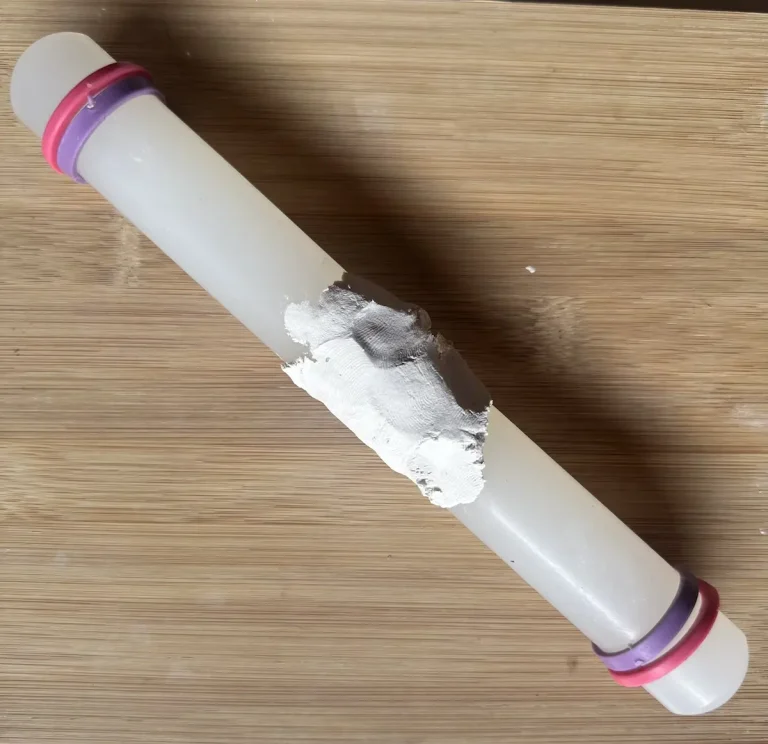
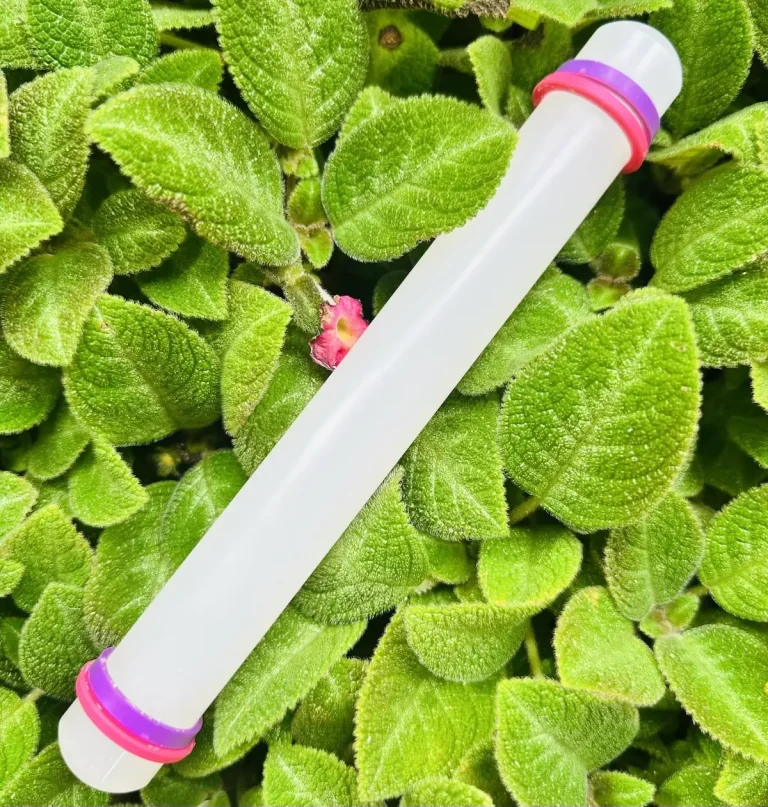
- Acrylic rolling pin (or cooking rolling pin wrapped with parchment paper)
- PVC mat or silicone mat (or non-stick surface)
- A jug lid (big one)
- Clay sculpting tools (or use toothpicks)
- Clay cutting tool (or small knife)
- Cup of water or spray bottle
- Acrylic paint (orange, pink, white)
- Gloss varnish
- Paintbrushes
- PVA glue
- Paper towels
- Optional: Sponge or silicone sculpting tool (or you can use your finger)
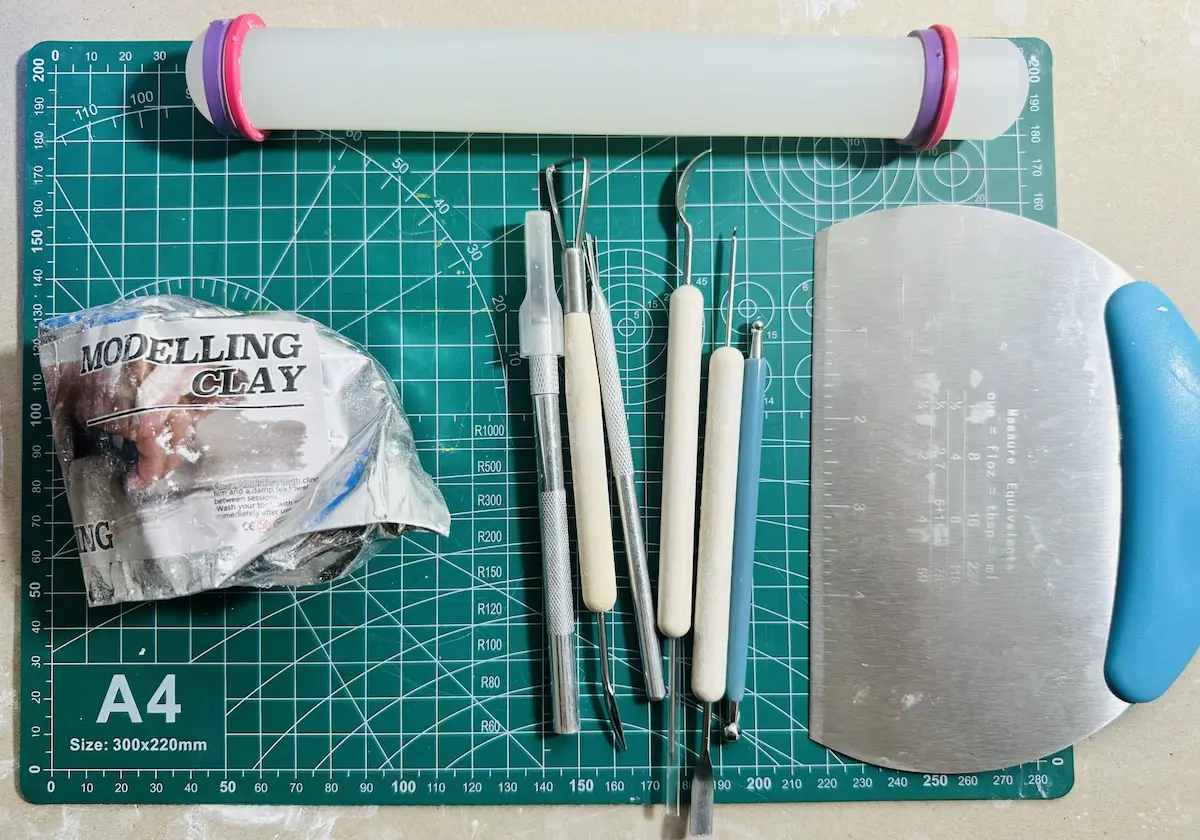
The reason I used air dry clay for this project is because, that’s all I had. Lol. No actually air dry clay does not need to kiln or bake. It easy to shape with a little bit of water, dry in the air and is cheap compared to other clay types (ex: polymer clay)
Grab the items and get ready to make your beautiful orange trinket tray!
Easy diy orange trinket tray tutorial video
Below is the full tutorial video on how to make this diy orange trinket tray with air dry clay, and how I painted and sealed it. I’ve included every technique I used, mistakes I made and how I fixed them in detail.
Now let’s look at the detailed written step by step guide.
Step-by-step orange trinket tray tutorial
Before starting the project, open all the windows in your room and make the area well ventilated. Fine air dry clay particles may trouble you if you don’t.
Step 1: Knead the clay
- Cut the clay piece you want from the main slab.
- Wet your palms with a little bit of water.
- Apply a little bit of water onto the clay piece.
- Knead with force for about 5 minutes like you’re making a dough until the clay becomes soft enough.
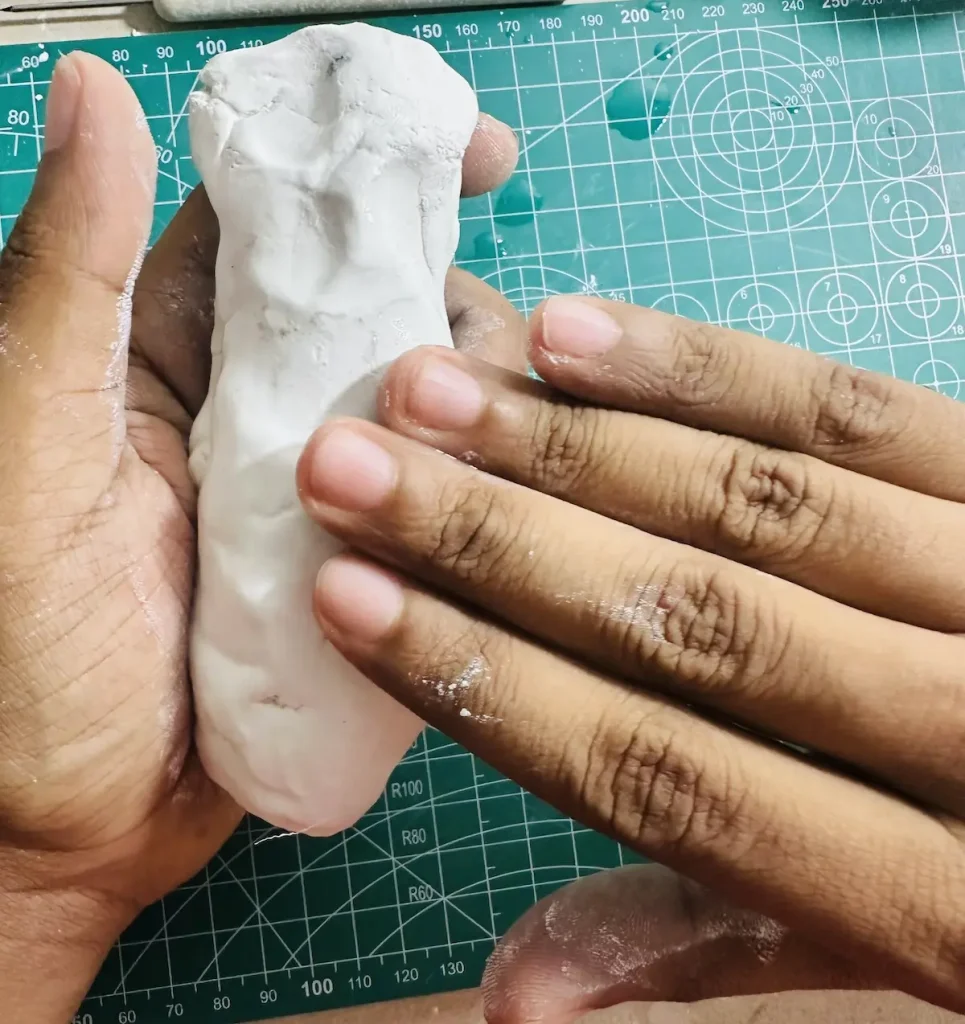
Air dry clay is a highly porous material with most of the moisture and air bubbles inside. Kneading helps to spread moisture evenly and release all the air.
If you don’t knead the clay before shaping the item you want to make, it may crack as it dries. This occurs because uneven moisture evaporation builds up internal tension within the clay.
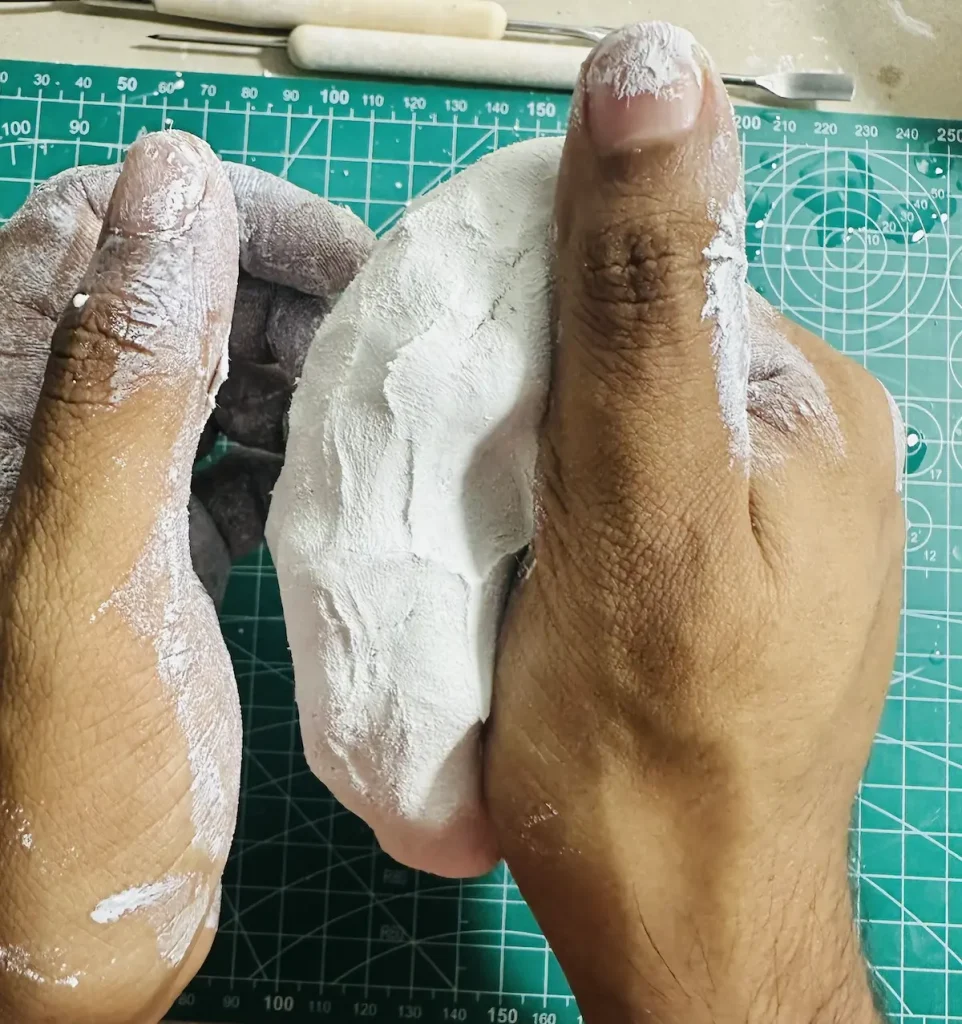
Even drying is the key to preventing cracks. If the moisture isn’t spread evenly, the clay will shrink at different rates, causing it to crack. That’s why kneading is so important!
You’ll feel the clay getting soft when you continue kneading for 3-5 minutes. Apply more water if you need to, but only a little bit.
Once the air dry clay is soft enough go can move into the next step.
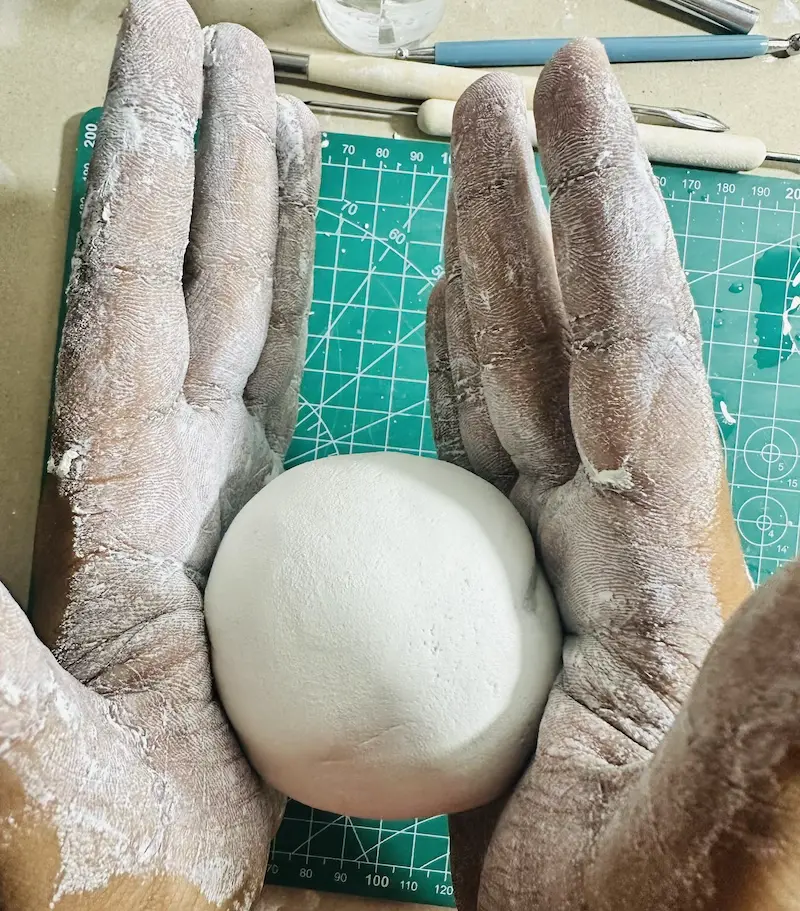
Step 2: Roll the clay
- Place the kneaded clay piece on your mat. 🧘🏾
- Roll with an acrylic rolling pin to an even thickness about ½ inch.
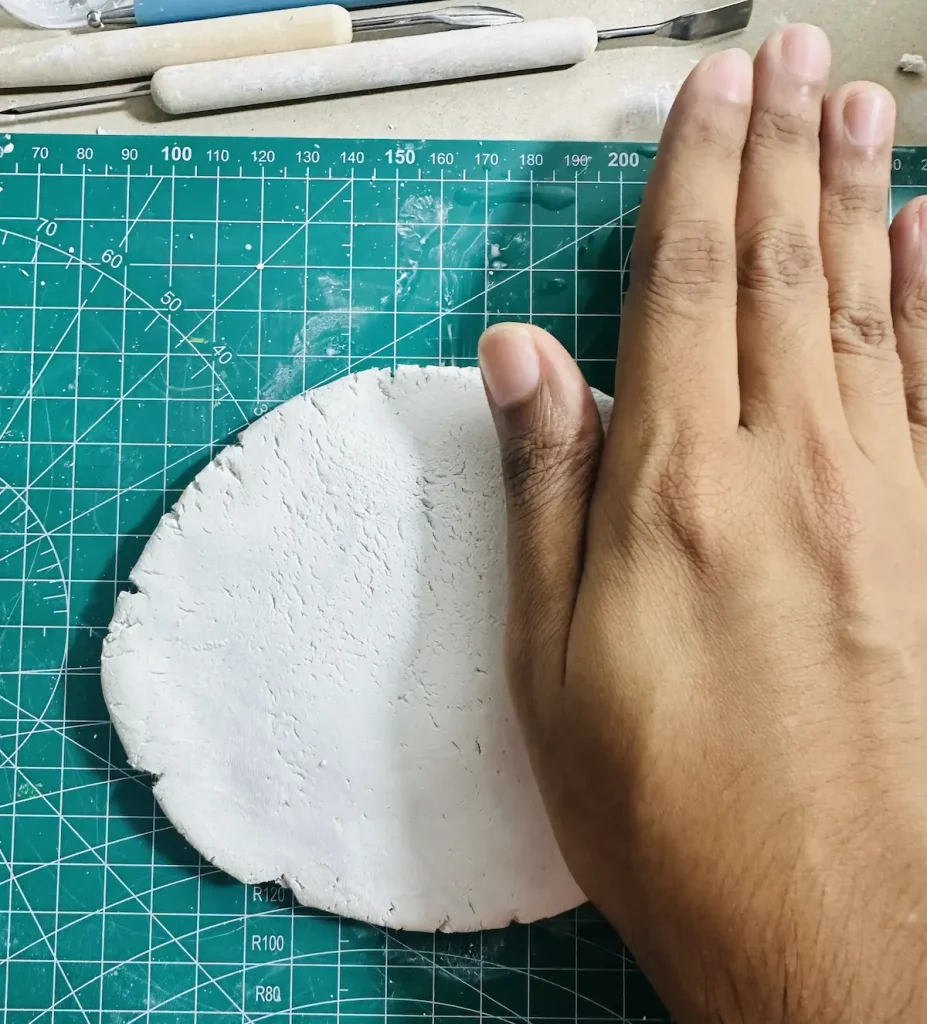
Turn, flip and rotate the clay piece 90 degrees while rolling after each 2-3 rolling rounds to avoid air dry clay from sticking to the surface.
Use detachable silicone or rubber rings or guide rails to get the thickness you want. Most are come with the rolling pin.
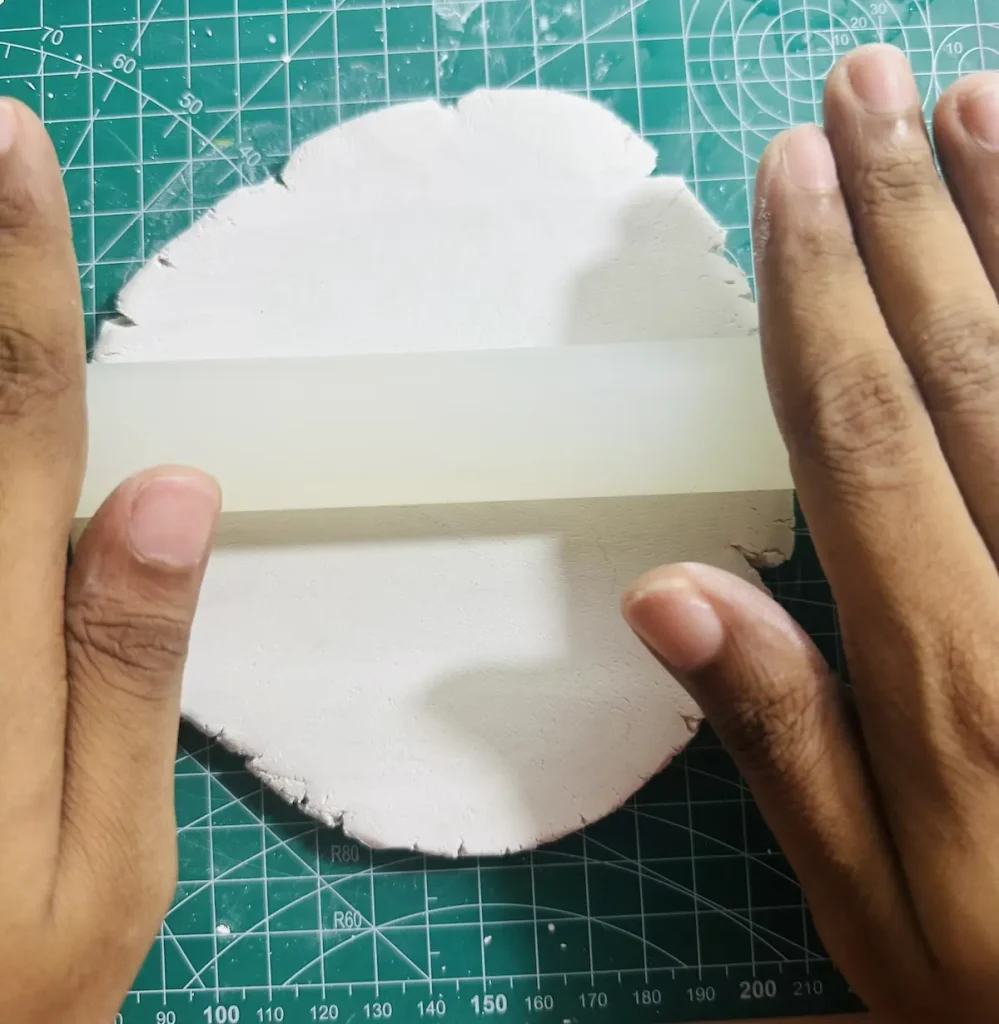
I used a PVC mat for working on which does not attach with air dry clay piece when rolling.
After rolling the clay slab, smooth the surface to remove tiny scratches, bumps and imperfections. ✨
To smooth air dry clay, dip your index finger in the water and gently glide over the clay slab and along its edge repeatedly.
Step 3: Cut the orange base
I wanted to cut the orange base perfectly round and symmetrical. I didn’t try that in my previous tray projects and used freehand cutting because they all are organic things. Yes, Orange is also the same, but I liked to try something new. Plus, I don’t have cookie cutters for that. 🍊
If you have cookie cutters, that’s perfect.
But if you don’t have one, that’s fine, we still can do this. Don’t go out and grab one. I also didn’t have one, but able to achieve the round shape I wanted. I used a jug lid, a big jug lid.
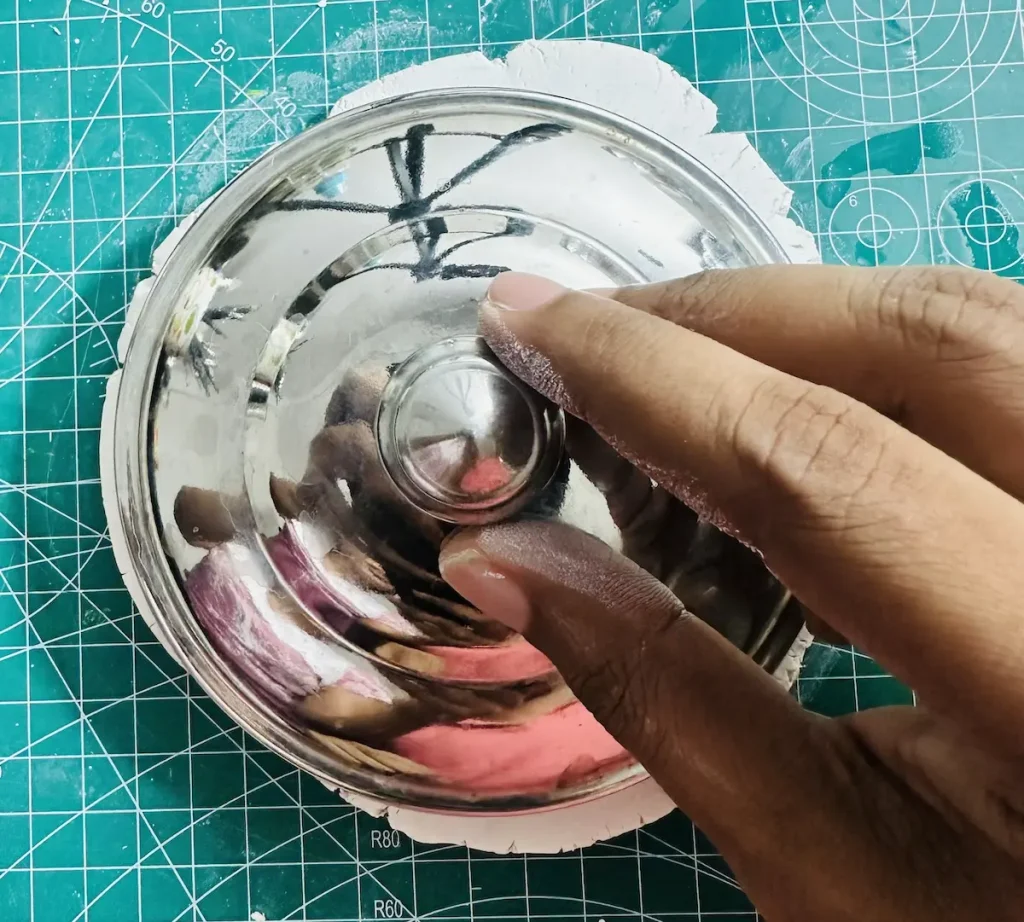
You can use anything that has a perfect round shape.
I pressed the aluminum jug lid into the clay slab until it hit the bottom. Then, carefully lifted it up.
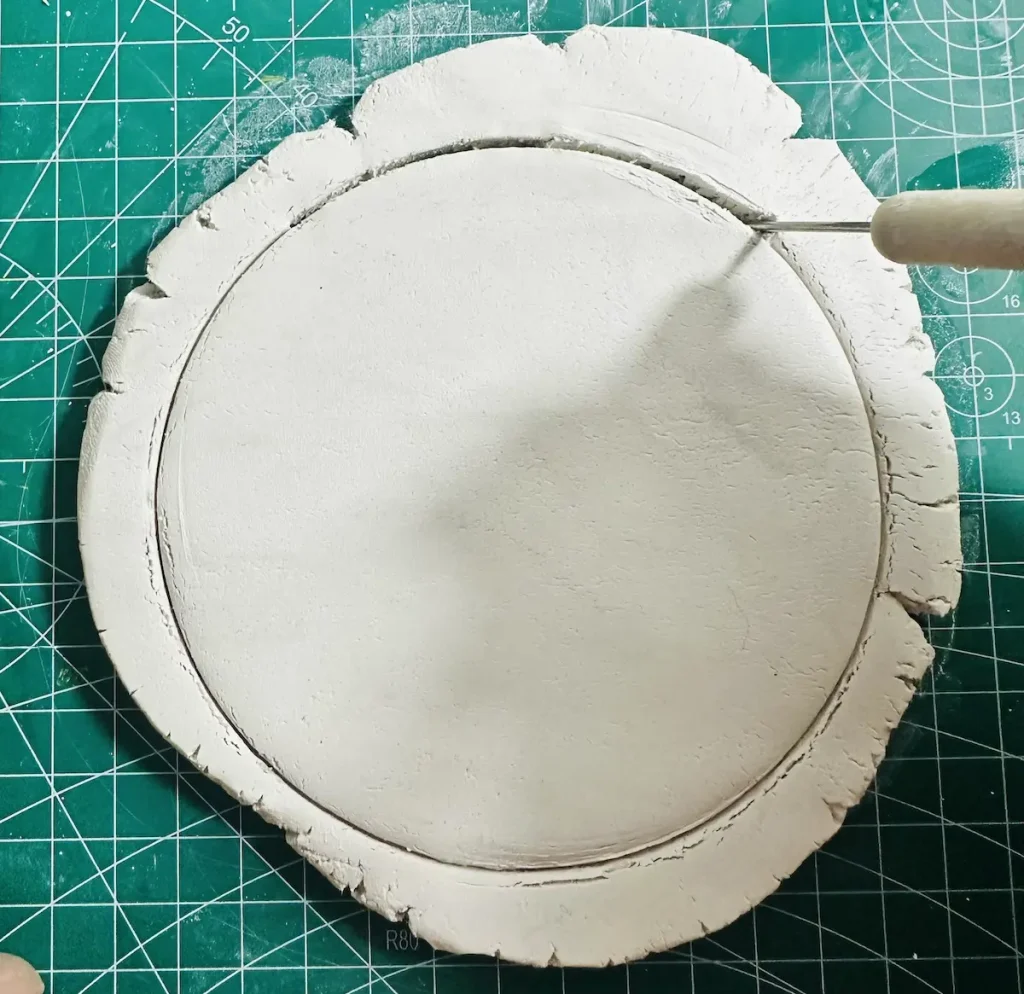
Removed the excess clay around and here you go, A perfect round shapaed tray base. Simple as that!
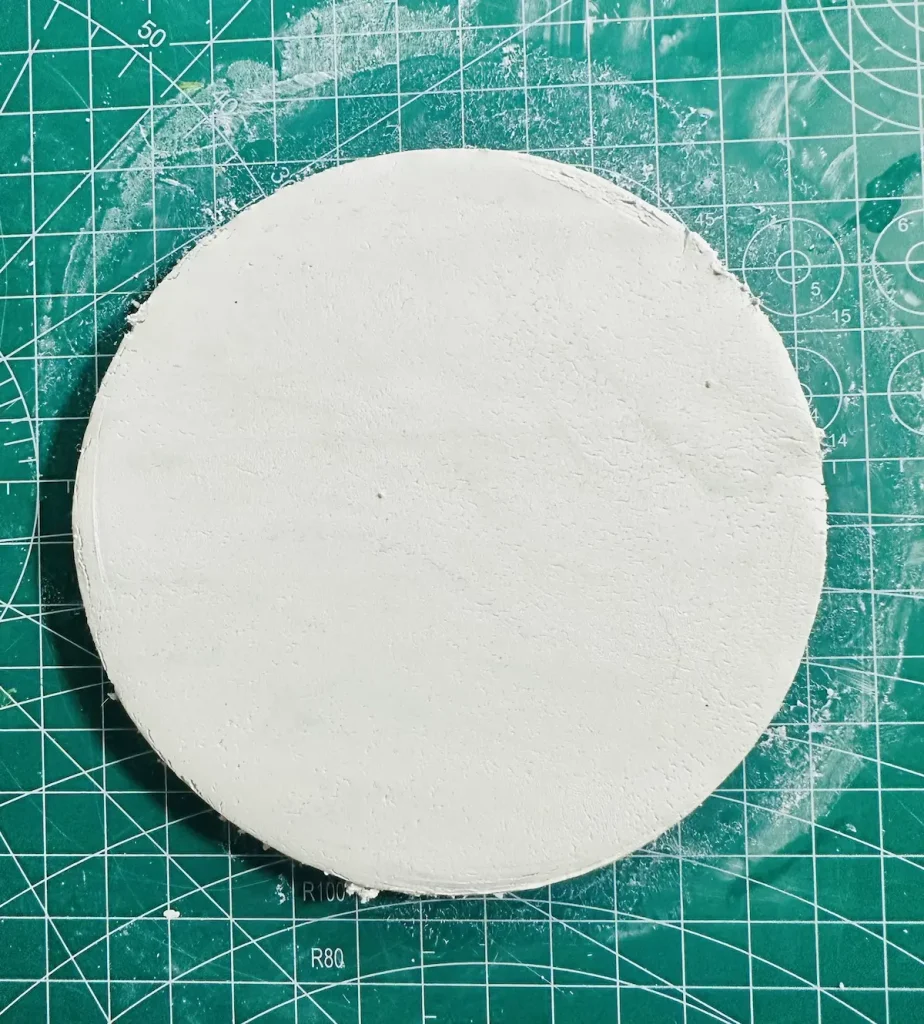
Smooth the surface with a little bit of water.
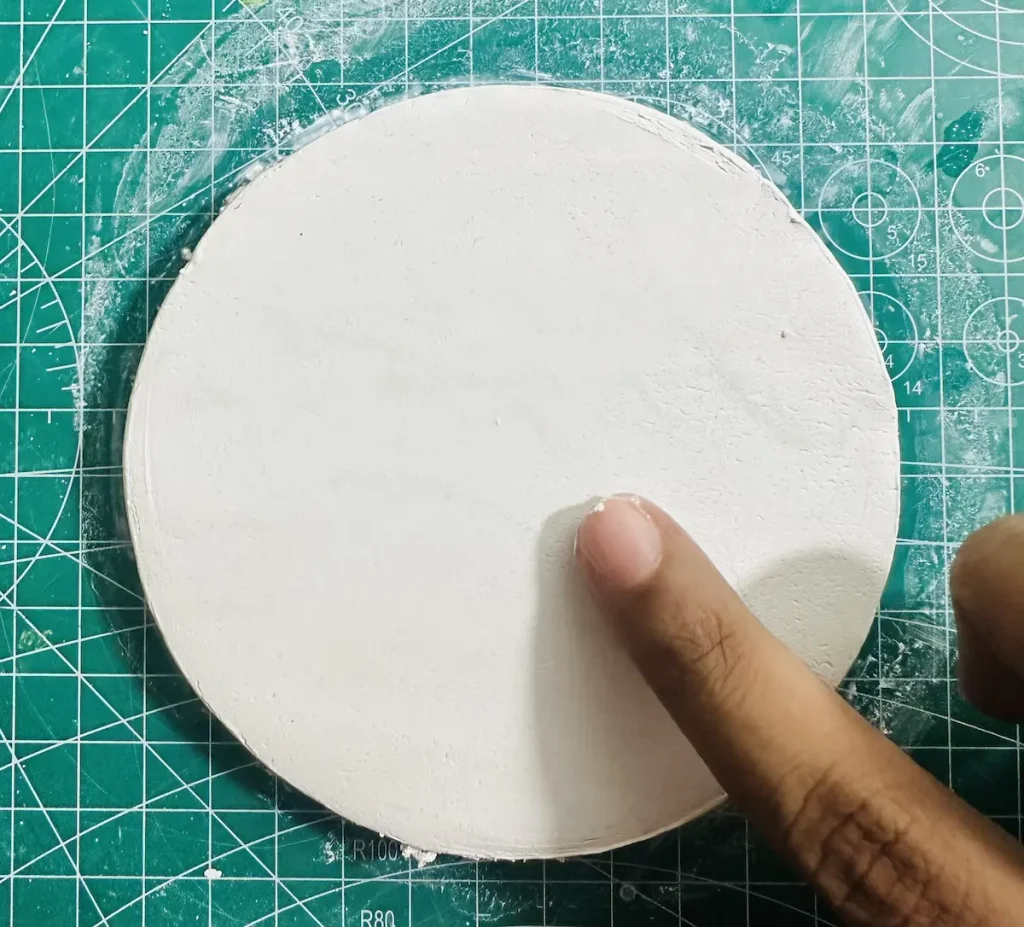
Step 4: Shaping the base and scooping the segments
Instead of making the tray rim and attaching it around the base to make the tray, I thought to try something new.
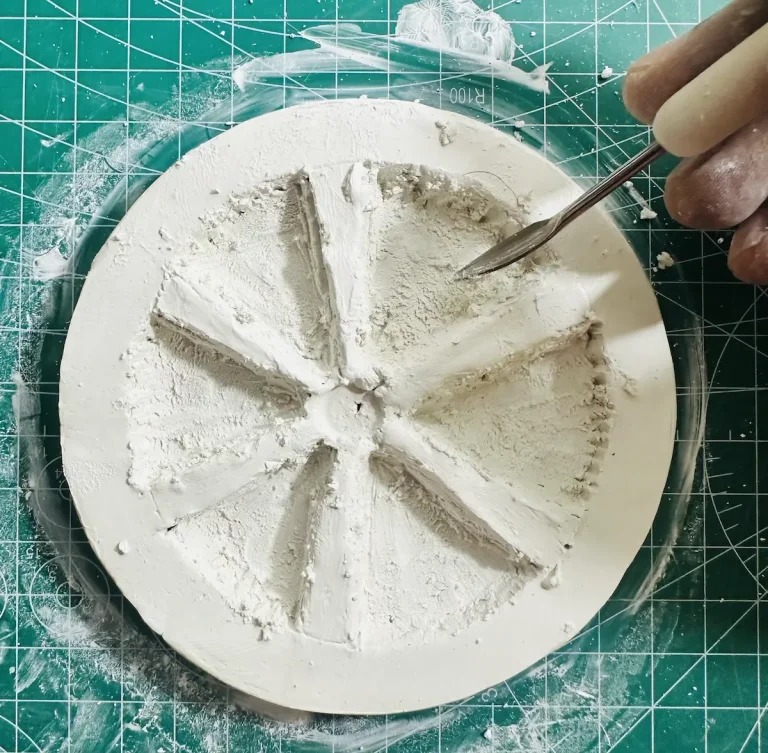
I took a clay sculpting tool and scooped out the clay to form the distinct orange dividers. You are free to use a yoghurt spoon or small spoon with a toothpick or anything small in your house that you can use for hollowing out the clay.
This is what I told you earlier that, I want to give this a 3D look.
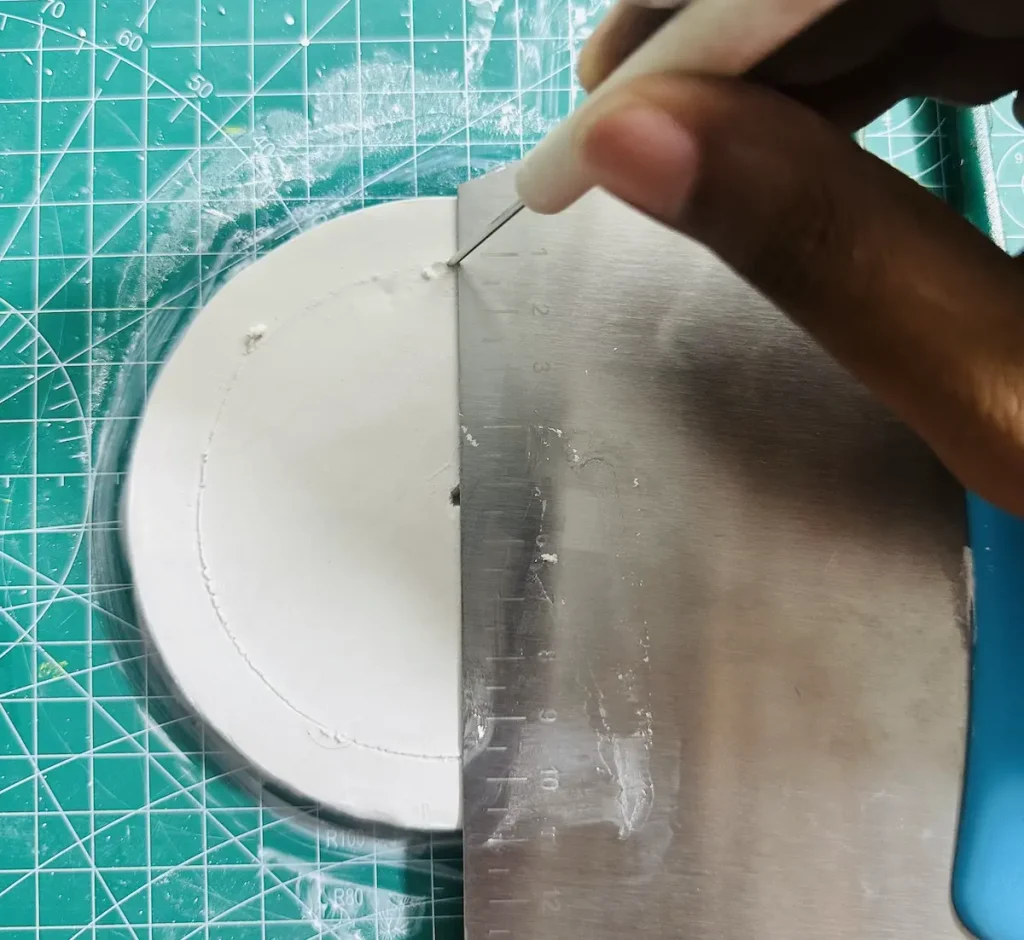
Make sure all the dividers are almost equal in size. You can use a ruler for that. I traced and mapped spots before scooping the clay out for distinct orange dividers. I made 6 dividers.
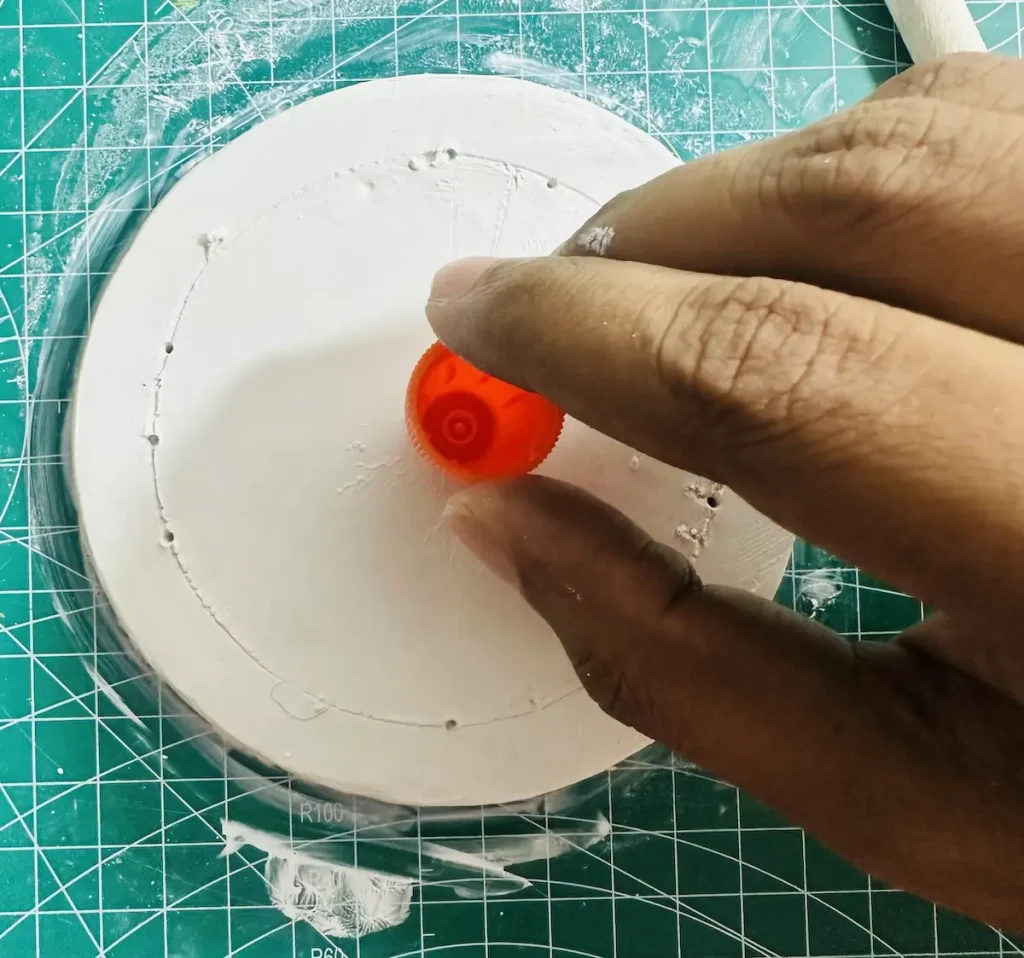
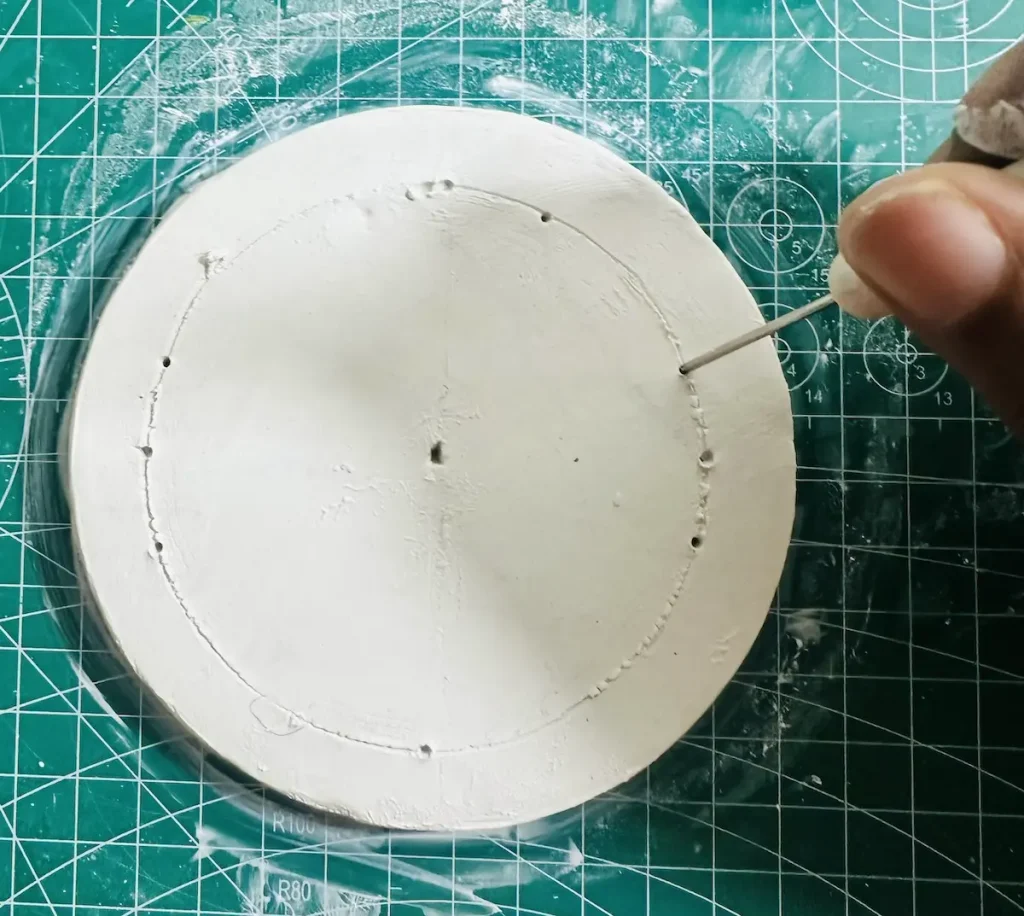
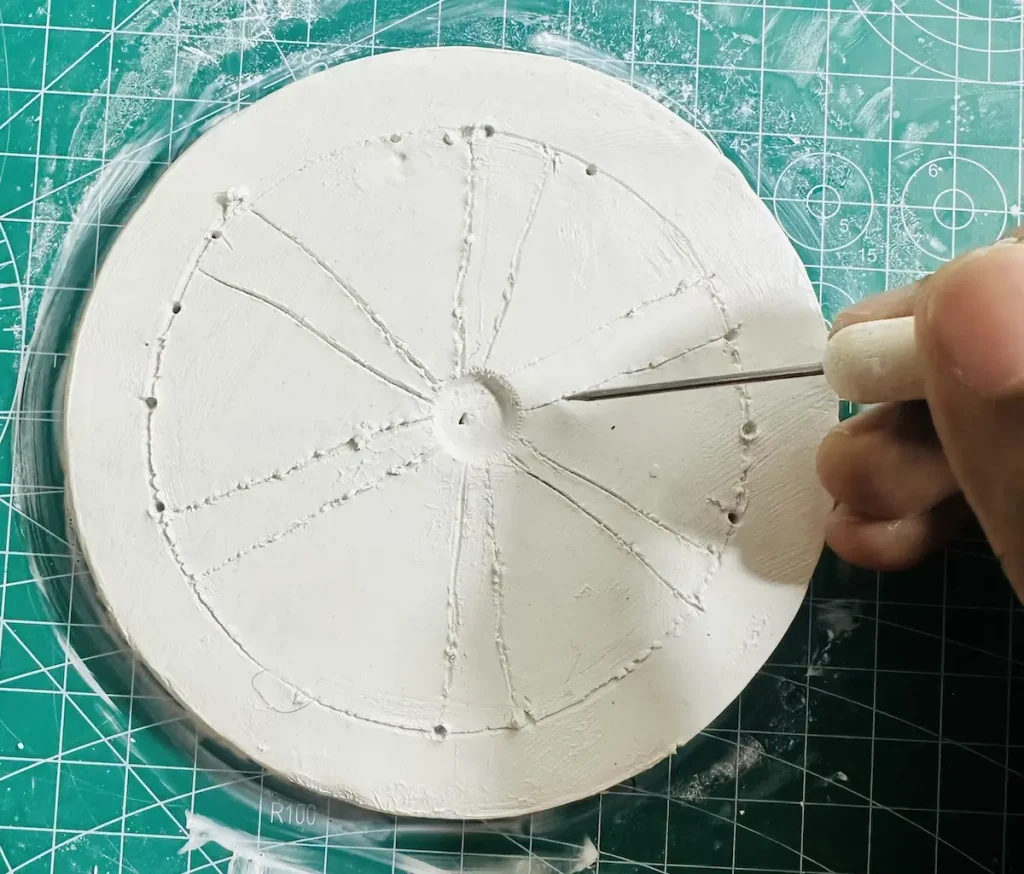
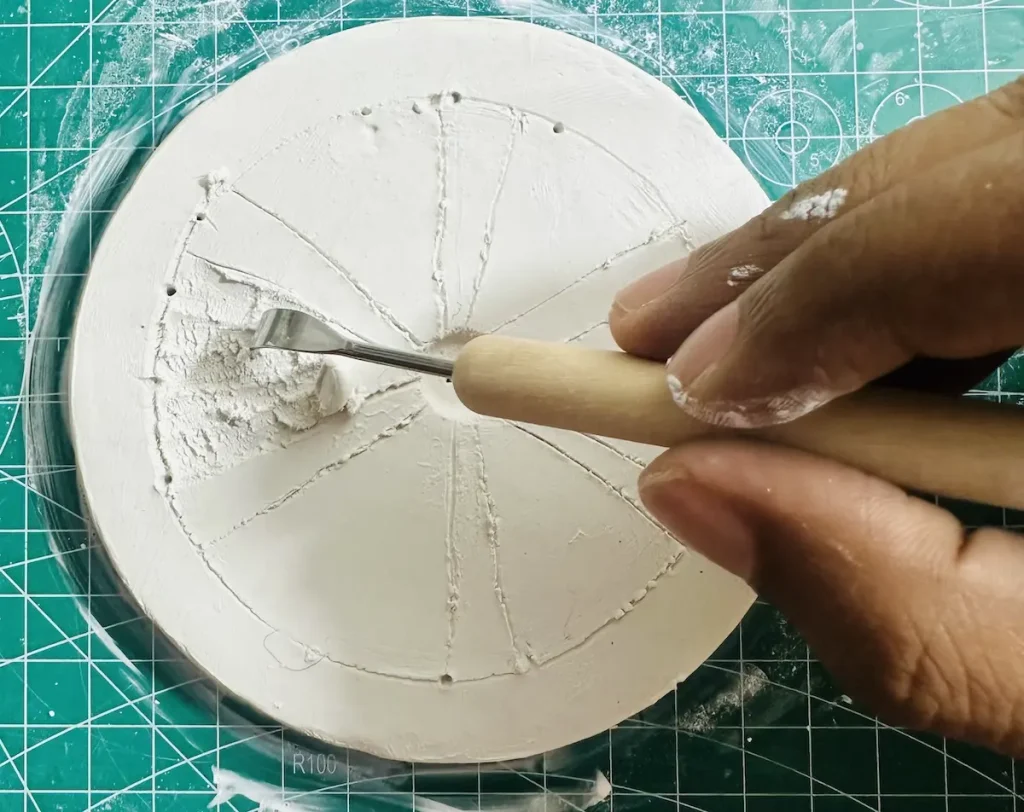
This technique made the tray more realistic and unique compared to other orange trinket tray projects on the internet.
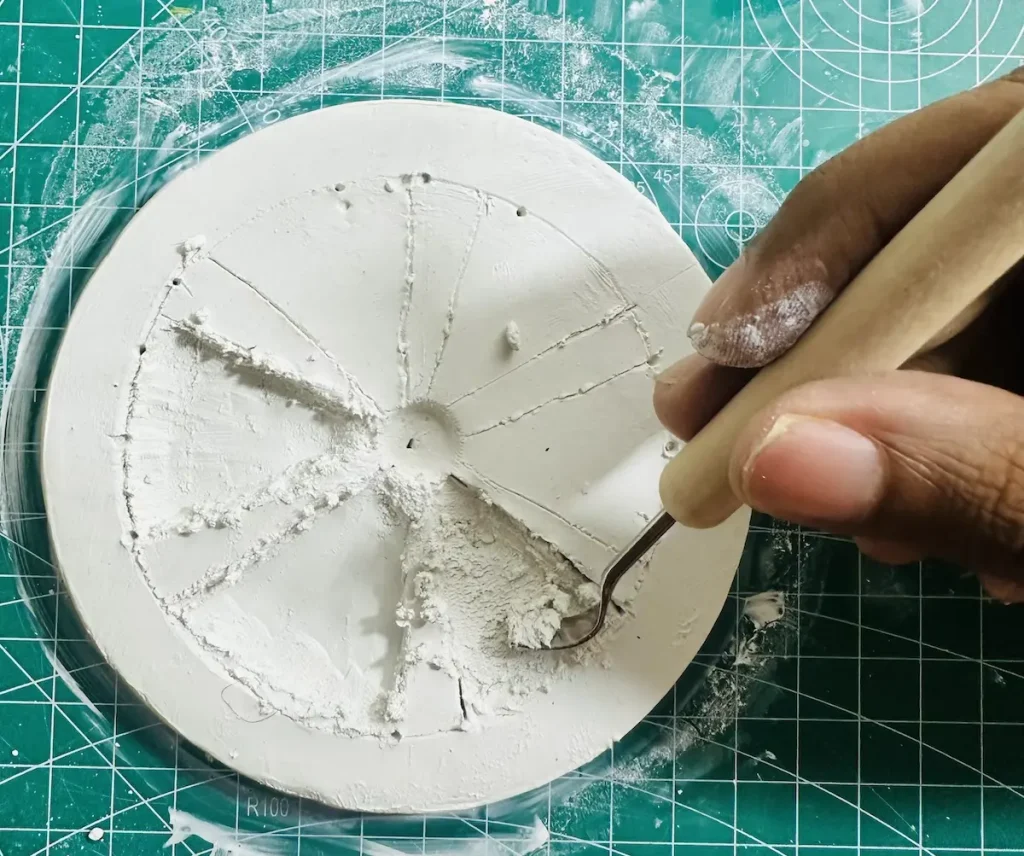
Make sure not to scoop too deep because you might accidentally hit the bottom and damage the tray. Plus, if the bottom is too thin it might crack and tear when you try to lift the tray up or when drying due to shrinkage.
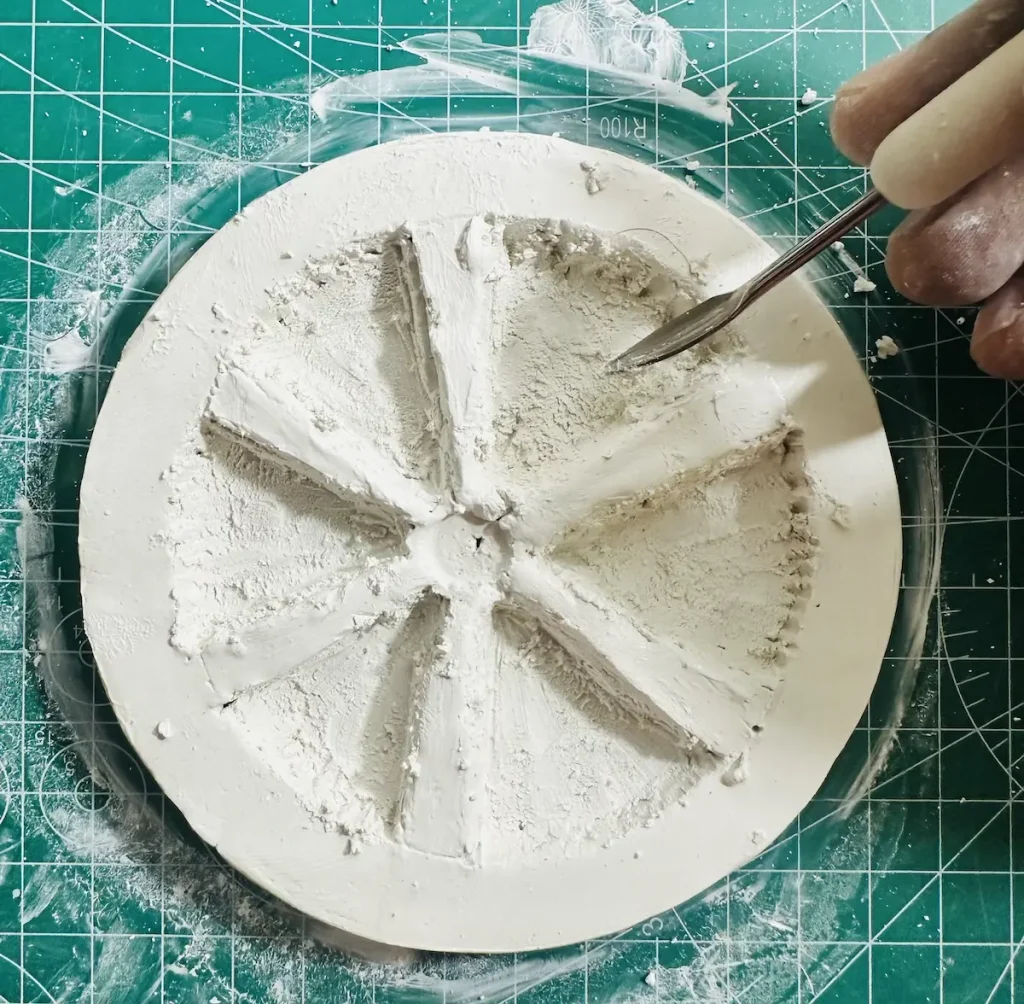
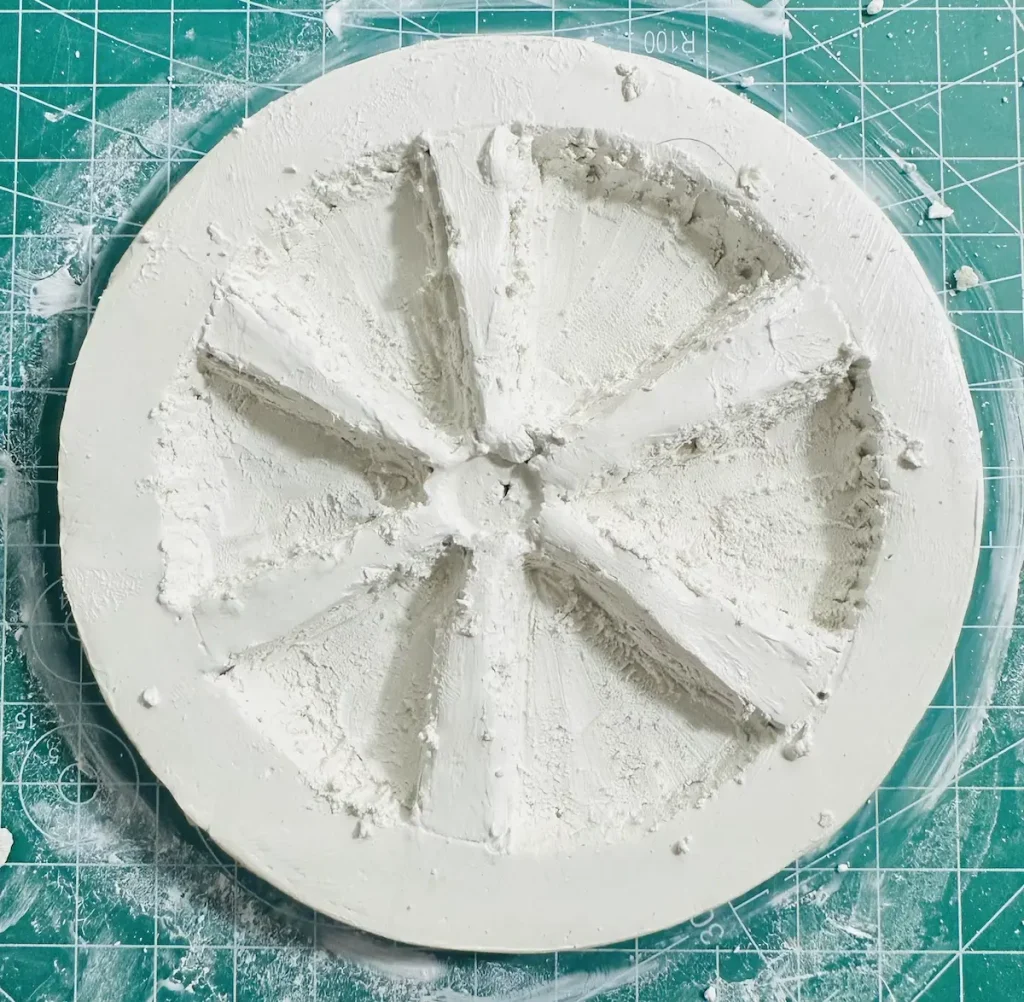
Patience is the secret to make distinct orange dividers.
Finally, smooth the inside of the carved wells using your fingers to give them a more polished look with no damp air dry clay particles inside. Smoothing is a must to get a nicer and cleaner look when painting. 🧼
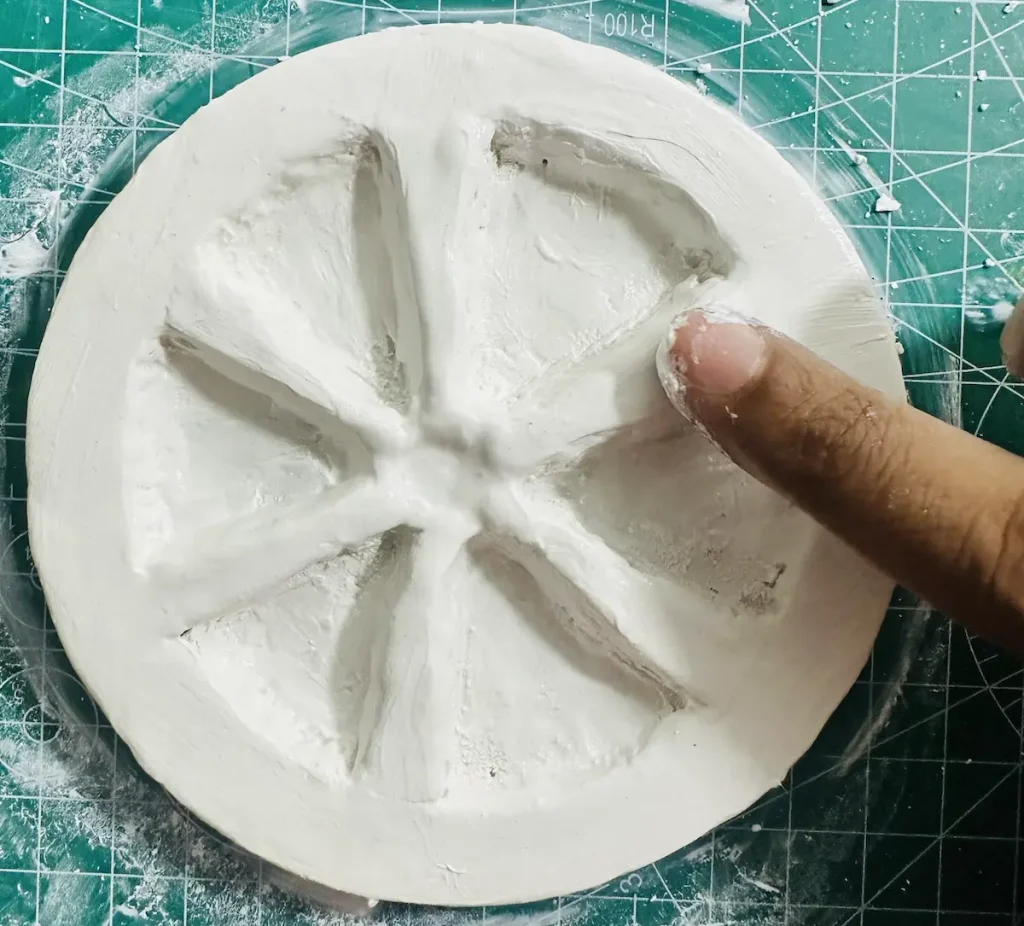
Step 5: Make the orange seeds
- Take 6 tiny pieces of air dry clay.
- Apply a small water drop.
- Roll them and give a teardrop shape for each.
- Mark the spots they will attach on the tray base in the future using a tool or toothpick.
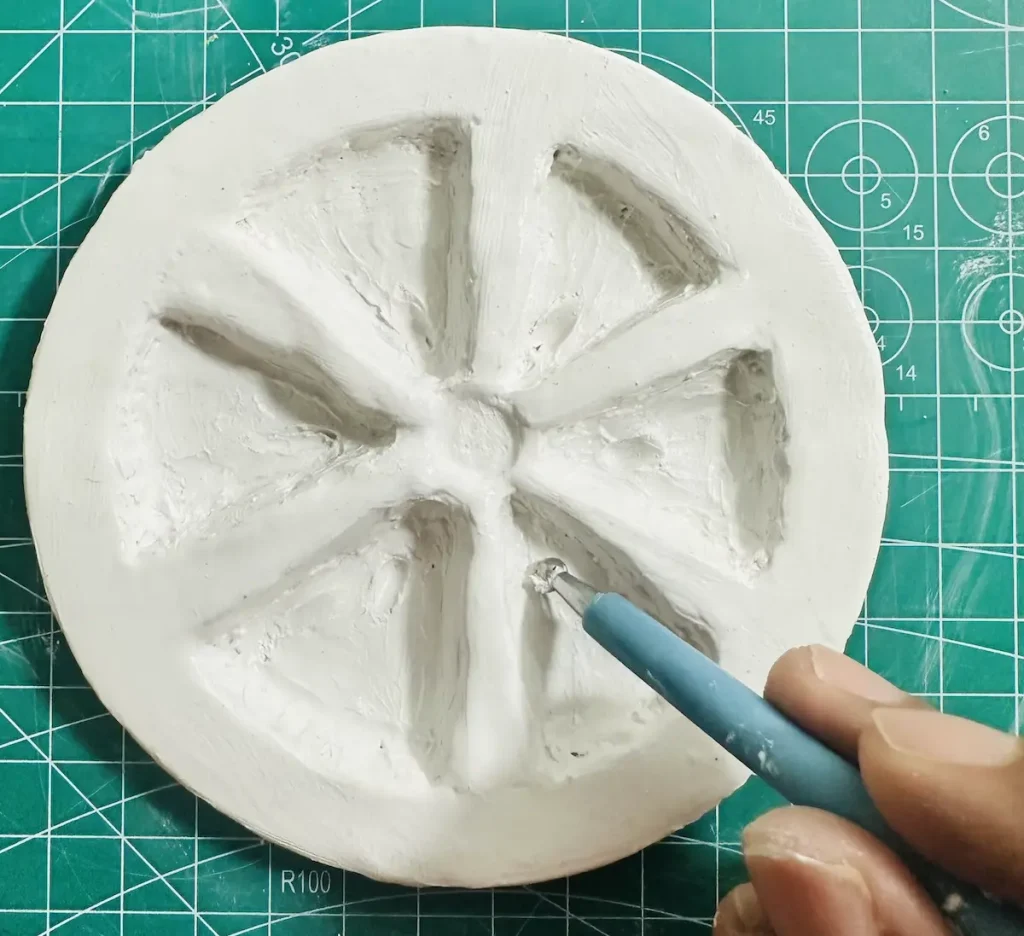
I didn’t want to carve the orange tray for seeds and paint those carved locations to display them as seeds.
I wanted to make seeds look popped out from the tray base. In order to do that, you need to make them separately, paint them and glue them to the base once all are fully dried.
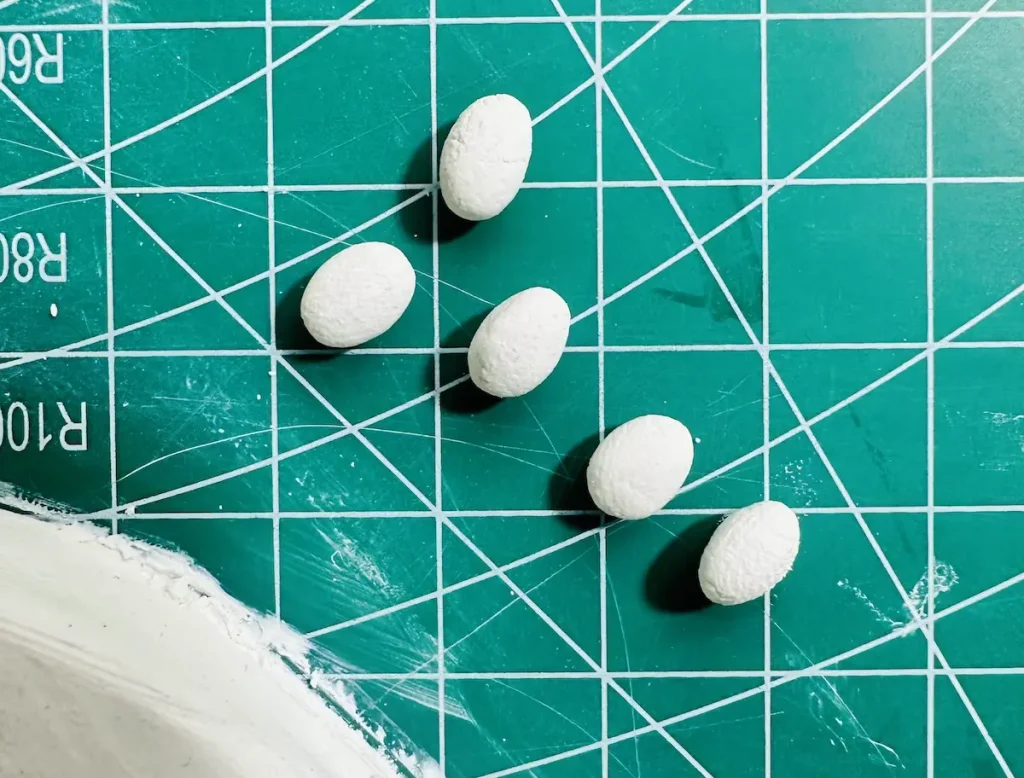
I made 6 seeds, one for each orange divider I scooped earlier.
Step 6: Let the tray and seeds dry
Let the orange trinket tray and seeds dry for 2 days in a well ventilated, cool area. Don’t start painting over wet clay because paint will peel off and occur cracks on the clay due to high moisture content.
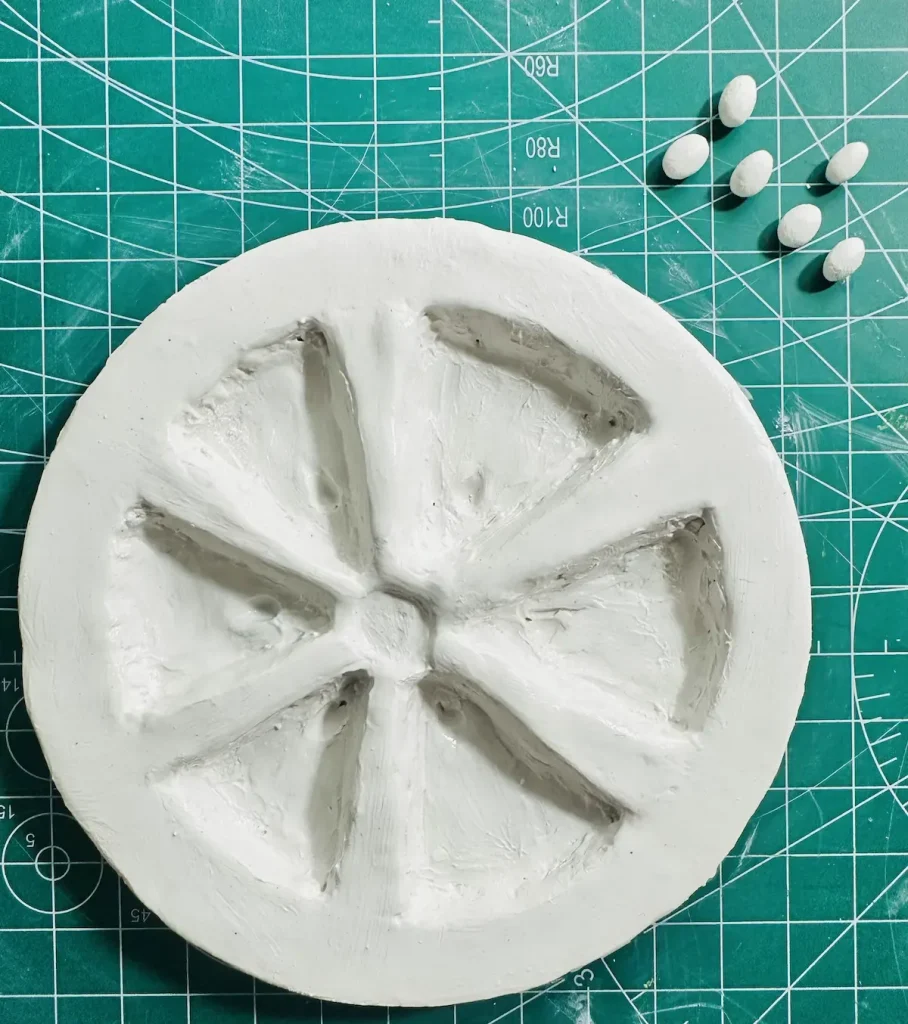
After 2 days, check the surface of the tray. If you see grey patches, let it dry for more days. If the surface is completely white, you can start painting it. 🎨
Drying time depends on the clay thickness and the humidity in your area so be patience. You dont want to ruin the project you made for hours.
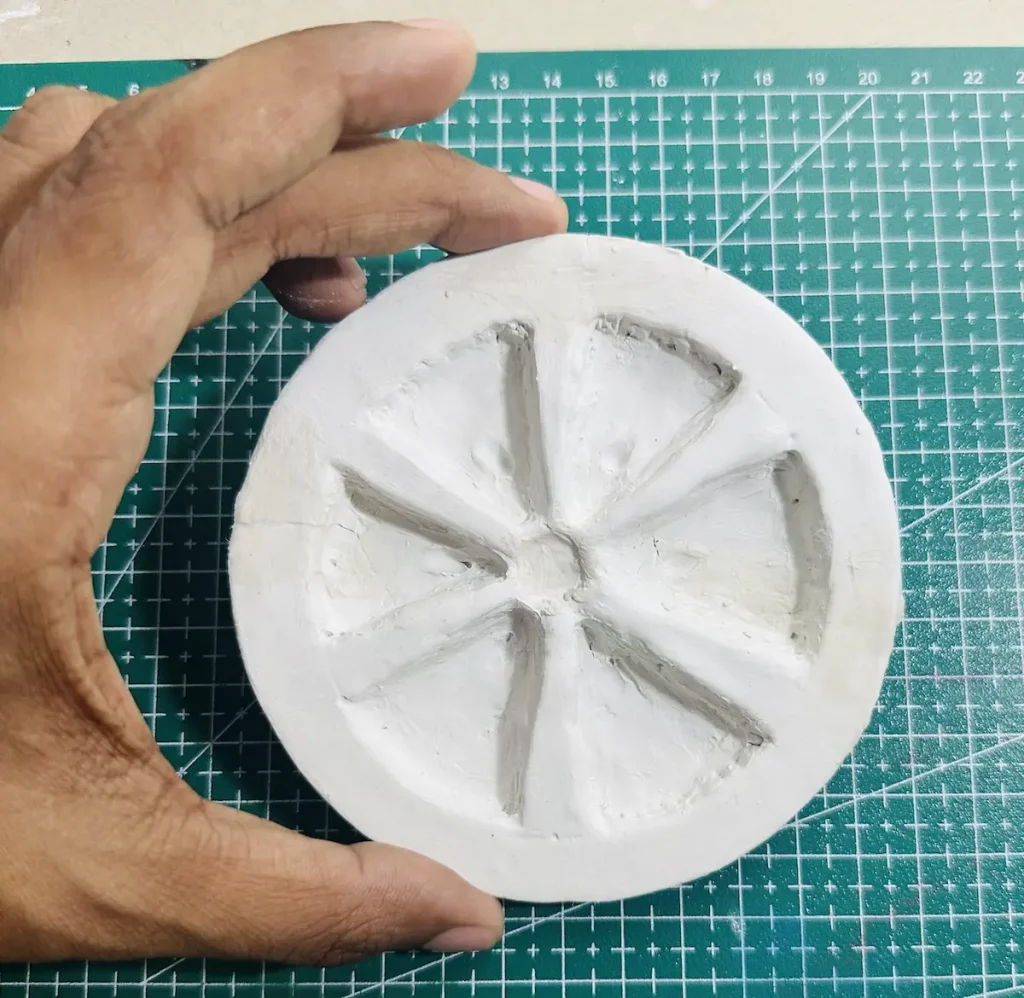
Congratulations friends! Now you exactly know how to make the orange trinket tray with air dry clay. Let’s give it a life by painting it.
Step 7: Paint the tray
Acrylic paint is the best paint for air dry clay projects because they are easy to use, dry faster, comes in vivid colors, provides a water resistant coating, and a glossy finish.
You can use acrylic paint with a little bit of water or no water at all.
I didn’t have orange color, so I made it by mixing crimson, yellow, and white acrylics. Likewise, you can mix and color with any color you want. Not all oranges have the same color; some are light and some are dark. 🧪
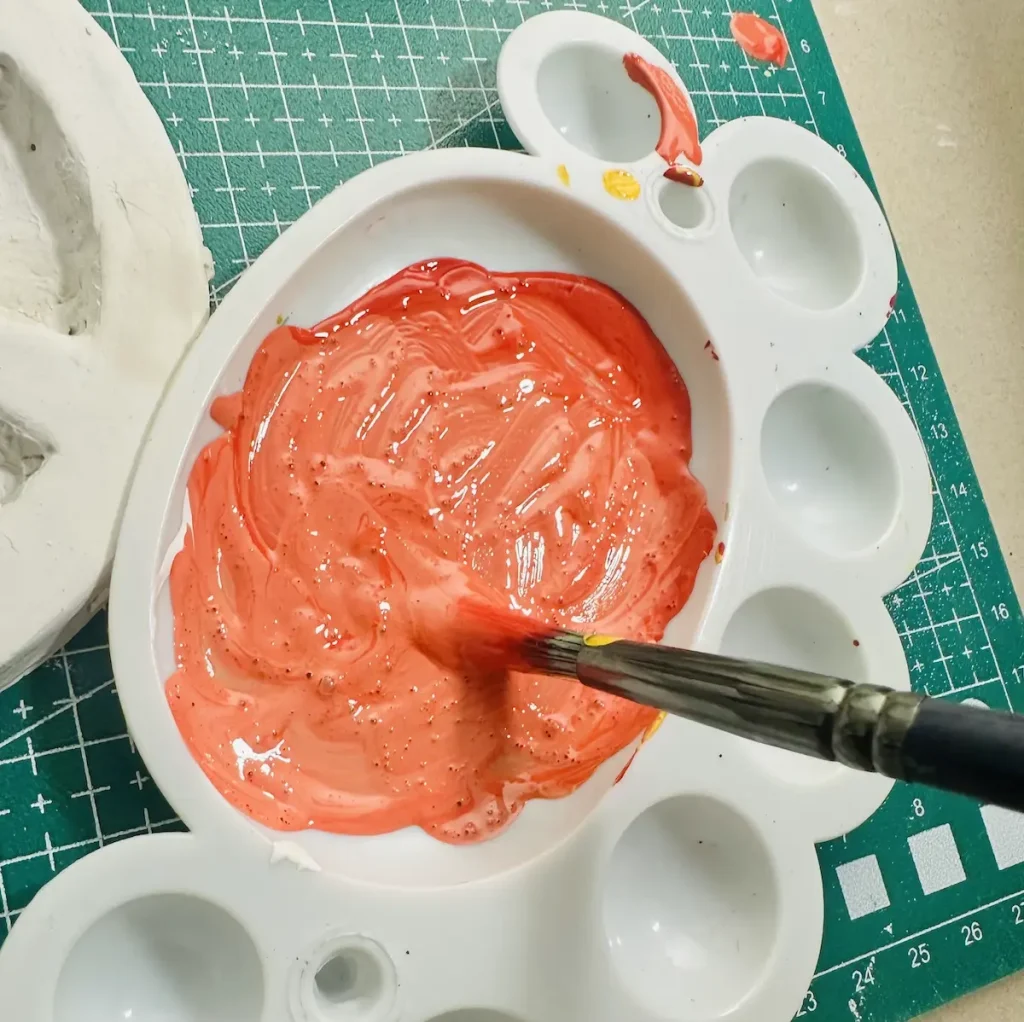
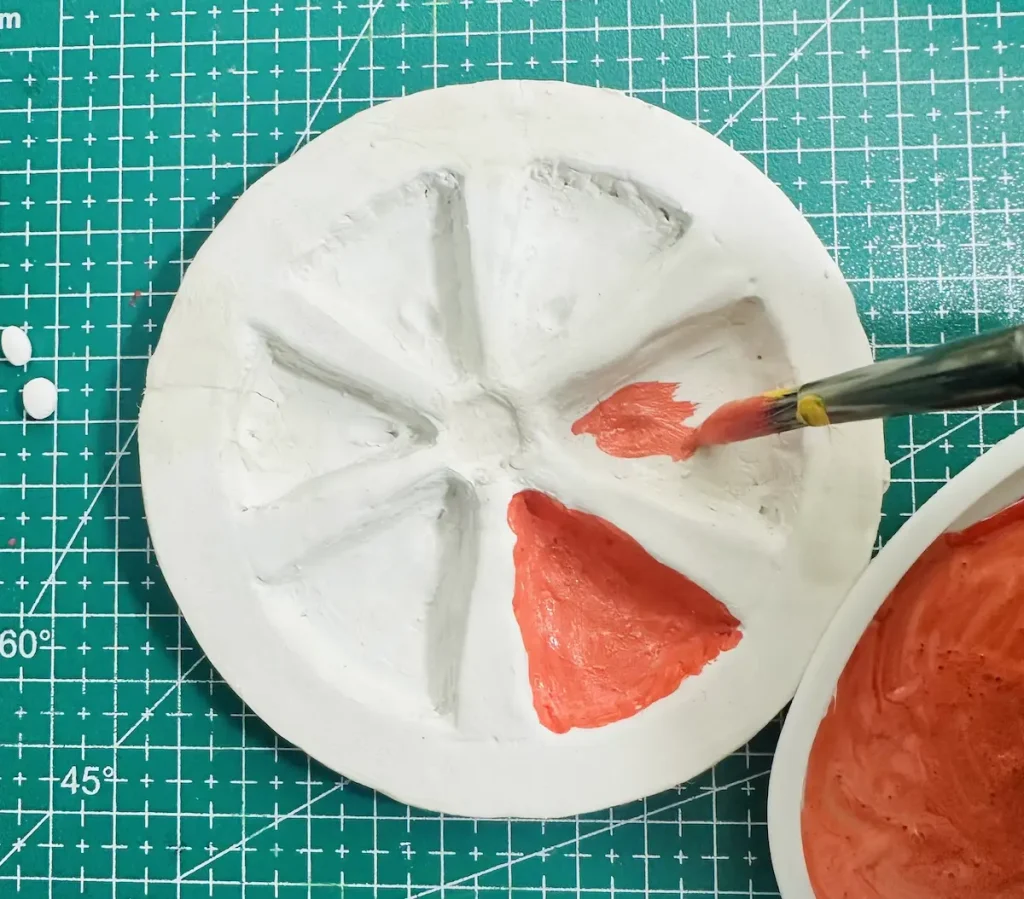
Start painting from the carved wells and their inside walls. Then paint the tray rim and finally around the edge because it makes it easier to hold the tray while painting without leaving fingerprints.
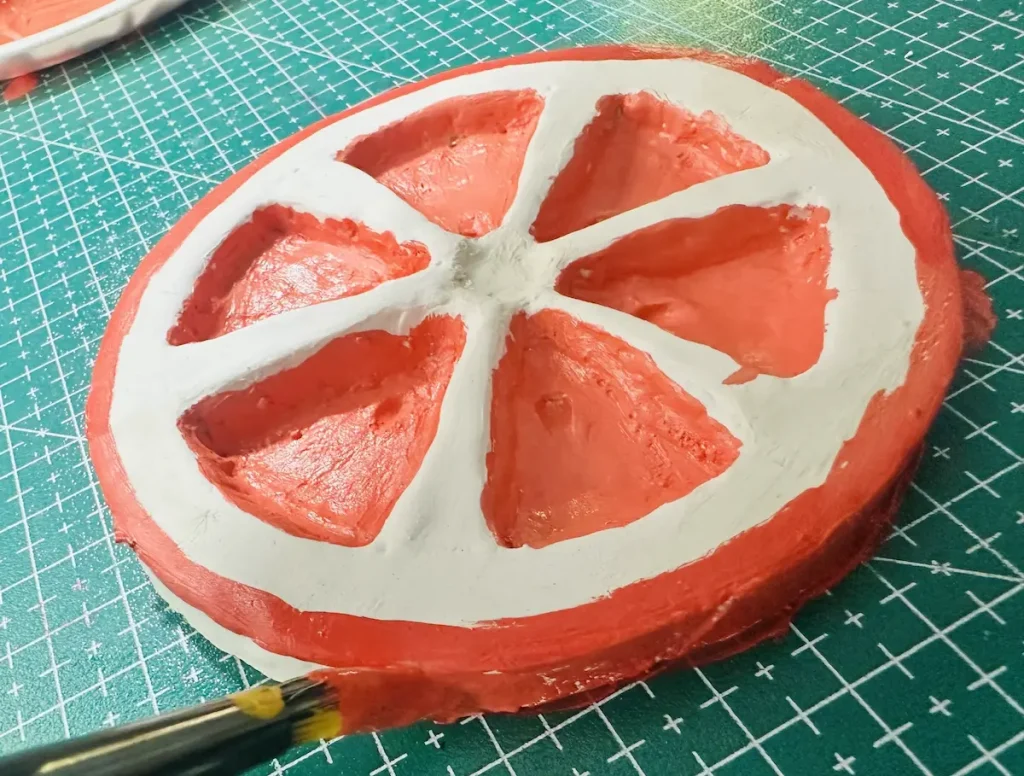
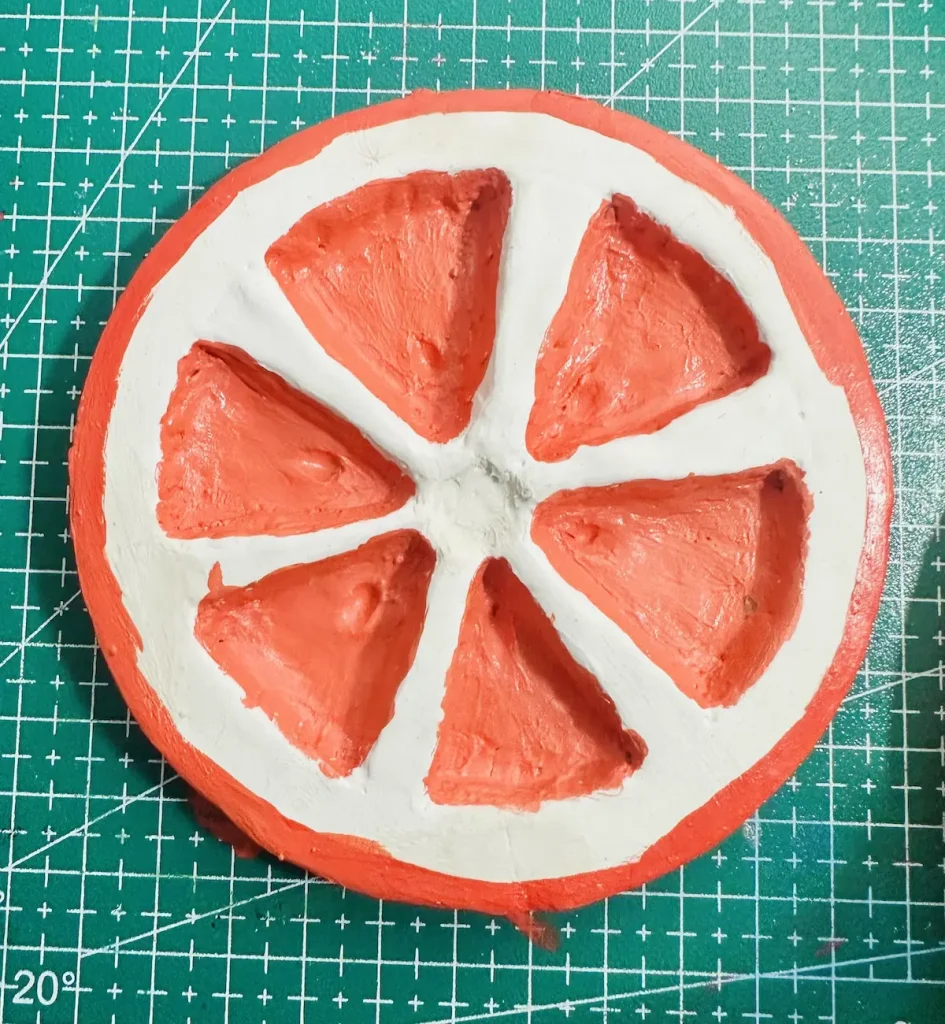
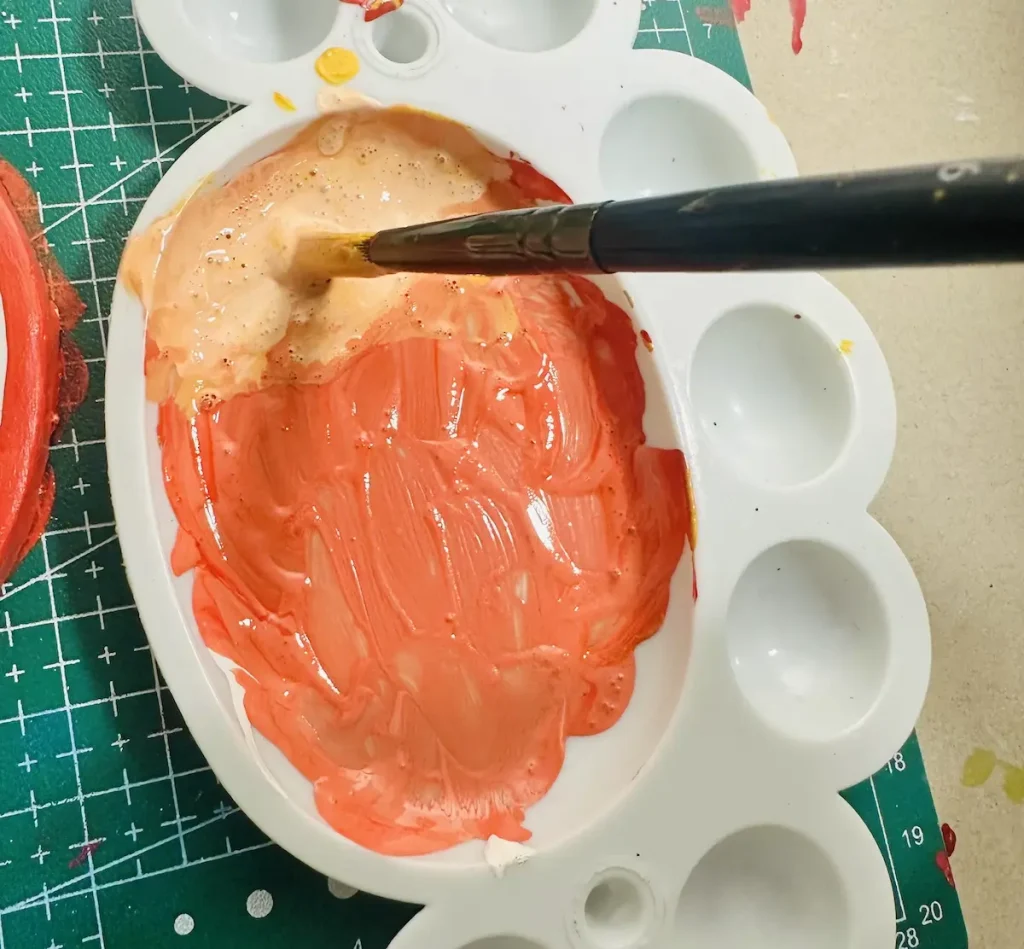
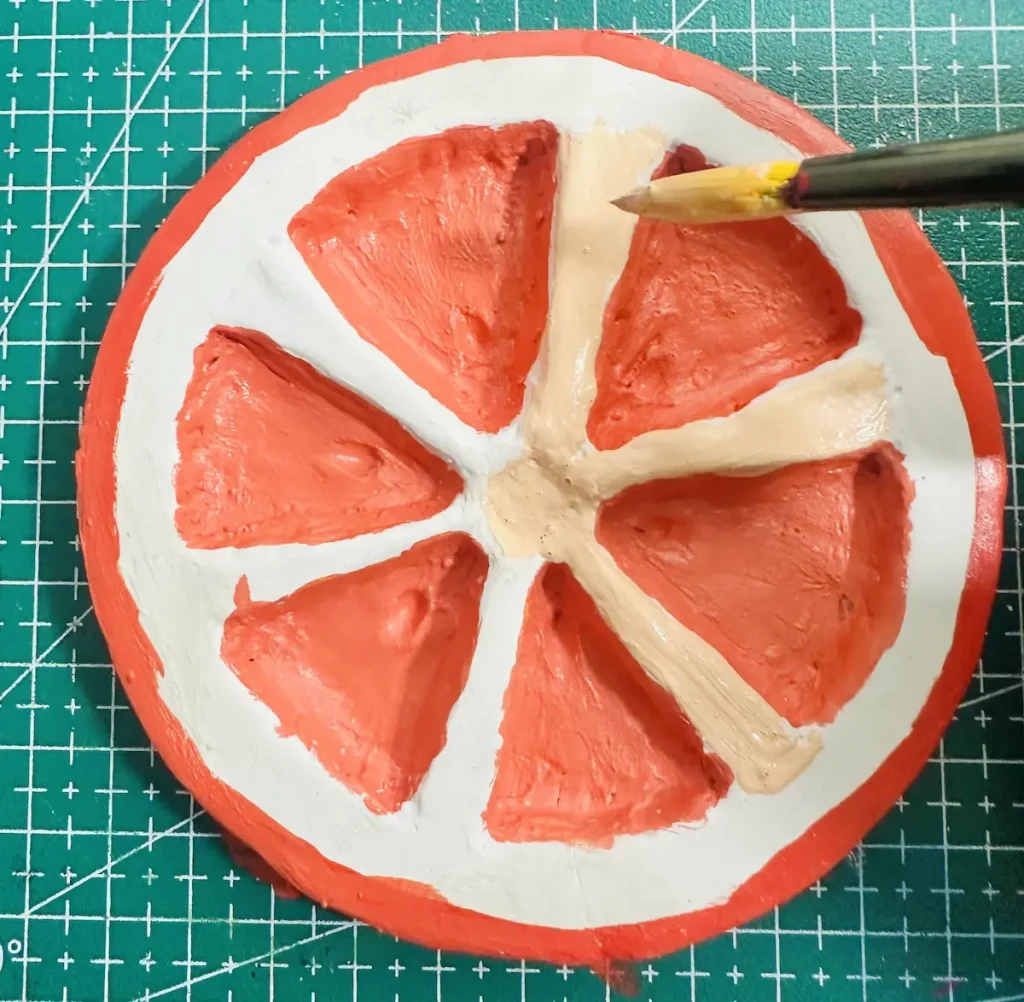
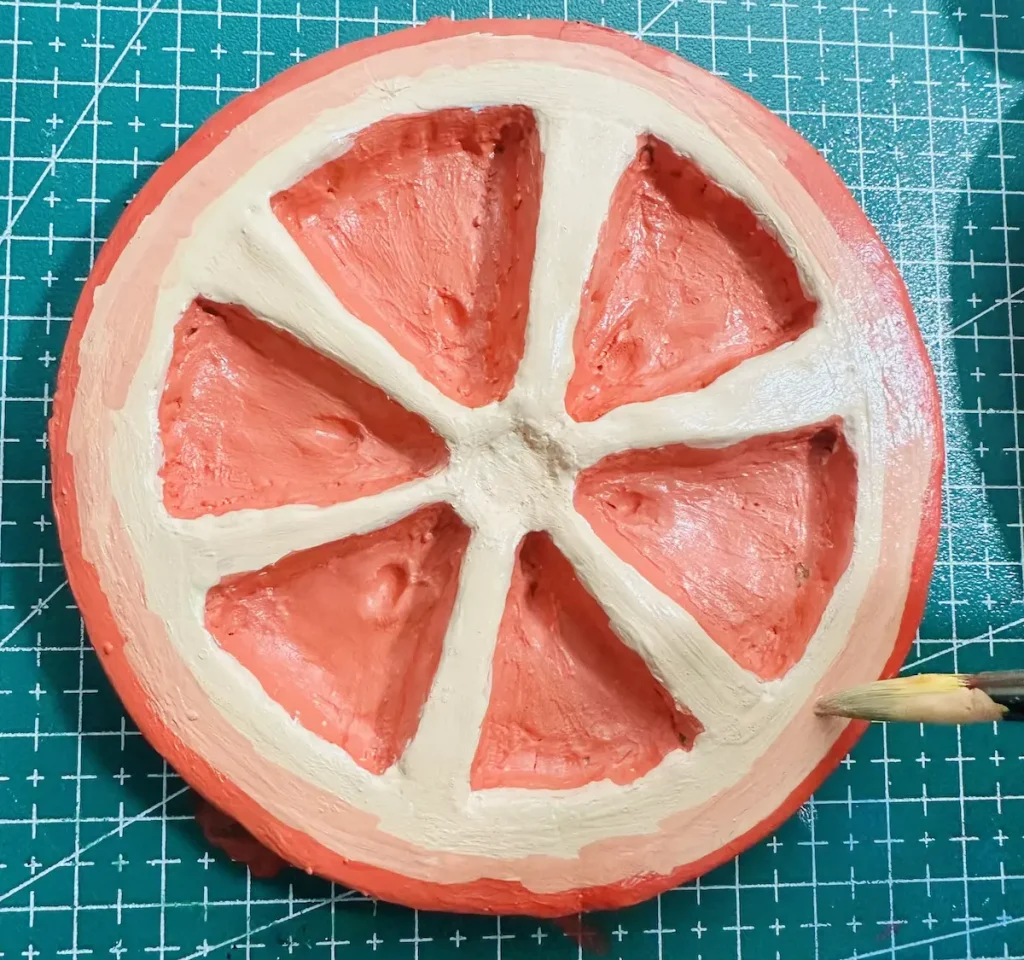
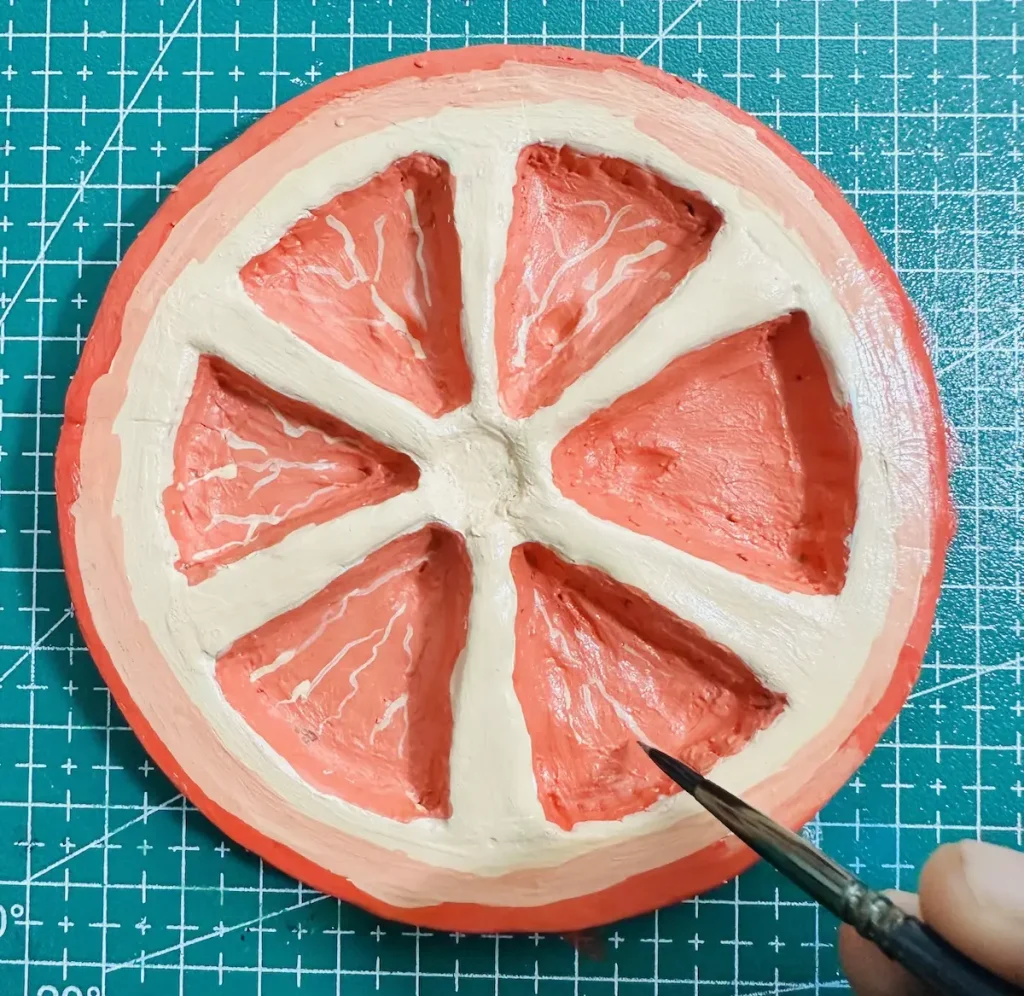
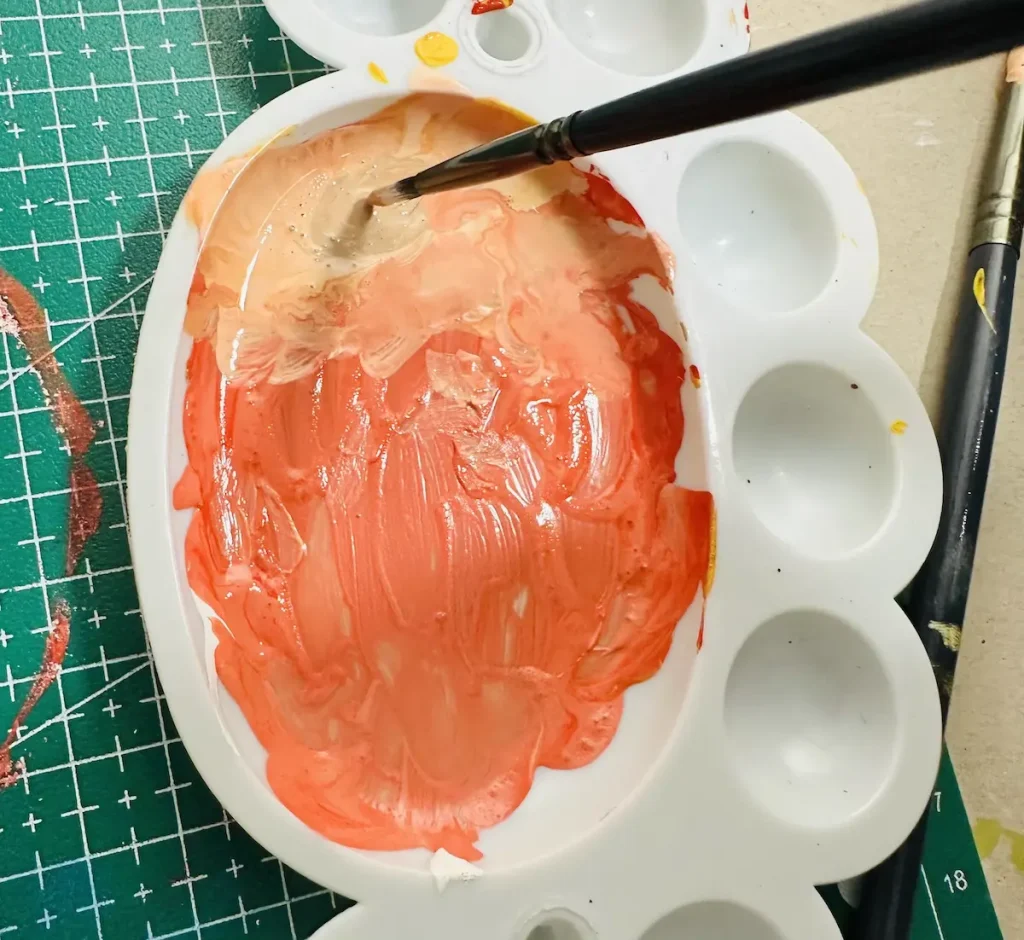
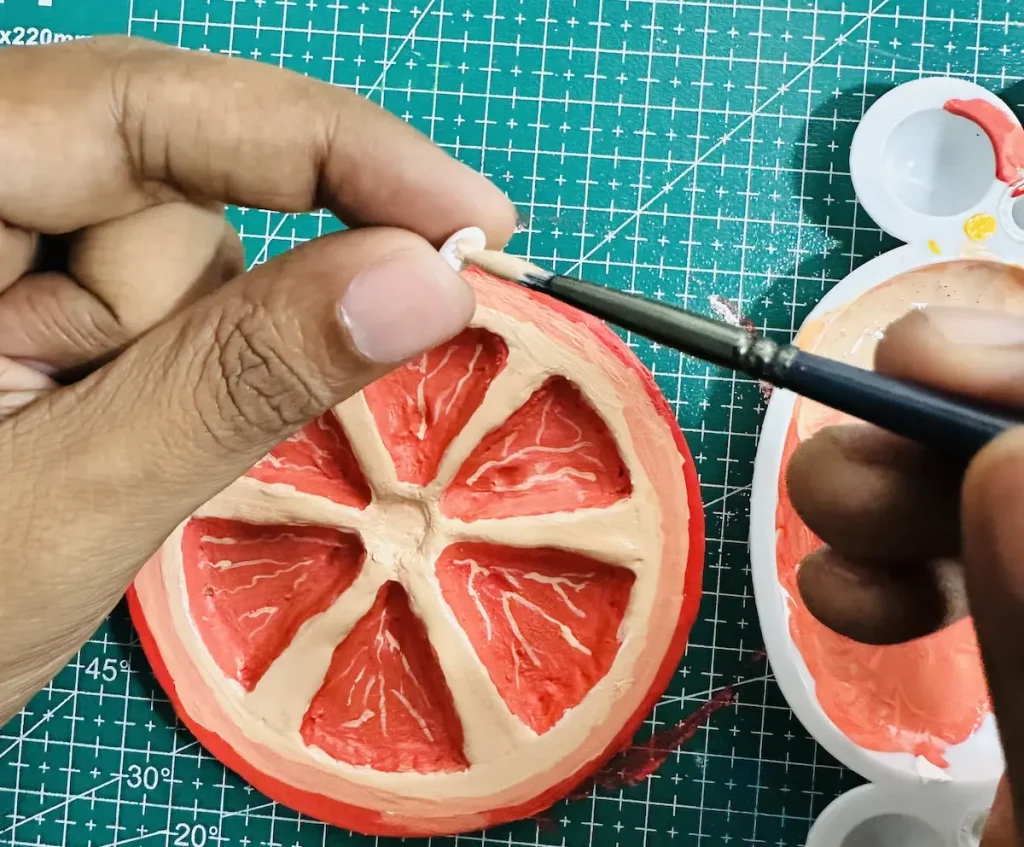
Apply thin and even coats of acrylic paint in one direction to avoid forming bubbles and tacky spots.
Let each acrylic paint coat dry for one hour, and after the final coat, let the tray dry for 2 hours in a well-ventilated area before sealing. 🌬️
Step 8: Attach orange seeds
Once the paint is fully dried, attach the orange seeds you made using PVA glue.
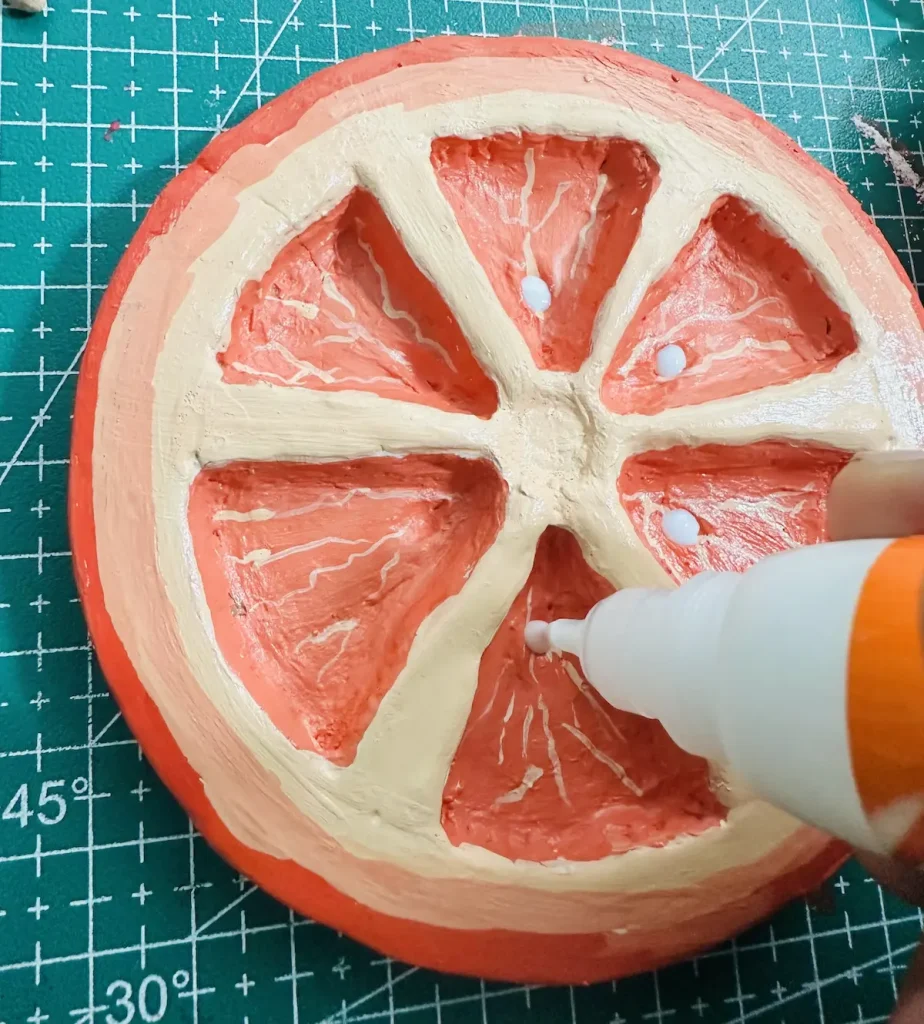
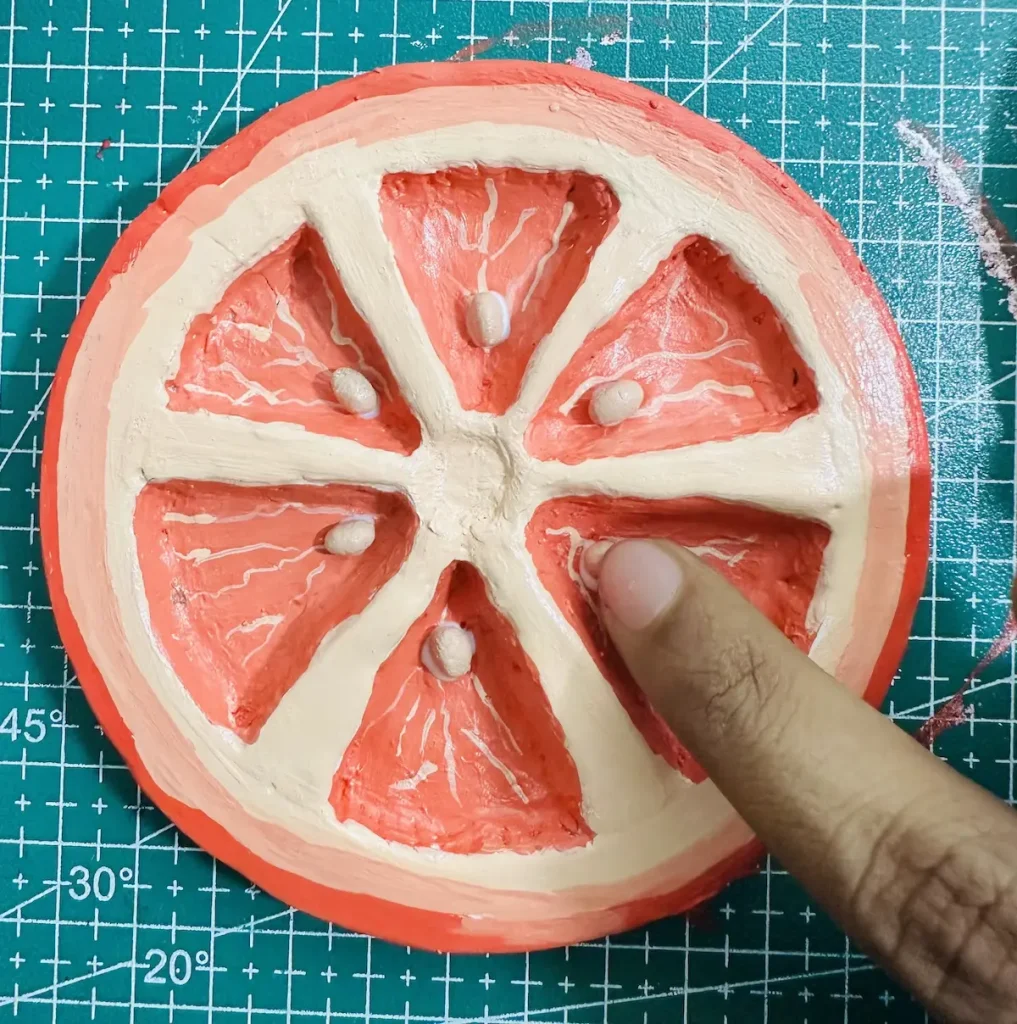
Apply a drop of PVA glue to each area you marked on the tray base and gently press each seed over them.
Let them attach fully before you start sealing the project.
Step 9: Seal the orange trinket tray
Sealing your air dry clay project is a must. Otherwise, moisture will get inside and weaken the clay.
Once the tray is fully dried, seal it with a proper sealer to protect it from moisture, dust and to give a nice appeal.
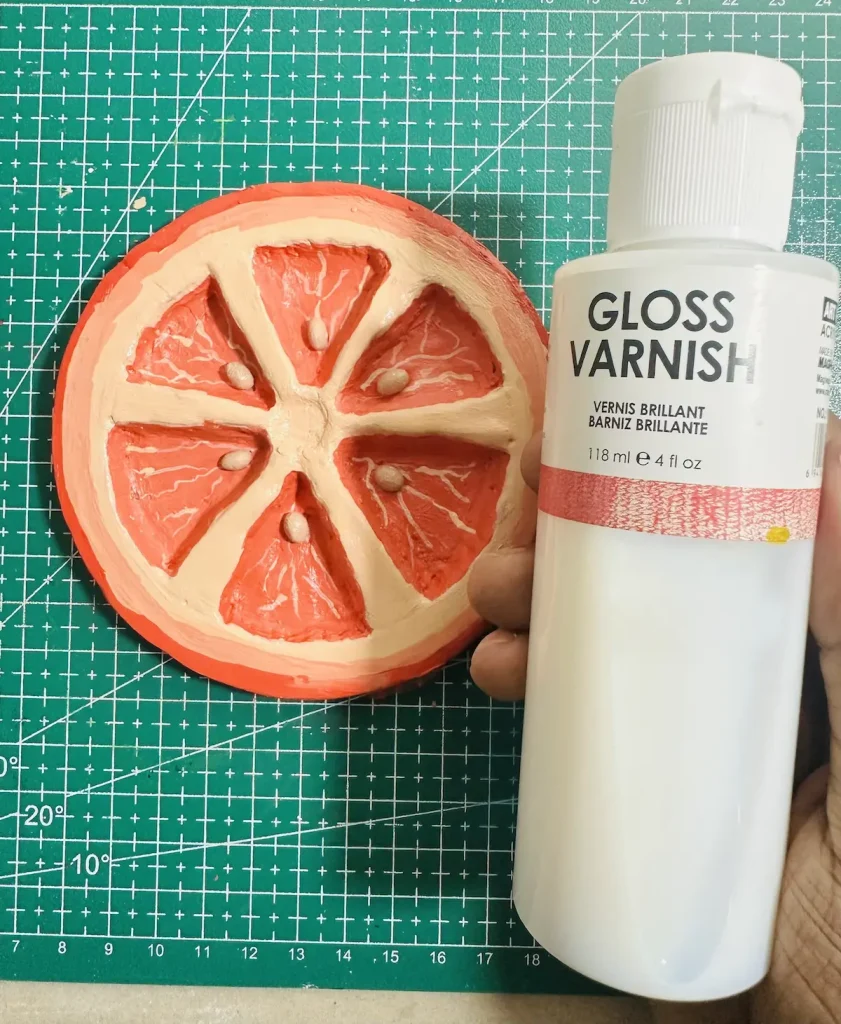
I sealed the orange trinket tray with gloss varnish. It offers long term protection from moisture and gives a glossy, ceramic-like finish.
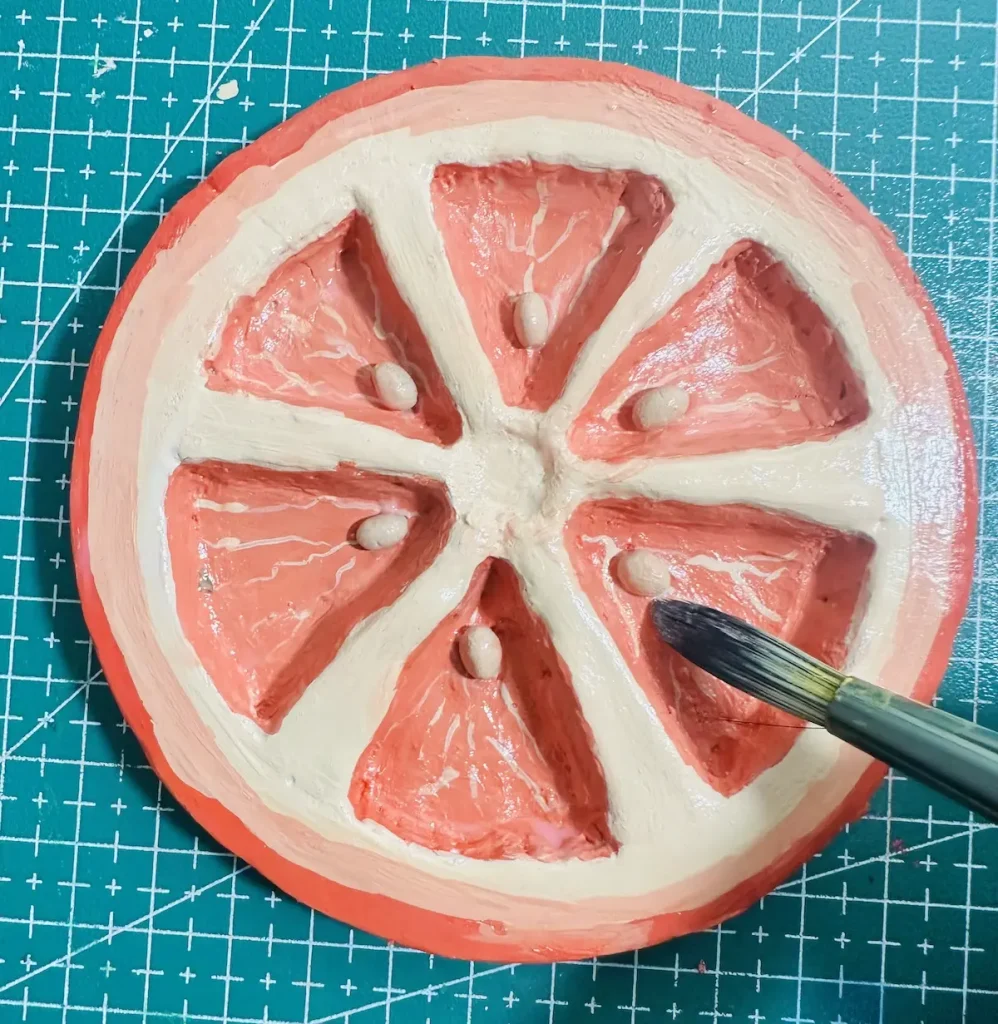
Apply 2-3 thin and even coats of gloss varnish in one direction for a proper finish.
After sealing the whole surface, let the tray dry and cure in a well ventilated area for 24 hours. Gloss varnish dries in the air.
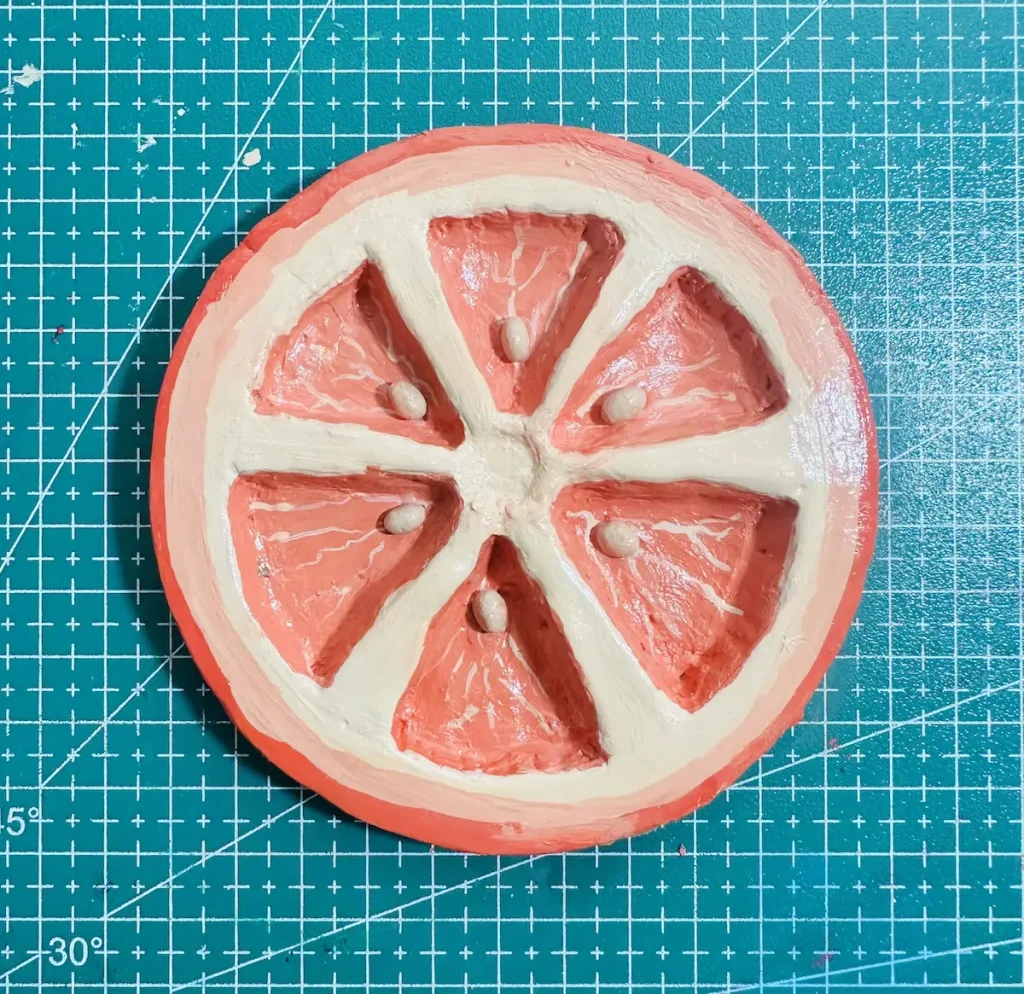
Alternatively, you can use UV resin, polyurethane, or epoxy resin for a glassy like finish.
But I find gloss varnish is the easiest one.
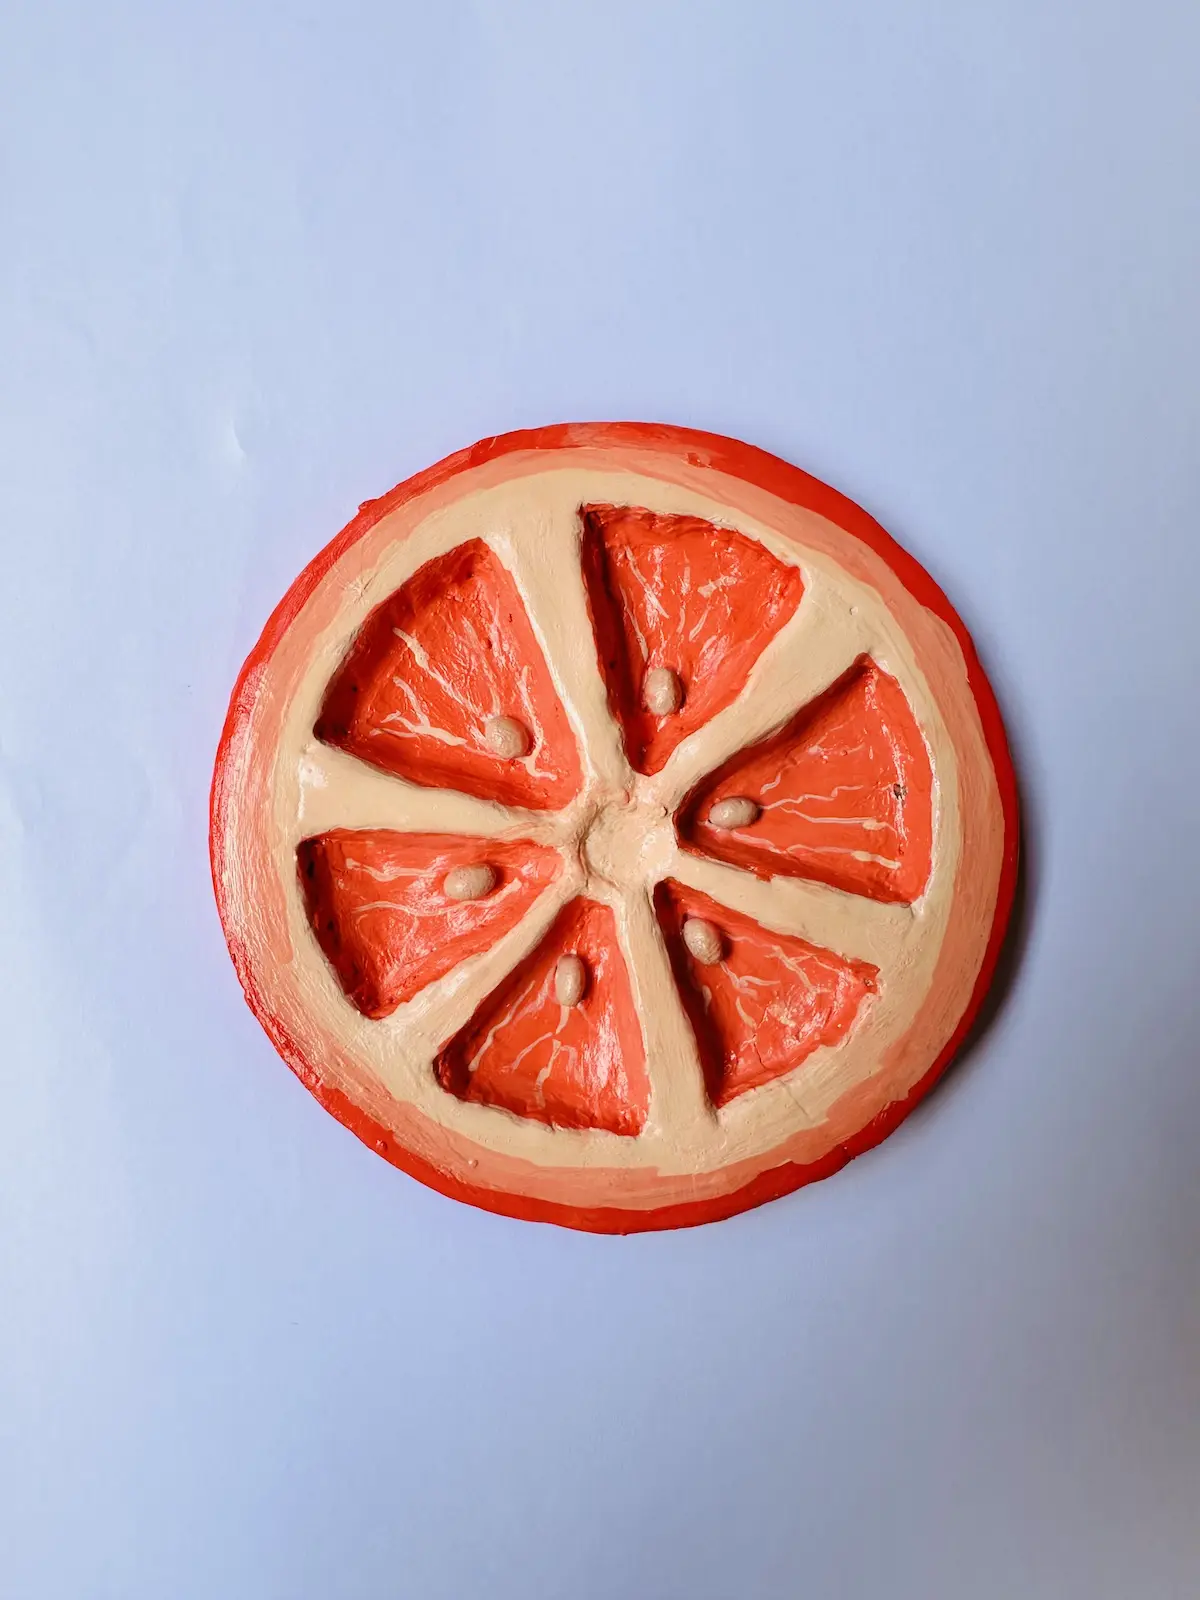
Well done, friends! Now you have successfully completed the orange trinket tray project with air dry clay.
You can use it to hold rings, other jewelry and as a home decor item.
FAQ
Can you glue dry clay pieces together?
Yes, you can use PVA glue to attach dry air dry clay pieces together just like I attached clay orange seeds to tray base.
How do you seal painted air dry clay?
Gloss varnish, UV resin, or epoxy resin is great for sealing air dry clay. Apply thin and even coats in one direction. 💎
Final thoughts
Now you know how to make a beautiful and cute orange trinket tray with air dry clay. Now it’s your time to make it.
I challenge you to try that hollow out method for making distinct orange dividers which makes your tray more interesting and unique.
If you faced any trouble when making the project, leave a comment below. The clay community on this site will help you as best we can.
Be sure to tag @clayandmestudios in your orange trinket tray project. I sure love to see them when you do. I’ll see you next time with another cool project! Cheers! 🤟🏾
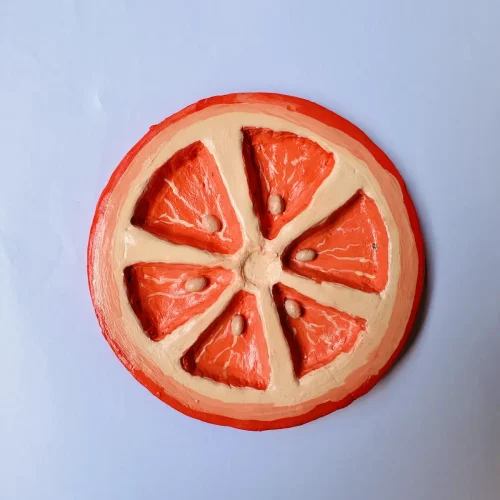
DIY Air Dry Clay Orange Trinket Tray

Supplies Needed
Air dry clay (any brand you can find is okay, I used Mont Marte)
Acrylic rolling pin (or cooking rolling pin wrapped with parchment paper)
PVC mat or silicone mat (or non-stick surface)
A jug lid (big one)
Clay sculpting tools (or use toothpicks)
Clay cutting tool (or small knife)
Cup of water or spray bottle
Acrylic paint (orange, pink, white)
Gloss varnish
Paintbrushes
PVA glue
Paper towels
Optional: Sponge or silicone sculpting tool (or you can use your finger)
Instructions
1. Knead the clay
- Cut your clay and knead it well for about 5 minutes with a drop of water. This gets rid of air bubbles so your tray doesn’t crack later! 🧘🏾
2. Roll the clay
- Flatten your clay to about ½ inch thick. Remember to turn and flip it as you roll so it doesn’t stick.
3. Cut the tray base
- Grab that big jug lid and press it into your clay to get the perfect round shape. ⭕
4. Scoop orange dividers
- Using a small tool or spoon, carefully hollow out 6 segments for that 3D look. Take your time! 🧼
5. Make seeds
- Roll 6 tiny tear-drop shapes for your seeds. Let these dry separately. 💧
6. Dry time
- Let everything dry in a cool, well-ventilated spot for at least 2 days. Be patient—if it’s not totally white, keep waiting! ⏳
7. Paint it
- Mix your colors (crimson, yellow, and white work great) and paint the segments first, then the rim. Keep it thin and even. 🎨
8. Attach the seeds
- Once dry, glue those seeds right onto the base with PVA glue. 🧴
9. Seal the orange trinket tray
- Protect your masterpiece with 2-3 coats of gloss varnish. Let it cure for 24 hours, and you’re done! 💎