When I was first making air dry clay trinket trays and home decor items, I was worried my project would break, crack, or take weeks to dry if they get the dimensions wrong.
At first I was just guessed the thickness and did without any plan or guidelines until I learned the lesson hard way.
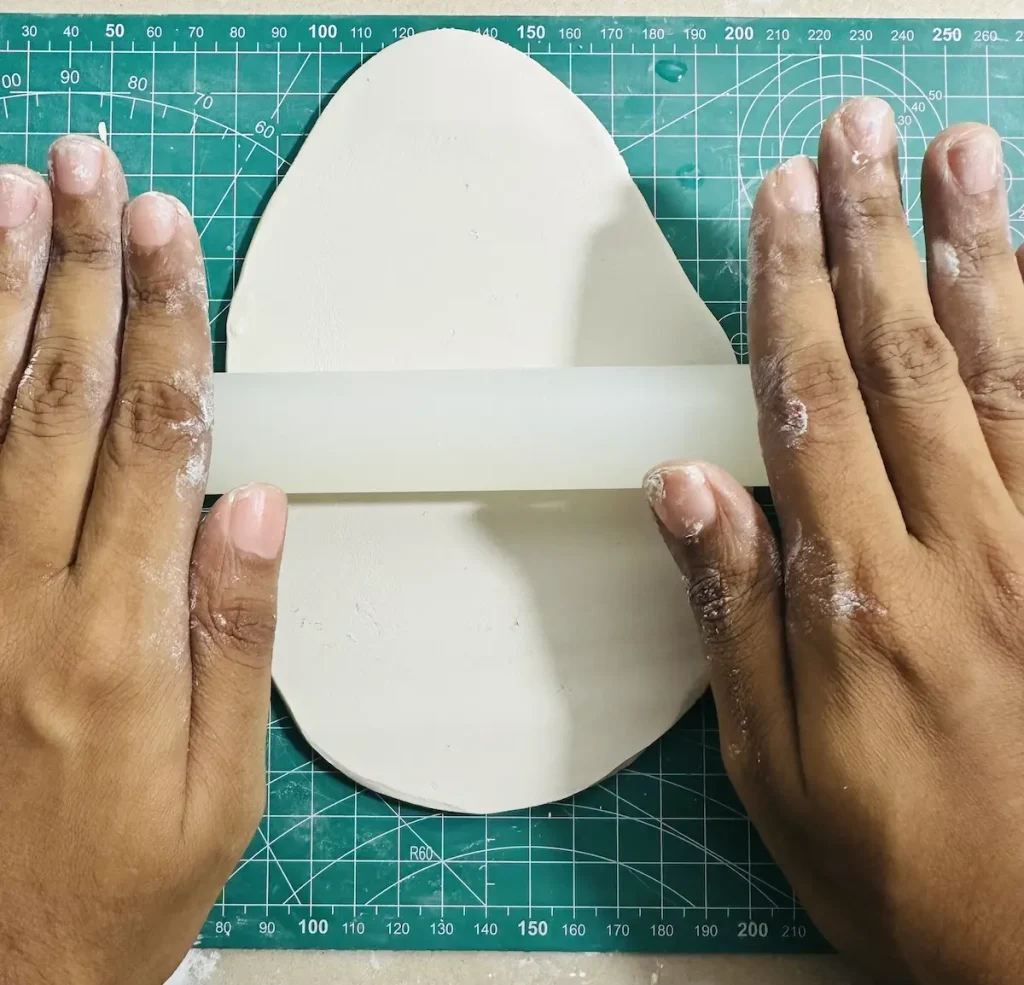
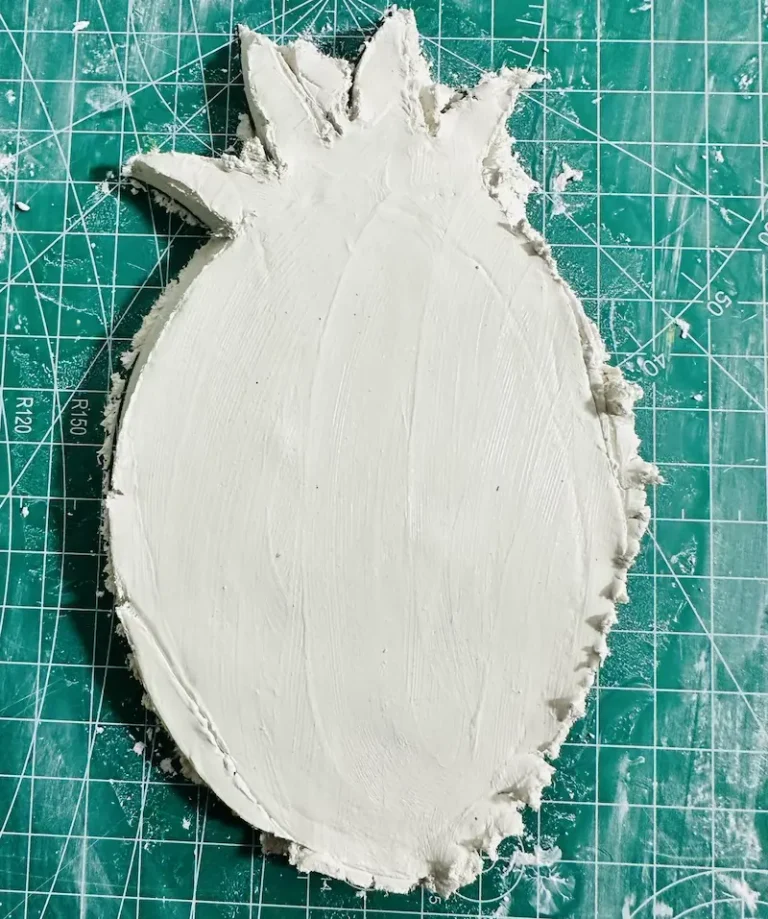
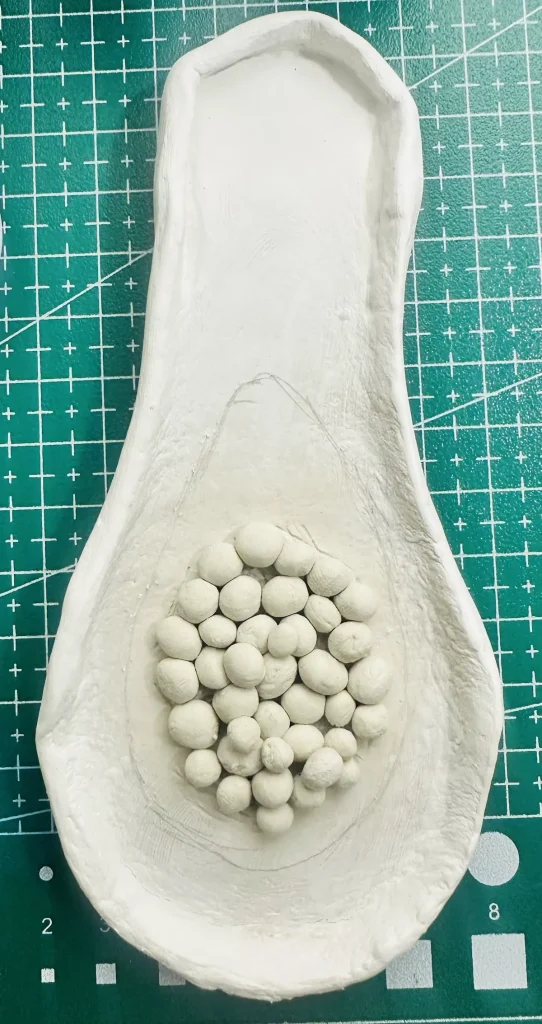
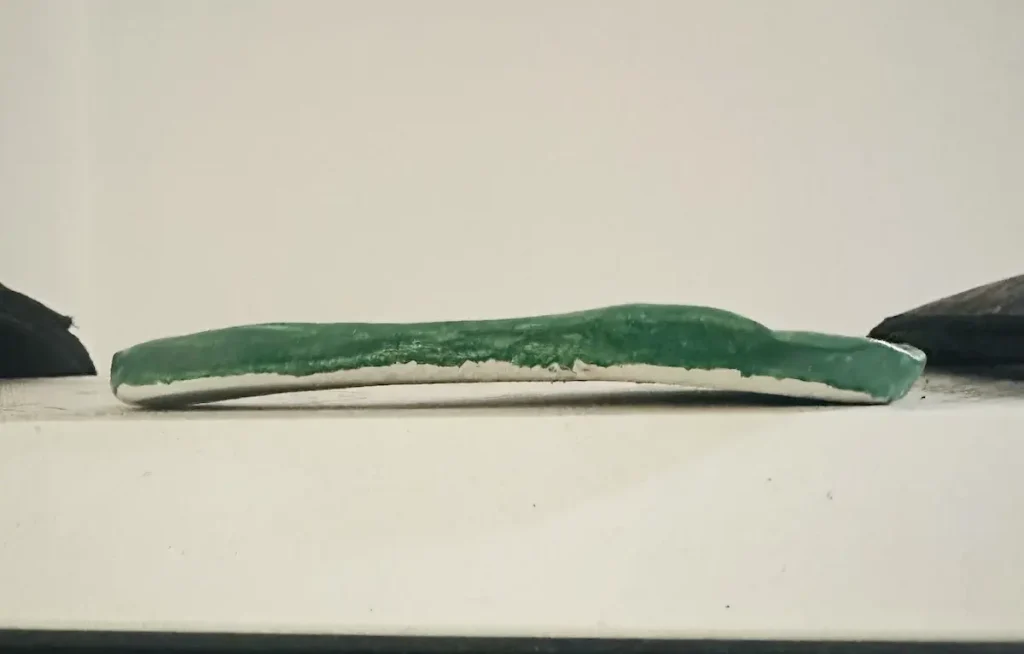
My papaya trinket tray warped after drying, and one reason I identified was that the tray base was too thin and lacked the structural integrity to remain flat and stable. Hours of my hard work was ruined because I didn’t even know what thickness I should go with.
But you are more intelligent than me. That’s why you searched abut this and ended up here.
Don’t worry, I gotchu.
Since I’m also a beginner like you and successfully completed trays, dishes and home decor items with air dry clay, I exactly know how thick your air dry clay should be to make it look nice and strong and how to achieve the thickness you want with simple, easy techniques.
Enough chit chat! Let’s dig in!
The ideal thickness for air dry clay
Generally for all the projects, the ideal thickness of air dry clay is between ¼ inch (5 mm) and ½ inch (12 mm) to have maximum structural integrity as the clay dries.
Making the clay too thin or too thick can cause trouble.
What happens if it’s too thin? (< ¼ inch or < 5 mm)
If you rolled out the air dry clay slab too thin, it will become brittle, snap easily, and warp as it dries.
If the clay piece you sculpt is too small, it can snap easily after drying.
Another issue is that thin clay pieces are prone to warp when drying.
As I told you earlier, when I was rolling the papaya trinket tray base, I rolled it too thin, less than 14 inches thick.
Air dry clay shrinks as it dries. Walls and the edges of the tray base dry faster than the clay in the middle because edges and walls are much more exposed to the air. Air circulation is high means that the area dries faster.
Therefore, the edges and walls of the trinket tray shrank faster and forced the clay in the middle from all sides.
The middle area is only exposed to air from the top and the bottom area has no opening for air to flow.
Now the walls around the edges work as a tightening belt little by little. The walls shrank faster and squeezed inward on the wet, full-sized center. The bottom area is blocked by the table, squeezing from all sides and the top middle area should release the pressure. It has only one escape, which is to pop upward in the middle. This creates a dome or “hump.”
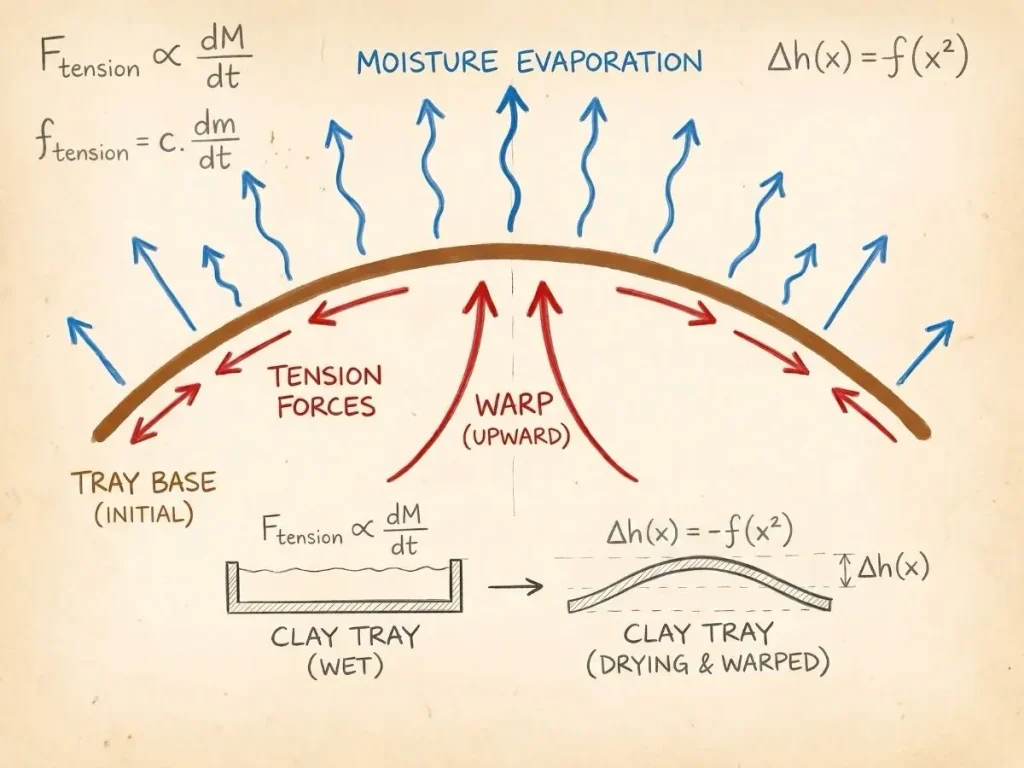
This won’t happen if your clay thickness is above ¼ inch because the idle area has the strength to handle the forces that come from all the sides.
Sorry if that sounds complicated, basically, I wanted to tell you that making the clay too thin can cause warping.
Ok so let’s make it as thick as possible for the highest integrity right? That fixes the problem right? Nah, my friend. That’s not how clay works. Shut up and listen below 👇🏾.
What happens if it’s too thick? (> ½ inch or > 12mm)
If you make the clay too thick, it consists of too many layers.
The outer layer of air dry clay dries faster due to rapid water evaporation from high air circulation, while the inner layers dry much more slowly.
Air dry clay hardens as water evaporates and shrinks to fill the gaps left by the water.
When the outside layer dries, hardens, and shrinks quickly, the inside remains wet.
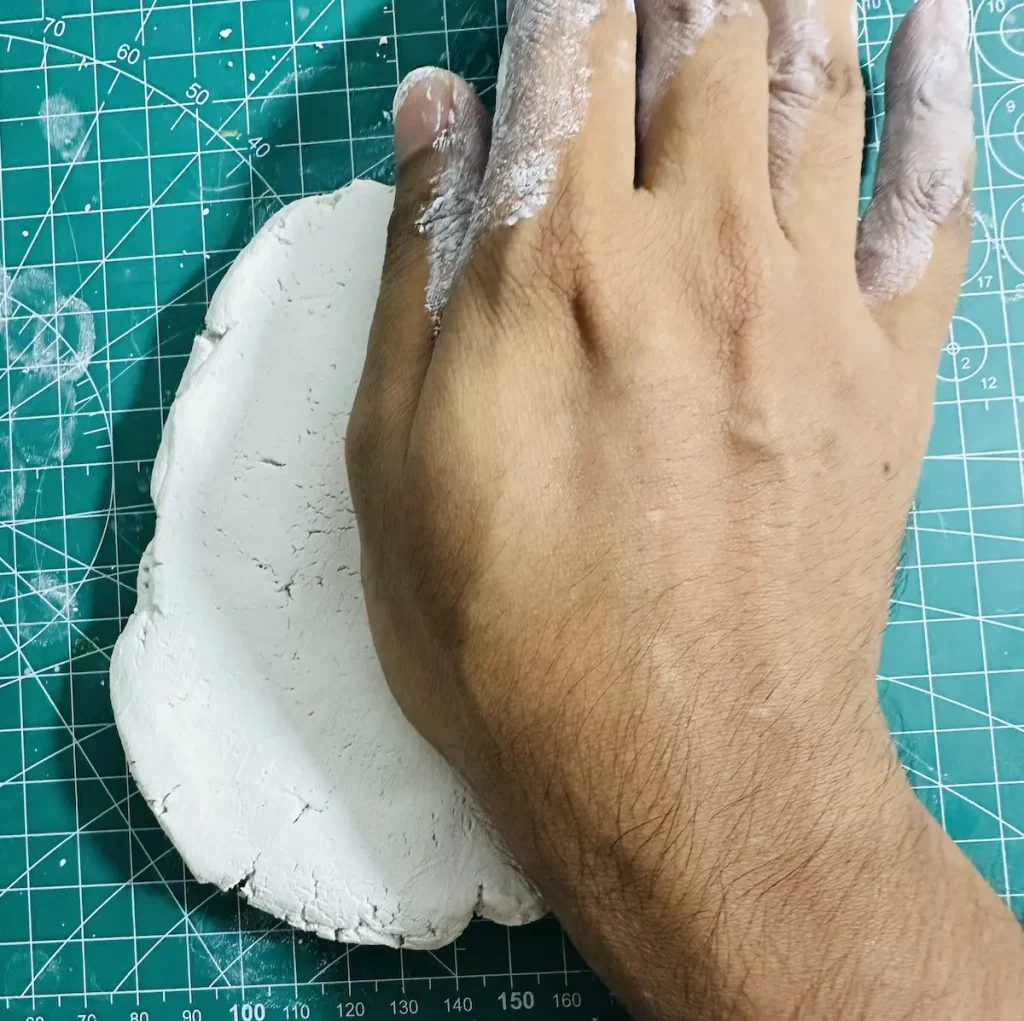
This causes uneven shrinkage between the clay layers, which builds tension and creates cracks. These start as micro-cracks and get deeper as the clay dries.
The number of cracks increases depending on the thickness of the clay slab you roll.
So basically, if your rolled air dry clay piece is thicker than 1/2 inch, the outside layer dries and shrinks while the dense core remains wet.
How to keep your clay thickness consistent
Keeping your thickness consistent is important as the actual thickness. After you have rolled the clay, if one side is 3/4 inch thick and the other is 1/4 inch, the slab will likely warp and curl as it dries because the thin area dries faster compared to the thicker ones due to the uneven thickness.
Uneven thickness causes uneven shrinkage as water evaporates when drying, forming cracks and warping the surface.
Tools to get an even thickness
I roll my air dry clay slab using the following tools to get an even thickness everywhere,
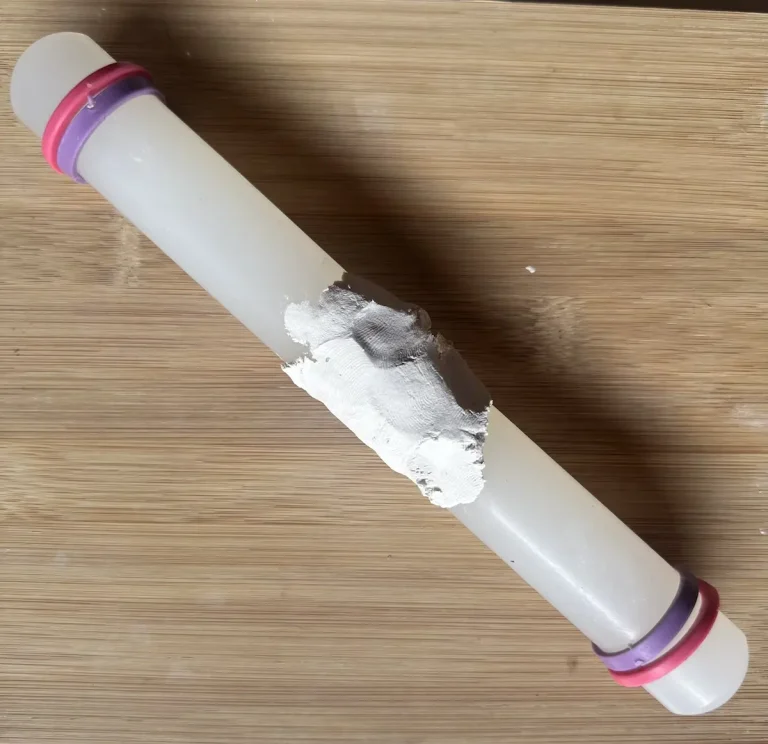
- Thickness rings: Detachable, made of rubber or silicone and come in different sizes: 1/16″, 1/8″, 1/4″, and 1/2″.
- Wooden slats or guide rails: Come in different thicknesses, place two identical ones on either side of your clay slab and start rolling to get a perfectly flat slab.
- Clay slicers: Great for cutting thick clay blocks into uniform slices.
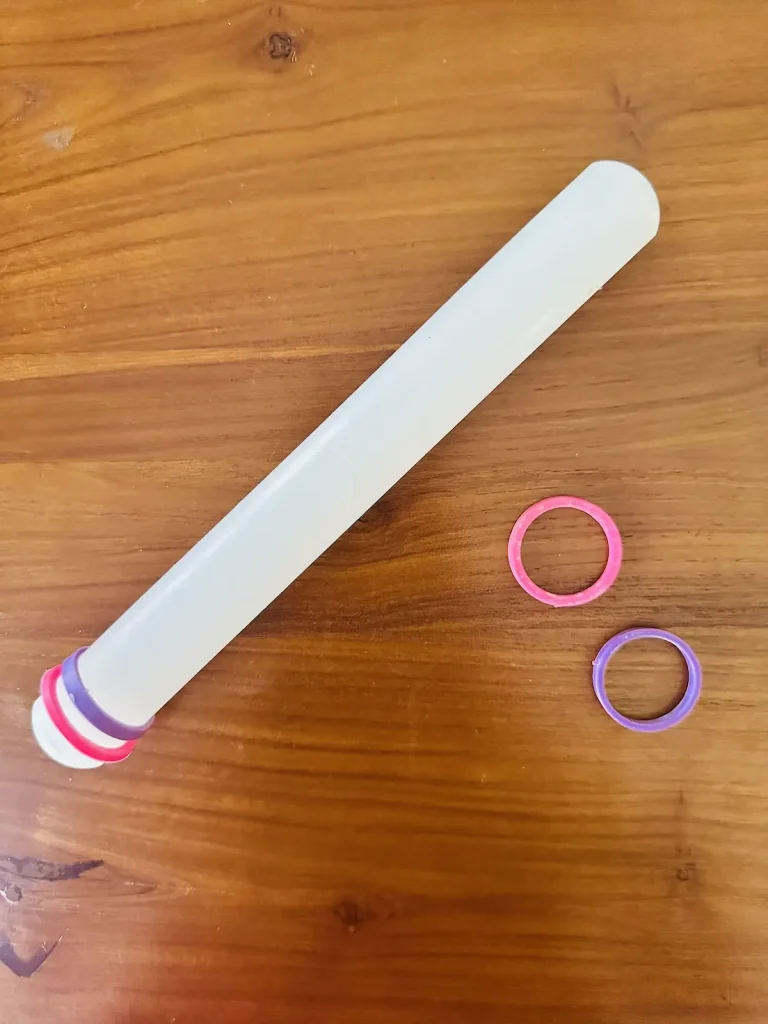
See, it’s easy to get the thickness you want with the above tools!
What if you really want to make thick clay pieces
If you want to make a chunky sculpture or thick figurine with a thick piece of clay slab which is more than ½ inch thick, you can follow below method,
- Find an aluminum foil (yes, the one you use in your kitchen is fine)
- Crumple it into a round ball shape
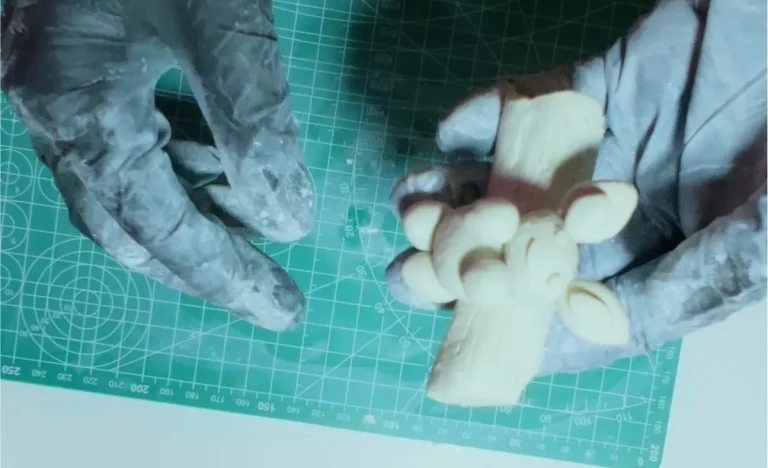
- Make the crumpled aluminum foil the core of your project and wrap the air dry clay around it.
- Make sure to keep the thickness of the air dry clay layer the same everywhere you wrap it.
- Smooth the clay out by gliding your wet fingers over the clay to remove bumps and micro cracks.
FAQ
How long does 1/4 inch thick air dry clay take to dry?
Let a 1/4 inch (5mm) thick piece of air dry clay dries for 24 to 48 hours to dry completely. Look for gray patches after it has dried and if there are some let it dry for another 24 hours. Never paint or seal when the clay is wet with grey patches. Drying time vary on the humidity of your room. Always let the air dry clay dry in a cool well ventilated area.
Does air dry clay shrink when it dries?
Yes, air dry clay shrinks about 5% to 10% depending on the clay brand and thickness as it dries. You can read more about air dry clay shrinkage here.
Can you fix cracks in thick air dry clay?
Yes, if the clay is still wet you can dip your fingers in a cup of water and glide it carefully over the cracked areas until those cracks vanishes. If the clay is fully dried, mix little bit equal amounts of water and air dry clay in a small cup and mix them thoroughly until it makes a paste, which is called the slip. Apply this slip to the cracked areas and let it dry for 24-48 hours. Once those fixed areas were fully dried, sand with a fine grit to vanish the seam.
Final thoughts
Now you know exactly how thick your air dry clay should be to avoid cracks or clay warping.
Never too thin or too thick. Always follow the middle path for maximum benefits! Apply that to your life as well. Lol. Cheers! 🤟🏾