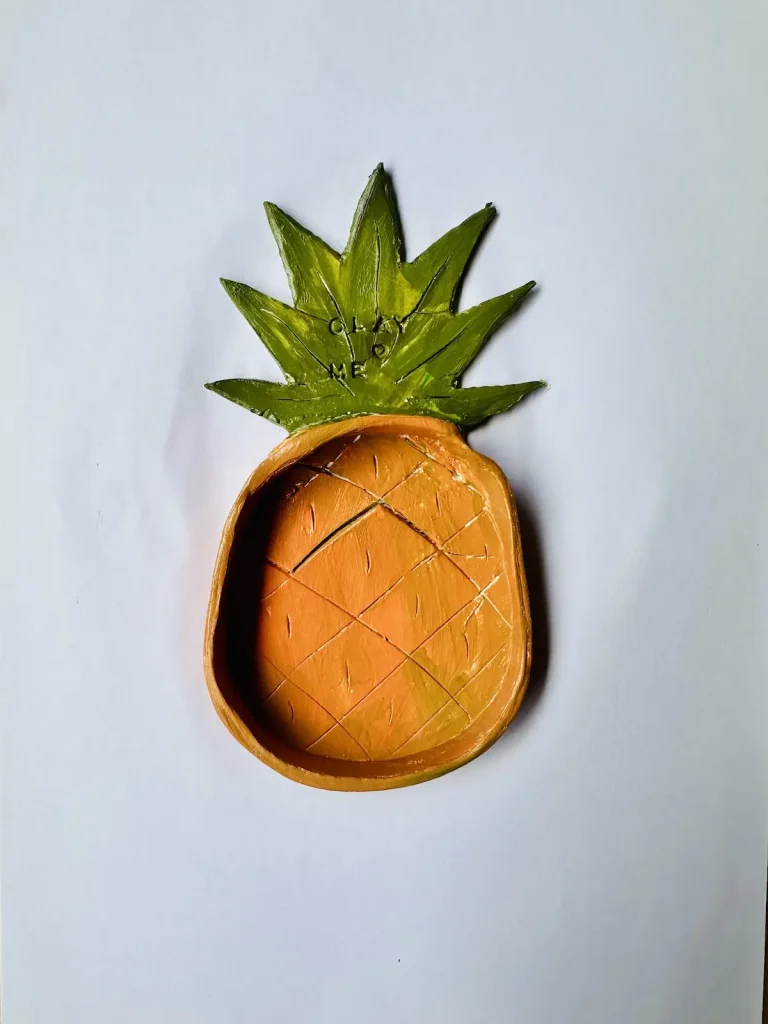
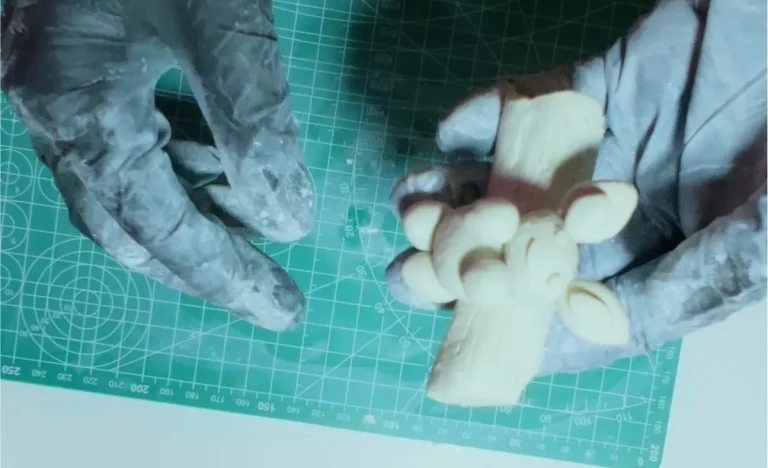
Air dry clay is a porous material that can get really messy pretty quickly, unlike polymer clay. So, stamping on air dry clay needs to be done carefully without distorting it.
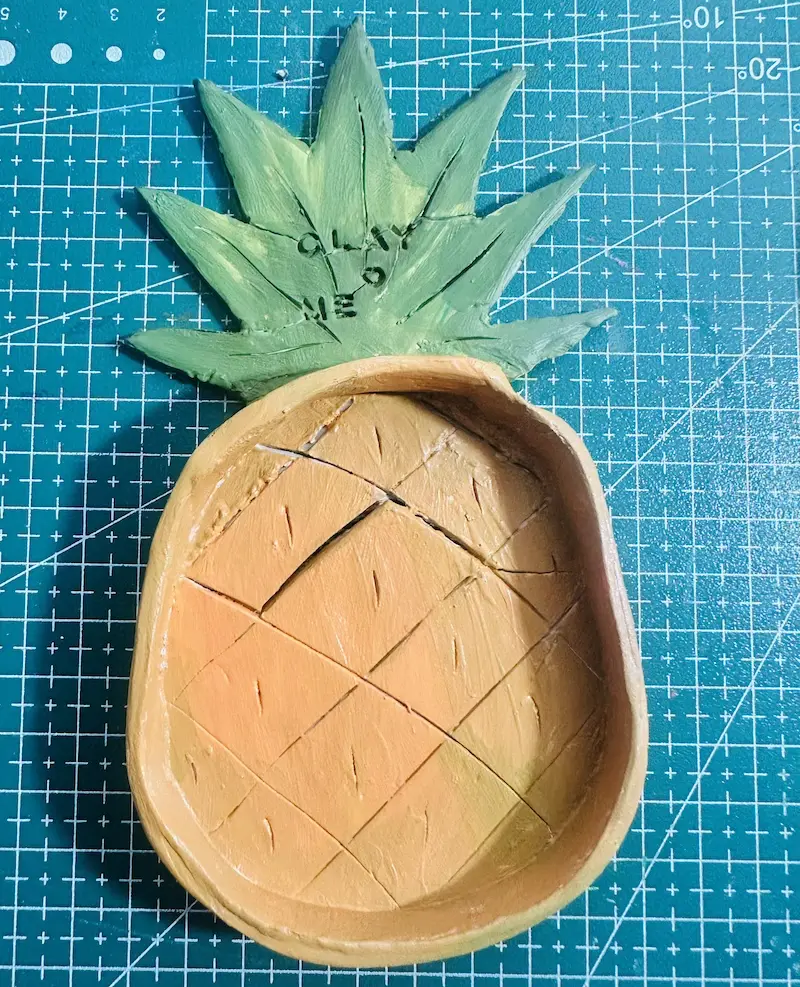
During my latest pineapple trinket tray project, I stamped my brand “CLAY ❤️ME” on the clay slab and it worked so well and stood out well on air dry clay. They were crisp and clear.
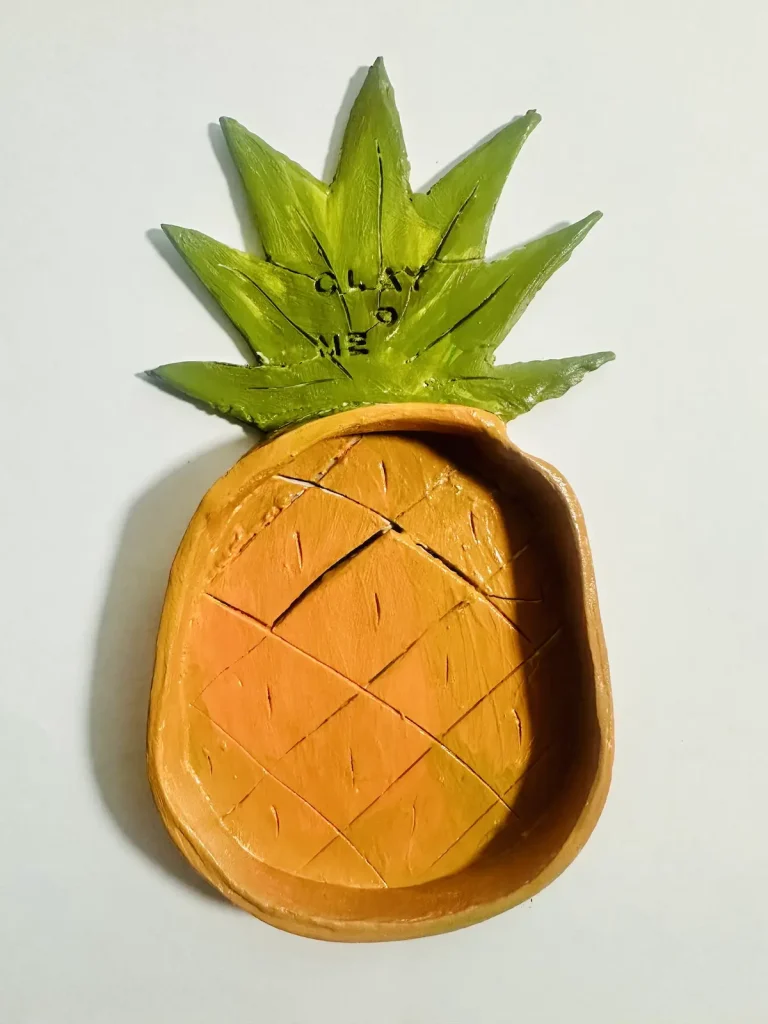
I’m gonna stamp those letters on for my future projects as well.
I know you’re eagerly waiting for me to spill the beans. Let’s dive in!
Essential tools for clay letter stamping
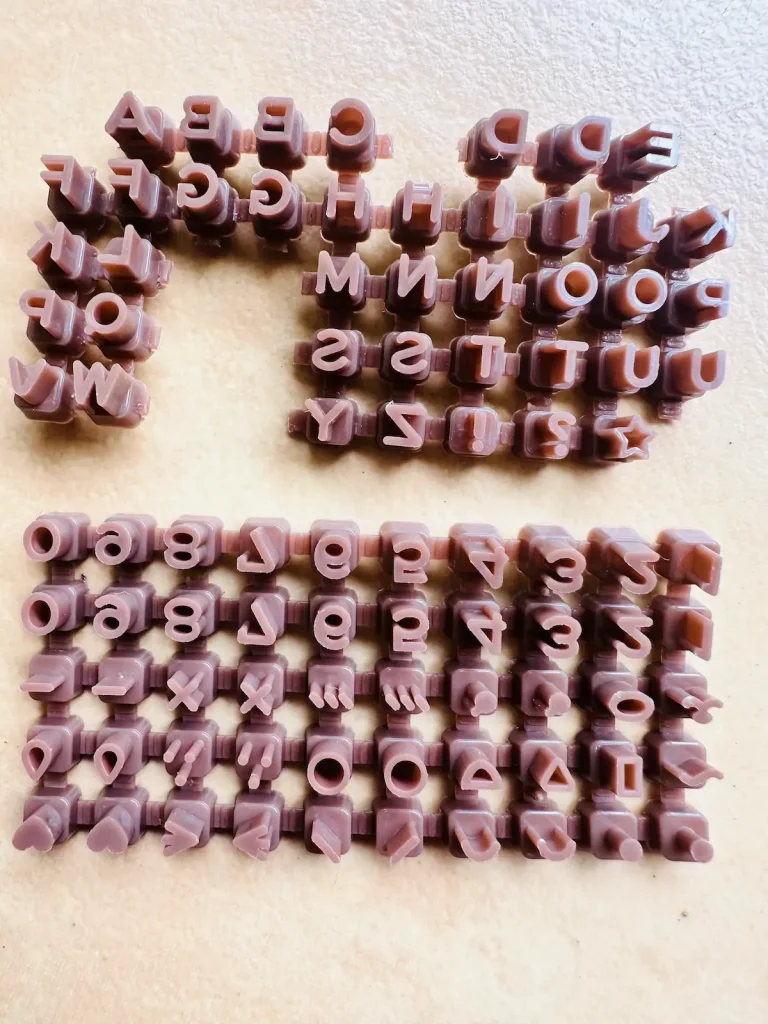
I use track-style plastic letter stamp sets for clear letter stamping on my air dry clay projects. It comes as an alphabet set.
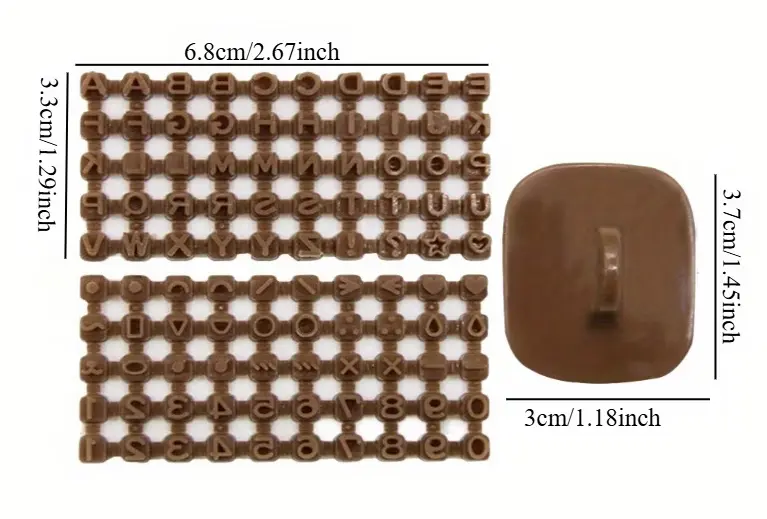
The whole alphabet set is about 2.67 inches wide and 1.29 inches long and the stamp size is 1.18 inches wide and 1.45 inches long. Yes, it’s small and great for stamping small letters.
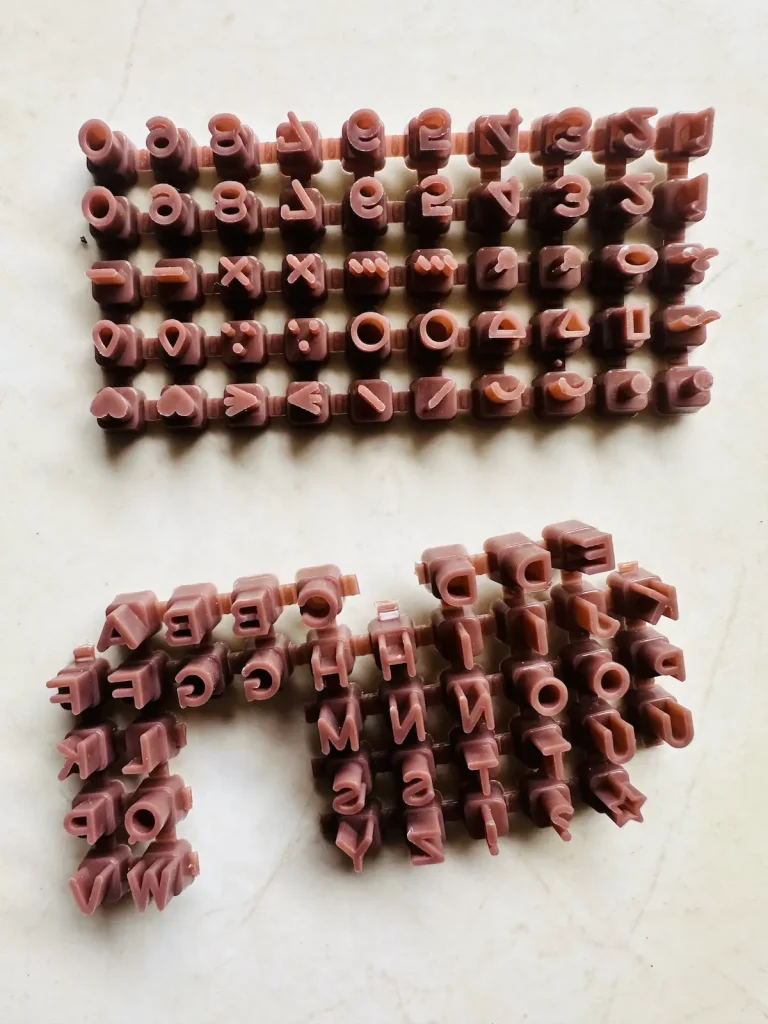
The whole template is made of plastic.
Most importantly, it has the slide-in rails which are great to keep words perfectly aligned and evenly spaced. You do not need to decide the space between the letters because they are already spaced evenly. The rails are engraved to the stamp. 🛠️
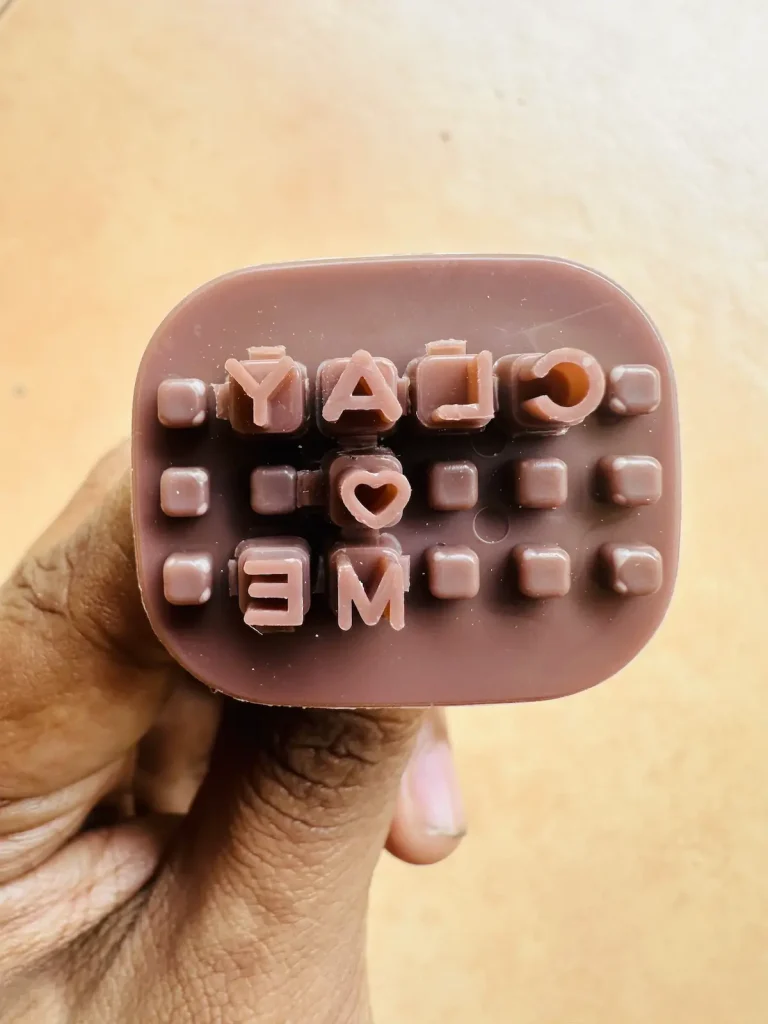
Make sure your air dry clay is branded. Using an unbranded cheap air dry clay product lacks structural integrity for crisp and clear letters. They are prone to cracking.
Step-by-step guide to stamping air dry clay
Follow the steps below to get crisp, clear and popped out letter stamping on your air dry clay, ✨
Step 1: Prepare the clay base
Do not apply too much water to air dry clay when conditioning, kneading and smoothing because too much water makes the clay sticky and drags with the plastic stamp when lettering.
Plus, stamps sink too deeply on wet clay, causing the surrounding area to warp. 💧
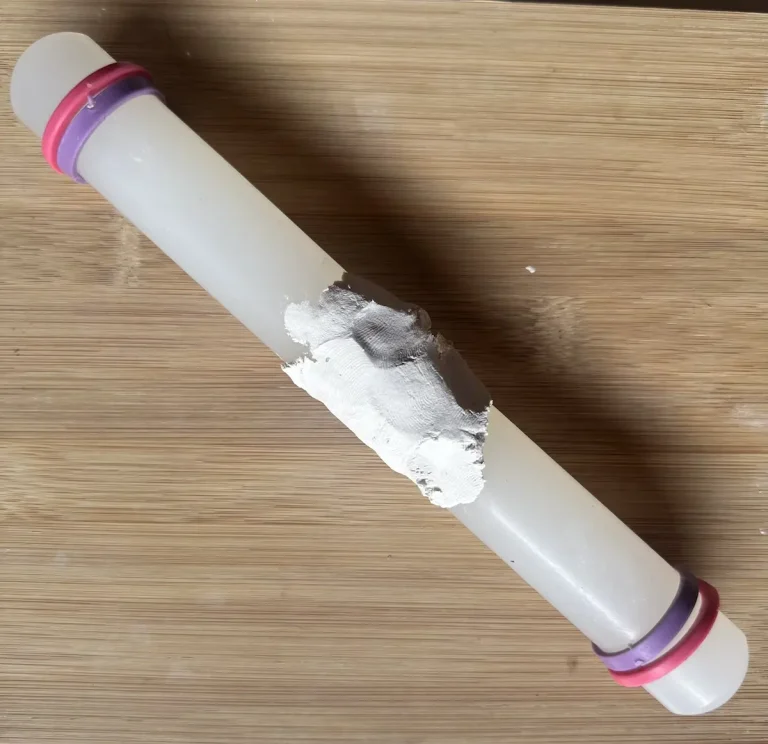
Roll clay slab to an even thickness to make all the letters pop out evenly.
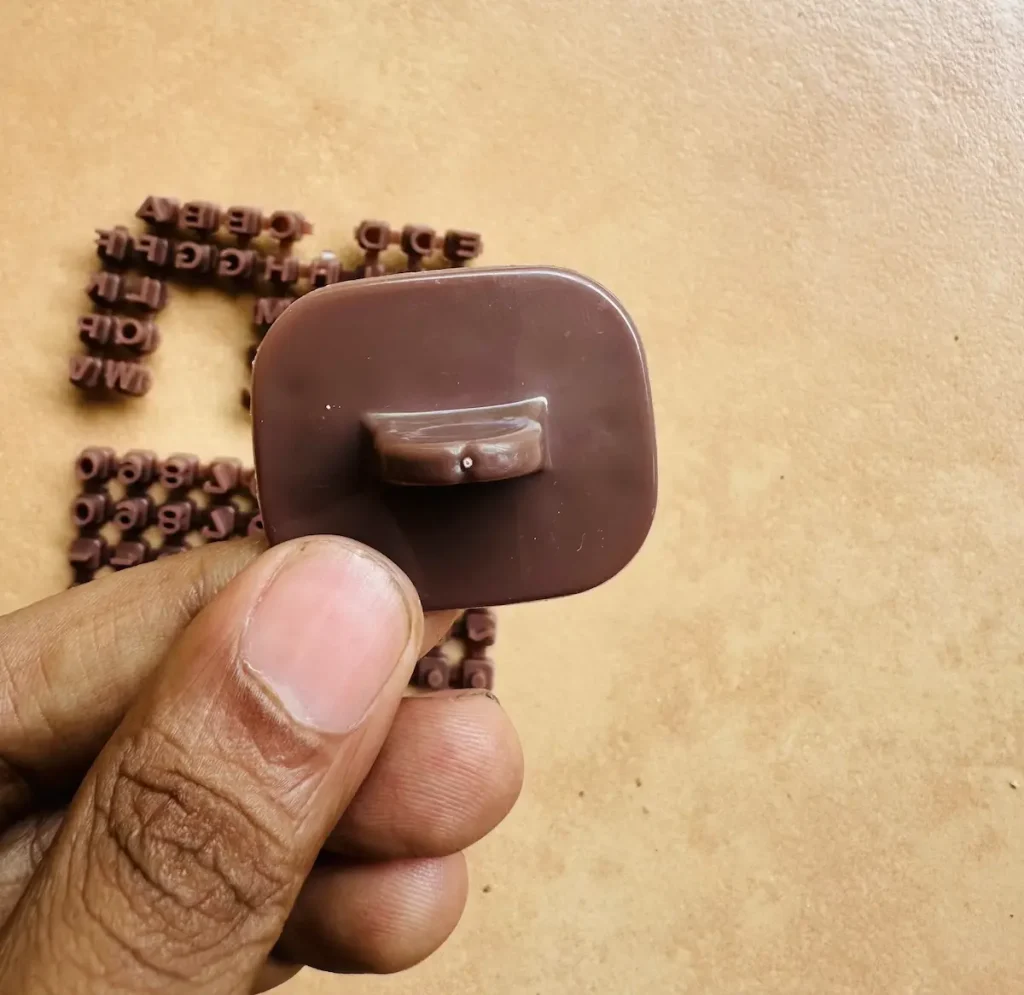
Step 2: Assemble and align your letters
Cut the letters you want from the plastic alphabet tray and attach on the holder backwards so they stamp correctly.
Careful about the mirror image trap. Attach the letters backward so they read correctly when stamped into the clay.
Step 3: Pressing the stamp
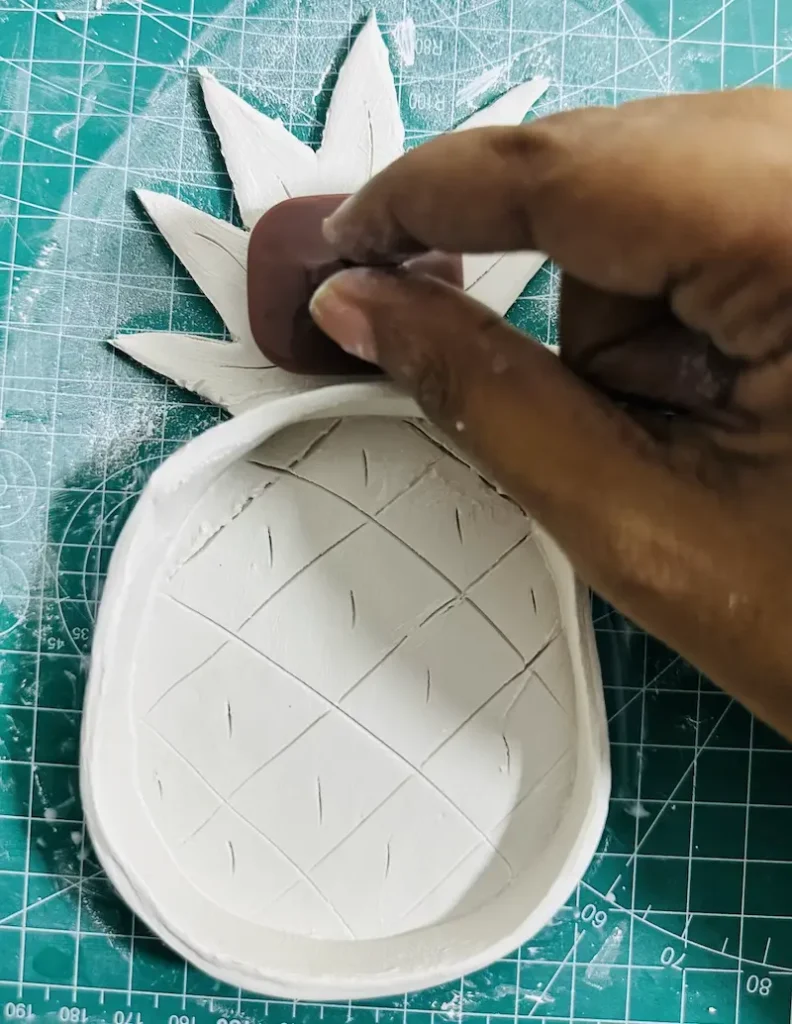
After aligning the letters, gently press the handle with even, straight-down pressure. Hold on pressed down for few seconds and lift it up carefully without damaging the surrounding wet clay.
Never shake or rock the handle which can blur the text edges.
How to paint and highlight stamped letters
- After stamping the letters on clay slab, let it dry for 24-48 hours before starting to paint.
- First paint the surrounding area and let the painting of stamped letters later. (I use acrylics for painting) 🎨
- Next, take a fine tip paint brush and carefully fill in the letter indentations.
- Let the painted stamped letters dry for 2 hours.
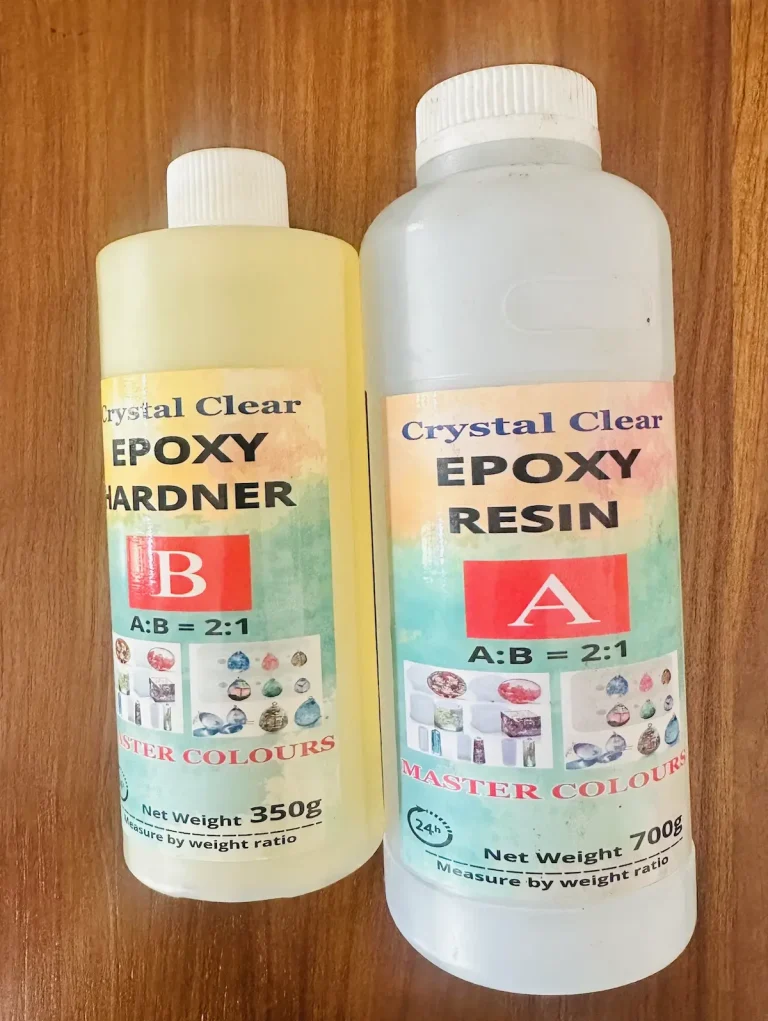
- Once the paint is fully dried and cured, seal it properly using gloss varnish, UV resin or polyurethane and let it cure for 24 hours. 🖌️
Simple as that!
Troubleshooting stamping issues
- Clay sticking to the stamp: If the clay is too wet and sticking to the stamp, apply little bit of cornstarch on the letter stamps before sinking it in the clay slab. Cornstarch works as a releasing agent.
- Warped letters: This happens when the clay is too wet. Let the clay slab wait for several minutes before stamping to evaporate excess moisture. ⏳
Final thoughts
The technique described above is not the only way of stamping clear letters on air dry clay, but it is easy. You can purchase bigger size letters if you want and follow the same procedure to get crisp and clean popped-out letters.
You can add your brand name, social media names and your loved ones’ names using the above technique.
I’d love to see how you stamped letters on your air dry clay projects. Be sure to tag @clayandmestudios in those projects. Cheers! 🤟🏾