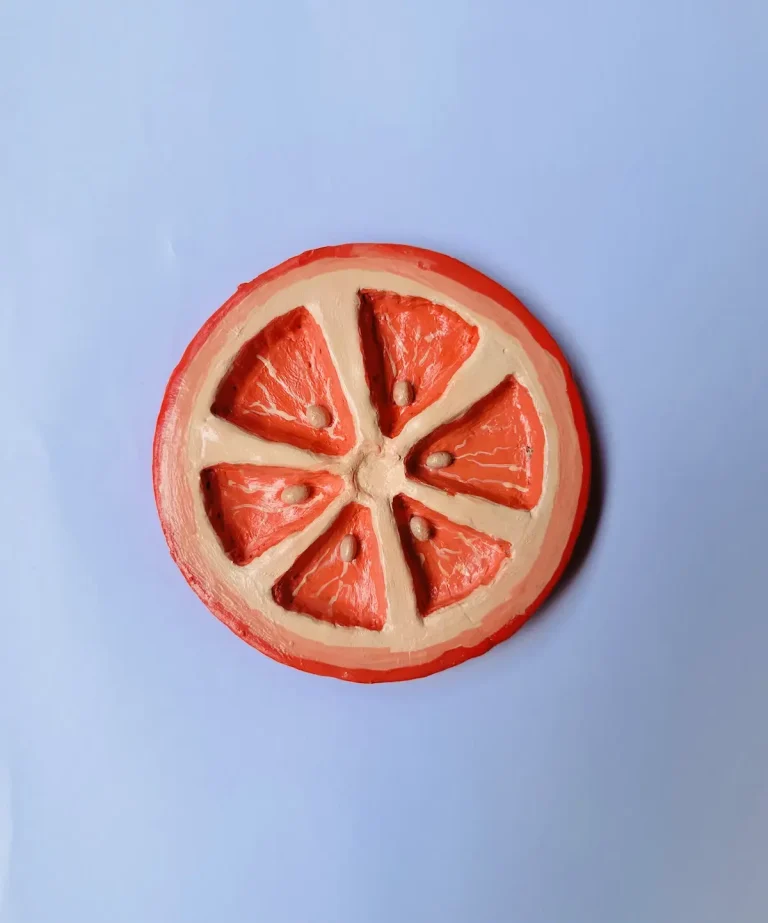
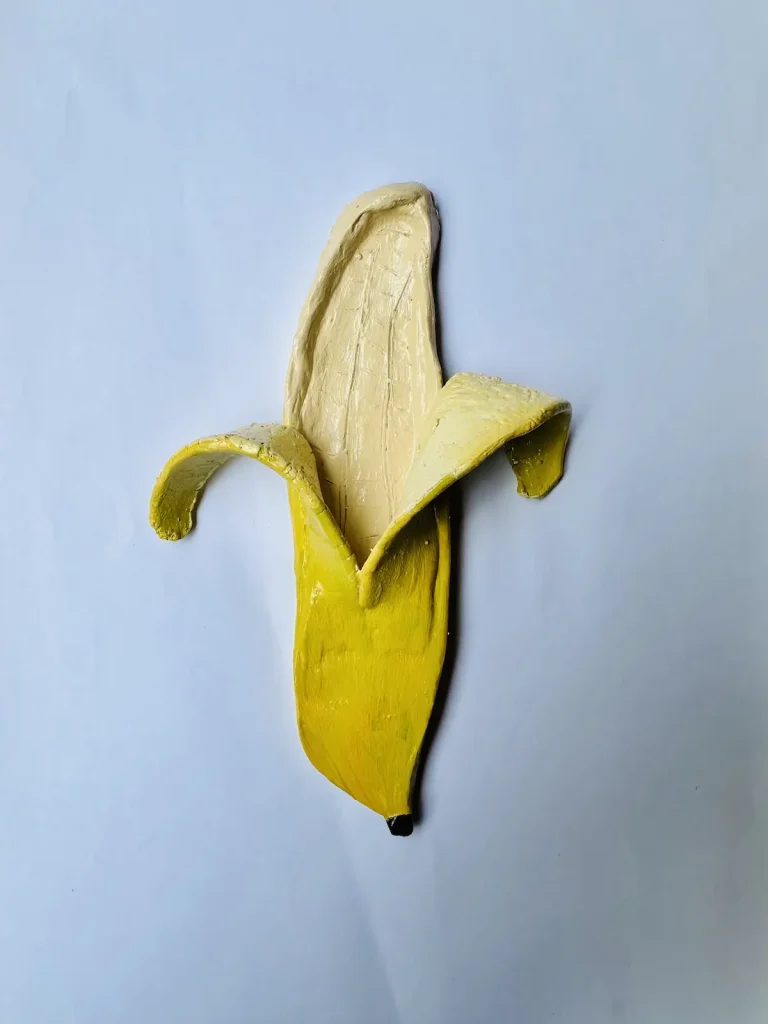
We usually serve guests by placing bananas on a tray. But have you ever considered gifting a literal banana-shaped tray instead? 🍌
As you know, nowadays I’m a fruit-inspired tray addict. I thought of making a banana tray. But I was afraid because bananas do not have enough area in the middle like other fruit trays to use as a tray.
I have made strawberry, papaya, and avocado trinket trays and all of them do have enough room in the tray base to place items.
Then I realized this banana tray I’m about to make can be used to place small rings and bracelets. I promised myself, f**k it, I’m gonna make this! Who’s gonna judge me? I’m still a beginner. 🎨
Since you and I are both beginners, I’ll share with you guys simple beginner-friendly steps I follow to achieve the beautiful final result. Don’t worry, I’ll share all the challenges I met, mistakes I made, and how I fixed them, so you can avoid those mistakes as well.
No experts here! Beginner-to-beginner conversation with an easy tutorial.
Ok, too much talking. Let’s get started!
Why a banana trinket dish?
We all love bananas. It has a beautiful, smooth yellow peel and cream-colored inner flesh. The shape of the banana is unique because it doesn’t have a round or oval shape like other fruits.
Since the banana is an elongated and curved fruit and its middle area is too small for a tray, I loved taking on this challenge.
Making different shapes of items improves our air-dry clay handling ability, and I always had to keep in mind to make the middle area wide enough to hold rings. Or you can use it just as decor. Don’t overthink!
So, I thought to make a banana trinket dish because of the above unique features of banana fruit. No special reason lol. It just came to my mind.
I used air-dry clay because it is easy to shape with a little bit of water, cheap in price compared to other clays, and most importantly, it dries in the air (no kiln or baking needed).
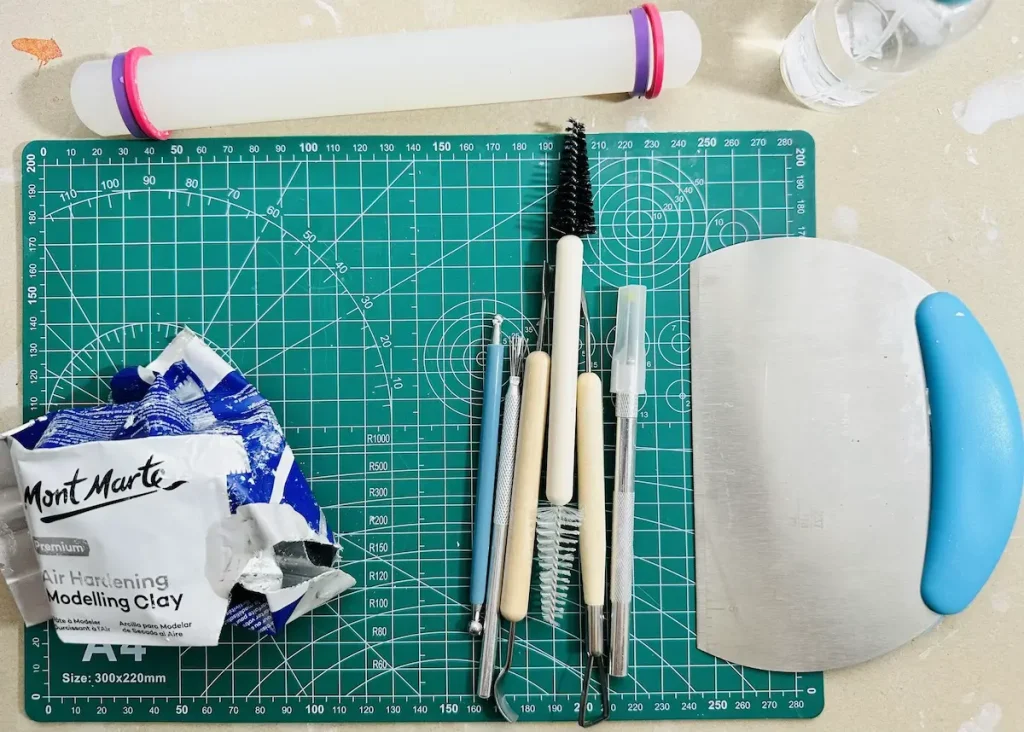
Materials & tools you’ll need
You don’t need expensive tools or materials for making this banana tray. You can get realistic textures with no expensive tools. If you don’t have sculpting tools, use a knife and toothpicks. That’s it.
- Air dry clay (any brand you can find is okay)
- Acrylic rolling pin or cooking rolling pin
- PVC mat or silicone mat (or non-stick surface)
- Clay tools (or use toothpicks)
- Wire end tool/ ribbon tool/ loop
- Clay cutting tool (or small knife)
- Cup of water or spray bottle
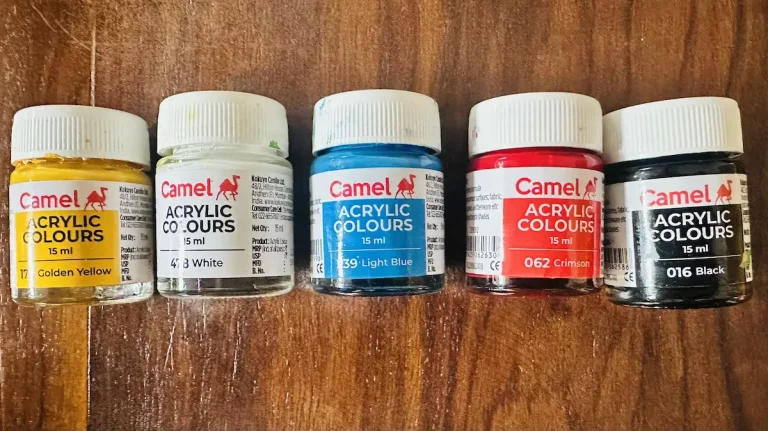
- Acrylic paint (red, green (I mixed blue and yellow because I didn’t have green), white)
- Gloss varnish
- Paintbrushes
- Paper towels
- Optional: Sponge or silicone sculpting tool (or you can use your finger)
Buckle up, guys and gals, we are about to start the banana challenge!
Easy diy banana trinket tray tutorial video
Below is the full tutorial video on how to make this diy banana trinket tray with air dry clay, and how I painted and sealed it. I’ve included every technique I used, mistakes I made and how I fixed them in detail.
Now let’s look at the detailed written step by step guide.
Step-by-step guide for sculpting your banana tray
After grabbing all the tools and materials, go to a well-ventilated area for making. Or open all the windows in your room. Don’t let fine air-dry clay particles cause breathing issues. 🌬️
Step 1: Kneading the clay
Take the air dry clay out from your sealed container, cut a piece you want to use and place it on the working mat.
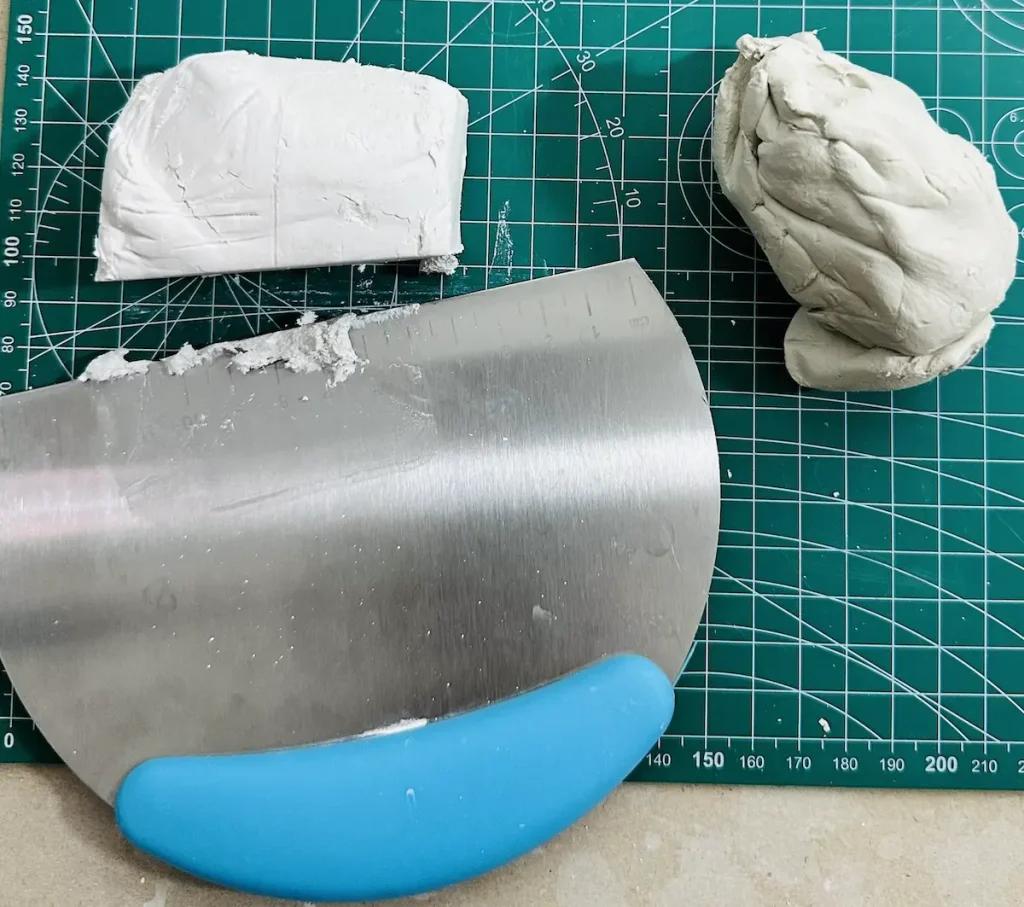
Dip your fingers in the cup of water and wet your palms and your air-dry clay piece a little bit. Don’t add too much water to air-dry clay because that can cause uneven shrinkage and cracking when drying the project.
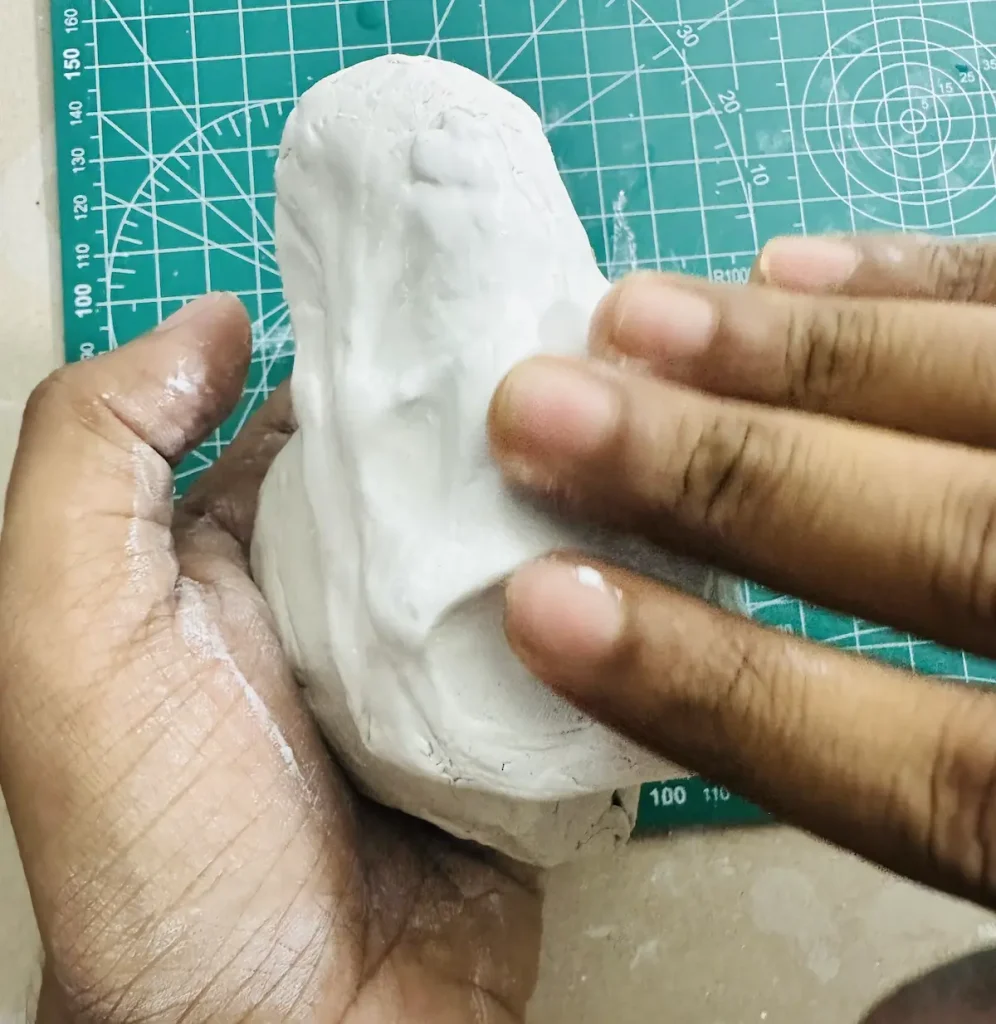
Conditioning air-dry clay is important because it makes the clay soft and easy to shape. 🥣
Now, start kneading the air-dry clay like you’re making dough for pizza. 🍕
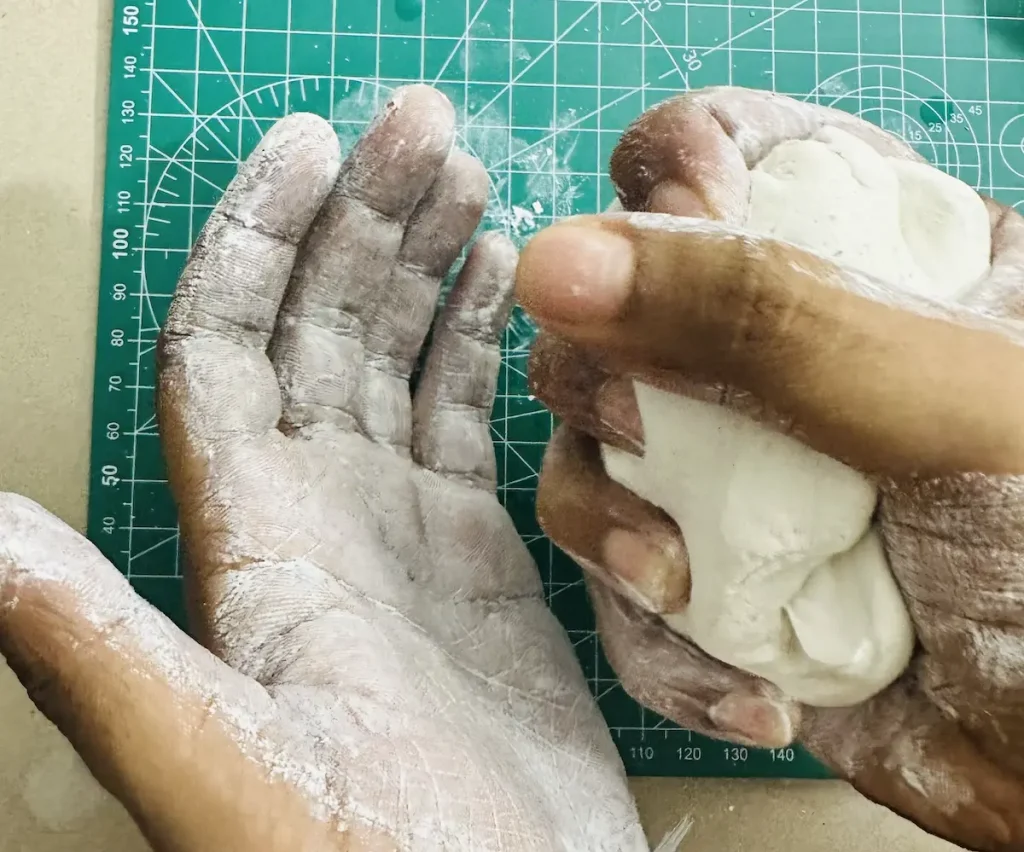
When you’re kneading the air-dry clay, the air bubbles inside are released, and the moisture spreads evenly through the inside and outside layers of the clay.
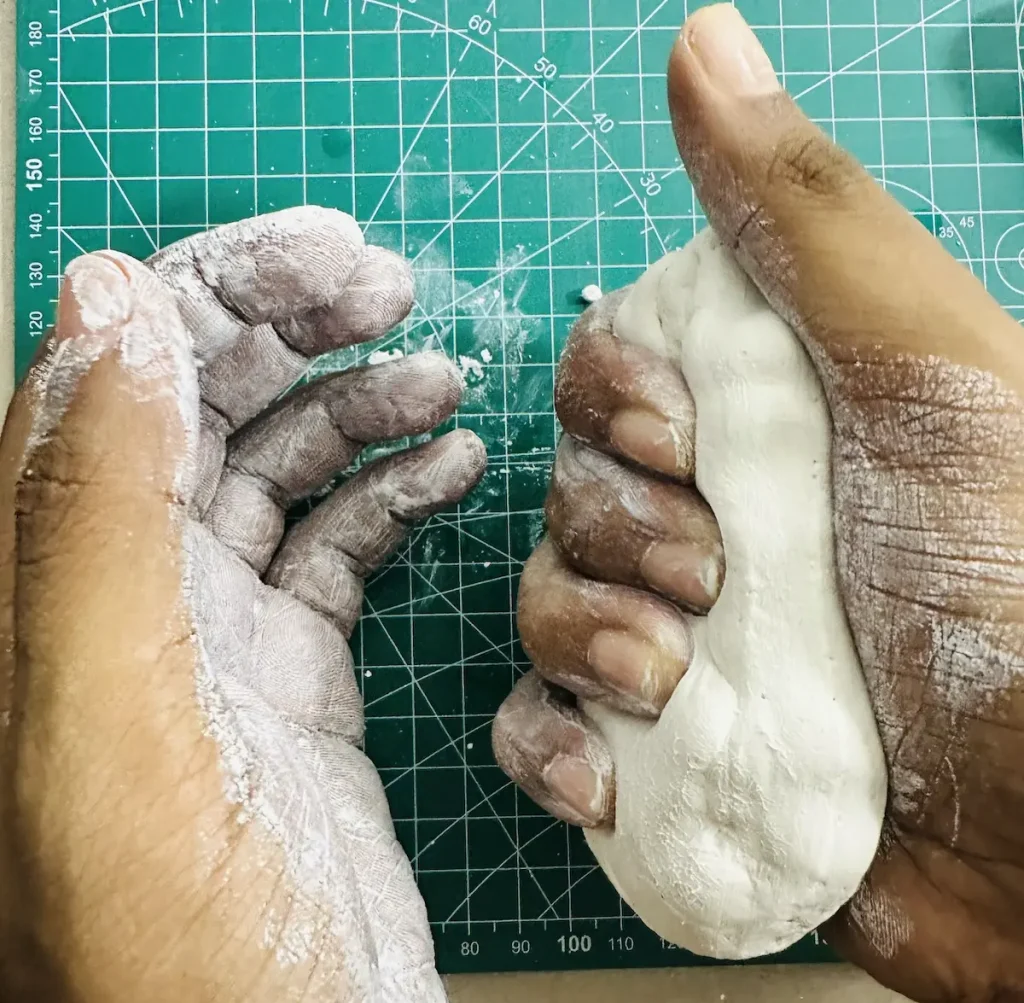
If you forgot to knead before making, I’m sorry, friend. You made a huge mistake. 🤦🏾
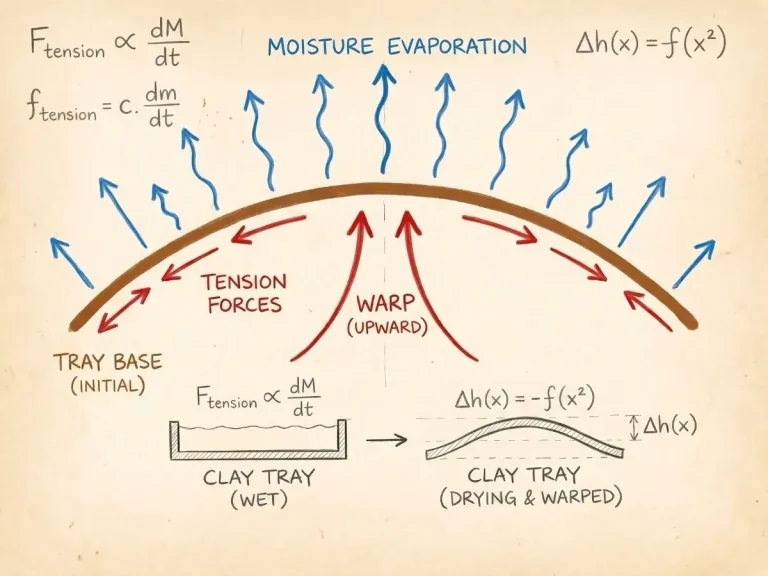
Air dry clay has a highly porous structure. If air bubbles stay inside, they form huge holes and cracks on the surface when the project is drying.
If no kneading is done before shaping the clay, the moisture inside will evaporate at uneven rates from different layers of the air dry clay surface. This will lead to uneven shrinkage of the air dry clay and result in cracks on the surface.
Therefore, kneading is a must. Actually, it’s fun and easy. Simple as making dough.
Step 2: Rolling the clay
After kneading, place the clay on the working mat and press down with your palm a few times. Then, start rolling with your acrylic rolling pin.
When rolling the air dry clay slab, turn, flip and rotate it 90 degrees after each 2-3 rolling rounds. This flip and turn clay slab method is important when rolling to avoid air dry clay from sticking to the surface.
Otherwise, when you try to lift the clay up after rolling, it tends to tear apart.
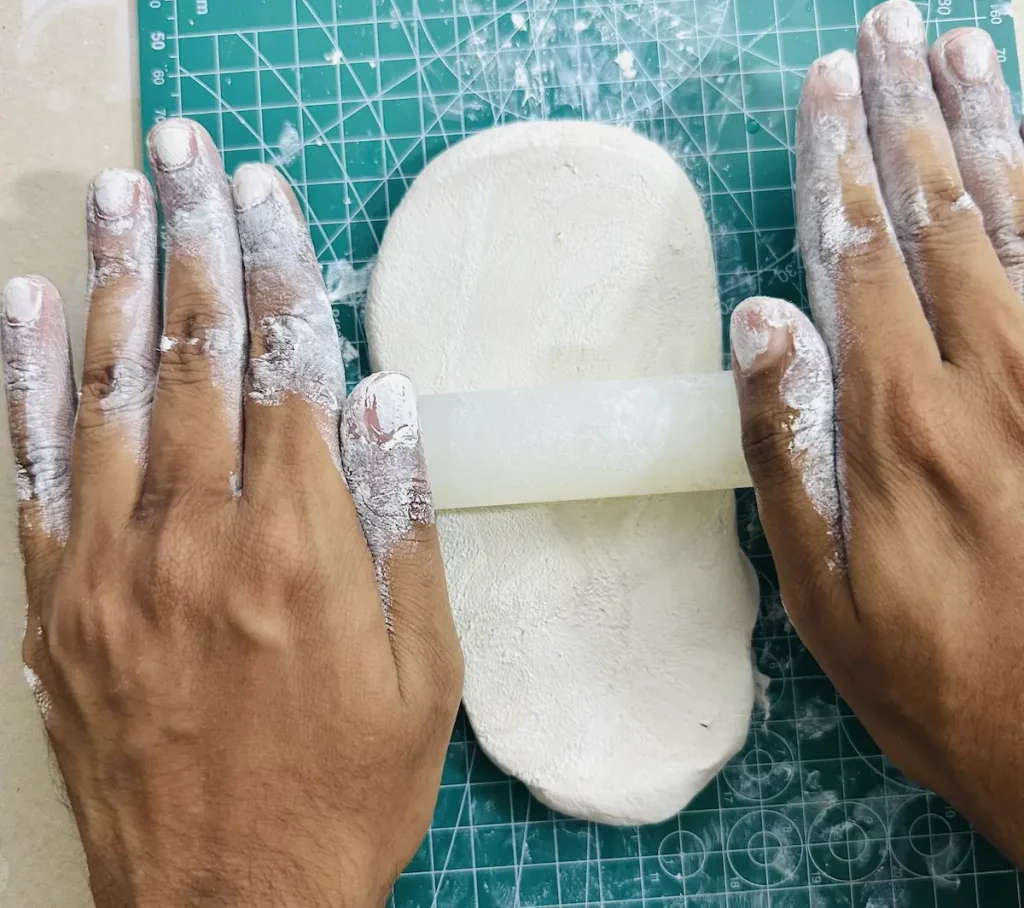
I learned this the hard way during my first trinket tray project and had to roll the clay slab for hours and 4 attempts. I was a fool.
It doesn’t matter if you use quality materials like a silicone mat, PVC mat, or acrylic rolling pin. If you don’t flip, turn and rotate the clay while you’re rolling, it’ll get stuck.
Use rubber or silicone rings on an acrylic rolling pin or guide rails to get the thickness you want for the clay slab.
I aimed for ½ inch thickness. Don’t make your air dry clay slab too thin because it’ll lose strength and the banana will look like it’s starving.
Try to get the whole clay slab to an even thickness by rolling from all the way to the bottom, starting from the top.
Now smooth the clay slab by dipping your finger in water and sliding it all over the clay slab.
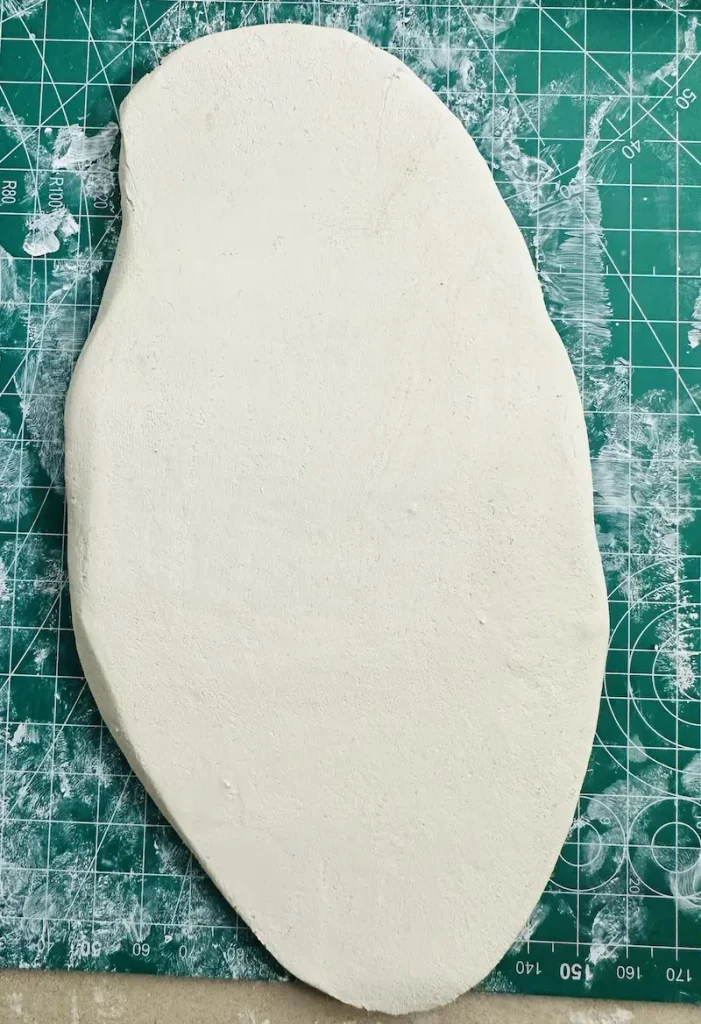
Step 3: Cutting the banana tray base
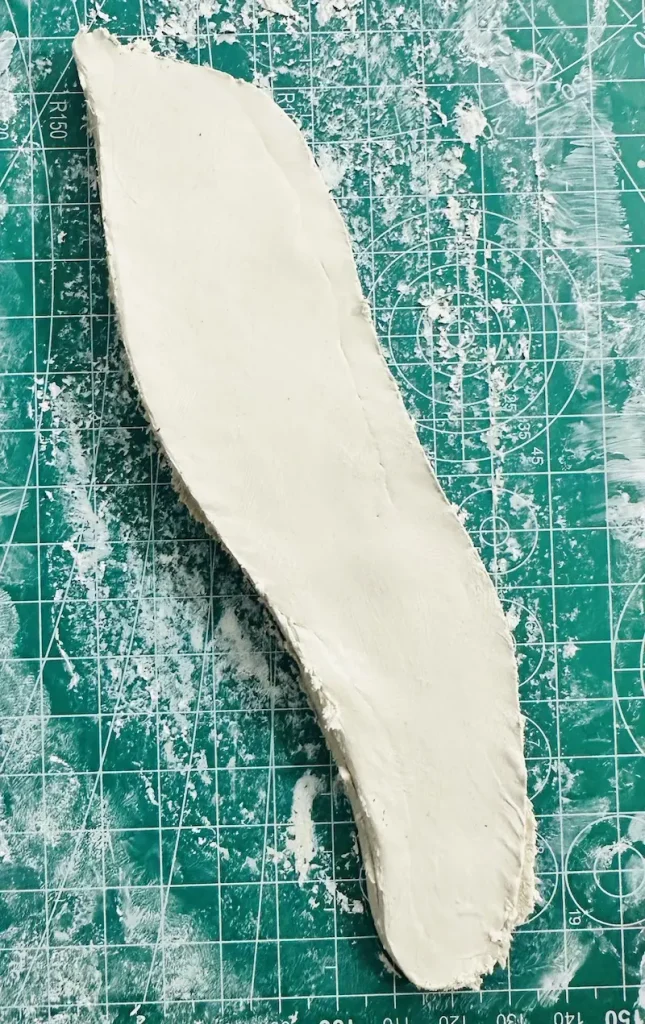
I traced the shape of the banana tray with a pencil before cutting. You know I’m bad at drawing. Therefore, tracing with a pencil first is better because I can erase it if I misshape it by dipping my index finger in water and sliding it over the air-dry clay slab until the trace disappears. ✏️
Read how I Shape Organic Air Dry Clay Forms Without Molds or Cookie Cutters.
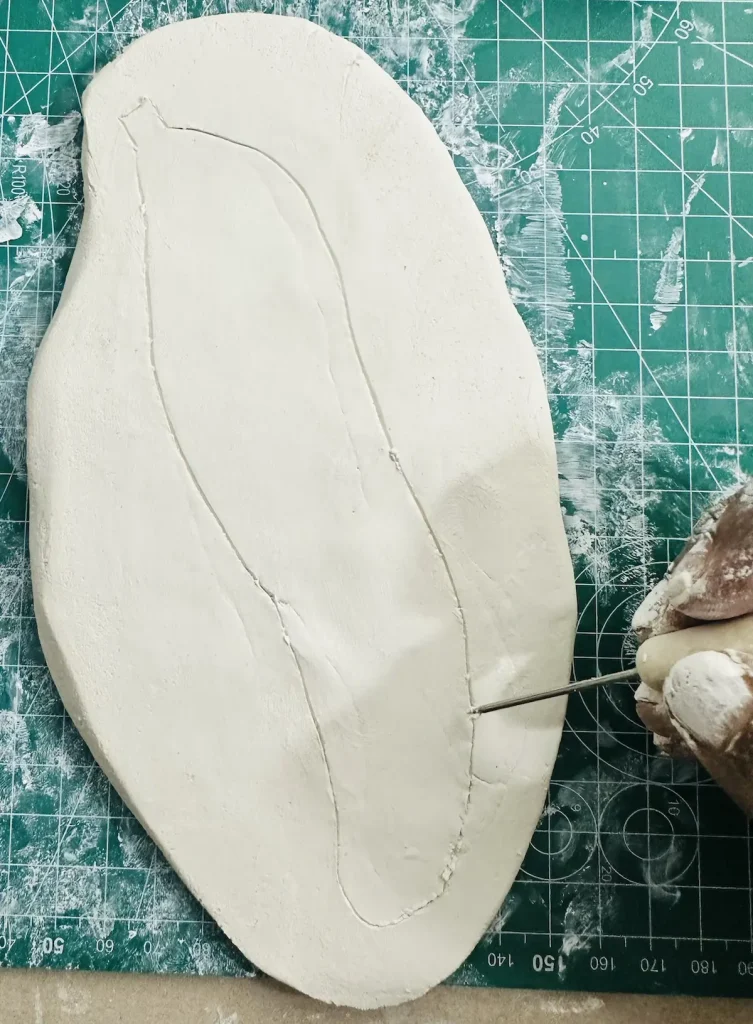
Try to get the elongated and curved banana shape.
The shape can be different from person to person. Just draw the one that looks like a banana to you.
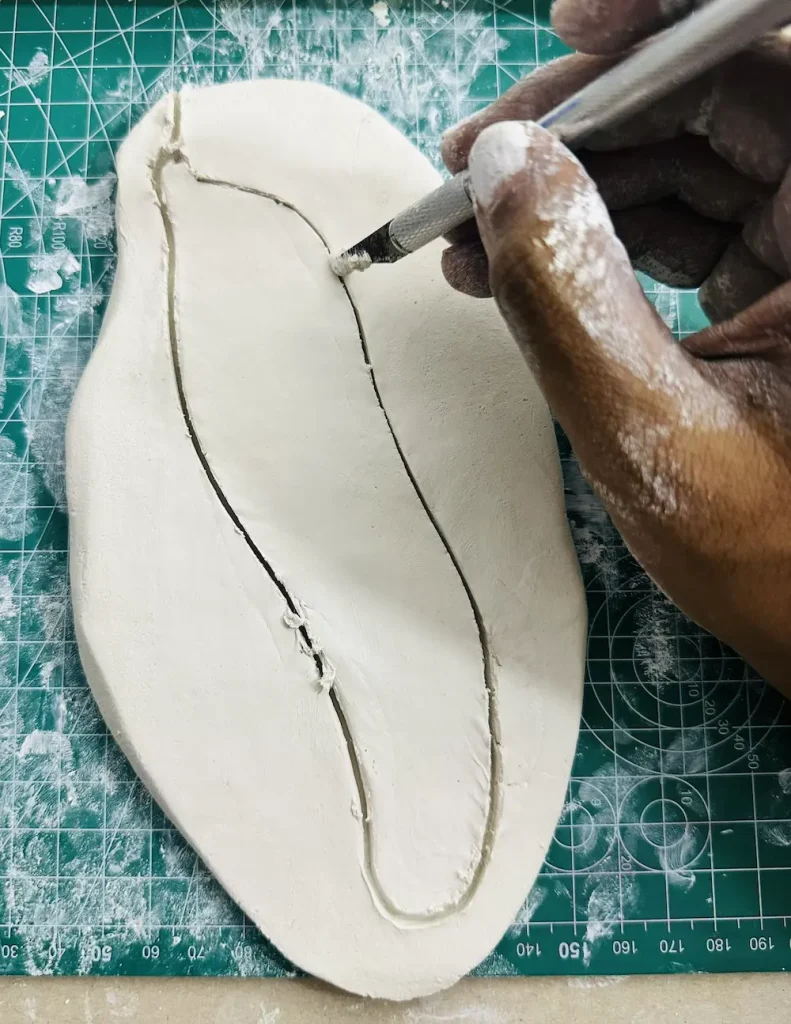
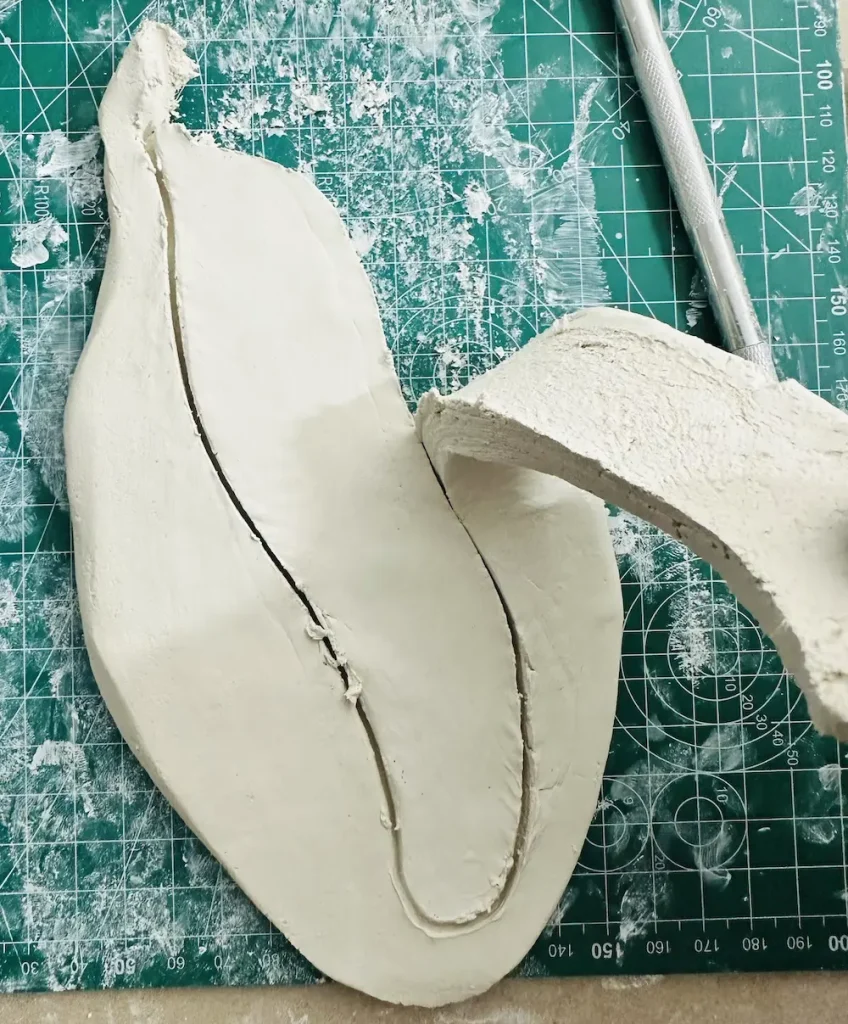
I cut the stem too while cutting the banana tray base. You know what a stem is, right? It is the hard, woody tip attached to the top of a banana.
Step 4: Shaping the banana tray base and lip
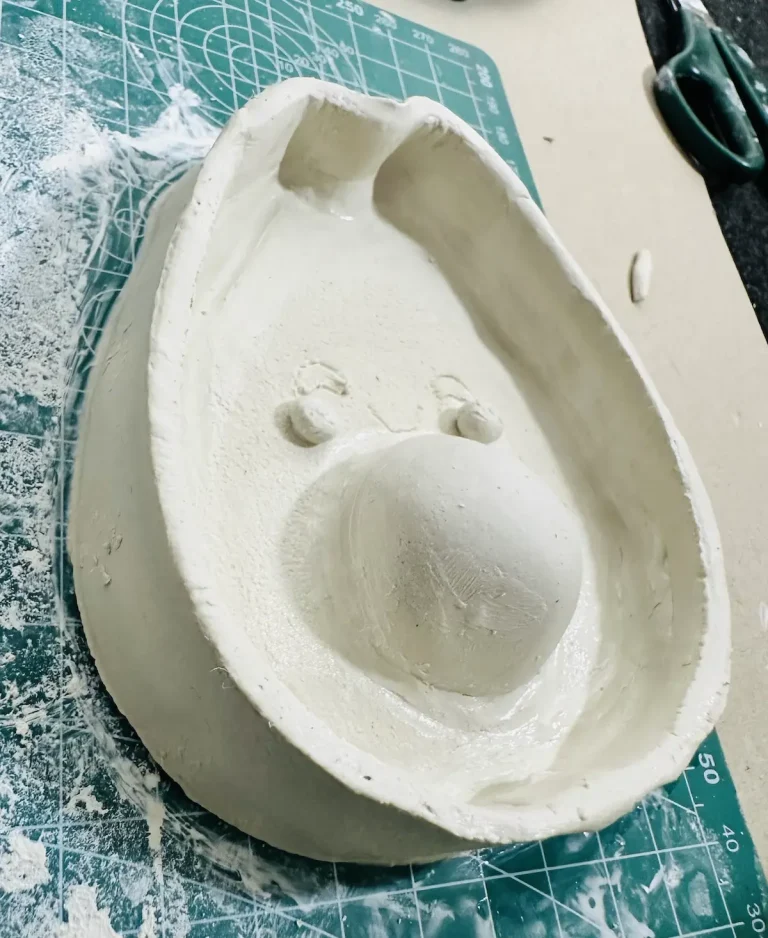
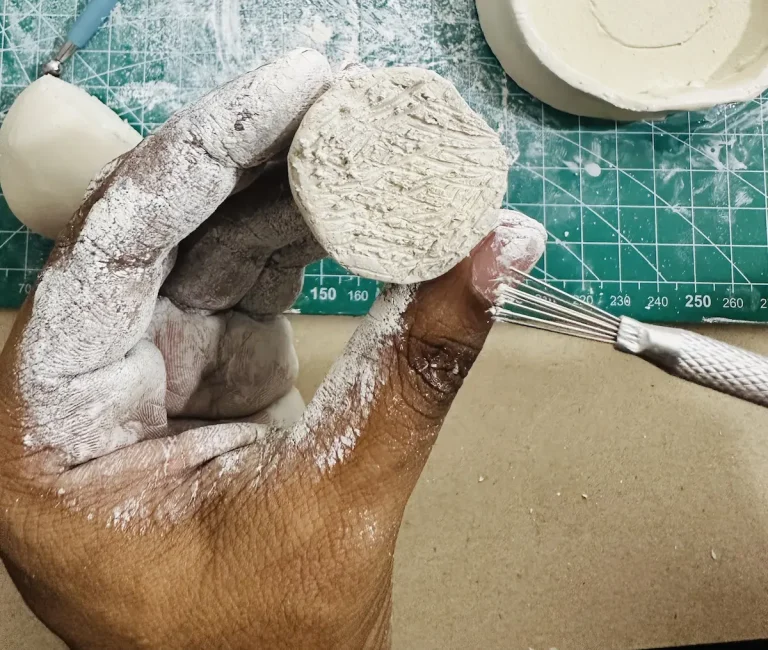
Now take the tool with the wire end, which is also known as a ribbon tool or loop and hollow out the middle or scrape out the middle of the tray base. Keep scooping the middle until it reaches the thickness you want.
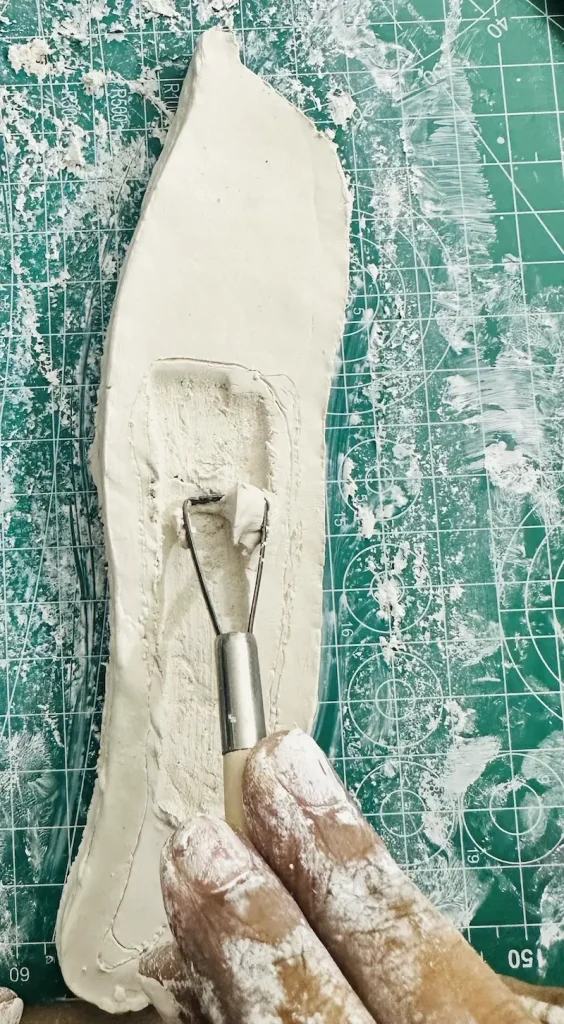
Since we are hollowing out the middle, the tray rim/lip automatically forms. Make sure the rim has even thickness along the tray base. Keep hollowing out the clay until it gets the shape you want.
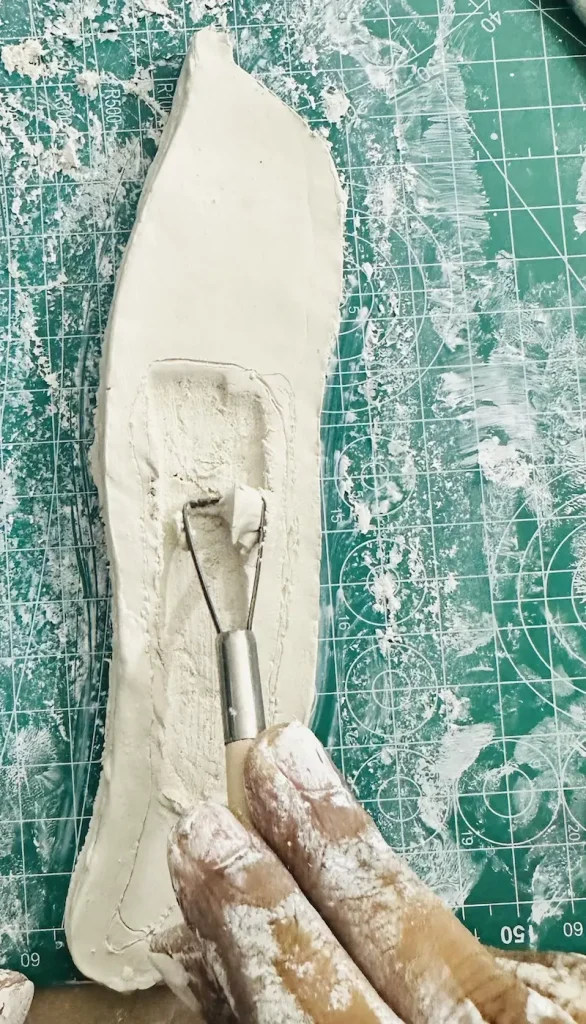
Have a look at my photos of how I did it and what shape I got from it. 📸
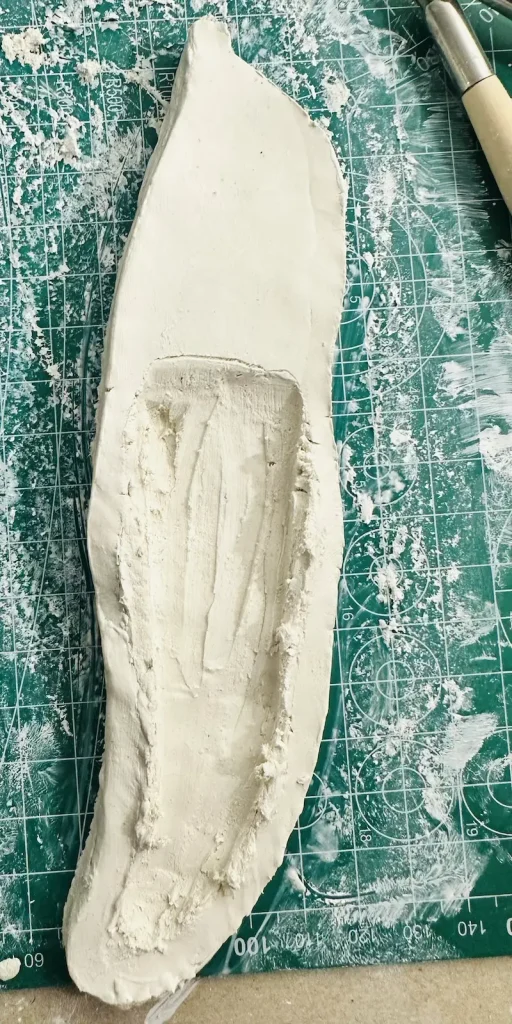
This hollowing out method is known as the Kurinuki technique which is a Japanese traditional pottery technique. I found out about this method on YouTube and tried it out which gave good results.
With this method, you don’t need to separately make tray rims, walls and attach them. You can simply let them form by scooping the middle clay pieces. Easy right?
Keep the scooped clay aside and smooth the tray base and lip by sliding over the whole area with your fingers after dipping them in water.
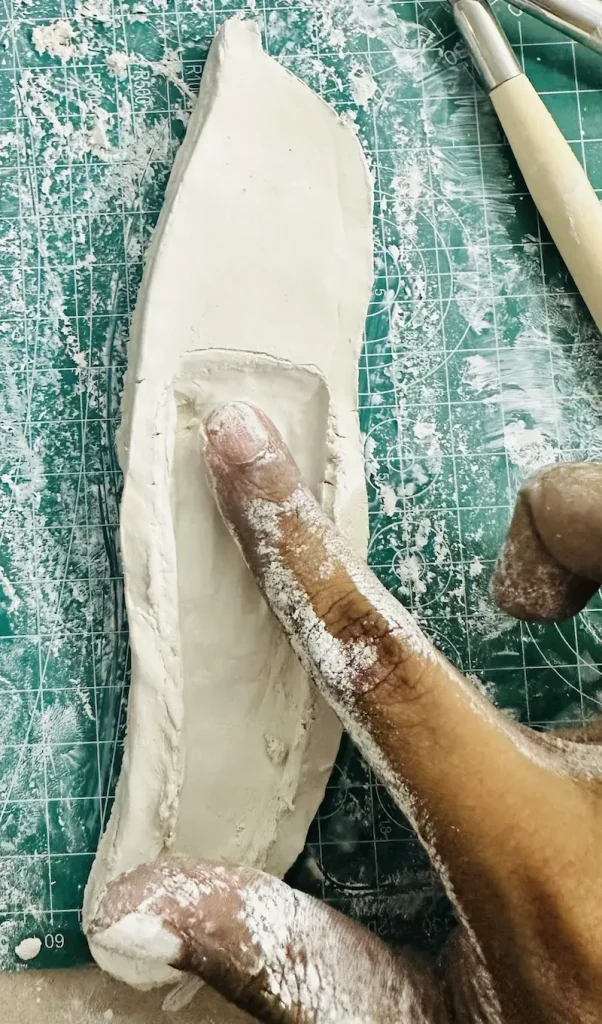
Shape the banana tray as you want.
I added stringy veins on the banana flesh as well to make it even more realistic.
Well done, friend! Now the tray base is done
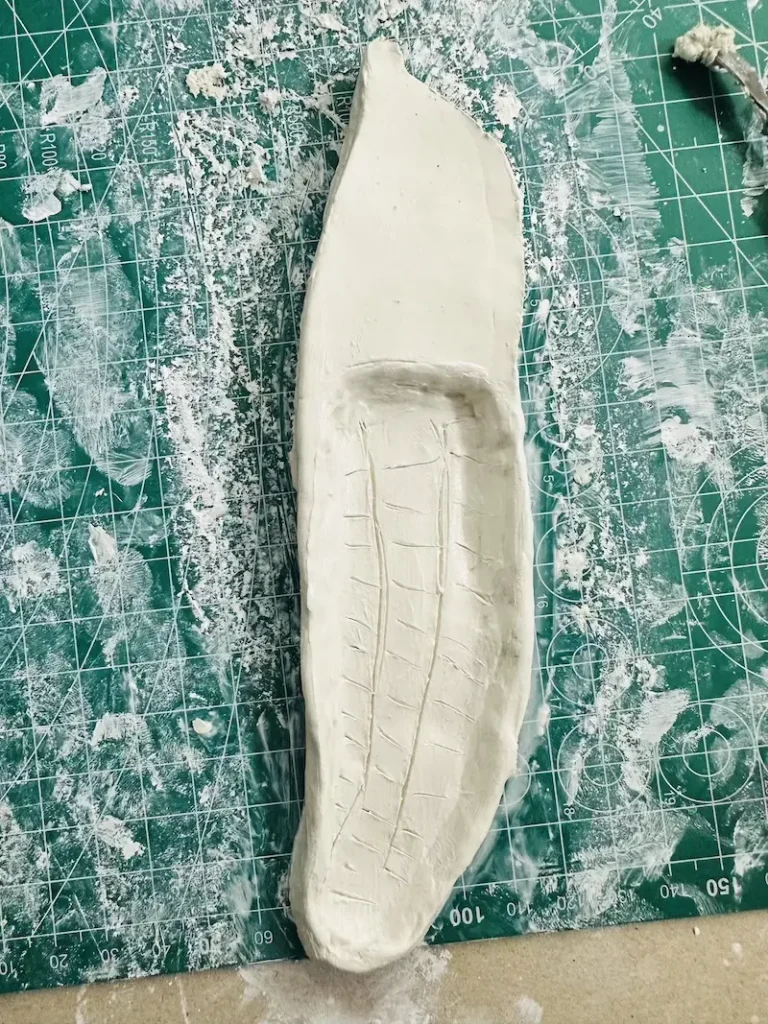
Step 5: Cutting and shaping the peeled skin flaps
Take an air dry clay piece and start kneading and rolling to an even thickness. The thickness of the peels you roll should be high because they should not crack from the middle when draping over the edges.
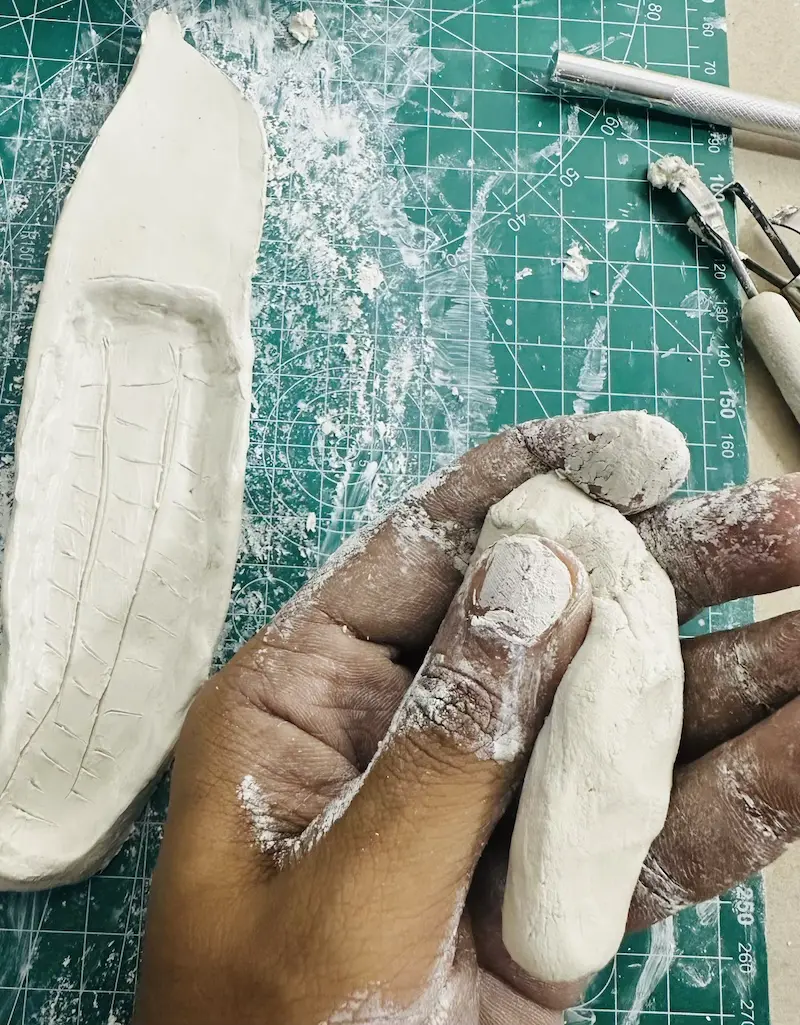
I made 2 strips to make the banana peel. You can decide it as you want.
No need to make them the same width but make sure the length and the thickness of the strips are the same because that’s how the banana peel is formed lol.
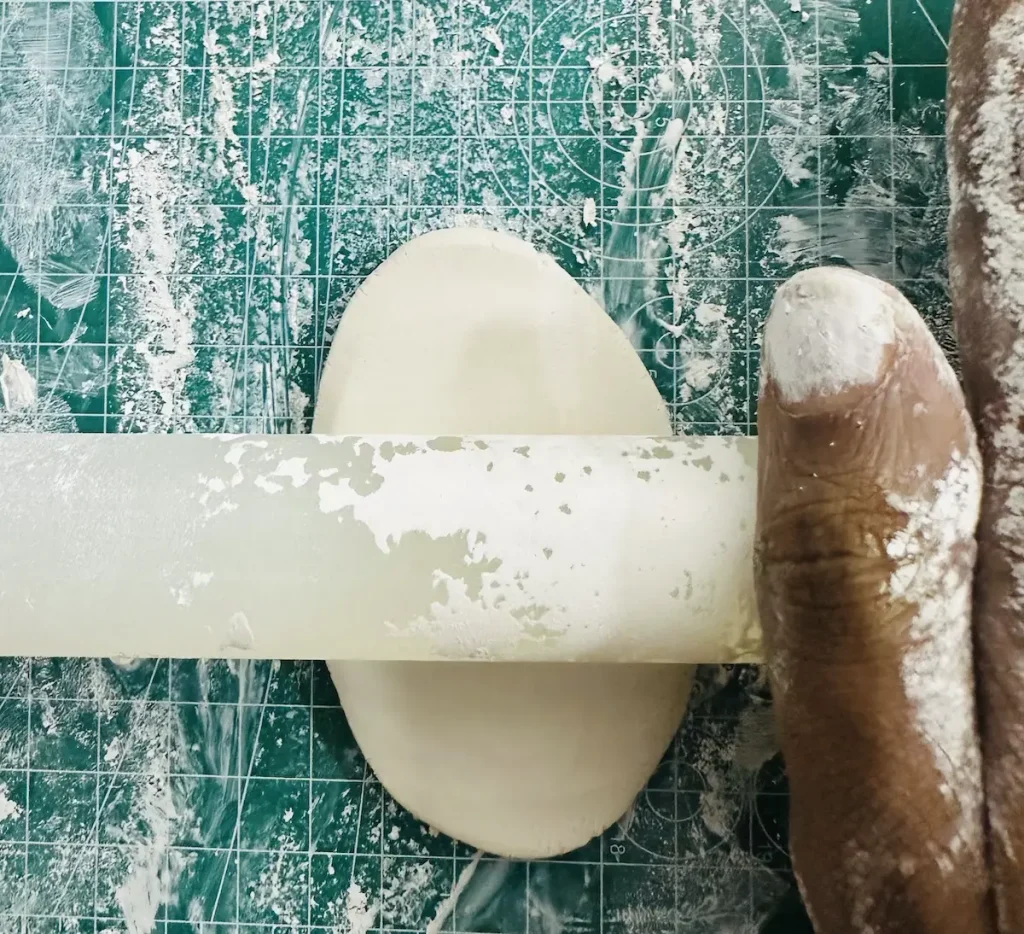
Cut them using your cutting tool. Always trust your instinct. Ask yourself whether they look like banana peels. If the answer is yes, go ahead.
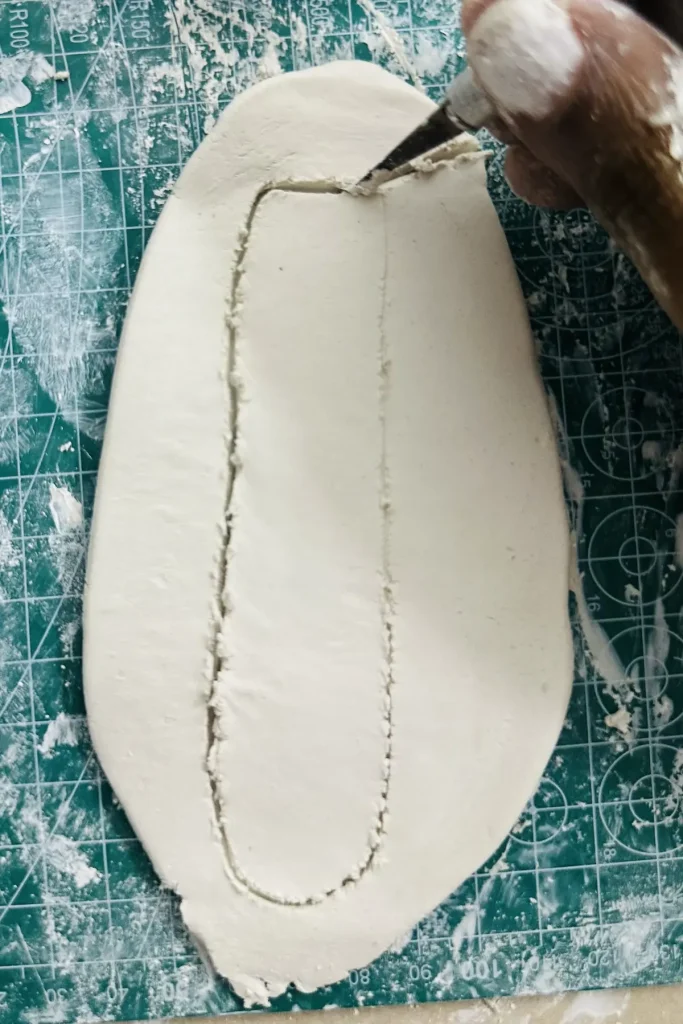
I bent the peel strips by draping the “peels” over the edges to give it that 3D, open look.
Do this carefully. Otherwise, your peels will start to crack from the bent area. This is why I told you to get the thickness high.
Now smooth the peels you made using your fingers with a little bit of water. But one side only!
Step 6: Getting the realistic “phloem” texture on banana peels
I only smoothed the outside area of the banana peels to make it more realistic because the inside of a banana peel is not as smooth as the outside because it contains vascular bundles and has a phloem texture.
Therefore, I intentionally avoid smoothing the inside of the banana peel, leaving the tiny cracks and lines to perfectly mimic the stringy inside of a real banana peel.
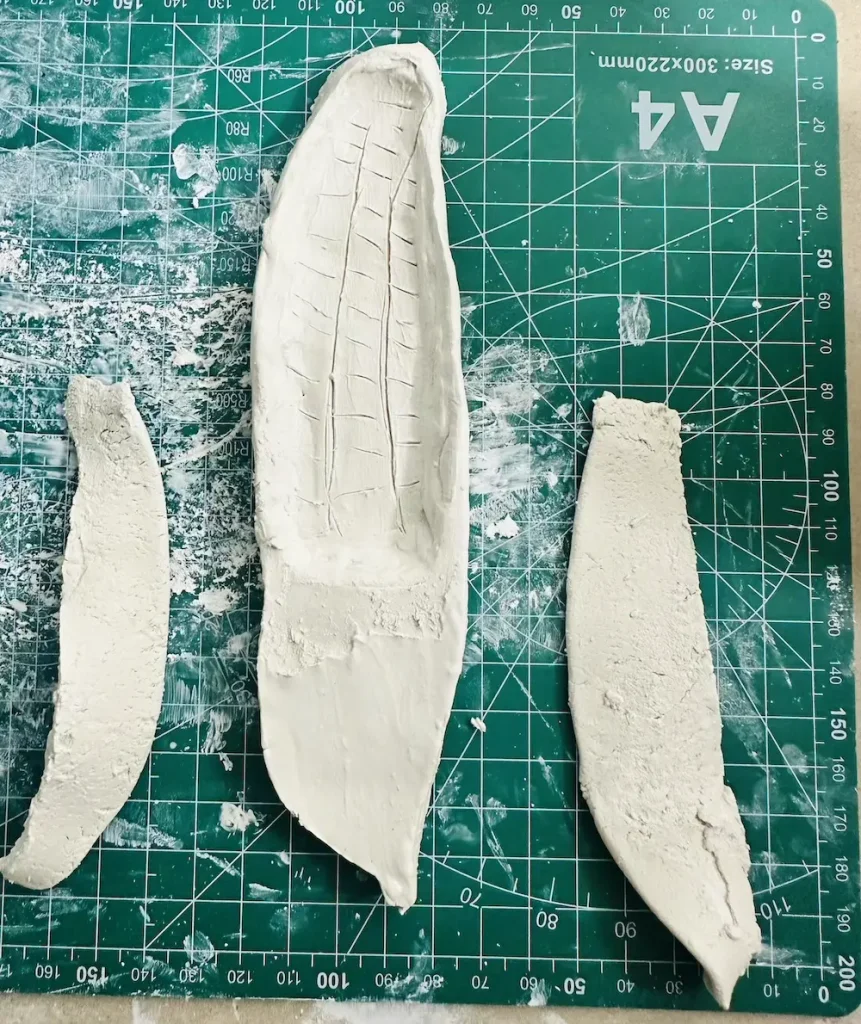
Step 7: Attach the banana peels
Now score the bottom areas of the strips you made and the tray base area that attaches to the strips. Next, tap the areas with a little bit of water and attach them by gently pressing the scored areas together. Please be gentle. You don’t want to misshape what you made. 🤝
This method is called the score and slip method. It is essential to avoid pieces from falling apart when drying an air-dry clay project due to shrinkage.
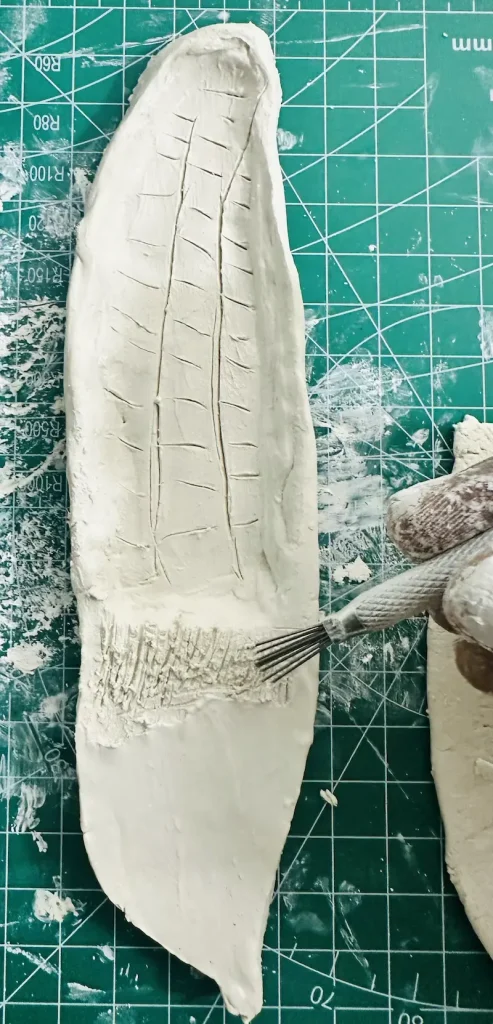
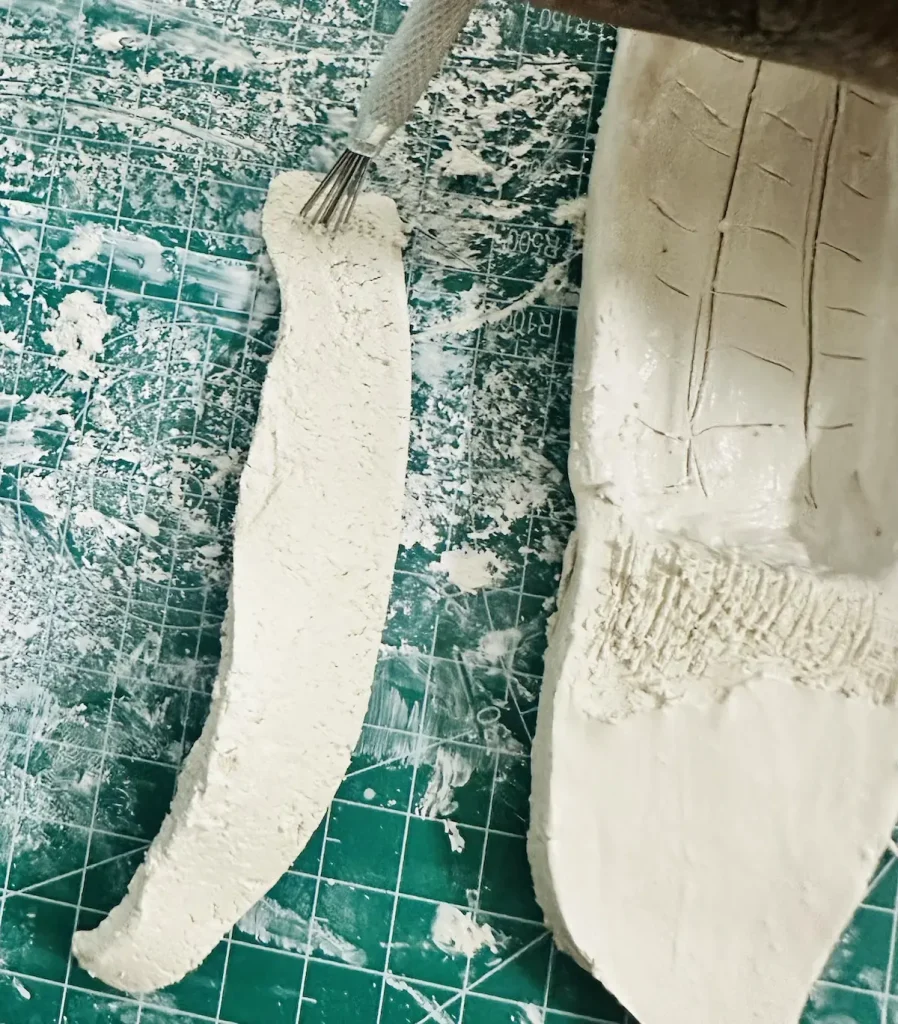
You can’t attach two air dry clay pieces together just by pressing them together.
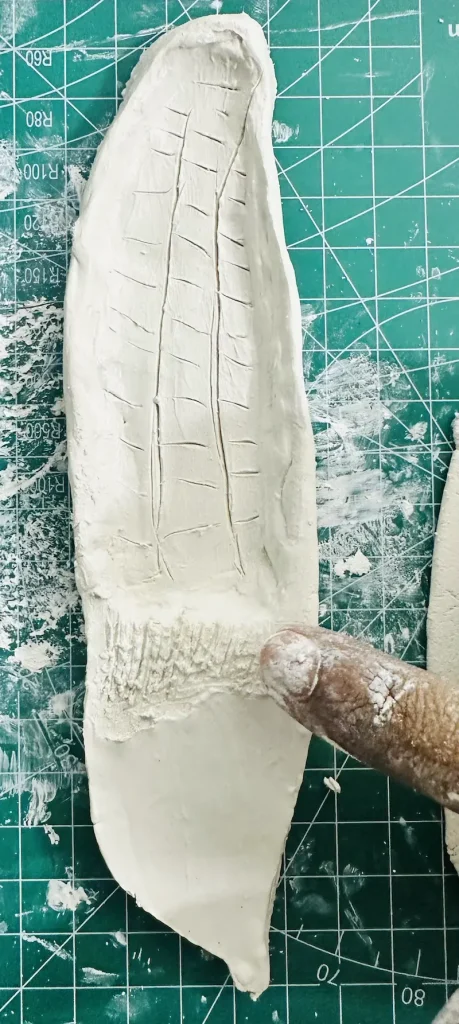
First, you need to score the surfaces and apply “slip” (slip is a mixture of clay and water mixed in a 1:1 ratio) or you can just use water. It works as an adhesive to make a fine grip between the surfaces.
During my first air-dry clay project, I didn’t know this score and slip method and ended up with my cute rabbit project falling apart when drying. 🐰
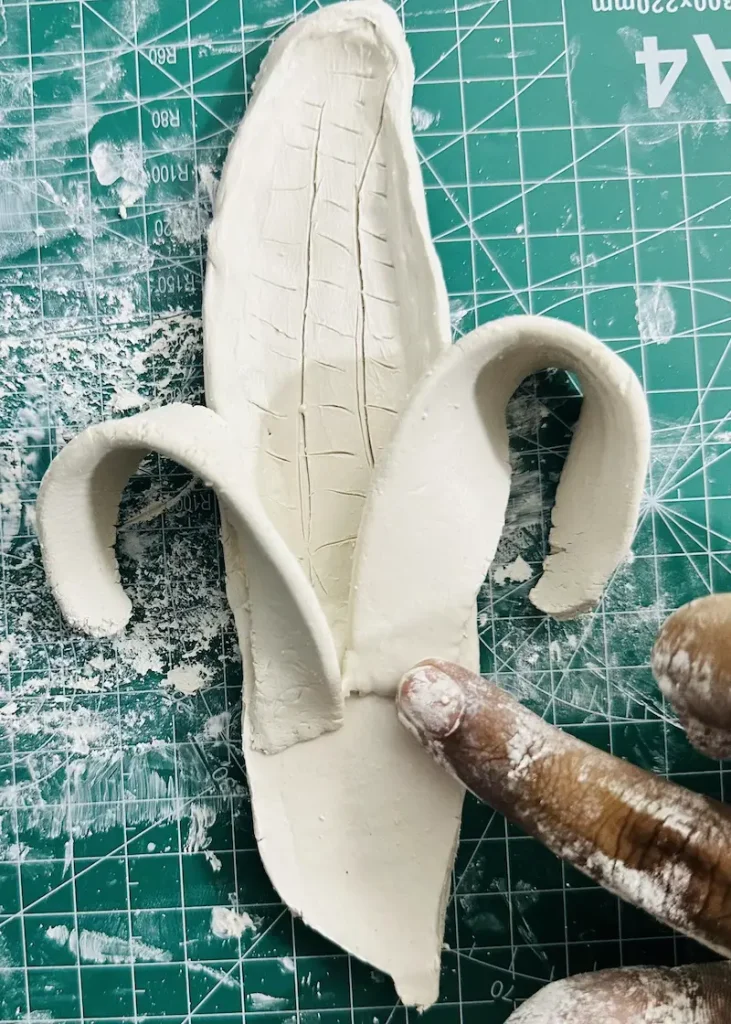
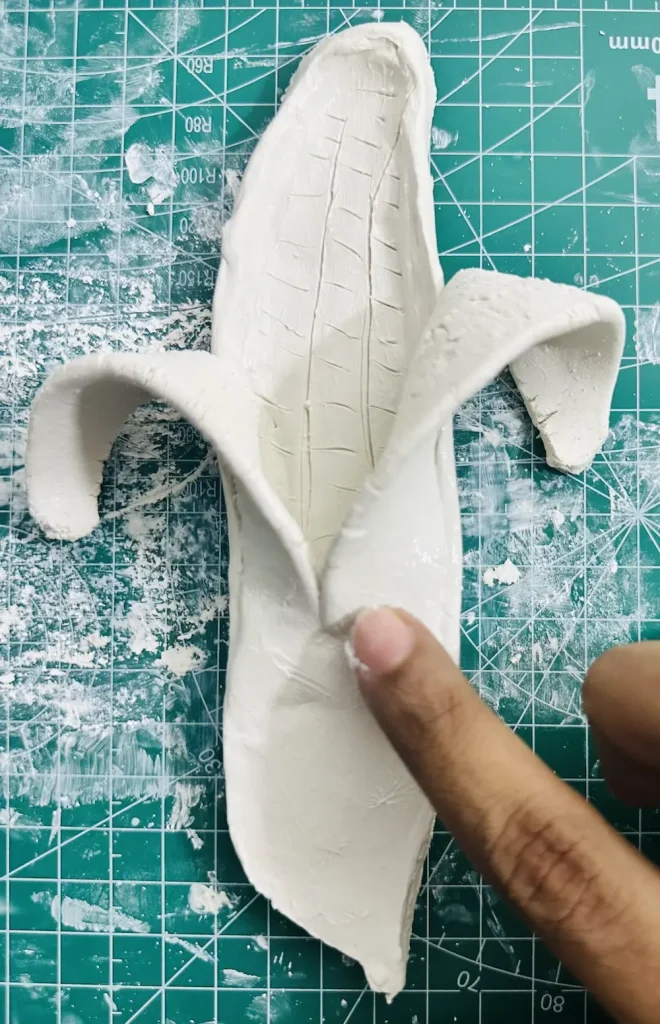
Congratulations guys and gals! You have successfully made the banana trinket tray. But it is still wet right?
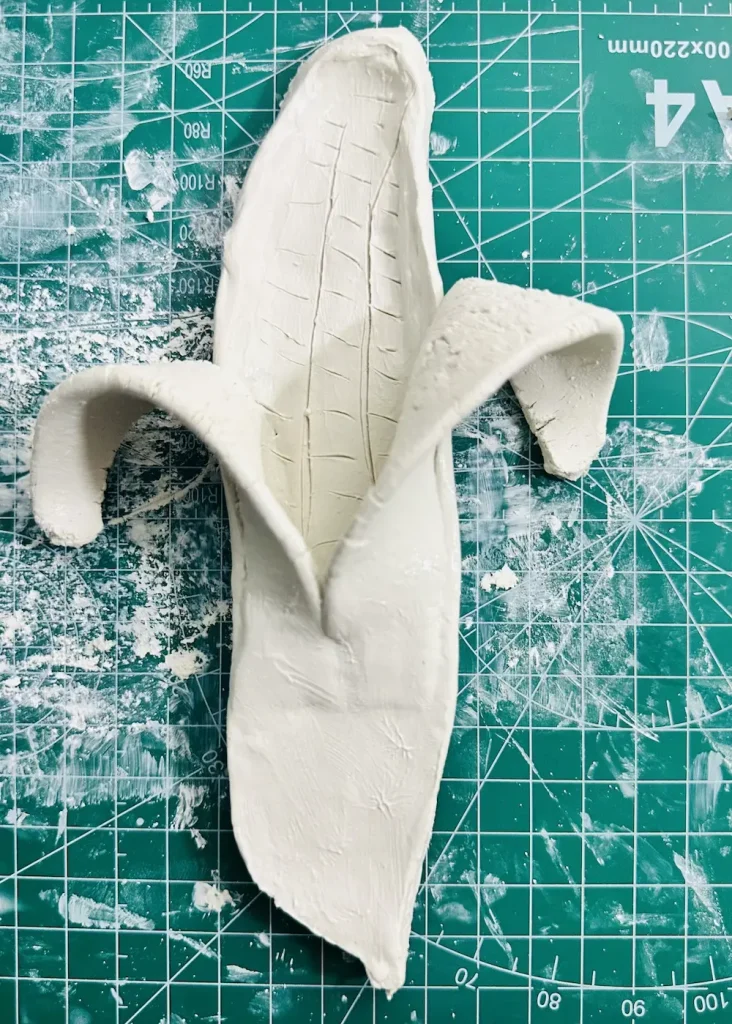
Step 8: Let it dry
Let the wet banana trinket tray you made with air dry clay dry for 48-72 hours. Since the thickness of the clay slabs we made was high, it’s better if you can wait for longer before starting to paint.
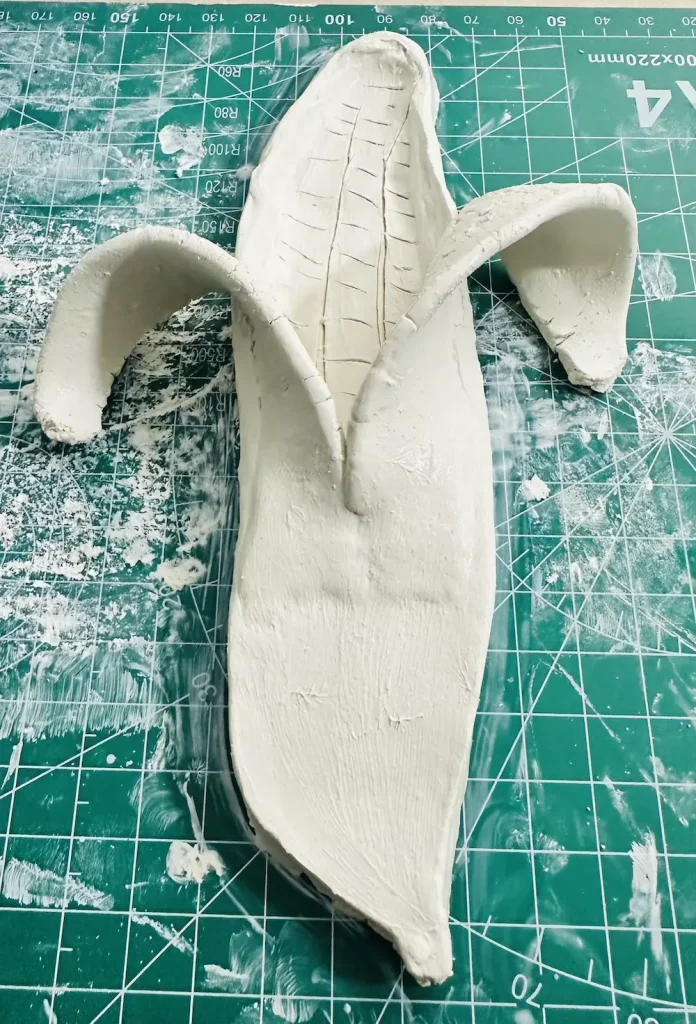
Do not paint over wet air dry clay because paint will start to peel off and it will weaken the clay.
Your banana trinket tray will look more white when it’s fully dried with no grey patchy areas. Clean the surface well with paper towels before you start painting.
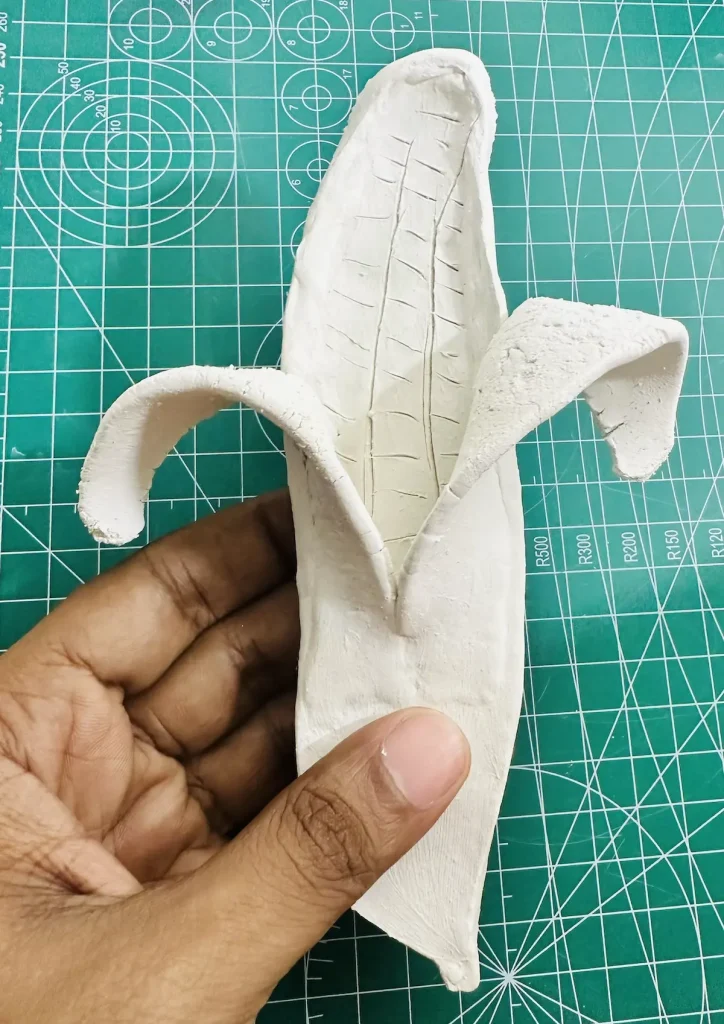
My clay army! GET READY TO PAINT!!!!
Step 9: Painting the banana trinket tray
I use acrylic paint for all my air-dry clay projects. So, the same goes for the banana trinket tray as well. Acrylic paint comes in vivid colors; you can mix and get the color you want with only a little bit of water. 🖌️
It does not weaken the clay, it makes a water-resistant coating over the air-dry clay, and they are popular among clay artists.
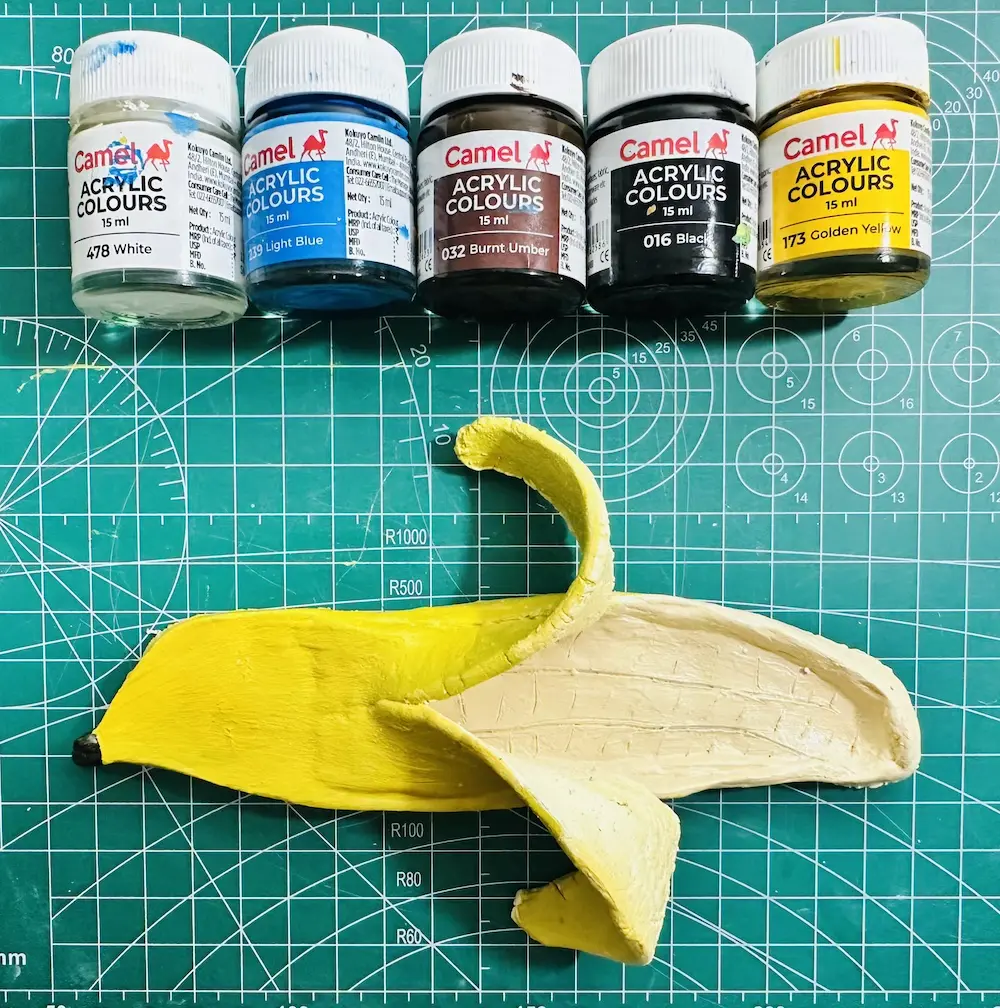
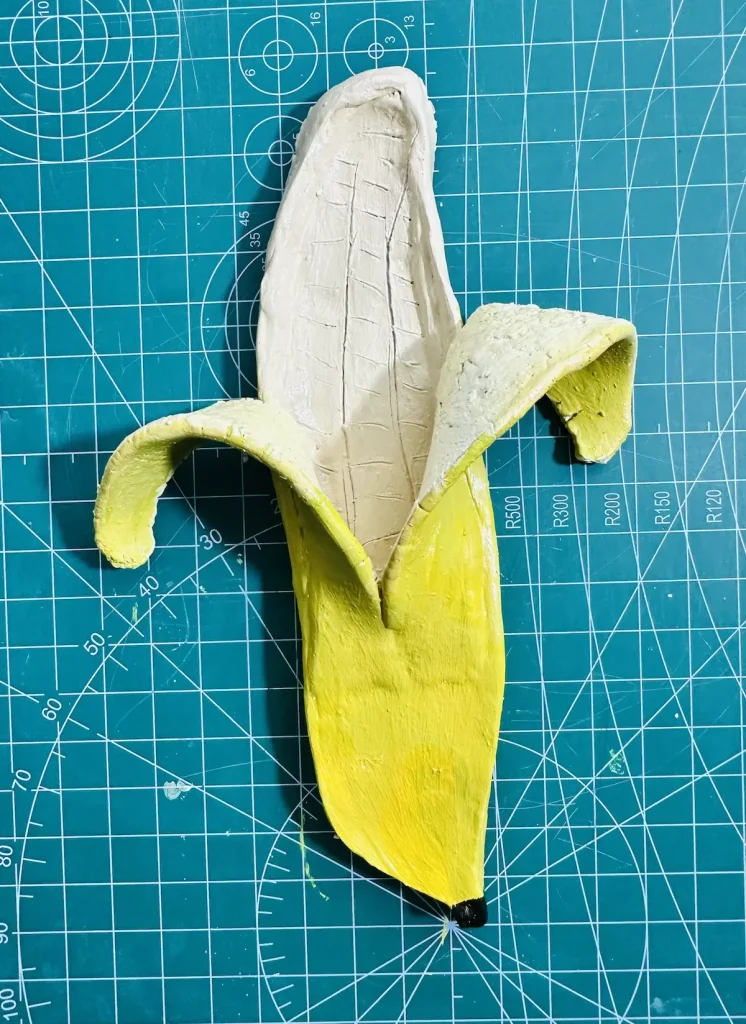
I used yellow, white, blue, brown and black acrylic paints for this project. First I mixed paints and got the cream color I wanted for the banana flesh/fruit.
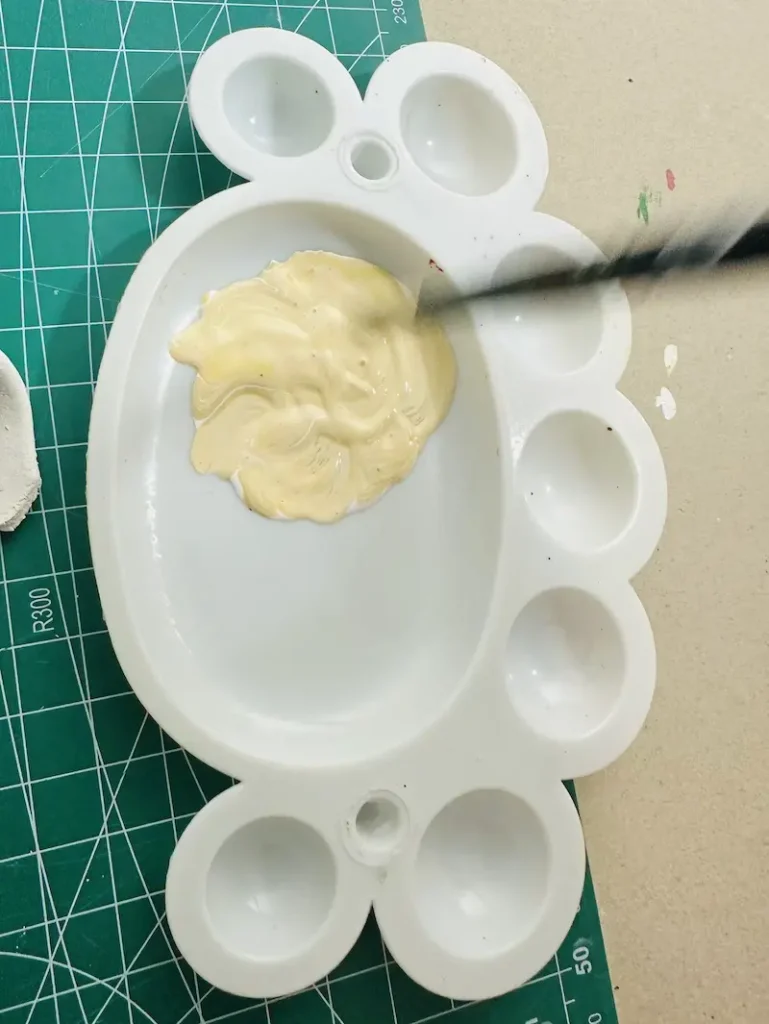
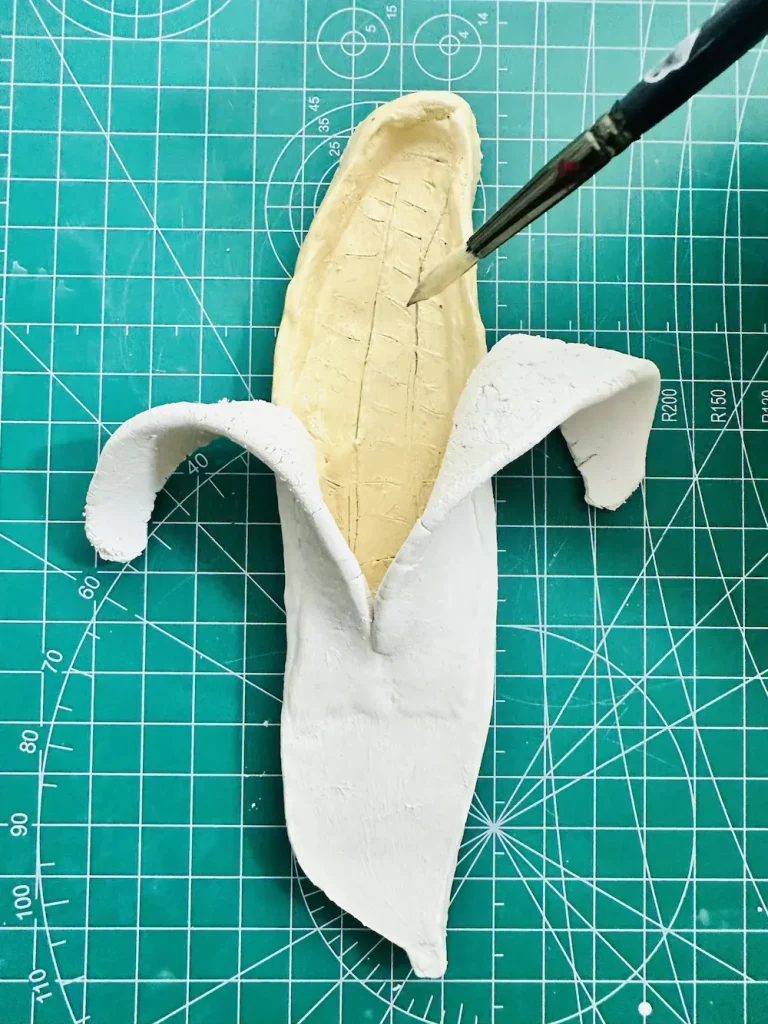
Then I applied yellow for the banana peel. I mixed black with brown for the banana stem and pale yellow for the banana peel inside.
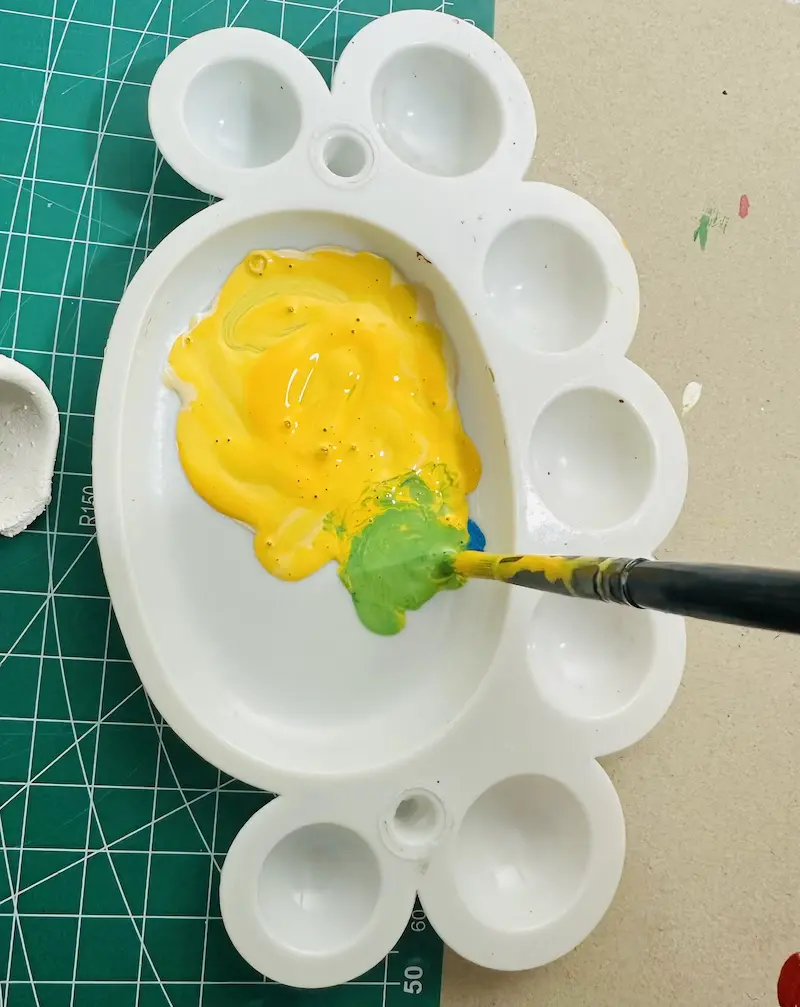
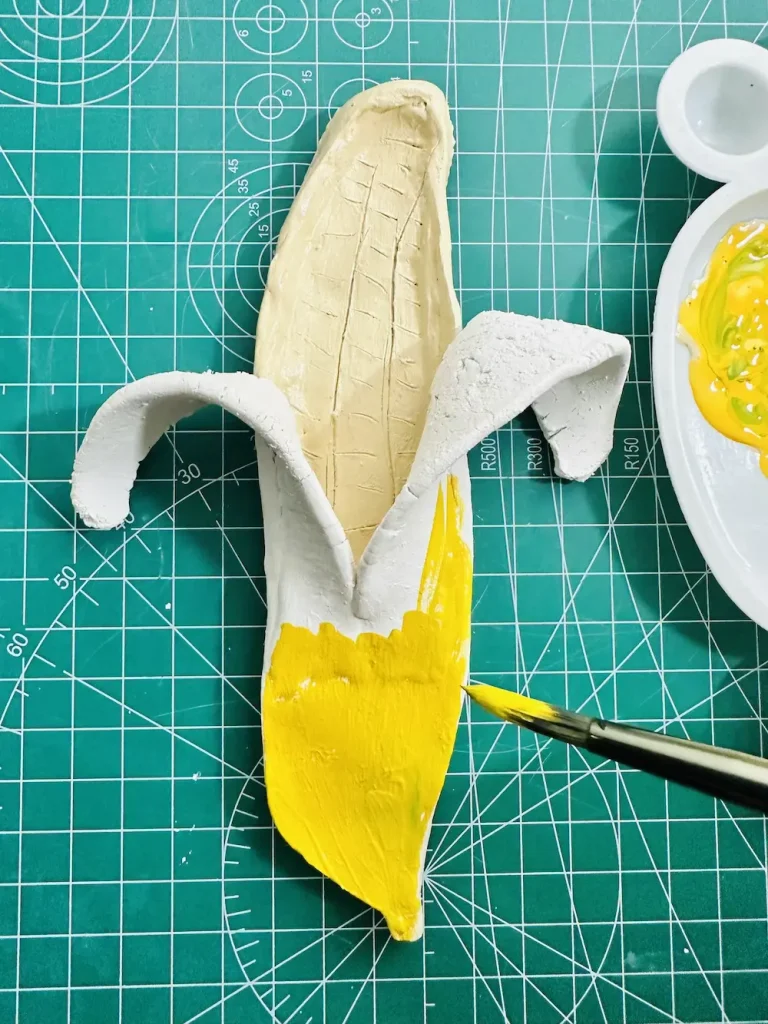
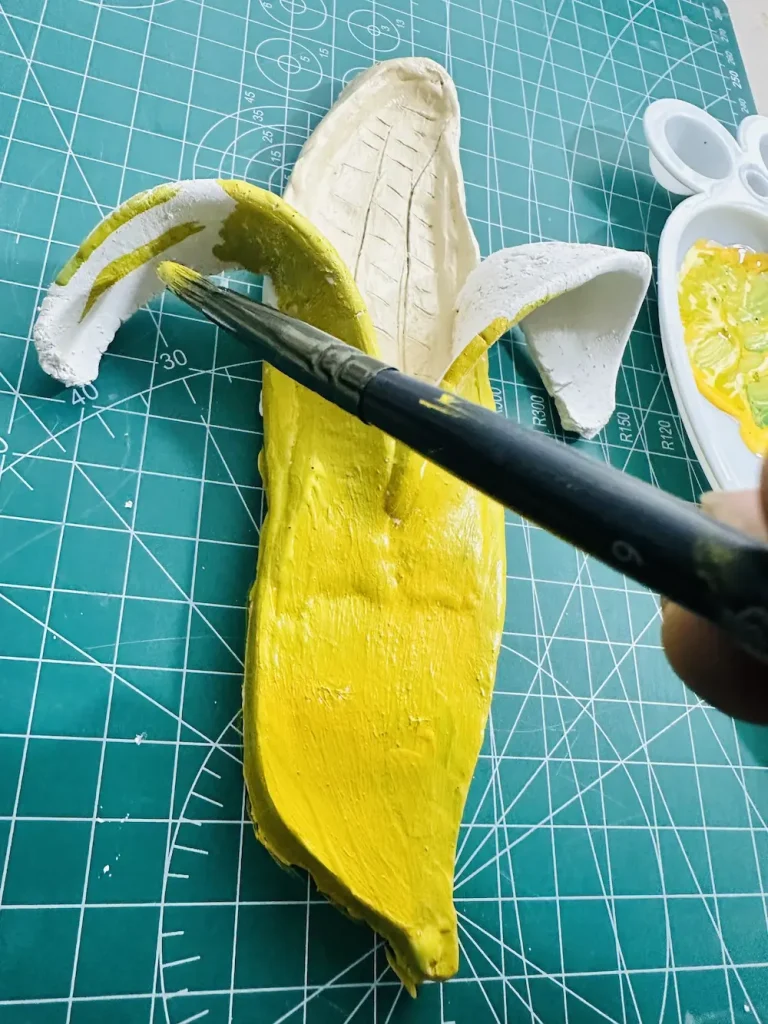
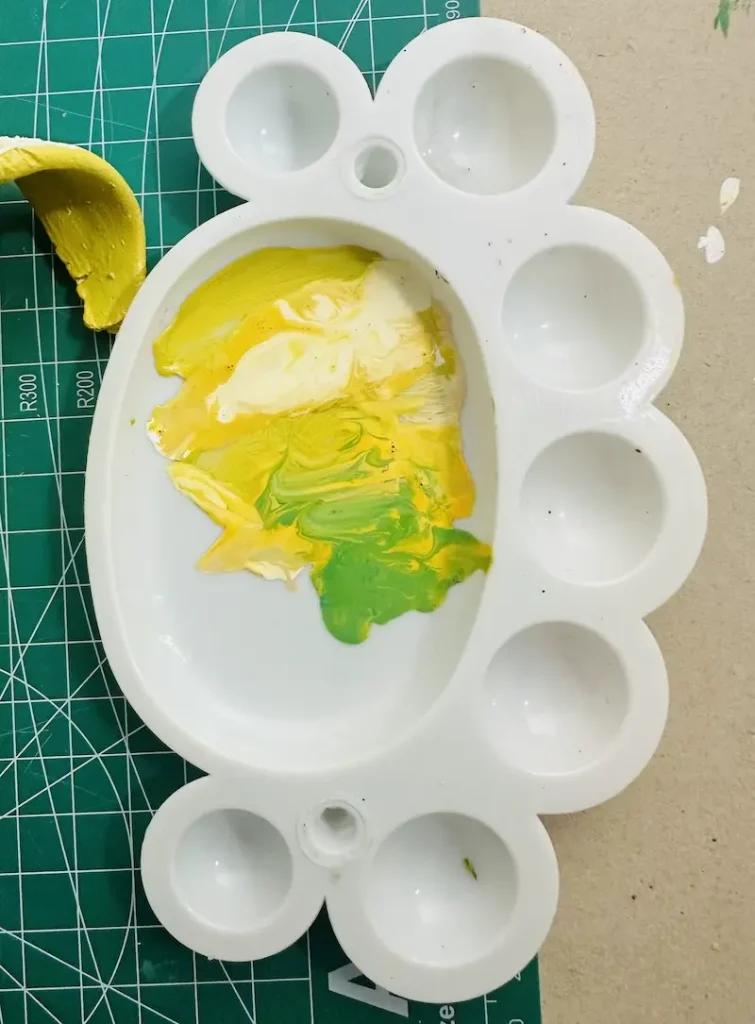
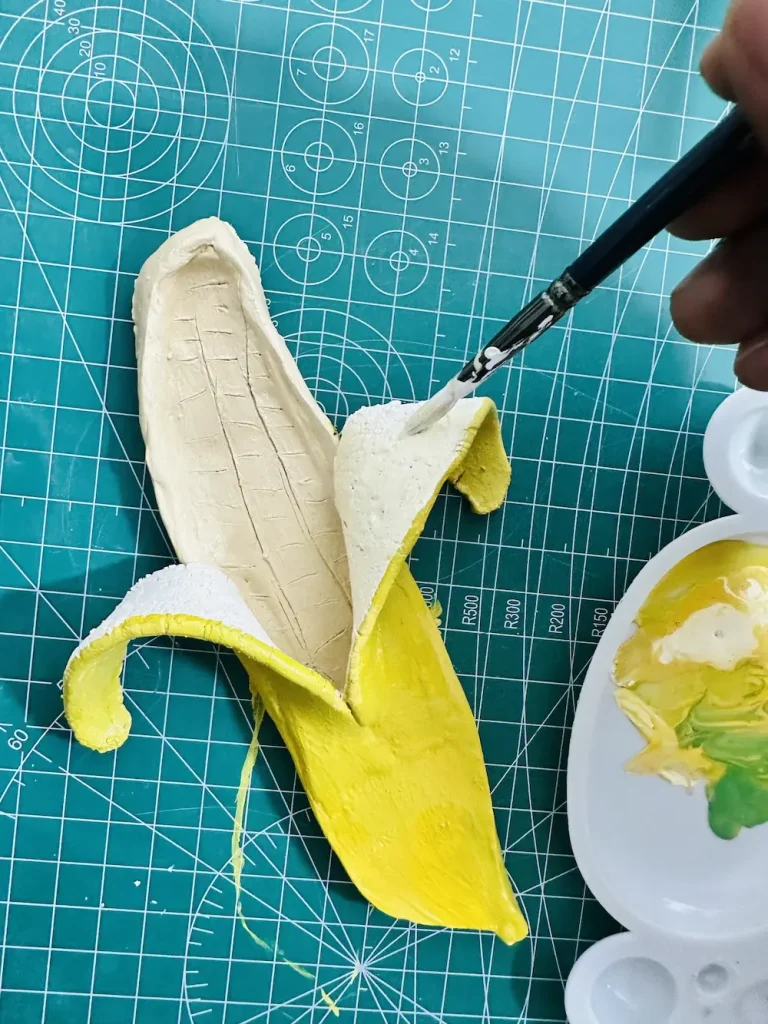
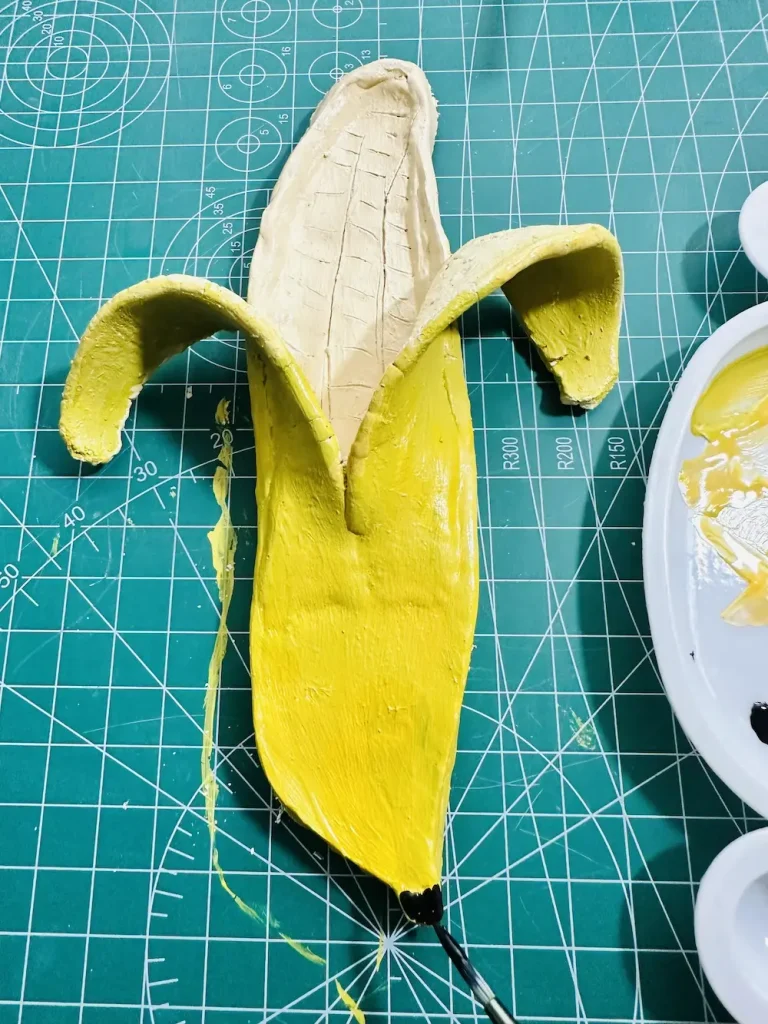
Make sure to apply thin and even acrylic paint coats to avoid forming bubbles and tacky spots. Apply in one direction to avoid forming brush marks.
After painting the whole project as you wish, let it dry for 2-3 hours before sealing.
Step 10: Seal the banana trinket tray
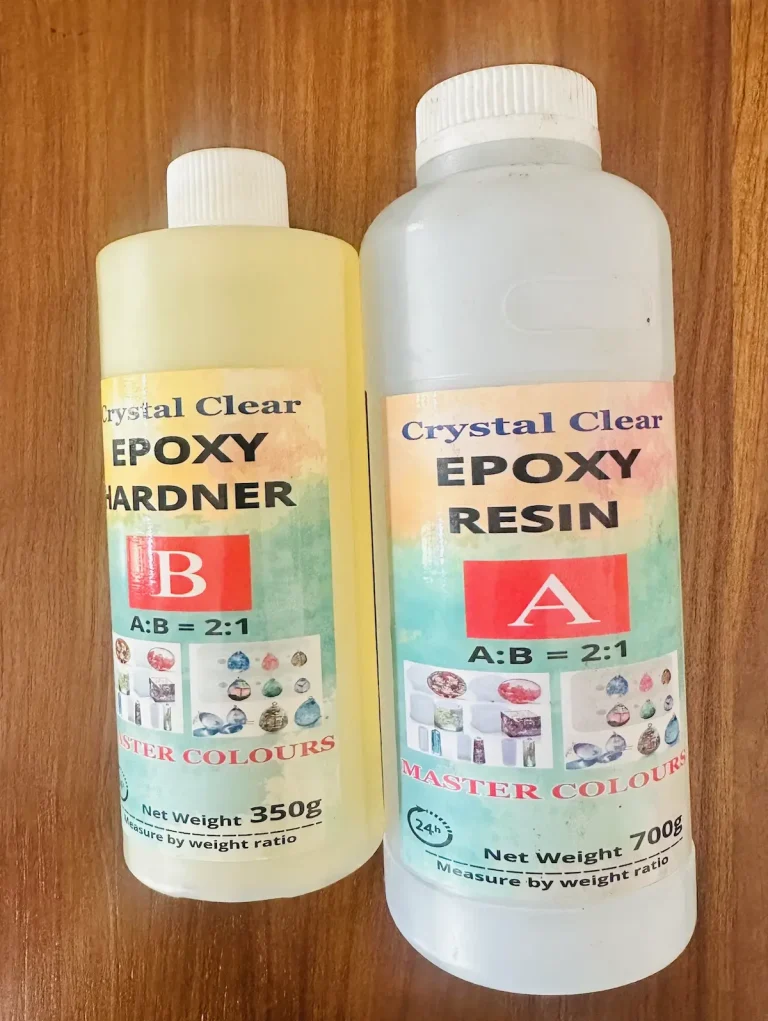
For air dry clay sealing, you have many different options. Gloss varnish, UV resin, Polyurethane, Epoxy resin are some of them.
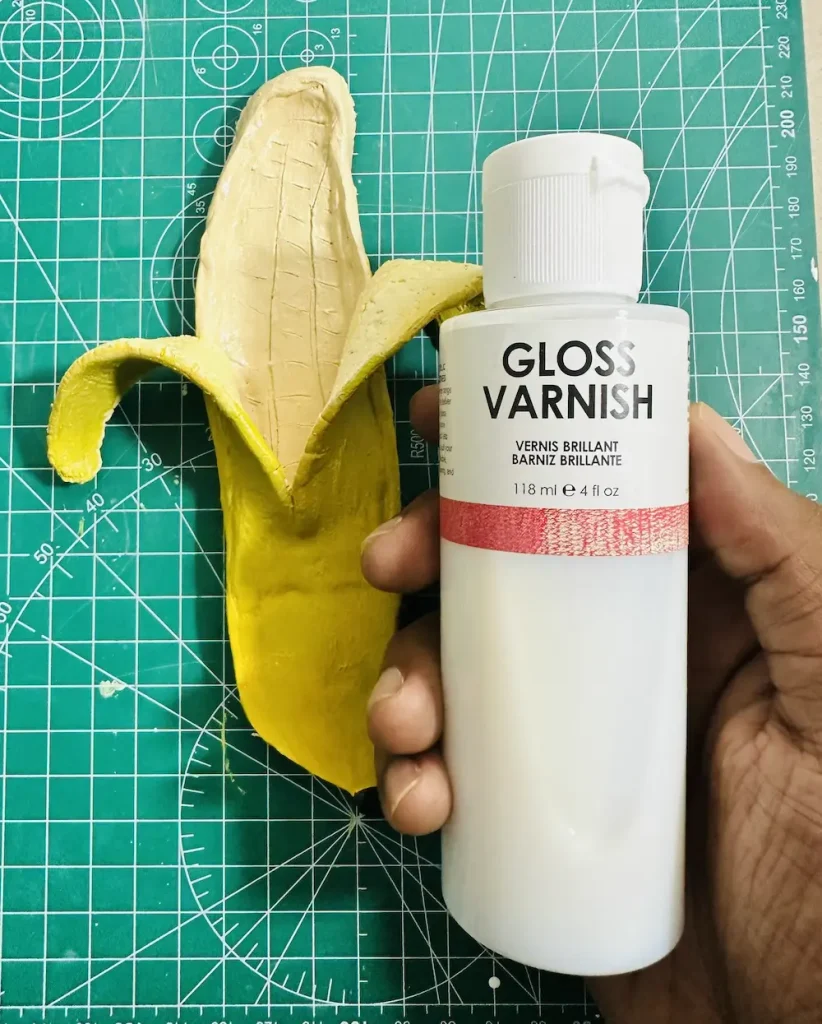
I used gloss varnish to protect my banana trinket tray. It offers long-term protection, a high-water-resistant coating and a nice glossy, ceramic-like finish.
Plus, gloss varnish dries in the air. There’s no need to expose it to UV light. ✨
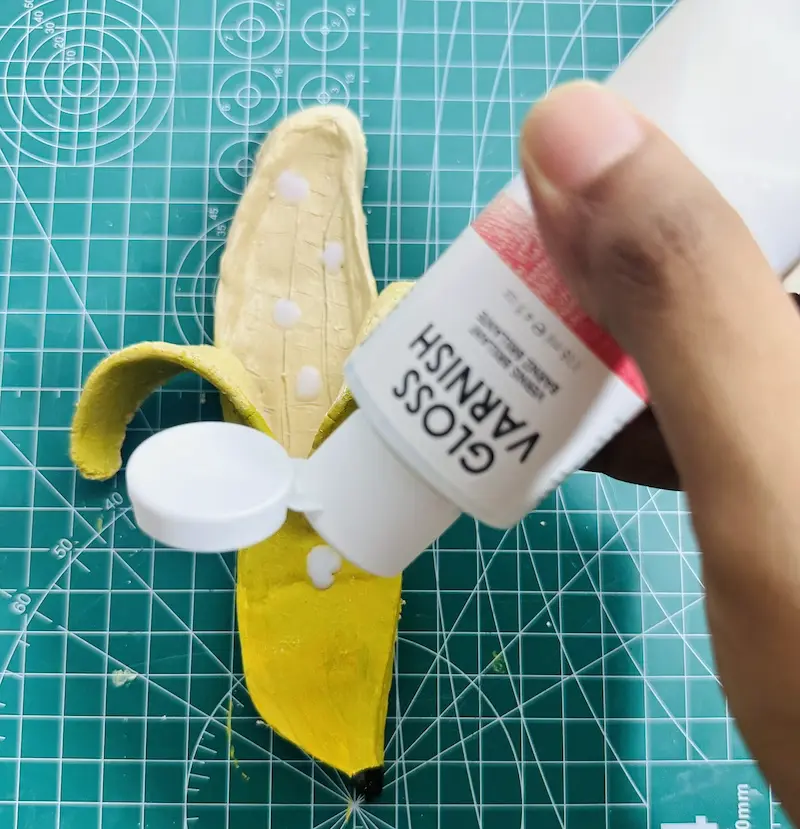
Apply 2-3 coats of gloss varnish. After each coat let it dry for 24 hours before applying another. The first coat is just the base and from the second coat onwards you’ll start to see the gloss. Don’t go for more than 3 because the surface can get tacky.
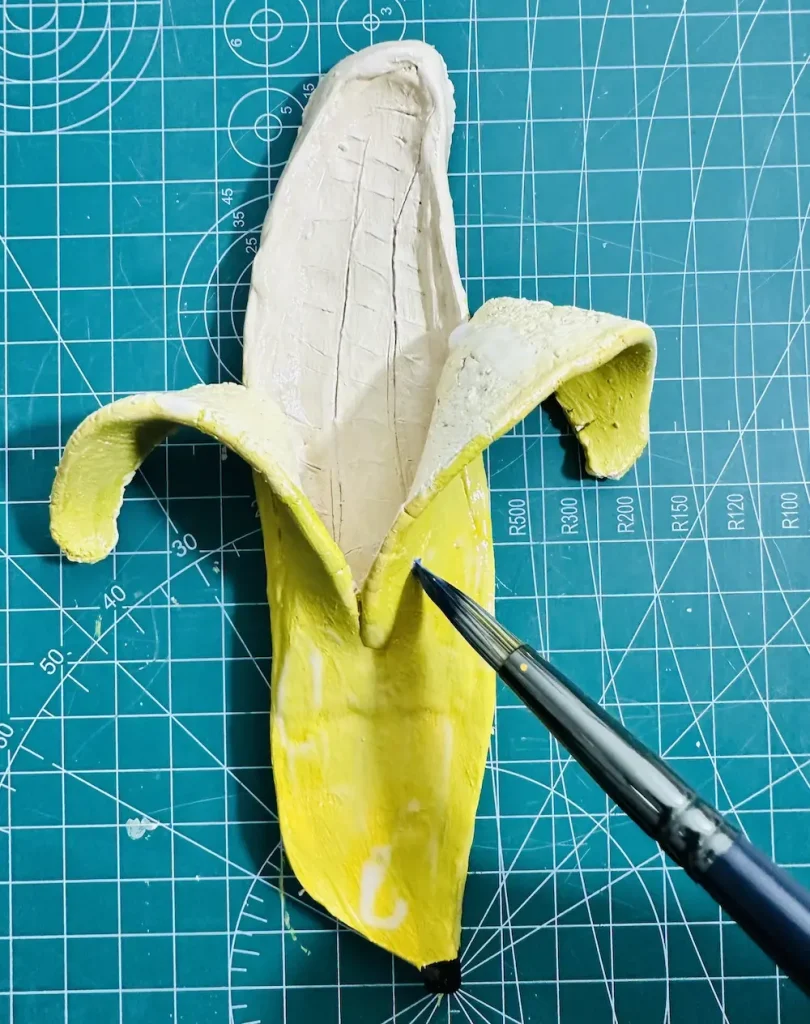
Apply thin and even coats in one direction to avoid leaving brush marks and bubbles.
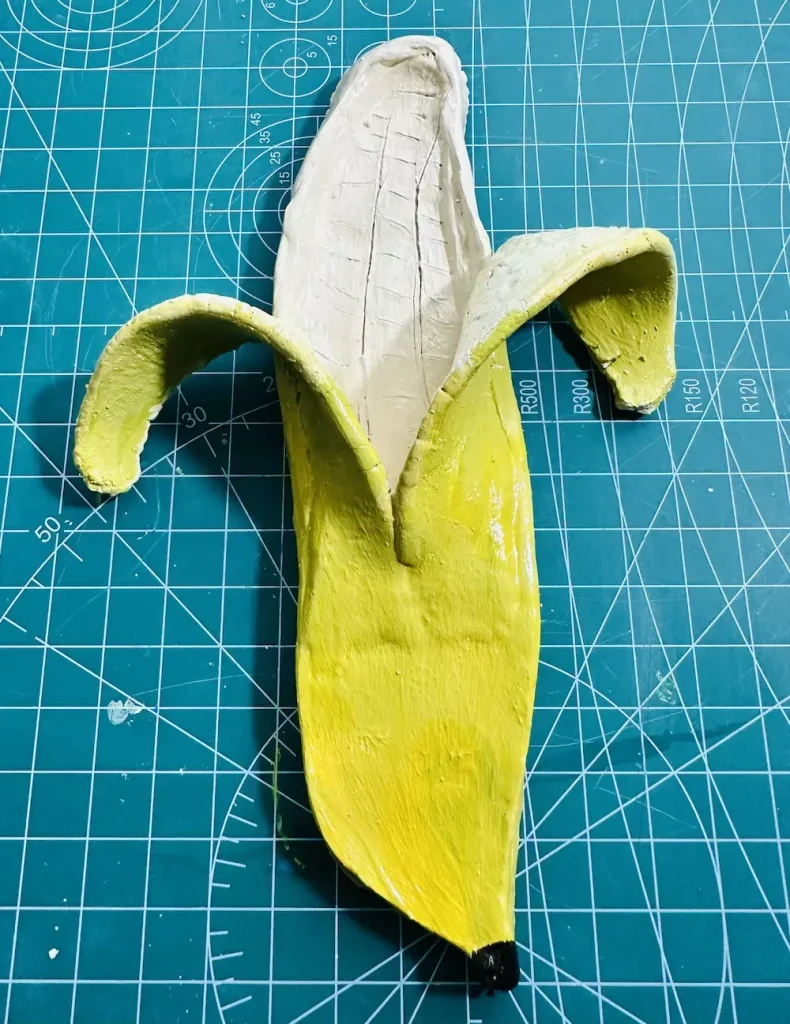
After sealing the whole body, let the banana tray dry for 24 hours.
Congratulations my friend! You have successfully completed the banana trinket tray project! Hip Hip Hooray!!!!!
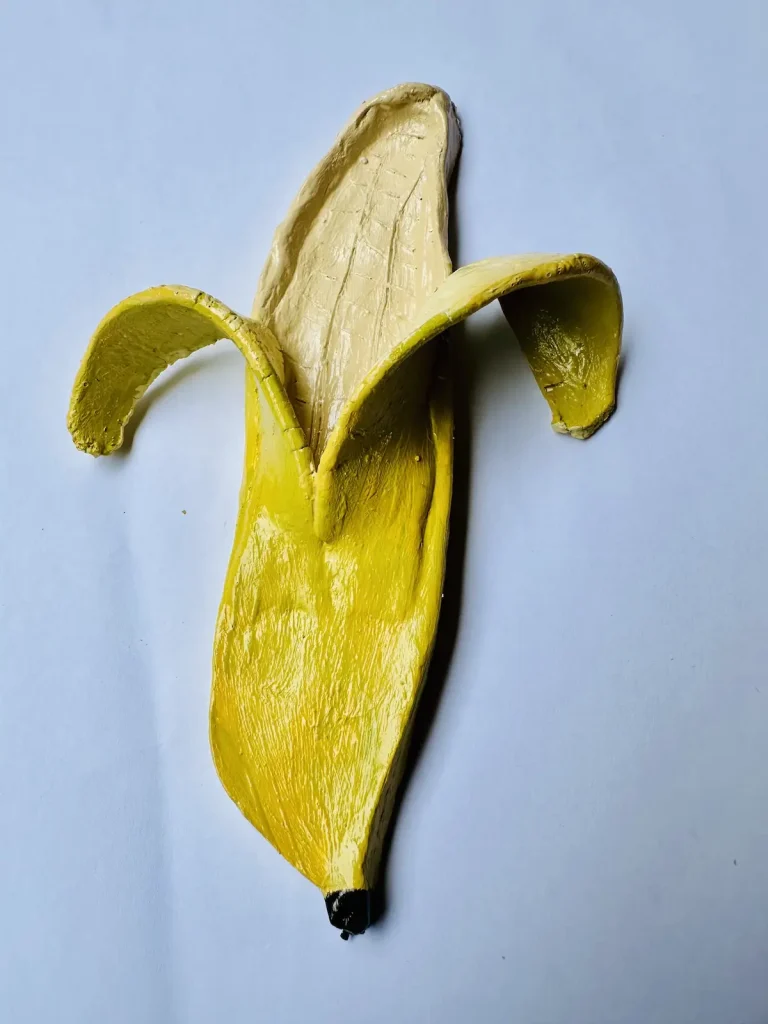
As a beginner, I’m so proud of the banana project because its shape is different. I learned the Japanese Kurinuki technique along the journey and was able to make it with far fewer mistakes than my previous projects. I’m so happy. 🍌
I’m happy because I didn’t quit during the hard times when my air dry clay did not behave as I wanted.
FAQ
How long does an air dry clay trinket tray take to dry?
48-72 hours or more. Drying time depends on the clay thickness and the humidity of the area you live in.
What is the best way to seal an air dry clay tray?
I use gloss varnish to get the gloss ceramic like finish and it offers long term protection from moisture.
Can you use an air dry clay tray for jewelry?
Of course. You can use air dry clay trays to hold rings, bracelets, and other jewelry.
Final thoughts
I know you’re happy too because you saw how a complete noob artist created this beautiful banana trinket tray. But in order to make me happier and make you the happiest, I want you to start making this.
This is my 6th air dry clay project. So you know this was not made by an expert.
Mistakes and errors can occur and that’s ok. We are beginners. No one should judge us. Mistakes are what make us perfect in the future.
Be sure to tag @clayandmestudios in your banana trinket tray project. I sure love to see them when you do. I’ll see you next time with another cool project! Cheers! 🤟🏾
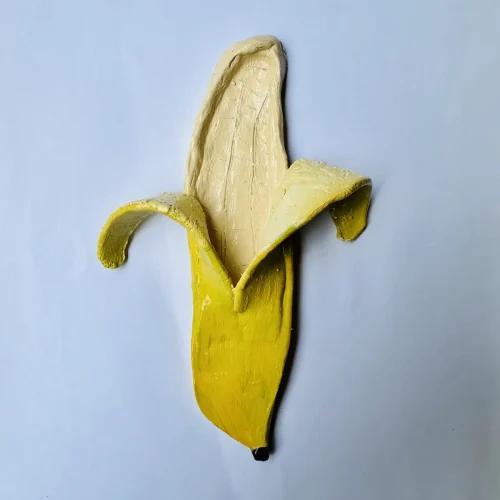
DIY Air Dry Clay Banana Trinket Tray
Supplies Needed
Air dry clay (any brand you can find is okay)
Acrylic rolling pin or cooking rolling pin
PVC mat or silicone mat (or non-stick surface)
Clay tools (or use toothpicks)
Wire end tool/ ribbon tool/ loop
Clay cutting tool (or small knife)
Cup of water or spray bottle
Acrylic paint (red, green (I mixed blue and yellow because I didn’t have green), white)
Gloss varnish
Paintbrushes
Paper towels
Optional: Sponge or silicone sculpting tool (or you can use your finger)
Instructions
1. Kneading
- Start by kneading your clay like pizza dough to get rid of air bubbles. This stops cracks later! 🍕
2. Rolling
- Roll the clay to 1/2 inch thickness. Flip and rotate it every few rolls so it doesn’t get stuck to your mat! 🔄
3. Shaping & Hollowing
- Trace and cut a curved banana base. Use your loop tool to scoop out the middle (Kurinuki style!) to create the tray area. 🥄
4. Attaching Peels
- Roll two thicker strips for “peels.” Use the “score and slip” method (scratch the clay and add water) to stick them to the edges for a 3D look. 🤝
5. Drying
- Patience is key! Let it air dry for 48-72 hours until it turns fully white. No shortcuts! 🌬️
6. Painting
- Apply thin coats of acrylic. Use cream for the inside and yellow for the peel. Don’t forget the brown stem! 🍌
7. Sealing
- Apply 2-3 coats of gloss varnish for that professional ceramic finish. Let each coat dry for 24 hours. ✨