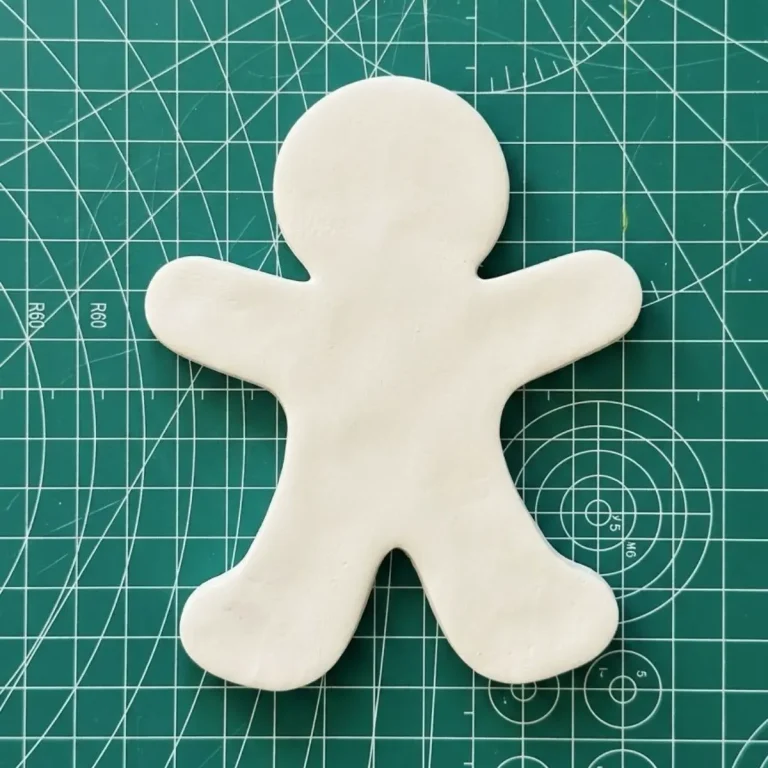
I know it’s frustrating to see the pieces you build, spending your time or sometimes hours, not stick together. This makes you feel so bad for using air dry clay for the project, and you’re probably thinking of switching to some other clay type. But hold on! 🛑
What if I told you there is a way to fix this? Yes, air dry clay is not as tacky as polymer clay. But what if I told you there are simple techniques you can follow to attach air dry clay pieces, no matter how big or small they are?
I also learned this the hard way after my first project, which was a small rabbit made with air dry clay. The head, body, legs, and arms did not stick together quite well, and basically, each piece ended up falling apart when the project was drying.
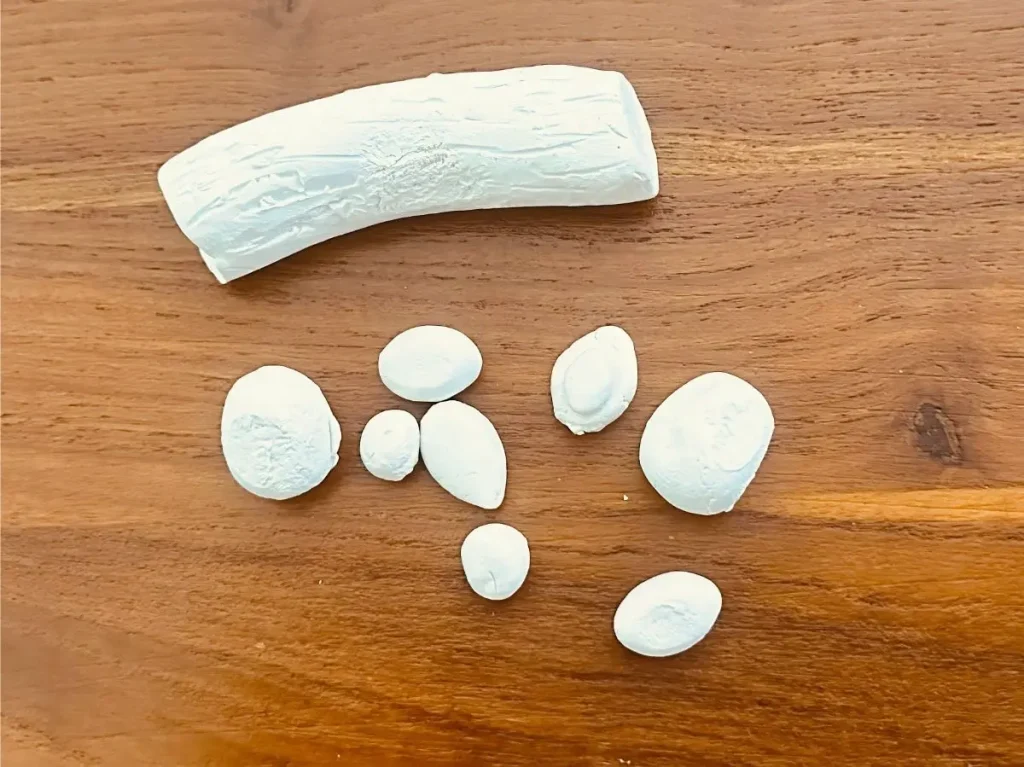
I did my research and was able to find why this happened and how to overcome this. So, in my next projects, I was able to not think about this fear much because each piece I attached held quite well.
The Main Reasons Your Air Dry Clay Pieces Fall Apart
There is no specific, single reason that can cause air dry clay pieces not to attach. Sometimes it can be one of the following reasons, or sometimes it can be more.
Based on my experience and the research I did, here are the main reasons your air dry clay is not sticking together:
You Skipped the “Slip and Score” Method
The first law of bonding is that smooth surfaces do not attach together. Remember that! You need to create an adhesion between them to attach.
As you know, air dry clay contains moisture. Not only because you add a sip of water when shaping it, but it already contains moisture inside.
So, when you attach two pieces without doing anything, only by pressing together, yes, they do attach due to that moisture. But when you let the project dry for hours or days before painting or sealing, the moisture inside evaporates and the bonds become weaker. Finally, all the air dry clay pieces you attached fall apart. 🥀
This happened during my rabbit project, so I know it by experience. 👇
The Clay Was Too Dry When Joined
This is one of the common reasons air dry clay does not attach, especially when attaching new air dry clay pieces with the old one, even though you kept the old one in a sealed container.
Moisture is a must for the bonding of air dry clay. Yes, air dry clay contains moisture inside. But that’s not enough.
When you don’t add a little bit of moisture to the bonding surface of the clay and press together, the moisture will evaporate to form the molecular bond between air dry clay particles. Therefore, the bonding will be weaker and pieces will fall apart over time.
Water basically acts as a glue when you’re bonding. So, when no water means no bonding. Simple as that. 💧
Uneven Shrinkage During Drying
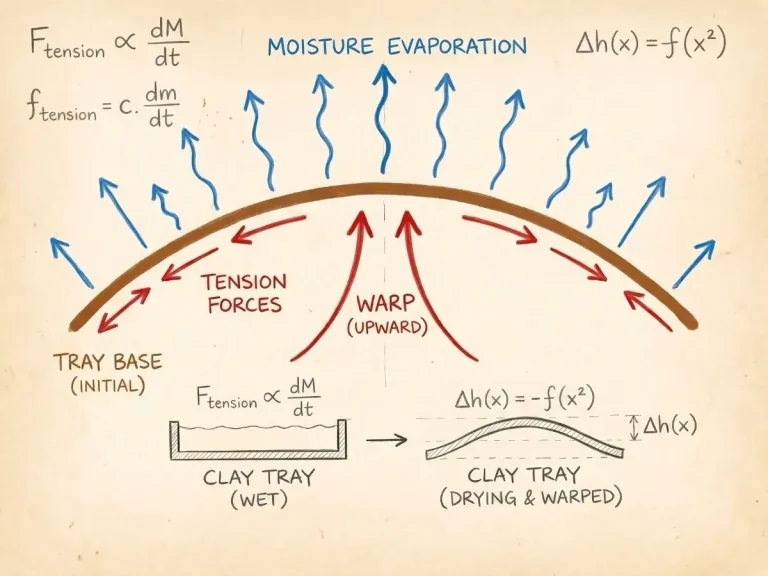
As I told you earlier, air dry clay contains moisture, and it evaporates when the project is drying over time, causing air dry clay to shrink.
Think like you make a clay rabbit figure as I did (I tried to do, lol) and you attach a small, cute arm to the big tummy of the rabbit. This is one scenario where your action might fail.
Because when you attach a thin air dry clay piece to a large, thick air dry clay piece, the moisture evaporation rates are different due to their sizes.
When the moisture evaporates, both thin and thick pieces start to shrink, but at different rates. This uneven shrinkage between attached air dry clay pieces will cause the bond between them to get weaker and pop.
Not Applying a Thin Air-Dry Clay Coil to Attach Large Pieces
This is an optional reason, which is not always the problem, but it can be a reason when air dry clay is not sticking together.
When attaching large air dry clay pieces, a thin line of air-dry clay, which is rolled as a thin coil, is pressed down onto the wet joint to make the pieces lock together structurally. So, when you do not add that thin air dry clay coil along the bonds, you won’t get that structural strength, and you only have to depend on the slip and score method.
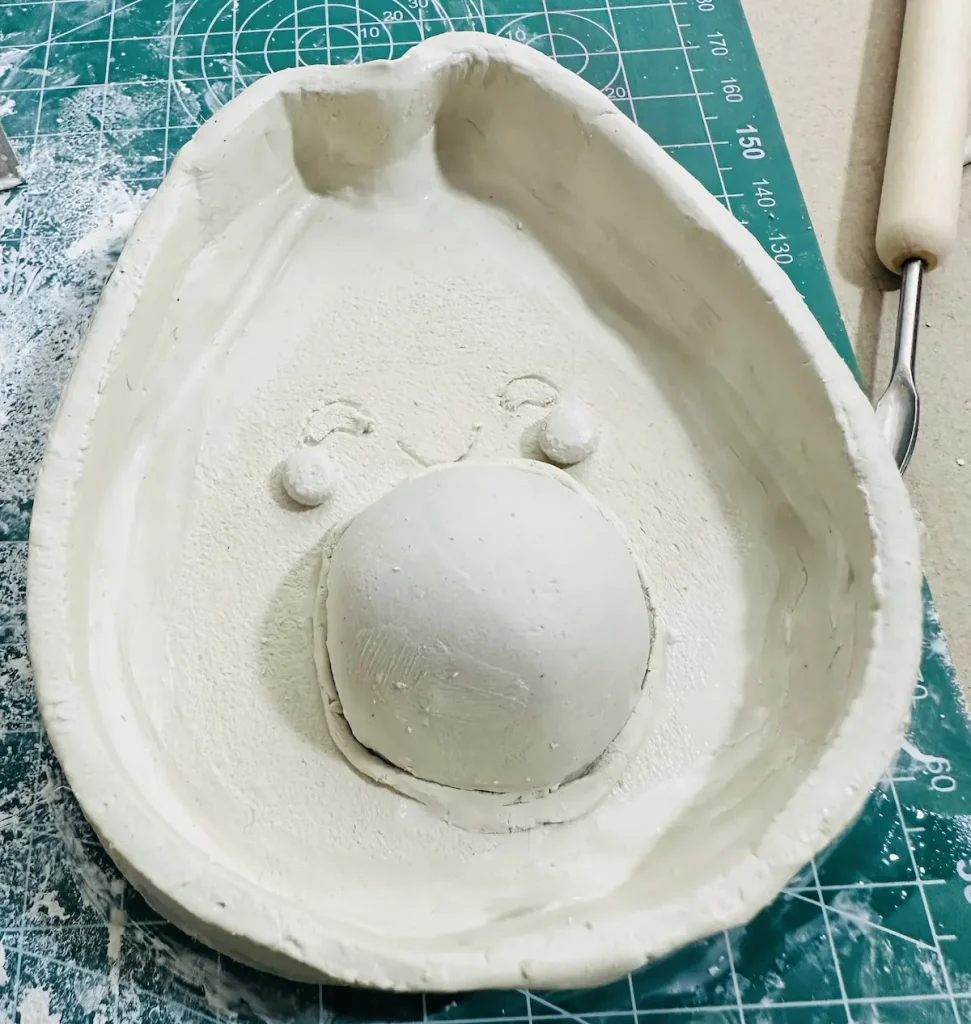
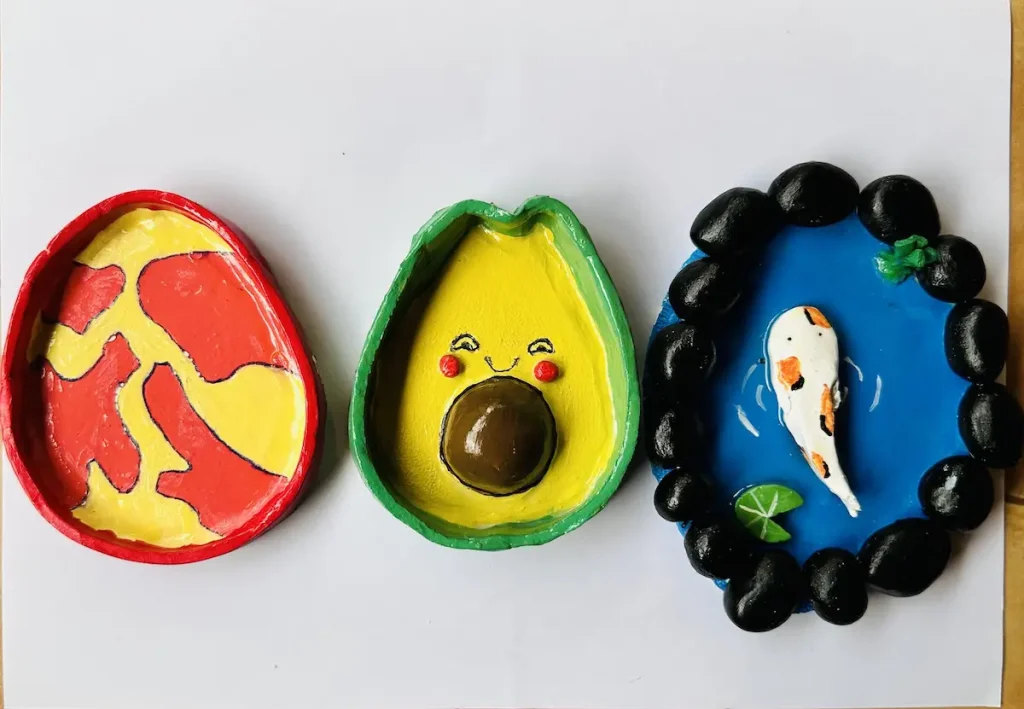
This method is really useful when you’re making a tray or dish with air dry clay. You can use a thin coil to attach the tray base to its rim. This whole method is known as the score, slip, and blend method.
How to Make Air Dry Clay Stick Together (The Right Way)
When my first rabbit project failed because pieces didn’t stick together, I did my research and found out I didn’t follow the score and slip method, and I tried to join thin parts with thick parts without proper techniques.
So, I did my research and found out how to avoid those mistakes I made during my first project and how to attach any size of air-dry clay piece together with simple and easy techniques.
Follow the Slip and Score Technique
The slip and score technique is the gold standard of clay building. You must follow this method to attach any size of air dry clay piece to avoid them from falling apart when drying. This basically means building good adhesion between the pieces. Let’s talk about how to do the slip and score technique. 🛠️
Step 1: Mark the Area
First, you need to mark the surfaces you need to attach using a pin tool. (If you don’t have tools, you can use a pen, pencil, or needle).
This helps you to precisely decide where to score.
Step 2: Score the Clay
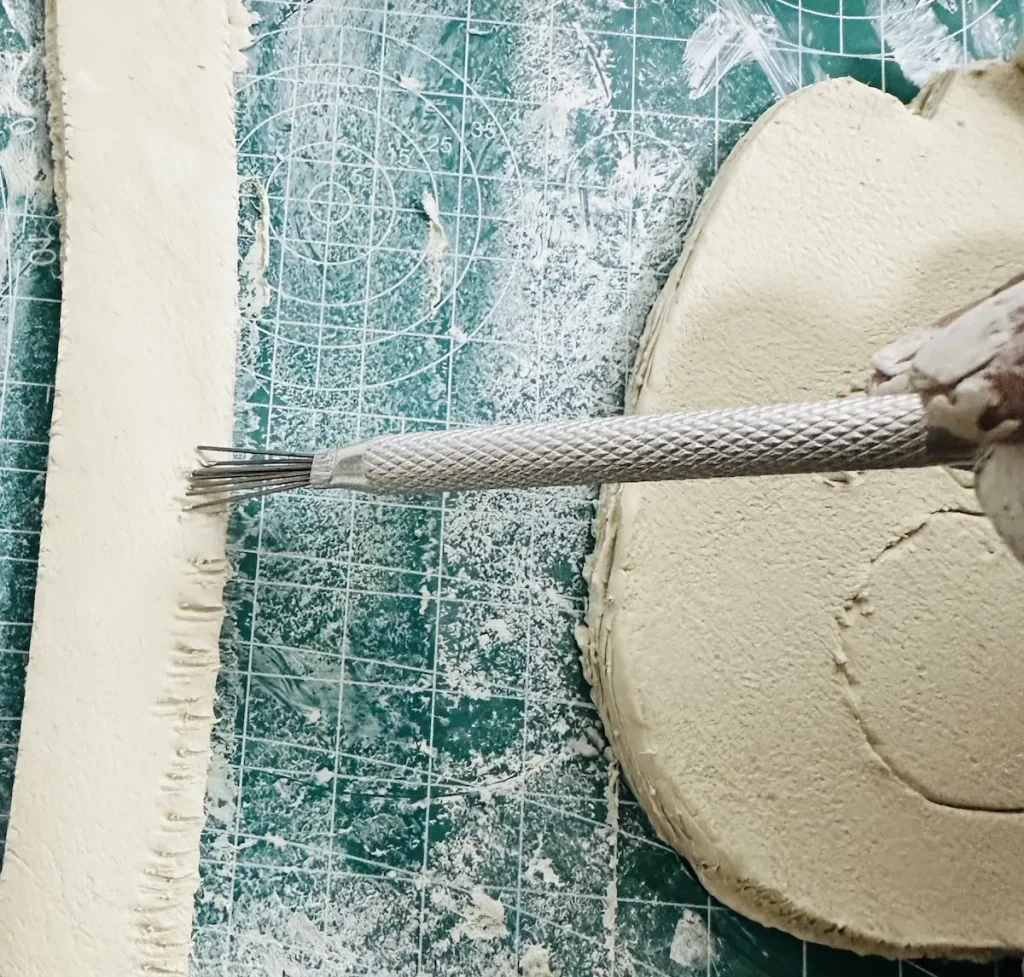
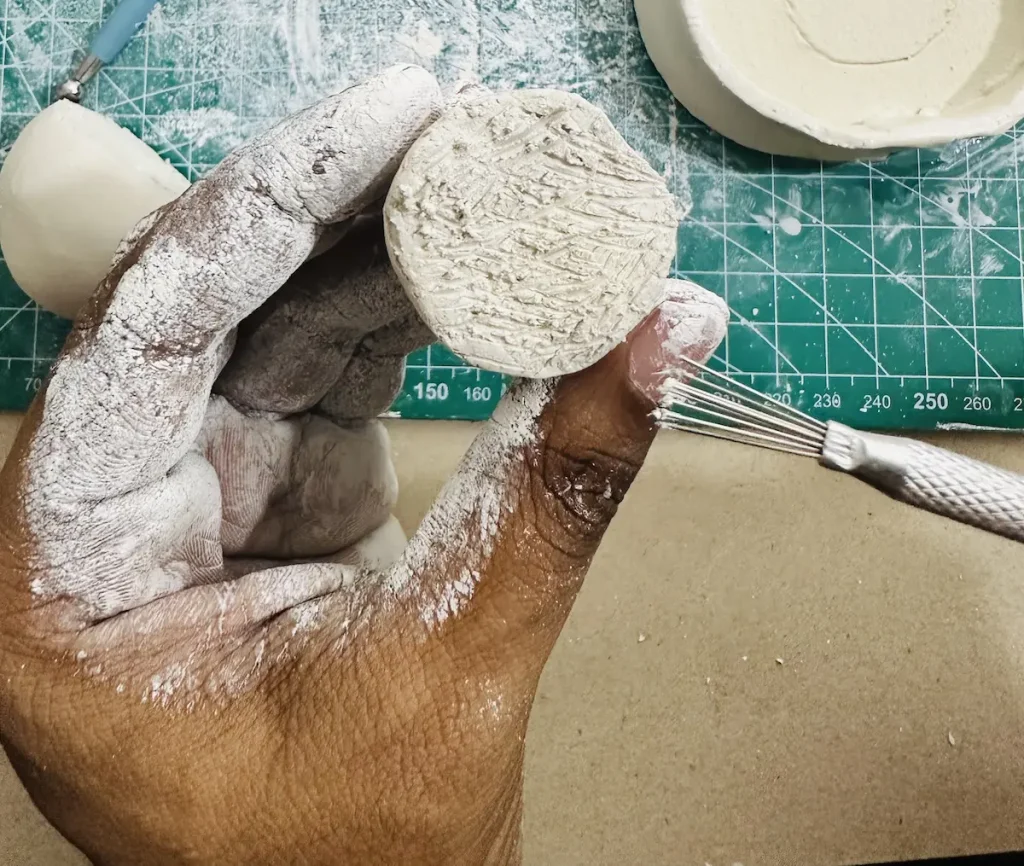
Now, score the marked areas of both pieces you need to attach using a pin tool, fork tool, or needle. Scoring basically means scratching the marked surface. Here, you scratch a cross-hatch pattern on both surfaces.
The meaning of scoring is to make the attaching surfaces rough and improve the adhesion. It helps to form a grip between the surfaces to form a strong bond.
Step 3: Make and Apply Slip
After scoring the marked areas, you need to make the slip. If you don’t want to make the slip, it’s ok, because you can even tap a little bit of water onto the scored areas. I tried with water and it worked really fine, making a strong, sticky bond between pieces.
But slip is like a yogurt paste. You can make it by mixing old or new air dry clay with water in a 1:1 ratio. Apply slip to both scored areas evenly (but very little) before attaching them.
After use, you can store it in a small bottle, lid closed, and use it for later projects as well.
I think slip provides better structural strength to the bonding area than just tapping the area with a bit of water. The choice is yours.
Step 4: Press and Blend
After applying the slip or tapping the scored areas with a bit of water, take both air dry clay pieces and press together firmly. Don’t press too hard, because it can deform the clay pieces.
Since you scored and applied slip, a little bit of pressing force is enough to attach clay pieces together. This will form a nice, strong bond when it is drying.
After pressing the air dry clay pieces together, take the smoothing tool and blend the seam to remove air pockets.
For smoothing, if you don’t have a smoothing tool, you can use a silicone rubber tool or even your finger.
Apply a little bit of water to the blending tool or on your finger tip and then smooth the outline to remove the attachment marks, scratches, and other ugly marks, which will give a good look to the bonded area.
Plus, removing air pockets will avoid forming cracks during the drying process. ✨
Use Wire Armatures for Heavy Attachments
When you’re attaching thin air dry clay pieces to a thick piece, it’s better to insert a piece of floral wire or a toothpick between the two pieces before slipping and scoring. Remember: before scoring!
I didn’t know about this technique, and the legs, arms, and ears of my rabbit fell apart during drying. If I had attached them by inserting toothpicks, they would never have fallen off, even though I did the score and slip technique wrongly.
Whenever you feel the slip and score technique is not enough to hold your air dry clay pieces together, you can use this wire or toothpick inserting method. It literally works as a skeleton, which improves the structural strength of the whole project. 🦴
Can You Stick Dried Air Dry Clay Together?
Yes, you can stick air dry clay together even after they are fully dried. But the techniques are a little bit tricky.
You need to have patience because one error can ruin your whole dried project, and there is no moisture inside of the clay to reshape the project once you make errors.
This is how,
Use Adhesive Like Super Glue or Hot Glue
This is the easiest method to stick two air dry clay pieces when they are fully dried. This is the method I do the most because I can guarantee it works.
First, clean the areas you need to attach and remove air dry clay residue and dust. Then, you simply have to apply super glue, hot glue, craft glue, or even epoxy to the dried air dry clay piece areas and press them together firmly for a few minutes until they stick together.
And then let the project dry for several hours until the glue dries, forming a strong bond. If you use super glue, it forms a fast, strong, and nearly invisible bond on clean, flat breaks. Hot glue is good for attaching large, hollow pieces. 💡
Adding Wet Clay to Dry Clay
If you don’t have adhesive, or if you don’t like using anything apart from air dry clay, this is the best method for you. You need to mix new clay with a little bit of water and press that against the old air dry clay pieces where you need to attach.
Yes, this paste looks like slip, but it’s not, because we are not mixing clay and water in a 1:1 ratio. Too much water is not good due to shrinkage.
This method has a risk because when the paste gets drier, the water inside evaporates and can weaken the bond due to uneven shrinkage of the wet and dried clay.
💡Pro Tip: My advice is to always make sure to attach air dry clay pieces the right way during the shaping stage. Because attaching them once the project is dried is a super hard and frustrating process.
Tips to Prevent Cracks and Broken Joints
Follow the tips below to make sure you’re making a strong bond between air dry clay pieces and attaching each piece without worrying they won’t stick together well.
Maintain the Moisture of the Clay
Always add a little bit of water to your hand or onto the clay while you’re shaping it. Keep a spray bottle nearby and keep using it when you’re working with clay. Don’t let the clay dry even before you’re shaping and attaching it.
Even when kneading and shaping, use a little bit of water. This will make the clay soft, easier to shape, and help to make a strong bond due to high tackiness.
But keep in mind water evaporates over time, so regular clay wetting is needed during shaping. But make sure not to add too much water, because too much water makes the drying time longer and causes uneven shrinkage, which can lead to cracks on the surface. Always use a little bit of water even when shaping and attaching pieces. Even use a little bit of water and tap that onto the scored areas before attaching for better bonding strength.
Slow Down the Drying Process
Don’t let the air dry clay piece dry in the sun or inside the oven. This will cause uneven shrinkage because inside wet clay and outside clay dry faster. This will weaken bonds and cause attached pieces to tear apart. Also, this results in cracks on the surface.
Keep the finished air dry clay project in a cool, well-ventilated area for drying, or you can cover the finished project loosely with a plastic bag. Then, let it slow-dry for 24-48 hours depending on the size and thickness of the project.
Slow drying dries out inside and outside and thick and thin parts at the same rate and avoids cracks and weakening bonds.
Maintain Even Wall Thickness
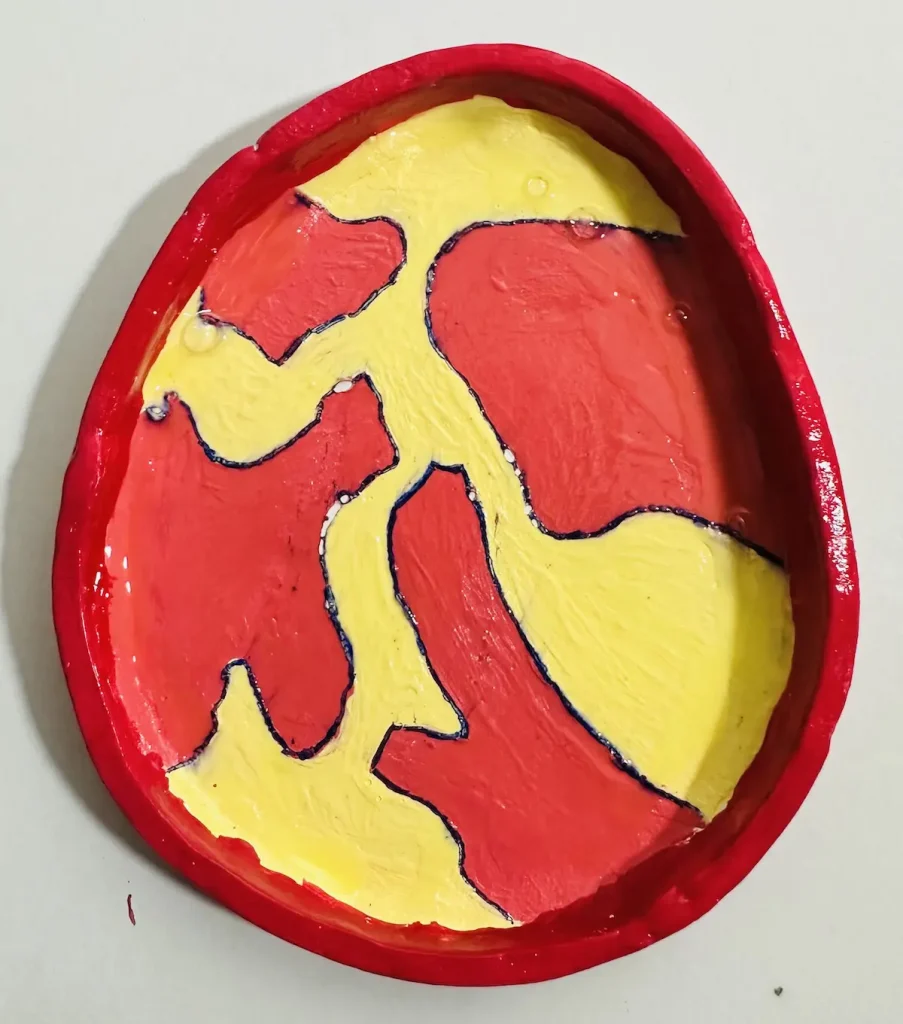
Imagine you’re making a tray or dish and the rim has no even thickness. This can cause uneven drying rates and result in breaking bonds between the rim and the tray base.
Therefore, always maintain even thickness when you’re making walls, little pieces, etc. Even thickness means the same drying rate, the same evaporation rate, and no uneven shrinkage. So, no loose bonds and no cracks forming.
My Message For You!
If you’re dealing with issues about why your air dry clay is not sticking together, follow the above steps and correct the mistakes you made. It’s completely fine, because we all are still beginners.
The first project I made fell apart because I didn’t know the above techniques. But now I know. Likewise, you should now try to attach dried air dry clay pieces using the super glue method and make sure to follow the slip and score technique in your future projects.
Keep in mind, learning to manage moisture and shrinkage is one of the main parts of the air dry clay learning curve. Once you learn it, apply it to the same project. Simple as that! All the best to all the clay artists! 🎨