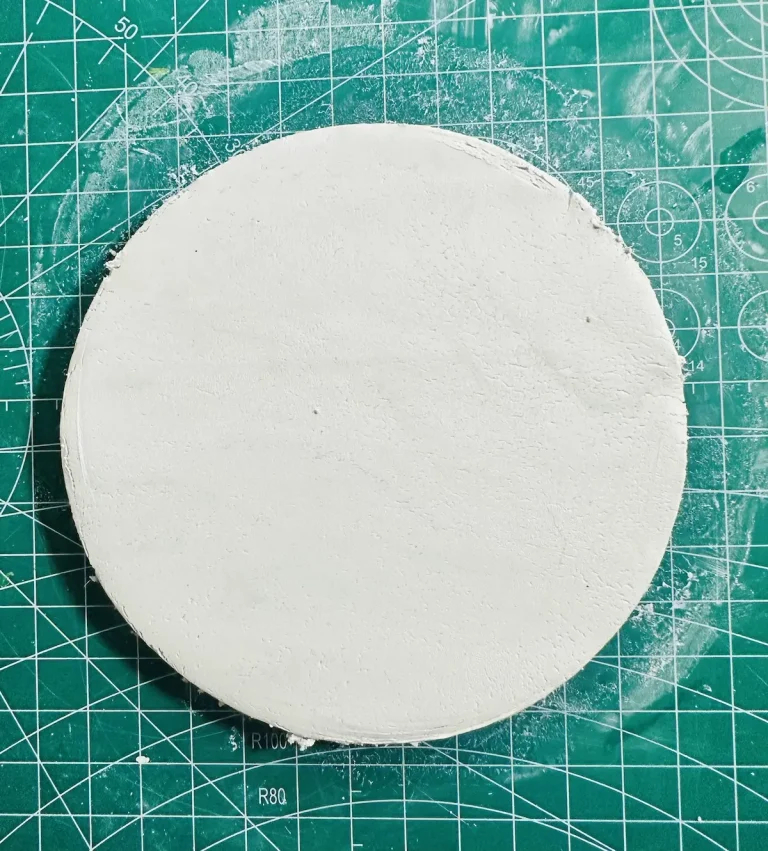
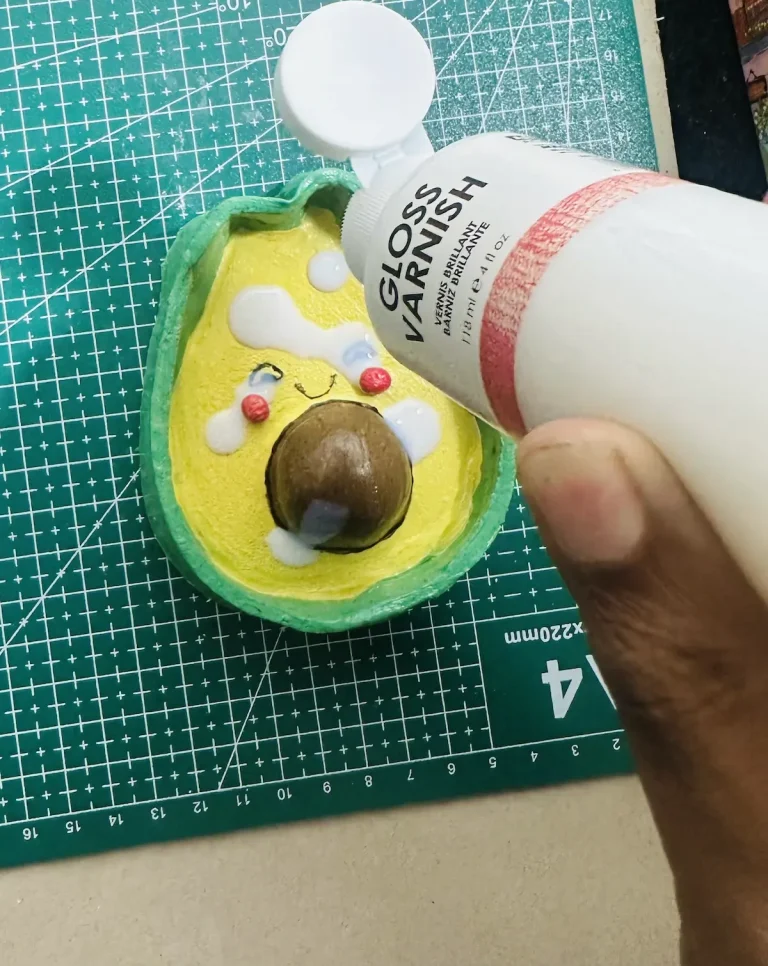
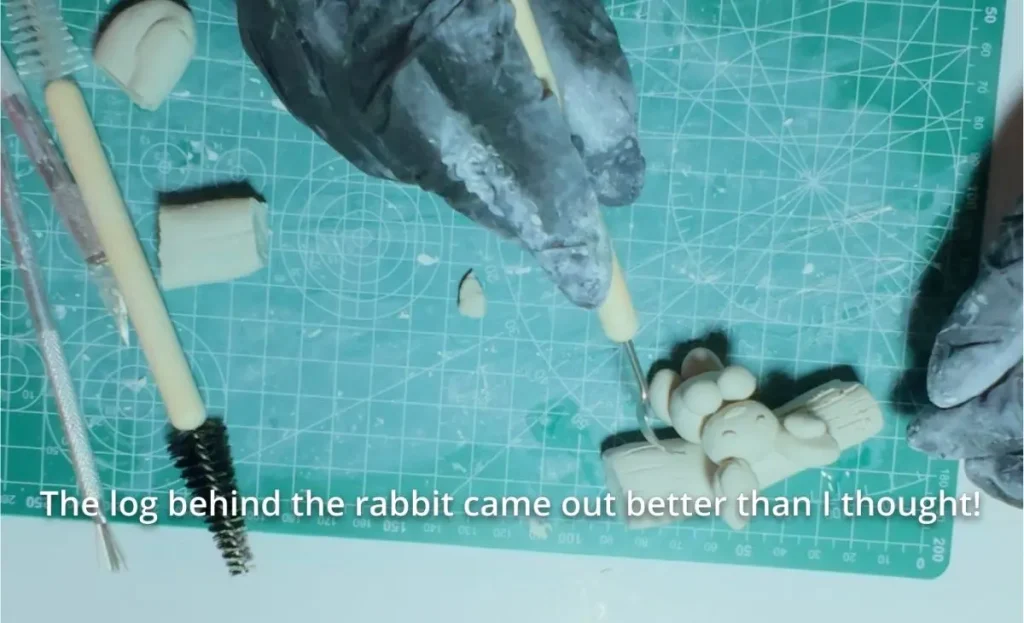
My first air-dry clay project was ruined in front of my eyes only because of the mistakes I made. I did very little research and started making a cute bunny I saw on TikTok, and it taught me many valuable lessons. 🐰
Let me tell you what went wrong in my first air-dry clay project and how to avoid those mistakes. So, you can make a better one. ✨
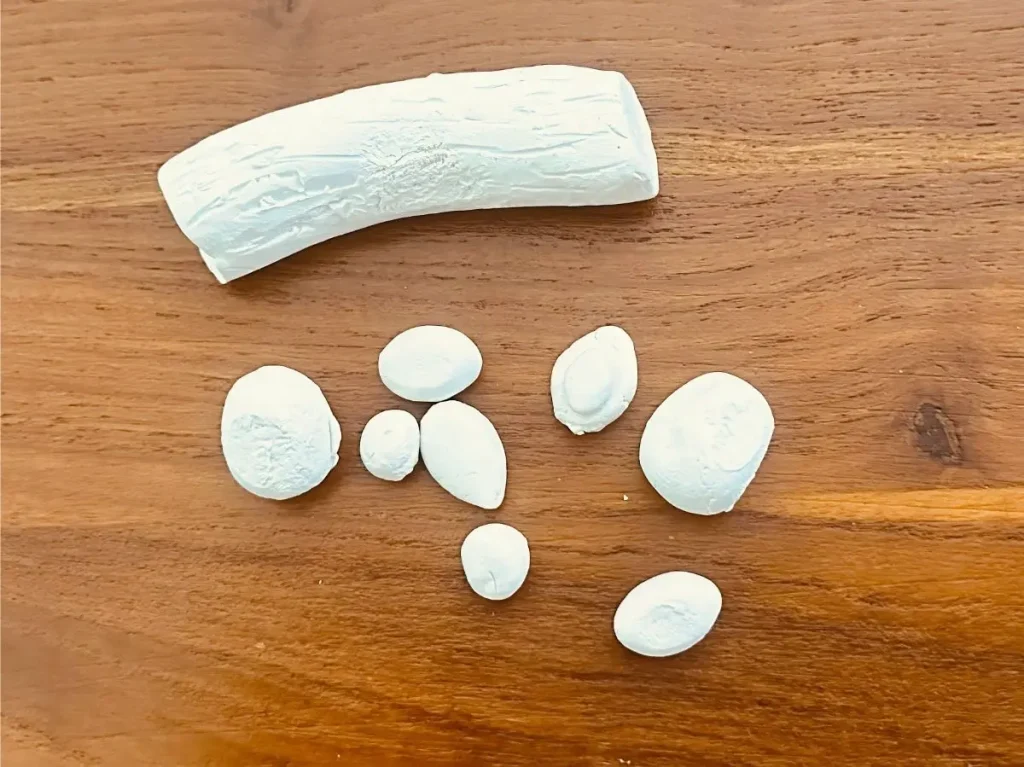
One day, when I was scrolling and watching videos on TikTok, I saw several videos of clay artists, because the day before that, a friend of mine who is a geek in pottery told me about air-dry clay over the phone. He told me it was pretty easy to work with air-dry clay when he was a beginner. 📱
And you know what? The next day, TikTok showed me several reels of air-dry clay projects. It seems they are right about phones and apps inside our phones listening to us. I was surprised. 😲
However, in one of those videos, she made a cute bunny using air-dry clay. This one single video woke me up. 🐰
I ordered an air-dry clay and clay toolset and PVC mat online and started making a little rabbit. But it was not easy, and I made so many mistakes. 🛠️
Therefore, my first air-dry clay project (obviously my first clay project) was completely ruined. Let me tell you how it went.
First, I gathered supplies: air-dry clay (not a popular brand), clay cutting tool, shaping tool set, PVC mat, a pair of scissors, and a water spray bottle. 🧴
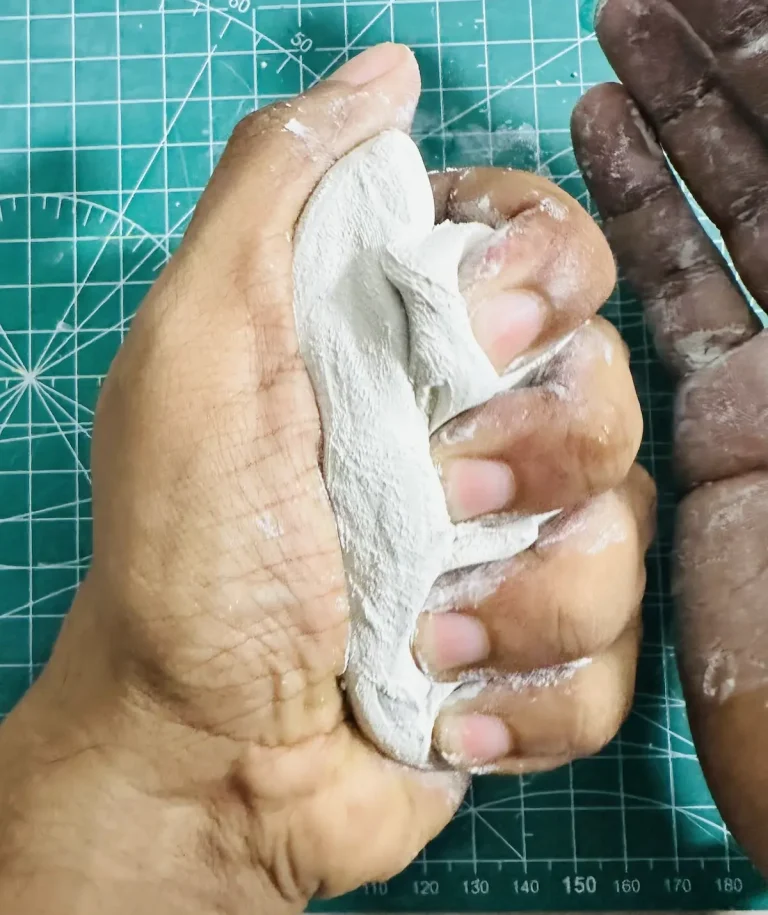
Then I cut the air-dry clay packaging and took a small piece from the air-dry clay and started kneading. That’s when I made my first mistake as a beginner air-dry clay artist. ✋
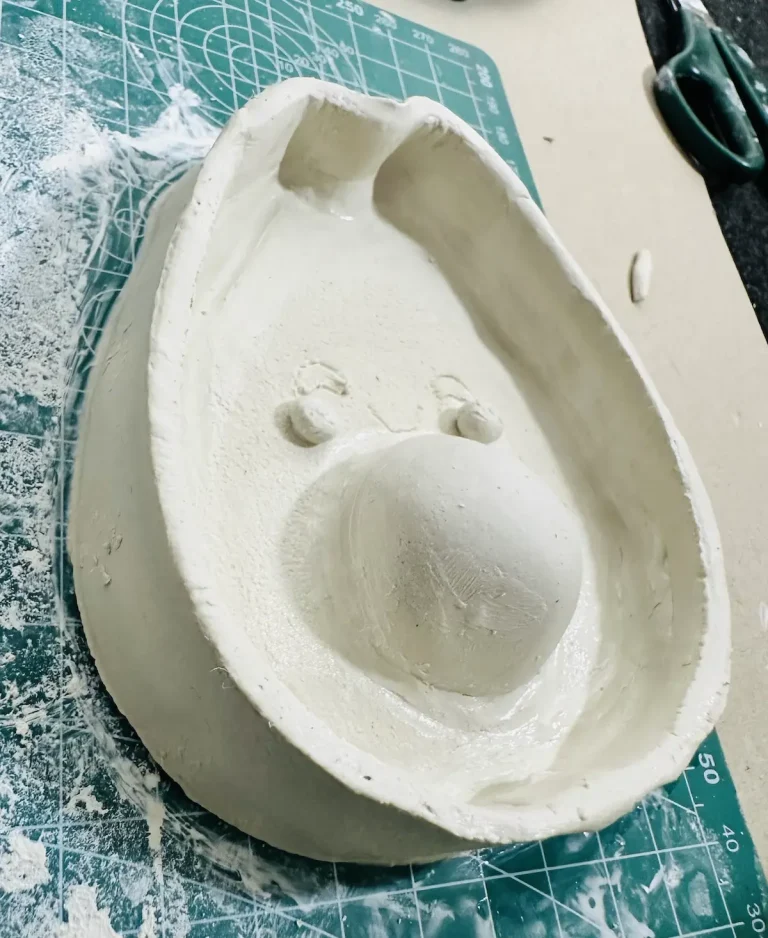
This is how I did my failed first air dry clay rabbit project👇
Mistake 1: Air-dry clay is not kneaded enough before starting shaping
Kneading is a must before shaping any air-dry clay because, generally, air-dry clay is a bit tough at first and kneading makes it softer, which makes it easier to shape.
Plus, air-dry clay has holes inside of it which contain air pockets. If you make a thing and let it dry without kneading at first, those air pockets expand and collapse unevenly during the air-dry clay drying because water inside of those air pockets gets evaporated during drying. This leads to cracks in your air-dry clay project. ⚠️
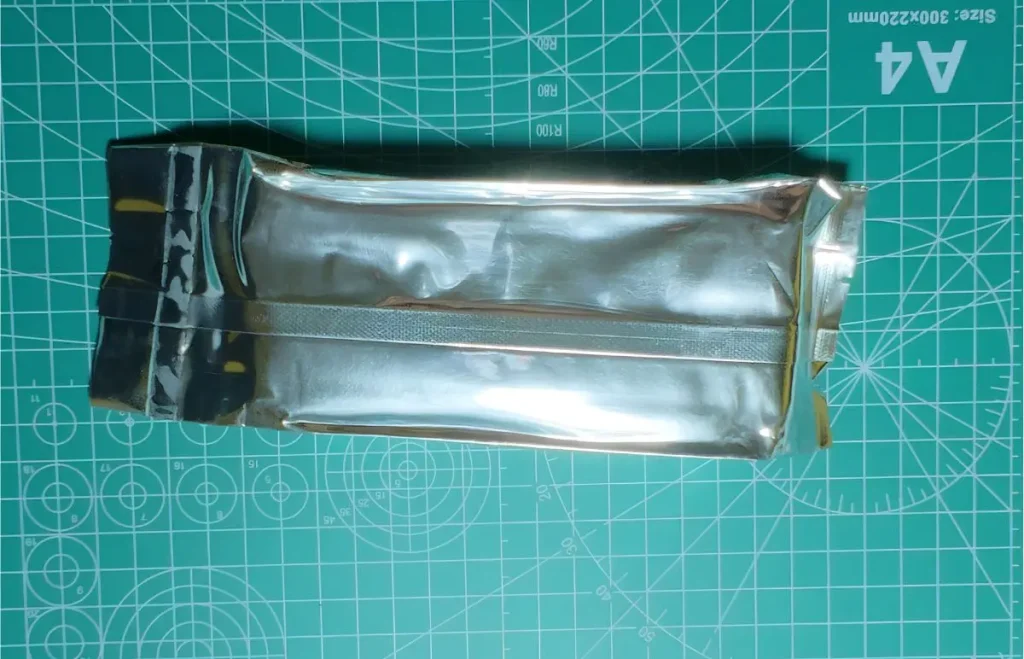
Kneading basically,
- Removes air pockets: Air pockets are the weak spots during shrinkage when drying.
- Makes water inside of air-dry clay spread evenly throughout the clay: Avoids some parts of the clay drying and shrinking faster than others.
- Aligns clay particles more evenly organized: Makes it easier to shape.
When kneading, you must press and fold the air-dry clay 20-30 times before shaping. This helps you to get a crackless surface after drying. ✨
You simply just have to knead it like a dough, just like when you’re making bread or pizza. 🍕
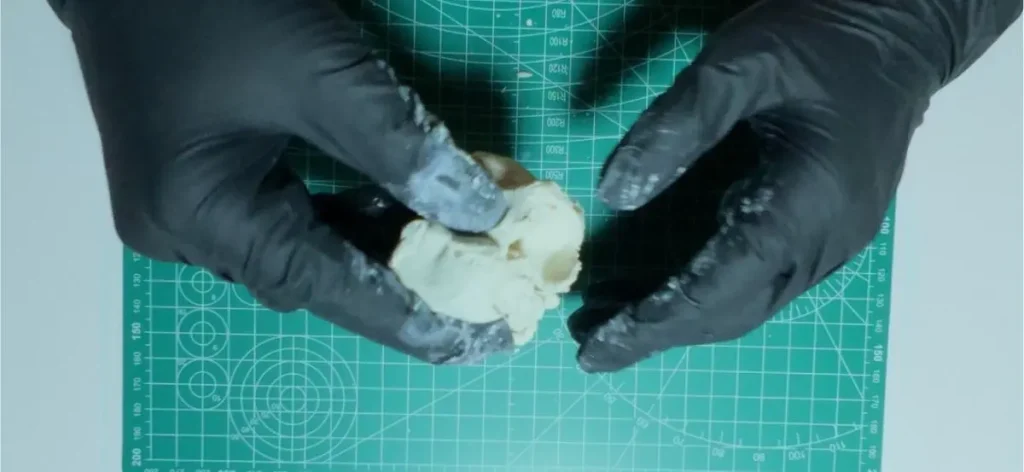
Honestly, I didn’t knead it enough. I was a bit lazy and just rolled it and pressed it twice or thrice while kneading. That was literally not enough to remove air bubbles inside and make the clay softer.
As a result of not kneading the air-dry clay enough, my rabbit air-dry clay project got cracks while drying due to uneven drying and shrinkage. 🏚️
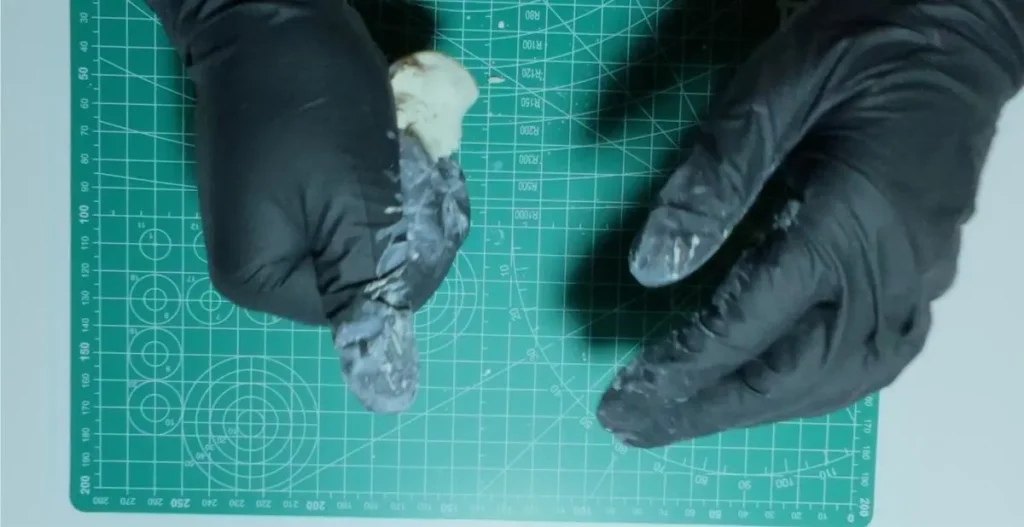
Mistake 2: Not lifting and rotating the clay while rolling
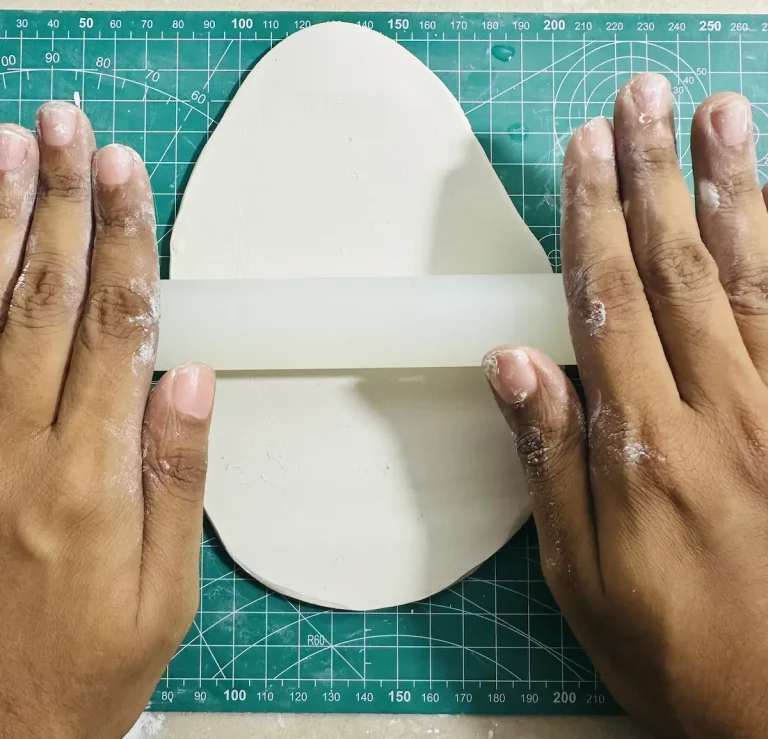
I selected a PVC mat because I saw online that unsealed wood, PVC mats and silicone mats are the best for air-dry clay to avoid it from sticking to the work surface while rolling because they have a textured, non-sticky surface.
But even though I got a PVC mat, when I was rolling the air-dry clay on my PVC mat, I was frustrated and tried several attempts and started with a new piece of clay for making the ball (the rabbit’s head).
But later I found that you should lift and rotate the clay after every couple of rolls to keep it from sticking to the surface. 🔄
Even if you select the best mat in the world, it will end up sticking to the surface if you do not lift, flip, and rotate the clay while rolling. It is a must.
Mistake 3: Trying to make a small project with air-dry clay
I know this sounds controversial. But let me tell you the bitter truth. Air-dry clay is not good enough for small miniature projects, especially if you’re a beginner. 🧐
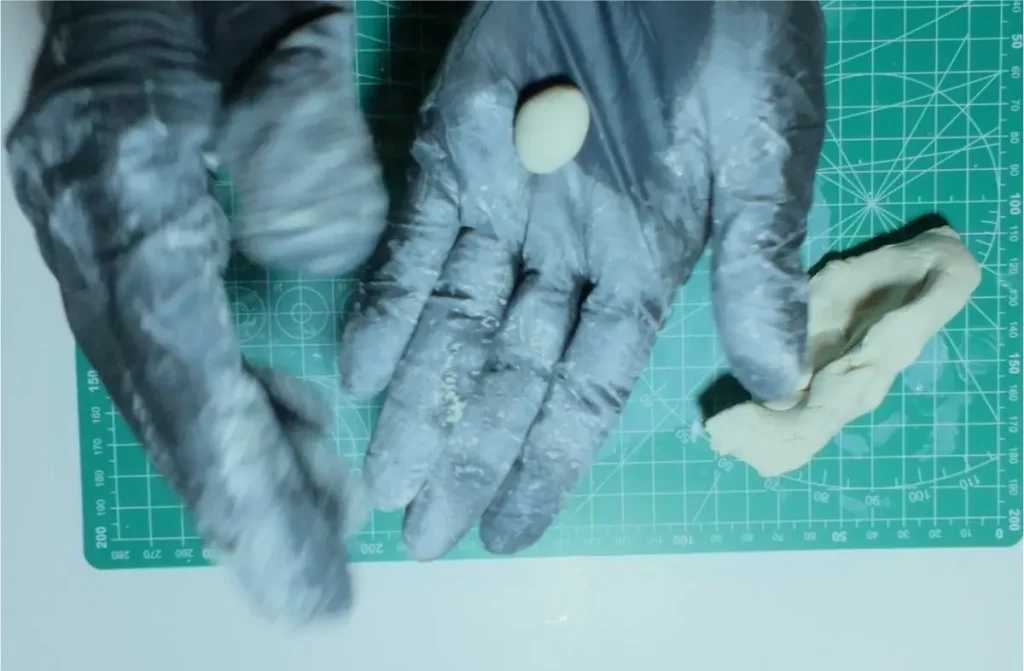
After kneading, I took a “small” part from it and started rolling a ball for the rabbit’s head.
That “small” word was the issue there. After making the ball, I made fine details on it to make its mouth, nose, and eyes.
As I told you earlier, air-dry clay tends to warp when moisture evaporates. So, during the warping process, the tiny details you made will blur out. Therefore, take big pieces of it and add details by making changes to the larger pieces in larger areas.
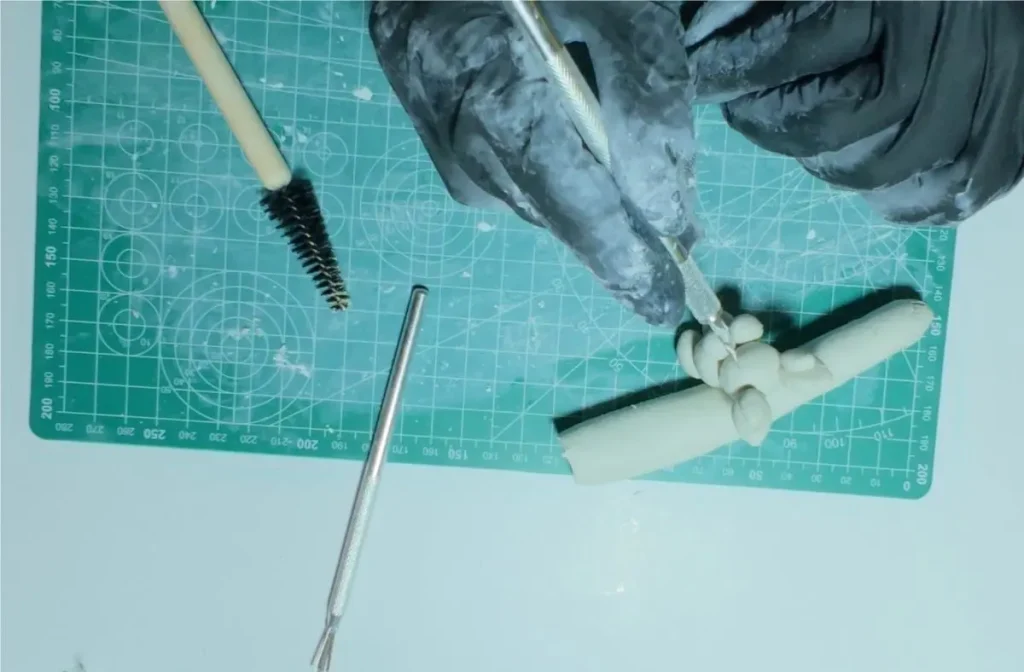
The brittleness of air-dry clay is too high, and if you shape a piece too thin, air-dry clay will lose its elasticity and break even under little stress. 📉
When I was making a rabbit with it, I took very small parts from the kneaded air-dry clay and tried to roll them as thin as possible because in my mind I was dreaming of making a small rabbit. But I didn’t know air-dry clay was not good for making little things.
Plus, I’m a beginner. If you’re an expert, definitely you’ll find a way to make little things with air-dry clay by experience. But that was not me. The ears of my rabbit fell apart into pieces during drying because I made them too thin. 🥀
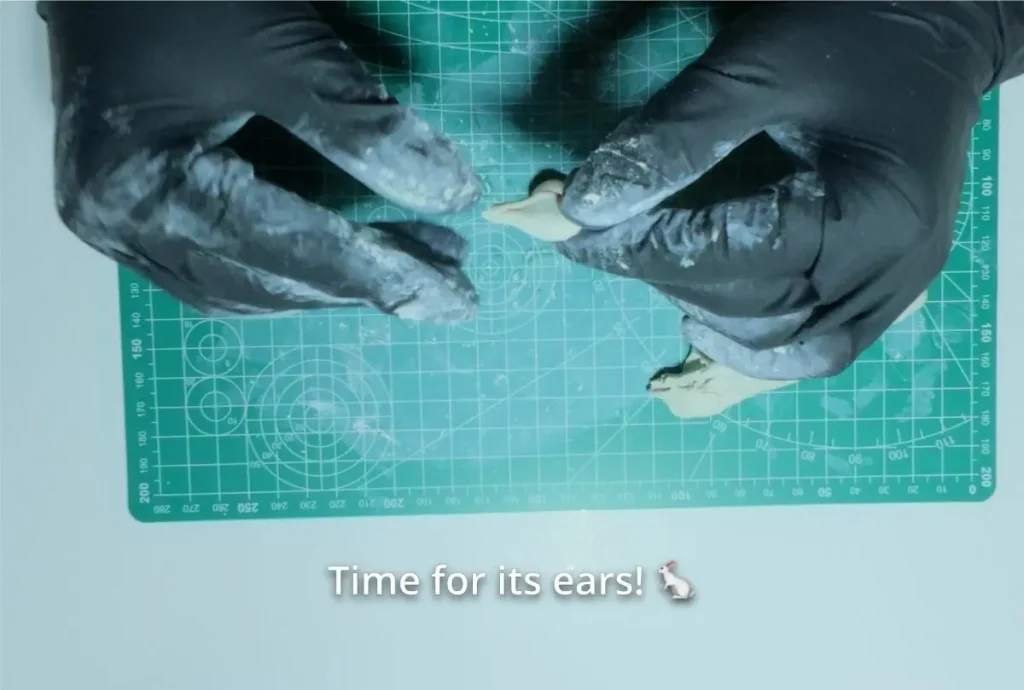
When my rabbit was drying, it fell apart from attachments like legs and ears because those parts were too small for air-dry clay, and the mechanical bond between the body and those parts was not strong enough to keep them steady.
This is why some artists attach air-dry clay parts using toothpicks or small wire pieces. And some of them even add those metal wires or toothpicks to the middle of the structure to improve the strength of it. But I didn’t know those methods, and making those small parts was also a reason my project collapsed. 🏗️
Later I learned that, for small projects with finer details, it is better to go with polymer clay rather than air-dry clay because they give a non-brittle and stronger result after baking (drying).
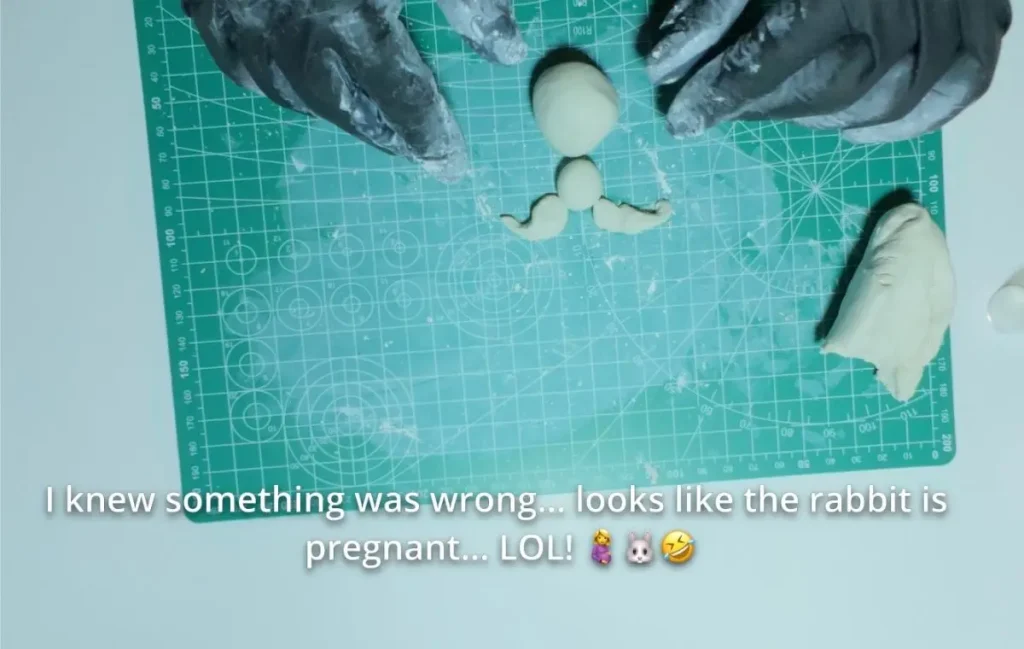
Mistake 4: Not scoring air-dry clay pieces before attaching
When I Googled after the project what went wrong, I found that not scoring air-dry clay pieces before attaching them is one of the most common mistakes beginner air-dry clay artists make, and sadly and funnily, I also did it and learned the hard way lol. 😂
Scoring the attaching areas of both air-dry clay pieces is a must. Otherwise, they won’t attach too well.
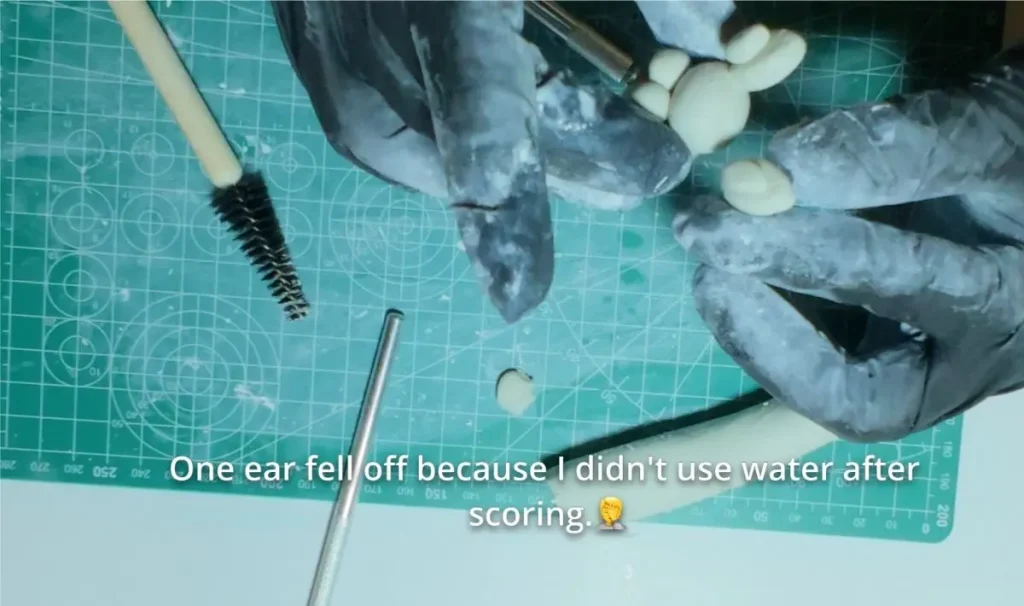
Scoring the attaching areas with a scoring tool is a must for better adhesion. 🔪
Smooth surfaces do not attach because there is not enough grip to hold.
Adhesion is a must, especially when you’re not using glue or any other adhesion element in the middle.
When an air-dry clay project dries, the clay shrinks, the bond breaks, and the pieces fall off.
Plus, when you attach smooth surfaces of air-dry clay pieces, only the outer area attaches, but in the middle air bubbles trap and lead to cracks when drying.
Here’s what you should do:
- Score both air-dry clay surfaces before attaching.
- Apply a bit of water to the scored areas.
- Press them together.
- Smooth the outer seam.
During my project, even though I forgot to score the surfaces enough (I did a little bit), I did apply a little bit of water on the surfaces. But it was not enough.
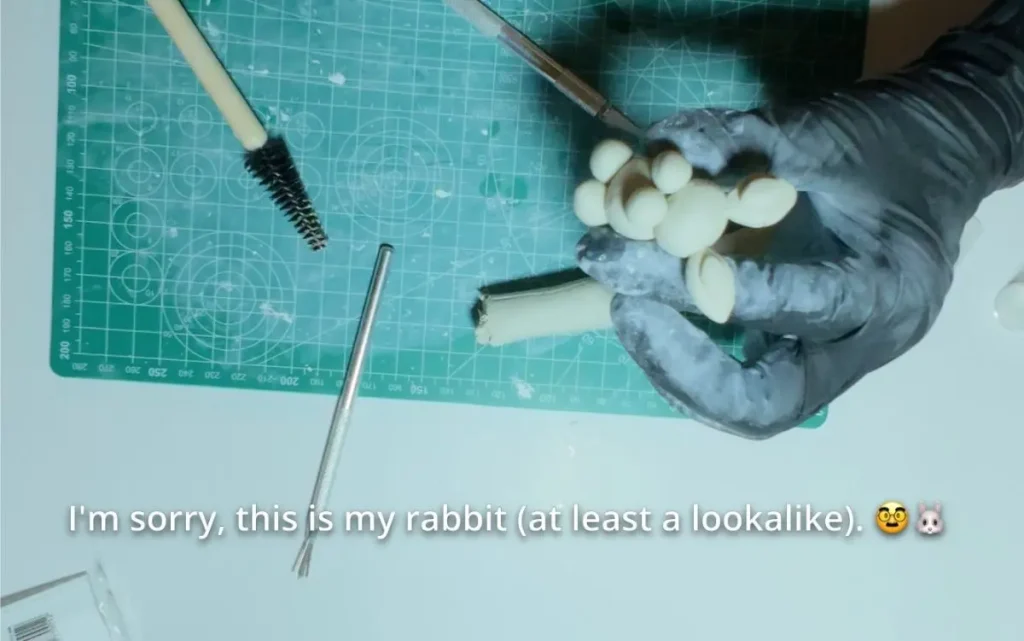
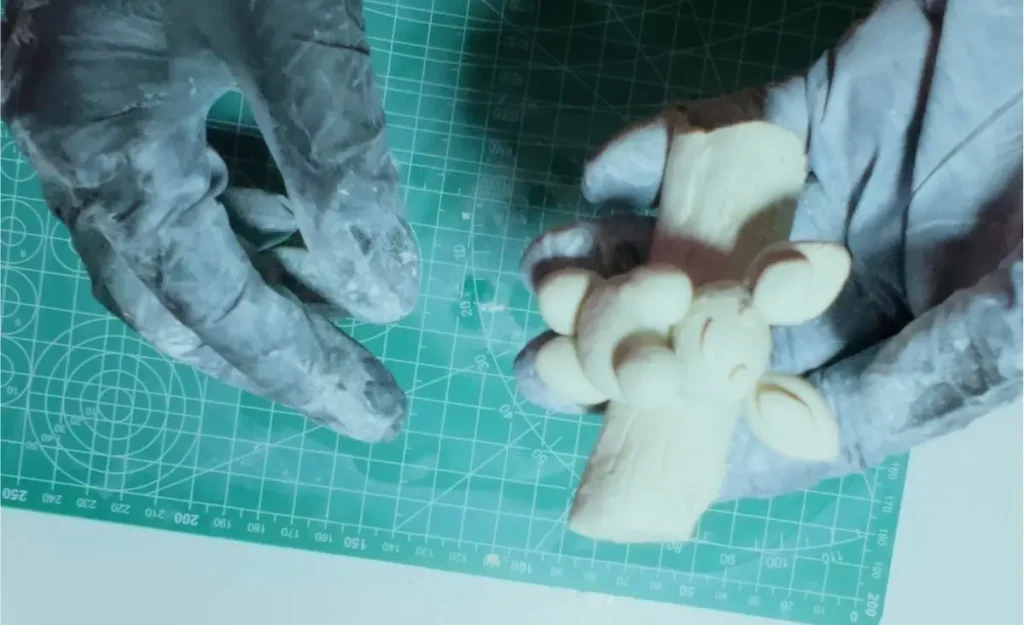
All the pieces of my rabbit, including the hands, legs, and ears, fell apart during drying because I didn’t score before attaching.
Water works like glue, but scoring before applying that is a must. Or you can use a thing called slip. I learned about it during the research I did finding why my rabbit project was ruined. 💡
Slip is basically a mixture of air-dry clay and water mixed in a 1:1 ratio. Using slip is better than using water for better adhesion after scoring the surfaces.
Mistake 5: Drying the project in the sun
This looks like a small mistake, but you know what? It’s one of the worst. Letting your air-dry project dry in the sun causes lots of cracks. Sun rays, including UV, hit the outer surface of the project, and therefore the heat of the outer layer increases much higher than the inner layers. ☀️
Therefore, the outer layer’s water evaporates so much quicker than the inner layers’. Basically, inner layers are still wet.
This irregular drying causes cracking and warping on the project. 🏚️
Some people think drying in the sun speeds up the drying process. Yes, it’s true, but only if you need cracked, fully dried pieces. If you want the project dried the same way it looked after shaping, you need to keep your project in a well-ventilated, cool indoor place. 🏠
Plus, make sure to let your air-dry project dry for at least 24-48 hours. If the layers are too thick, it’s better to increase the drying time even more before taking it for painting and sealing because moisture inside evaporates slower due to the higher thickness of the project. ⏳
My bad, I did place it in the sun for a couple of hours and then took it inside because rain started. That caused cracks on the surface when it was drying, and results were poor. 🌧️
Mistake 6: Having no patience
When you’re working with air-dry clay, patience is a must-have. When you’re shaping the clay, one moment you’ll feel like you should speed up and you have some other things to do. This is the worst. Because if you try to speed up, especially in beginner stages, there is a possibility of making many mistakes and getting the shape wrong.
This makes the result bad, and when the result is bad, you’ll think being a clay artist is not for you and you’ll end up giving up. Think of this like a meditation; it helps to calm your mind and helps you stay focused. 🧘
I tried to dry it in the sun because I lost patience and ended up having a cracked project. Therefore, don’t be like me lol. Slow making, slow drying, and taking time to knead well is a must when working with air-dry clay for a better positive outcome. 🐌
Do I regret starting with air-dry clay?
Absolutely not. Air-dry clay is the best option for a beginner. Because at the beginner stage, there’s a possibility to make mistakes. Since air-dry clay is cheap, there’s room for that. 💸
If you start your journey with polymer clay, yes, it’s fine, but they are far more expensive than air-dry clay, and each mistake costs you more.
Plus, the techniques you have to use with air-dry clay are simple; if you know how to knead properly, 70% of the project is done. Other techniques like scoring before attaching are also simple, and once you learn them from one project, you can apply them to any project in the future as well. ✅
Another advantage of starting with air-dry clay is you don’t need to bake. They just dry naturally and get soft again for shaping by adding water. Simple as that. For example, once polymer clay is baked, there’s no room for adjustments or reshaping. But with air-dry clay, there is always room for that. 💧
Yes, for selling and stability wise, air-dry clay is not that good, especially compared to polymer clay, but starting out as a beginner for learning, it is the best.
Making projects with clay is far better than most hobbies because it calms your mind, improves your handling skills (improving this skill is better if you have kids), and sends positive signals to your brain. 🧠
Most importantly, being a clay artist is one of the best hobbies or professions for introverts. I’m an introvert and I love that I selected this project over some other loud hobby. 🤫
Does the air-dry clay brand matter when starting out?
Absolutely not. When you’re a beginner, first you need to learn how to knead, how to shape, how to handle tools, how to roll, how to attach, how to dry, how to paint, and seal. Any of those steps do not need expensive brand names. At the beginner stage, you waste lots of clay due to errors you make, and that’s ok.
Just start with any air-dry clay you find locally or in the online space. 🛒
Yes, some brands can be poor, but when you learn the issues that brand has over some quality brands, it gets so much easier when you work with a better, expensive brand in the future.
But if you have a lot of money, it’s ok to spend on some quality brand and a quality toolset, but when you’re on a budget, brand is just a word.
When you become skillful, then it’s time to invest in a quality brand of air-dry clay because you won’t waste clay when you become good at it compared to when you’re a beginner. ⭐
Those are the main mistakes I made which caused my whole rabbit project to be ruined, which was also my first air-dry clay project. However, I’m happy I made those mistakes because that’s how I learned those very important lessons which are a must to follow when working with air-dry clay.
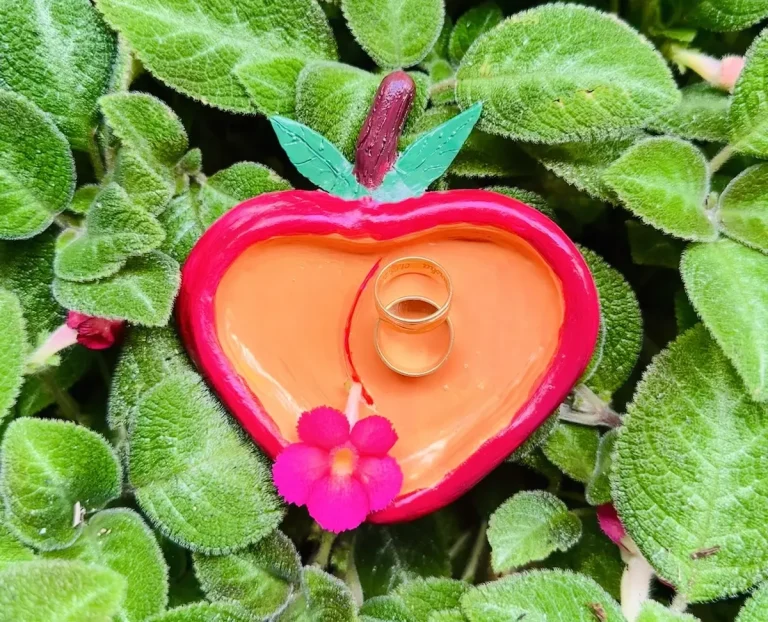
I couldn’t paint and seal the project to finish because when I took it out after drying, the parts of the rabbit fell off. If I had started painting and sealing, I surely know the above list would be much longer lol. Because I could have made so many mistakes when painting and sealing too. 🎨
I studied what went wrong and made sure to try again by fixing those mistakes.
However, I didn’t give up. I knew that was my first project and making mistakes is a common thing. Practice makes you perfect. So, don’t worry if your project sucked. Try to learn from the mistakes you made and try not to make the same mistake again. Then you can be the clay artist you want, improving little by little. 💪🏾
I think you learned from my mistakes. As a new clay artist, I’d love to know what you made as your first project. Be sure to tag @clayandmestudios in your clay creations; I sure love to see them when you do. Until next time! 🤟🏾
.