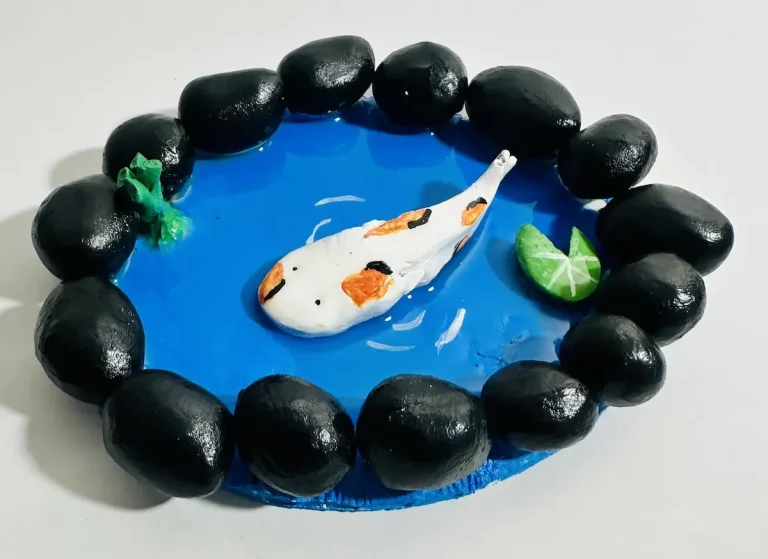
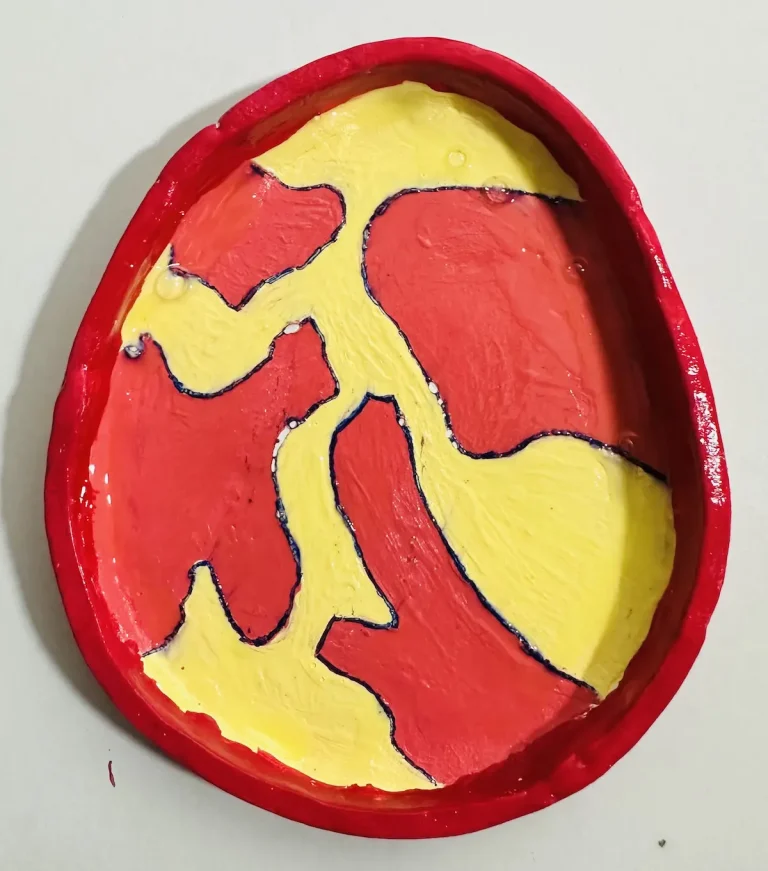
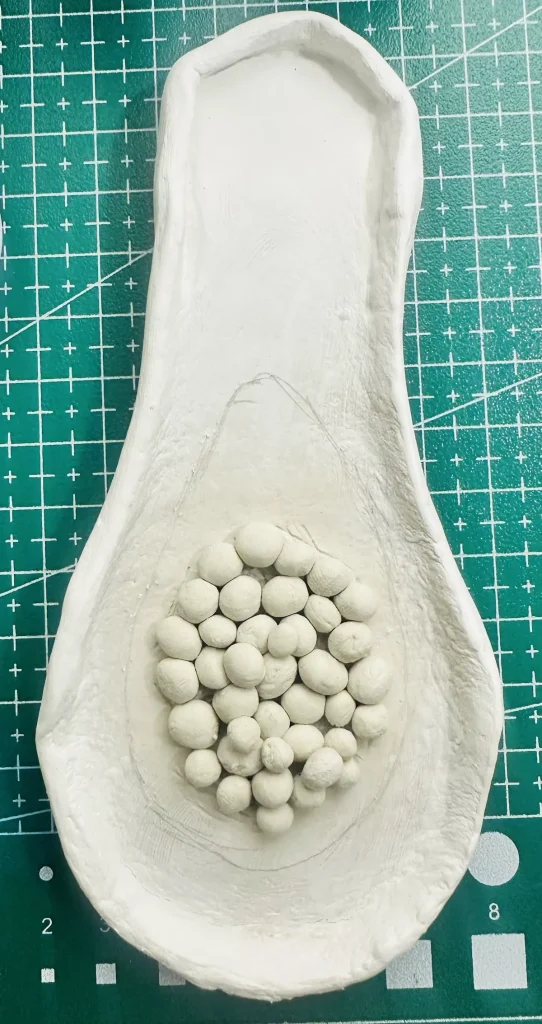
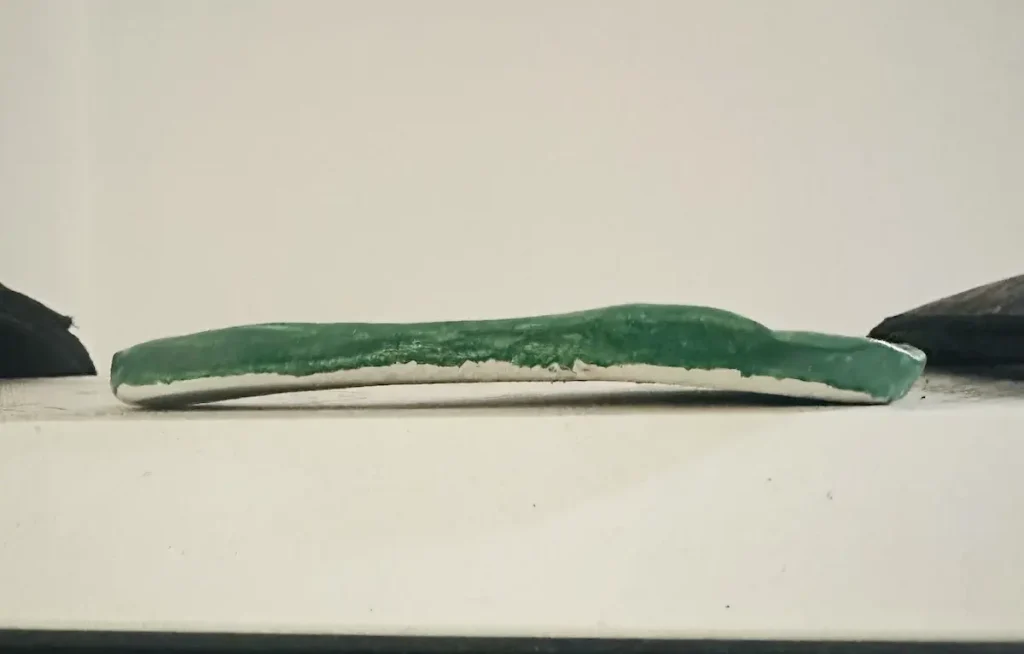
Warping is one of the main issues I have faced especially when making my air dry clay trays. This happened for one of my papaya trinket trays. 🥣
At first I was curious because the tray base of wet clay I made was totally flat before letting it dry. But after two days, when I took the tray for painting, I noticed it wobbled on the table. 🧐
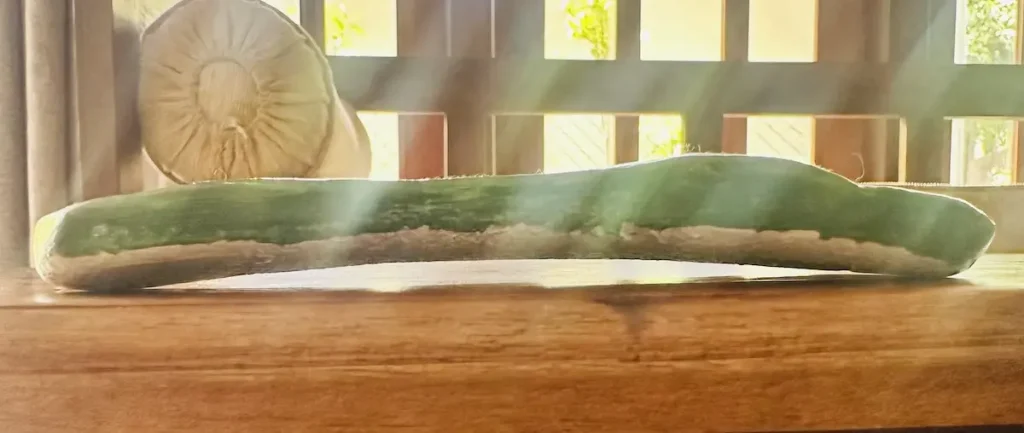
I was 100 percent sure it was not like this before drying. So, I did my investigation to find out why this happened.
This situation is called the air dry clay warping and it happens due to uneven drying. Basically, a part of your air dry clay project dries faster than the rest, creating tension between the areas that results in warping.
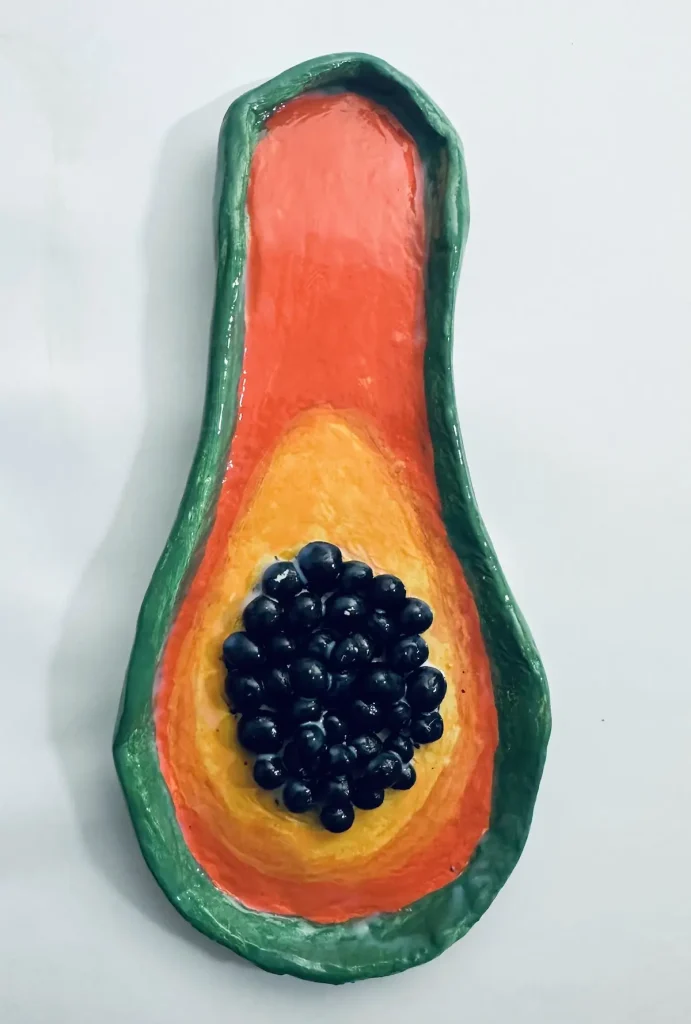
Since then, I have changed the way I make and dry my air dry clay trays. Now no wobble on the table and no continuous rattle sound during painting and sealing the trays. ✨
I’m also a beginner air dry clay artist like you. Therefore, I won’t give you complex methods that are hard to follow. I literally hate them.
Let me show you why warping happens and how you can easily prevent it with simple steps.
Why do air dry clay trays warp in the first place?
Air dry clay warps due to uneven drying.
When your air dry clay tray sits on the table for drying the top area dries faster than the bottom area due to high airflow exposure. Therefore, the top area shrinks faster than the bottom, this uneven shrinkage causes the tray to warp.
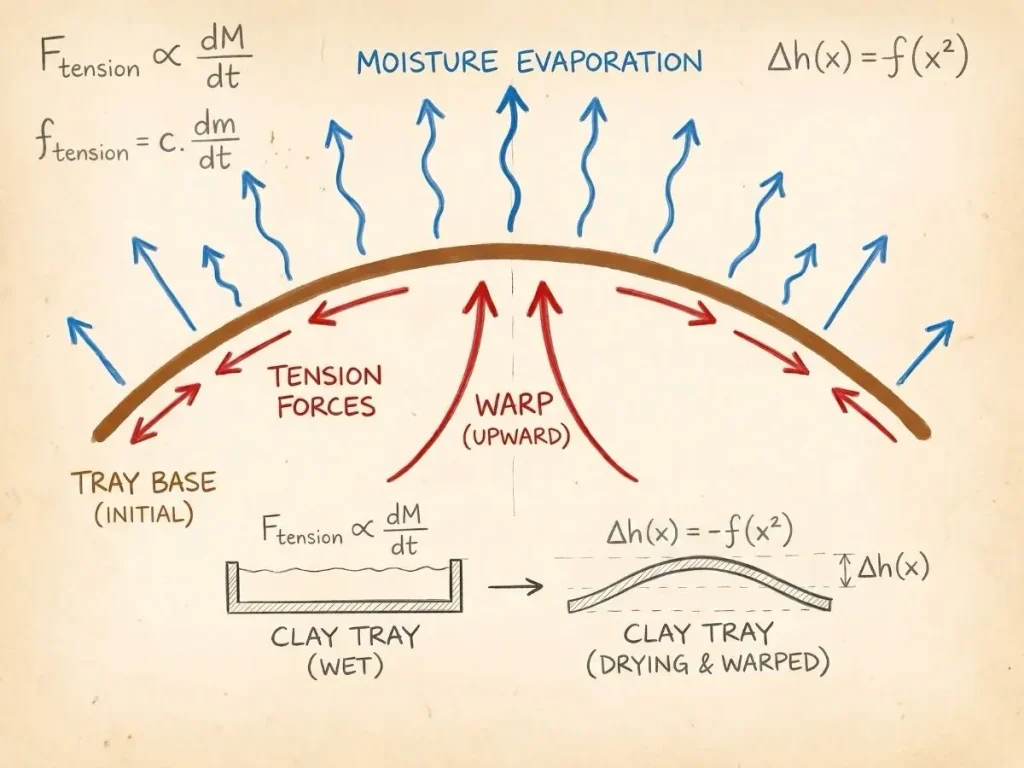
More airflow = more moisture evaporation = faster drying.
Can we stop moisture evaporation from air dry clay? No, we cannot! We can’t place it in a vacuum.
Air dry clay is a porous material with lots of moisture inside. It shrinks as it dries because of the moisture evaporation. That’s the nature of the material.
Another reason your air dry clay tray warps is that you keep the tray in the sunlight for drying. Due to sunlight, the tray starts to dry faster. But the problem is the top area that is open to sunlight dries so much faster than the bottom. This results in uneven drying and warps the tray.
Read: How Long Does Air Dry Clay Take to Dry? (And How to Speed It Up)
Why air dry clay trays mostly warp upwards?
Generally air dry clay trays warp upward in the middle during drying. Rarely, some trays bow downwards, but most are upwards.
My papaya trinket tray was also warped upward and I was super frustrated and didn’t even know what went wrong.
I always thought, why do most air dry clay trays warp upwards making a U-shape?
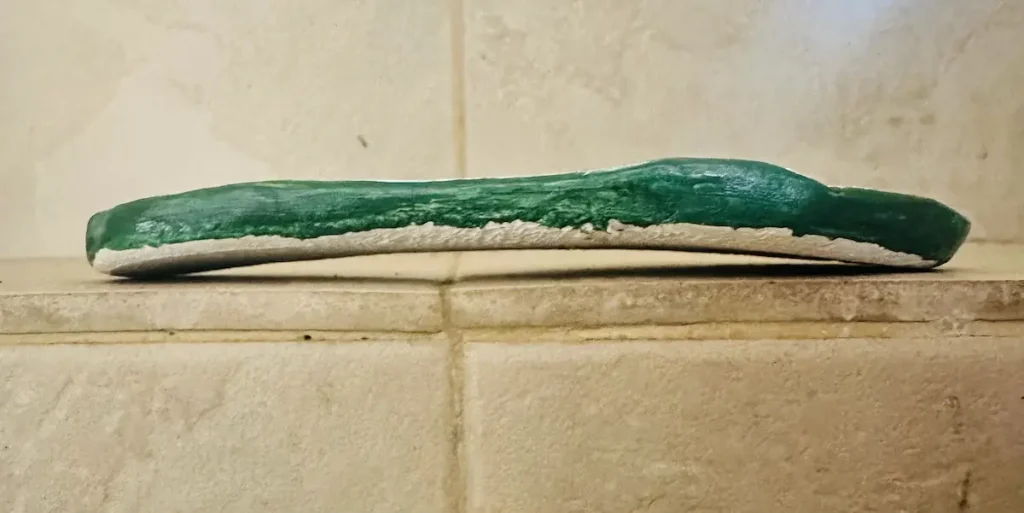
I know you have the same question. Don’t worry friends, I’ll explain this as simply as I can taking two scenarios.
Scenario 1:
As we already know, when the top area of is shrinking, its length will be shorter than the bottom area.
The only way for a material to have a short top and a long bottom is to curve into a “U” shape. Isn’t it? Shrinking of the top pulls the outer edges of your air dry clay tray upward.
Scenario 2:
You made an air dry clay tray with curved walls around the edge and let the tray dry on the table. When drying, the walls around the edges are more exposed to more airflow from all sides. Therefore, the walls around the edges dry and shrink faster than rest of the clay.
The top middle area only exposed to air from the top and the bottom area has no opening for air to flow.
Now walls around the edges work as a tightening belt little by little. Walls shrink faster and squeeze inward on the wet, full-sized center. The bottom area is blocked by the table, squeezing from all sides and the top middle area should release the pressure. It has only one escape, which is to pop upward in the middle. This creates a dome or “hump.”
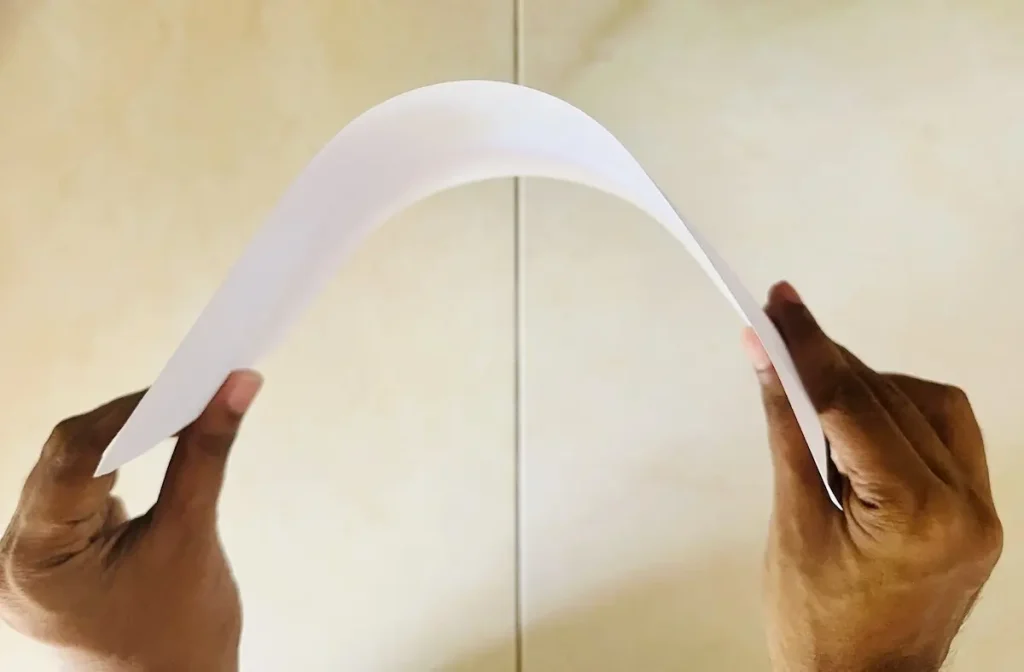
I think now you are crystal clear why our air dry clay warps when drying and why they mostly warp upwards, right? 💡
Also read, How to Prevent Air Dry Clay Trays from Cracking While Drying
Proven methods to dry curved clay trays without warping
Now let’s discuss how you can stop your curved air dry clay from warping. 🛠️
I’m going to tell you 4 methods I used, but the first one is the most important one that I follow the most.
Trust me! It’s not hard.
Method 1: the “Flip and rotate” technique
Do not let your curved air dry clay stay at the same position from start to end when drying. I’ll explain what I meant by that.
After you make the tray, the first few hours of drying are super important because moisture starts to evaporate from wet clay at a high rate. Eventually, the drying rate will decrease because of the low amount of moisture inside.
If you keep your air dry clay only facing upward all the time, the airflow is exposed to the top area only which makes the top area dry faster than the bottom. 💨
Therefore, make sure to flip and turn your curved air dry clay trays over every 30 to 60 minutes during the first few hours of drying so both sides dry evenly.
You only have to do this several times. No need to focus on it the whole day long. Just do it a couple of times once the tray is firm to handle.
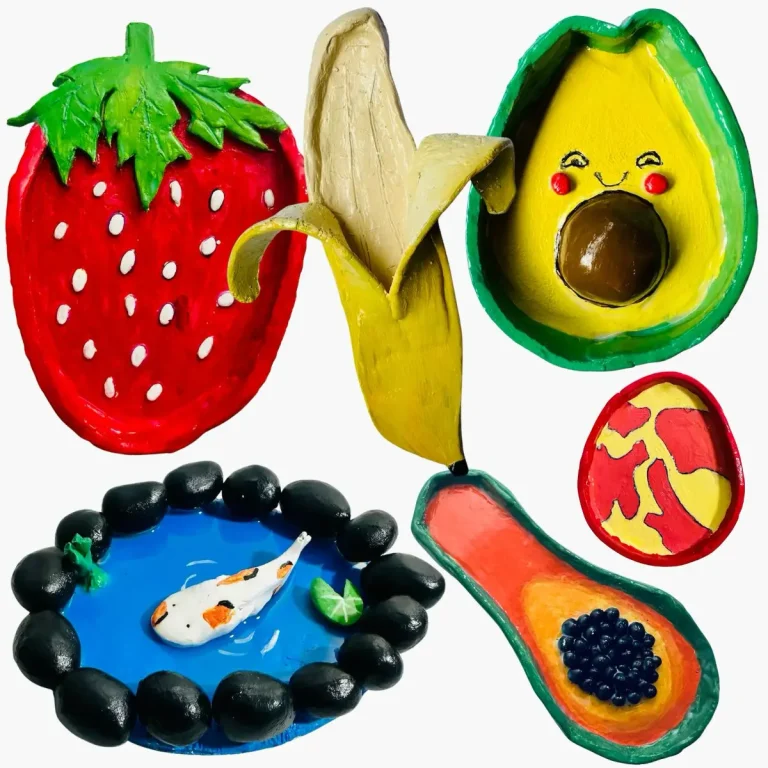
For example, when I was drying my banana trinket tray, in the first hour I placed it upside and then I flipped it, giving the bottom room to breathe. Then after two hours I repeated the process and then I did the same the next day. That’s it. Don’t overthink! Just do it whenever you can, but don’t forget.
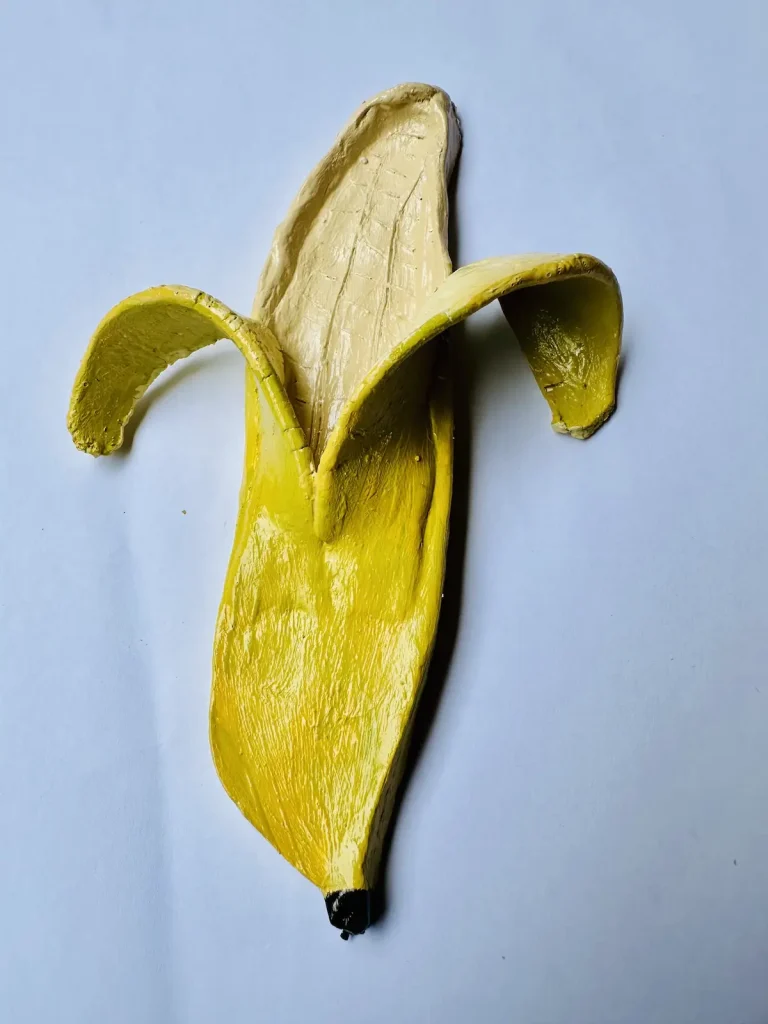
This is the easiest way you can avoid your tray from warping. When the top and bottom of your tray dry at the same rate, they all shrink evenly with no tension building up, so no warp happens.
I didn’t even know this method when I was making my papaya trinket tray and it ended up warping. But from then on, when I was working on my strawberry trinket tray, banana trinket tray and others, I made sure to follow the flip and rotate technique when drying. So, no wiggle on the tabletop.
Method 2: slowing down the drying process
Don’t place your air dry clay tray in the sunlight or outside in the air when drying. Yes, it makes the clay dry faster. But this increases the moisture evaporation rate of the outside area of the tray more than inside. ☀️
As moisture evaporates, outside layers of clay shrink faster than the inside, causing uneven shrinkage. This uneven shrinkage makes your curved air dry clay tray warp. 📉
To avoid that, place the clay inside and wrap it with a loose plastic bag or lightly damp cloth. This slows down the moisture evaporation speed of your air dry clay tray, resulting in even drying and even shrinkage. So, the tray won’t warp.
Method 3: Weighting the base down
Place a bag of rice or sand on the middle of the tray base when it is drying to keep the tray base flat.
Don’t place items that are too heavy because it can misshape your wet clay. ⚖️
Follow this method with caution because the clay area under the weight will dry super slow because moisture has nowhere to evaporate.
I prefer the flip and turn method over this because this one may damage your tray base, especially if it’s a trinket tray.
Method 4: Elevate your tray when drying
Place your curved air dry clay tray on a wire rack or mesh when drying so airflow can reach the bottom.
This makes the bottom of your tray breathable and helps it to dry at the same rate as the top.
Can you fix air dry clay that has already warped?
What if the damage is already done and you’re with your warped air dry clay tray? There are several ways you can fix this. 🩹
Method 1: Add more clay to the bottom
First, tap the bottom of your tray with a little bit of water and make it wet. Then score the bottom area using a scoring tool or a toothpick.
Next, take a fresh small clay piece, knead it and score the area that is going to attach to the bottom of the tray.
Tap a little bit of water over the scored area (or apply a clay and water mixture called “slip”) and attach it gently. Press lightly and hold it until the clay is attached.
Smooth out the bottom with your fingers and let it dry.
Once the clay tray is fully dried, sand with fine-grit sandpaper to remove unevenness.
This is the best way to fix a warped, curved air dry clay tray.
Method 2: Sanding down the bottom
If the warped elevation is so little, sand the edges with a fine grit sandpaper once the tray is fully dried until the tray base becomes flat.
Do this carefully without damaging the shape of your tray.
Final thoughts
Even though you’re in a hurry, your air dry clay tray is not. Let it dry slowly and flip the sides while drying for even moisture evaporation.
Trying to fix the warped tray is so much harder than you think because dried air dry clay does not like to fit with fresh clay piece.
The air dry clay tray project you made for hours can be ruined if it is warped. Therefore, always focus on drying. Don’t let your project be like my papaya trinket tray project.
I’ll see you again with more useful tips that I learn during this journey. Cheers! 🤟🏾