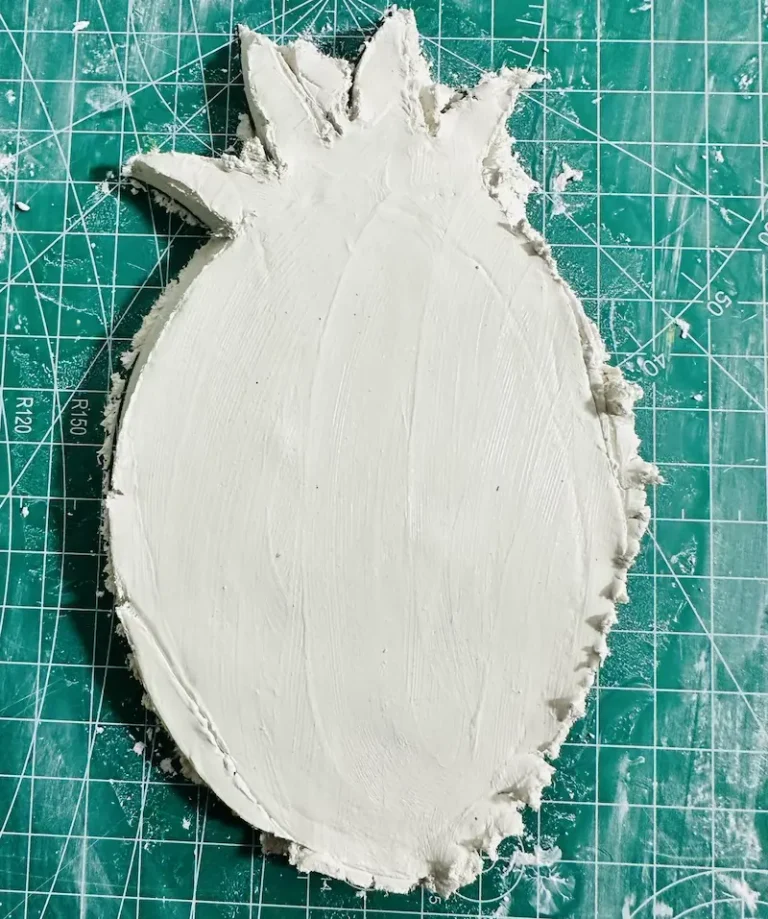
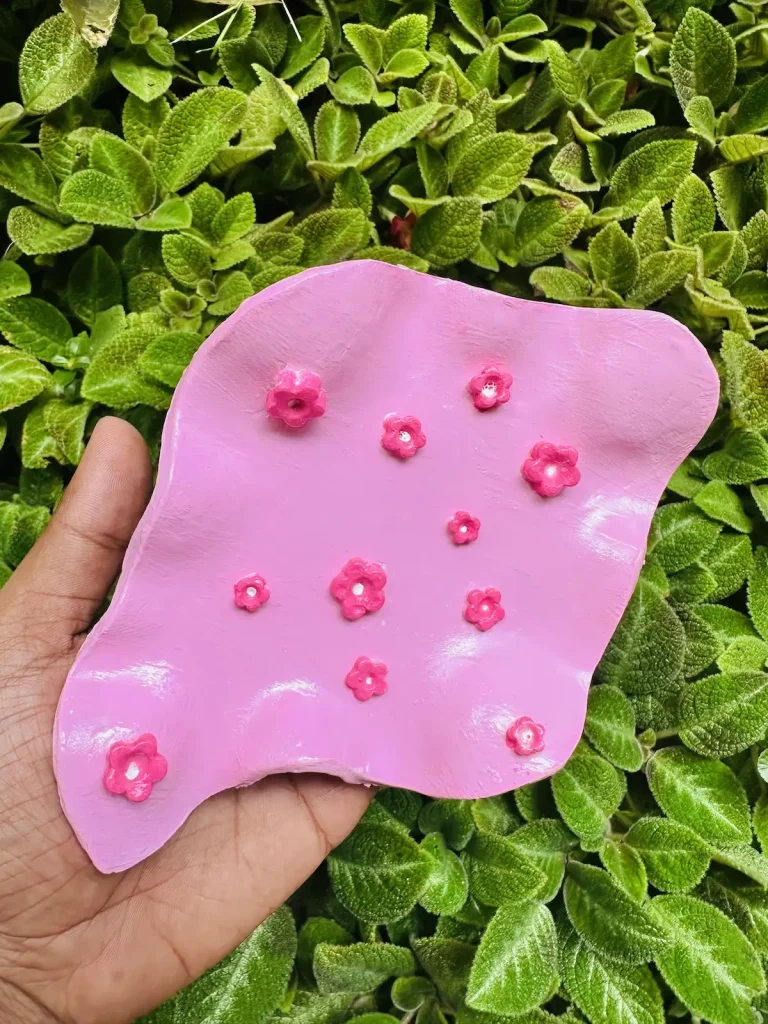
As beginner air dry clay artists, we don’t have expensive templates, molds, or cookie cutters. Some may even give up their clay artist dream because they don’t have those tools.
But what if I told you everything you need to start your air dry clay journey is sitting inside one of your kitchen drawers? 🥣
Every expensive air dry clay tool has its cheap, easy-to-find option. For example, cookie cutters can be replaced with caps or lids; crafting tools can be replaced with toothpicks, yogurt spoons, and needles, likewise. 🛠️
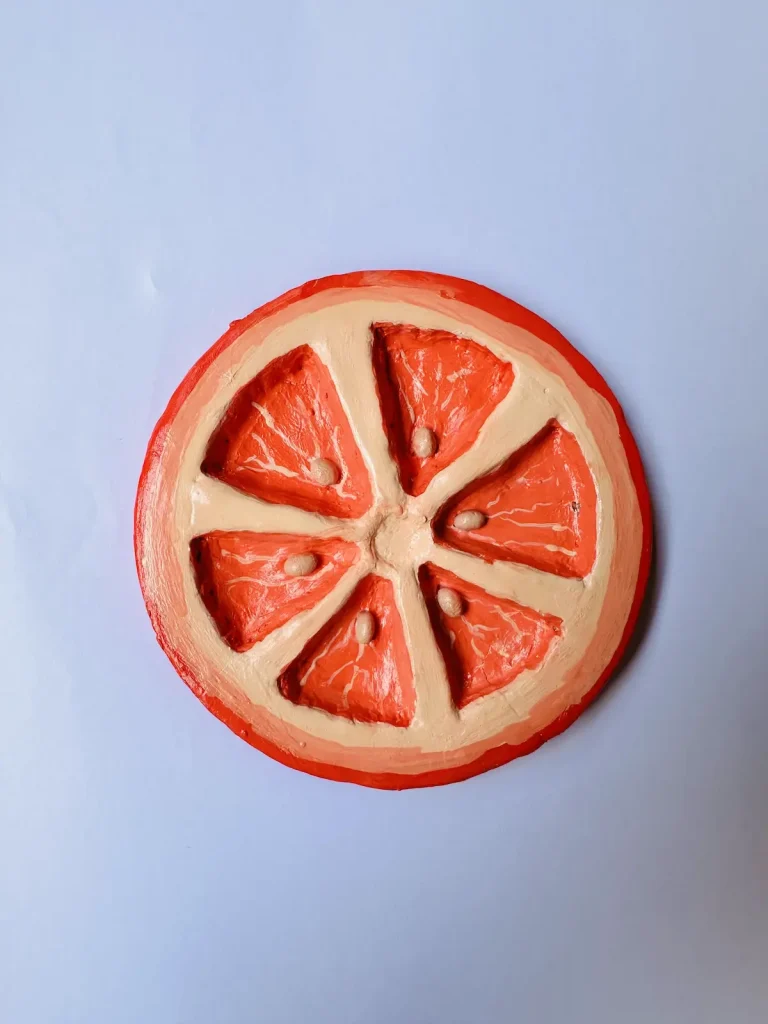
So when I was making the orange trinket tray, I wanted to make a perfectly symmetrical round shape as the tray base, but I didn’t have cookie cutters. But in the end, I was able to get a clay slab with sharp edges and clean cuts only by using a household item. 🍊
Let me tell you what I used and how I did that easily to achieve the perfect round base I wanted!
Why you don’t need fancy tools for perfect clay circles
Perfect clay circles are great for making tray bases because they are symmetrical and detailing is easy. You can easily achieve a perfectly round tray base with cookie cutters or molds. But not always! ⭕
I always ended up tracing lopsided circles because I’m a big believer in freehand cutting. Actually, I don’t have cookie cutters or molds because I’m still a beginner and haven’t invested in expensive tools. I’m sorry.
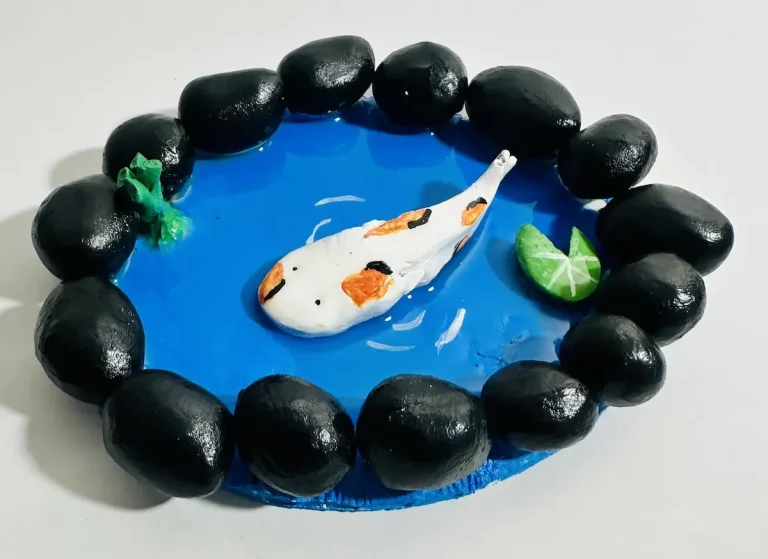
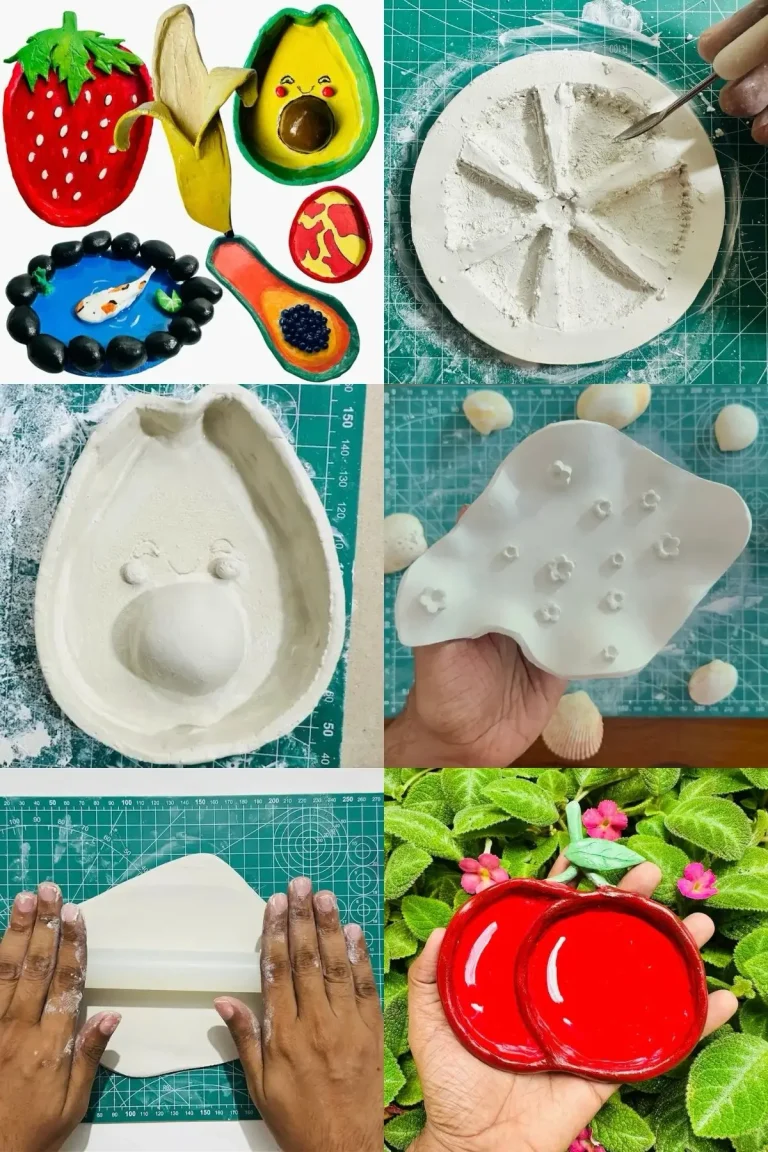
I have made an avocado trinket tray, papaya tray, strawberry trinket tray, watermelon trinket tray, koi natural fish pond and banana tray all with freehand cutting. Actually, it was fine because all those are organic things, so no need for a perfectly round base.
But for the orange trinket tray, I needed the base to be perfectly round because I planned to make distinct, equal-shaped orange dividers inside by hollowing out the clay. You can’t make equal-sized dividers inside the tray with a lopsided circle base.
As I told you earlier, cookie cutters are the perfect tool for my requirements. But I didn’t give up. I went to the kitchen and found the perfect tool for perfect clay circles, which is a jug lid, a big jug lid!
A big lid is great because then I got enough room inside for six orange dividers I was planning to make.
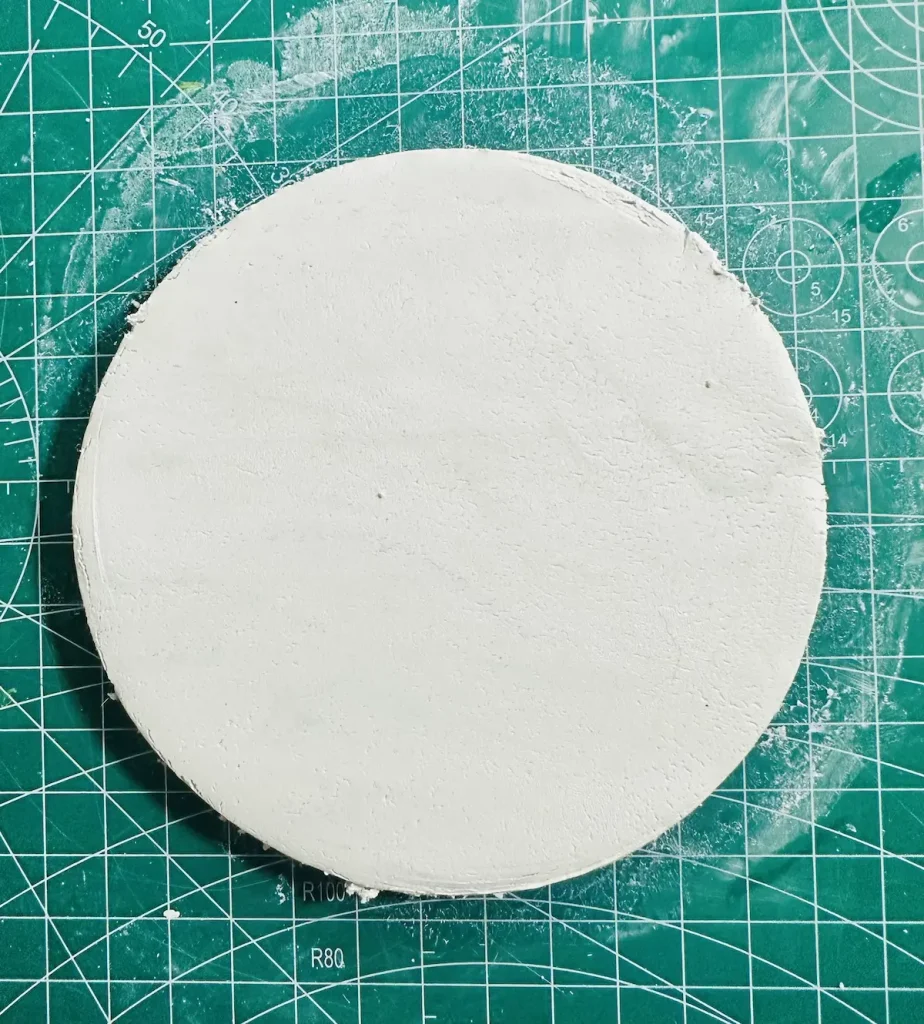
Household items for a perfectly round base
You don’t need fancy tools for clay circles. You can use the following: 🏠
- Jug lids
- Bottle plugs
- Corks
- Plastic bottle caps
- Bowls
You just have to select the item with the right size.
Step-by-step guide: cutting a round air dry clay base
First, open your kitchen drawer or search your desk for an item with the perfectly round shape and size you want. 🔍
Step 1: Find and position your template
First, roll your air dry clay slab to an even thickness. Don’t make the base too thin because it may tear apart when lifting it up and lose its stability.
Next, place and position the template you selected in the middle of your clay slab. This is important because misplacing the template can cause trouble when tracing and cutting.
After positioning the template, you can either press down the template or trace and cut. I’ll explain both.
Step 2: Press down the template
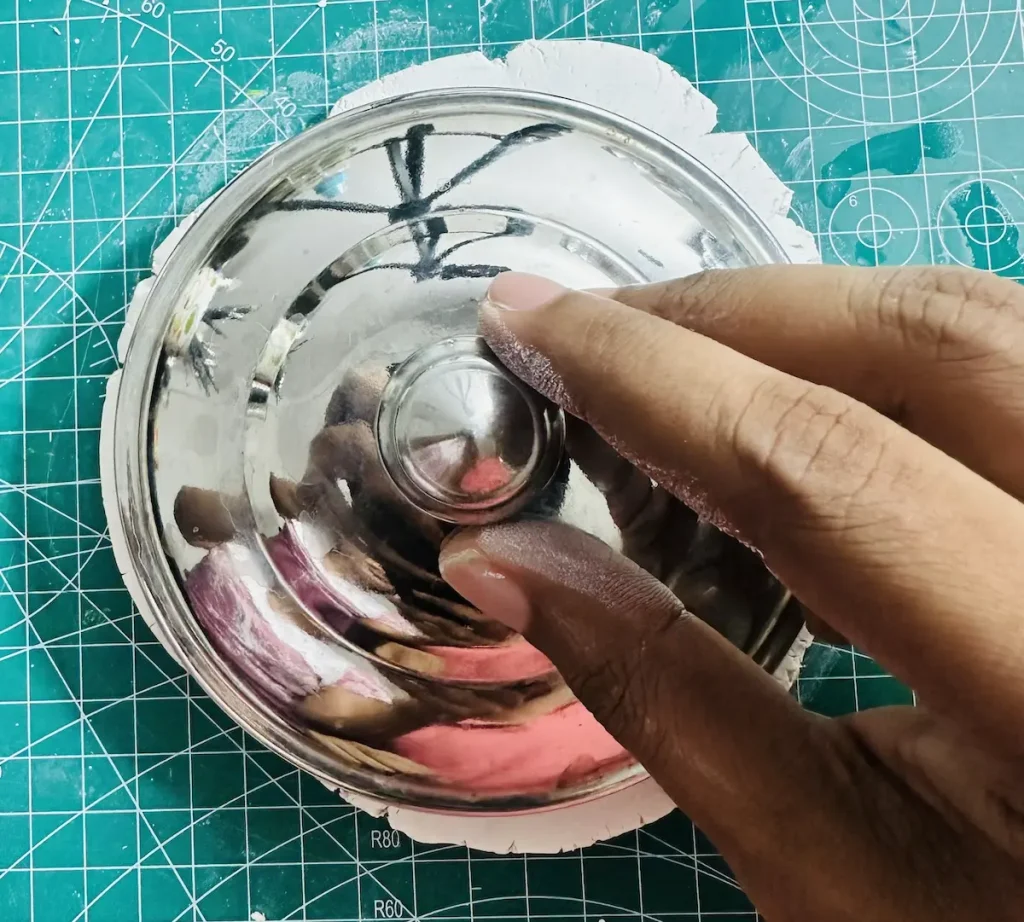
After positioning, firmly press the template down on the clay slab with equal pressure. ⬇️
This is what I followed when making my orange tray base because the lid I got is an aluminum lid with sharp edges.
Keep your hands steady because you should only move the template vertically (up and down); no horizontal (left and right) movements should happen.
Step 3: Trace and cut the edge
If your template has no sharp edges or can’t be pressed down, you can follow the tracing and cutting method. ✍️
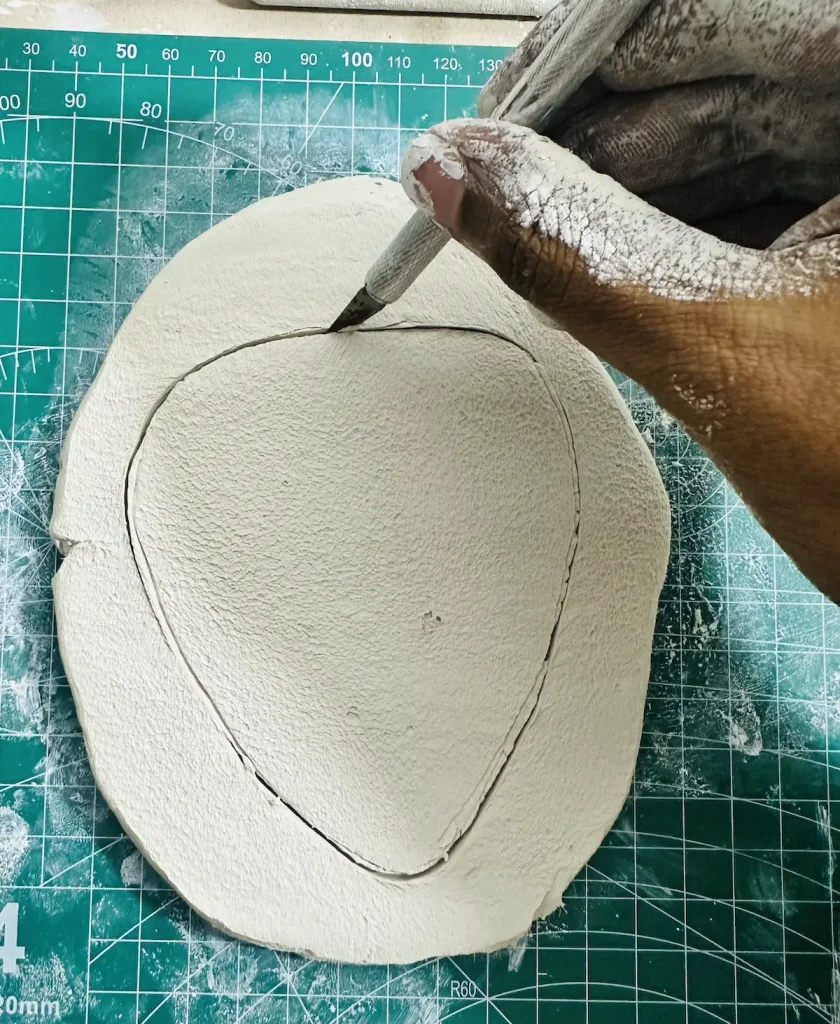
Place the template firmly in the middle and trace around the edge of it over the clay slab. For tracing, you can use a clay tracing tool, a needle, or a toothpick.
After tracing around the edge of the template, remove and place it aside.
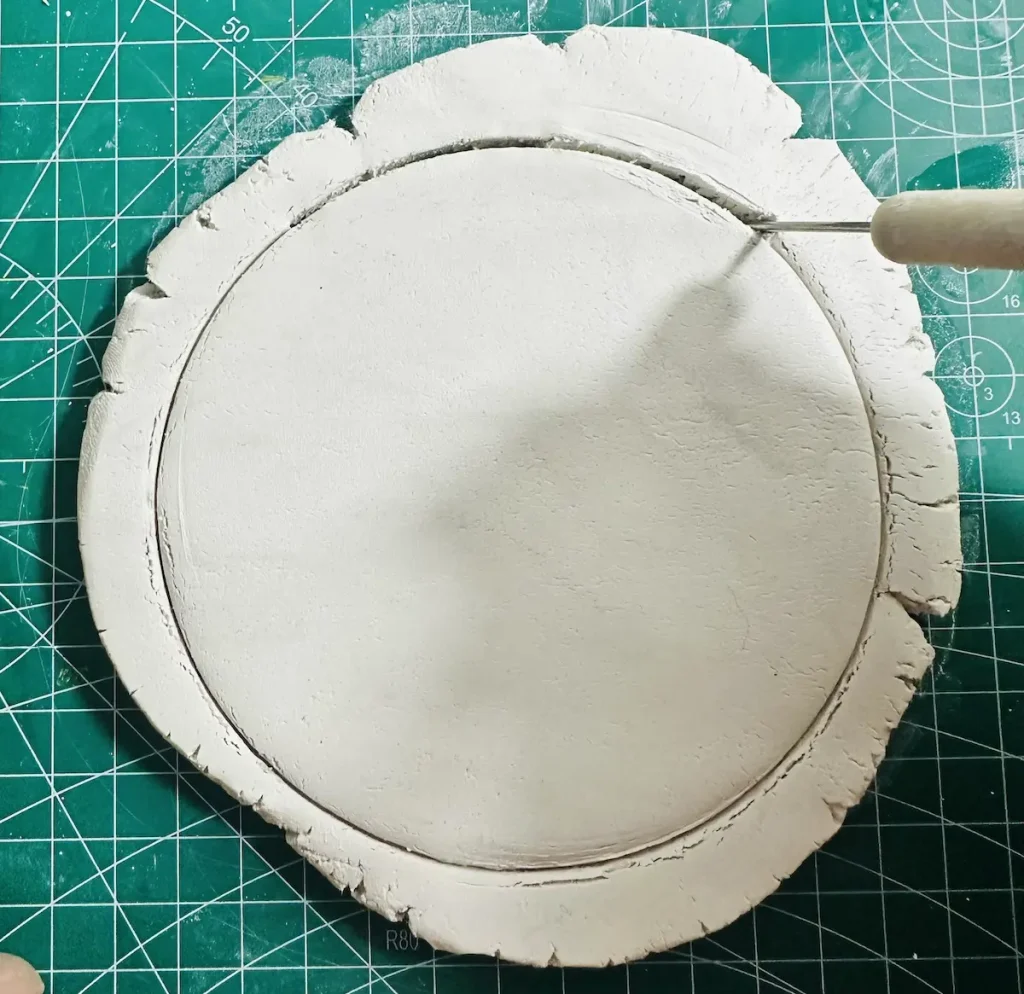
Next, cut along the traced line using your craft knife or toothpick.
Step 4: Remove the excess and smooth
Now remove the excess clay by peeling away the outer clay.
Now you have a perfectly rounded clay slab, but with some imperfections, bumps, and scratches around it.
First, wet your index finger by dipping it in water and glide it on the clay slab and around its edge/rim repeatedly to make it smooth with no imperfections. 💧
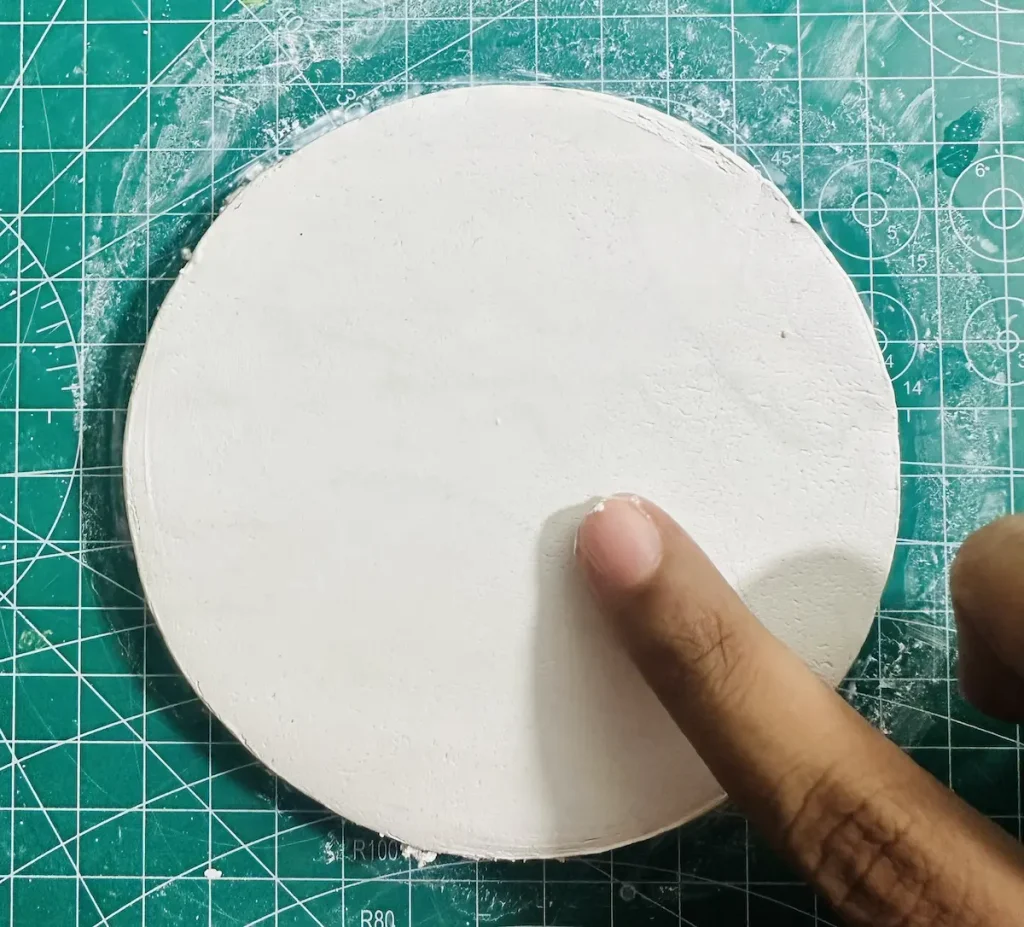
Congratulations, friends! Now you have a clay slab with a perfectly round shape. Simple as that! 🎉
Final thoughts
See, do we need any fancy cookie cutters or molds? No, we don’t. Never ever give up on your clay artist dream because you don’t have expensive tools.
A clay artist is an artist with creativity inside, so use anything you can find in your household to replace those expensive, fancy tools.
But when you become good at this, I highly recommend you invest in quality cookie cutters or molds to make perfectly round clay slabs. They are totally worth it. ✨
I’ll see ya again with more useful clay tips and tutorials. Cheers! 🤟🏾