I know, I know, this sounds controversial. I know you have seen hundreds of videos and articles of miniature projects completely done with air-dry clay. 🎨
But let me tell you, in beginner terms, it’s better not to make tiny, cute, small, miniature projects with air-dry clay. I learned it by experience. 💡
Let me tell you why I said so:
Challenges of miniature air dry clay sculpting
If you’re a beginner, it’s better not to use air-dry clay for miniature projects. Otherwise, you’ll end up like me when I did my first air-dry clay project. 🙃
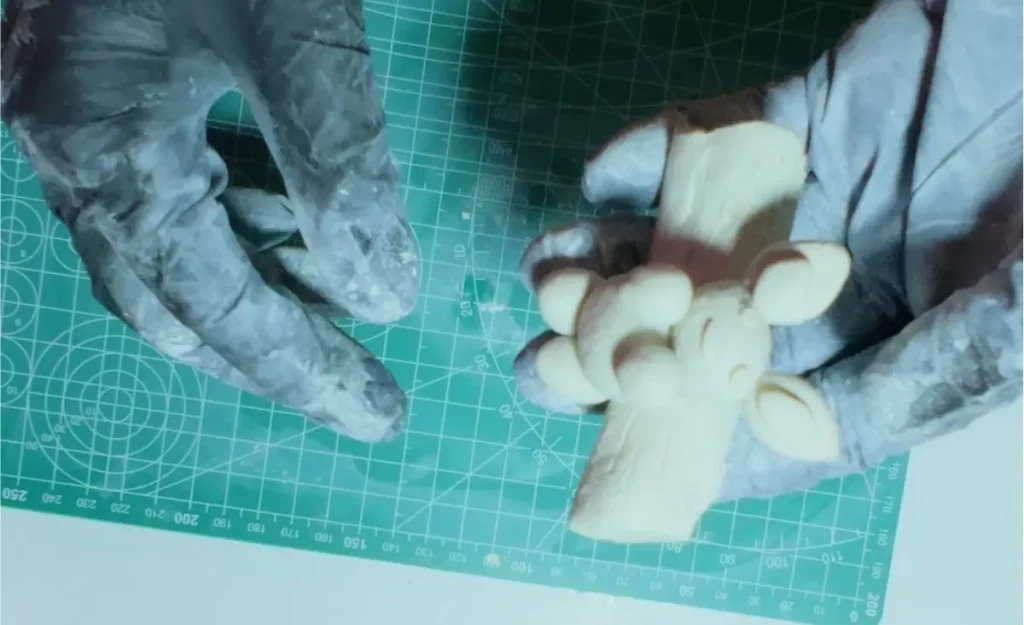
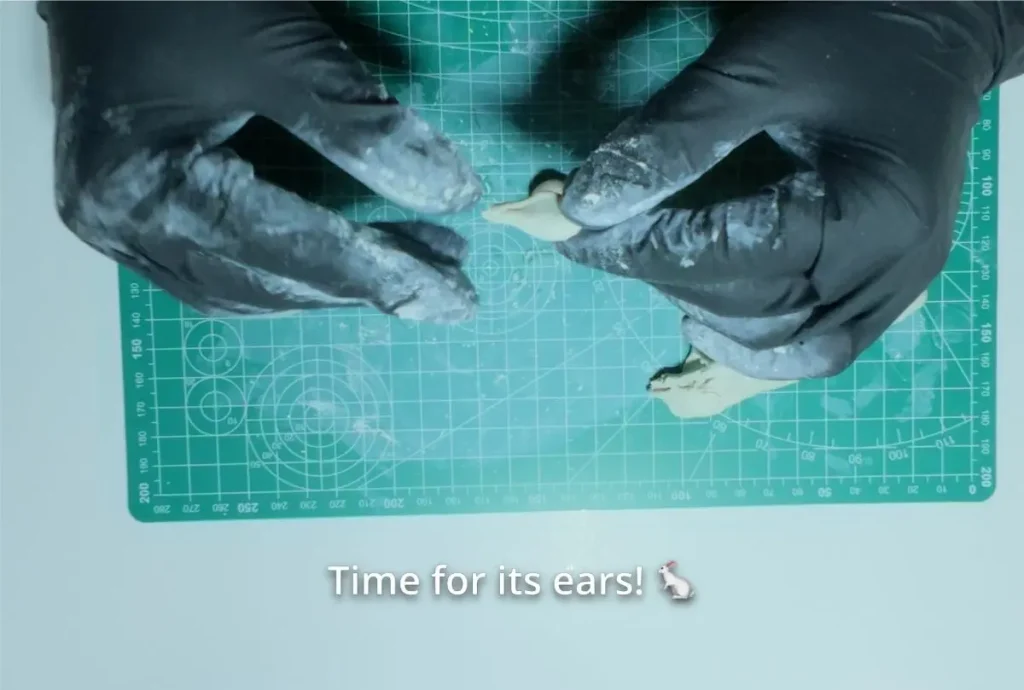
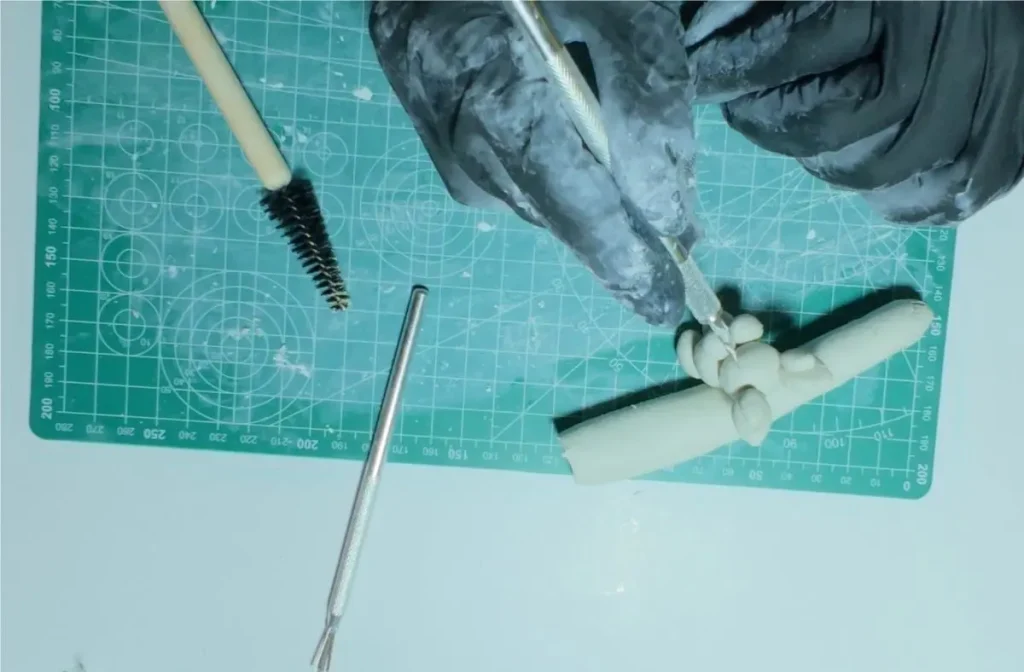
I tried to make a tiny rabbit with air-dry clay. The head was small, legs, arms, ears and everything. And finally, I ended up with fallen pieces that did not attach quite well. 🐇
Yes, some of them are skill issues, but air-dry clay was also responsible for my ruined project.
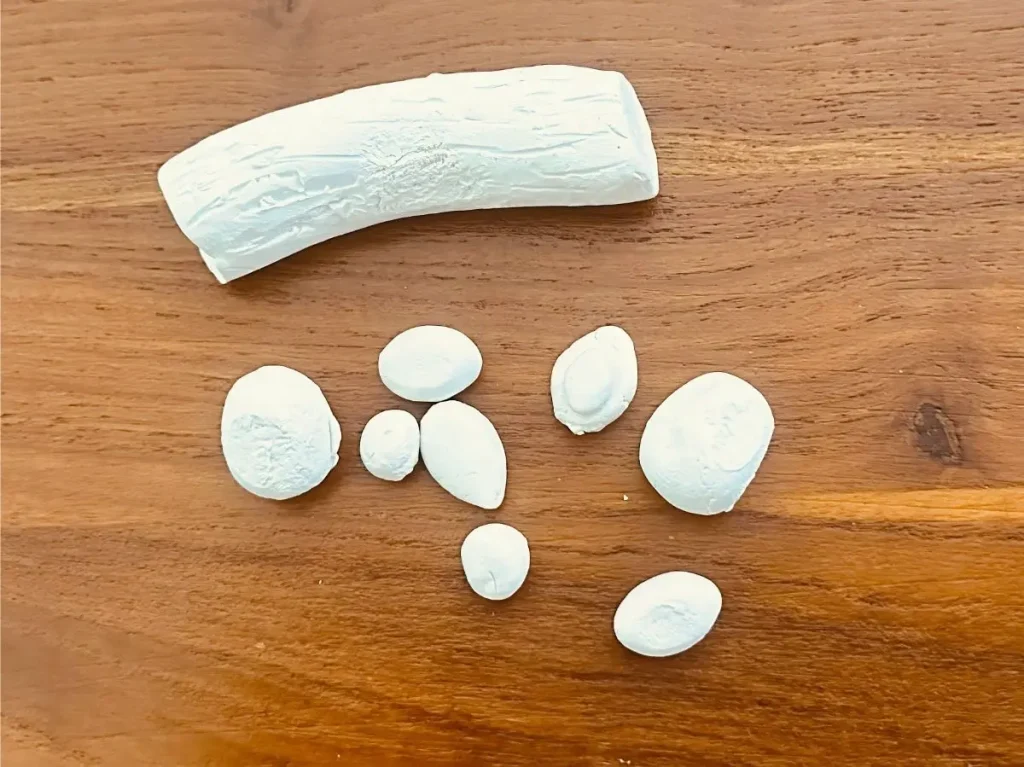
Here are the unique challenges you might face when using air-dry clay for tiny projects:
Quick drying of air dry clay
When you’re making a small project with air-dry clay, you make small parts. Those small parts have higher surface area open to the outside world than what’s inside. Because of having high surface area open to the air, the clay will harden quickly by evaporating the moisture inside. 💨
What basically happens is the miniature air-dry clay project dries even before you complete it.
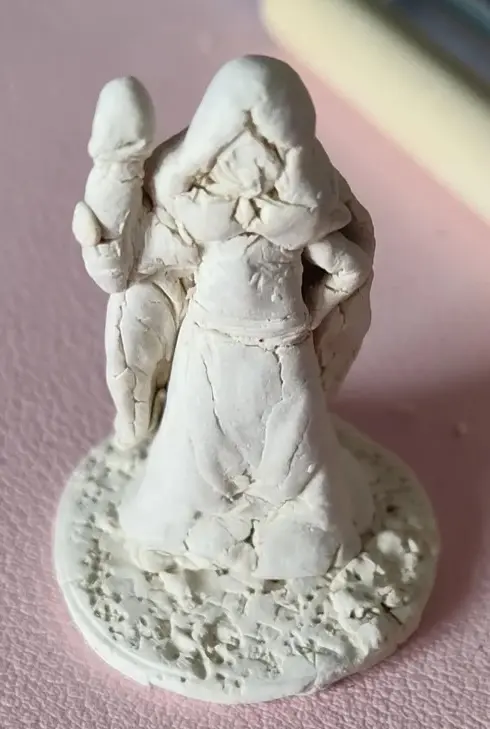
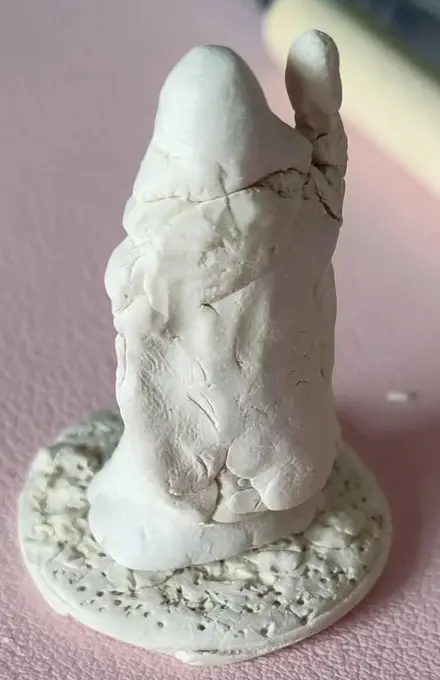
For example, when you’re making a tiny rabbit, and make and shape the left ear of it and keep it aside to make and shape the right ear of it, the left ear dried fully and it has no moisture left inside to attach to the rabbit head. 😟
This rapid drying of miniature air-dry clay projects leads to cracks and a non-smooth surface. When the surface is not smooth, you can’t detail them well and the project looks ugly. 🥀
Think you’re making tiny ears or flower petals or thin fingers. They require blending after shaping. But what if they harden before you bend them? Definitely, the pieces will get cracked and it’s impossible to blend.
But when it comes to larger, chunky projects, the surface area open to the air is small compared to what’s inside.
Therefore, a higher amount of moisture is inside and the project won’t dry quickly, especially until you finish sculpting. Therefore, there’s enough time for detailing and smoothing. ✨
Shrinkage and cracking
We know air-dry clay shrinks when drying. The shrinkage is approximately 5%. Yes, it looks like a small percentage. But it is a huge amount and a huge distortion when your project is small. 📉
Fine lines and thin parts are mainly affected by this uneven shrinkage. Once the water evaporates, those thin tiny parts will snap or split.
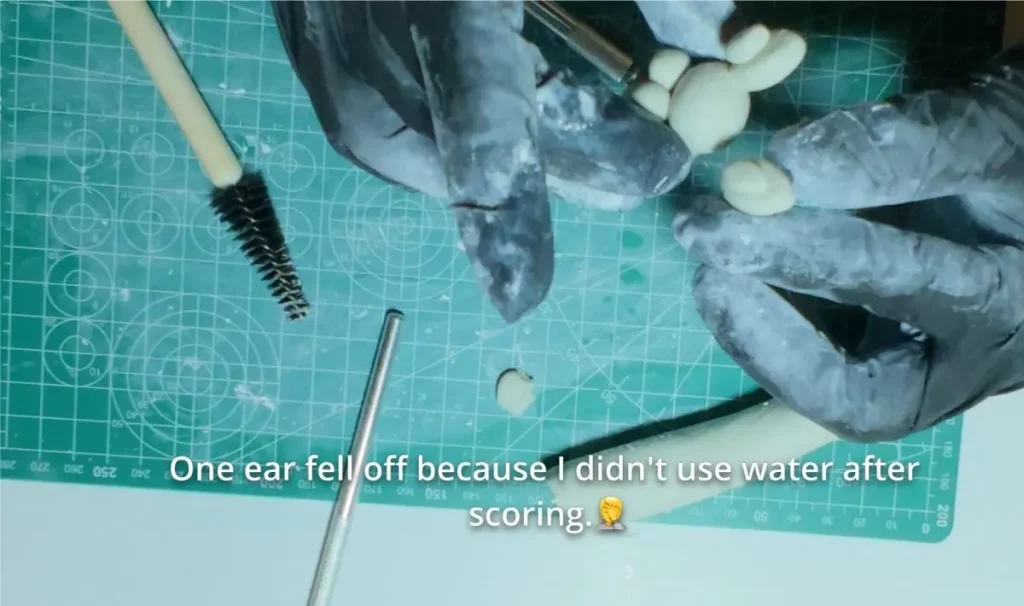
I experienced this. One of the ears of my tiny rabbit fell off when I was attaching the other ear. When I touched the fallen ear, I felt it was hardened and there were tiny splits everywhere because of the uneven shrinkage. 💥
If you keep maintaining the moisture level of the tiny pieces until they fully attach, yes, there is a possibility of making a tiny project with air-dry clay. But as a beginner, I can’t do that and I know you can’t as well. It’s for professionals and experts. We’re not yet at that level. Lol. 😂
Polymer clay and Greenstuff do not shrink and crack like air-dry clay. This is why they are widely considered best for miniature projects. ✔️
Fragile and break easily
Since air-dry clay contains moisture and once it evaporates it gets hard and brittle, the tiny pieces made of air-dry clay are so fragile and tend to break easily even under small pressure. 🔨
This is why artists and professionals use polymer clay to make tiny sculptures.
It doesn’t get hard until it’s baked and once it gets hardened by baking, it does not break easily like air-dry clay even under pressure. 🔥
I know it seems like I’m telling you a lot of bad things about air-dry clay; sorry, as per my experience and from the things I found on the internet, it is not best for tiny projects. Simply use it for larger projects. Cost-effective, less shrinkage, and no cracking and breaking. Simple as that! 👍
Hard to join
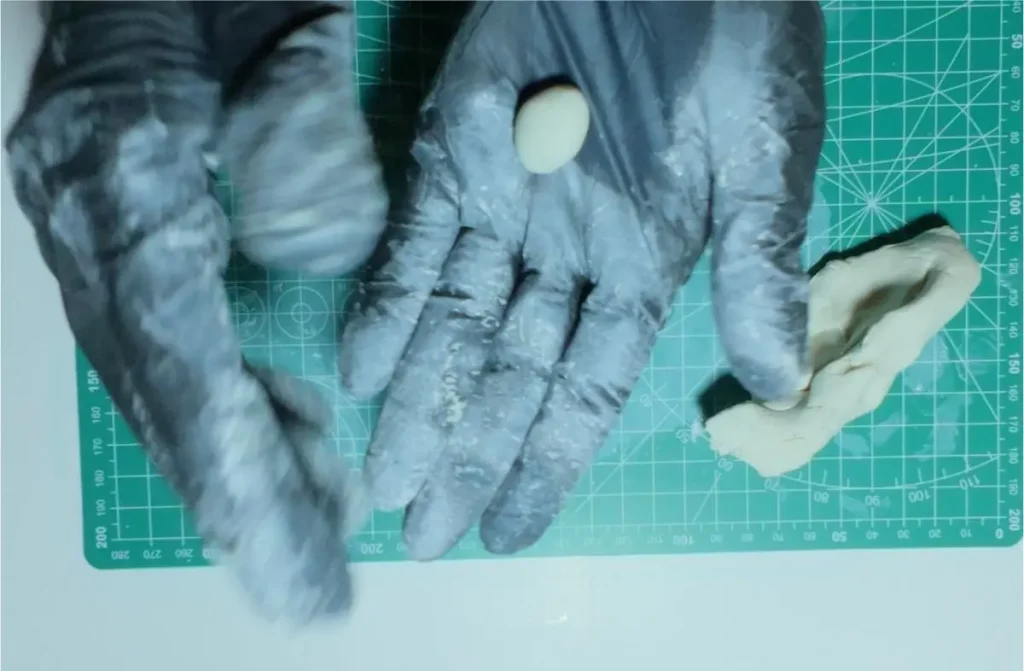
Tiny pieces made of air-dry clay give you a difficult time when joining them to the main body because where should you score? Score and slip is essential for joining air-dry clay pieces. 🔗
No score means they won’t attach well and will fall off when they’re drying.
This was exactly what happened to my rabbit project. The legs and arms of it were super small and I didn’t score enough; actually, there was no room for scoring because they were super tiny. You need to have eyes of a fly to score those tiny pieces. And eventually, all the parts of my tiny rabbit fell off when drying. 😭
Even after you score with all the difficulties, you need to add slip or tap with a little bit of water to the scored area before attaching. That is nearly impossible when your air-dry clay pieces are too small.
When you tap water with your fingers or any other tool, the part will get stuck to your finger or that tool instead of the main body. This feels super frustrating and the worst part is you get a wrong feeling about air-dry clay which may end your dream of becoming an expert clay artist. 😤
No structural integrity (the “droop” effect)
Do you really think air-dry clay can hold its weight when the project is small? No, it can’t. When you make tiny pieces, that can be a small body, arm, ear, eyes, with air-dry clay, the total weight of it is air-dry clay weight + water weight. Yes, when air-dry clay is fresh, it’s soft, squishy, but also heavy because it contains moisture. 💧
When you attach those small parts to the main body or main project, they probably will fall off under their own weight before they dry.
But when you’re working with a large project, the structural stability is so much higher and you will get good stability. 💪
This is why some artists insert thin wire armatures or toothpicks inside of small parts when they’re attaching them to the main body. Those wire armatures and toothpicks work as a skeleton to give the stability air-dry clay wants to keep the project steady without falling. 🦴
Prone to accidents
Think your project is a small rabbit and you need to attach eyes. You attach one eye after scoring and tapping a little bit of water to one eyeball. 👀
Then you take the other eyeball and score, but when you’re tapping water, it accidentally touched the other eyeball you already attached and it stuck to your finger. Now both eyeballs are in your hand. 🤦
This happens because air-dry clay sticks to warm hands. When you try to fix one thing, the nearby finished thing might get ruined and lose details. Hours of your work might get destroyed due to a tiny mistake. 🕒
This is another reason people go with polymer clay for miniature making because you don’t need to apply water to attach pieces. You just need a little bit of pressure.
The natural grain of air-dry clay looks chunky and ugly for tiny pieces like miniatures. 🏜️
Difficult to paint
Since air-dry clay mostly comes in white, grey, brown, or muddy-looking colors, when you make tiny projects, you need to use brushes for painting. 🖌️
Painting tiny parts is difficult and you need to have good handling and practice. One wrong brush stroke can ruin your project.
Plus, the brushes you use need to be good because low-quality brushes are not good for fine detailing.
Therefore, it’s better to have polymer clay since it comes in different colors, which is good for making tiny projects, and you don’t need to worry about painting. 🌈
Better alternatives for air dry clay to make tiny projects
Because of all the above reasons, I know it’s frustrating to work with air-dry clay for tiny projects. But don’t give up on your hope of making miniatures using clay. If you’re a beginner, I have better options for you. 🌟
Polymer clay
Polymer clay is the best clay for miniatures and any other tiny project. It does not contain moisture like air-dry clay. Therefore, it does not dry under room temperature, only when it is baked. It is not as heavy as air-dry clay. 🏆
With polymer clay, it is so much easier to make fine details on your tiny projects without losing the details you already made. No water, score, or slip needed before attaching pieces. Therefore, it’s easy to join tiny pieces.
Stability is super high once the project is baked. No shrinkage at all and no fragility like air-dry clay. ✅
Also, it comes in different colors and therefore, you don’t need to worry about painting your tiny project. Because during painting, lots of mistakes can happen since the project is small.
You can blend, mix, and make the color you want with polymer clay. Therefore, no need to worry about not having the color you want in a pre-purchased bundle.
The only con is polymer clay is more expensive than air-dry clay. But I don’t think it’s much of an issue by looking at all the advantages you get by using polymer clay over air-dry clay when making a tiny project. 💰
Greenstuff
Greenstuff, also known as Kneadatite, is a two-part epoxy putty that is ideal for making tiny sculptures and miniatures. 🟢
It does not shrink like air-dry clay and it’s easy to make tiny fine details without making a mess.
With Greenstuff, you also can adjust the proportions of the two parts when you want different material properties for different parts of the tiny project.
Tips for Sculpting Tiny Details with Air Dry Clay
- Maintain moisture by keeping the project damp with a damp sponge or spray bottle. Do not let the tiny pieces dry before completing the project. 💧
- Use wire armatures or toothpicks when attaching tiny air-dry clay pieces to the main body. 📍
- Always follow the Slip and Score method for making miniatures.
- Use fine tools for detailing rather than using fingers. 🛠️
- Don’t lose your patience. Haha. 😄
Patience is Your Best Tool
I know what you’re thinking. If air-dry clay is this bad for tiny projects and miniatures, how do those big YouTubers and experts make tiny things with it?
The keyword is patience. If you can maintain moisture, use fine tools, finish the project before pieces get dried, and if you’re good at painting. Yes, you can make any tiny project with air-dry clay. ⏳
I’m not discouraging you, but if you’re a beginner like me, better to stick to large projects in the early days. This will improve your tool handling, clay handling, and you eventually know how much water you need for each project. 🎓
When you become good at those skills, yes, you can go for making tiny projects with air-dry clay. Until then, let polymer clay handle miniatures. That’s my advice.
Always keep in mind that anything is possible, but what you must do is practice regularly. Because practice makes you perfect! Cheers! 🍻