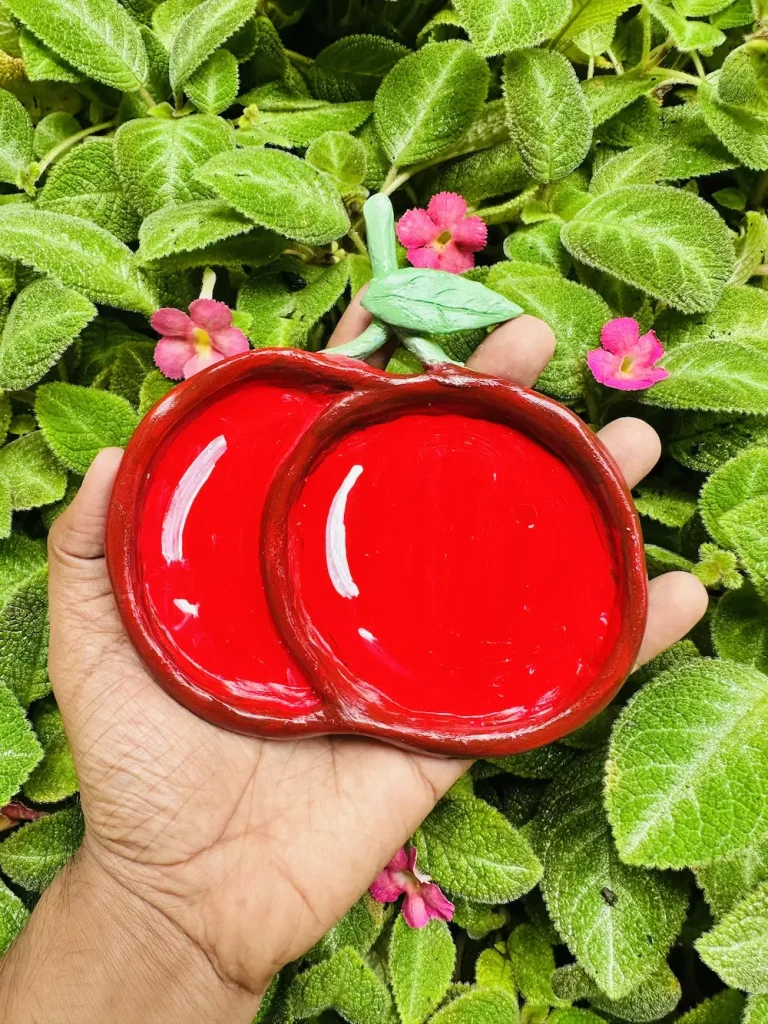
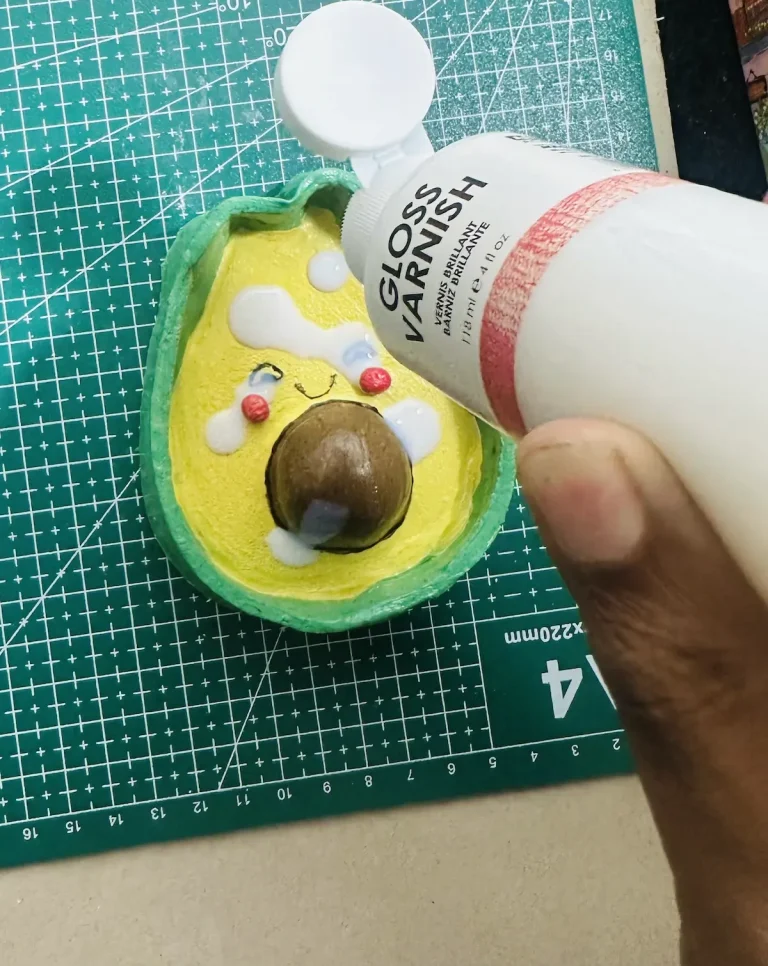
You spent hours and hours working to make a beautiful air dry clay tray and let it dry before painting, but you find a massive crack down the middle the next morning. You know how frustrating that sounds?
This happened when I was drying my first air dry clay rabbit project (not a tray project). Due to the cracks, the rabbit’s head, arms, and legs fell apart upon drying. I literally cried and was about to give up on air dry clay because that was my first project.
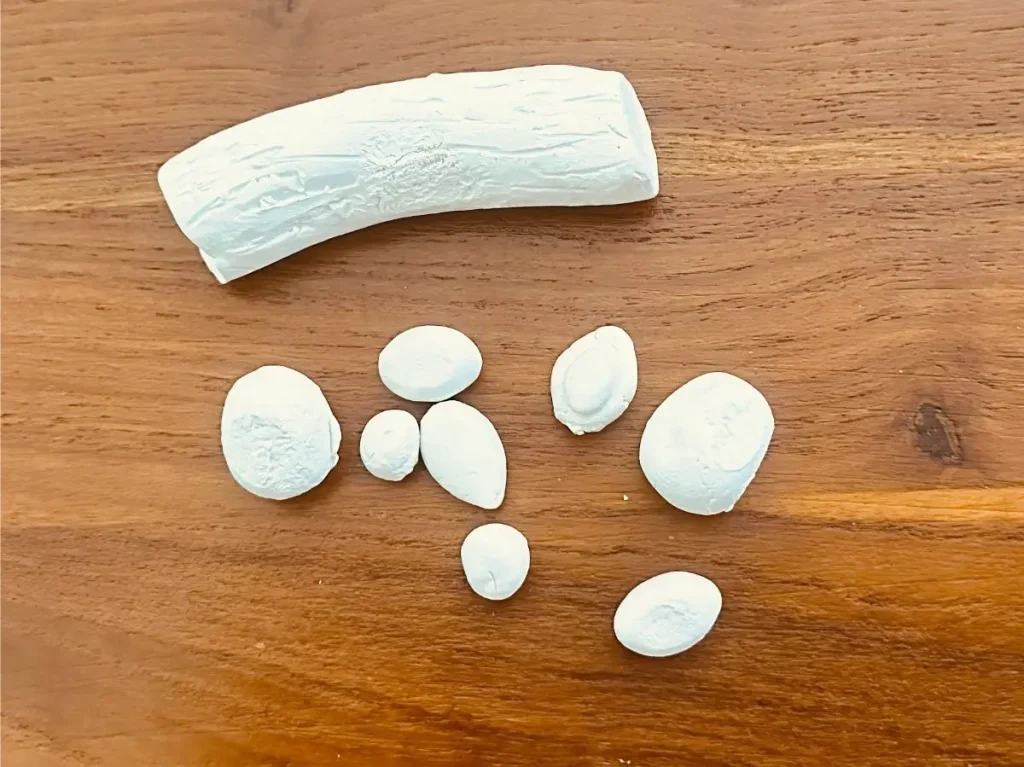
As a beginner, I face lots of cracking issues when I’m working with air dry clay because we don’t know how to keep the moisture level steady.
Sometimes, as beginners, we add too much water and the clay ended up cracking due to uneven shrinkage upon water evaporation. But when we add too little water, the clay ends up cracking because the edges of the tray are too dry and tend to split.
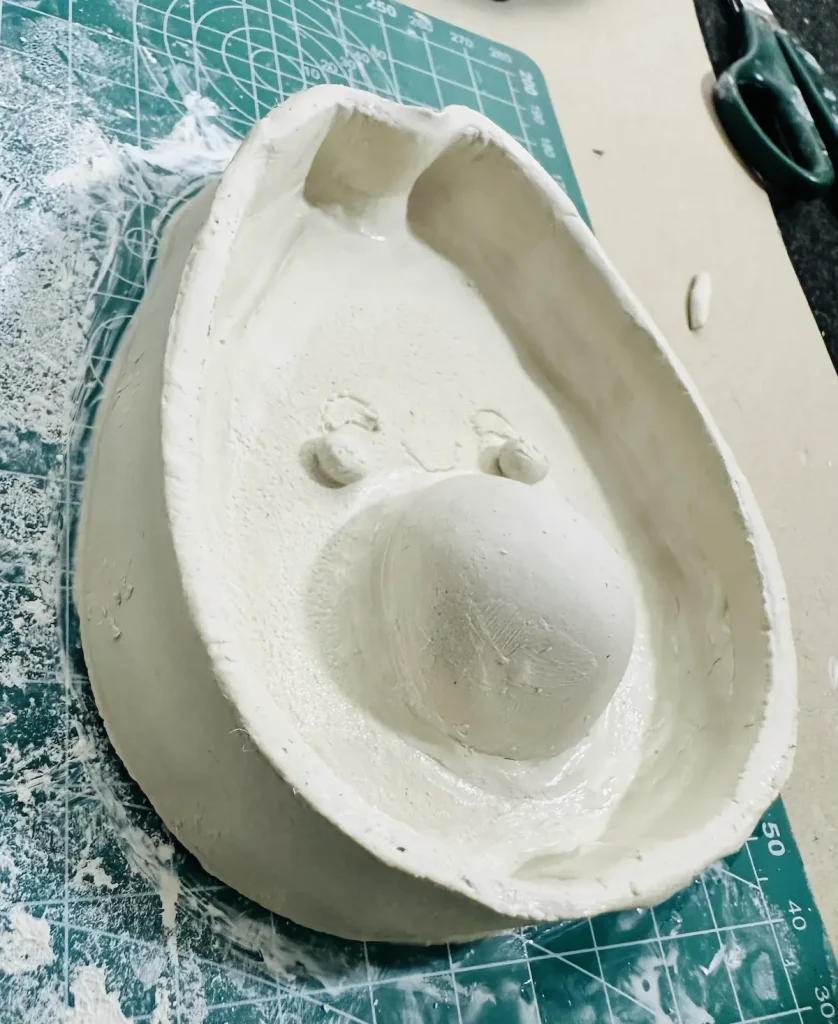
Therefore, maintaining a steady moisture level is a must when working with air dry clay to avoid it from cracking. I think now I’m getting good at this and can make things that do not crack when drying.
Let me tell you how to stop this cracking issue, which is literally a headache that ruins our beautiful trinket trays.
Why does air dry clay crack in the first place?
First, we need to identify why the hell cracks occur. Without finding the root cause of this cracking issue on air dry clay, we can’t find a solution. 🔍
The enemy of air dry clay is moisture. But without moisture, we can’t even make the clay soft and shape it. So, it’s an enemy that we should do business but with some limits lol.
Air dry clay cracks due to the imbalance of its moisture level.
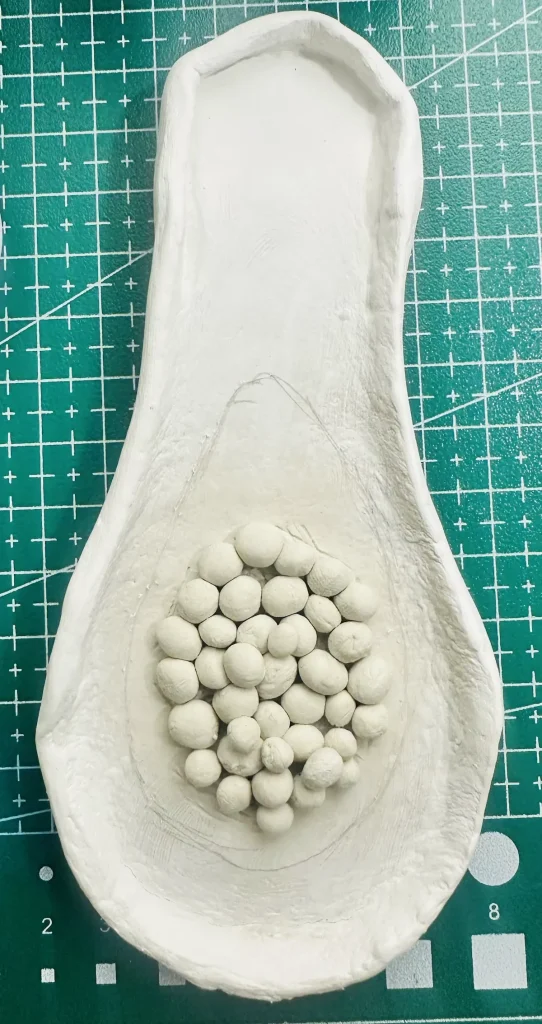
Air dry clay is a very porous material. Lots of moisture and air bubbles are trapped inside its porous structure.
When you make a trinket tray, decor item or any other project with air dry clay and let it dry before you paint, the water inside the clay evaporates and the clay gets dry.
So drying is the stage we need to be careful of.
If the air dry clay outside area which is exposed to air dries faster than the damp clay inside, the tension pulls the clay apart, causing cracks.
Upon drying air dry clay shrinks because it loses water. Shrinkage causes air dry clay to warp. But if the outside area dries faster than the inside, it causes uneven shrinkage due to different drying rates in different areas. This means the outside area of your tray warps faster than the inside.
According to physics, this will cause tension between the clays. When the tension gets too high clay starts to crack.
Don’t worry, I’ll summarize what I told, it seems too much right?
Here I have listed down common reasons why air dry clay cracks,
- Uneven drying: The clay should dry at the same rate everywhere.
- Uneven thickness: Thickness should be the same everywhere. Thinner clay parts dry faster and shrink faster than thicker clay parts. This pulls the clay apart as internal moisture remains trapped.
- Drying too fast: Placing air dry clay tray in direct sunlight or using heat lamps or heaters causes outer layers to shrink too fast, even before inner layers adjust.
- Too much water: Adding too much water when kneading, attaching and smoothing the clay means high evaporation, which means higher shrinkage. When the shrinkage is increased, tension built up inside the clay is high.
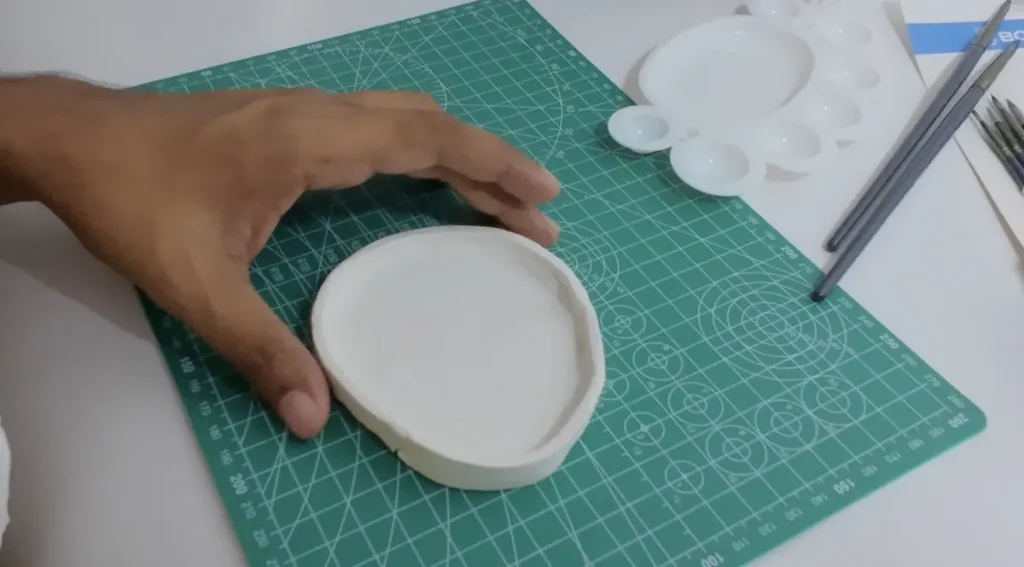
Now let me tell you how to stop this with experience.
Tips to stop air dry clay from cracking
Here’re the simple and easy methods you can follow to stop air dry clay tray from cracking,
Maintain the same thickness everywhere
When you’re making a project like a trinket tray, make sure all the edges and the tray rim and decorations you add have the same thickness.
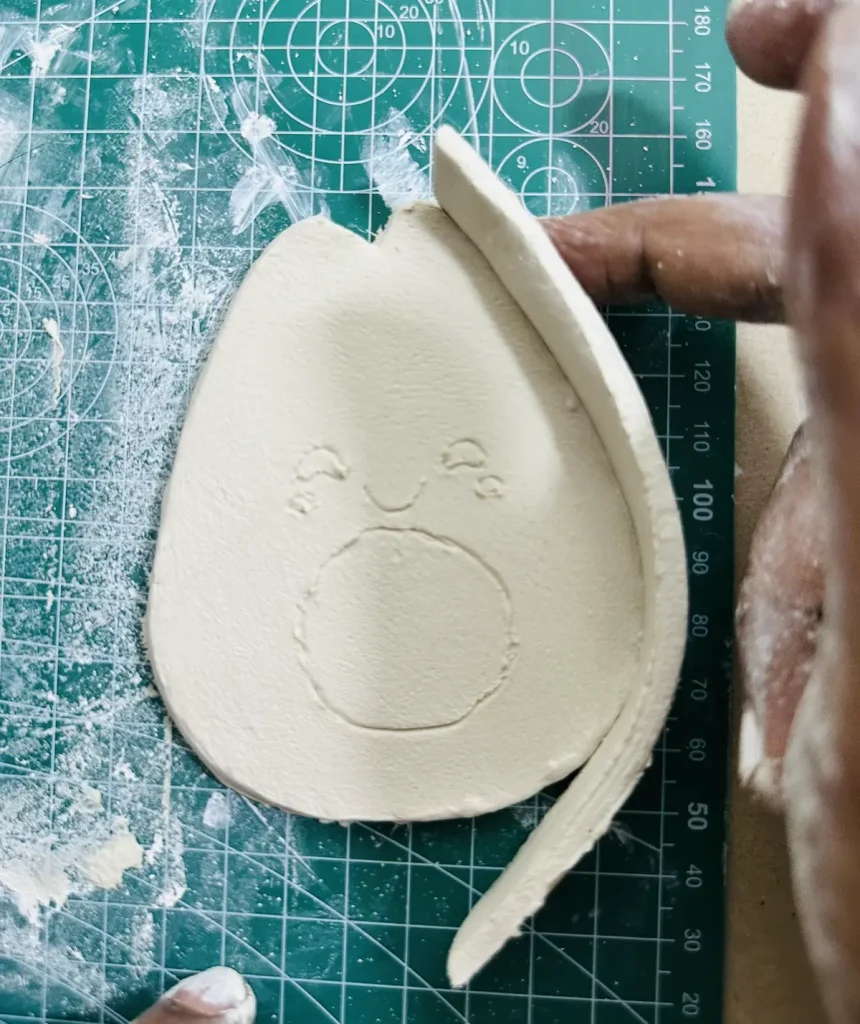
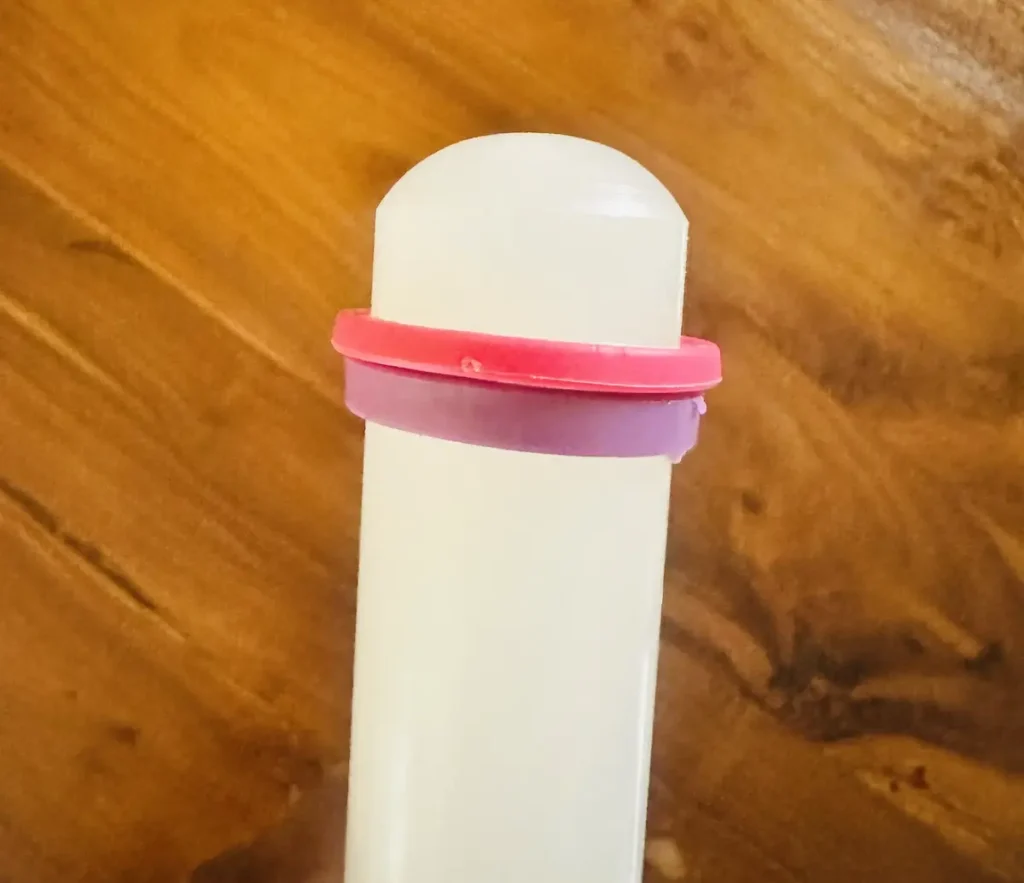
You can make same thickness items by attaching silicone or rubber guide rings to your rolling pin, or use acrylic guide rails.
Limit the water usage
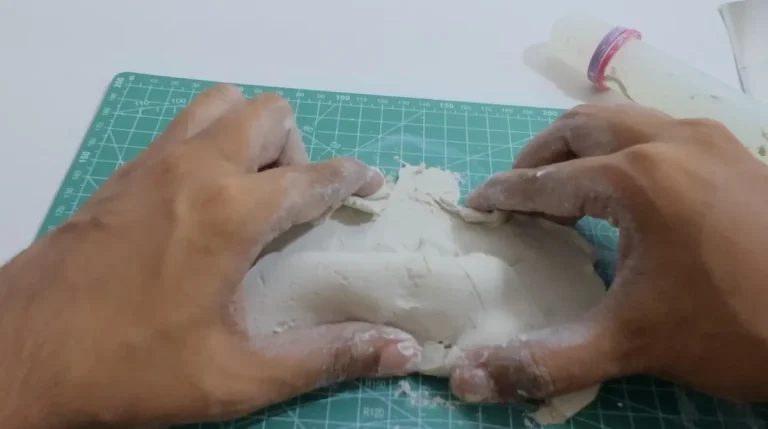
Adding too much weakens the air dry clay structure and forms cracks. When you’re kneading the clay, do not put water directly on the clay. Use a spray bottle or wet your palms. Then most will be absorbed to your skin and only a little amount will touch the clay. 💧
Less water means less shrinkage upon drying and the clay will not crack because no tension.
When you’re smoothing the edges of your tray, dip one of your fingers in a cup of water and use it.
Never ever soak the clay, no matter what. Always wet your index finger and use it.
Dry slowly
Don’t expose air dry clay tray to direct sunlight or a heater if you’re in a hurry and want to dry your air dry clay project faster. Keep it in a cool well-ventilated area for slow drying. 🌬️
Slow drying means water evaporation rate of the outside and inside layers of clay is almost the same which means no uneven shrinkage, no tension buildup and finally no cracks.
I place my wet air dry clay tray on the same PVC mat I use for making it. Since PVC has a non-porous surface it helps to give a nice and smooth finish on the clay.
Plus, air cannot get inside the PVC mat and the bottom of the tray while drying. I flip the tray project from time to time upon drying and let different areas dry on my PVC mat.
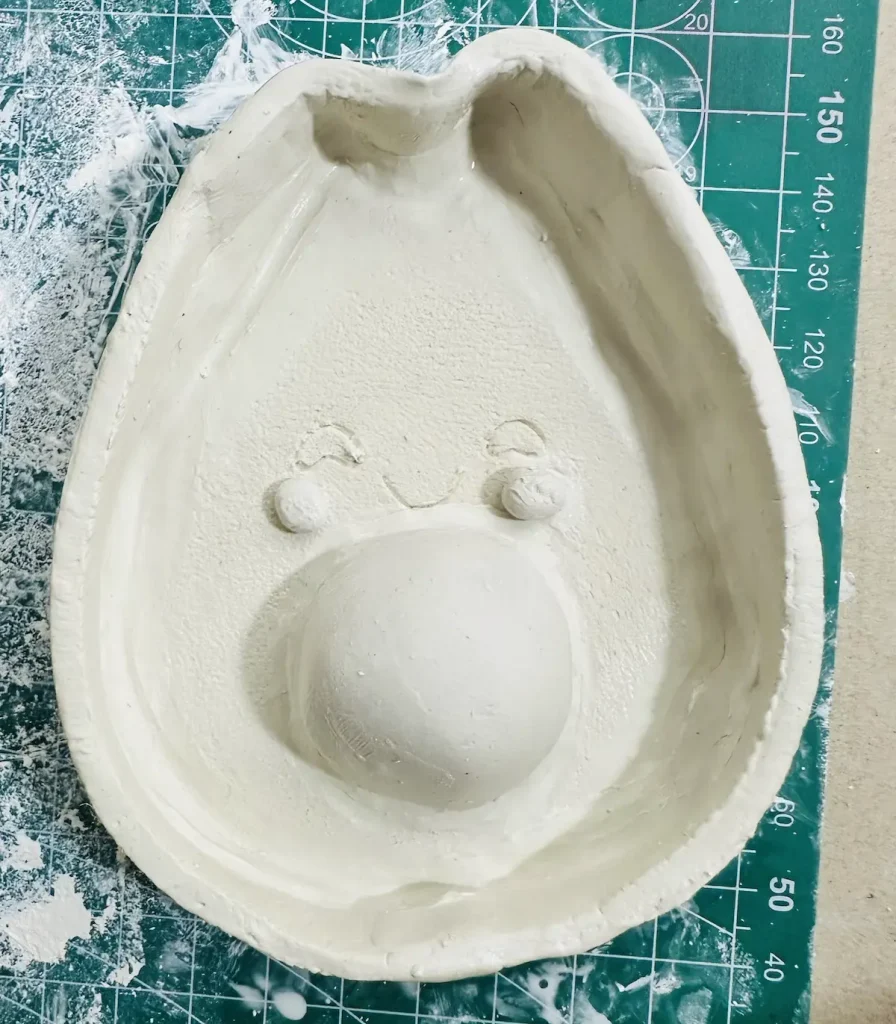
Therefore, make sure to gently flip your tray periodically to let both top and bottom areas dry by releasing moisture at nearly the same rate evenly.
This is valuable when you’re making trays with air dry clay. When you check after 2 days, the bottom of the tray can still be wet if you forgot to flip it while drying.
Another method is to drape a plastic grocery bag over the tray and let it dry. This creates a different humid environment inside the plastic bag and lets the air dry clay project dry evenly for several days.
Be slow and steady when drying for better results!
Make strong bonds
Follow score and slip method when attaching air dry clay pieces. When I was making my rabbit, I didn’t use it and ended up with parts falling apart when drying.
Score and slip method means first score the surfaces of air dry clay pieces using the cutting tool you need to attach. Then, apply a clay and water mixture which is also known as the “slip” over the scored areas (I tap the scored areas with water, that’s also fine) and gently press the clay pieces together. Slip or water acts like a glue and scoring helps to make a good grip with good adhesion between the surfaces.
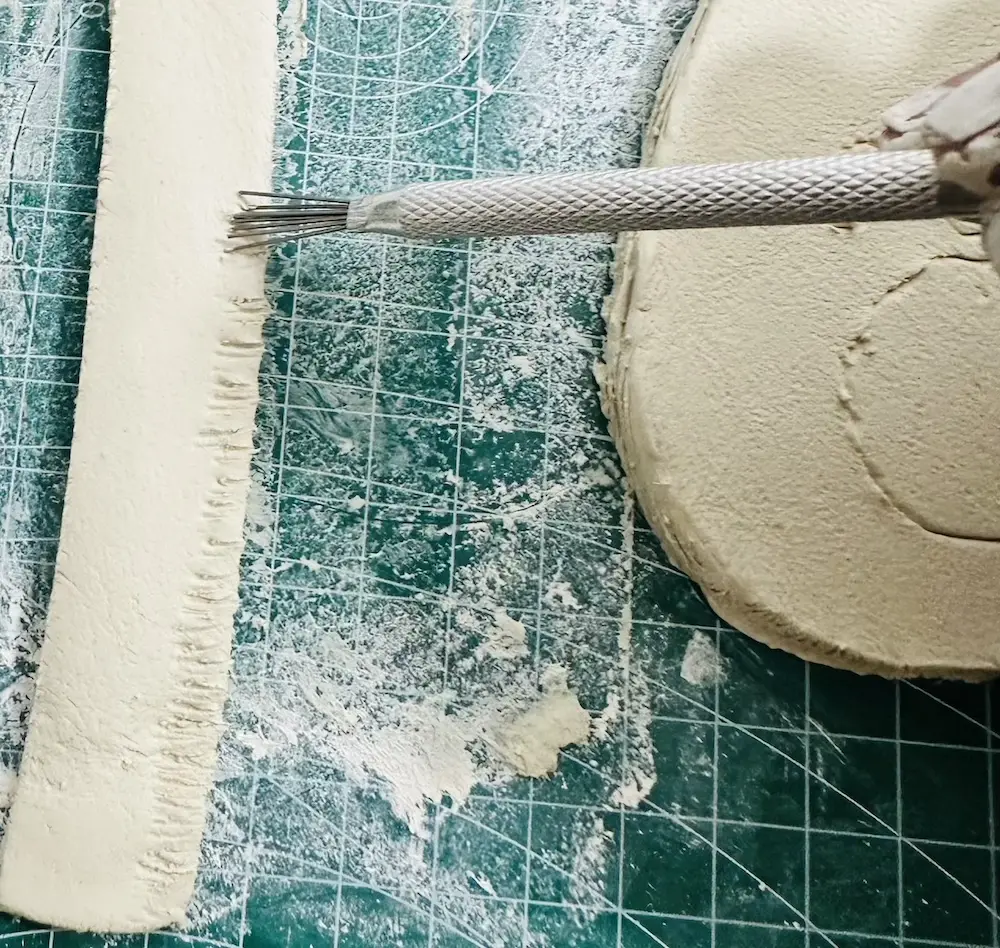
Score and slip method makes a strong bond between air dry clay pieces which does not crack or lose joints when drying.
Plus, when you’re attaching two air dry clay parts add a thin coil seam around the joint and press it gently and smooth it out. This thin clay coil works as a cement for the joints and helps to keep parts together.
Because of the thin clay coil clay parts won’t separate due to shrinkage when drying. I apply it when I’m attaching the tray base to the tray rim. Results were so good. Make sure to smooth it well using your fingers.
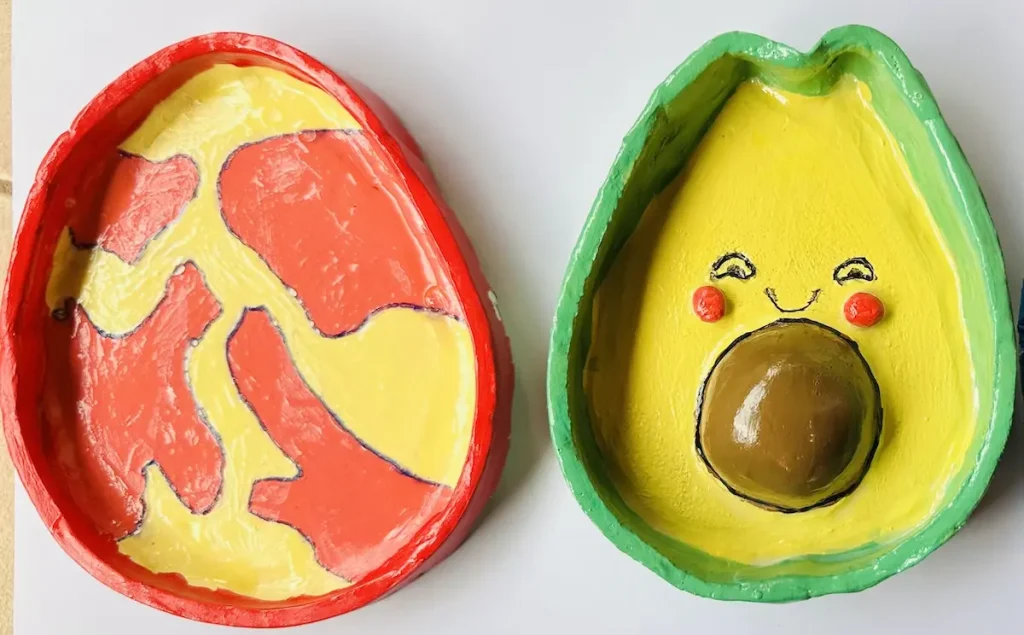
How to fix a cracked air dry clay tray
What if you’re too late. What if your air dry clay project already got cracks and you need to find solutions. Don’t worry guys and gals I got you.
Simply use the “Slip”.
Take excess air dry clay and insert it to a little bottle and pour same amount of water into it. Then mix clay and water thoroughly until it makes a paste which is called the “slip”. Now fill the cracks in your tray with the slip you made.
After covering all the cracks, let it dry for 24-48 hours and sand with a fine grit sandpaper to remove bumps and smooth the surface. Painting can cover up all the weird marks that occurred due to slip. Simple as that! ✨
But I highly recommend you not to do the actions that cause cracks in the first place. Uncracked air dry clay tray is always stronger and better in value than a cracked project that is fixed with slip.
Final thoughts
Even though your beautiful air dry clay tray is crack free, you can’t leave it as it is. Painting and sealing or just sealing, is a must to protect it long term from the moisture.
Otherwise, moisture will get inside air dry clay, weaken the clay and form cracks on the surface. Seal and waterproof your air dry clay tray properly to get rid of cracks even after you complete the project. I hope you’ll have a crack free beautiful clay journey haha 😂Cheers! 🤟🏾