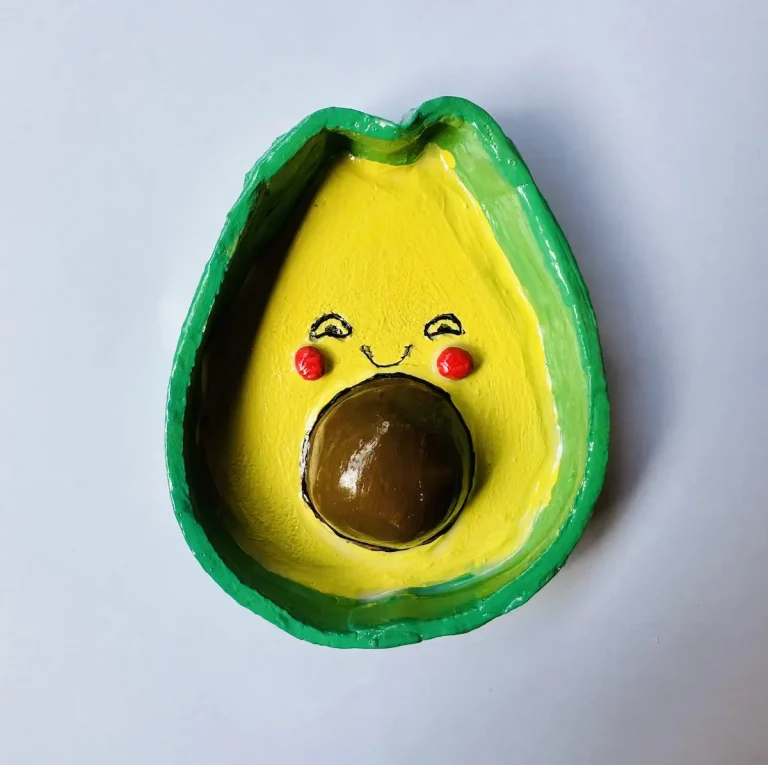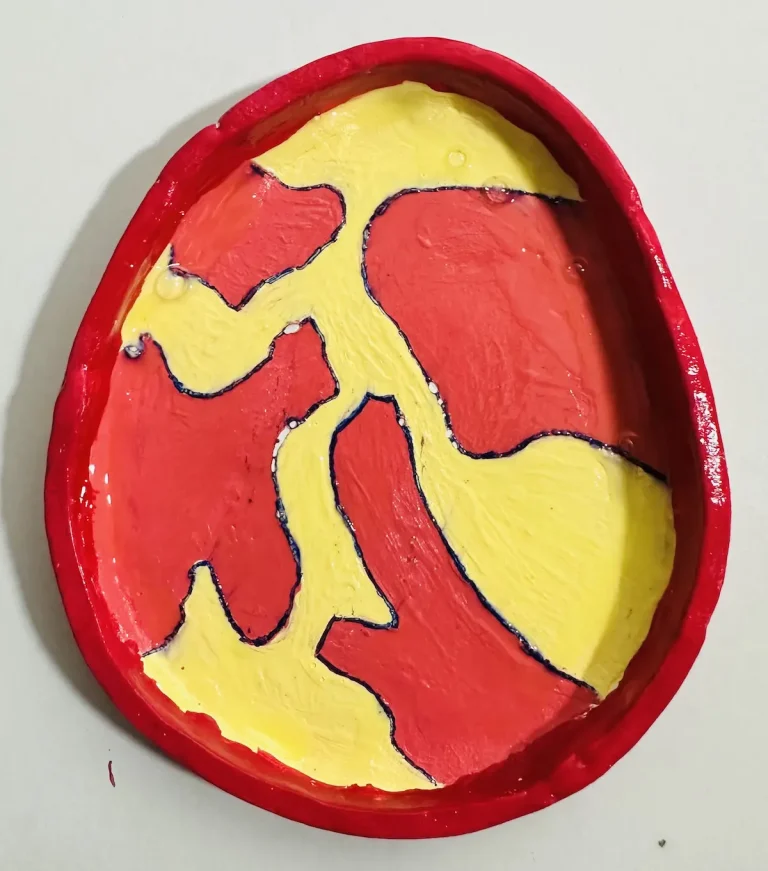

Peaches are one of the most popular summer fruits in the USA with around 62% of U.S. adults looking forward to eating them. It has a nice human buttocks shape, mostly used for emojis. 🍑
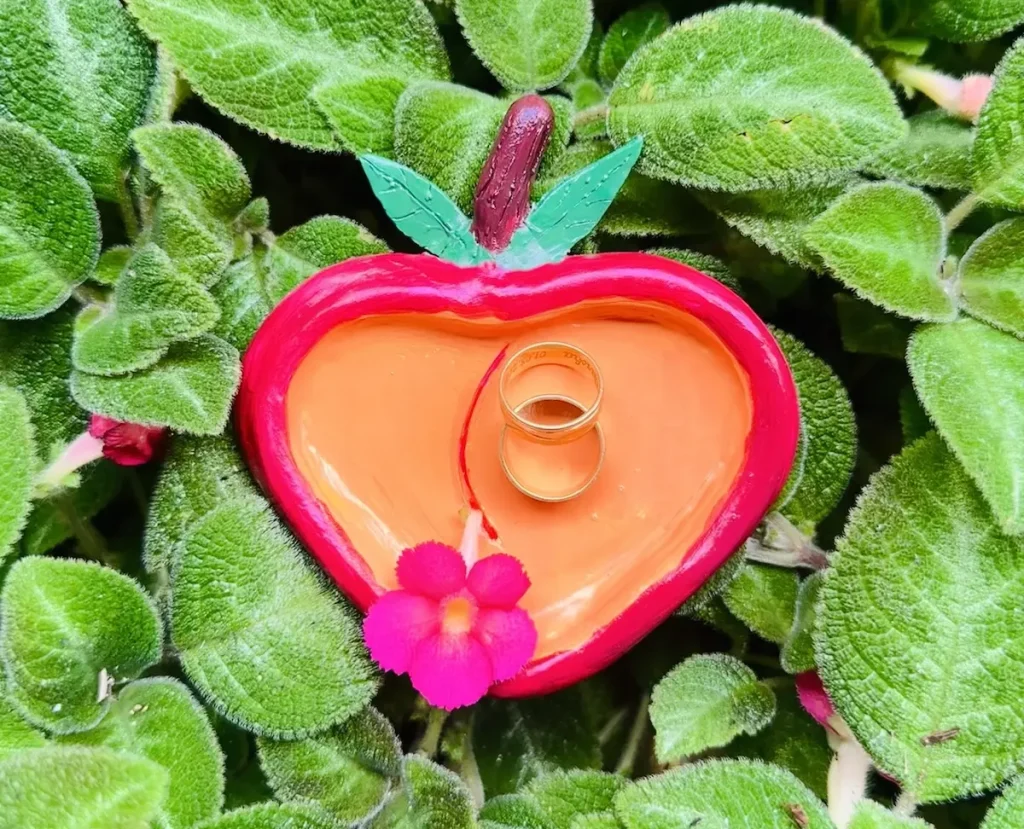
Today I’m adding another jewelry dish to my collection with the shape of this amazing fruit.
I’m gonna tell you each and every step I followed when making this as simple as possible because, as beginners, we don’t like expert complex tips because most of them are not practical and budget friendly.
I’ll share all the mistakes I made along the project and how you can avoid them as well, which don’t usually come from the experts because they rarely make them.
Ok, enough chit chat! Let’s start making!
Why air dry clay?
What if I tell you air dry clay is the most beginner friendly clay? Trust me, I’ve got some points. Read them and you decide.
Reason 1: Air dry clay is cheap and has room for mistakes
Air dry clay is 2x or sometimes 3x cheaper than polymer clay which is another popular clay type. As beginners, we make lots of mistakes during the projects and we like to experiment with the clay because that’s how we can learn new skills and practice new tips.
If the clay is quite expensive, we are naturally afraid to play with the clay a little and every time we try to make things perfectly without making a single error, not knowing that those errors are what make us grow by learning how to fix them.
Reason 2: Air dry clay does not need to be kiln fired or baked
Air dry clay dries in the air and you don’t need to have an oven or kiln like for polymer clay and traditional pottery clay.
Reason 3: Easy to shape and correct mistakes
You can give any shape you want to your air dry clay piece just by kneading with a little bit of water. Yes, it gets messy, but easy to handle and comfortable for the hands.
When you mistakenly scratch, crack or split air dry clay, you can easily fix that by tapping a little bit of water onto the area and gliding your index finger repeatedly until those imperfections vanish. Easy as that!
You can find more advantages with few disadvantages of air dry clay in my latest in depth article.
Now you know exactly why I selected that when making this cute project and you should try it as well.
Supplies you’ll need
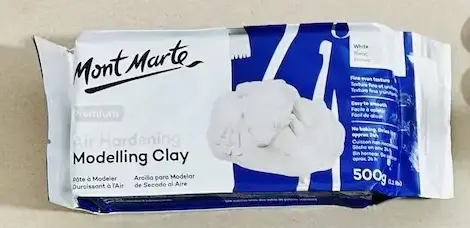
- Air dry clay (DAS, Mont Marte, Jovi or any reputed brand you can find is okay)
- Acrylic rolling pin
- PVC mat or silicone mat (or non-stick surface)
- Clay crafting tools
- Clay cutting tool (X-acto knife or small knife)
- Cup of water or spray bottle
- Acrylic paints
- Gloss varnish
- Paintbrushes
- Paper towels
- Optional: Sponge or silicone sculpting tool (or you can use your finger)
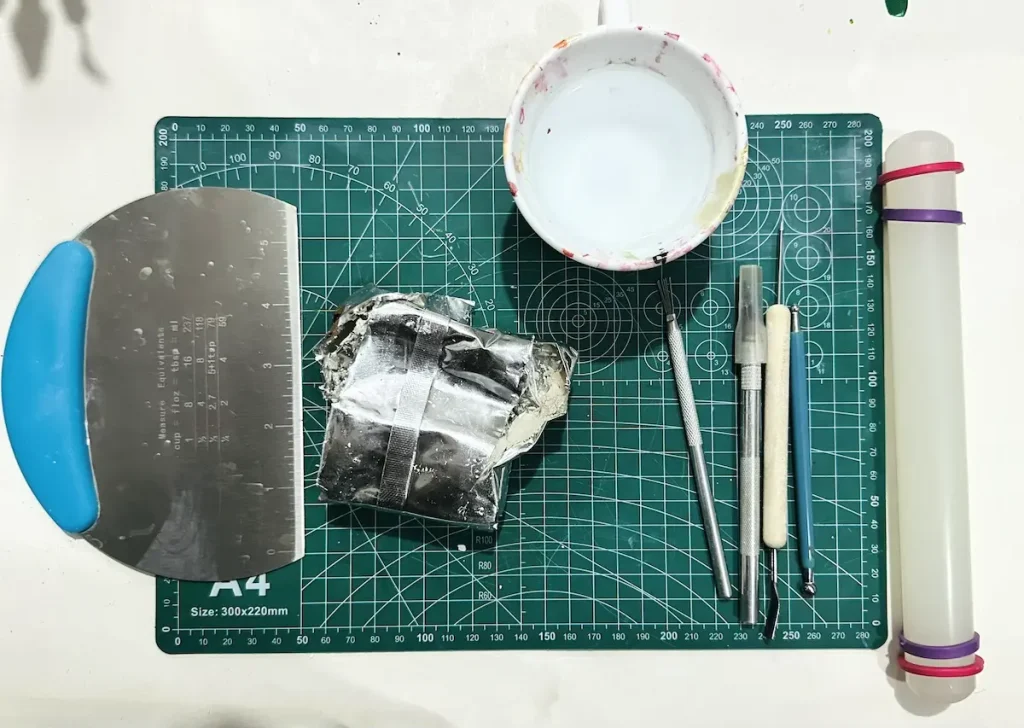
Most of the above tools (except the air dry clay material) can be found in your kitchen drawers that haven’t opened since last Christmas. So do some digging without rushing to the nearest store. Toothpicks are able to replace many air dry clay tools because they work exactly the same if used correctly.
Easy diy peach jewelry dish tutorial video
I have recorded everything and published on YouTube and embedded it here. So you don’t want to go anywhere else for video tutorials if you prefer them over written guides.
I recommend you watch it before you start making it to get an idea about all the steps I took, tips and techniques I used, mistakes I made, and how I fixed them.
Feel free to watch and try it out! 📺
Finished watching the video? Let’s have a look at the detailed written step by step guide.
Step by step peach jewelry dish tutorial
Before you start making it, go to a well ventilated area or open all the windows of your room because air dry clay contains tiny dust like particles that can cause breathing issues. I don’t want you to cough like a seal when making.
Step 1: Condition and knead the clay
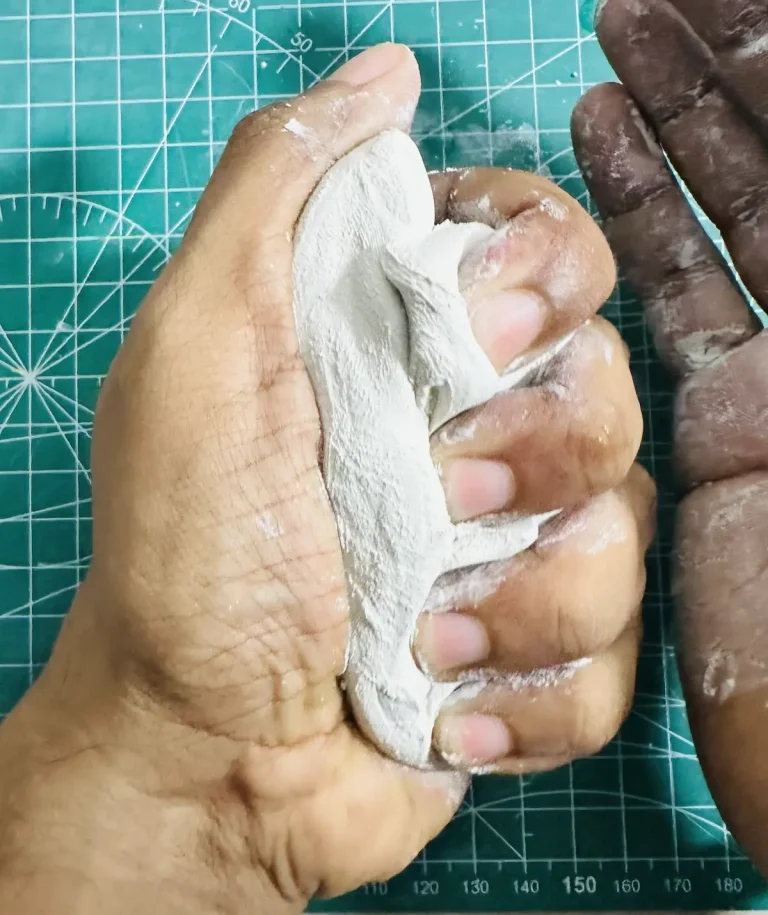
Conditioning and kneading air dry clay is must before you start any air dry clay project to make the clay soft and easy to shape.
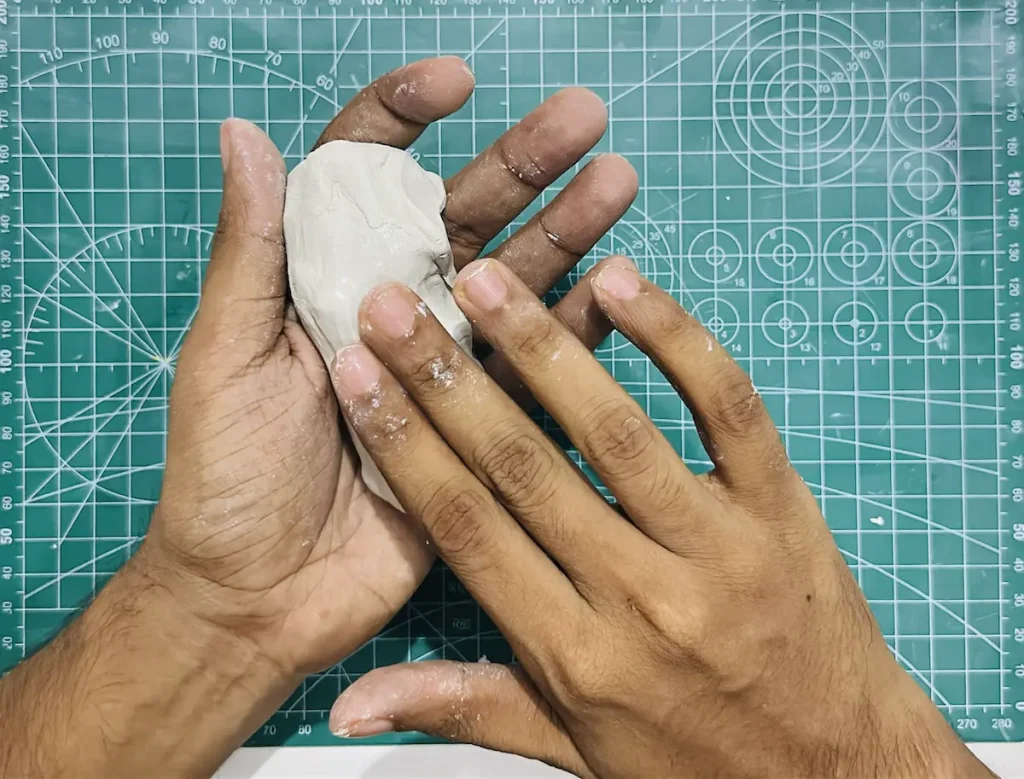
Air dry clay comes a bit stiff fresh from the package and first you need to tap a little bit of water onto the surface to condition it.
Then start kneading the clay piece by pressing, pulling and pushing repeatedly like you’re making a dough.
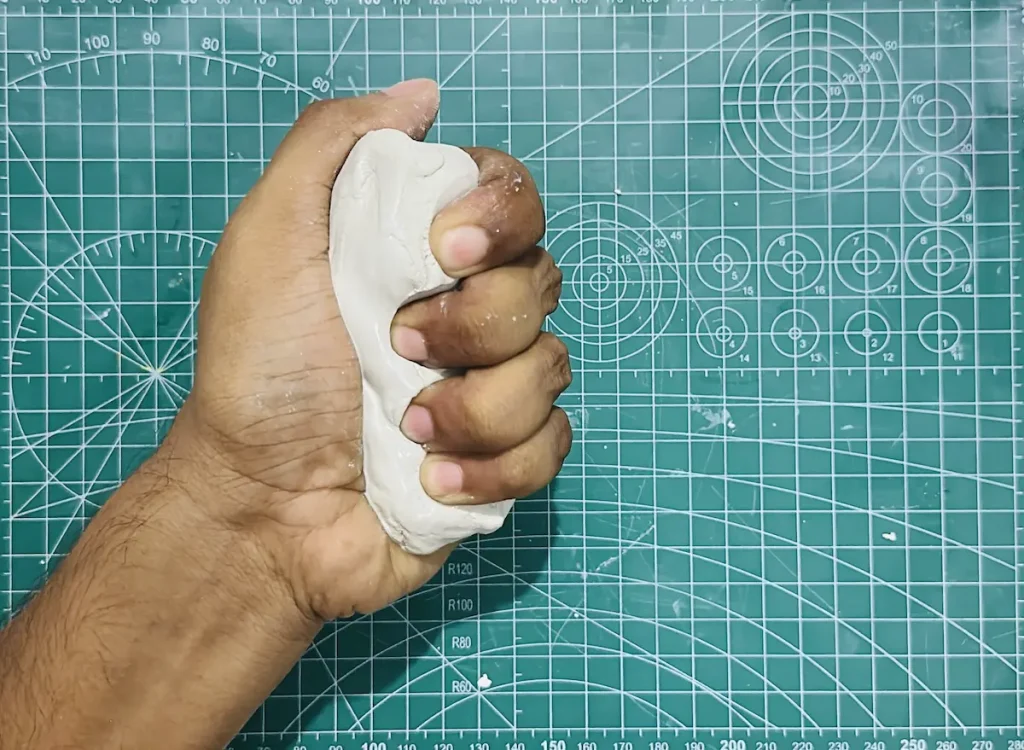
Kneading does great things to your air dry clay piece than just making it soft. Air dry clay is a highly porous material with lots of moisture and air pockets inside. But the moisture spreads randomly across its layers and evaporates as the clay dries.
Due to the uneven evaporation of water, clay starts to shrink unevenly, causing uneven shrinkage. Due to the uneven shrinkage, tension starts to build up between the layers and eventually tiny cracks occur on the surface. Those cracks will get deeper and wider as the clay dries.
We cannot stop the shrinkage of air dry clay, but we can make it even by spreading moisture evenly across all the layers inside air dry clay piece. That’s actually what kneading does.
Kneading has so many advantages such as,
- Makes the clay soft.
- Makes the clay easy to shape.
- Spreads the moisture evenly.
- Stops surface cracking due to uneven shrinkage as the clay dries.
But make sure to use only a little bit of water while you’re conditioning and kneading the clay because too much water can cause surface cracks as the clay dries.
Too much water cause rapid evaporation as the clay dries which can cause surface cracks. Remember air dry clay needs to dry slow to avoid forming cracks.
Once the clay is soft enough, it’s time to move on to the rolling step.
Step 2: Roll the clay
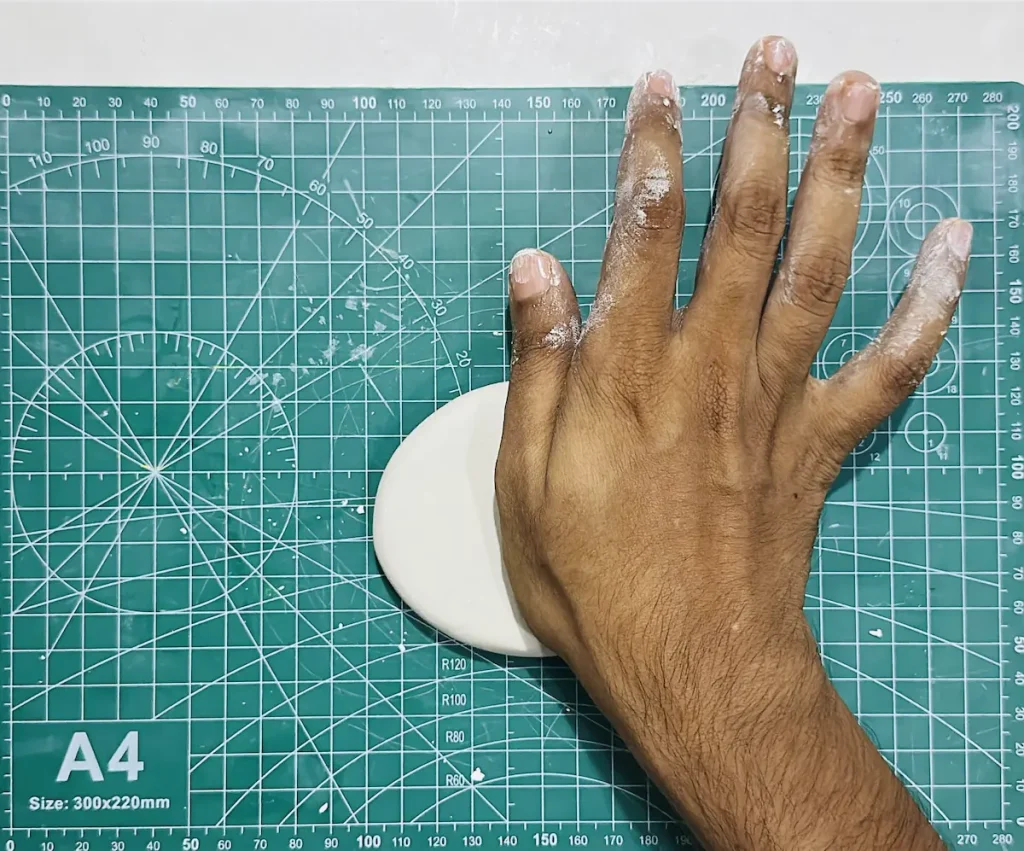
Now place the kneaded air dry clay piece on your mat and start rolling to an even thickness about ¼ inch.
Your rolling pin and mat should made of non stick materials. Silicone or PVC materials are great for mats and an acrylic rolling pin is recommended.
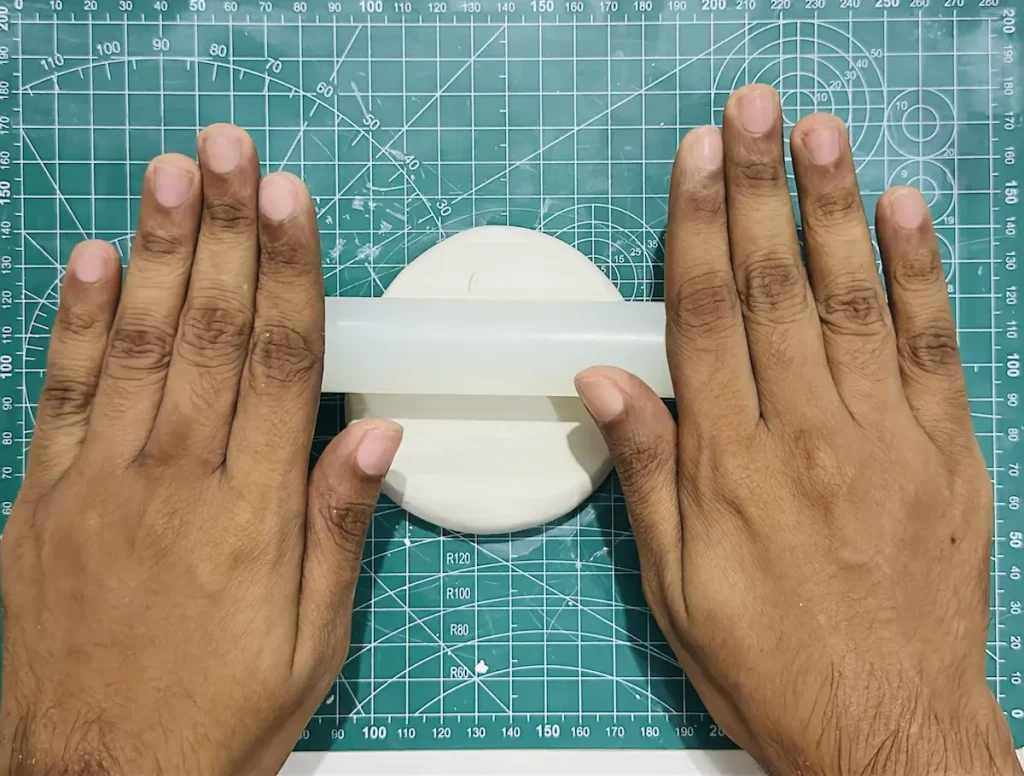
Even though you use non stick materials for rolling, make sure to flip, turn and rotate the clay piece while rolling to avoid it from sticking on to your surface, your rolling pin and to stop clay from tearing apart when you lift the clay up after rolling.
When you’re rolling the clay, the moisture inside will come out and makes many vacuum like seals with your mat. If you don’t change the clay position as roll, clay will stuck to your mat and hard to release without them tearing apart.
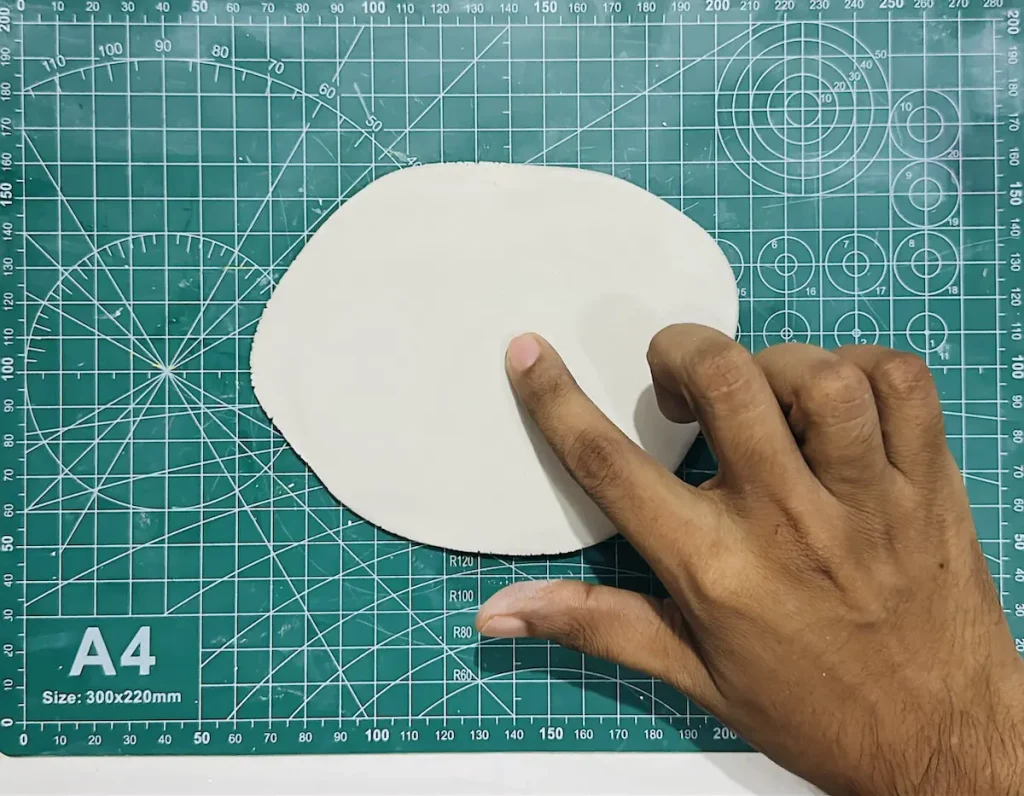
Once you’re done with rolling, smooth out the clay surface by dipping your index finger in a cup of water and gliding on the clay slab repeatedly until tiny bumps, imperfections and cracks vanish.
Smoothing is essential from now onwards after each step for a nice and clean look, but only with a little bit of water. You already know what happens when you use excess amount of water.
Step 3: Trace and cut the peach shape
Now pick up your clay tracing tool or even a toothpick also fine and trace the peach shape.
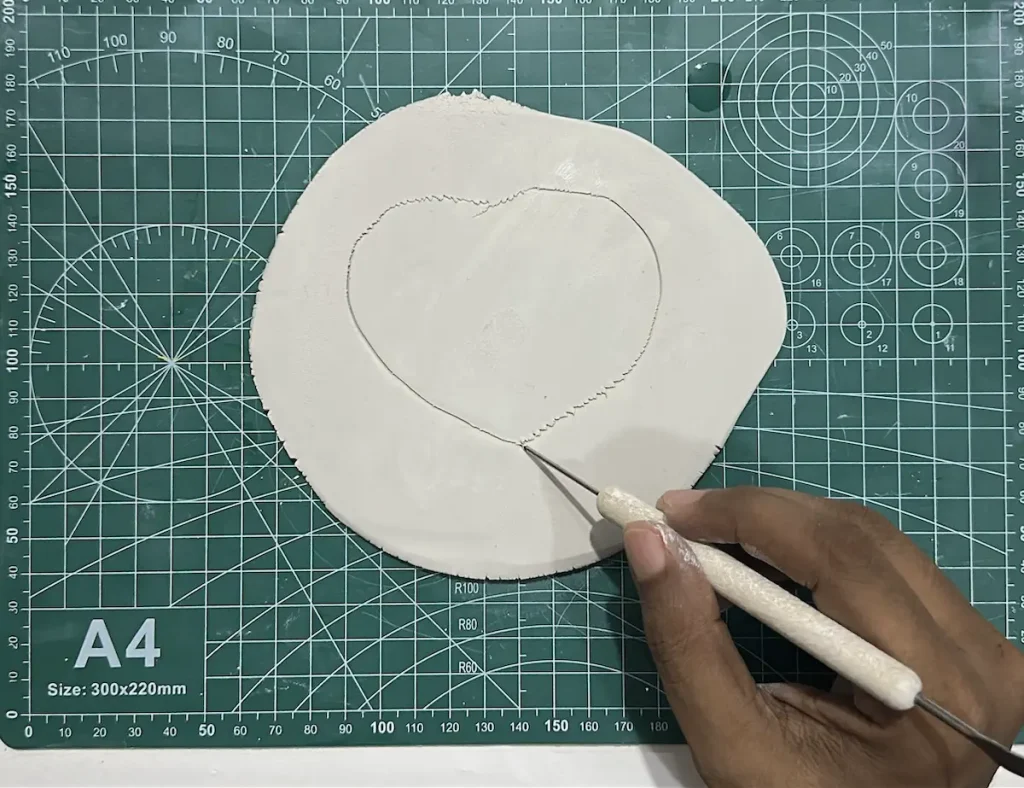
I recommend you to trace the shape freehand to improve your drawing skills because it’s not hard to trace, but if you don’t like that, you are free to use a paper template, stencil, cookie cutter or mold that have the round egg shape.
Tracing is important before cutting especially if you use freehand because you can easily vanish the mistakes you make while tracing by gliding your finger.
Once you get the shape you wanted, you can start the cutting along he traced lines using the X-acto knife or small knife.
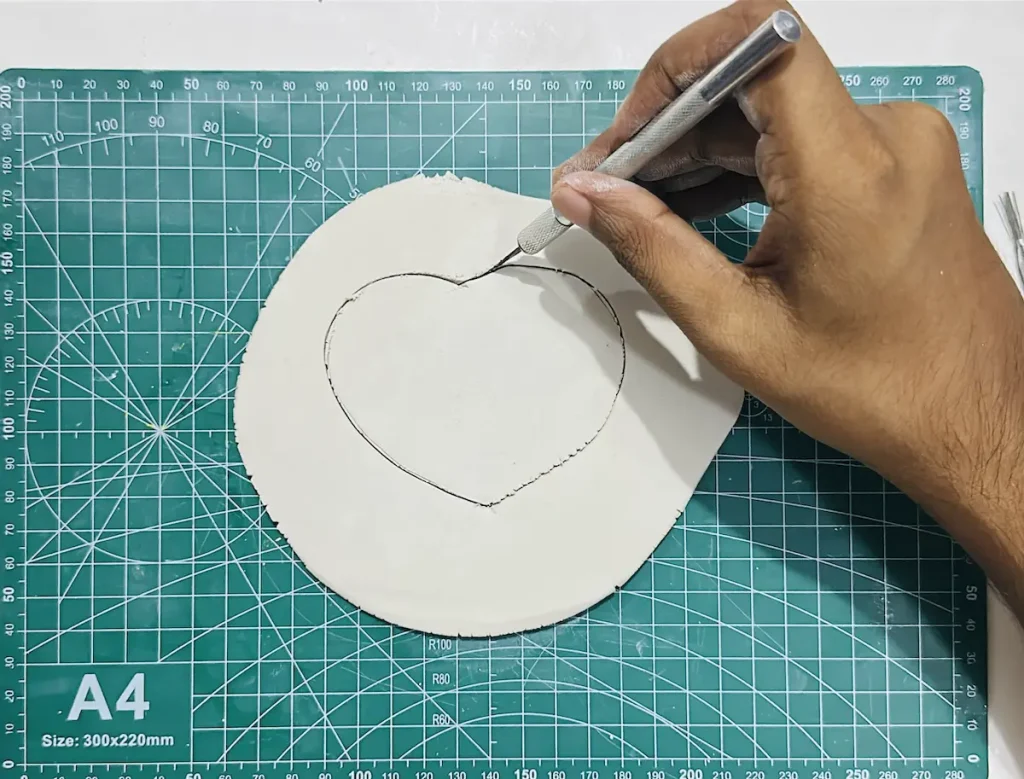
When you’re cutting, do not drag the knife horizontally across the board because there is a high chance of clay stick to your knife blade and cause teared up and cracked edges. That happened during my failed pineapple trinket tray project and I had to restart everything again from the start.
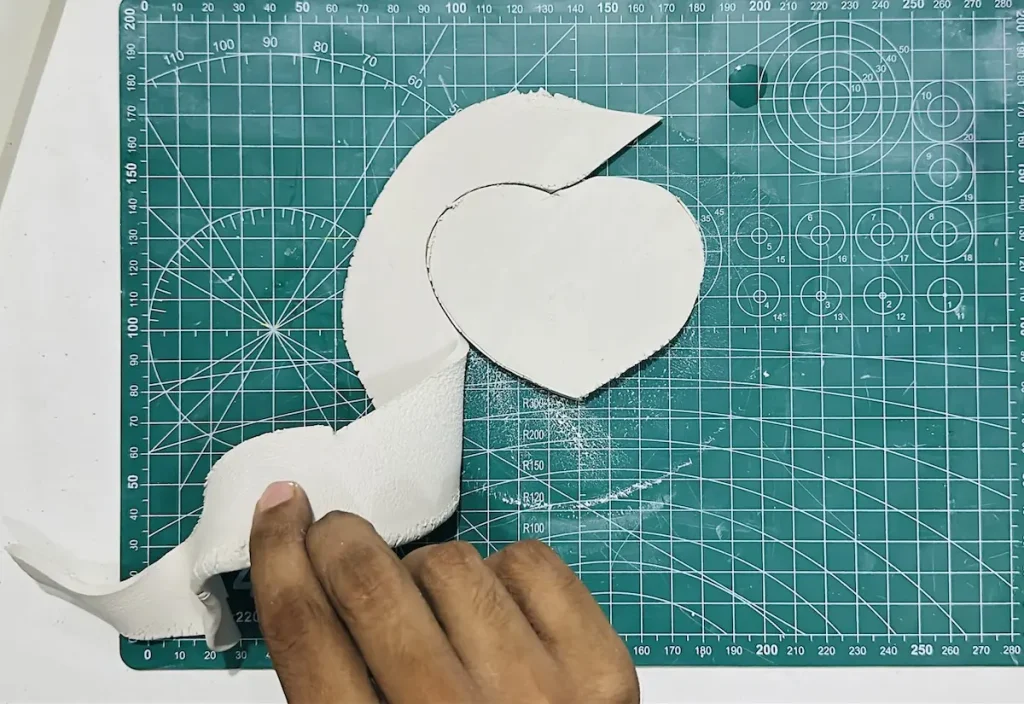
Lift the clay up while you’re cutting, clean the tiny clay pieces on the blade and continue the cutting. This way you can achieve sharp and smooth edge around the peach dish base.
Awesome friends, you have successfully made the peach dish base. Now it’s time to make the rim and attach it to the base.
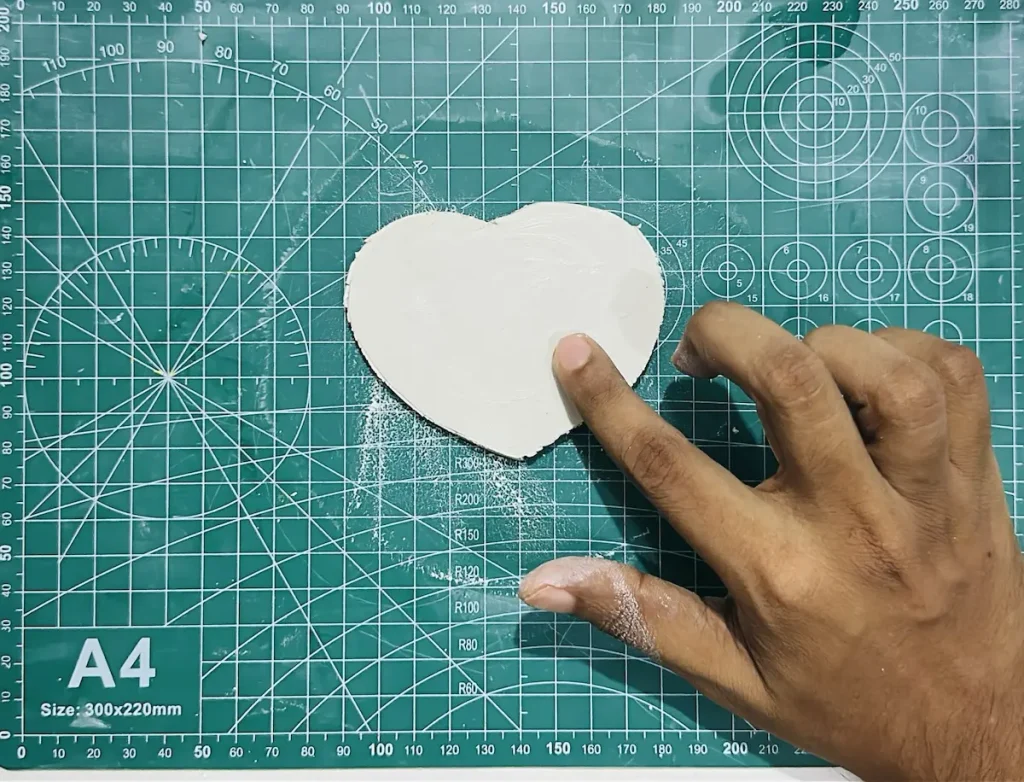
Step 4: Roll and attach the rim
I planned to make a cylinder like shape for rim for my jewelry dish or you can make a wall like shape as well.
Let me tell you how I made and attached mine to the base.
- Take a fresh piece of clay and knead it well.
- Roll it like a snake with an even diameter along the length.
- Score one side of the dish rim and along the edge of the dish base.
- Apply slip on the scored areas or tap the scored areas with a little bit of water.
- Attach the dish rim to the base.
- Cut the dish rim edges at an angle and join.
- Smooth it out.
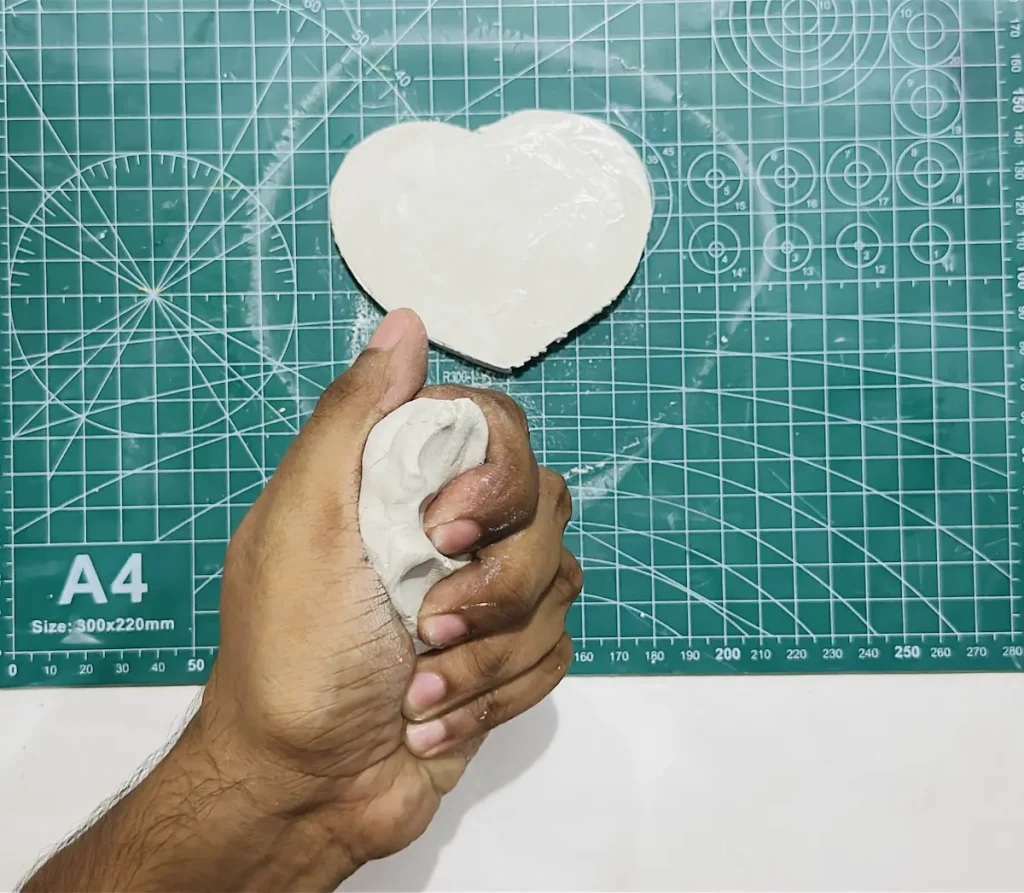
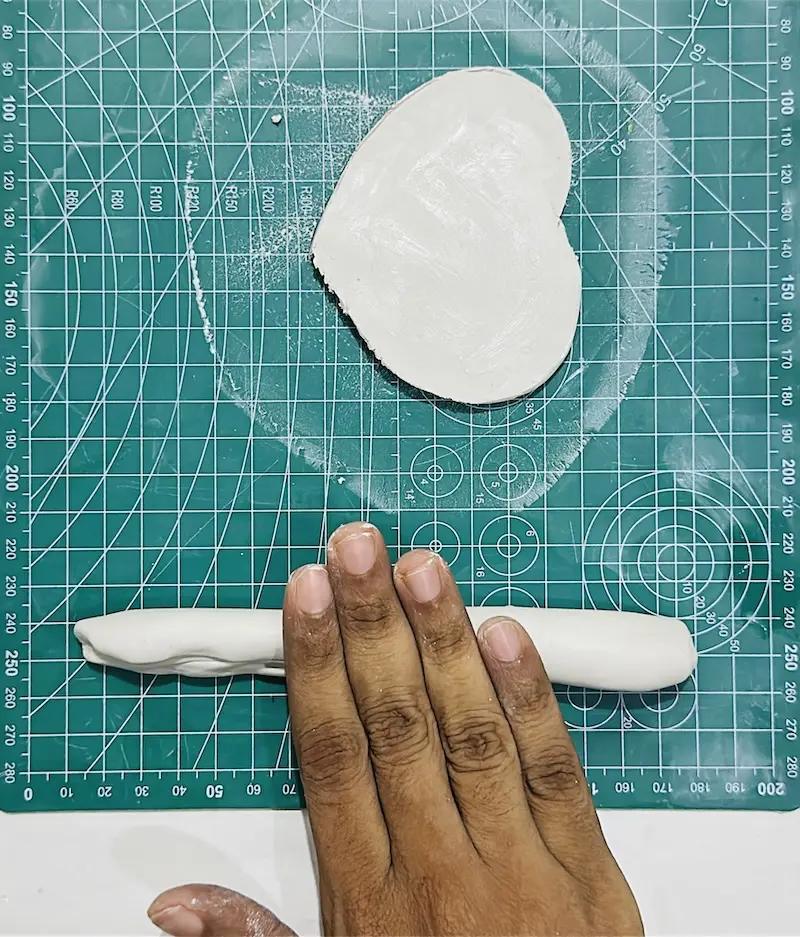
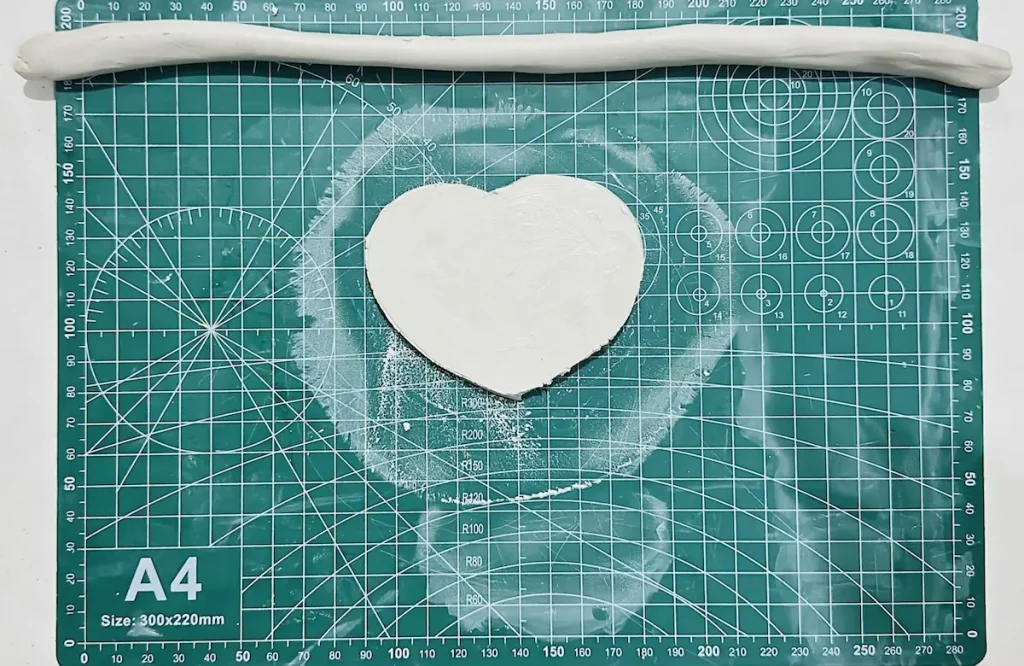
Air dry clay does not attach together just by pressing. You need to follow score and slip method.
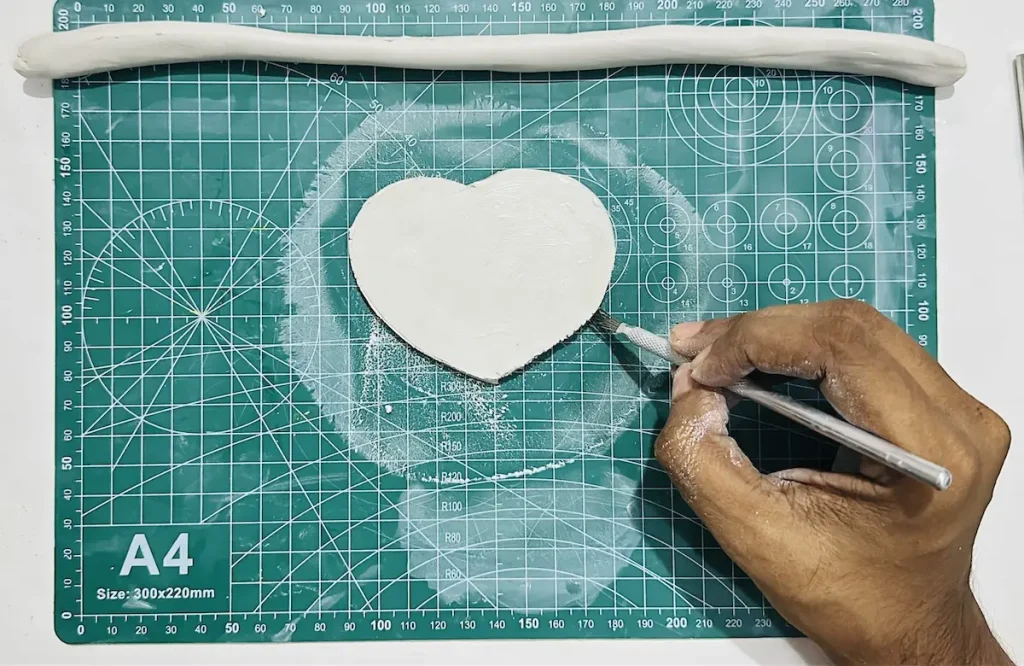
Scoring the surfaces before attaching helps them to have a better grip. Otherwise, air-dry clay pieces will loosen and separate as the clay dries due to shrinkage.
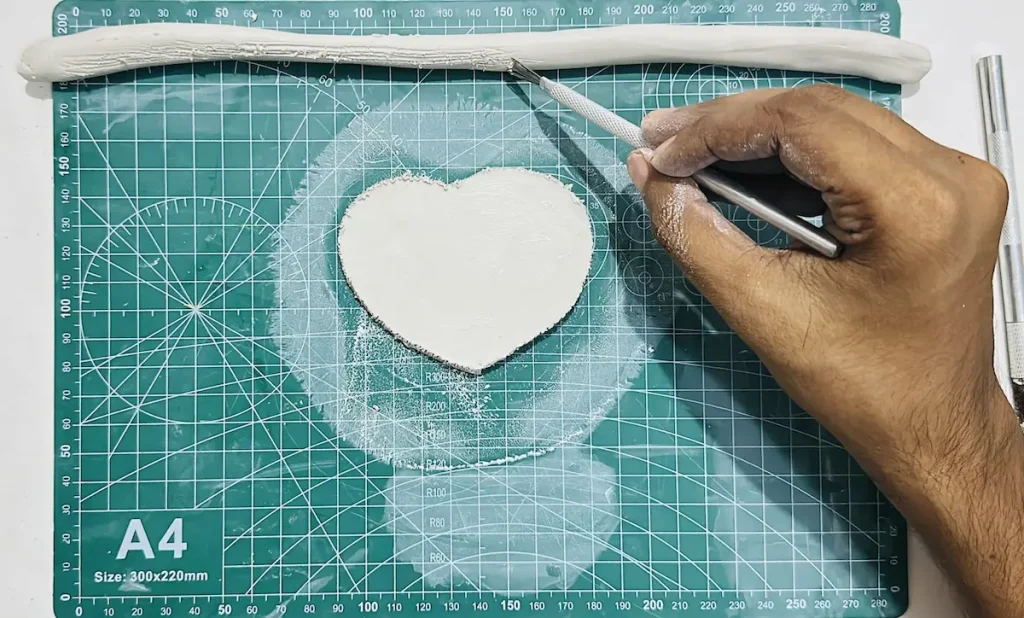
After scoring the surfaces with a toothpick or a scoring tool apply a creamy paste called “slip”.
Slip is made by mixing tiny air dry clay pieces with an equal amount of water and letting it sit for hours before use. It acts like a glue for air dry clay. Applying it over scored areas makes the joints stronger.
Or you tap the scored surfaces with a little bit of water as I did, because I didn’t have the slip. Don’t worry water is also just as good as the slip. I tried and it worked so well.
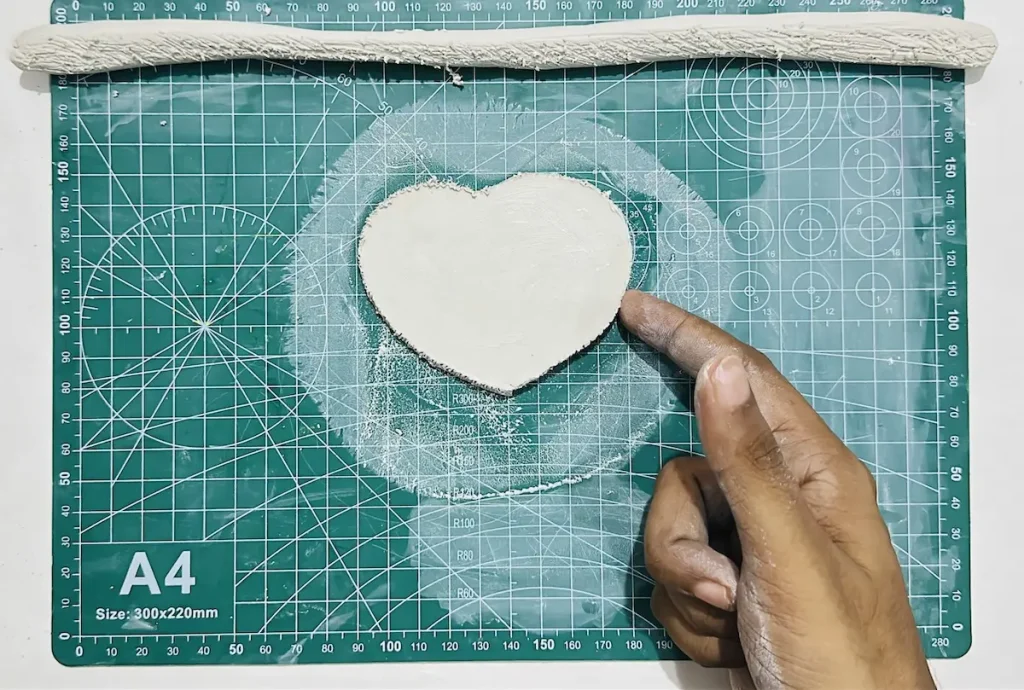
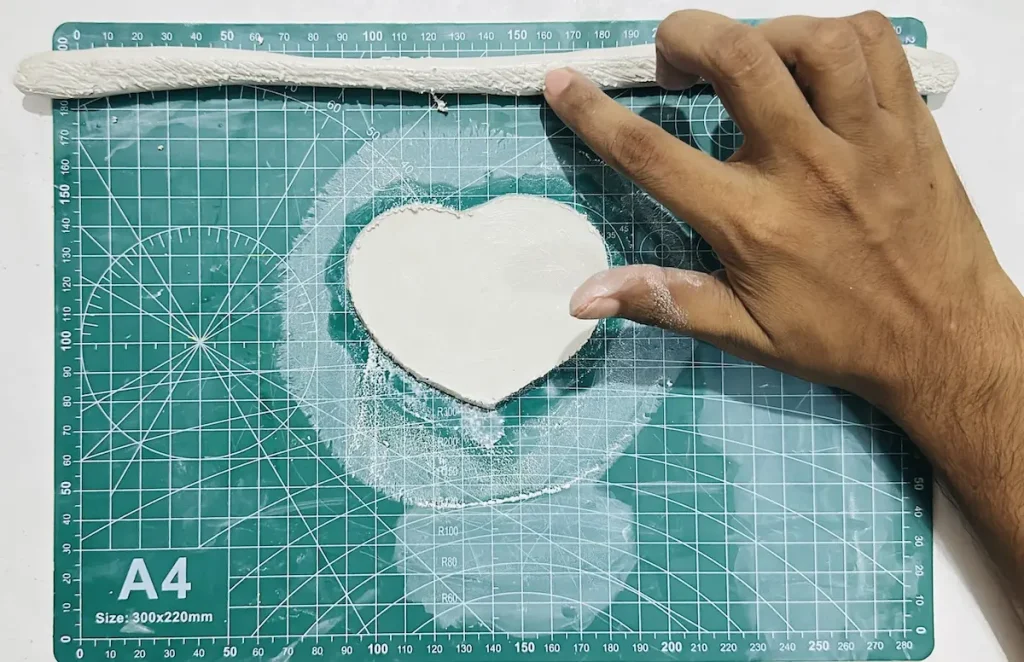
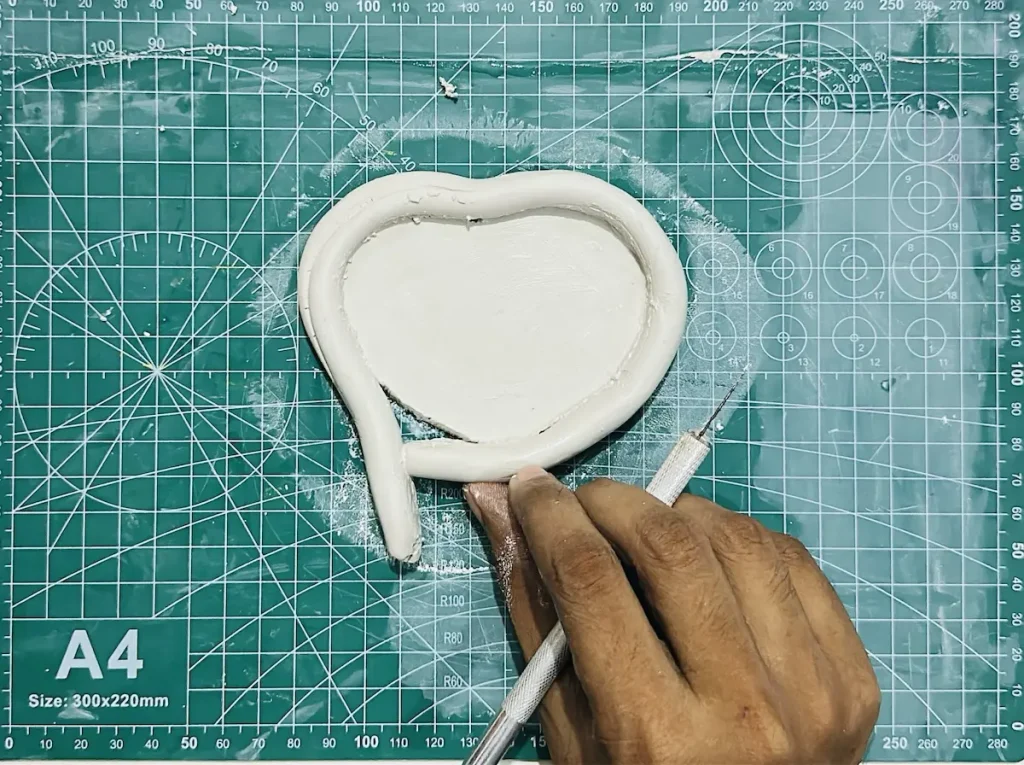
Cut the edges of rim at an angle to easily attach the ends after coving around the dish base. Hold the rim for few seconds before reasing to attach the two surfaces well.
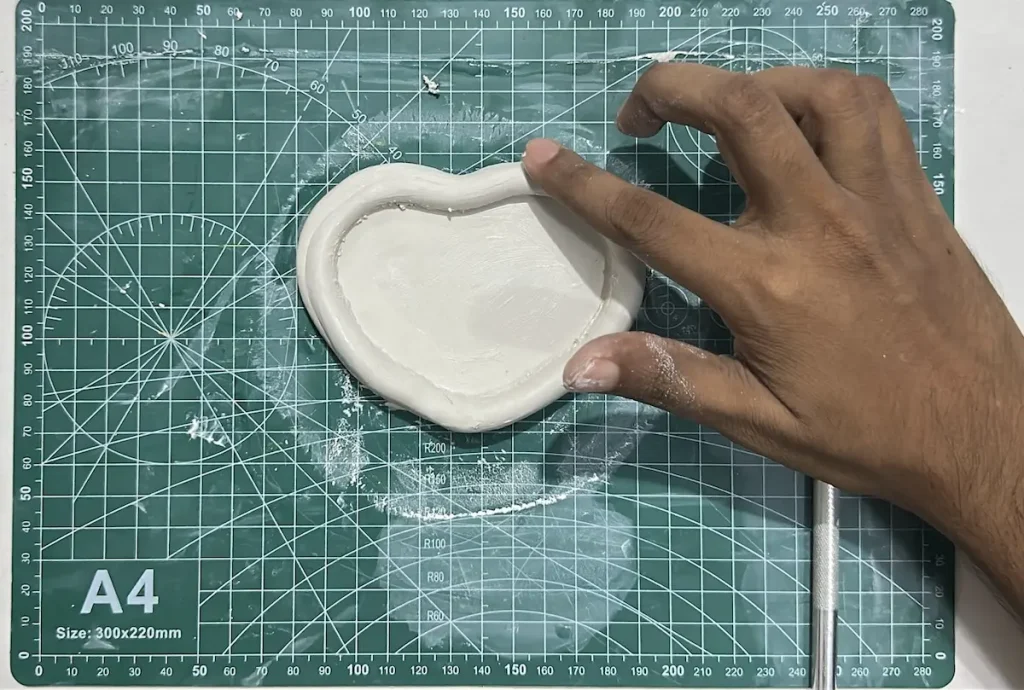
You’re doing great my friend! We made the basic structure of our peach dish. Now we need to add only a few attachments before painting the project.
Step 5: Apply a thin clay coil
This step is optional. Skip this step if you’re running out of air dry clay. But make sure to attach the rim and the base well, following the technique I told you.
We gonna add a thin clay coil along the joint between the dish base and rim to reinforce it.
After adding the thin clay coil, I 100% guarantee you the dish rim and base will never separate as the clay dries due to the shrinkage.
Make a clay coil as thin as possible by rolling with your hands because we don’t want to make it look bumped above the dish level.
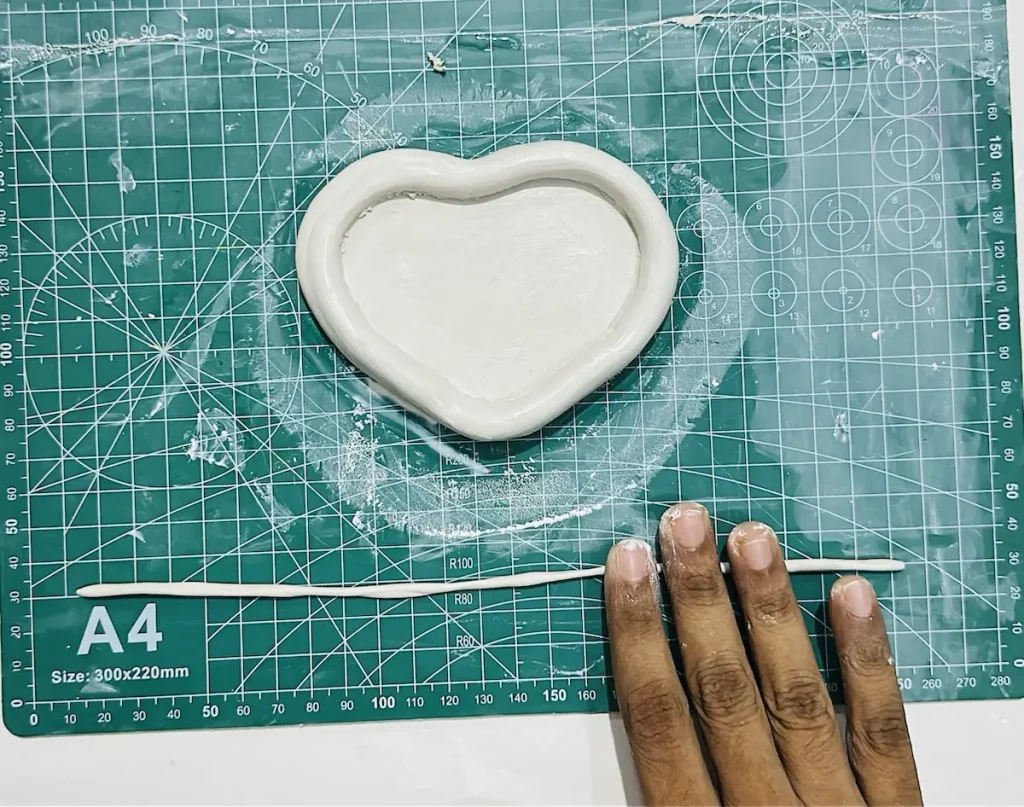
Next tap the joint between the rim and the base with a little bit of water and attach the thin clay coil seam along the joint carefully.
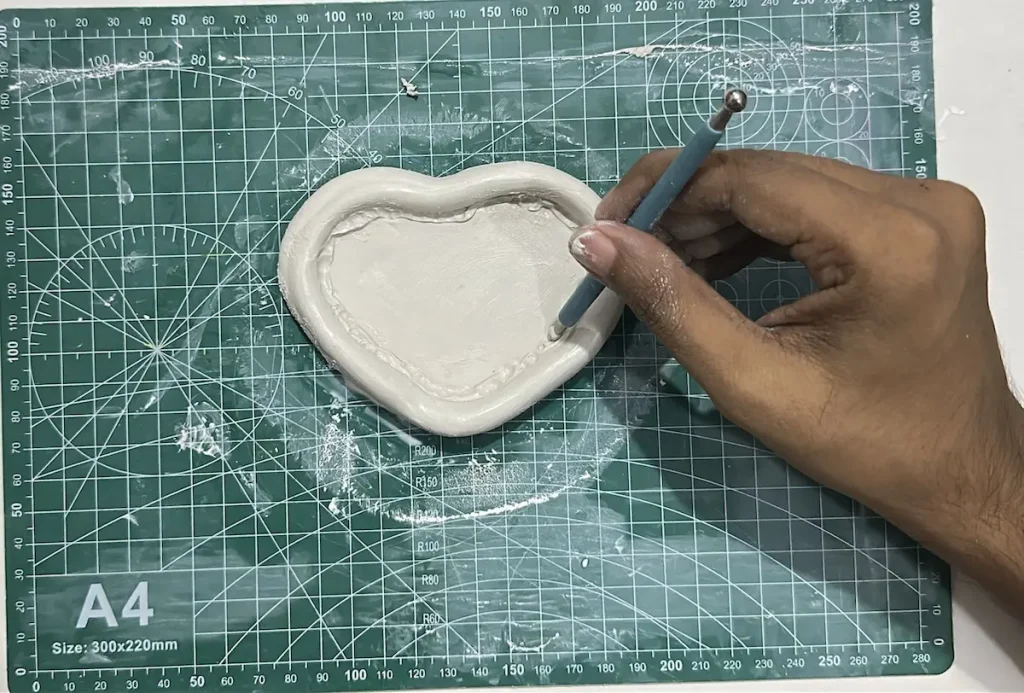
Do not panic because this step needs your patience. It’s a bit hard to attach the coil with your fingers. Use a sculpting tool or a cotton earbud. Gently press along the seam to attach well.
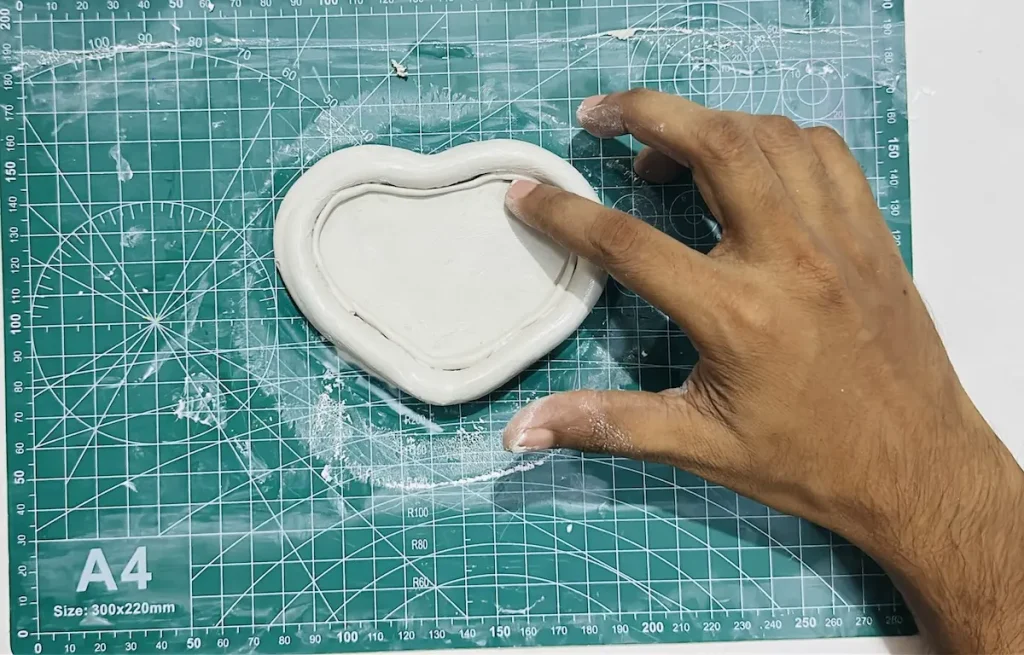
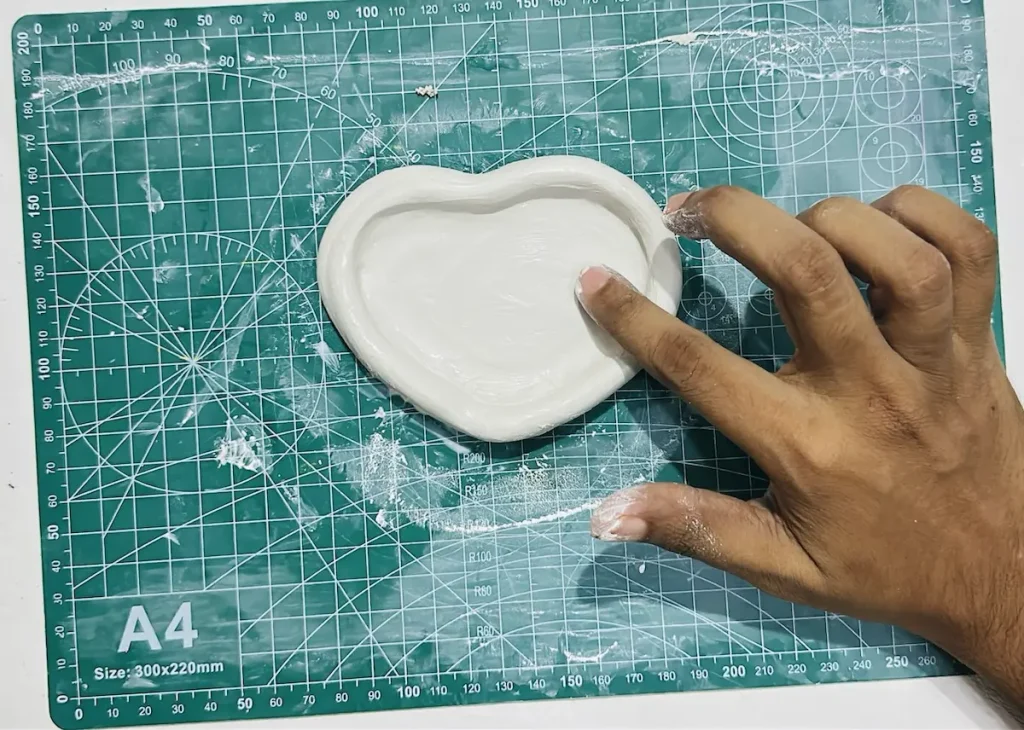
Finally smooth out the clay along the joint to vanish the seam.
Step 6: Add the stem and leaves
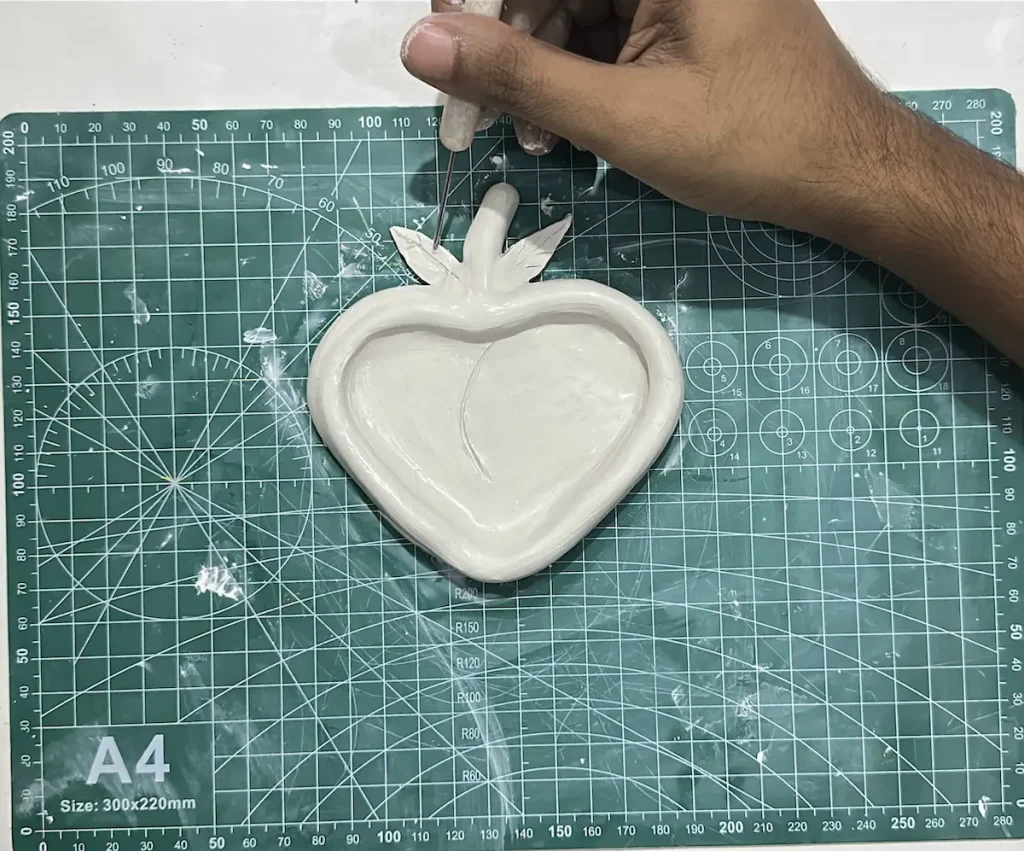
I rolled a small piece of clay and made the stem and scored the bottom of it and the specific dish rim area it attaches to. Then tap the scored areas with a little bit of water and attached the stem to the dish rim.
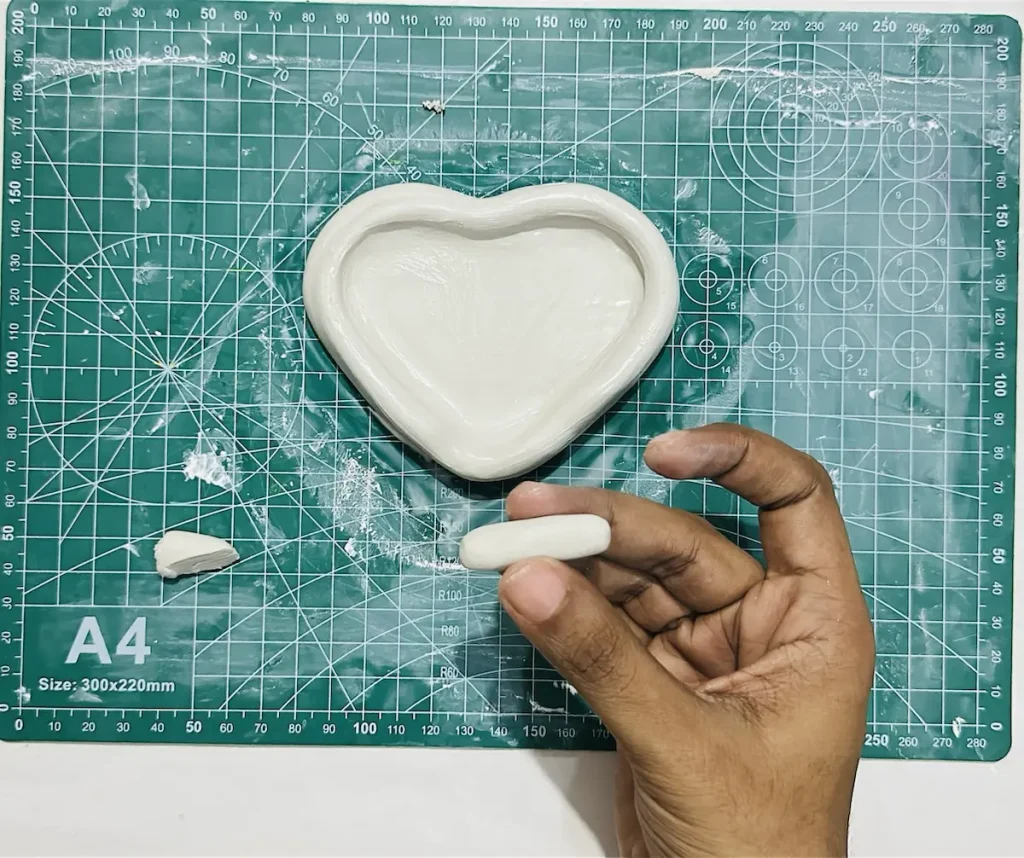
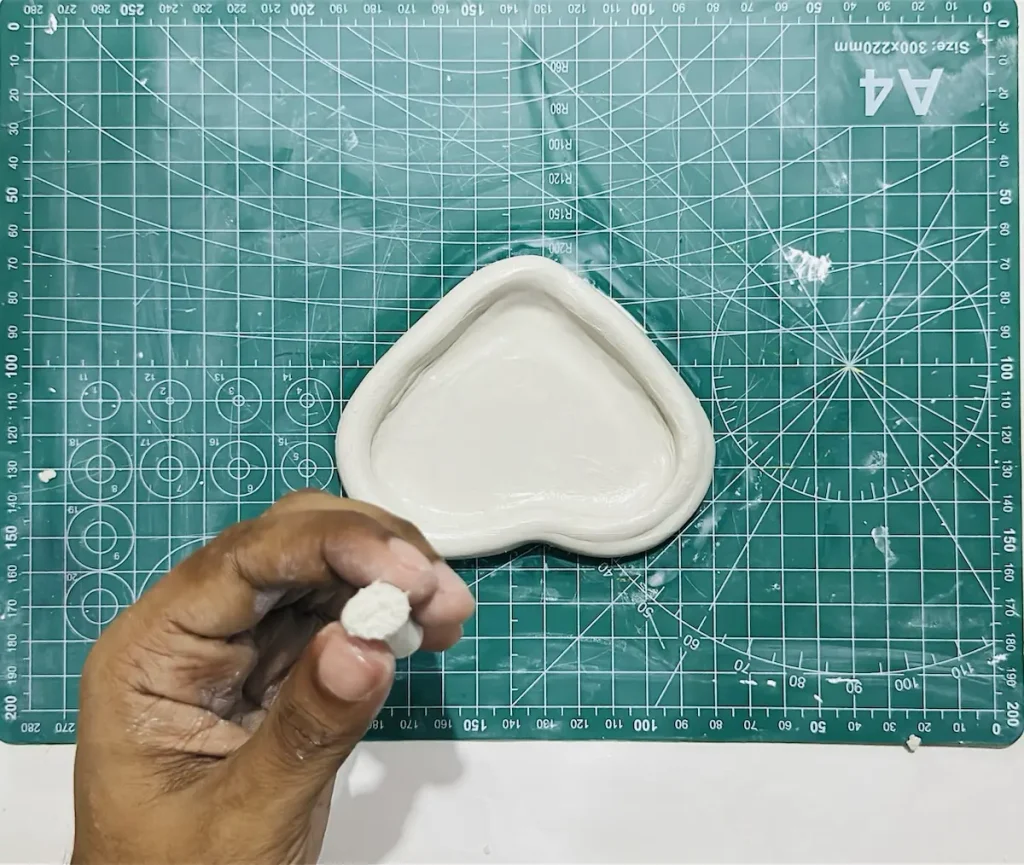
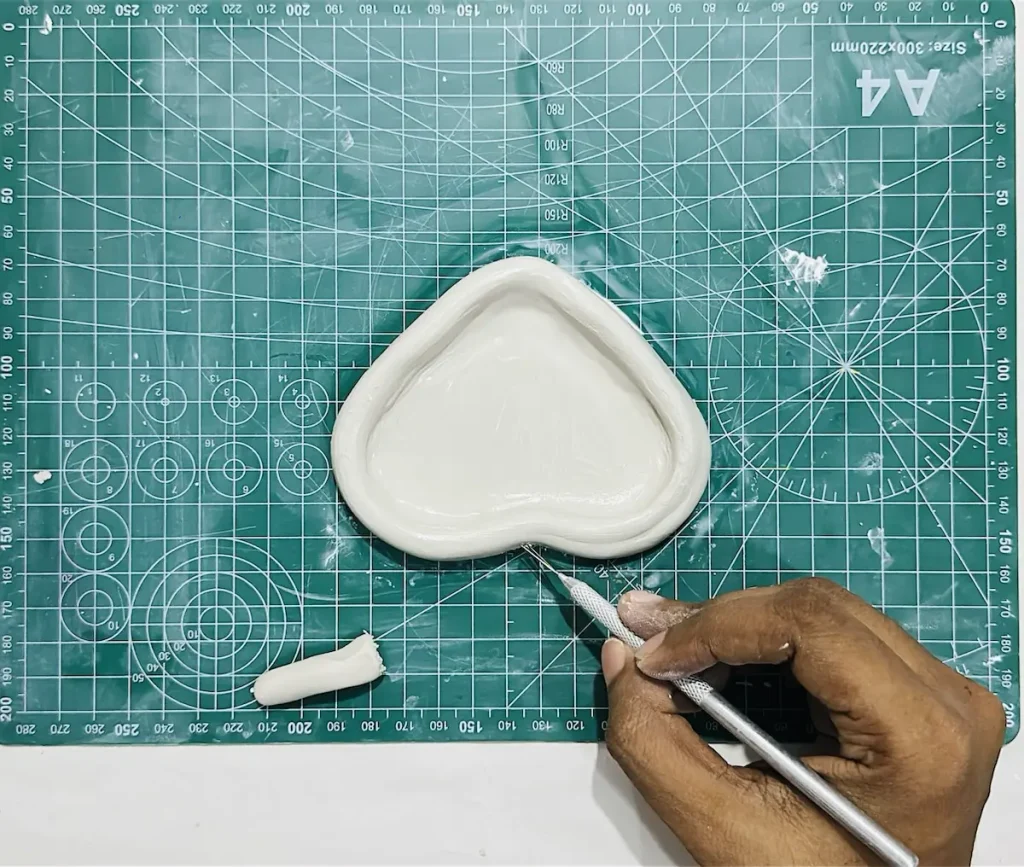
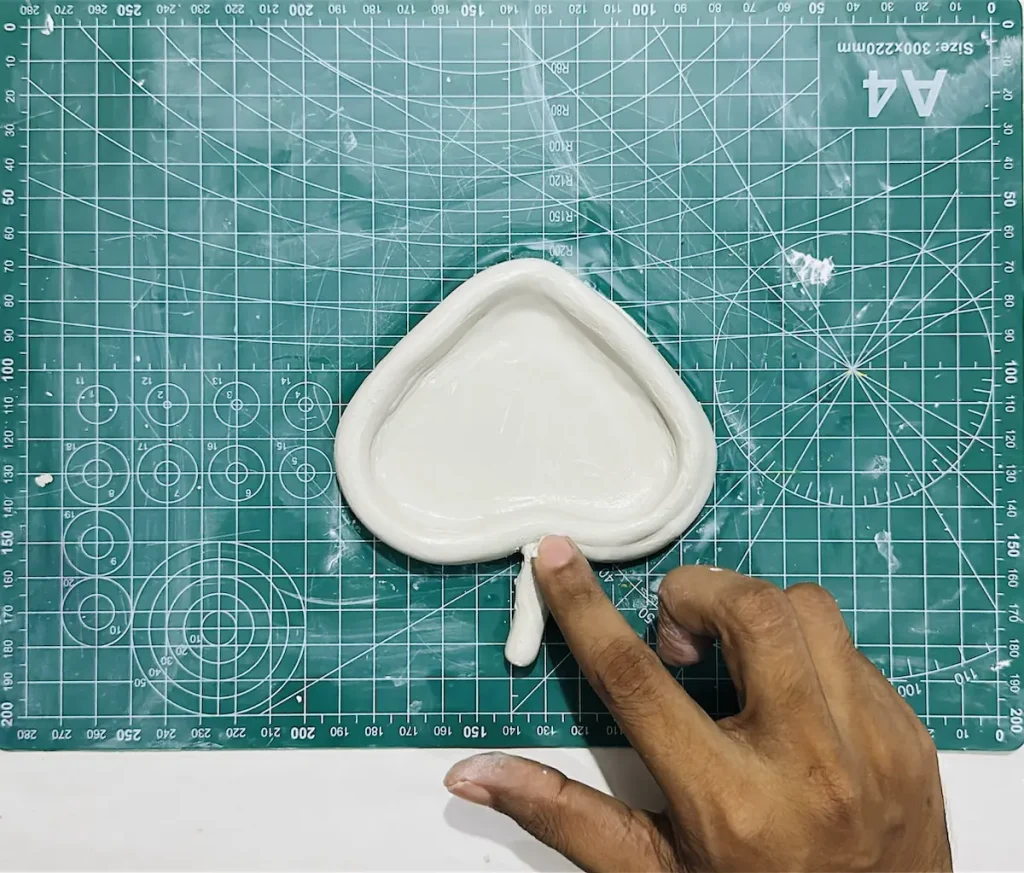
Next, I made small leaf shapes by cutting the clay patiently and attached them to both the left and right sides of the stem.
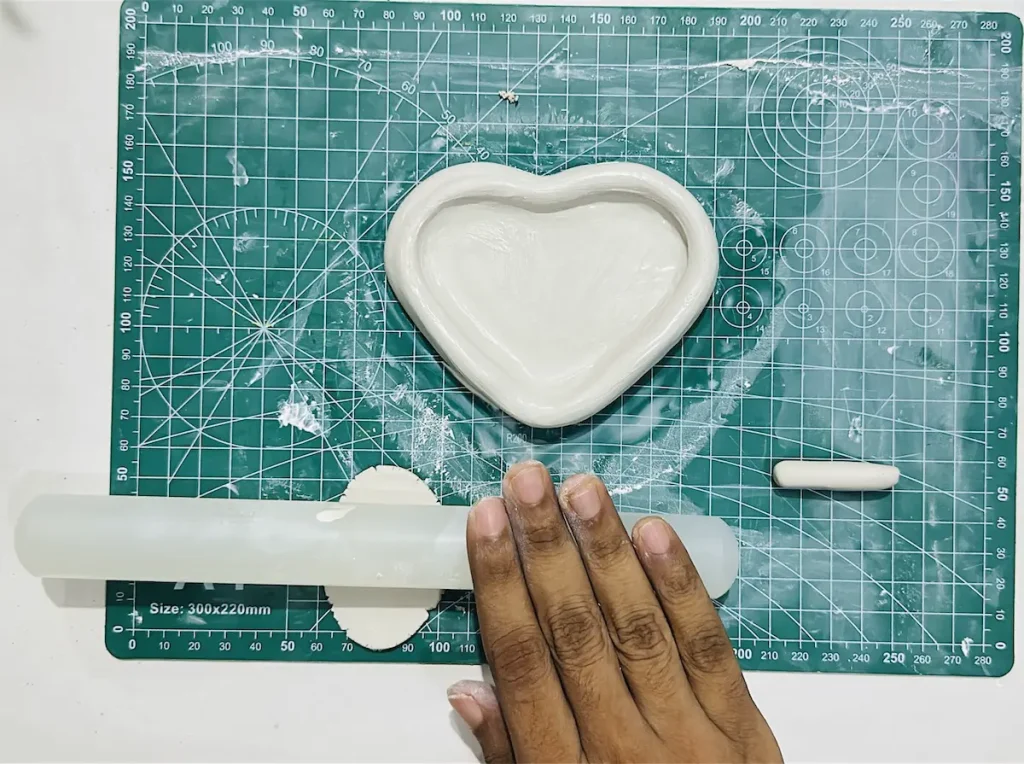
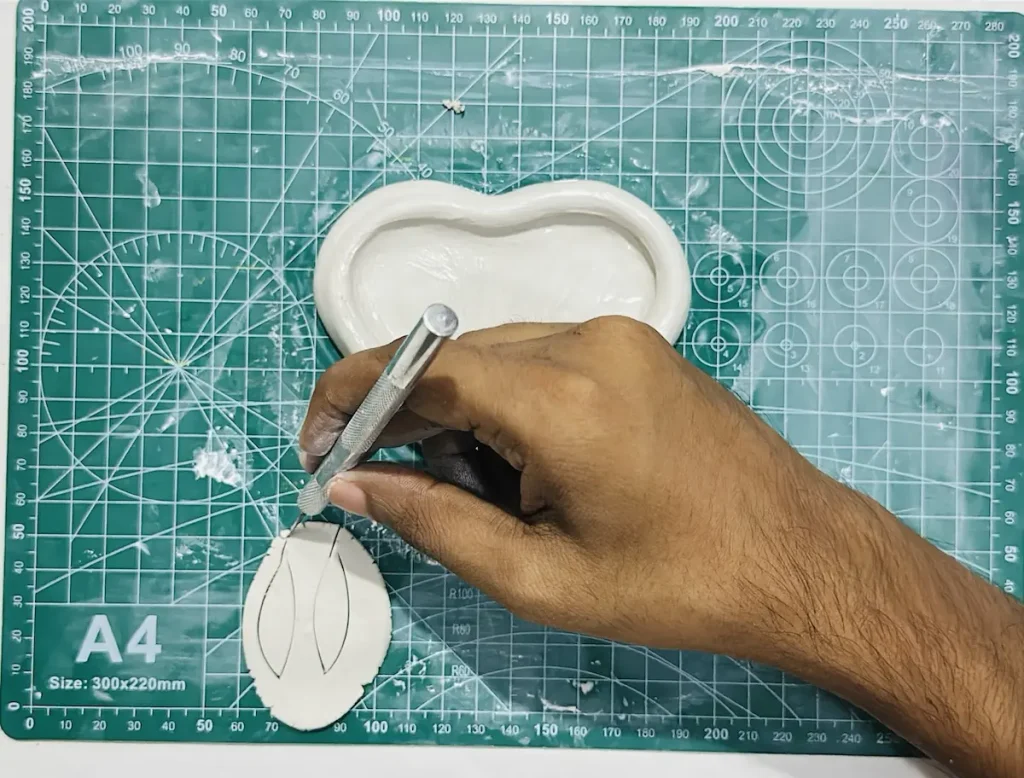
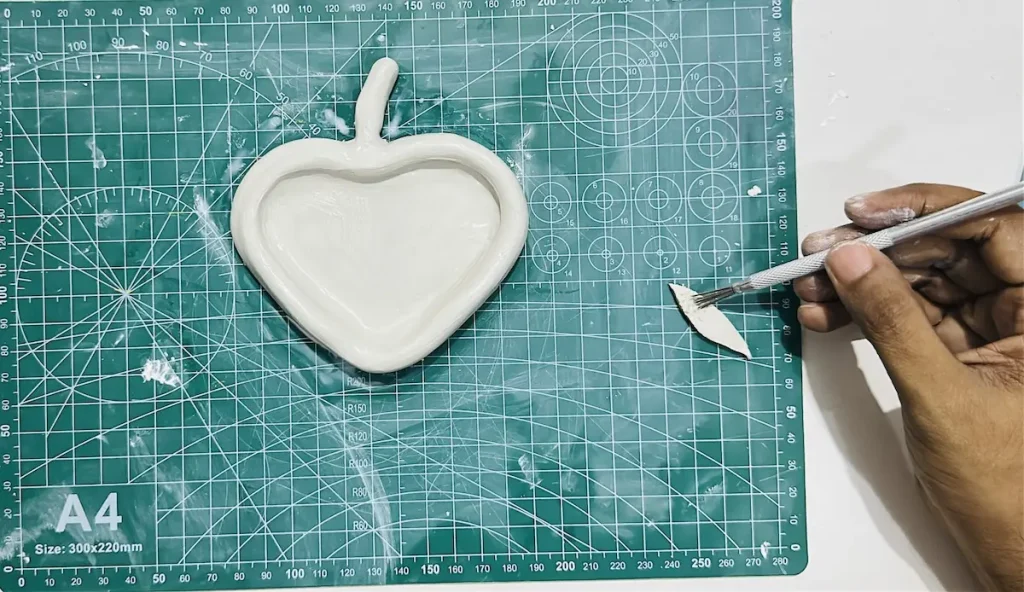
Make sure to attach each piece so well because tiny pieces tend to break easily due to the shrinkage of air dry clay.
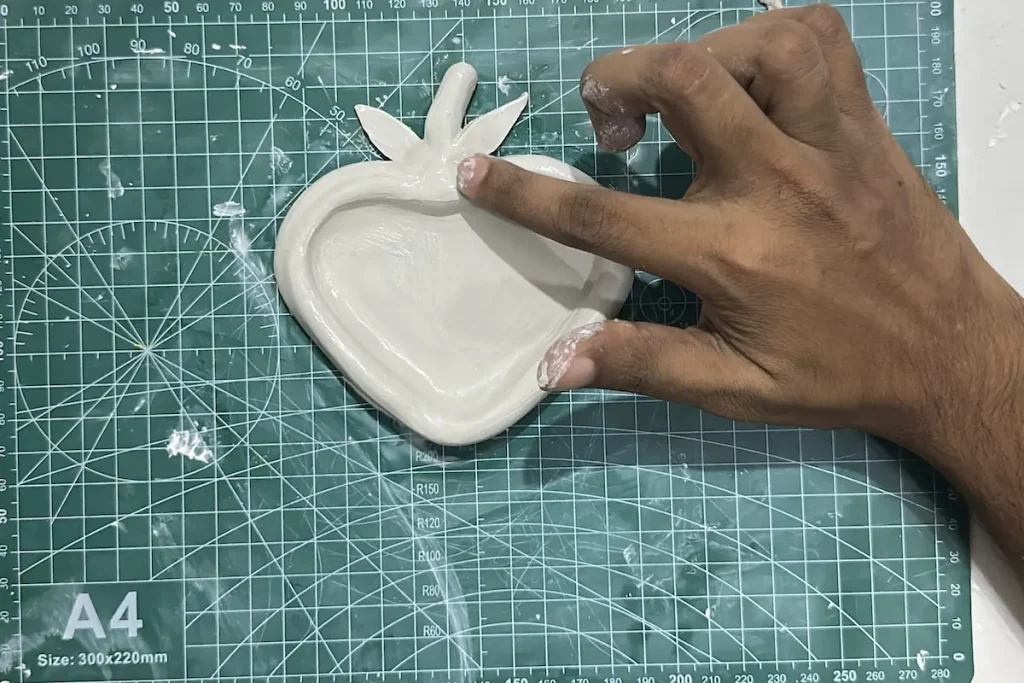
Well done folks! We completed the peach jewelry dish. But it is still wet. So you need to be careful with it.
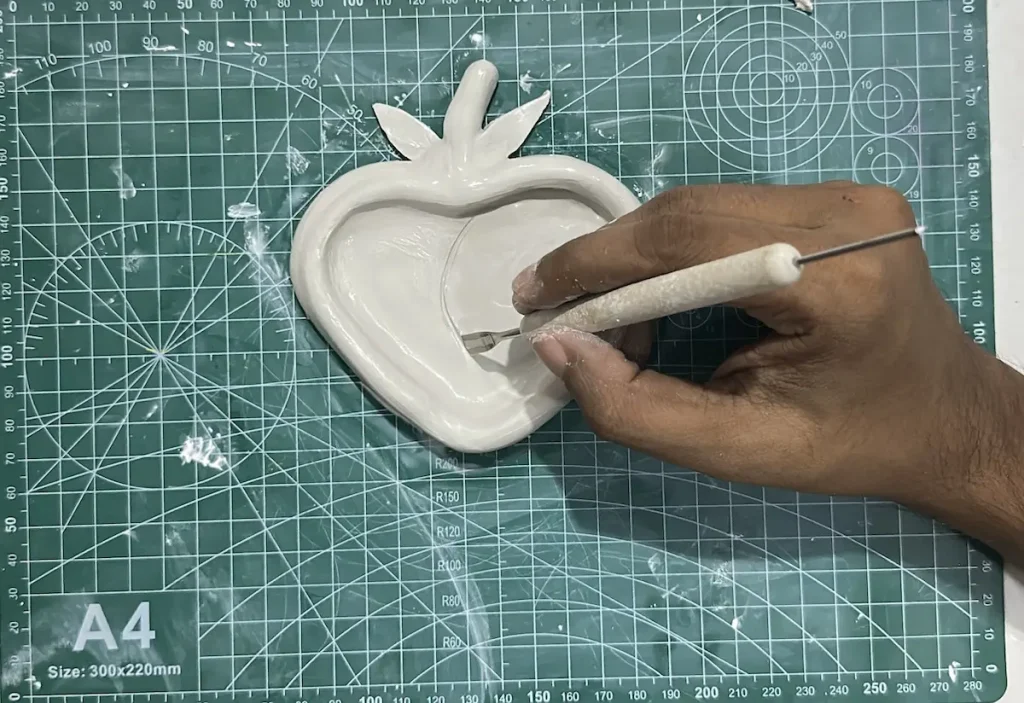
Step 7: Let it dry
Now let your peach jewelry dish made with air dry clay dry slowly for 48-72 hours in a cool, well ventilaed area.
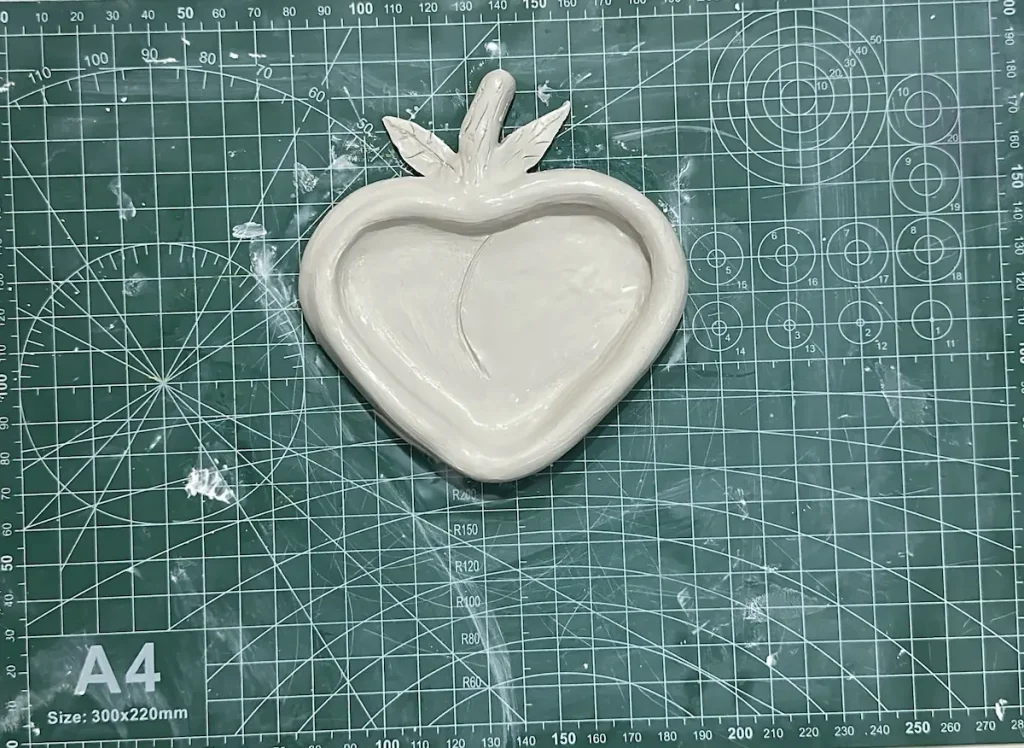
The reason I mentioned the word “slow” is that if you try to dry it faster by keeping it under sunlight, applying a heat source or placing it under a fan, I’m sorry you’ll probably end up with a cracked dish because rapid water evaporation triggers uneven shrinkage which causes surface cracks.
Drying time can changes due to the thickness of your air dry clay and the humidity in your area. High humidity means slow water evaporation speed and the drying time will be longer.
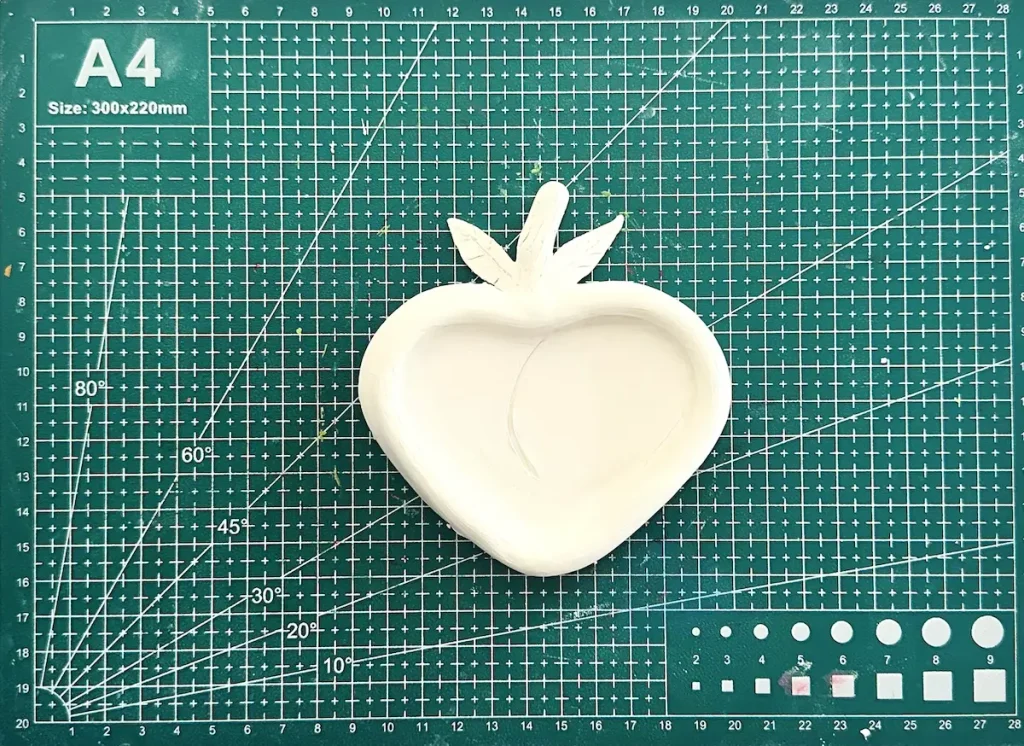
After 48 hours, check if there are any grey patches because grey areas mean the clay is still wet and you need to let it dry more for another 24 hours. Air dry clay turns pure white when it is fully dry.
Step 8: Paint the dish
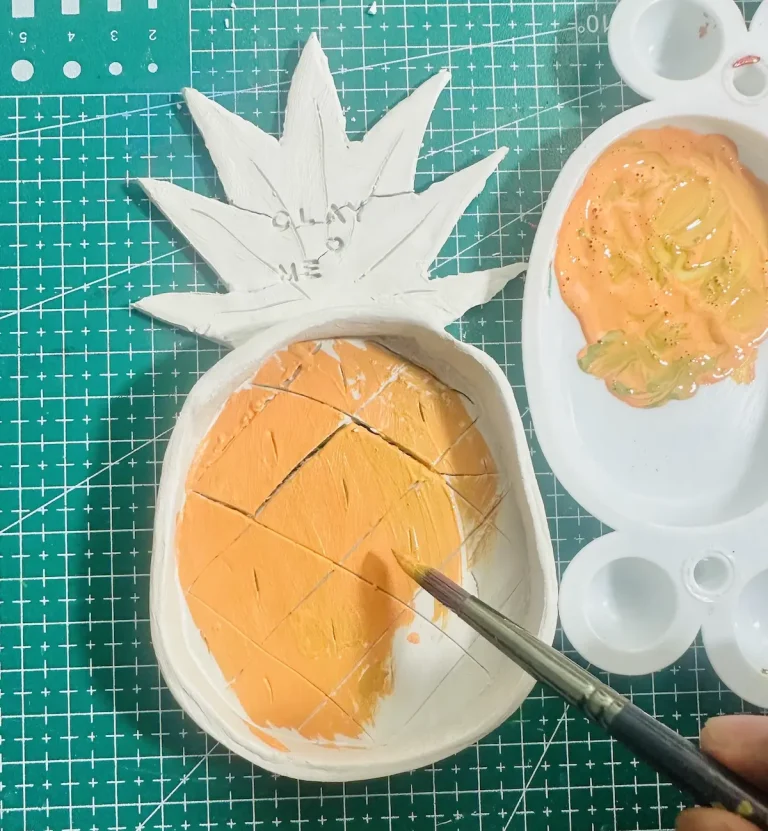
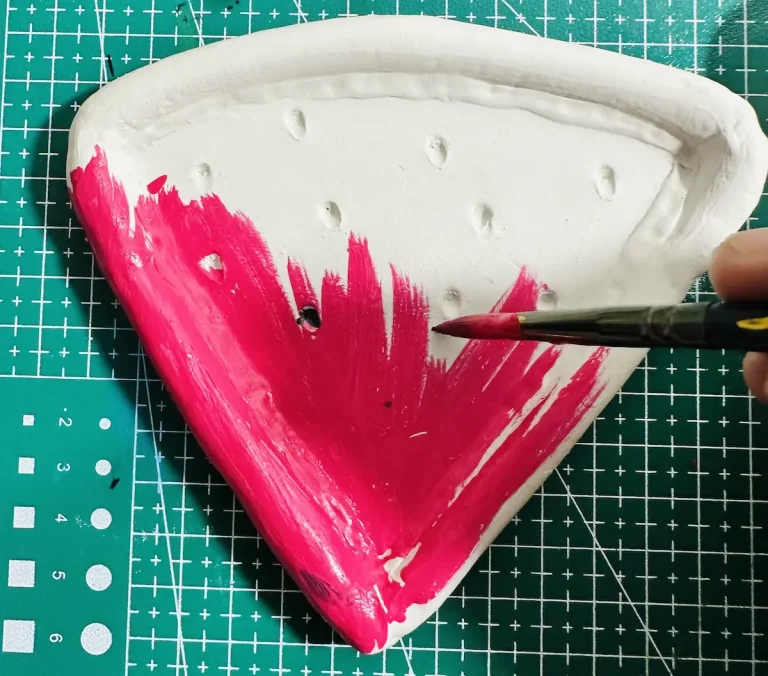
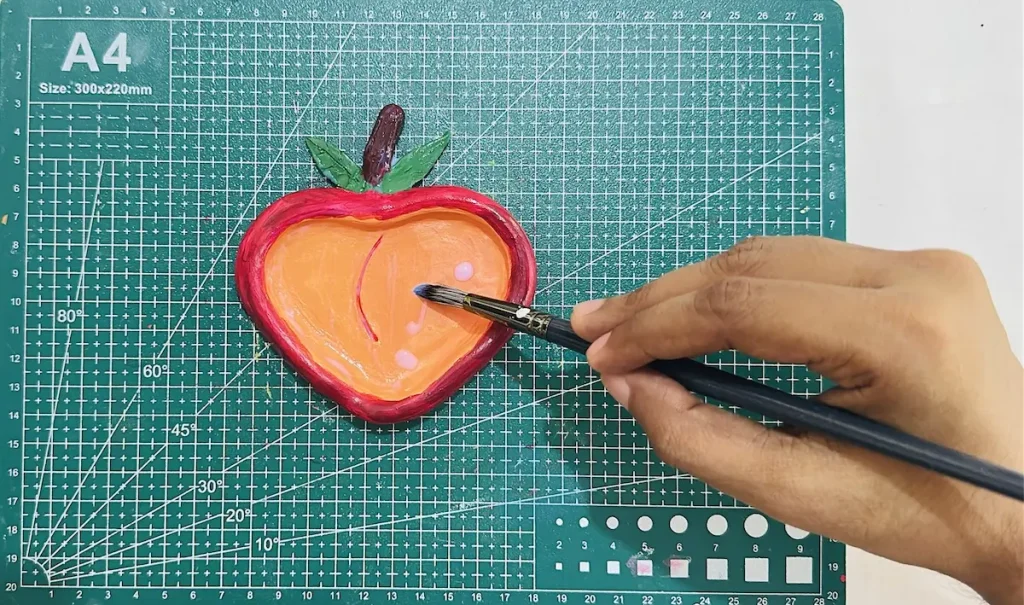
Once the dish is fully dried, you can start to paint it. I used acrylic paints.
Read: Can You Paint Air Dry Clay Before It Dries? (And What Happens If You Do)
Acrylics are considered the best paint for air dry clay because they come in vivid colors, require no water for mixing because water weakens the clay, easy to apply, dries within 2 hours, gives a glossy finish and make a water resistant coating over the air dry clay project.
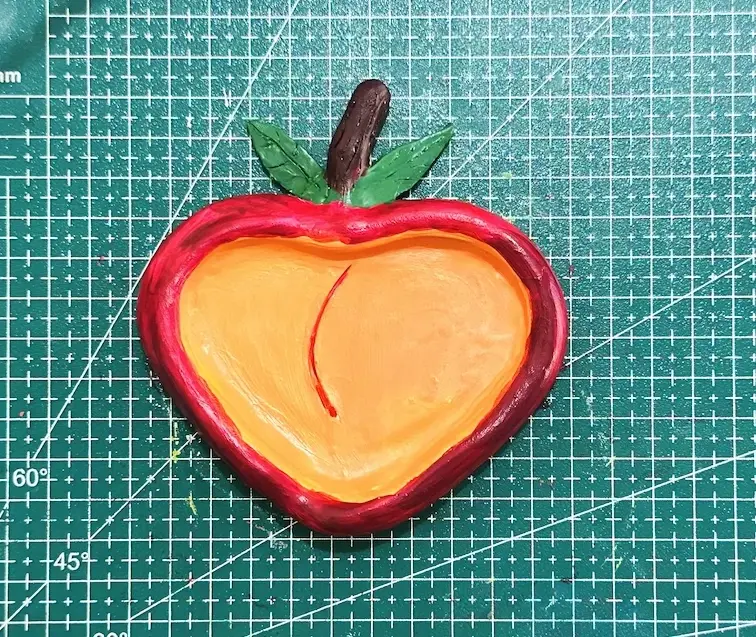
I started painting the dish base first, following the peach colors.
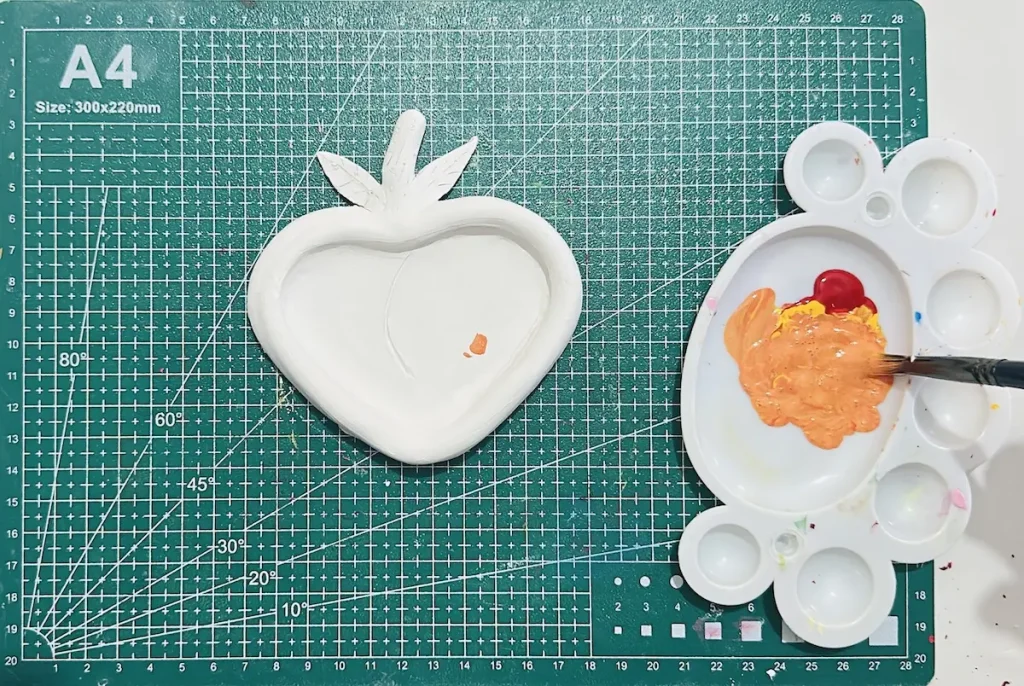
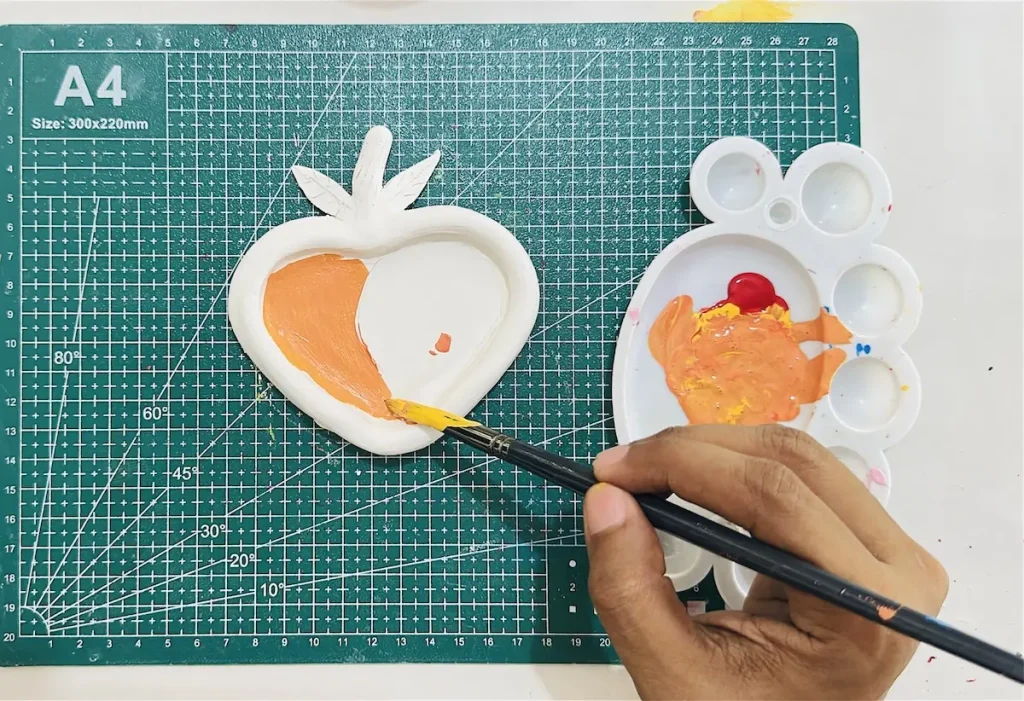
Then painted the peach dish rim, adding some purple.
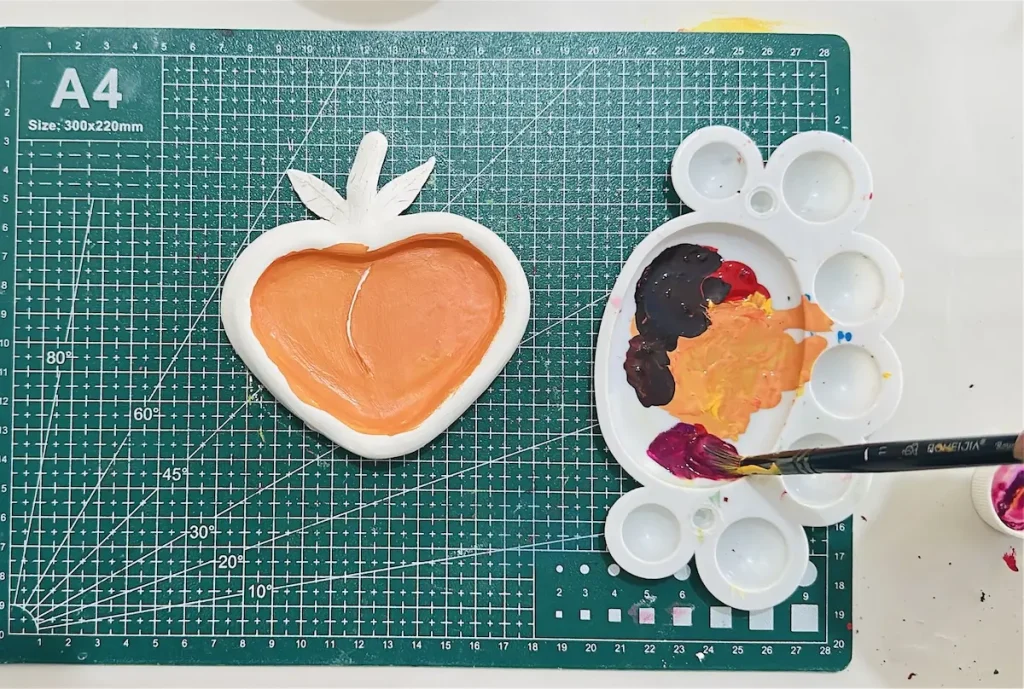
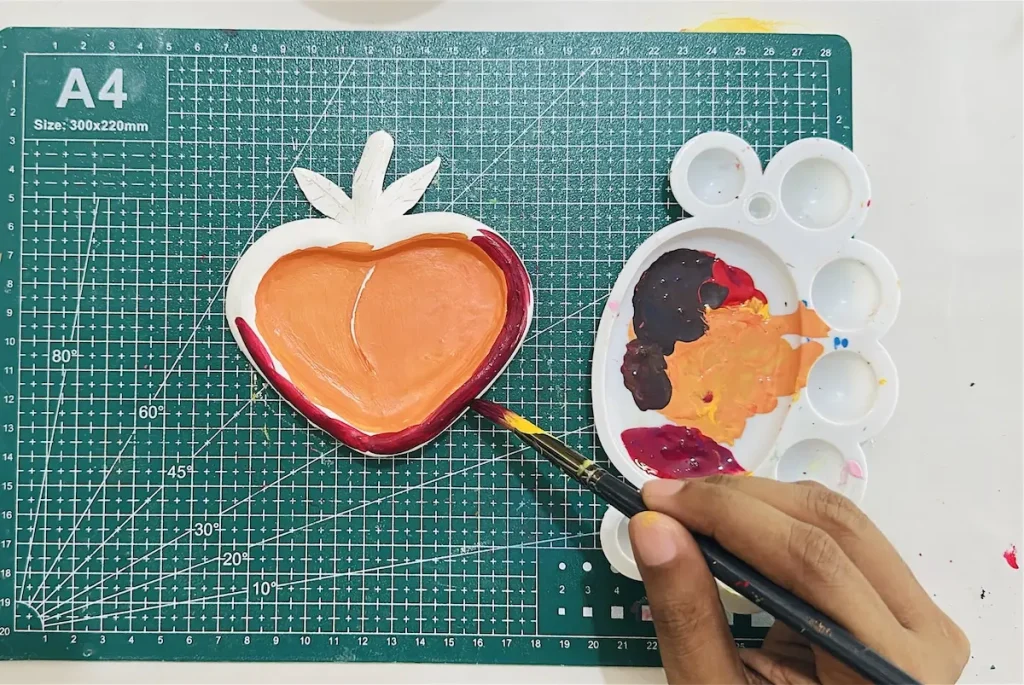
Finally painted the stem and the leaves.
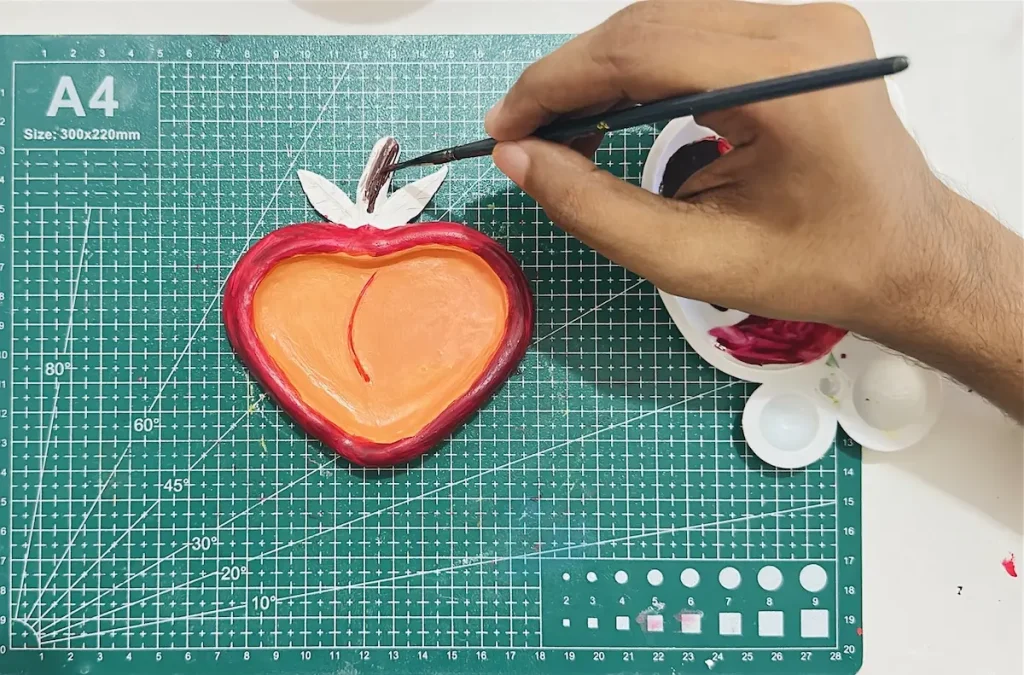
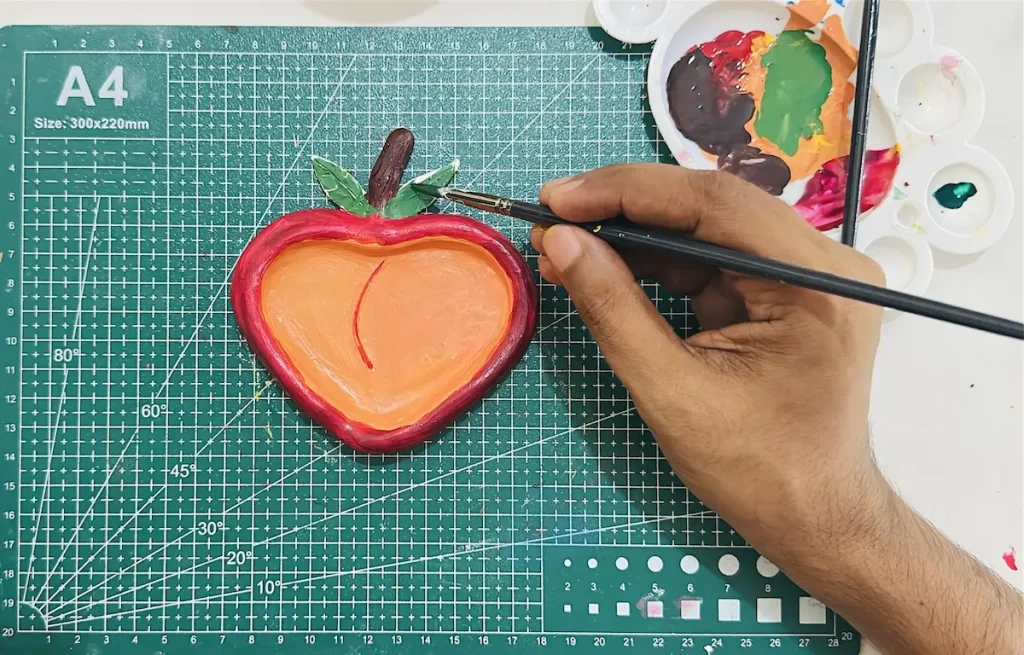
Apply thin and even coats in one direction to avoid forming tacky spots and a mushy core.
After each coat, let it dry for 1-2 hours. After the final coat of acrylic, let it dry well for 2 hours.
Step 9: Seal the project
Sealing your air dry clay project is a must to protect it from outside moisture. Otherwise, moisture will sneak inside of your clay and weaken it.
When the clay is weakeneing the cracked will start to form and small pieces will start to fall off due to the loosening of joints.
Use gloss varnish, UV resin, polyurethane varnish or epoxy resin to seal your peach dish. Epoxy resin is great for a waterproofing coating and to get a glassy, water like texture like finish.
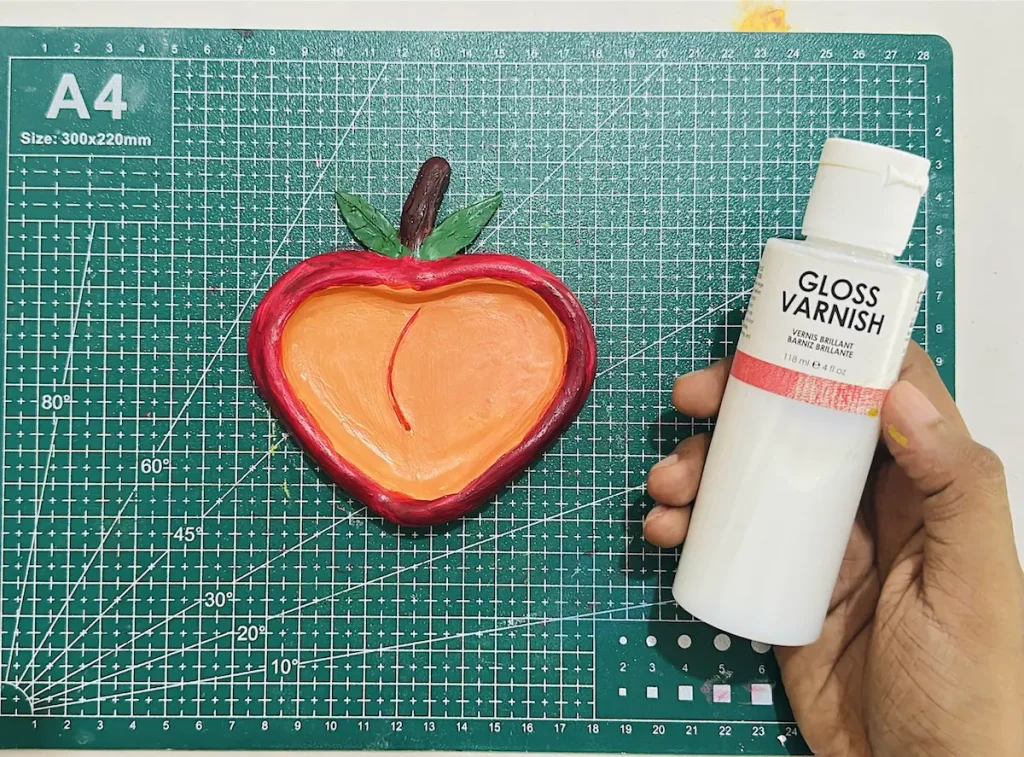
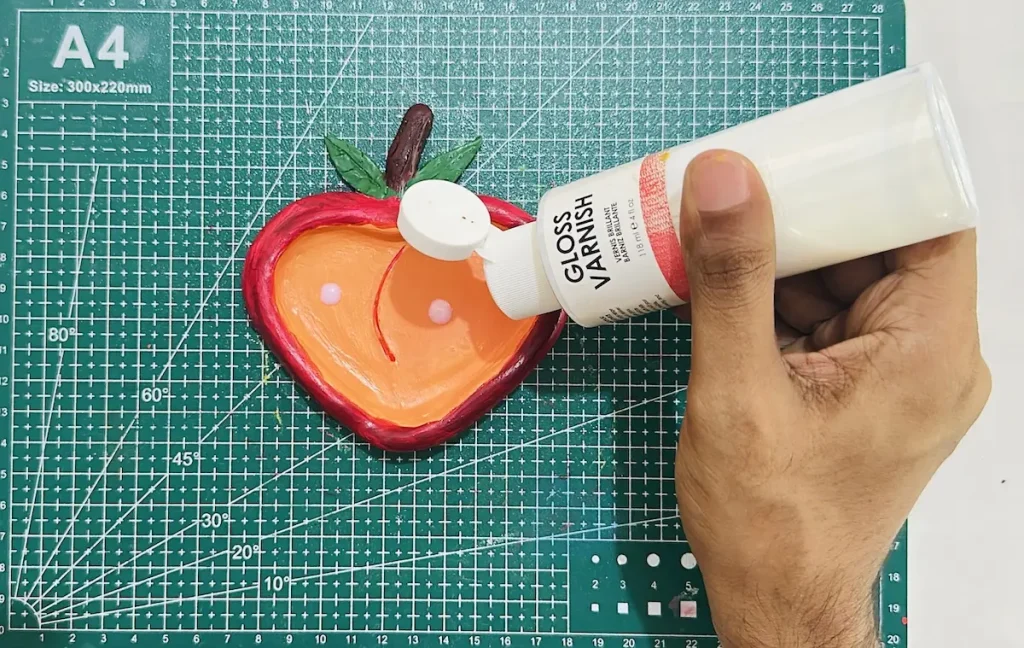
I used gloss varnish which provides a water resistant coating and ceramic glossy like finish. Apply 2-3 thin and even coats in one direction and let each coat dry and cure for 24 hours before applying another.
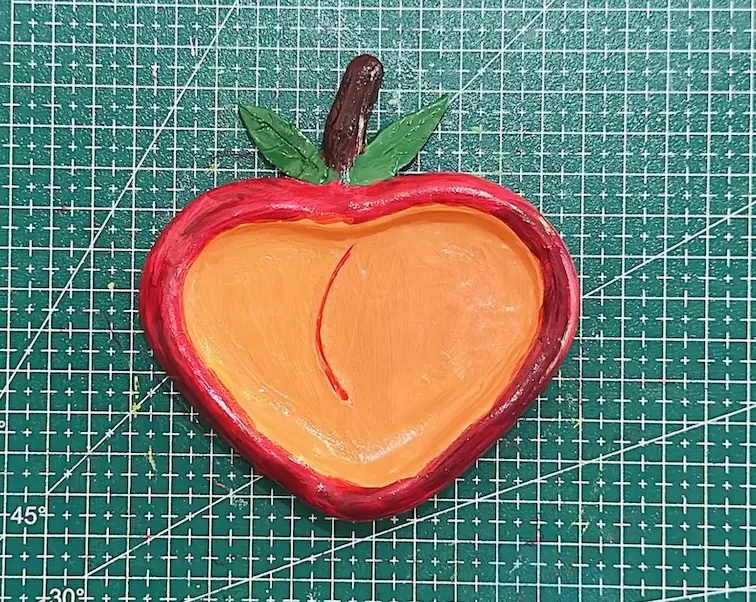
Even though you finish your air dry clay project with a water resistant or waterproofing sealer, I never recommend placing it outside because harsh weather elements may damage the protective sealer over time and ruin your project. Always keep the projects inside after sealing.
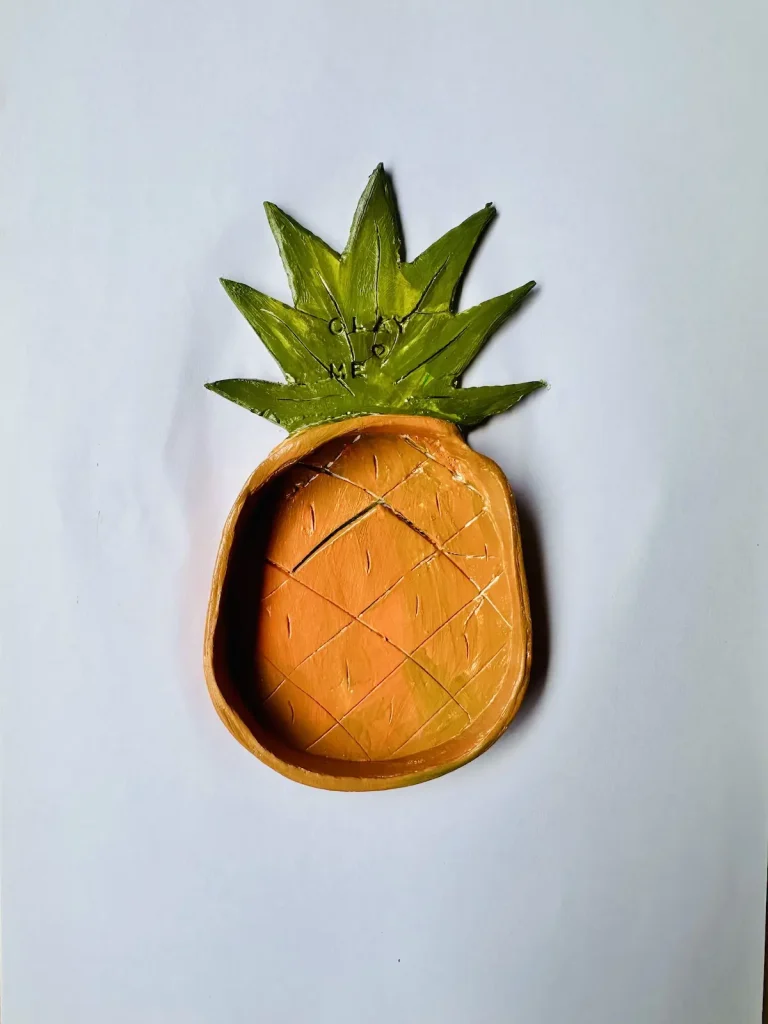
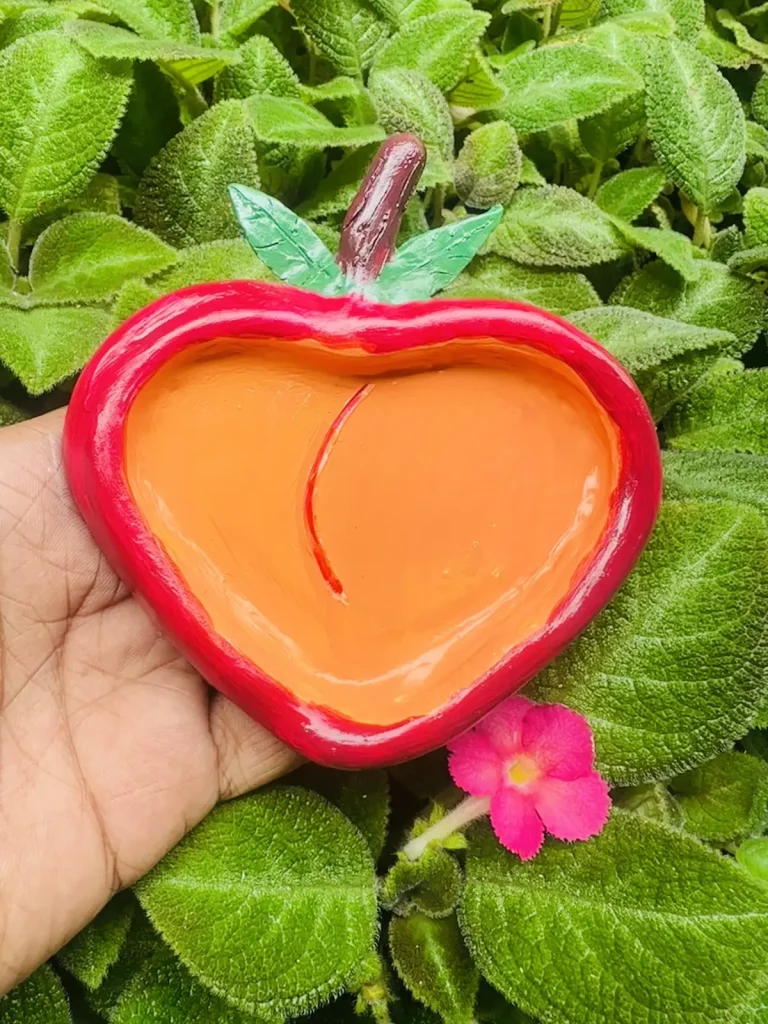
Congratulations, my friends! We have successfully completed making and finishing the peach jewelry dish with air dry clay. It was a fun and easy project.
Final thoughts
Now you know which to use, what steps to follow and what tips and tricks are needed to achieve a beautiful and cute peach jewelry dish with air dry clay. I tried to make the tutorial as easy as possible so everyone can achieve what they want without getting confused while making it.
You can gift this to your partner or to your mother, cousins or friends which makes them love you even more. This is unique, handmade and filled with lots of skills. Now you need to try to make it.
If you face any trouble while making this, don’t panic! Just comment down or contact me. I’ll help you as best as I can.
Be sure to tag @clayandmestudios in your peach jewelry dish project. I sure love to see them when you do. I’ll see you next time with another awesome project! Cheers! 🤟🏾
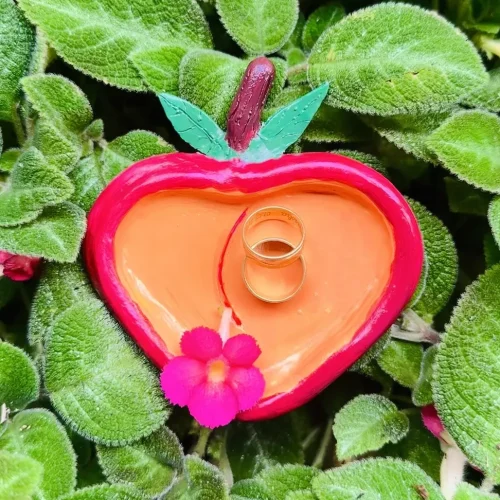
Peach Jewelry Dish with Air Dry Clay Guide

Supplies Needed
Air dry clay (DAS, Mont Marte, Jovi or any reputed brand you can find is okay)
Acrylic rolling pin
PVC mat or silicone mat (or non-stick surface)
Clay crafting tools
Clay cutting tool (X-acto knife or small knife)
Cup of water or spray bottle
Acrylic paints
Gloss varnish
Paintbrushes
Paper towels
Optional: Sponge or silicone sculpting tool (or you can use your finger)
Instructions
1. Condition & Knead
- Tap a little water onto fresh clay and knead thoroughly to distribute moisture evenly and prevent cracking. 🤲
2. Roll it Out
- Roll clay to an even ¼-inch thickness on a non-stick surface, flipping frequently to avoid sticking. 🗞️
3. Cut the Base
- Freehand-trace or use a template to cut out a peach shape using your knife. ✂️
4. Attach the Rim
- Roll a clay snake, score both the edge of the base and rim, apply water/slip, and press into place. Cut ends at an angle to join smoothly. 🐍
5. Reinforce (Optional)
- Add a ultra-thin clay coil along the inside seam and smooth it out with a tool to lock the rim to the base. 🔍
6. Add Stem & Leaves
- Score and attach a small stem and leaf shapes onto the top rim. 🌿
7. Slow Dry
- Let dry naturally in a cool, ventilated space for 48–72 hours until pure white. Avoid heat or direct sun! 🌬️
8. Paint & Seal
- Paint with acrylics in thin coats, let dry for 2 hours, then seal with gloss varnish or resin to protect against moisture. ✨