

Today I’m adding another project to my fruit-inspired trinket tray tutorial series. This time it is a pomegranate trinket tray. We all love pomegranates, right? The only issue is it is hard to spell and write. lol. 🍎
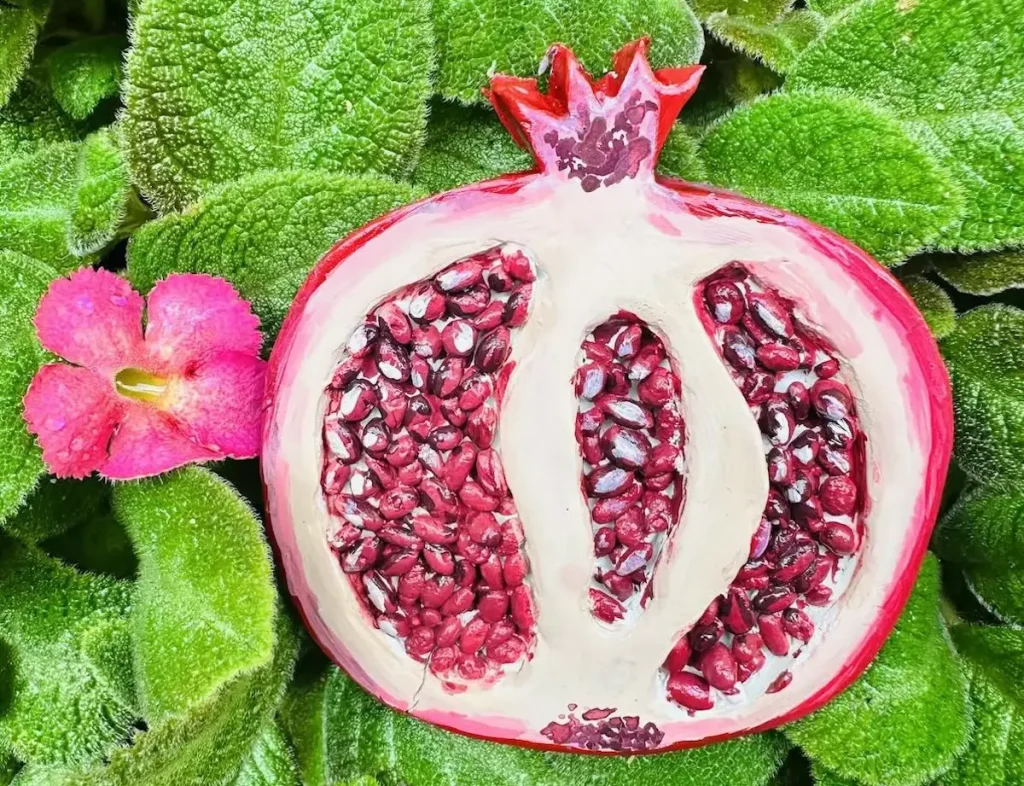
I use a special hollow-out clay method to make the tray base and fill it with seeds. Coloring is important to get that deep wine-red for the seeds.
Don’t worry, I’m not an expert. I’m also a beginner like you who is still learning to work with clay.
So, I provide you with simple and easy steps to achieve results better than mine and I also share all the mistakes I made and how I fixed them during the project as well. They don’t include those things in expert, complex tutorials. Just from me. Hehe.
Ok. Enough talking. Let’s get started! 🎨
Why did I use air-dry clay?
- Air dry clay is easy to shape.
- Cheap.
- Dries in the air.
- Able to fix bumps, small scratches and mistakes by gliding a wet finger over wet clay.
As beginners, we do make lots of mistakes while making projects. If air dry clay is expensive like polymer clay, the room for doing experiments with it is quite low.
In order to learn new techniques and tips with clay, we need to do experiments and clay is wasted during those experiments. So, air dry clay is best for that because it is not as expensive as others.
You can easily erase the scratch marks, unevenness and bumps on air dry clay by gliding your fingers.
It is easy to shape by kneading and rolling for a few minutes.
You don’t need to fire or bake or apply any other heat source to dry your air dry clay projects. It simply dries in the air.
Yes, it is messy. But for beginners air dry clay is the best.
Materials needed
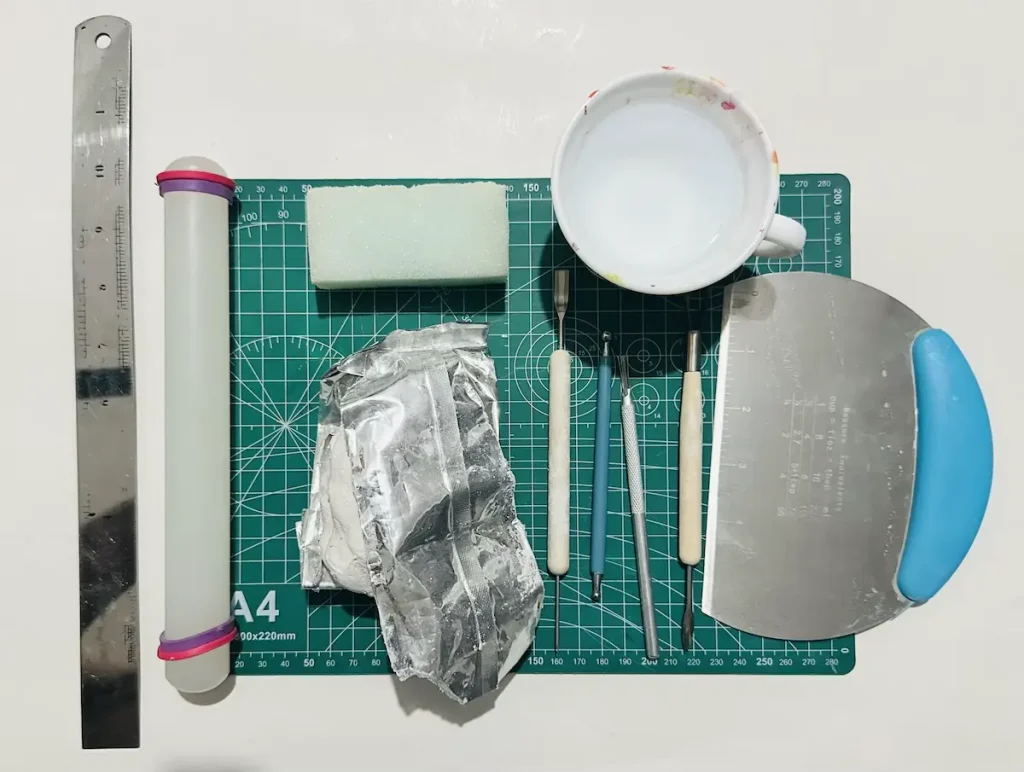
If you couldn’t find any of the materials I mentioned below except the air dry clay, you’re free to replace that with a similar one. Most of the clay tools we use have good alternatives in your kitchen drawers. So, please check it out before running to a store.
- Air dry clay (any reputed brand you can find is okay)
- Acrylic rolling pin
- PVC mat or silicone mat (or non-stick surface)
- Clay crafting tools
- Ribbon sculpting tool or a small spoon
- Clay cutting tool (X-acto knife or small knife)
- Cup of water or spray bottle
- Acrylic paint (crimson, white, yellow)
- Gloss varnish
- Paintbrushes
- Paper towels
- Optional: Sponge or silicone sculpting tool (or you can use your finger)
Easy diy pomegranate trinket tray tutorial video
Below I’ve attached the full tutorial video with all the steps I have taken, tips and techniques I used, mistakes I made, and how I fixed them when making this DIY beautiful fruit inspired tray with air dry clay.
Feel free to watch and try it out! 📺
Finished watching the video? Let’s look at the detailed written step by step guide.
Step by step pomegranate trinket tray tutorial
Before starting the project, move to a well ventilated room or open all the windows. I don’t want you to cough during the project due to fine air dry clay dust.
Step 1: Identify the parts of a pomegranate fruit
Today, we are sculpting 4 main structural parts of a pomegranate fruit, which are:
- Outer shell
- Membrane area
- Chambers (cavities inside)
- Seeds
Now you have basic knowledge of what a pomegranate consists of. So, let’s start making.
Step 2: Knead the clay
- Take a fresh piece of clay from the package.
- Condition it by tapping a little bit of water on the surface.
- Knead the clay well using the press-and-pull technique until the clay becomes soft.
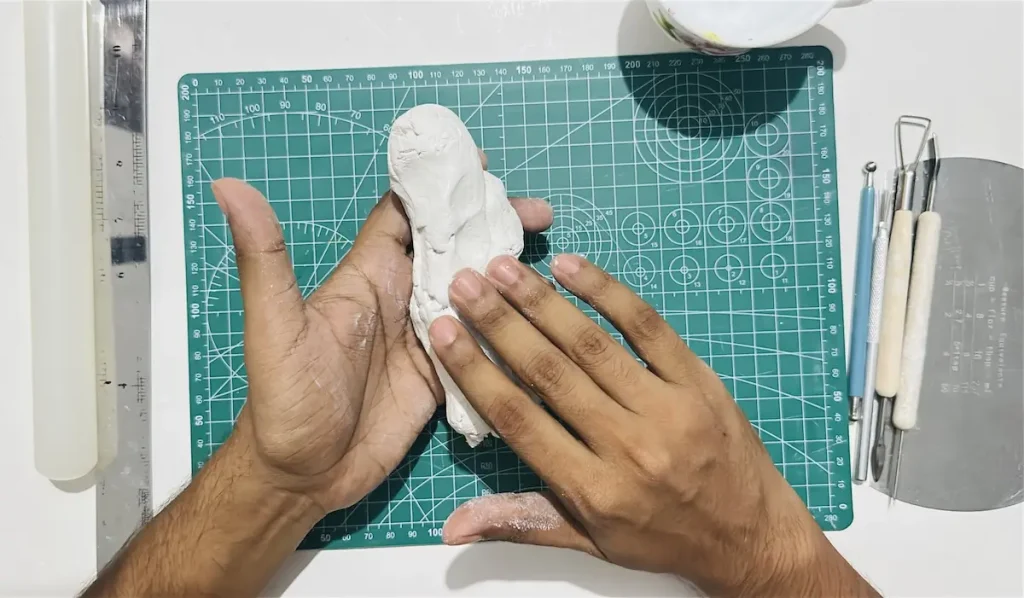
Air dry clay is a highly porous material with lots of moisture and air pockets inside.
But the moisture inside has spread in an unorganized manner. Due to that, when you let the project dry, water evaporates unevenly from the clay and starts forming cracks on the air dry clay surface due to the uneven shrinkage between the layers. Yes, the clay shrinks as it dries because water evaporates and clay binders tighten by closing the air pocket gaps.
We cannot stop the water evaporation of air dry clay. Instead, we can control it by letting the moisture evaporate more evenly.
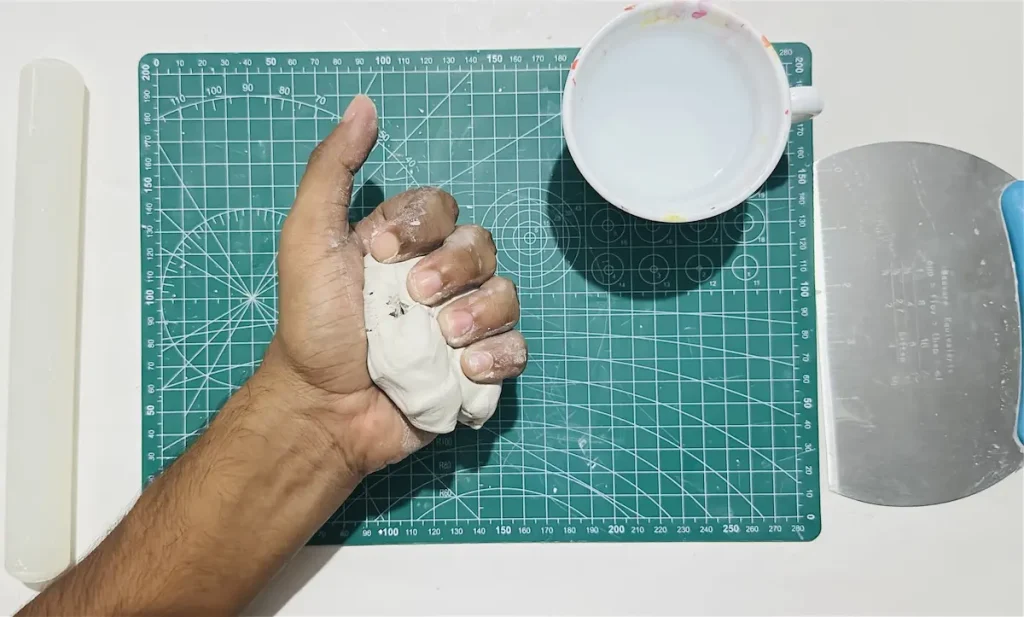
Knead the clay well by pulling and pressing the clay piece with force. Kneading helps to spread out the moisture evenly across all the layers of air dry clay and releases the air bubbles out.
When moisture is spread evenly, it evaporates at the same rate when drying, causing no uneven shrinkage. This builds up no extra tension between the layers and does not form cracks.
Plus, when kneading, the clay becomes soft due to the temperature of your palms.
So do the kneading until it becomes soft enough for shaping before moving into the next step.
Step 3: Roll the clay
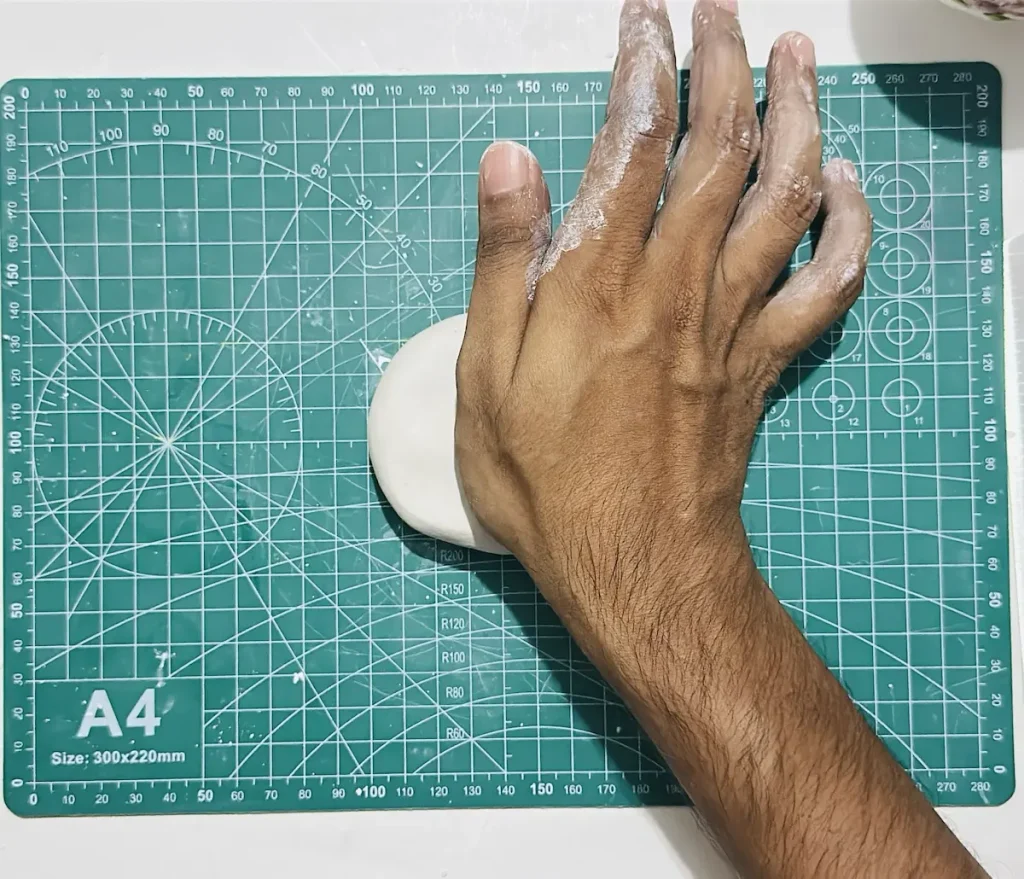
- Place the kneaded clay slab on your mat.
- Set the silicone or rubber rings or place wooden slats either side of the clay slab and set to ½ inch thickness.
- Roll the clay slab to an even thickness with the flip, turn and rotate technique.
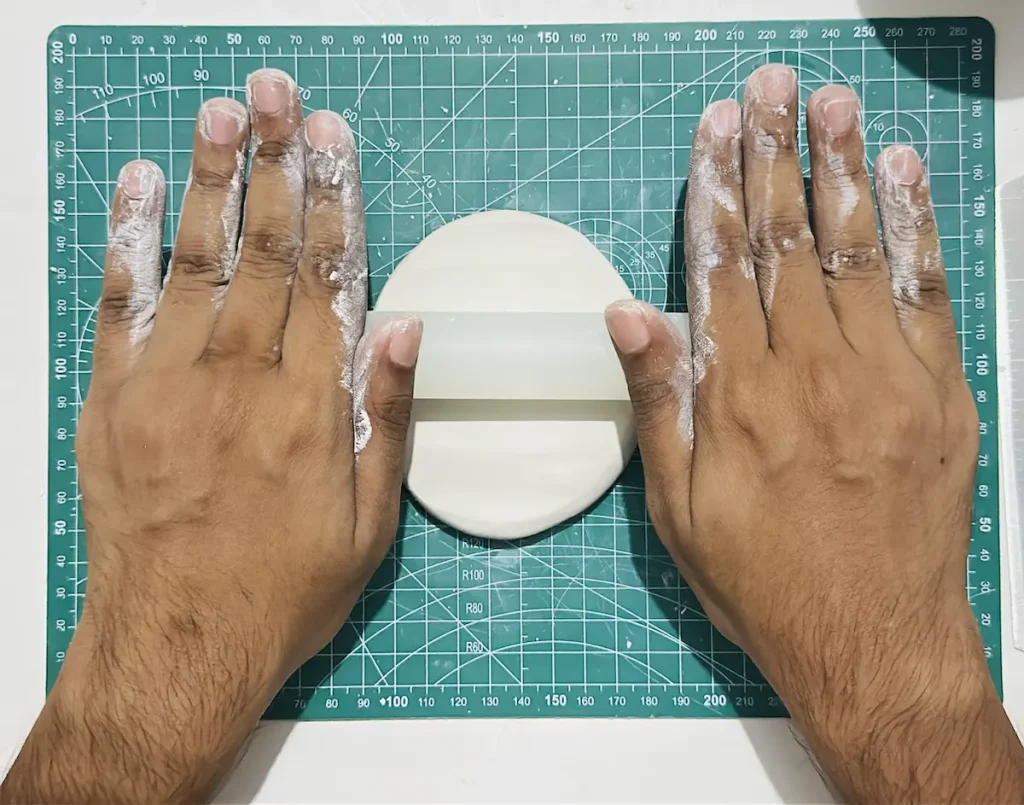
I use an acrylic rolling pin to make my clay slab an even thickness. You can use a wooden one in the kitchen as well, but make sure to wrap it up with parchment paper before use to avoid the clay from sticking to it.
Make sure to flip, turn and rotate the clay slab 90 degrees while rolling to avoid your clay slab from sticking to your mat. I use a PVC mat which is recommended for air dry clay but still the clay sticks to it if I don’t flip, turn or change the position of the clay while rolling.
A silicone mat is also a preferred choice.
Try to aim for ½ inch thickness because we are going to hollow out clay in the middle for making the chambers of the pomegranate.
If we make the clay slab too thin, you’ll probably hit the bottom or damage the bottom while hollowing out the clay. If it is too thick, you’ll have a hard time when drying the clay because cracks may occur due to uneven and different evaporation rates of the outside layers and inside. Plus, it may take so many days to dry completely.
After rolling the clay slab, smooth it out by putting your fingers in a cup of water and gliding over the wet clay slab until tiny scratches, bumps and micro cracks are removed.
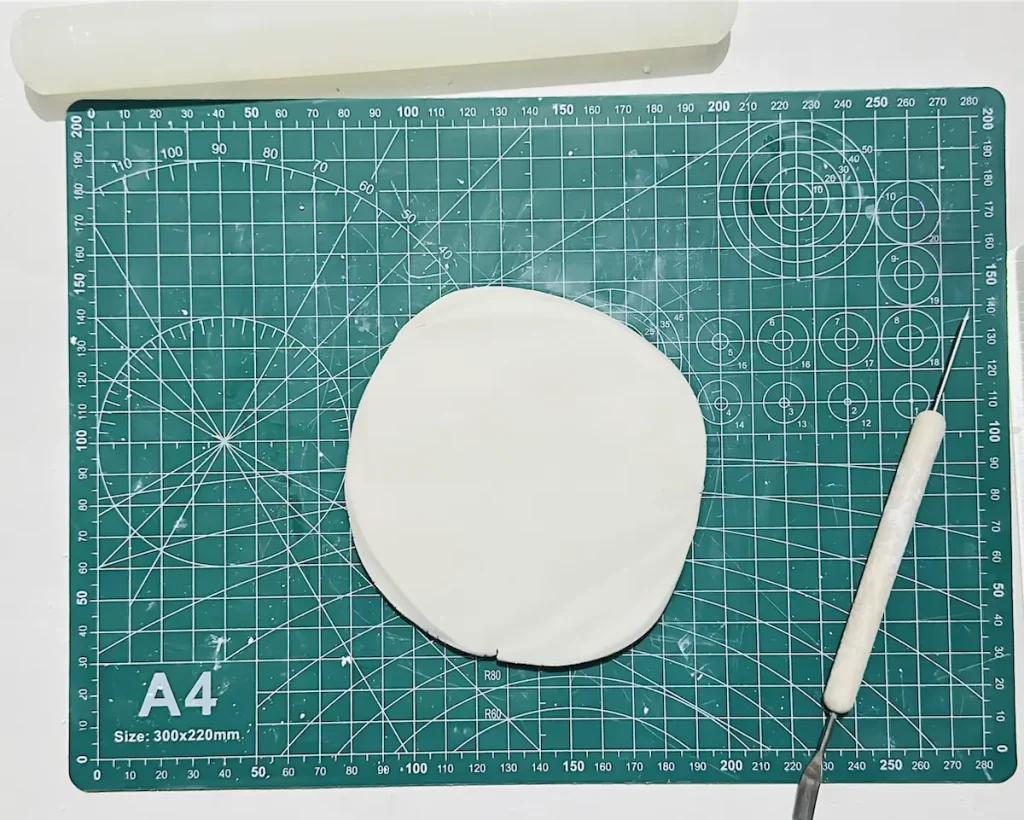
Smoothing is a must after each step but with a little bit of water. More water means more cracks, I’ll show you that later.
Step 4: Tracing and cutting the tray base
- Trace the pomegranate fruit shape on the smooth clay slab.
- Trace the crown on top.
- Cut along the traced line using an X-acto knife.
Tracing is important before cutting to avoid mistakes, especially when you’re bad at drawing like me.
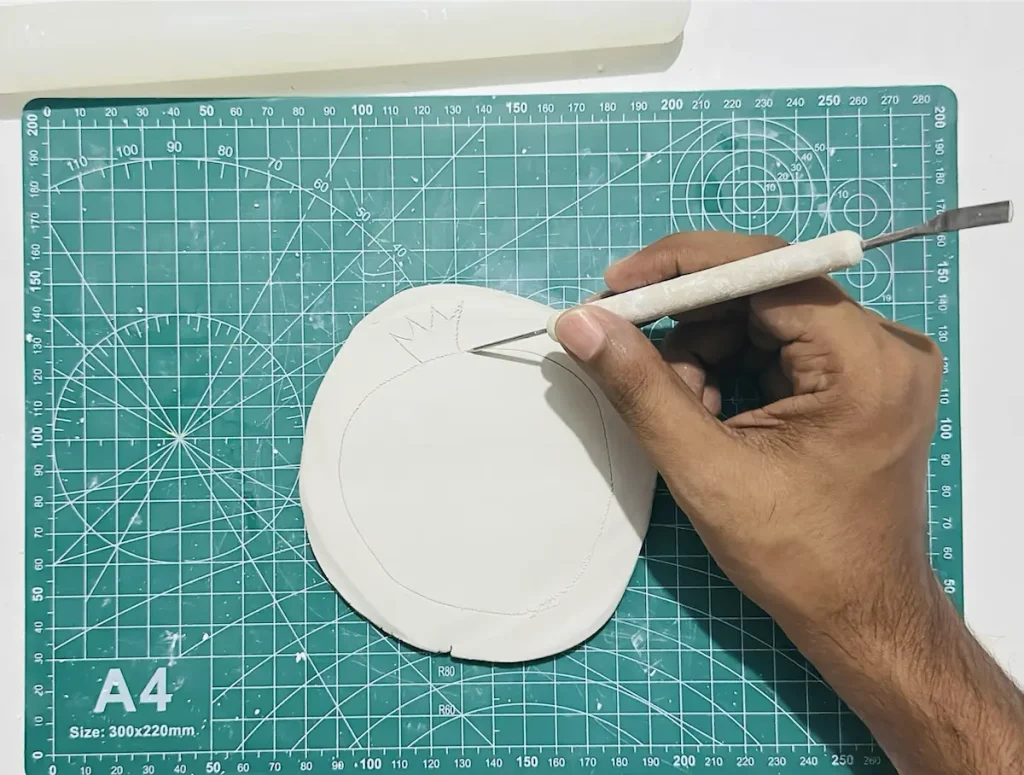
Or you can simply use a circle shape mold, template or stencil to get the shape accurately. But I prefer freehand cutting because a pomegranate has an organic shape and they don’t always come in the same sizes or shapes. They can be a little bit different because they are organic. Nothing in nature is perfectly symmetrical. Not even our faces.
Errors you make during tracing can be fixed by gliding your wet finger over the clay until it vanishes.
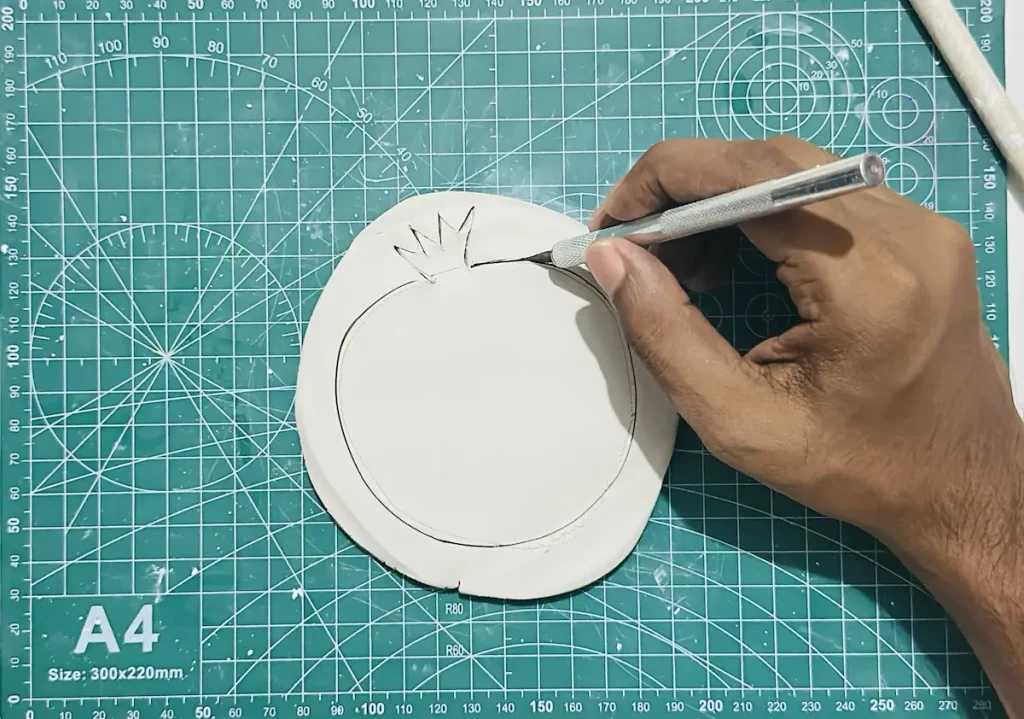
After tracing the shape, cut the shape carefully using the X-acto knife or any other small knife.
Make sure to lift the knife while cutting the edges instead of dragging horizontally because edges may tear off and clay may be dragged off with the knife during horizontal cutting.
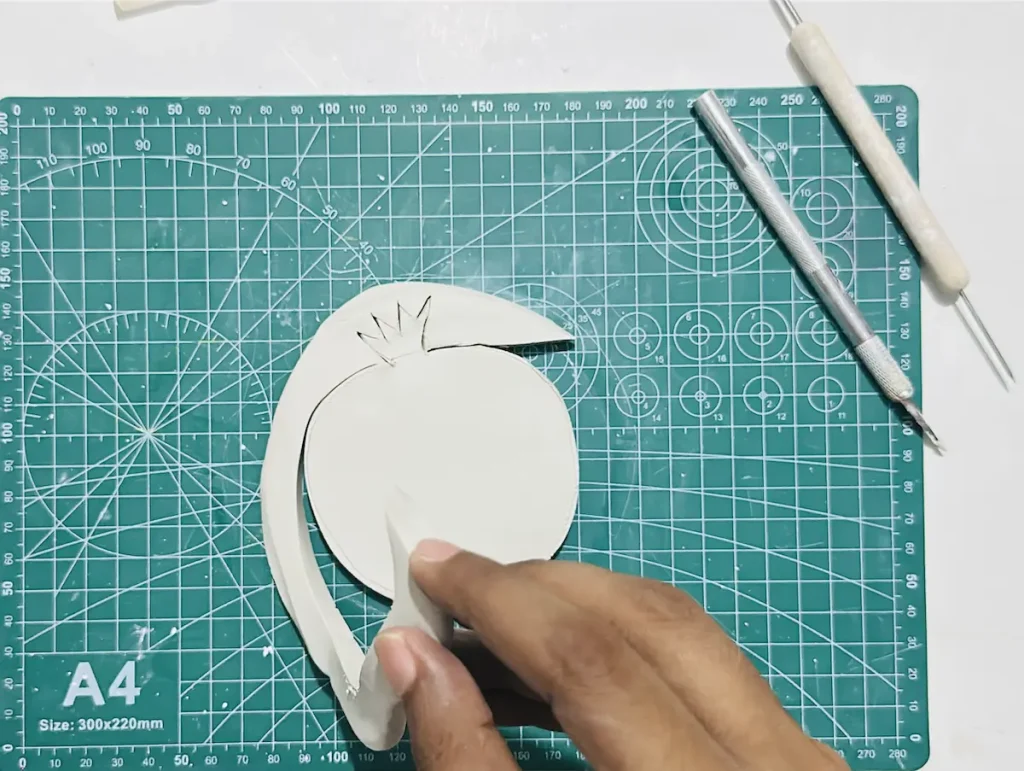
Lift the knife from time to time when cutting and clean the blade to remove the attached tiny air dry clay pieces to get nice, clean and sharp edges around your pomegranate trinket tray.
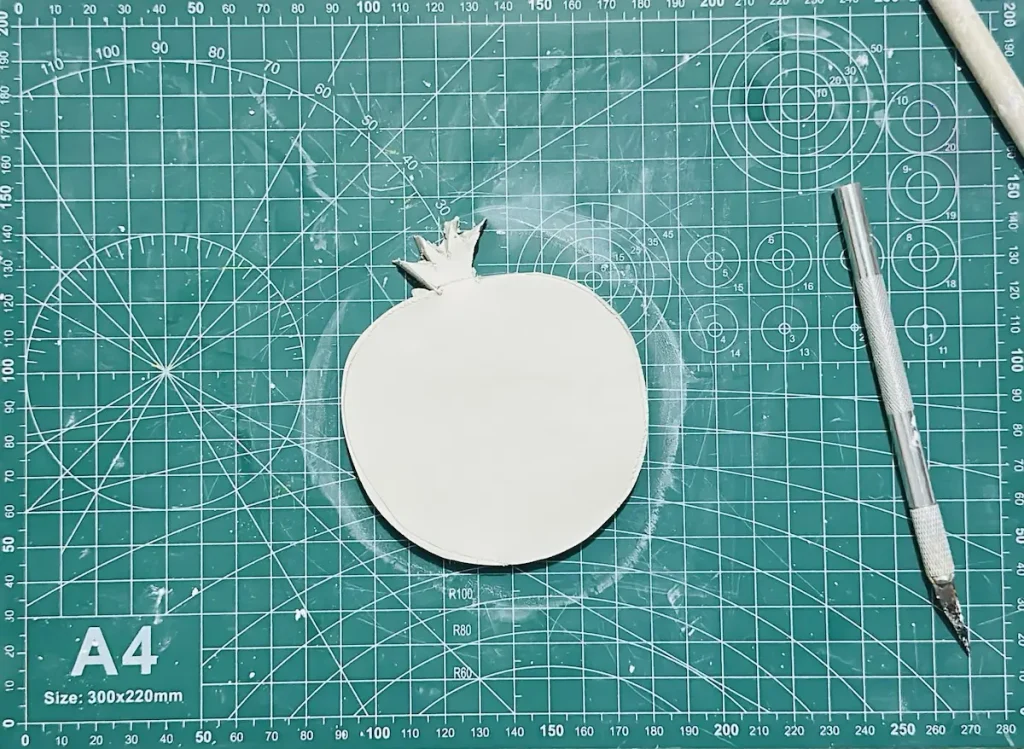
Step 5: Make the chambers of the pomegranate
- Trace the shape of the chambers of your clay tray base.
- Hollow out the clay in the middle to make the chambers using the ribbon tool.
- Shape the walls of the chambers and membrane.
- Smooth out the chambers.
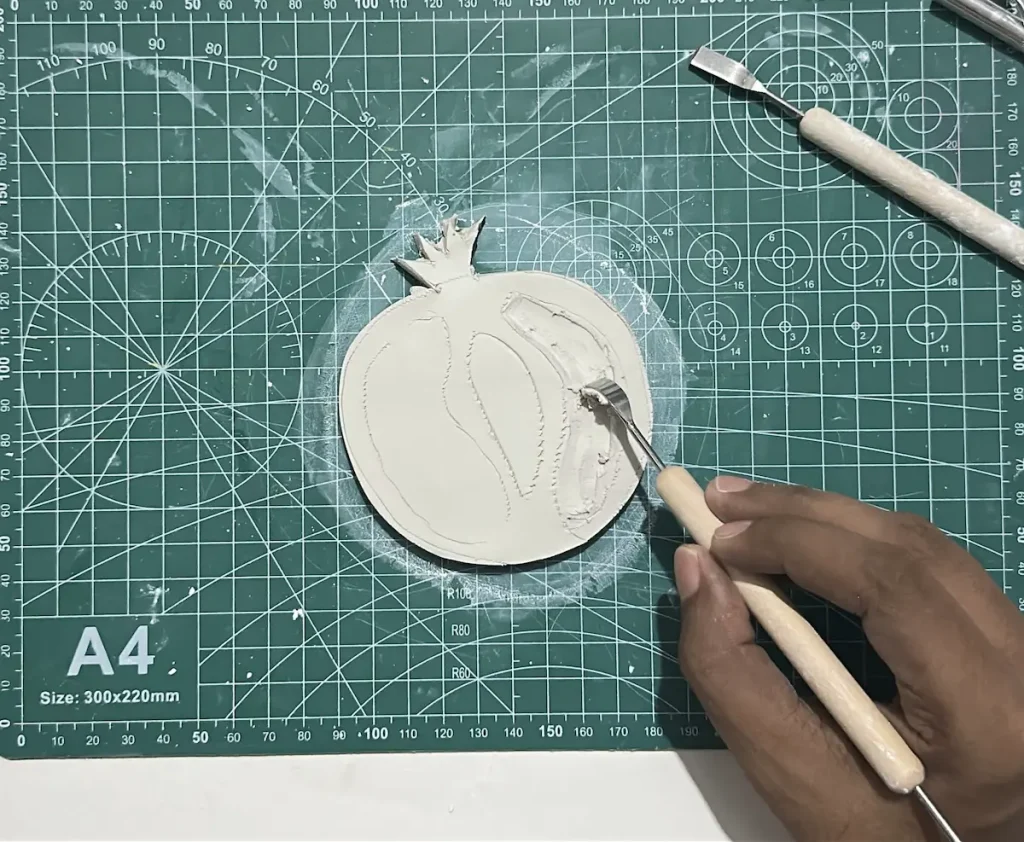
I planned to make 3 chambers in my pomegranate fruit. Yes, there are around 6 or more chambers, but I only sculpted 3 because my tray was too small for 6 or more.
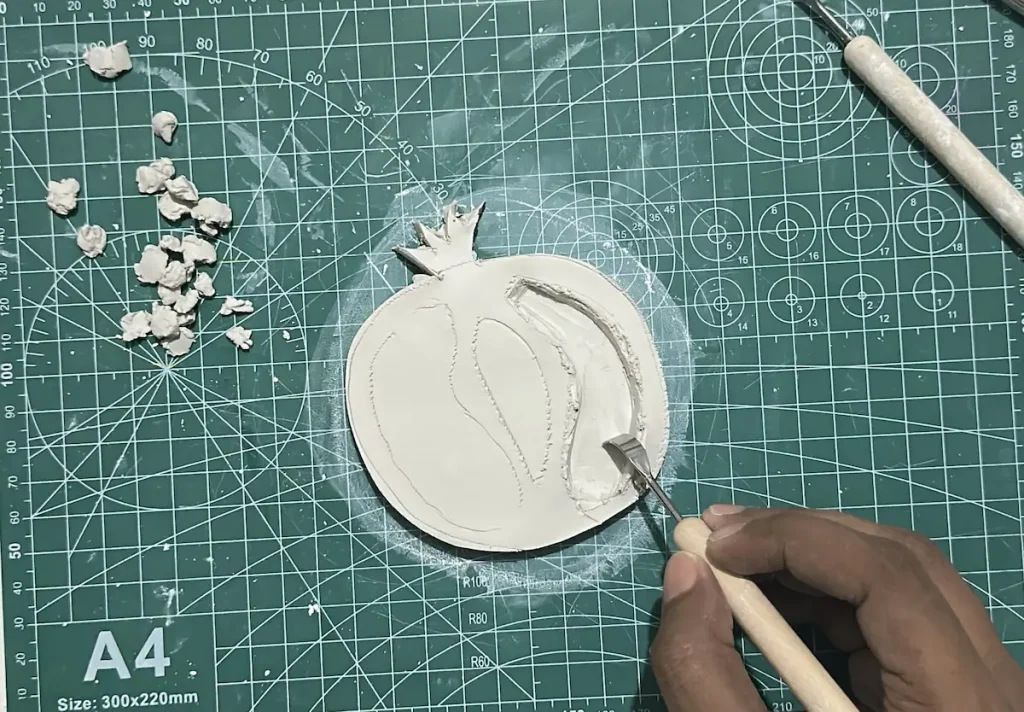
I used the ribbon tool and other clay crafting tools to carve and hollow out the clay. Each chamber has the kidney-shaped look.
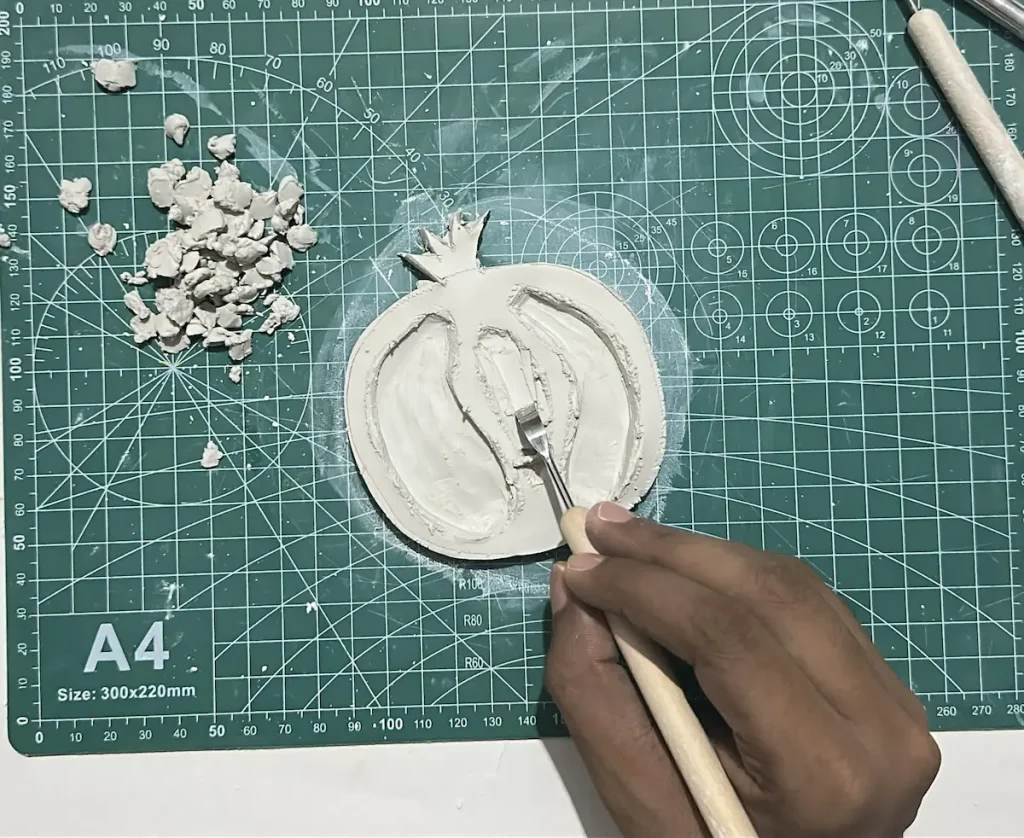
Make sure you’re not hitting the bottom of the tray base while hollowing out and carving the clay slab. That’s why I told you earlier to plan for ½ inch thickness instead of ¼ inch which is the best thickness for air dry clay slabs.
Since we have ½ inch thickness, we can make chambers ¼ inches deep. Still ¼ inch thickness left for the base.
After hollowing out the clay and making chambers, shape the outside walls to get a nice membrane around the chambers.
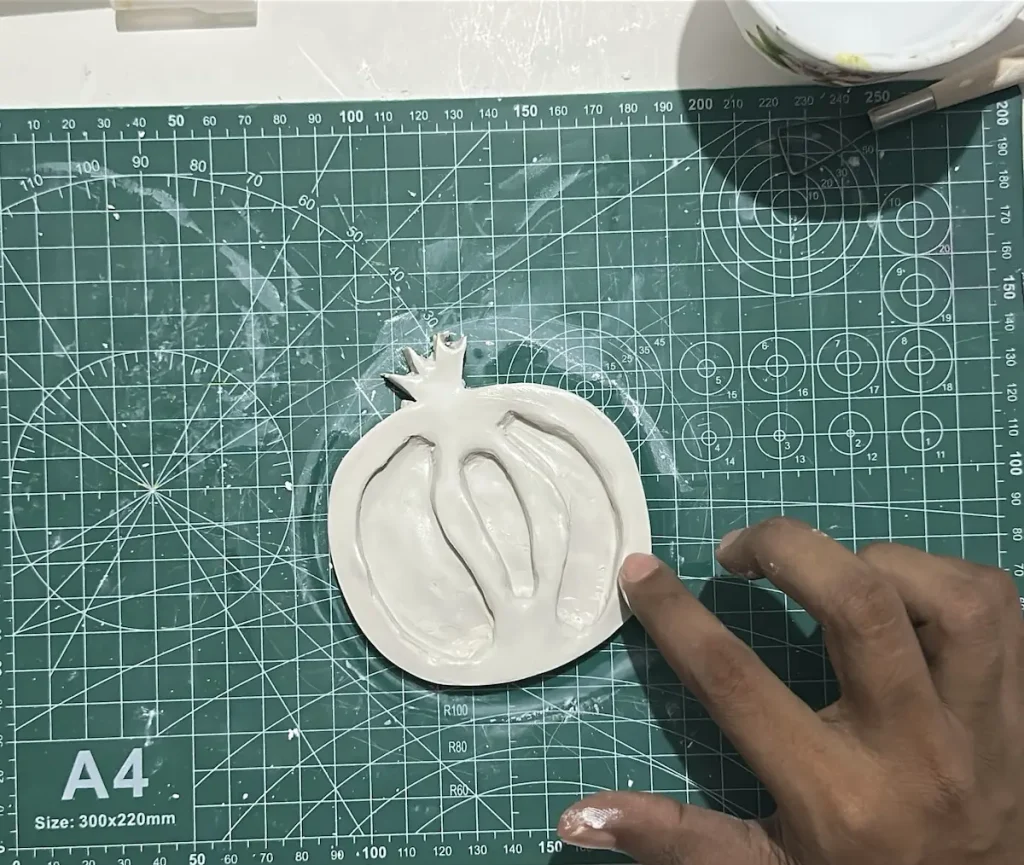
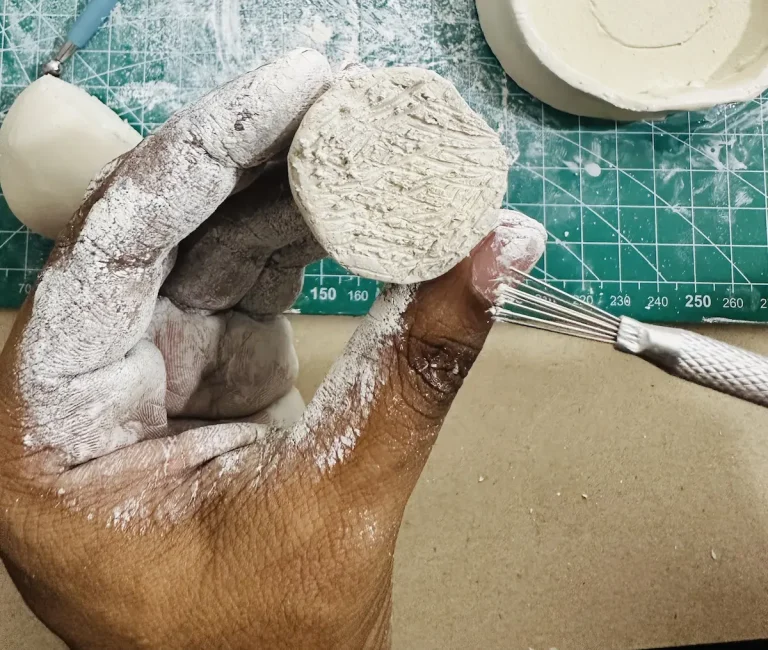
Finally, smooth out the inside of the chambers and outside membrane and remove excess clay pieces. We are going to use those excess clay pieces for making seeds.
Step 6: Make and attach the pomegranate seeds
- Make tiny balls from small clay pieces.
- Make 20-30 seeds.
- Wet the chambers inside with a little bit of water.
- Attach the seeds in a bunch inside the chambers.
- Fill the whole chamber areas with seeds until they are full.
- Gently press the bunch of seeds for a few seconds until they attach completely.
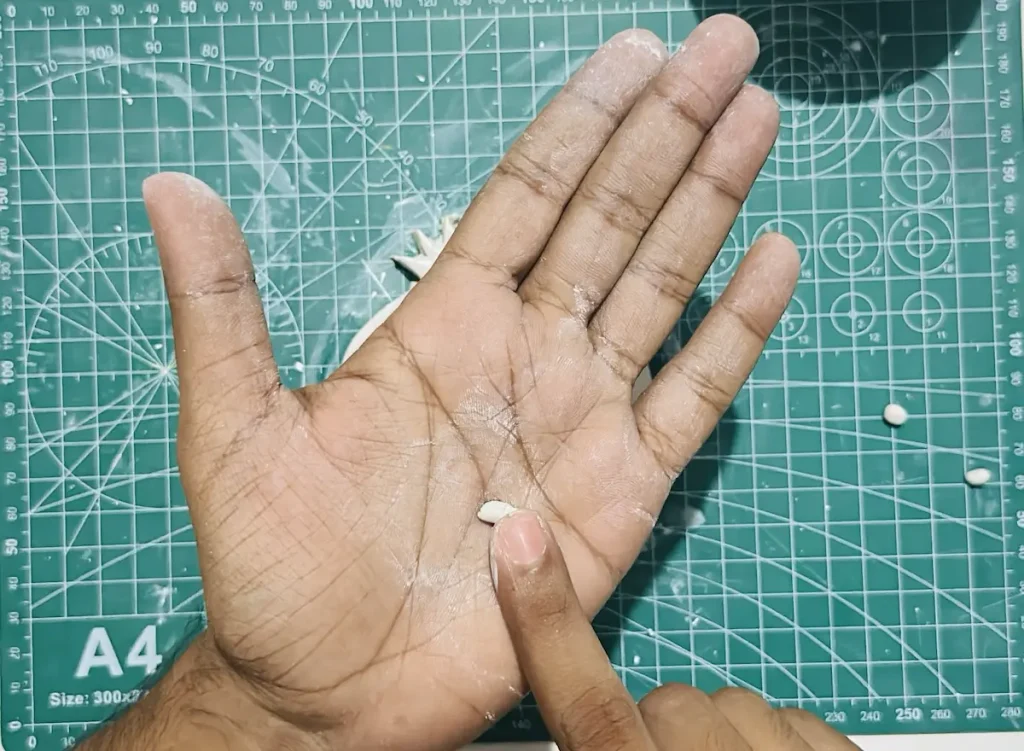
Make tear-drop shaped balls to use as pomegranate seeds. Make more seeds than you can because we need to fill all the chambers with seeds.
Wetting the chambers inside is important before attaching the seeds to avoid them from falling out when the project is dry.
I forgot to score the chambers inside before attaching the seeds for better grip and ended up losing 2-3 seeds after drying the project.
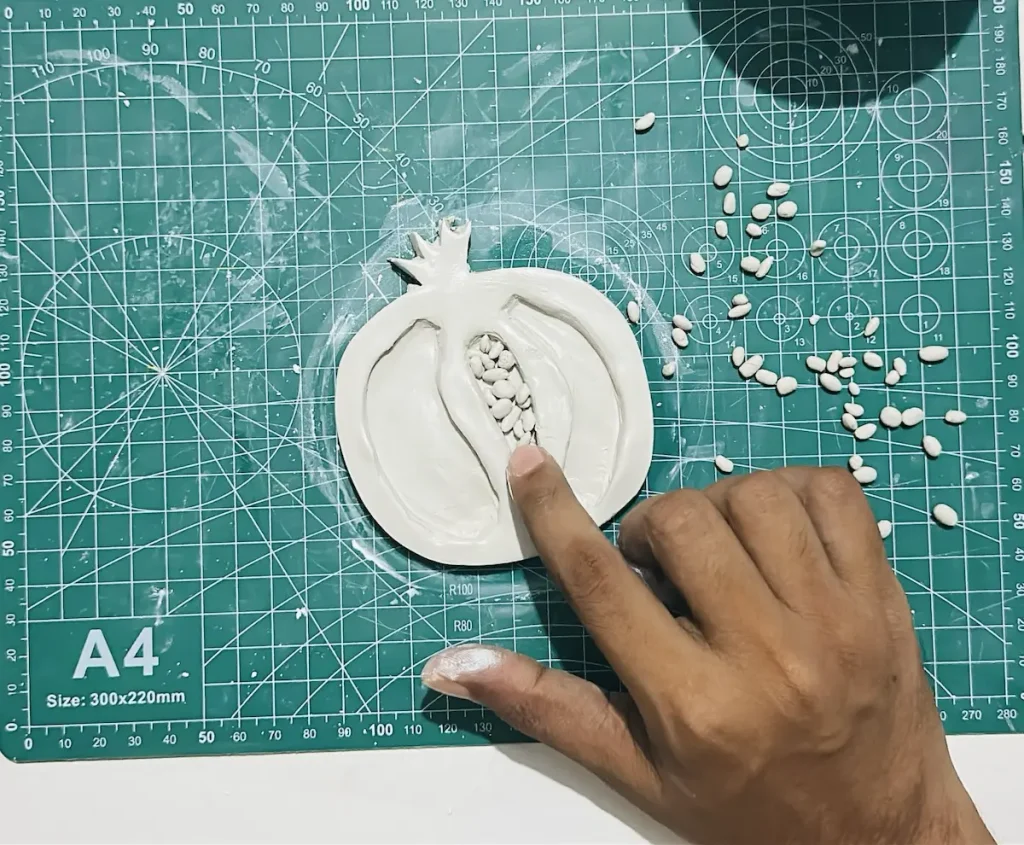
Therefore, I highly advise you to score the chambers inside a little before filling the spaces with seeds for better grip. Otherwise, seeds may fall off because air dry clay does not attach together just by pressing.
Congratulations friends! You have successfully made the pomegranate trinket tray. But this is still wet. We need to let it dry, paint and seal.
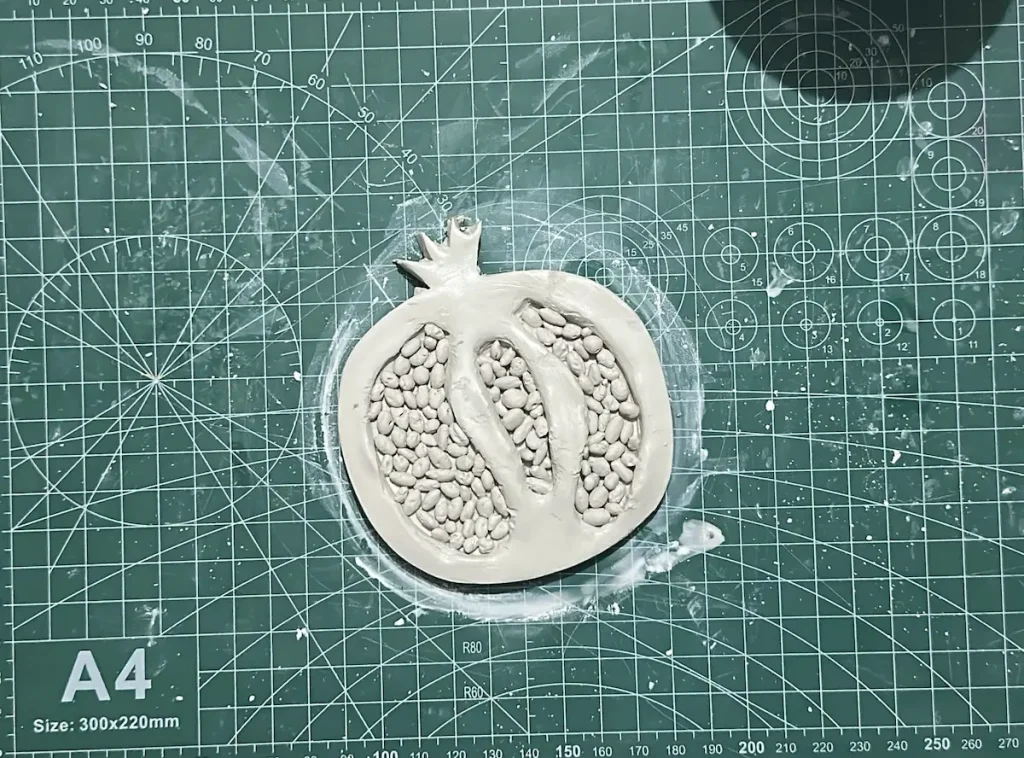
Step 7: Let it dry
Now let the trinket tray dry for 48-72 hours before painting in a cool, well-ventilated area. After 72 hours, check if there is any grey patch on the surface. Grey patches mean the clay is still wet and you need to let it dry for another 24 hours.
The clay will display in pure white once it is bone-dry.
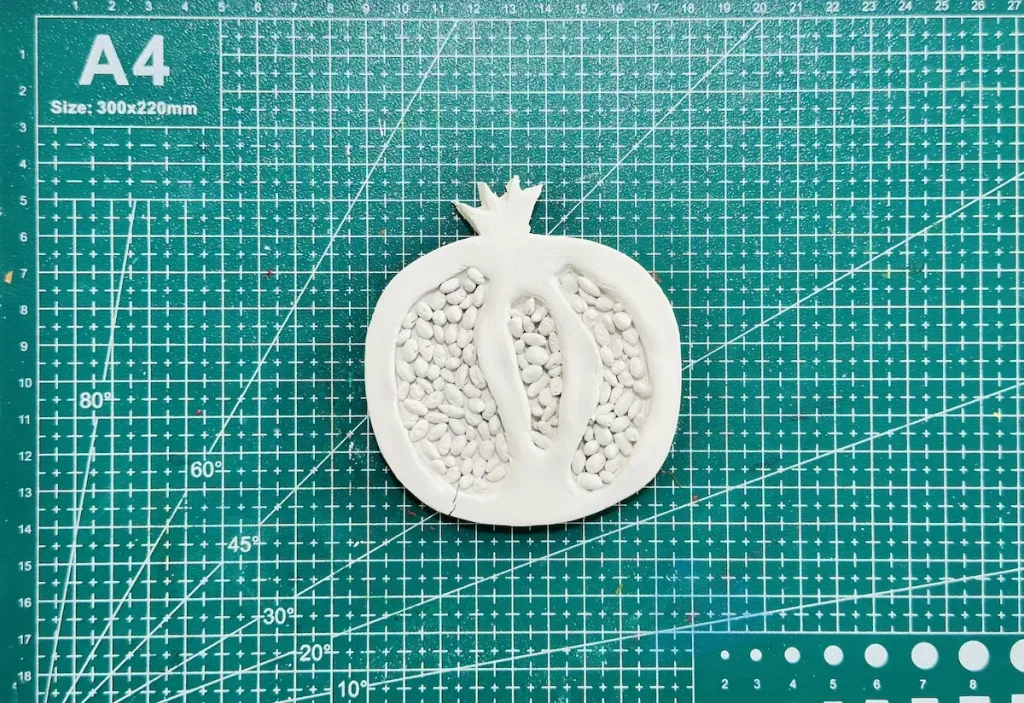
Never place the project under sunlight, in the oven or apply an artificial heat source to speed up drying which can cause cracks on the surface. Instead, try to flip the tray from time to time while drying for efficient water evaporation and speed up drying a little bit faster.
But let me tell you, slow drying is the best because rushing drying can cause uneven shrinkage.
I have noticed a small crack on my pomegranate trinket tray once it is fully dried.
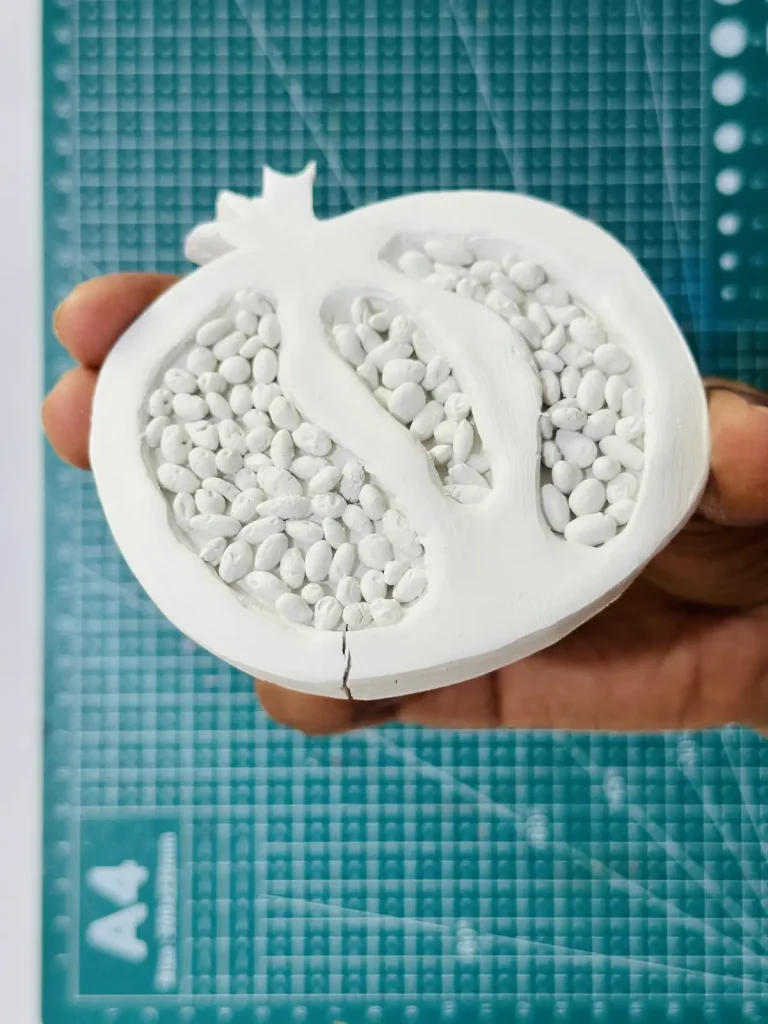
I know why this occurs. I used too much water when kneading and smoothing the clay out. This is why I repeatedly told you not to use too much water. Water is the worst enemy of air dry clay.
Don’t be like me, friends. Do better. Use less water.
Step 8: Paint the tray
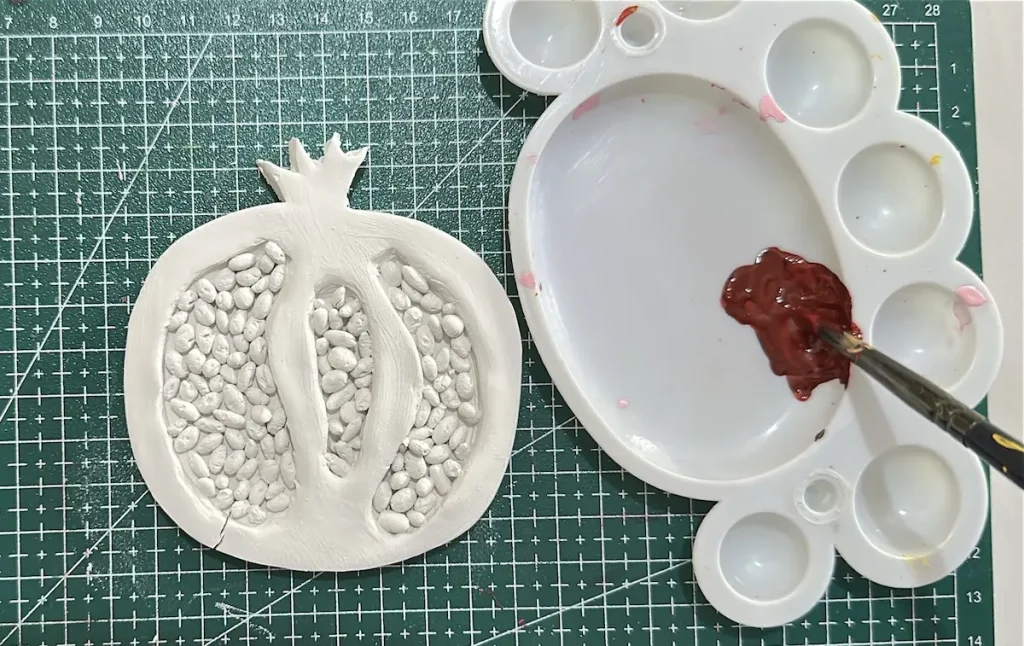
I use acrylic paint to paint my pomegranate trinket tray. Acrylic paint is considered as one of the best paints for air dry clay projects because it comes in vivid colors and you don’t need water to mix the paints like watercolors. Plus, they give a glossy look as well.
If you use water-dissolvable paints, the air dry clay sucks out the water as soon as paint contacts the clay. Water weakens the air dry clay inside and forms milky tack spots in the paint because the paint has no moisture left.
This won’t happen with acrylic paint. You can directly apply it easily, mix and make the color you want and most importantly, acrylic makes a water-resistant coating over your air dry clay project which is an additional protection.
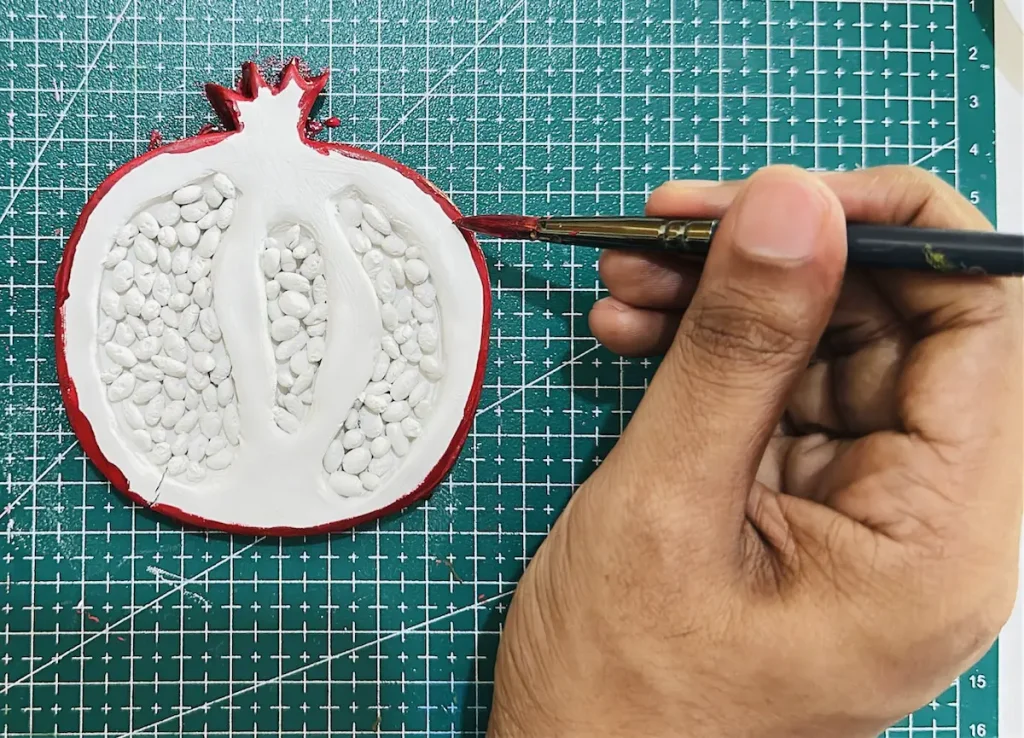
Apply thin and 2-3 even coats in one direction to avoid leaving brush marks and tacky spots on the surface.
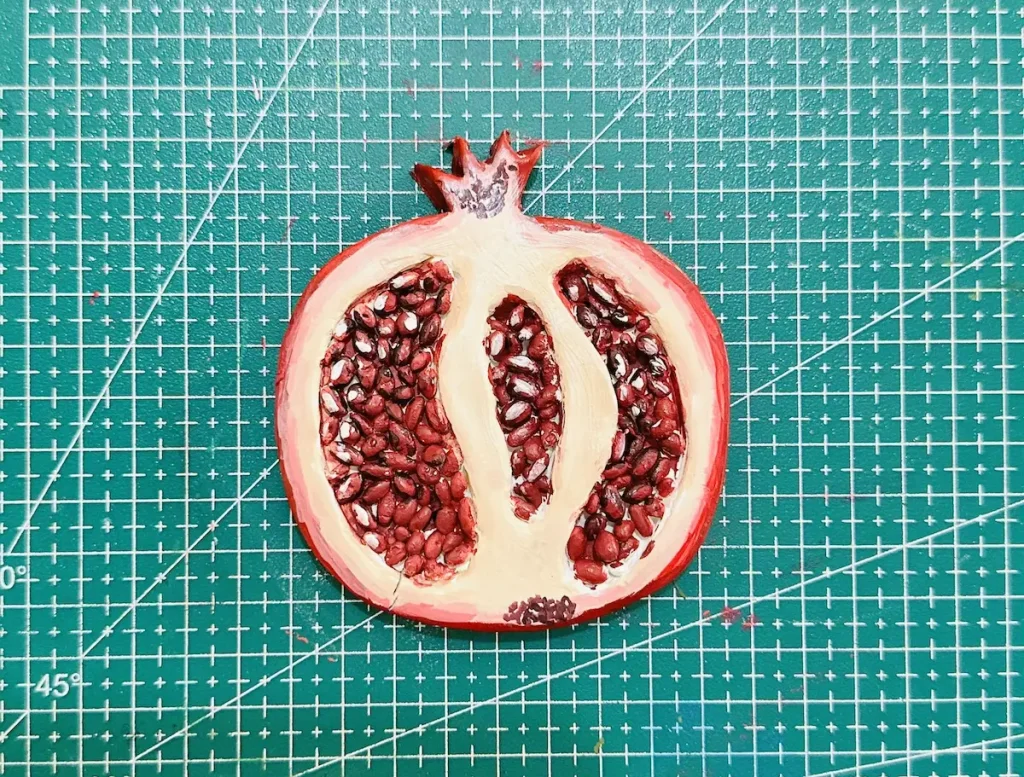
I started painting the outer shell with crimson.
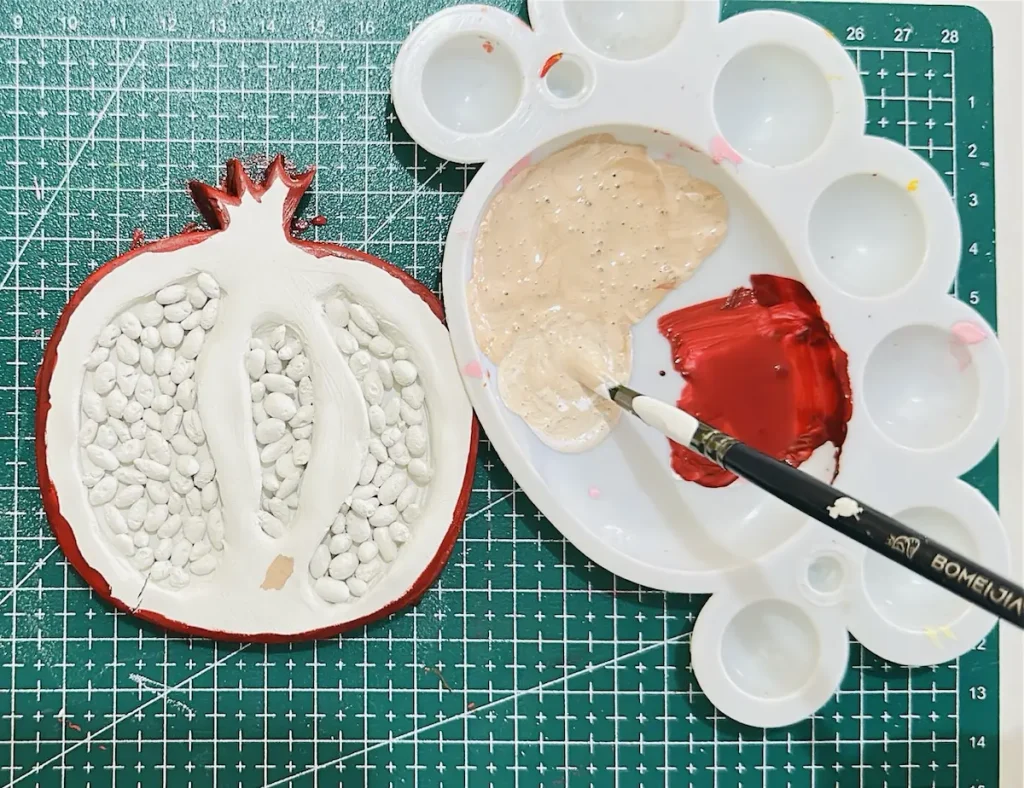
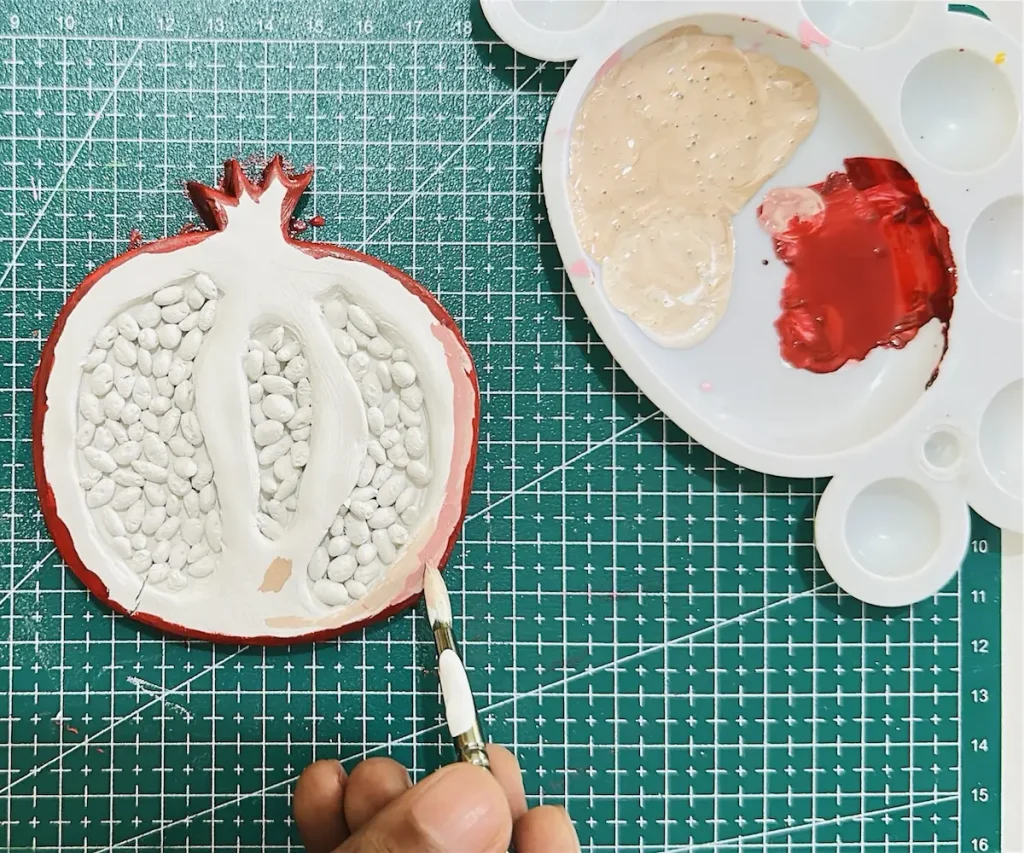
Middle area (the membrane) with white and crimson mix to get a creamy white and reddish shade.
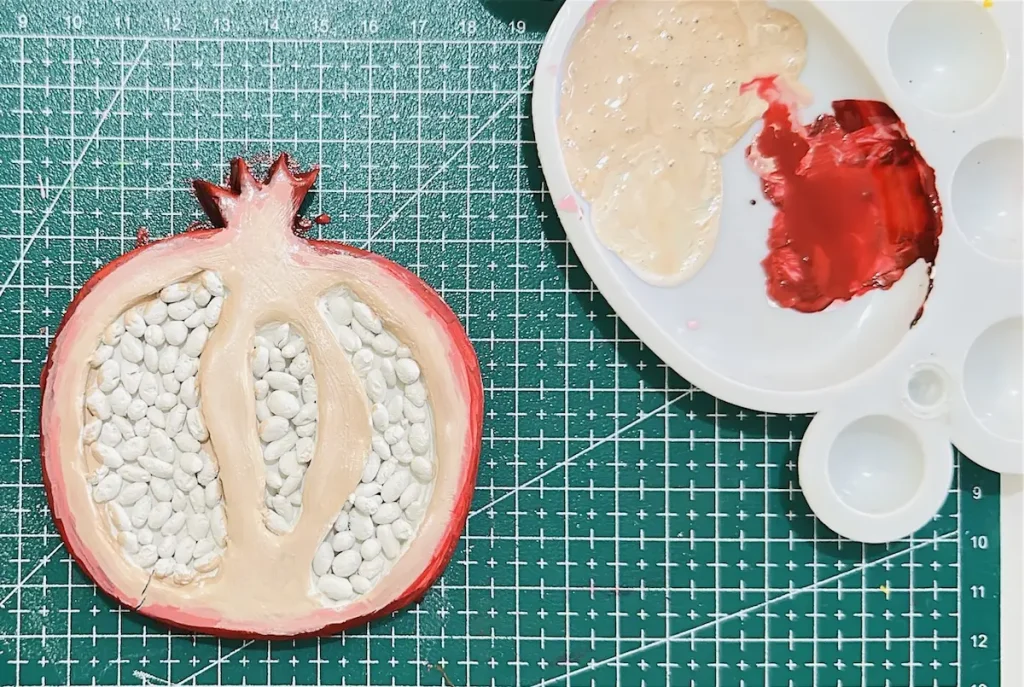
Painted the seeds with crimson and added black for a dark shade.
Simple as that.
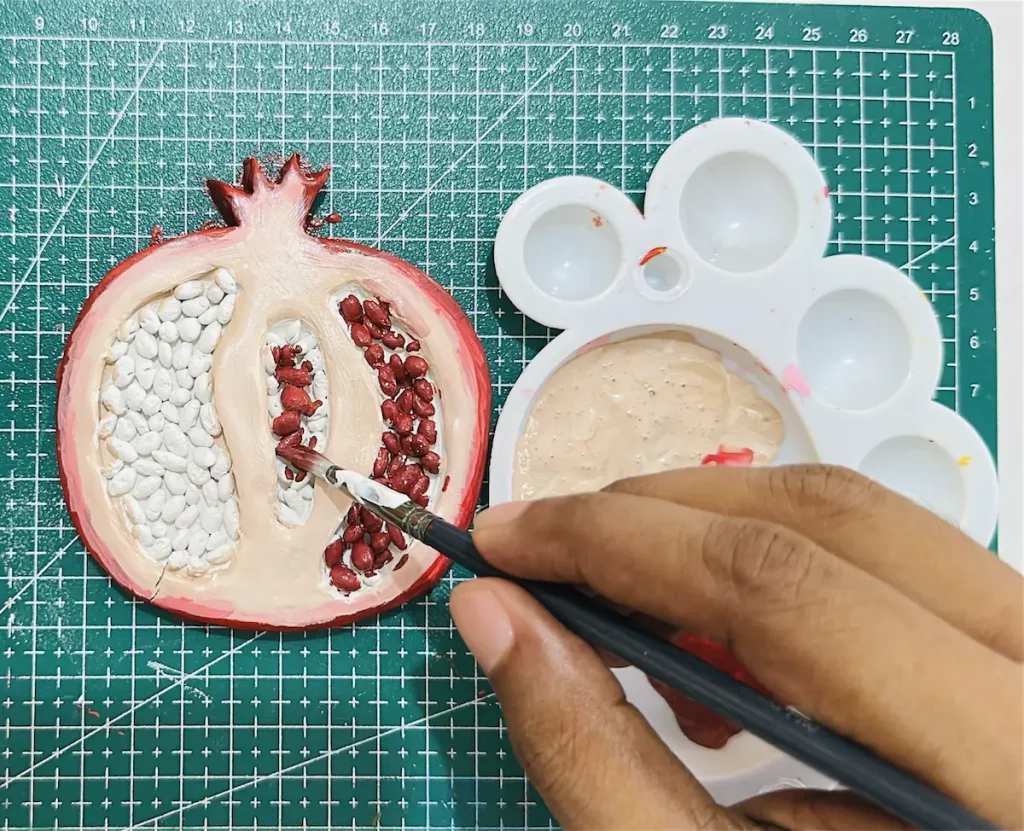
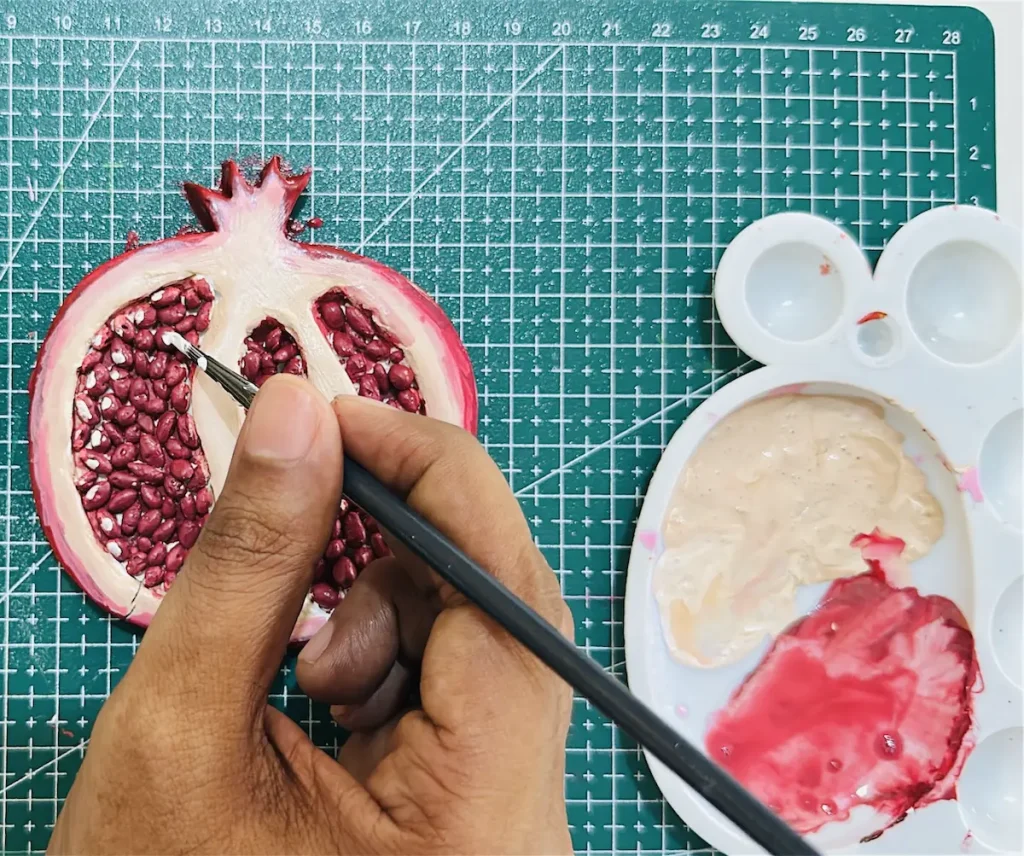
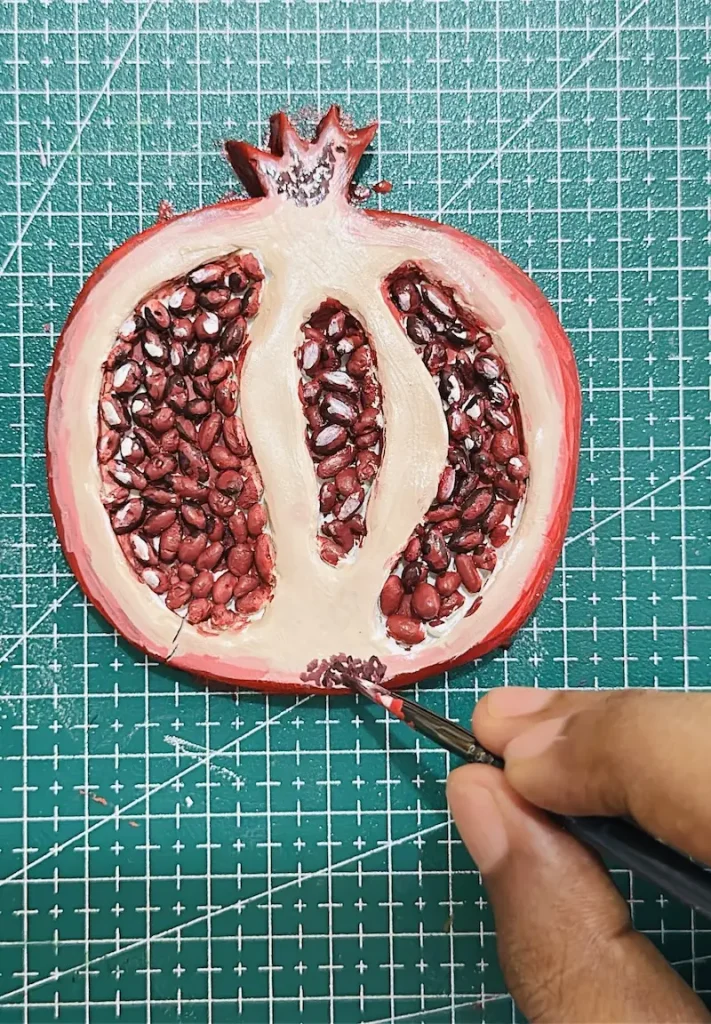
After painting, let the trinket tray dry for 2 hours in a well-ventilated area before sealing.
Step 9: Seal the tray
I sealed my pomegranate trinket tray with gloss varnish. Or you can use UV resin, polyurethane varnish or epoxy resin for a glassy look.
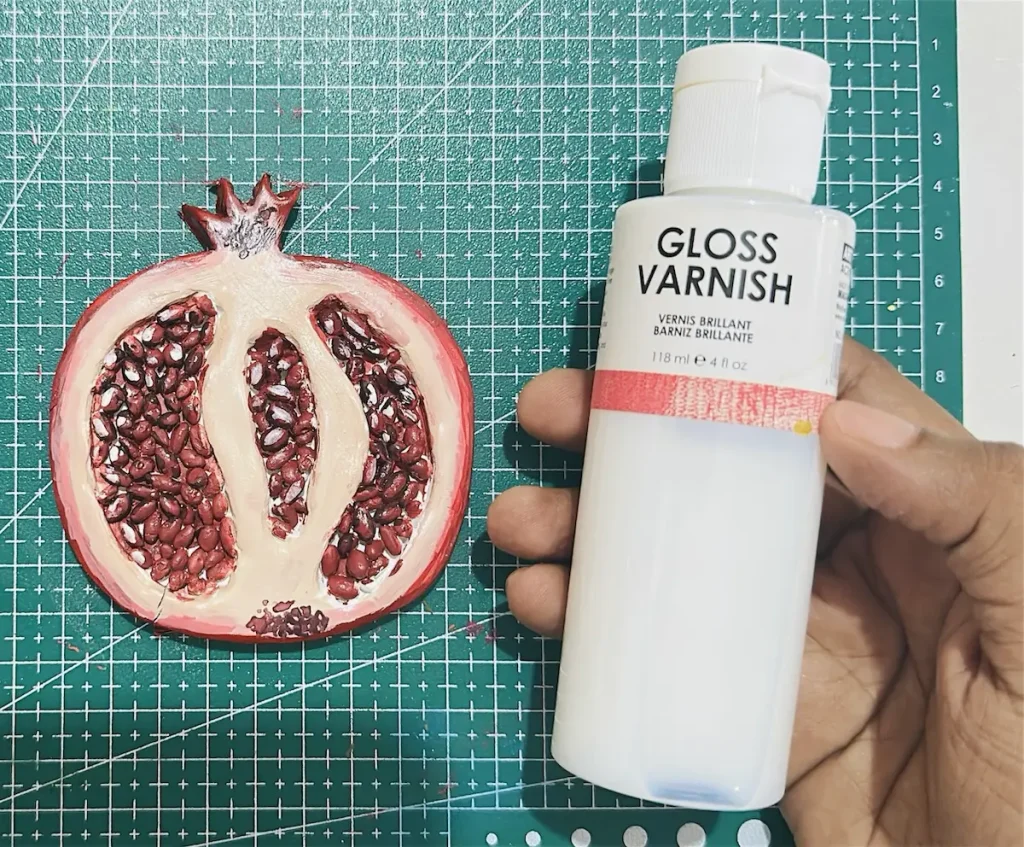
Gloss varnish offers long-term water resistance and provides a ceramic-like glossy finish. It stops moisture from getting inside the clay and damaging it. But I never recommend keeping your air dry clay outside because no sealer in the world can protect it for a long time. Air dry clay is just not built for outside harsh conditions. So, never expose it to rain, winter or direct sunlight long-term.
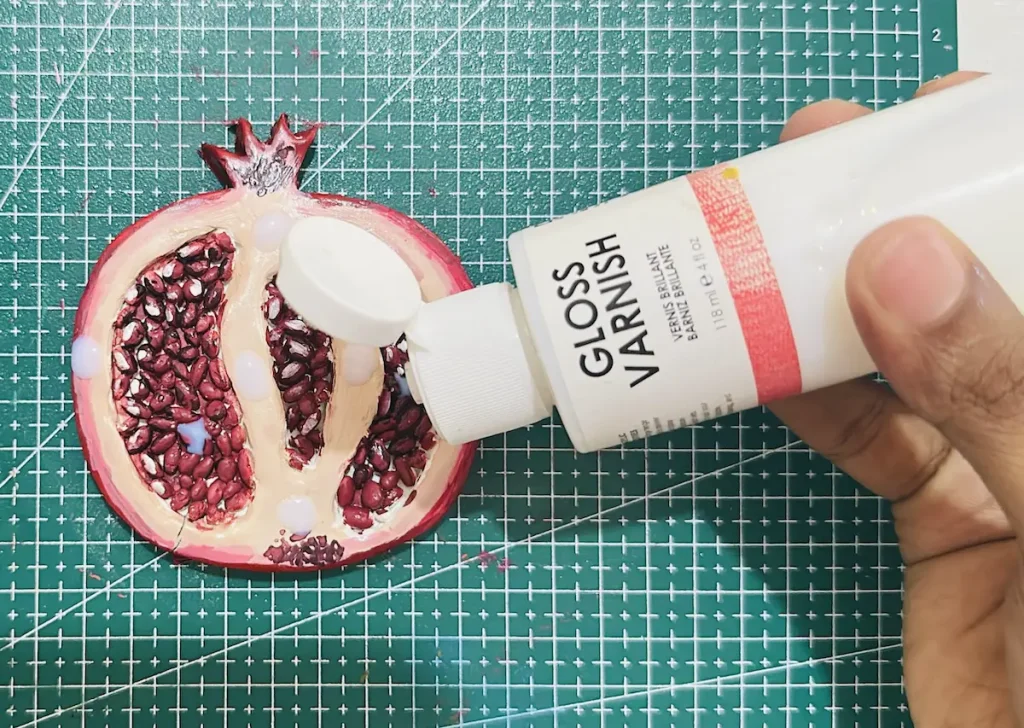
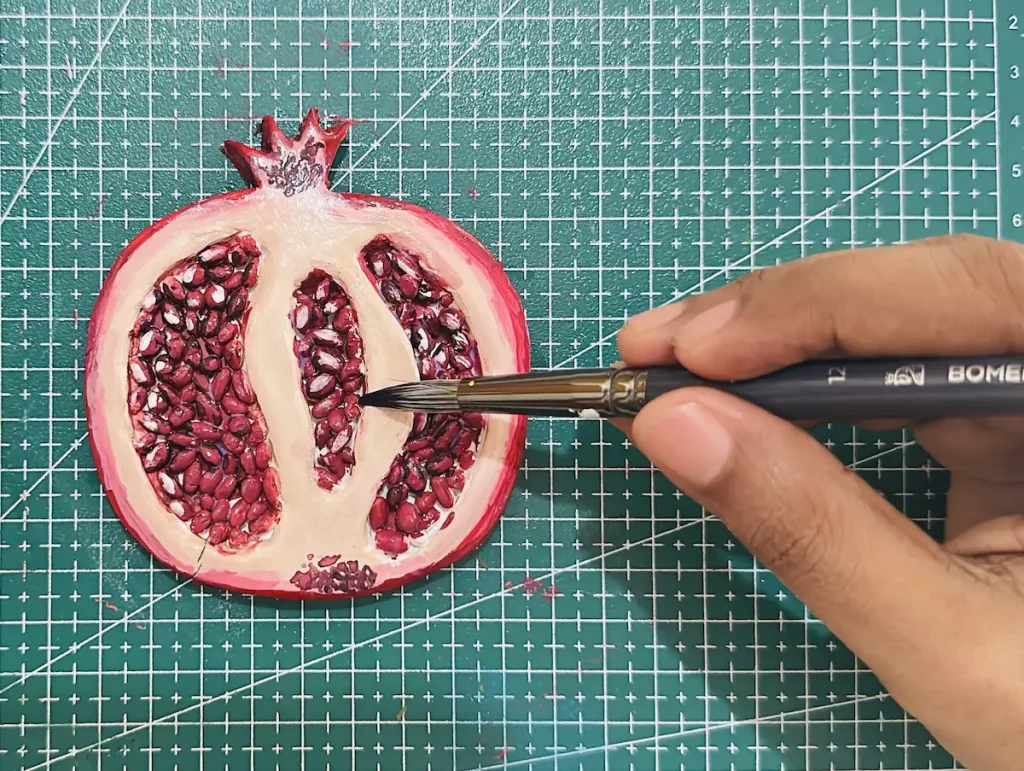
Apply thin and even coats of gloss varnish. Apply 2-3 coats for the glossy look. After each coat, let it dry and cure for 24 hours.
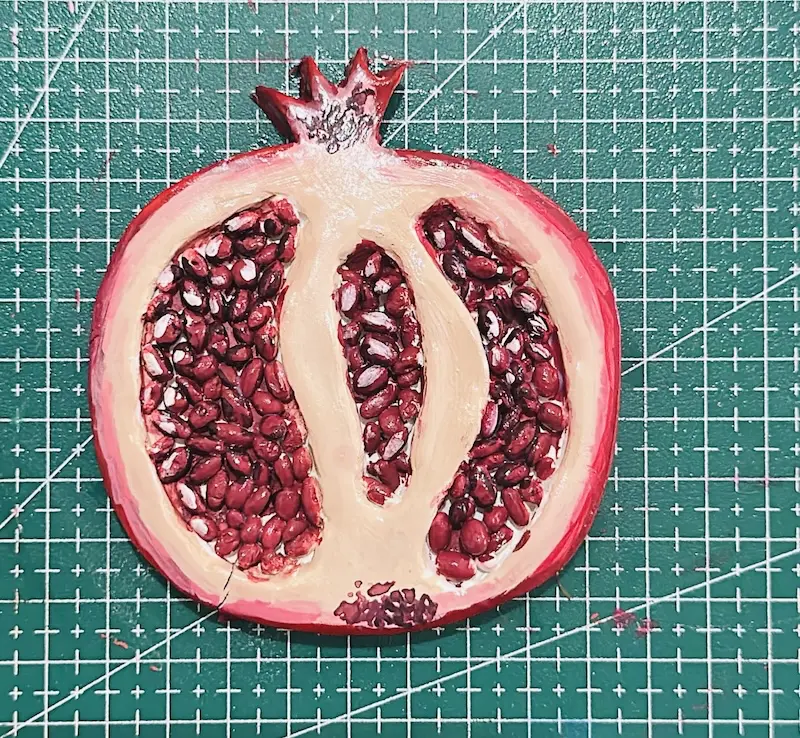
After the final coat, let it dry and cure for 24 hours before using it.
Tadaaaa!!!! We did it, guys and gals! I really love the final look of my pomegranate trinket tray.
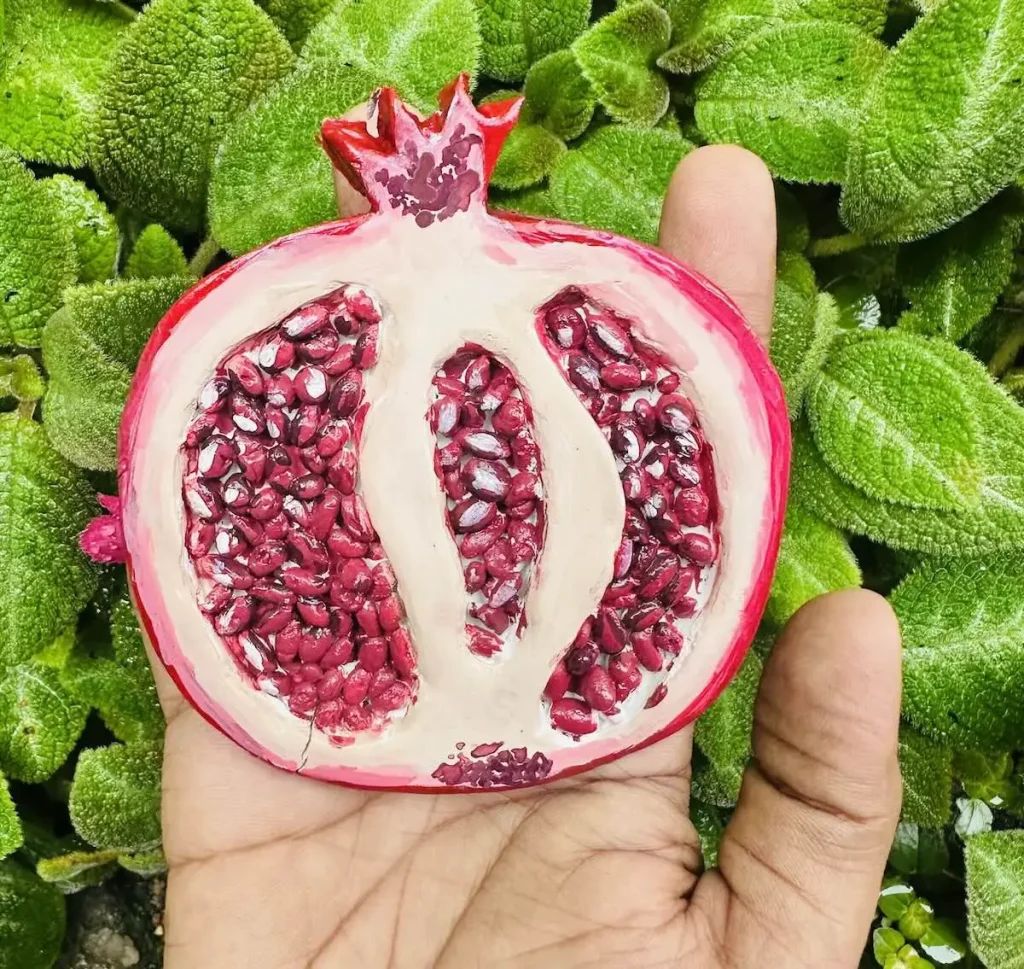
Now it’s time for you.
Final thoughts
I think I have told you everything I did, every mistake I made and how I fixed them while making this beautiful pomegranate trinket tray.
Yes, I know this seems a little bit more complex than my other trinket trays; for example, my avocado trinket tray was easy to make. But that’s ok. You need to try this out as well. You can learn lots of air dry clay techniques, including the new hollow-out clay method by making this one. So try this out and let me know in the comments how it went. I’m 100 percent sure you’ll make a better one than mine.
Be sure to tag @clayandmestudios in your pomegranate trinket tray project. I sure love to see them when you do. I’ll see you next time with another awesome project! Cheers! 🤟🏾
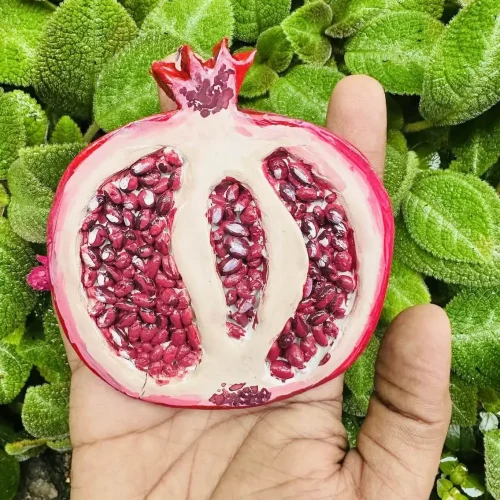
DIY Air Dry Clay Pomegranate Trinket Tray

Supplies Needed
Air dry clay (any reputed brand you can find is okay)
Acrylic rolling pin
PVC mat or silicone mat (or non-stick surface)
Clay crafting tools
Ribbon sculpting tool or a small spoon
Clay cutting tool (X-acto knife or small knife)
Cup of water or spray bottle
Acrylic paint (crimson, white, yellow)
Gloss varnish
Paintbrushes
Paper towels
Optional: Sponge or silicone sculpting tool (or you can use your finger)
Instructions
1. Knead the Clay 👐
- Take a fresh piece, tap a little water, and use the press-and-pull technique until it’s super soft. This prevents cracks later—trust me on this!
2. Roll It Out 📏
- Aim for ½ inch thickness. Don’t forget to flip, turn, and rotate your slab while rolling so it doesn’t stick to your mat.
3. Trace & Cut 🔪
- Trace your pomegranate shape, then cut carefully with your X-acto knife. Lift the knife as you go to keep those edges sharp and clean!
4. Hollow Out 🥄
- Using your ribbon tool, carve 3 chambers. Go slow—keep a solid base so you don’t poke through the bottom!
5. Add the Seeds ⚪
- Crucial step: Score the inside of the chambers first so the seeds actually stick! Make little teardrop shapes and press them in firmly.
6. Dry Time ⏳
- Let it air dry for 48-72 hours in a cool, well-ventilated spot. No heaters, no sun, and absolutely no rushing! Slow drying = happy, crack-free clay.
7. Paint & Seal 🖌️✨
- Use acrylic paints for those vivid colors (thin, even coats!). Finally, seal with 2-3 coats of gloss varnish, letting it cure for 24 hours between coats.
This would be a fun project for my grandkids. Thanks for sharing.
Thank you so much!
I’m so happy I stumbled upon your site. I’ve always wanted to work with clay.
Thank you so much!