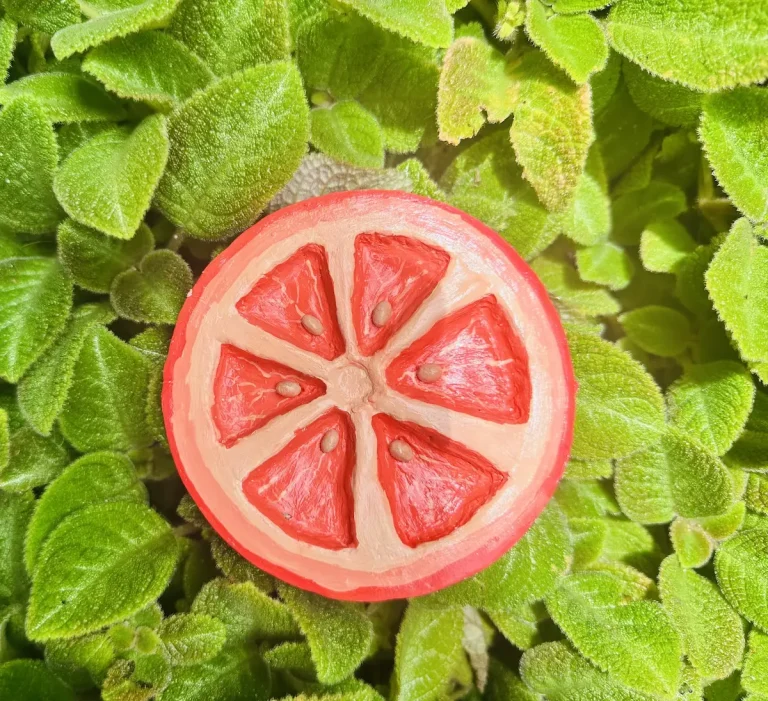

Air dry clay is considered as the best clay for beginners for many reasons. I think you have seen people make amazing things with expensive pottery wheels and kilns. But let me tell you air dry clay is what changes the game.

No kiln or bake needed with air dry clay and you don’t need expensive tools or you don’t need to be high skillful to use it. But trust me, you can make amazing and beautiful masterpieces with air dry clay, which is great for your mental health.
I started my air dry clay journey recently as a complete noob. I didn’t know how to handle the clay, how to attach pieces and I made many mistakes along the way, from cracked trays to pieces falling apart. But I was able to learn and practice things as I make new projects every single week. And now I wanna help you guys out.
As a beginner myself, I know what are the burning questions beginners have about air dry clay and I’m gonna answer them all.
I’ll share with you guys everything you need to know about air dry clay, including basics, projects that can be made easily, steps you need to follow and most importantly, mistakes that can be made along the way and how you can easily avoid and fix them from my firsthand experience. You won’t get those from expert guides because they rarely make mistakes.
Ok, enough talking, let’s jump in!
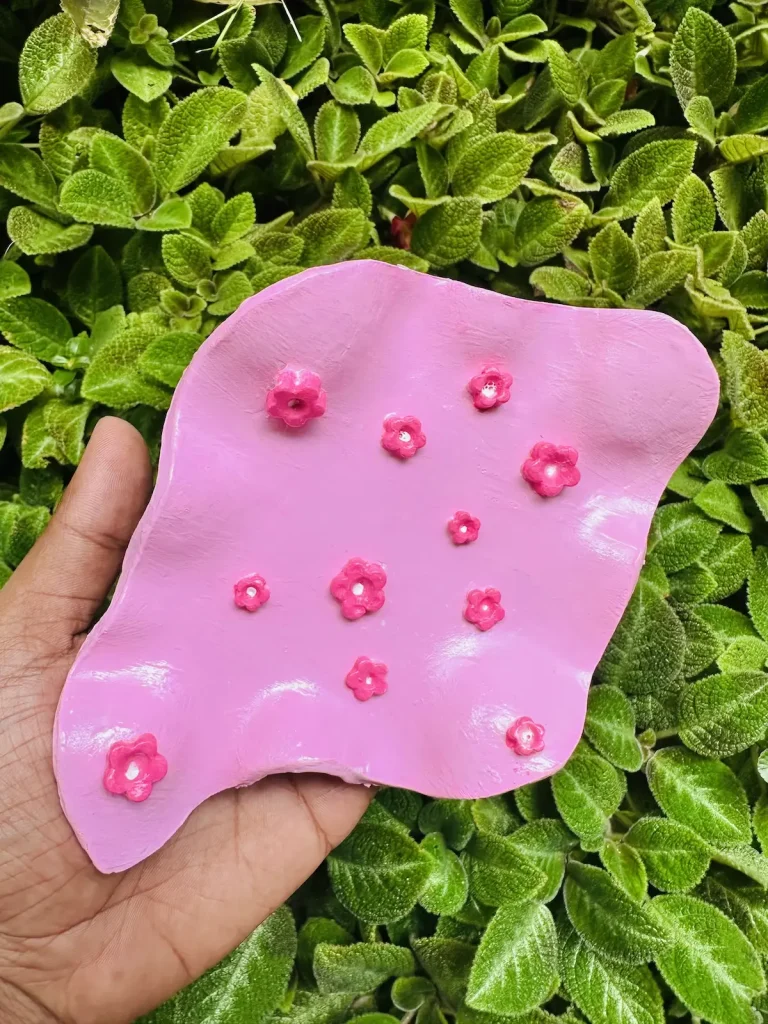
What is air dry clay (and should beginners start with it?)
Air dry clay is made of tiny paper fibers and has a mesh-like internal structure, which can get messy pretty quickly. It is water soluble and easy to shape and bend.
Air dry clay contains a lot of moisture and air bubbles inside and it shrinks as it dries due to the evaporation of water. Shrinking is uncontrollable but can be handled well by kneading the clay, which helps to spread the moisture evenly across all the layers of the clay and release the air.
Sealing air dry clay is a must because it is not waterproof. Water softens and weakens the clay, causing uneven shrinkage and surface cracking.
I know many people are so worried about the cracking of air dry clay and they even avoid using it because of it.
Yes, air dry clay is prone to cracking as it dries, but you can stop it by following simple tips and tricks.
If you used too much water when kneading and shaping which causes rapid evaporation and uneven shrinkage which leads to surface cracking.
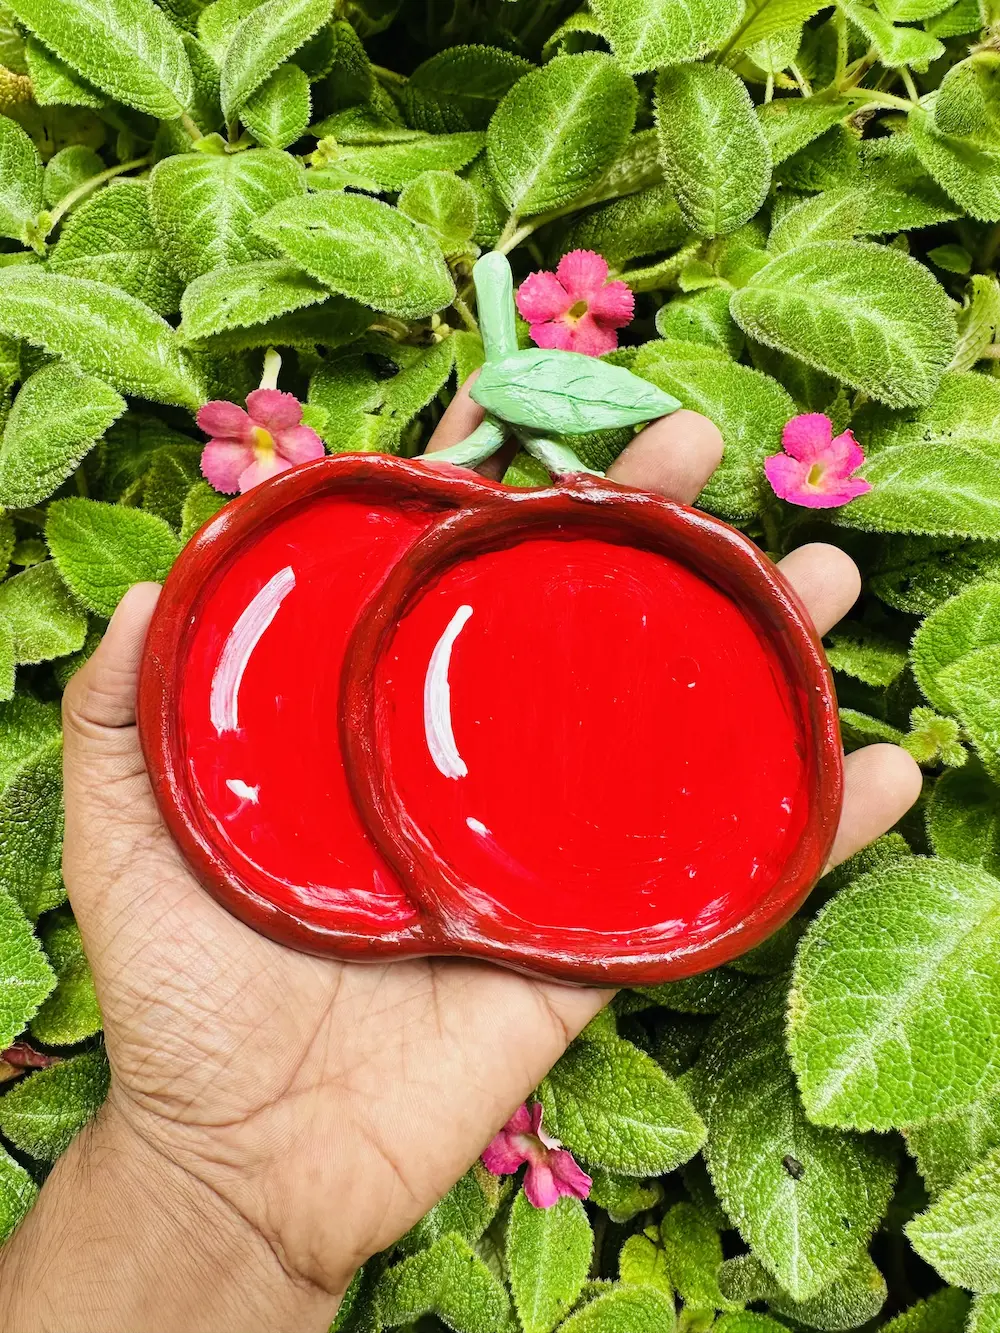
Air dry clay dries in the air and it depends on the outside humidity levels and thickness of the clay.
You need to smooth out air dry clay regularly because tiny bumps, micro cracks and imperfections are hard to avoid.
Most importantly, air dry clay is cheaper than many other clay types. It is 2x or 3x cheaper than polymer clay.
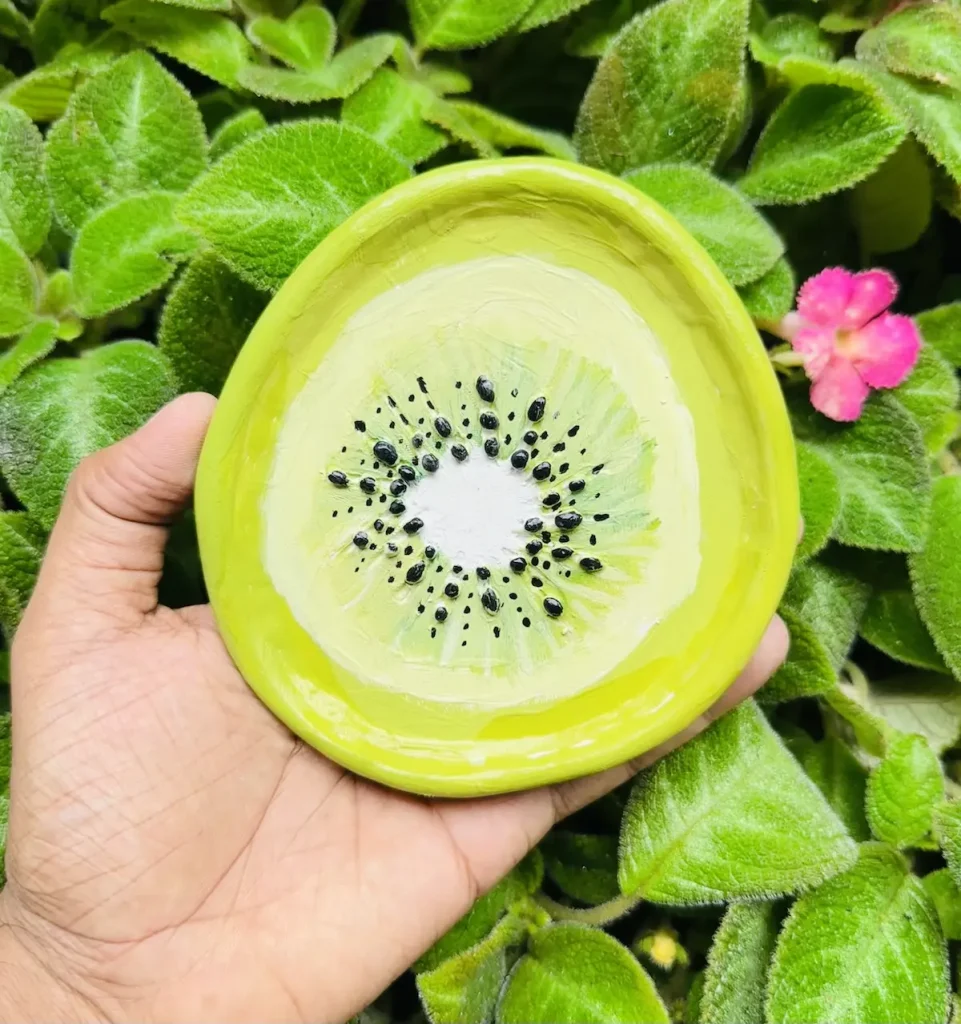
Why you should start with air dry clay?
If you’re a beginner, it is one of the best because no kiln or baking is needed and you can easily shape to an any shape you want, only with a drop of water.
Since the clay is cheap, you have enough room to experiment and have fun with it which helps you learn new clay skills.
As beginners, we waste a lot of clay when learning things and that’s ok. But if the clay is expensive, we are afraid to do that because we are mostly tight on budget. But, you don’t have to worry about that when working with air dry clay since it’s cheap and beginner friendly.

You can easily clean up the working mat, rolling tool and clay sculpting tools by washing and wiping with soapy water. It only takes 2-3 minutes.
Therefore, if you want to learn clay basics pretty quickly, make nice pieces out of it, improve sculpting, shaping, hand building and be a better clay artist within a short period of time using non expensive tools, air dry clay is the best material for you because it is more forgiving.
Actually, that was the exact reason why I went with air dry clay too in a world of polymer clay, traditional pottery clay and others.
But keep in mind to let it dry slowly in air to avoid surface cracks and it is not food safe. So use it to make trinket trays, dishes, home decor items and not anything that comes into contact with food.
Once you become good at handling clay and making beautiful things out of it, you can select whether you stick with it or switch to advanced polymer clay or some other type of clay.
👉🏾 Want to dive deeper into whether air dry clay fits your crafting goals? Read my complete breakdown of The Pros and Cons of Air Dry Clay: A Complete Beginner’s Guide.
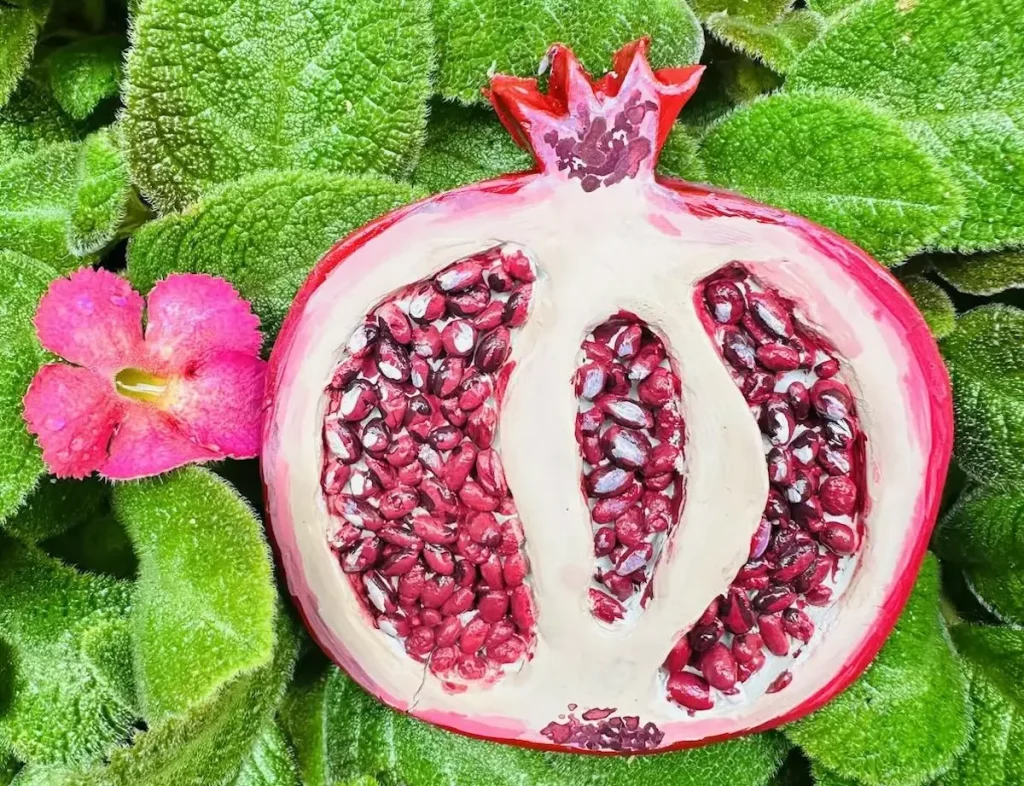
Step 1: Gather tools and setup your workspace
Air dry clay is beginner- and budget friendly. You don’t need to spend $100 in the craft store to gather tools. I started with what I had and came all the way here with no issues. Let me tell you.
First, select the right air dry clay brand
DAS, Jovi, Mont Marte, Creative Paperclay, Sculpey (Model Air), Amaco, FIMO Air, Activa, La Doll, Craft Smart, and Crayola are considered as the top contenders when it comes to air dry clay brands.
All the above brands are great but come with only a few differences. DAS is the most popular air dry clay brand which is Italian made, made with natural fibers, dries so hard and handles structural stress excellently.
Whatever brand you select make sure it is reputable, has positive reviews and customer feedback.
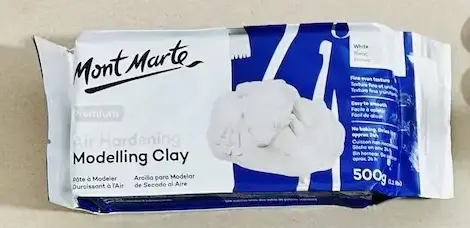
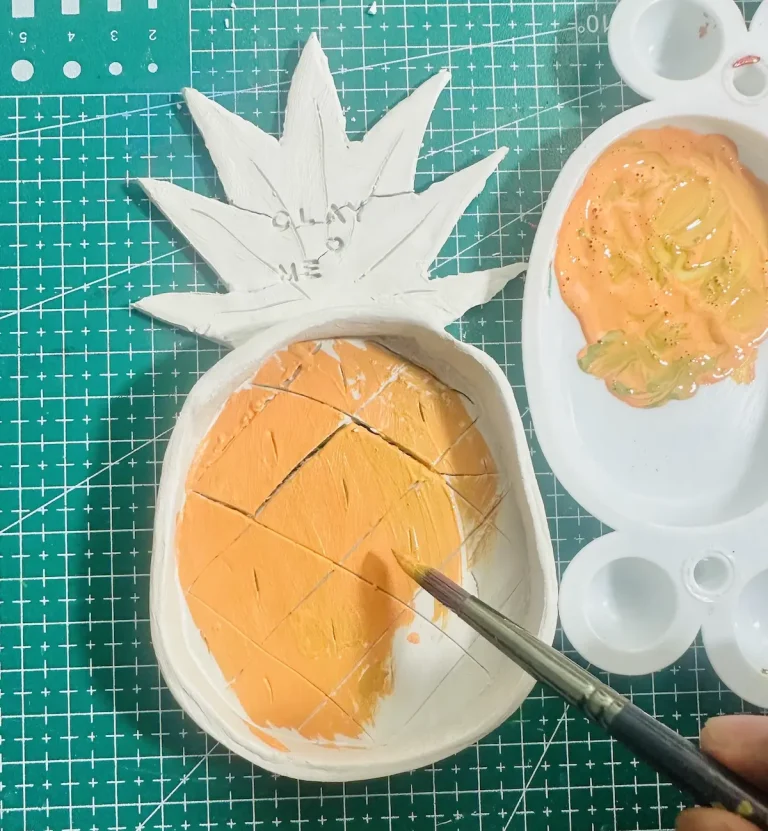
Never ever use an unbranded air dry clay product, even if they are cheap and highly available, because your whole project might get ruined as my pineapple trinket tray project did.
👉🏾 Read: Mont Marte vs. Unbranded Air Dry Clay: Is the Cheap Stuff Worth It?
Make sure to select white clay from any of the above brands because it is easiest for beginners and acrylic paint colors show up vibrantly on top of it.
Prepare your workspace
Choosing the right working surface is a must when working with air dry clay especially when rolling the clay.
Air dry clay contains a lot of moisture, which comes out as you roll the clay. So the working surface should be non porous.
So trust me on this, never use plain wood boards or cardboard boxes for your main workspace. As you roll and flatten the clay, these porous surfaces absorb all the inner moisture right out of it, which makes your piece stick like crazy. Then, the moment you attempt to peel it off, your clay slab rips into pieces and leaves terrible cracks and splits along every edge.
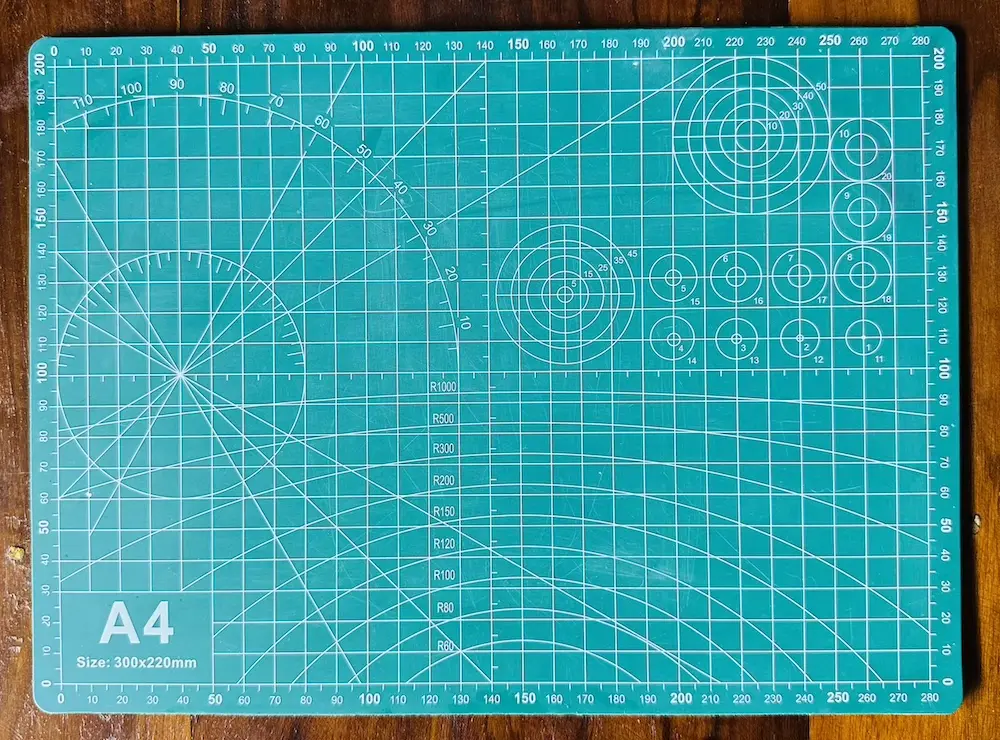
Because of the above reason, use a non-sticky and non-porous surface as your workspace, such as a PVC mat or silicone mat, so the clay releases cleanly. Both are great to work with air dry clay. I use a PVC mat.
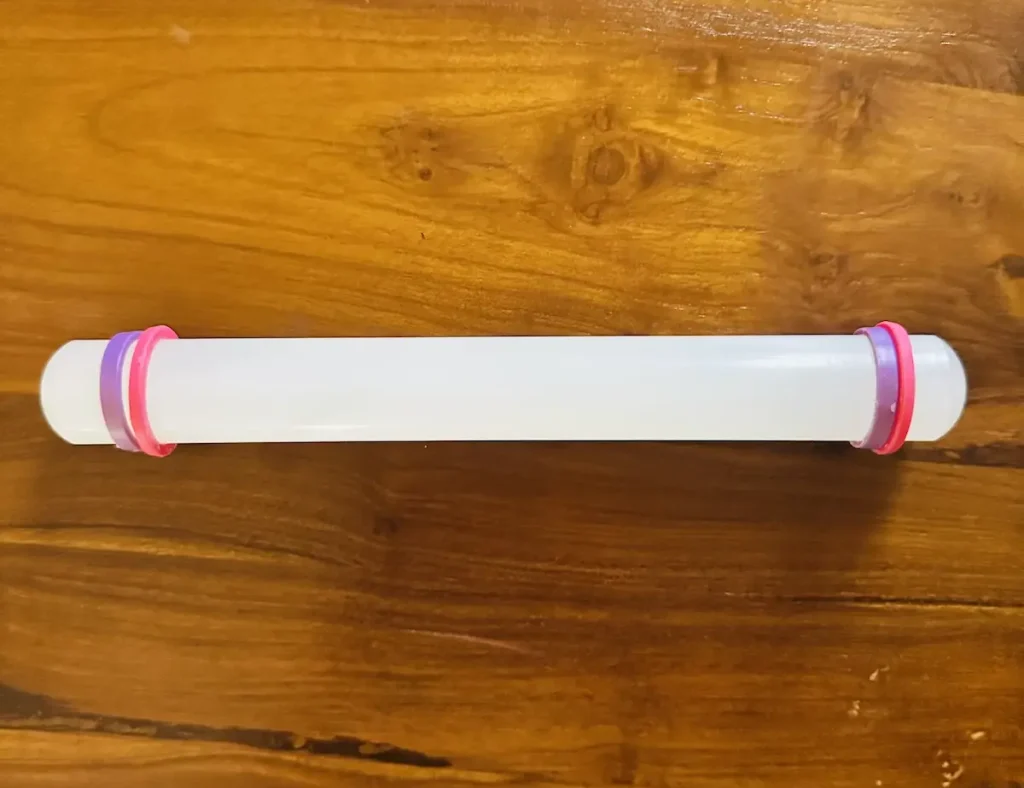
Use an acrylic rolling pin instead of the bare wooden one because clay won’t stick to it as you roll.
👉🏾 Having trouble with your clay clinging to your roller? Here is How to Stop Air Dry Clay From Sticking to Your Rolling Pin.
Clay sculpting tools
Easy clay sculpting tool has its own specific task. X-acto knife for cutting air dry clay with precision, Carving tool for hollowing out the clay which is useful when you’re making trays and dishes, damp sponge for smoothing out the clay.
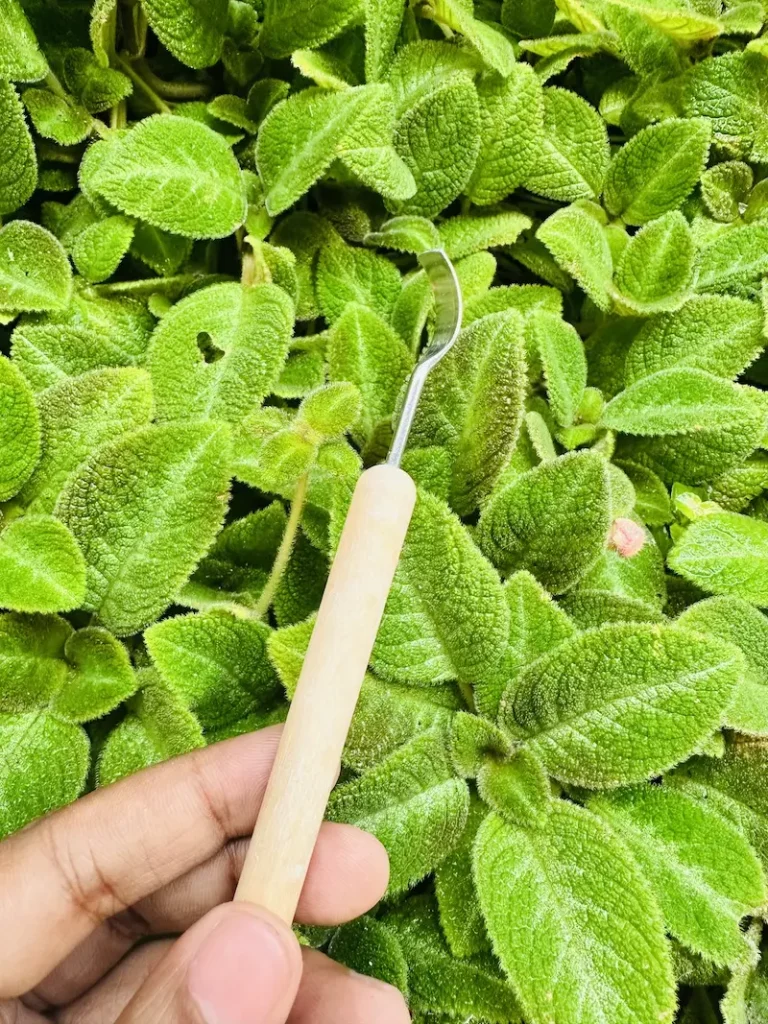
Honestly, your hands are the best tools to work with air dry clay because shaping, bending and smoothing can be easily done with your fingers after dipping in a cup of water.
If you couldn’t find any of the tools to work with air dry clay, I highly recommend you to check your unopened kitchen drawers because you might find many tools that can be used instead of professional tools that do the same task.
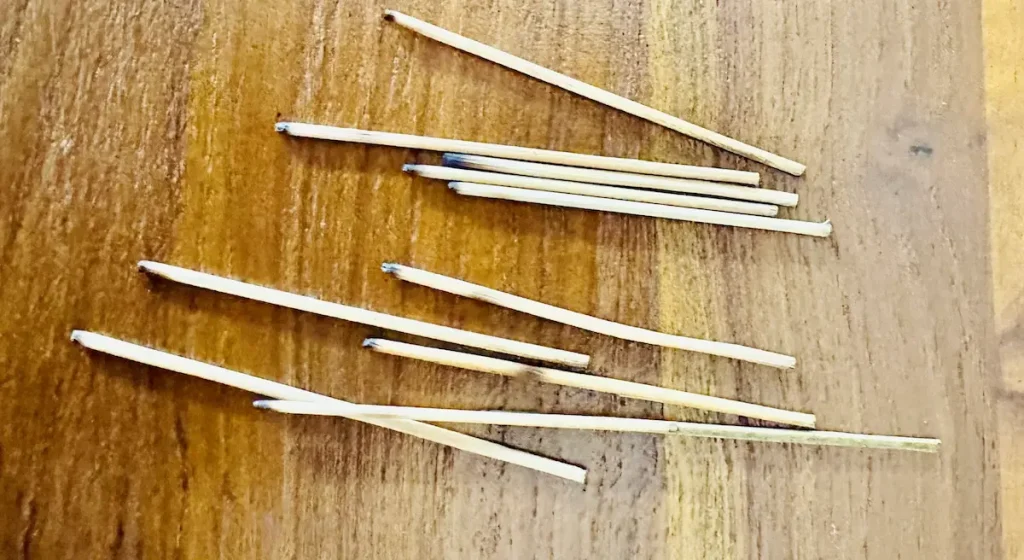
For example, toothpicks can be used to map out clay, tracing, detailing and texturing, a small knife can be used instead of X-acto knife and smal spoons can be used for carving the clay.
Once you become good at handling and sculpting clay, I highly recommend you to invest on professional tools, which are also not expensive.
Clay finishing tools
Acrylics are the best paint for air dry clay. They come in vivid colors, no need of water for mixing and preparation, dry within 2 hours, provide a glossy finish and make a water resistant coating.
So invest in an acrylic paint set and a budget friendly flat and round paint brush set for painting your ary clay piece.
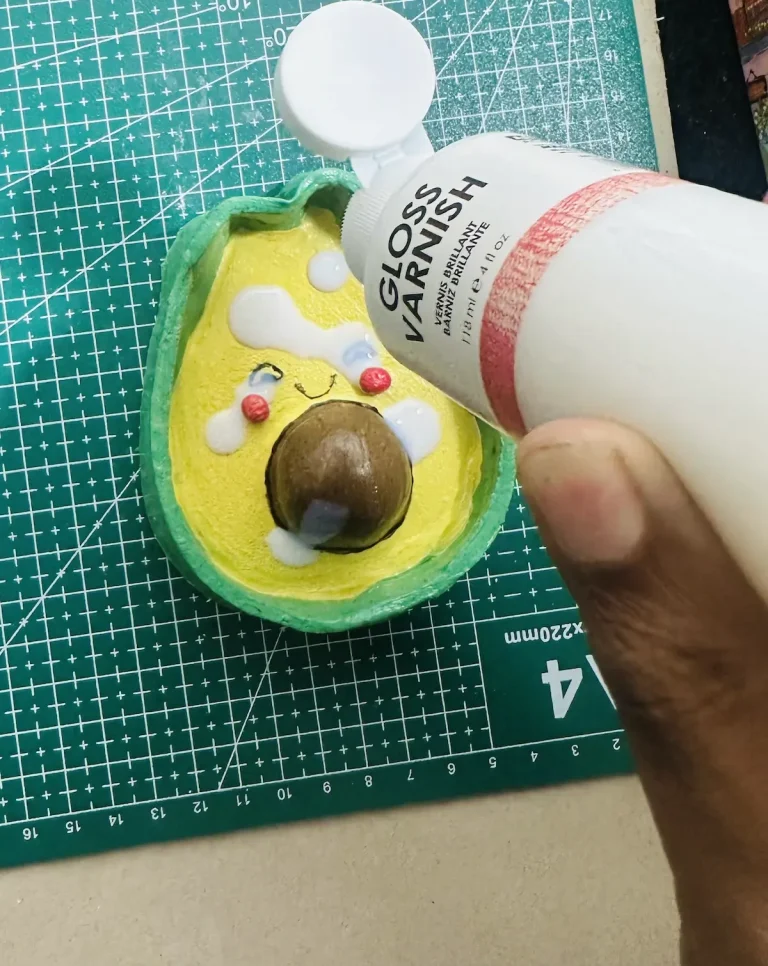
For sealing, there are several options you can try. Gloss varnish, UV resin, polyurethane varnish, Mod Podge or Epoxy resin are great to seal air dry clay, which helps to protect your air dry clay piece from water by making a water resistant or waterproofing coating.
I use gloss varnish because it provides a glossy and ceramic look with long term protection.
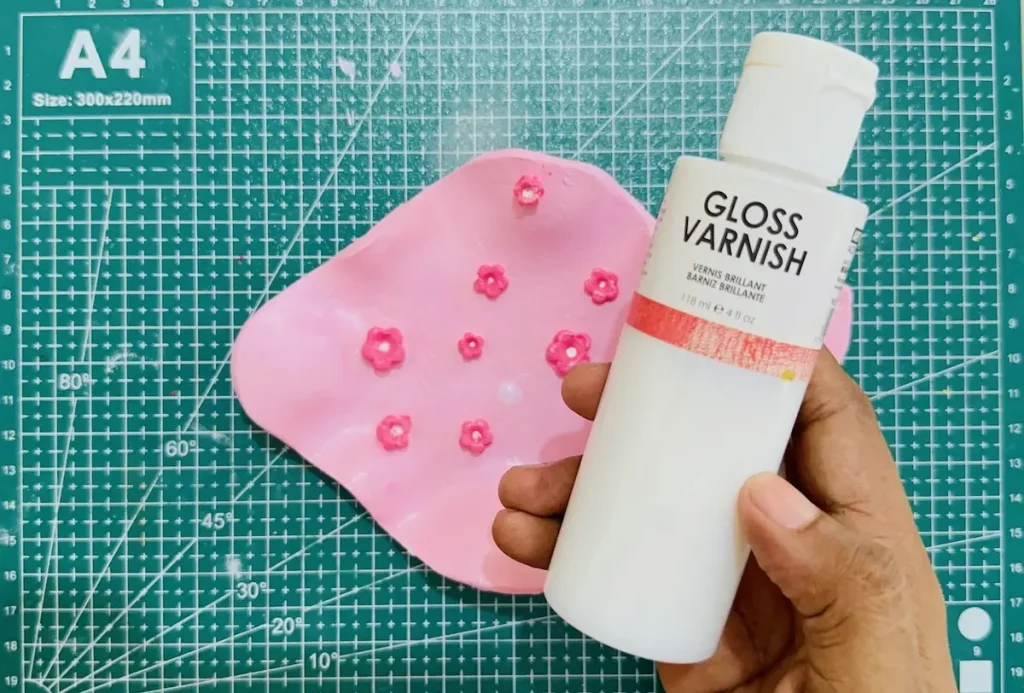
But even after sealing with a top coat mentioned above, make sure not to place your air dry clay outside because harsh weather conditions and winter seasons can damage the outside sealer and get inside the clay, weakening and ruining it completely.
👉🏾 Want my exact product links? Check out my Complete Clay Supplies & Resources Page for every brand and tool I use.
Step 2: Conditioning, kneading & keeping your clay soft
Once you’ve got a branded clay product and prepared the workspace with all the tools, its time to start the first step of your sculpting process.
First, unpack the clay and cut a piece out of it and start conditioning it by tapping the surface with a little bit of water.
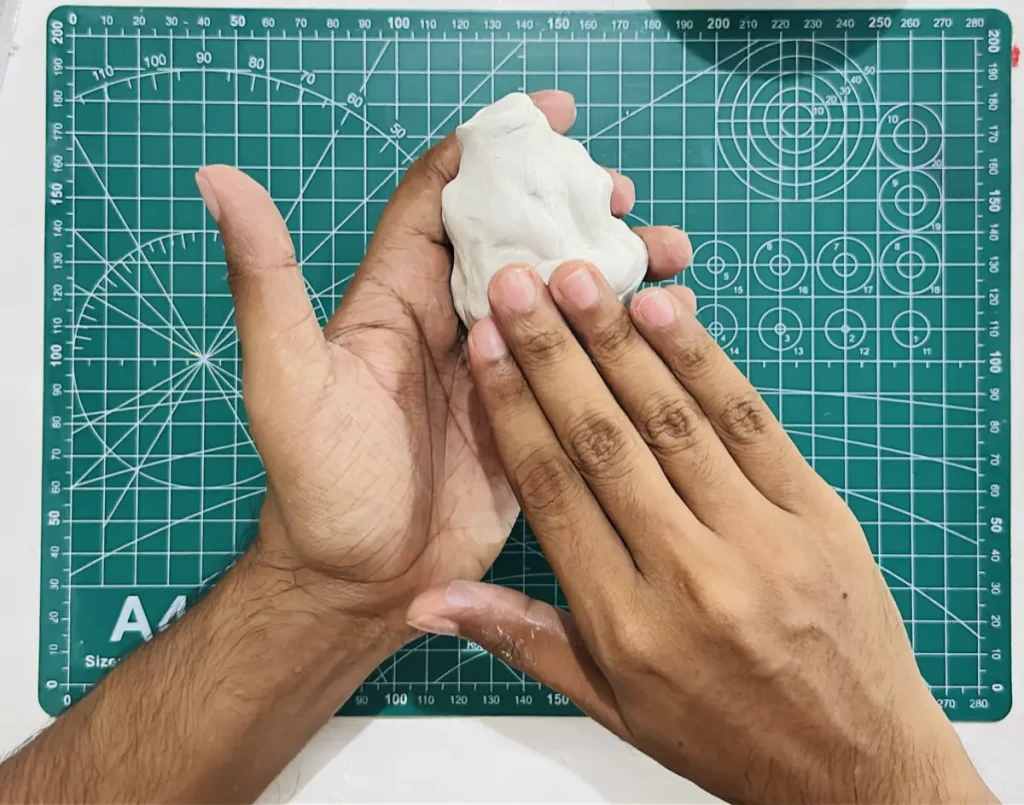
Air dry clay already comes with a lot of moisture inside, but tapping the surface with a little bit of water makes the clay softer and easier to knead.
But make sure not to use too much water for conditioning and kneading the clay because too much water significantly increases the moisture evaporation speed as the clay dries which can cause uneven shrinkage by drying the outer layers of air dry clay much faster than the clay inside. Due to that, tension will start to build up as the clay dries and microcracks will start to form on the surface.
As the clay dries, these micro cracks will become wider and deeper, forming larger cracks which completely ruin and destroy your beautiful project.
Most of the beginners, including myself in the beginning, loved to dip all fingers in a cup of water as soon as we felt the clay was dry. But that’s not good because it causes uneven shrinkage and you should only damp the dried areas of air dry clay barely with a sponge or your index finger.
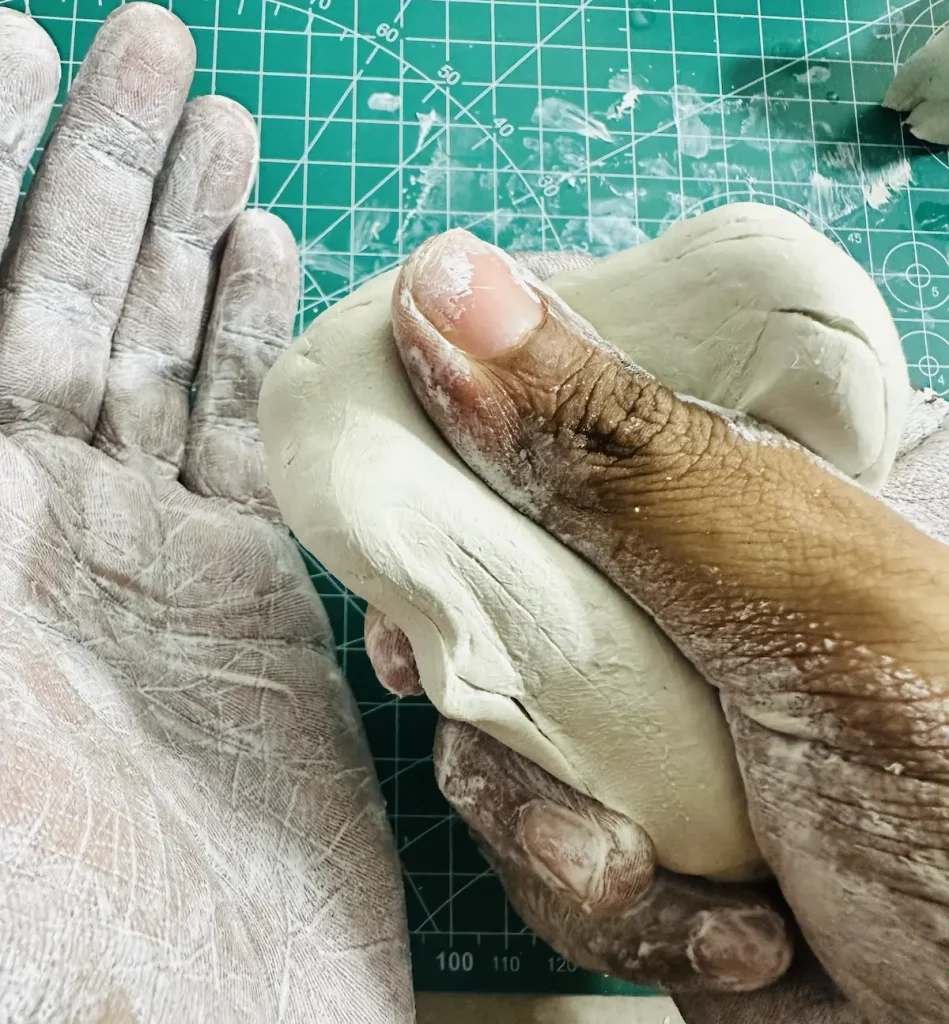
Make sure to use only drops of water when conditioning and kneading the clay and don’t forget to knead the clay well like you’re making a pizza dough to spread the moisture evenly across all the layers of air dry clay inside and release the trapped air bubbles inside.
Kneading basically warms up the clay, evens out the moisture, and releases the trapped air bubbles that could cause weak spots later.
Well kneaded air dry clay is soft and shrinks evenly as it dries, forming no cracks.
👉🏾 Working on a detailed piece that takes a while or seems to take more time than you thought? Read How to Keep Air Dry Clay Soft While Working so it doesn’t dry out mid project.
While you’re kneading, shaping and sculpting the taken air dry clay piece from the big piece, make sure to wrap that unused piece with a damp cloth or plastic wrap to avoid forming a dry skin on your working desk.
The outside area of air dry clay piece dries quickly and you need to keep its moisture level steady without letting it crumble due to the dry skin.
👉🏾 If your clay starts flaking apart at the edges while you knead it, follow my guide on How to Stop Air Dry Clay From Crumbling.
Step 3: Rolling clay slab
Rolling clay slab is needed when you’re making trinket trays, jewelry dishes, and home decor items with a base.
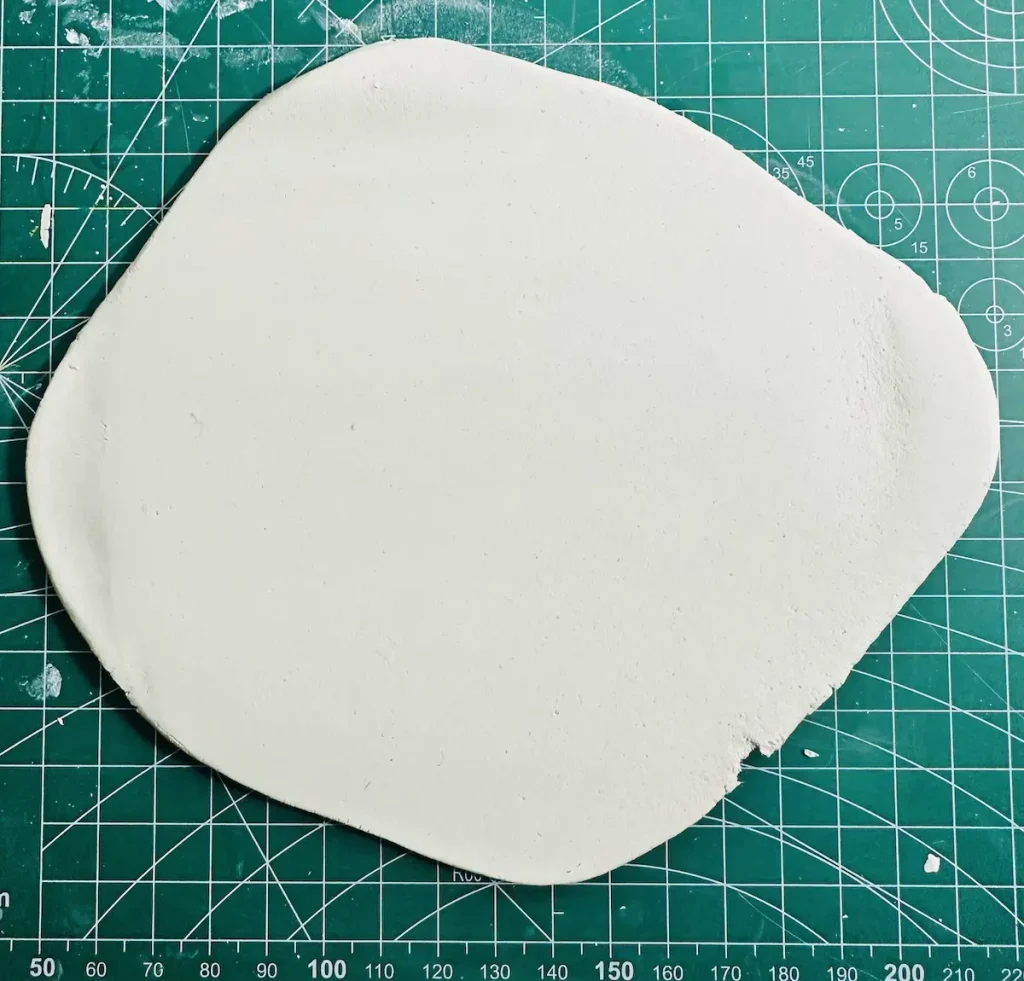
You need to roll the kneaded clay slab to an even thickness. The ideal thickness of the air dry clay slab should be ¼ inch (6 mm).
In order to roll the clay slab evenly, use wooden or acrylic guide rails which should be placed on either side of the clay slab while rolling. Guide rails come in different thicknesses and you can select a pair greater than ¼ inch(6 mm) or thicker for a strong clay slab for high structural strength that can avoid warping as the clay dries.
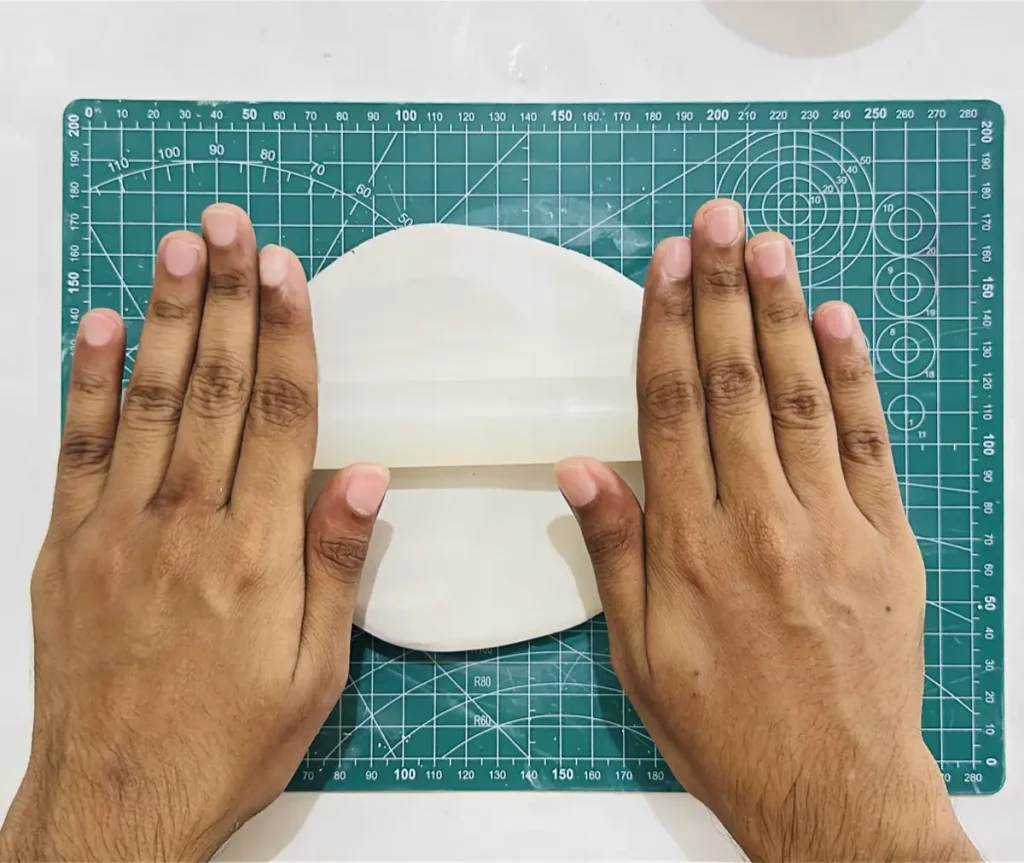
If you roll the clay slab too thin it’ll likely warp and curl as the clay dries, like a potato chip and because it lacks structural integrity and snaps so easily. But if you roll the clay slab too thick, I mean above ½ inch (12 mm), it may take 4-5 days or even weeks to dry fully and the outside of the clay dries fast while the inside stays wet, leading to deep cracks.
Therefore, always try to maintain the thickness within ¼ inch (6 mm) to ½ inch (12 mm) range.
If you don’t have guide rails to keep the thickness even, use silicone or rubber rings. They are attachable and most of the time they come with the rolling pins as you purchase them. They also come in different sizes, including 3mm and 5mm.
In order to roll evenly, you need to start rolling from the center of the clay outward. Rotate the clay around 90 degrees every few rolls so it stretches evenly in all directions.
Be sure to flip, turn and rotate the clay slab 90 degrees frequently while rolling. This prevents it from sticking to your mat, even on non-stick surfaces.
Rolling the clay in one spot creates a vacuum seal with the work surface as moisture releases, which can cause the clay to tear when you try to lift it. To avoid this, continuously reposition the clay as you roll.
Step 4: Cutting clean shapes
After rolling the clay slab, it’s time to cut the shape you like.
For cutting, you can use molds, cookie cutters, templates, stencils, or cut freehand. According to me, I strongly believe that freehand cutting develops our drawing skills and clay handling skills. Therefore, if you want to cut an organic shape, always use freehand.
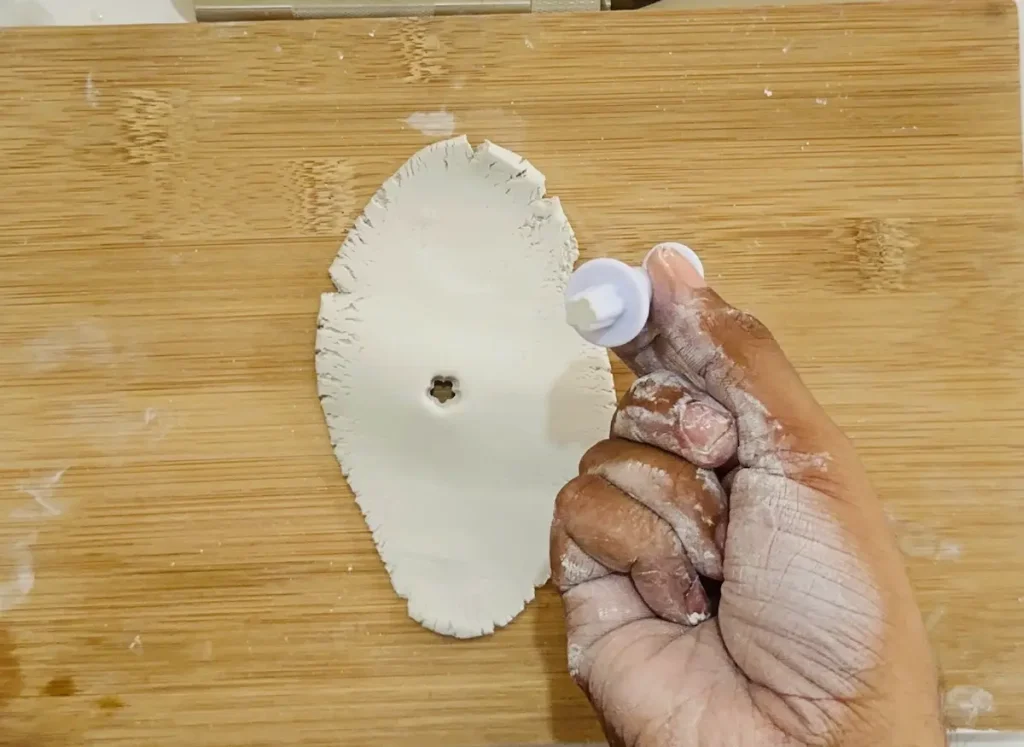
But if you really need an exact, precise shape, with no errors, use a cookie cutter or mold.
If you don’t have molds but still want an exact shape, try using a paper template. Simply print a 2D outline of your desired design, cut it out, place it onto the clay slab, and slice along the edges.
👉🏾 Learn more about this paper template method by reading: How to Cut Perfect Shapes in Air Dry Clay Without Cutters (Easy Template Method)
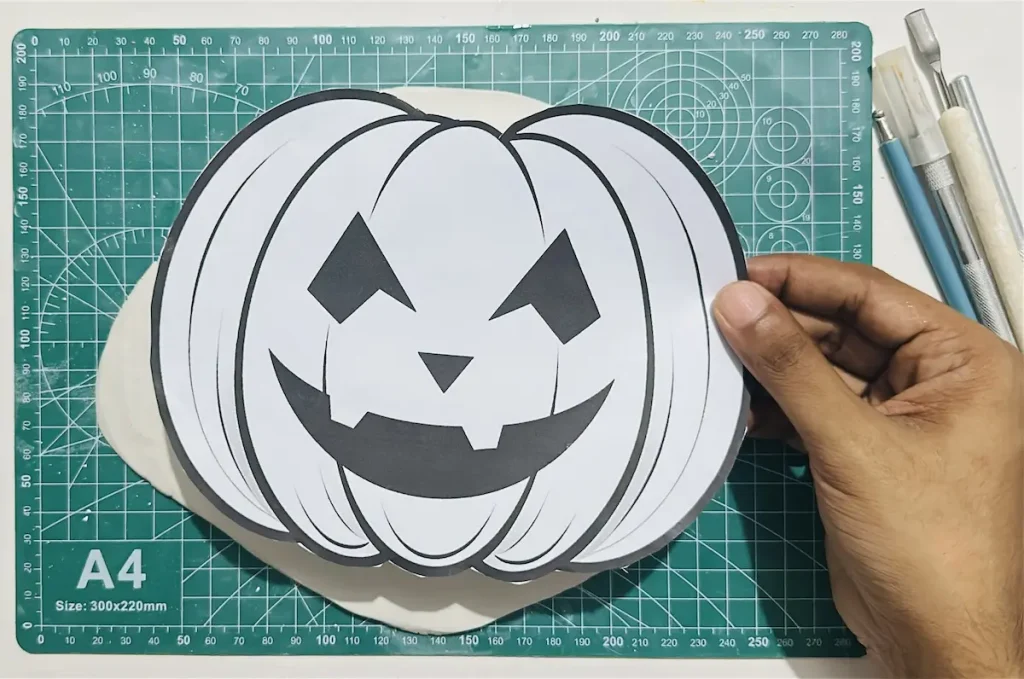
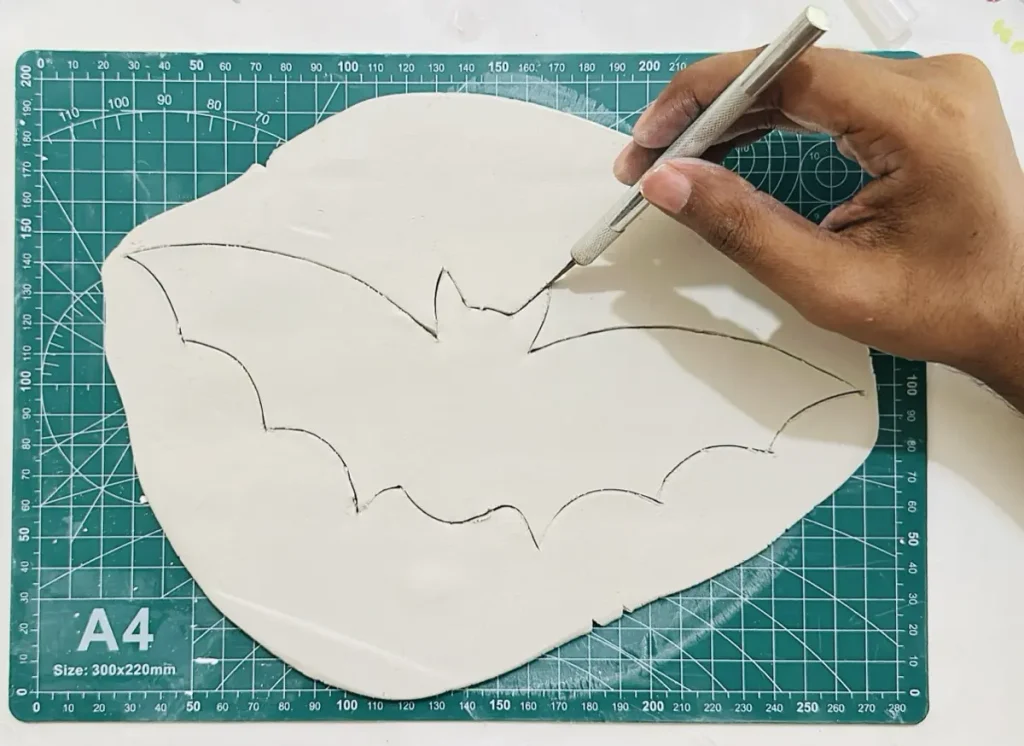
Before you start cutting, trace the shape along the edges using a clay tracing tool or a toothpick. Tracing before cutting minimizes errors.
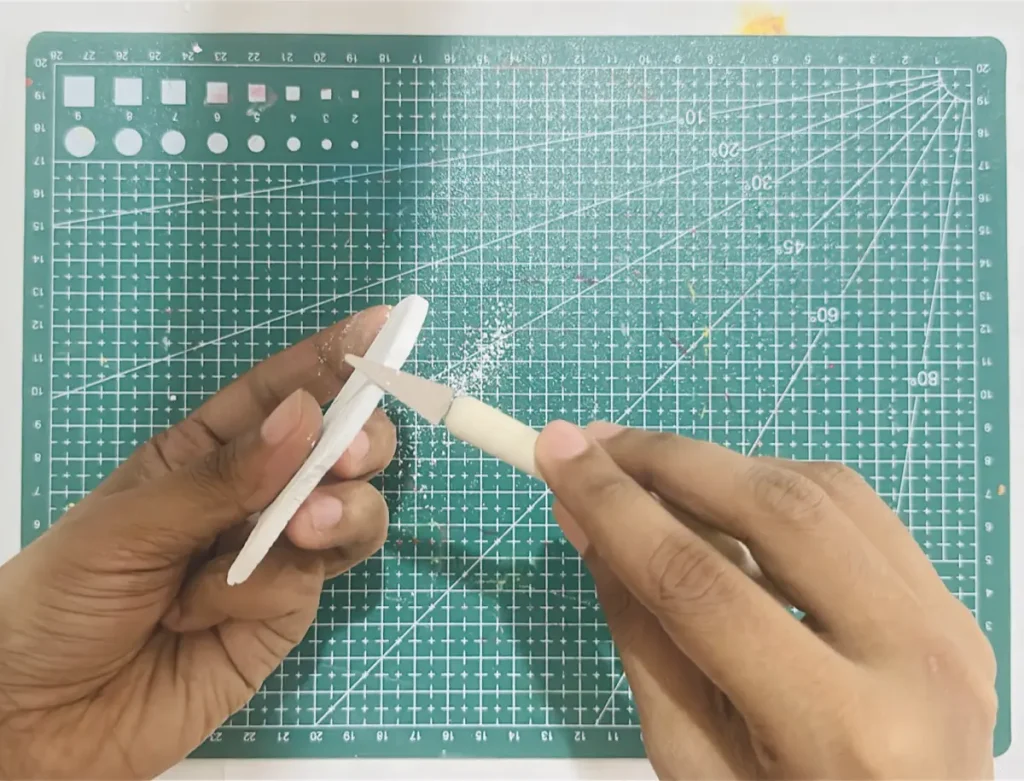
After tracing the shape, remove the mold or template you used (if you used one) and cut along the traced lines using the X-Acto knife.
When cutting, make sure not to drag the knife horizontally, which can form split and torn edges. Lift the knife frequently and clean the stuck clay and again continue cutting, holding your X-Acto knife straight up and down (90-degree angle). This way you can get nice, clean, smooth, and sharp edges.
👉🏾 Struggling with jagged or split edges when cutting shapes? Read: How to Cut Clean, Sharp Edges in Air Dry Clay (Without Tearing)
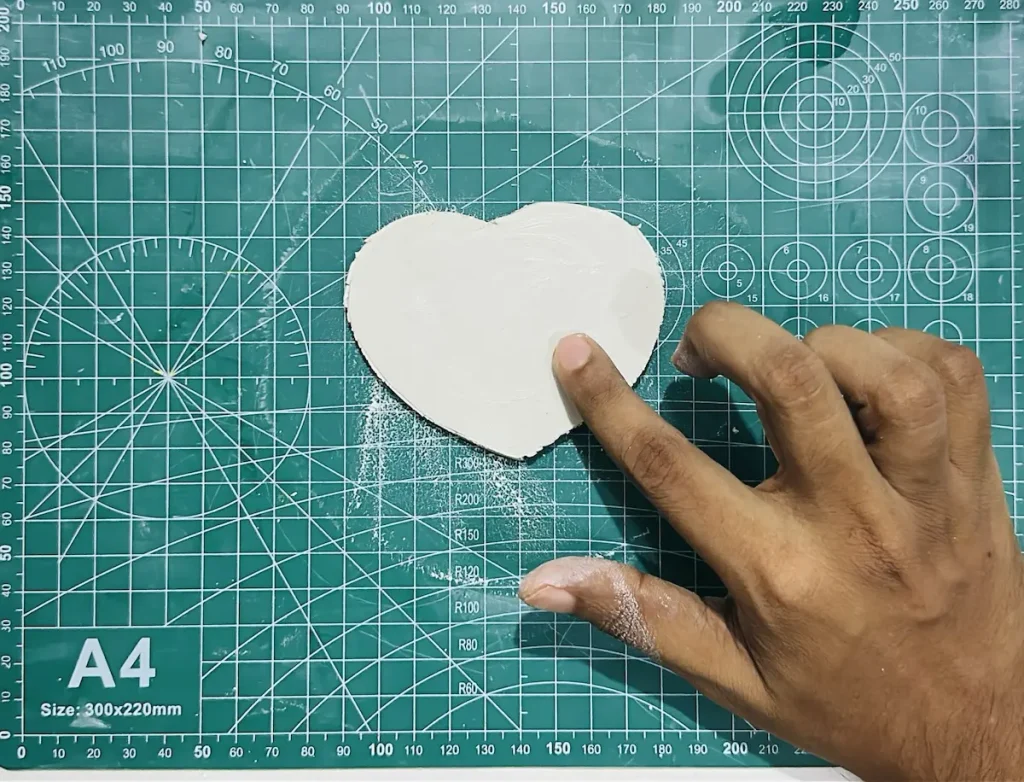
After cutting the shape you want, make sure to smooth out the clay slab and around its rim by dipping your index finger in a cup of water and gliding over the clay slab and around its rim repeatedly until tiny bumps, lumps, micro cracks and tiny imperfections completely vanish.
Smoothing is must after each step from now onwards for a nice and clean finish, but only with a little bit of water. You already know what happens when you use too much water.
Step 5: Attaching clay pieces together (the slip & score method)
Let me tell you a quick story that happened during my first air dry clay project which can be happened for any beginner.
For my first air dry clay project, I made a cute rabbit. I kneaded and shaped small clay pieces to create the head, belly, legs, arms, and ears. While the clay was still wet, I attached the parts simply by pressing them together. I attached arms and legs onto the belly, ears onto the head, and finally the head onto the body and left it to dry.
Unfortunately, as the clay dried, the joints gave way and the ears, limbs, and head separated and fell apart.
Hours of hard work were ruined, but it taught me a valuable lesson: you can’t join air dry clay pieces just by pressing them together. Air dry clay shrinks as it dries and joints will loosen.
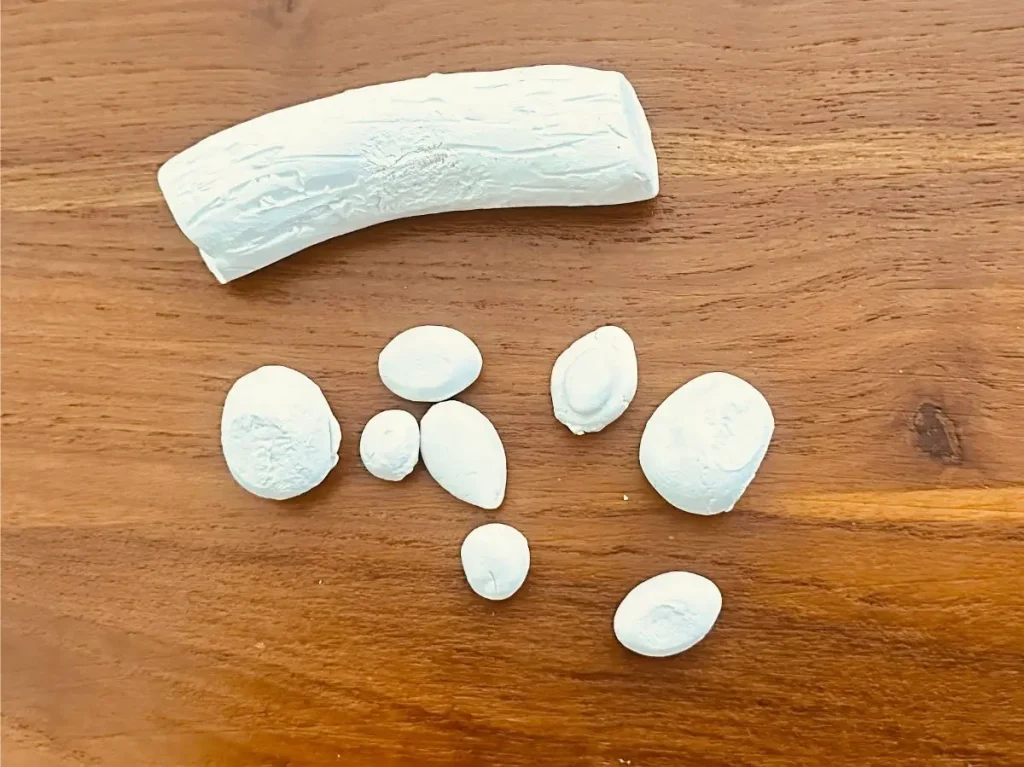
There’s a specific technique you need to follow. That’s called the score and slip method.
Let me tell you what the score and slip method is,
In order to attach two air dry clay pieces together, first you need to score the surfaces that attach using a clay scoring tool or a toothpick. Score the surfaces like a texture. The main reason for scoring before attaching is to create good adhesion between the two surfaces with high grip.
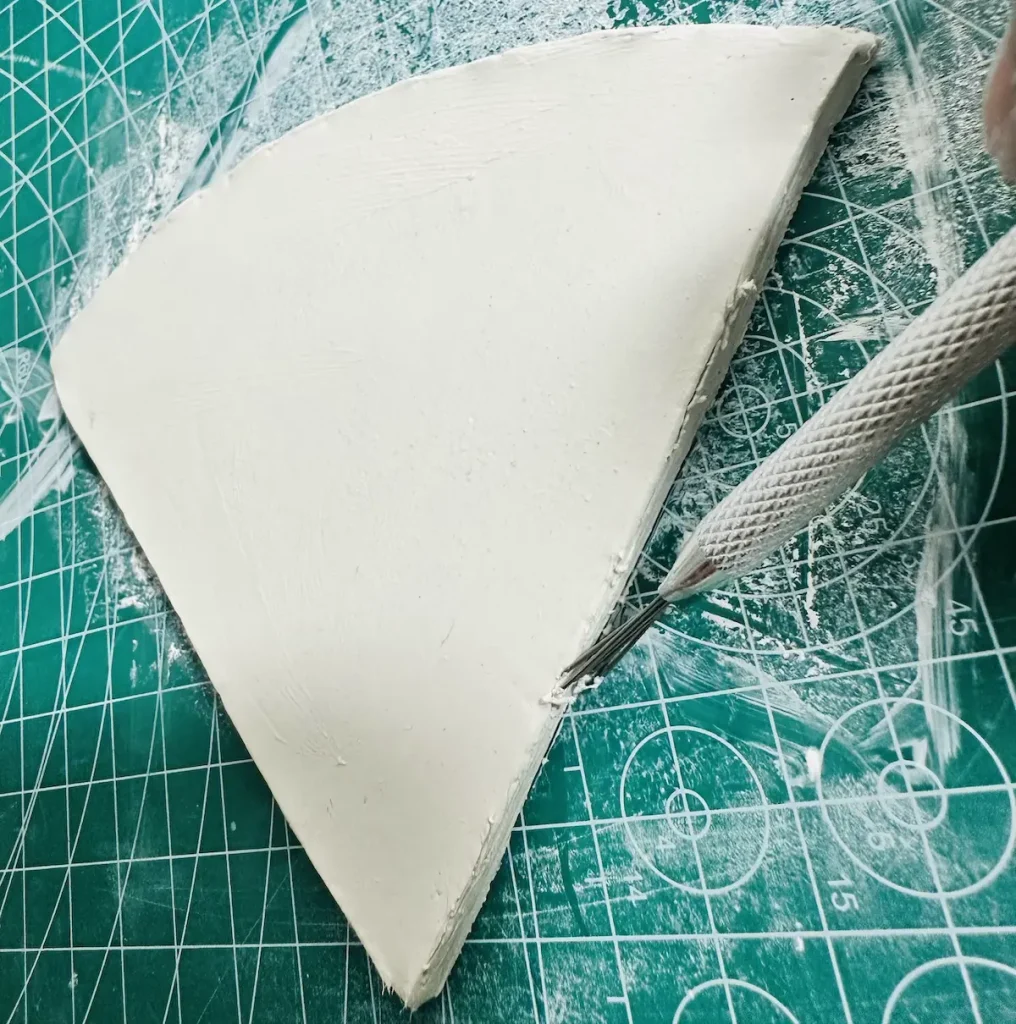
Then you need to apply a paste called “slip”. Slip is made by mixing tiny pieces of air dry clay with an equal amount of water thoroughly and letting it sit for hours. This will make a creamy paste which is known as the “slip”. You can use it to attach two air dry clay pieces. It basically works as a glue for air dry clay.
Next, apply this slip paste over the scored clay surfaces and attach them gently by pressing the two pieces firmly together with a slight wiggle so the wet grooves lock into each other. That’s how you should attach two air dry clay pieces properly. The score and slip method.
If you don’t have the slip, don’t worry. Tap the scored surfaces with a little bit of water and attach. Water also works just fine as the slip because I tried and it works every single time with no issues.
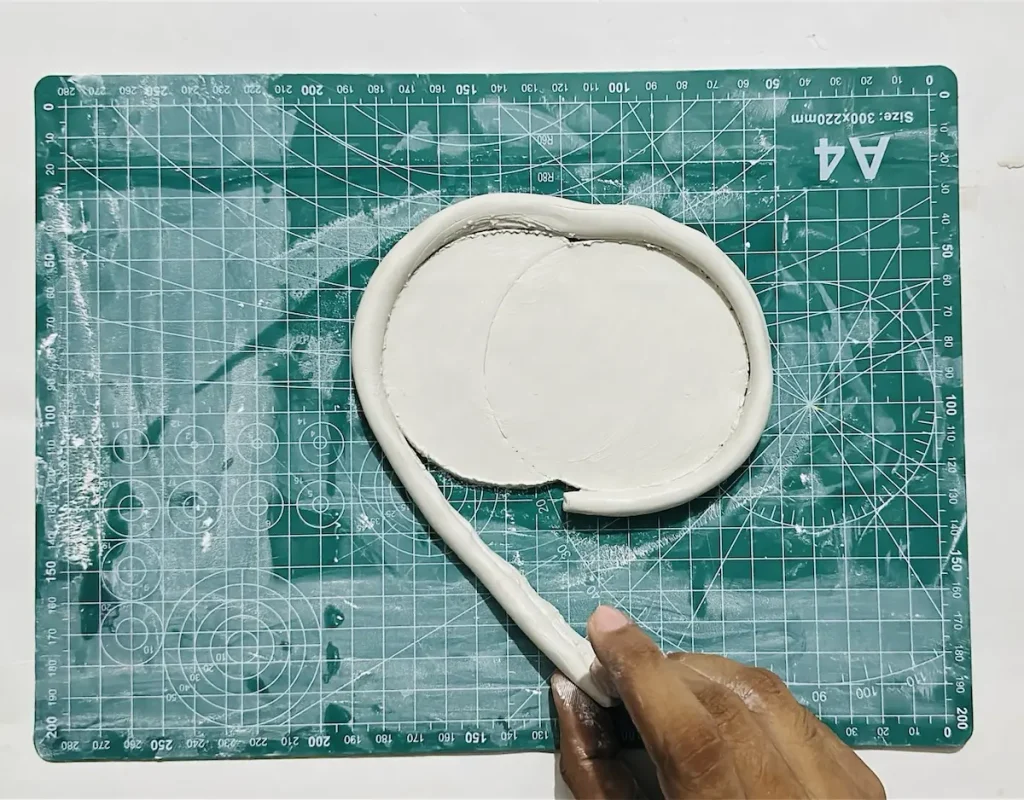
👉🏾 Having pieces detach after drying? Read my full troubleshooting breakdown on Why Is My Air Dry Clay Not Sticking Together?
Step 6: Drying your clay without cracks or warping
After making your beautiful air dry clay project, you need to let it dry. As I told you earlier, air dry clay dries in the air.
Place the clay piece you made in a cool, well ventilated area with good air circulation.
Let the project dry slowly because rushing the drying process causes uneven shrinkage and eventually you’ll end up with a cracked surface.
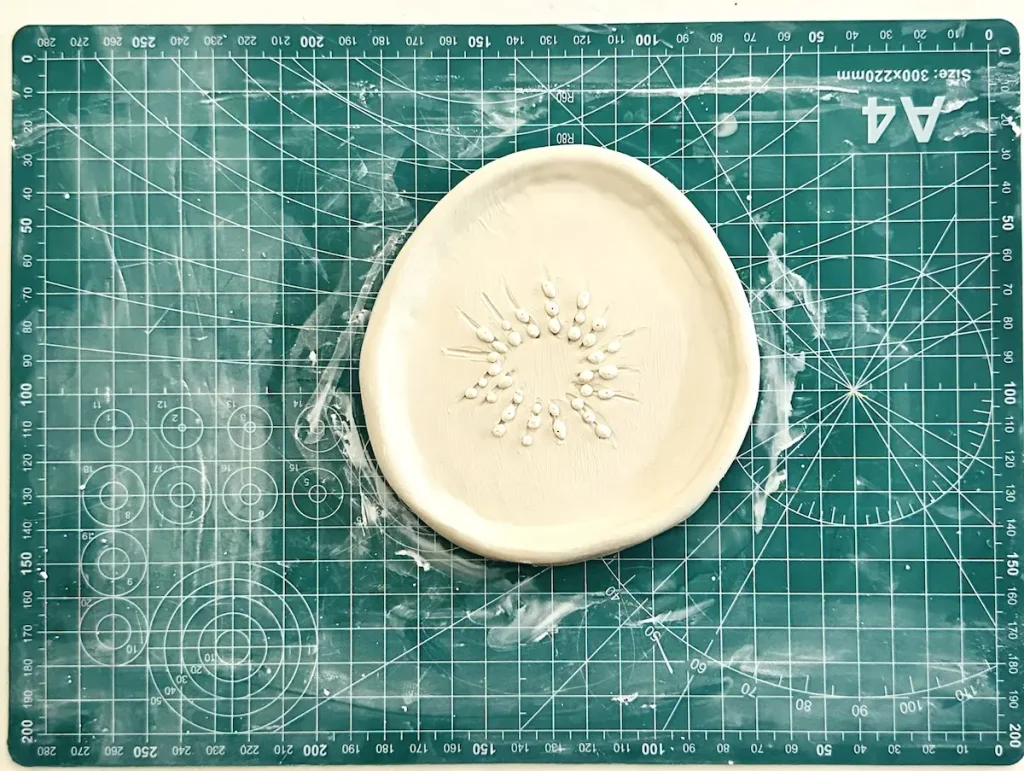
Do not place your air dry clay piece outside, under direct sunlight, inside an oven or apply a heat source, or blast it with a hairdryer to rush the drying process. All of them cause surface cracks. All you need to do is make the area as ventilated as possible.
👉🏾 Read: How to Prevent Air Dry Clay Trays from Cracking While Drying
Generally air dry clay project takes about 48-72 hours to dry which means 2-3 days. But this can depend on the thickness of the clay and humidity in your area.
If you live in a wet climate with high humidity the water evaporation speed of your project will be much slower and it may take 5-6 days to dry your project completely.
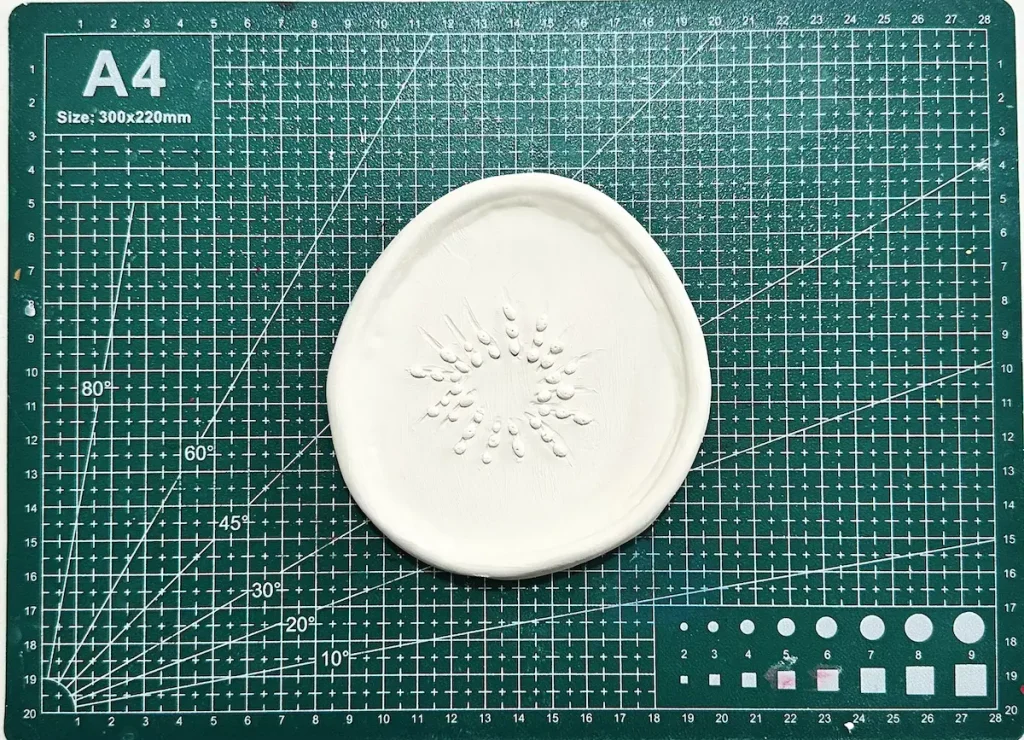
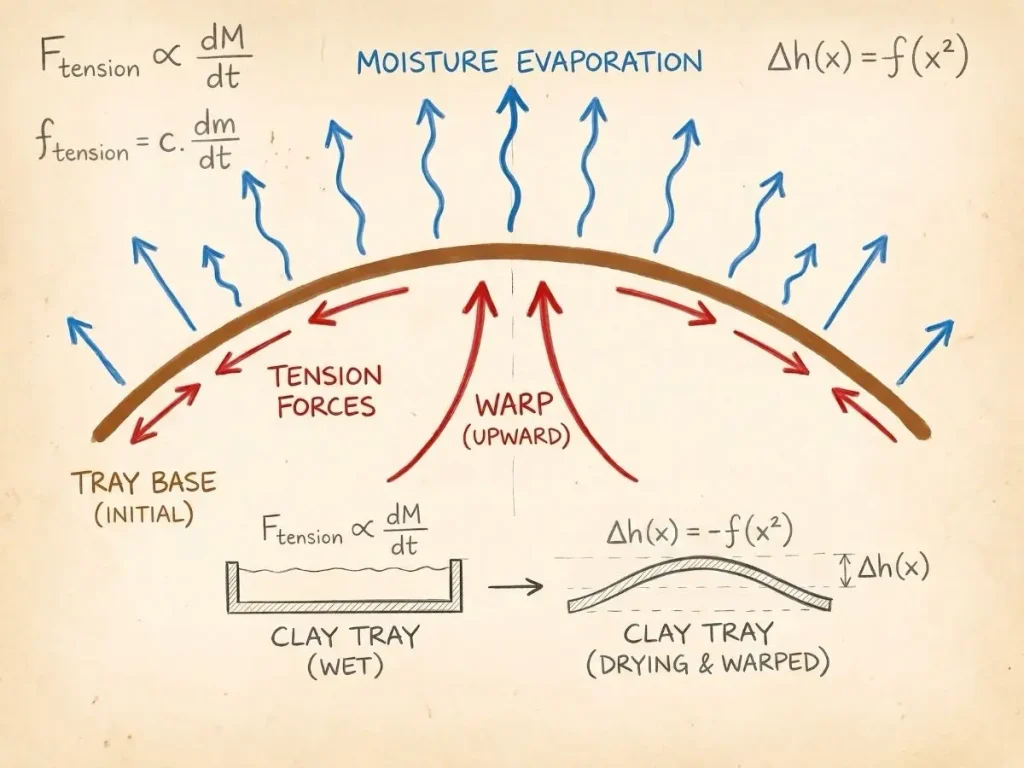
To keep your air dry clay project from warping,
- Flip the project upside down periodically (After the first 12–24 hours) so all sides dry at an even rate.
- Do not place air dry clay piece under direct sunlight or near radiators or AC vents.
👉🏾 Making dishes or raised rims? Don’t miss How to Prevent Warping When Drying Curved Air Dry Clay Trays
You can tell when your air dry clay piece is 100% bone dry by the color change. Wet air dry clay has a dark gray/off-white color. When it is bone dry, the color shifts to bright, chalky white.
However, you cannot paint or seal the project until it is completely dry. Painting the wet clay project weakens the clay inside and causes paint to bubble, peel, or grow mold later.
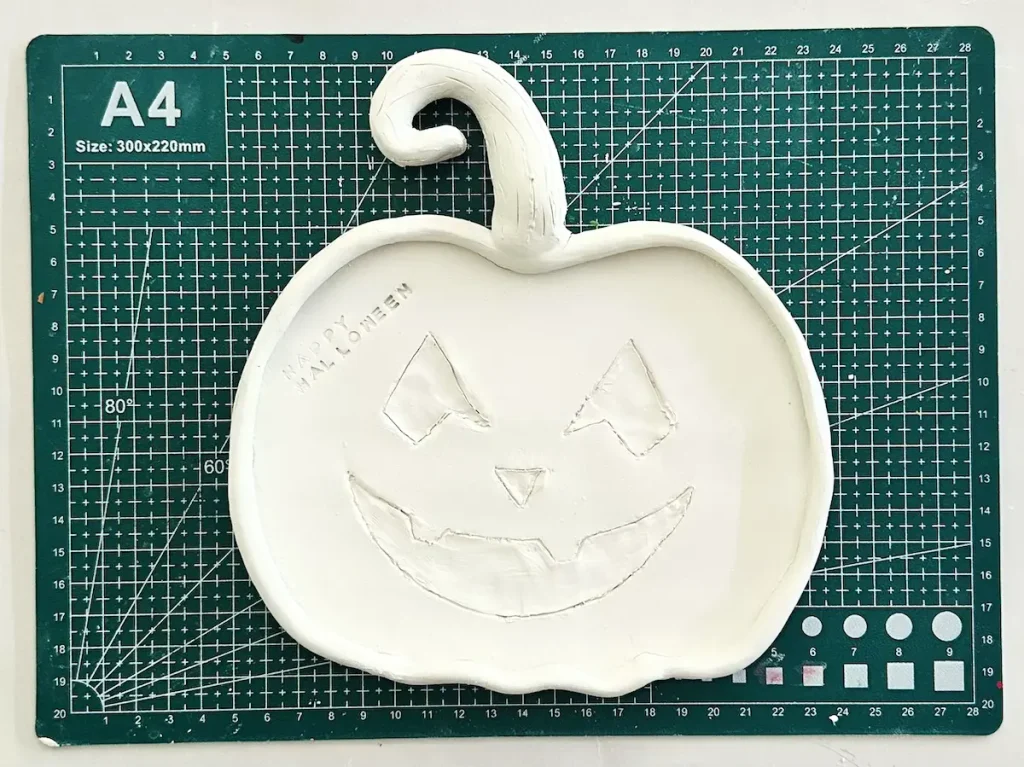
Step 7: Sanding for a smooth finish
This step is optional, but great for a nice and smooth finish. Wear a mask first because tiny air dry clay particles can make you cough.
Once the clay piece is fully dry, sand the whole clay surface with fine grit sandpaper (220-grit sandpaper or finer) in one direction to remove tiny bumps, micro scratches, micro cracks and tiny imperfections. Finally, finish it by sanding the whole surface again with 400-grit for a silky smooth surface.
Careful when sanding complex angles and joints because air dry clay can be brittle and snap easily because of your single mistake.
Once you’re done with sanding, clean the whole surface with a fluffy brush or barely damp cloth to remove the fine dust.
Step 8: Painting your air dry clay
As I mentioned earlier, you need to wait till the air dry clay project dries fully before painting to avoid forming tacky spots, molds and peel-offs.
👉🏾 Find out: Can You Paint Air Dry Clay Before It Dries? (And What Happens If You Do).
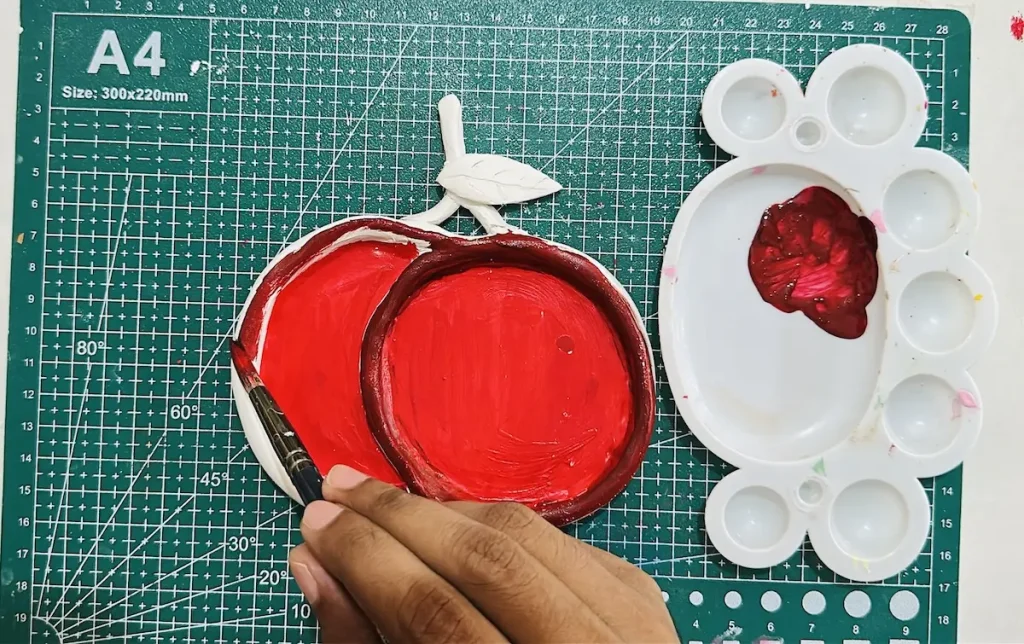
Acrylics are considered the best paint for air dry clay since it is easy to use and make a plastic like layer over your clay project that offers protection as well.
Don’t use watercolors on air dry clay because they require water and water weakens the clay and cause surface cracks as it dries.
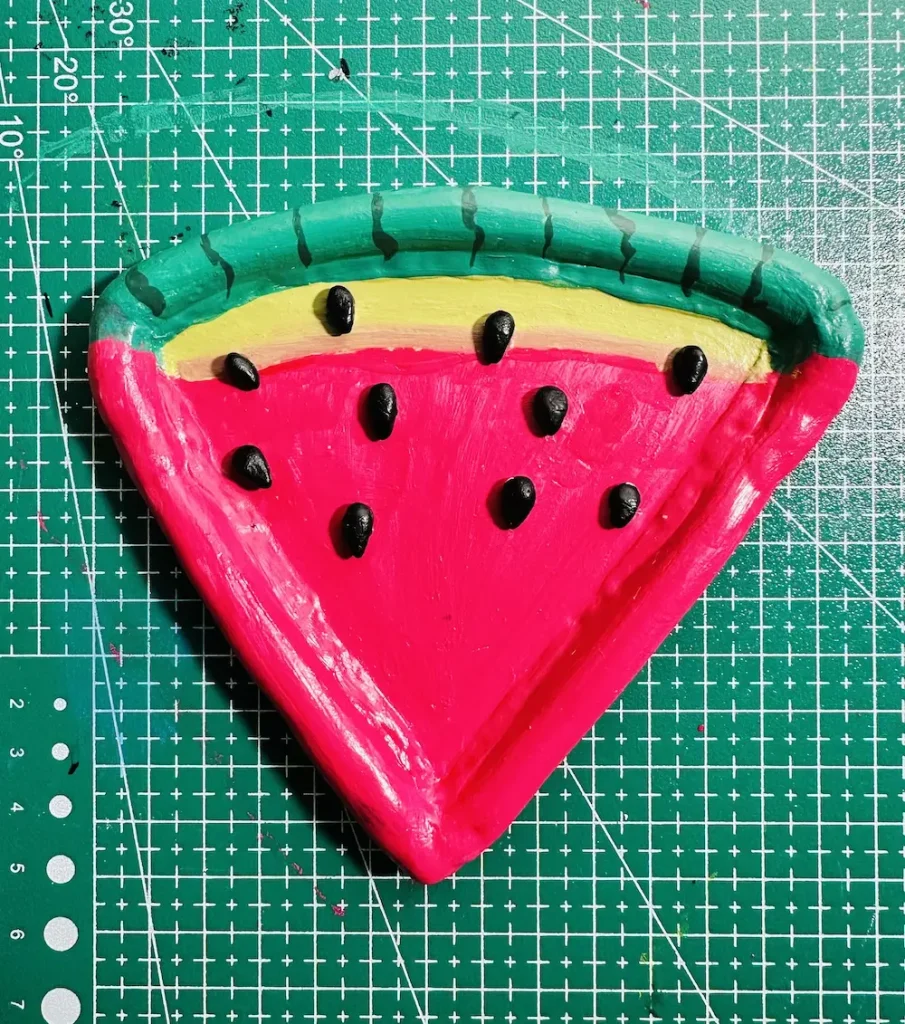
Apply 2-3 thin and even coats of acrylic in one direction over your air dry clay project for a vibrant and glossy finish. Let each coat of acrylic dry for 2 hours before applying another.
Never apply another coat of acrylic while the previous one is still wet because that can form a mushy core, a cloud like thing on the surface.
If it’s possible, I recommend applying a Gesso like primer before applying the first acrylic coat over your air dry clay project because raw air dry clay is thirsty and absorbs your first paint coat fast.
Gesso helps to fill the porous structure of air dry clay and make the surface ready for acrylic paints that come next.
For brush techniques and clean lines, read How to Paint Crisp Details and Layer Colors on Air Dry Clay.
👉🏾 Painting a piece with lots of grooves? Check out, How to Manage Acrylic Paint Drying Time on Deeply Carved Clay Textures.
Step 9: Sealing & protecting your finished project
Some beginners think Isn’t it enough after I paint my air dry clay project with acrylics. It offers a water resistant sealing and protection, so why should I even worry about sealing? I’m sorry to say you are completely wrong.
Sealing air dry clay is a must. Yes, even after painting is done, because air dry clay is still vulnerable to humidity, scratches, and water splashes.
Air dry clay cannot withstand harsh weather conditions if you skipped the sealing part. Sealing is all about protection.
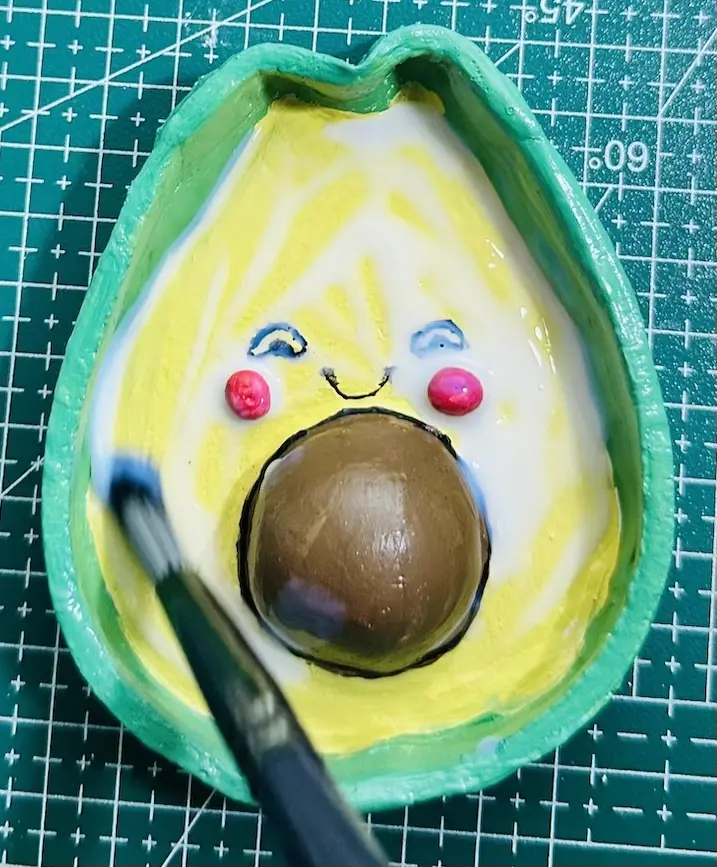
For example, gloss varnish protects your air dry clay projects from outside humidity because water always try to find a way to sneak into your clay project and weaken it and sealer stops it.
👉🏾 Read: Here is How to Get a Glossy, Ceramic-Like Finish on Air Dry Clay.
Apply 2-3 thin and even coats in one direction and let each coat of sealer dry and cure for 24 hours before applying another.
Applying a sealer over a wet surface can form tacky spots, therefore, wait till the previous surface is fully dry.
Gloss varnish and polyurethane varnish are beginner friendly. UV resin and epoxy resin are great to get a more glossy, glassy like finish.
👉🏾 Read my step-by-step protection walkthrough in How to Seal and Waterproof Air Dry Clay Trinket Tray.
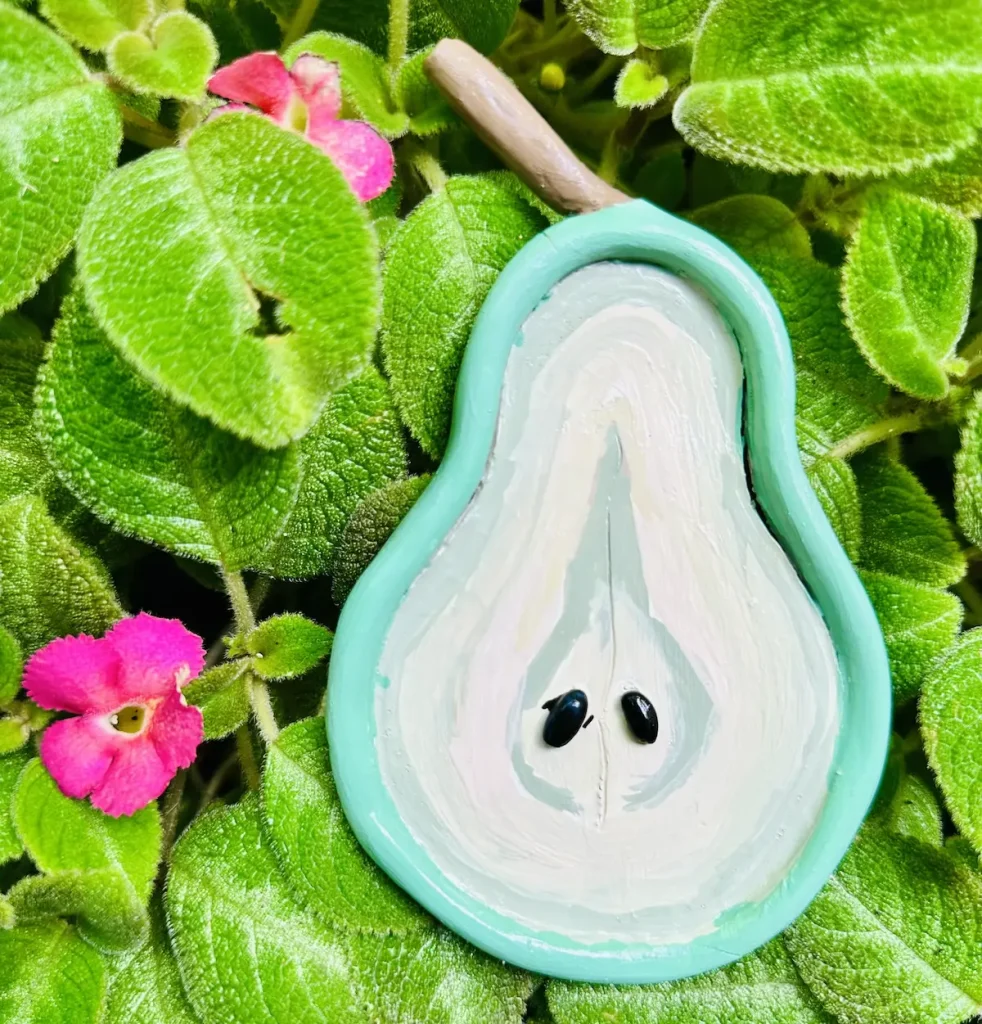
Congratulations, you have successfully made your first air dry clay project. I’m so happy for you.
Step 10: Store your leftover air dry clay
Generally, 1.1 lbs (500g) or 2.2 lbs(1kg) of block air dry clay can be used to make around 2-3 palm-size trinket trays and jewelry dishes. This can vary depending on your palm size. Lol.
But the point I need to tell you is definitely that there will be leftover clay air dry clay after your first project.
So what are you gonna do with it? Wrap it around with the same package and leave it on your desk? Yes, that’s also a way, but that method is risky and has a high tendency to turn your clay block into a brick because air dry clay dries as soon as it comes into contact with the air.
Here’s how to store your leftover air dry clay,
- First, wrap the leftover clay with a plastic clog wrap or a polythene bag or with a damp paper towel if you gonna store it for a long time.
- Then place the wrapped air dry clay package inside of a airtight plastic Tupperware type container, zip top bag.
- Place it inside of a cool, drawer that has minimal air circulation around.
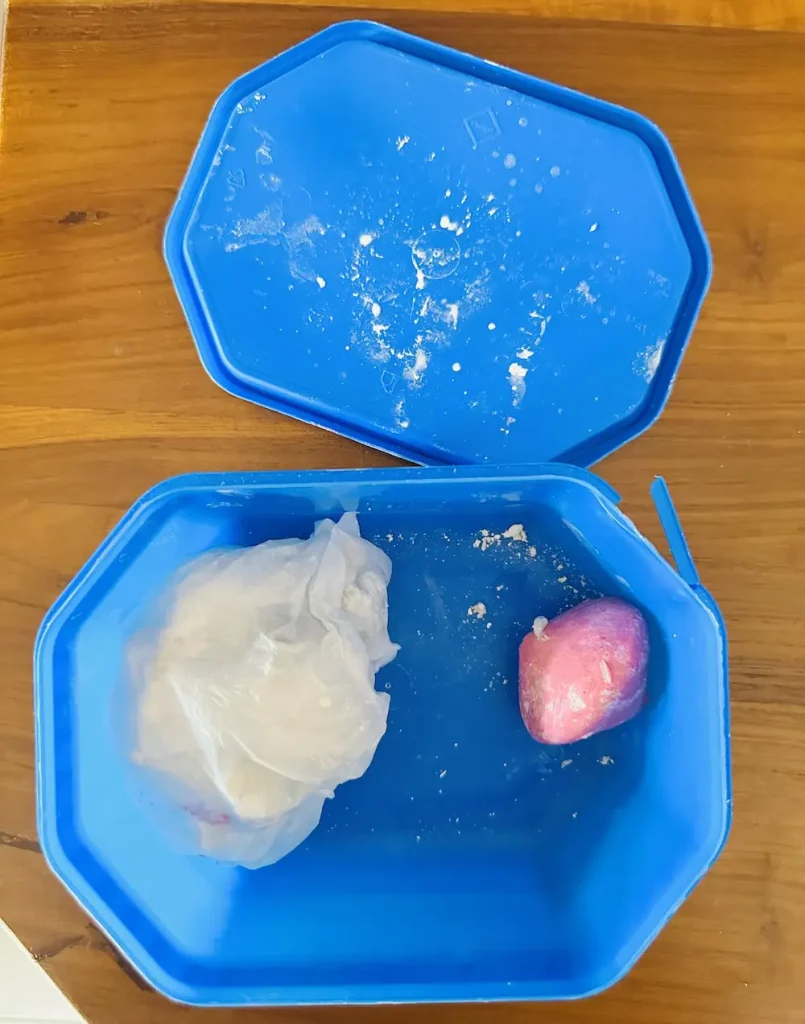
Make sure not to place any heat source around because heat can make the moisture of the clay evaporate.
👉🏾 Follow my exact wrapping method in How to Store Air Dry Clay Once Opened (Keep It Soft for Months).
Ready to make?
Awesome, my friend! You have completed the beginner air dry clay guide. Now you know the whole start-to-finish process. I know now you’re eagerly waiting to try out your first air dry clay project.
You got this! Air dry caly is made for beginners. Follow the methods I taught and you have all the freedom to try new things, make mistakes and learn from them. Ultimately, I want you to achieve the goals you want and to be a better crafter than I am.
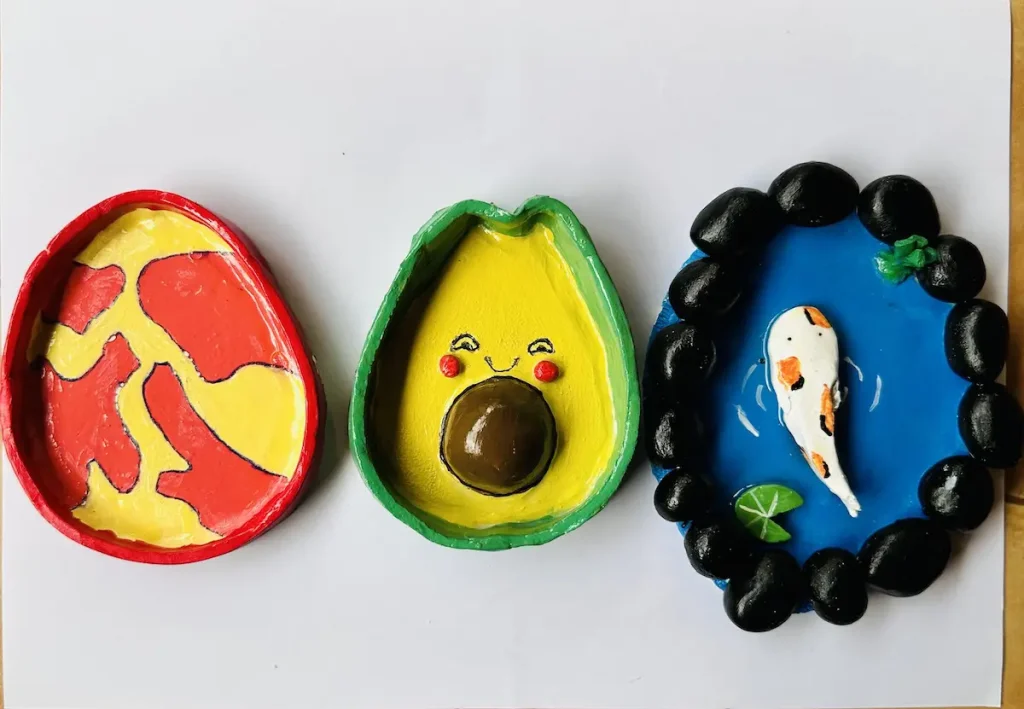
My suggestion is for you to start making a trinket tray. Trinket trays are easy to make and you’ll eb able to learn lots of basics and practical knowledge of air dry clay along the way, such as how to knead, roll, attach, smooth and finish air dry clay pieces.
According to my experiences, the best way to learn air dry clay is by getting your hands dirty with a simple flat slab project before trying complex 3D sculptures.
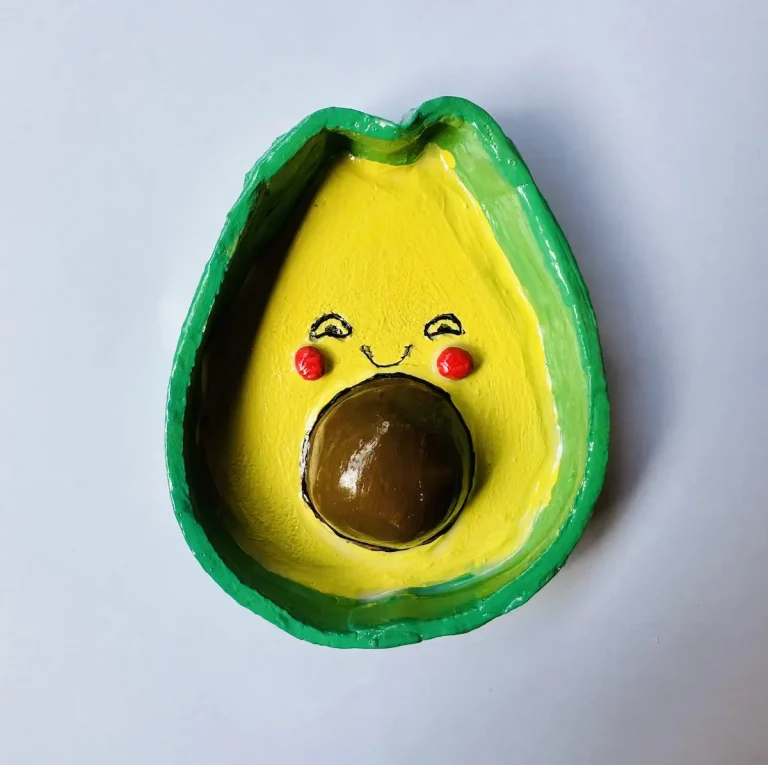
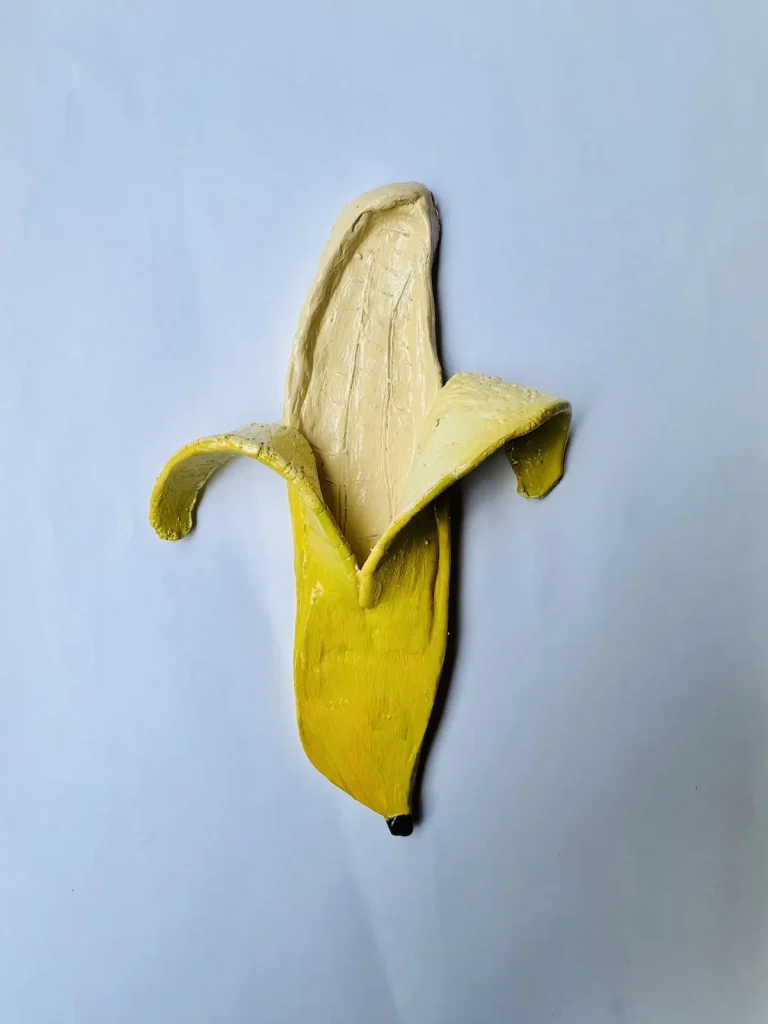
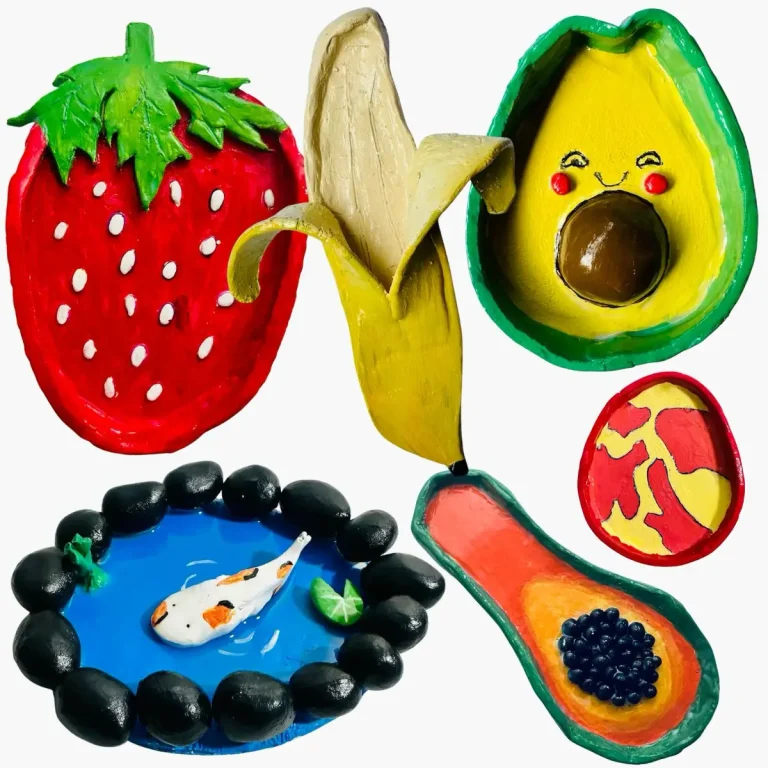
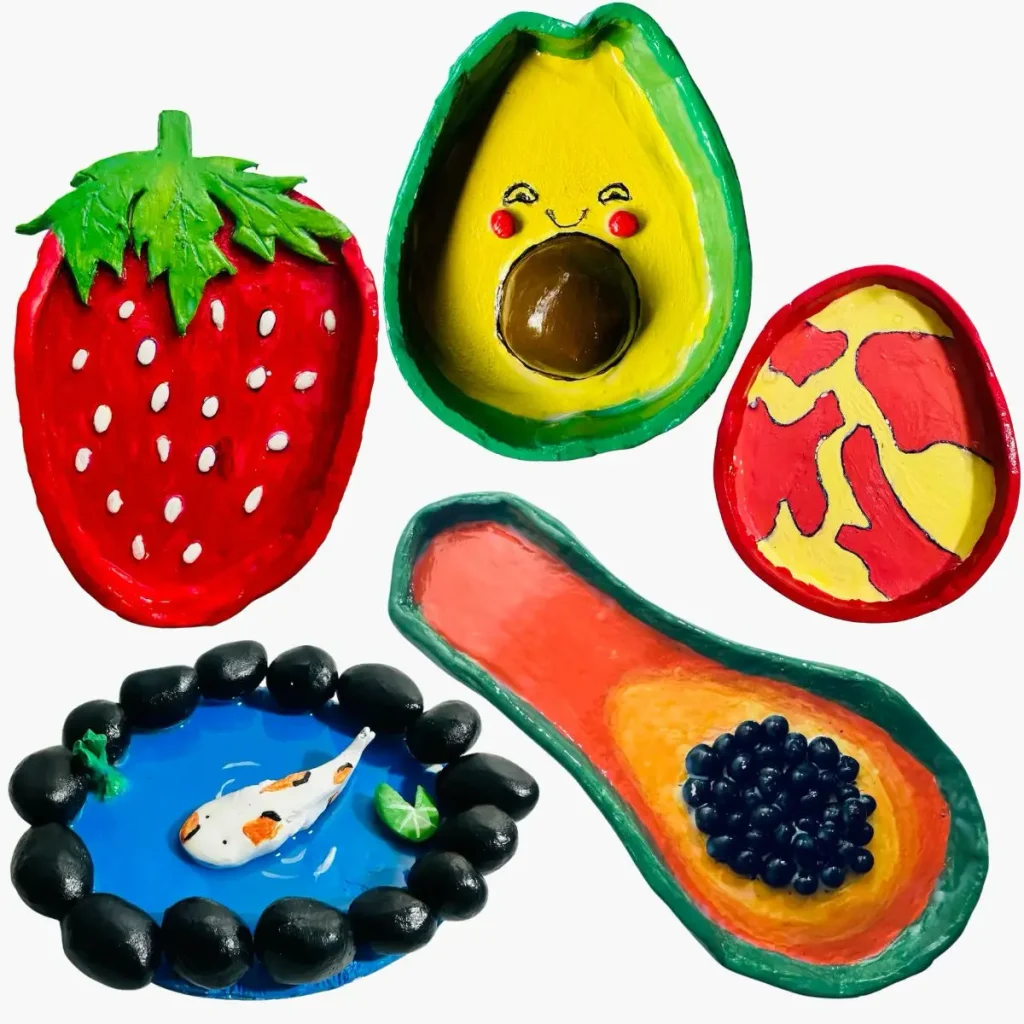
Below I have included several beginner type air dry clay projects you can try out.

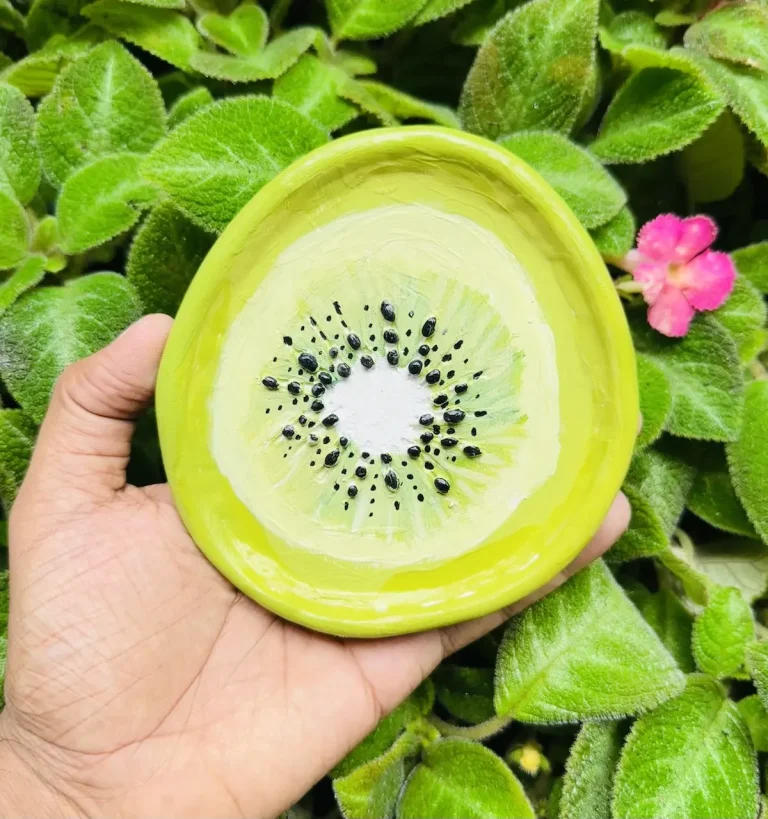
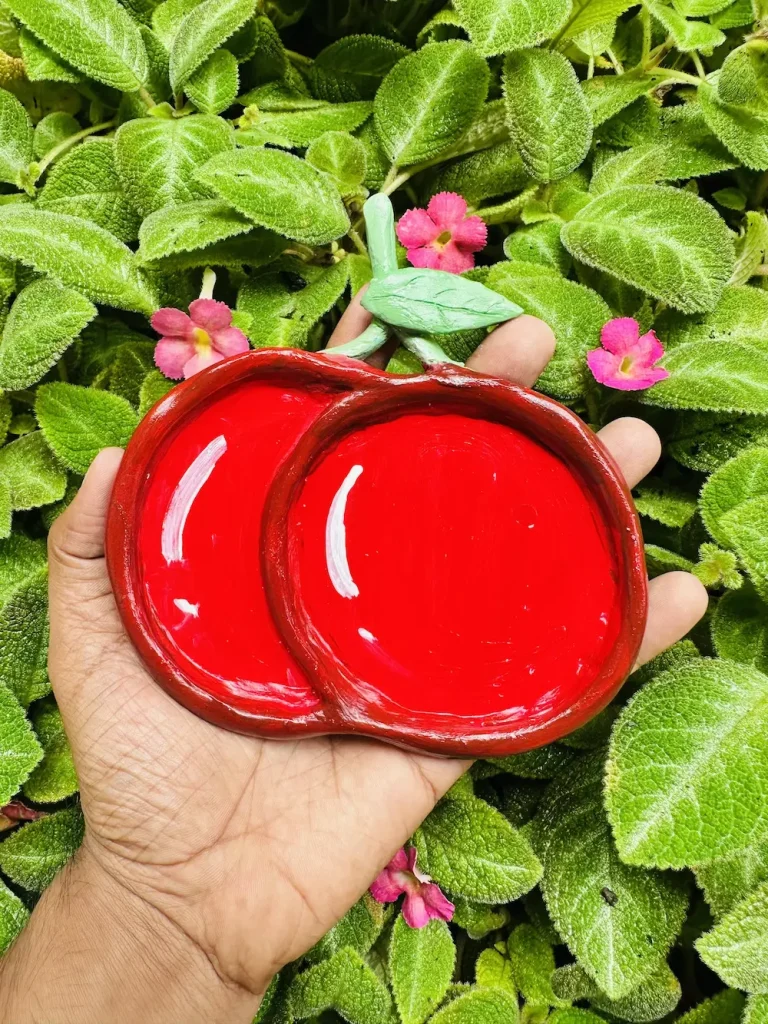
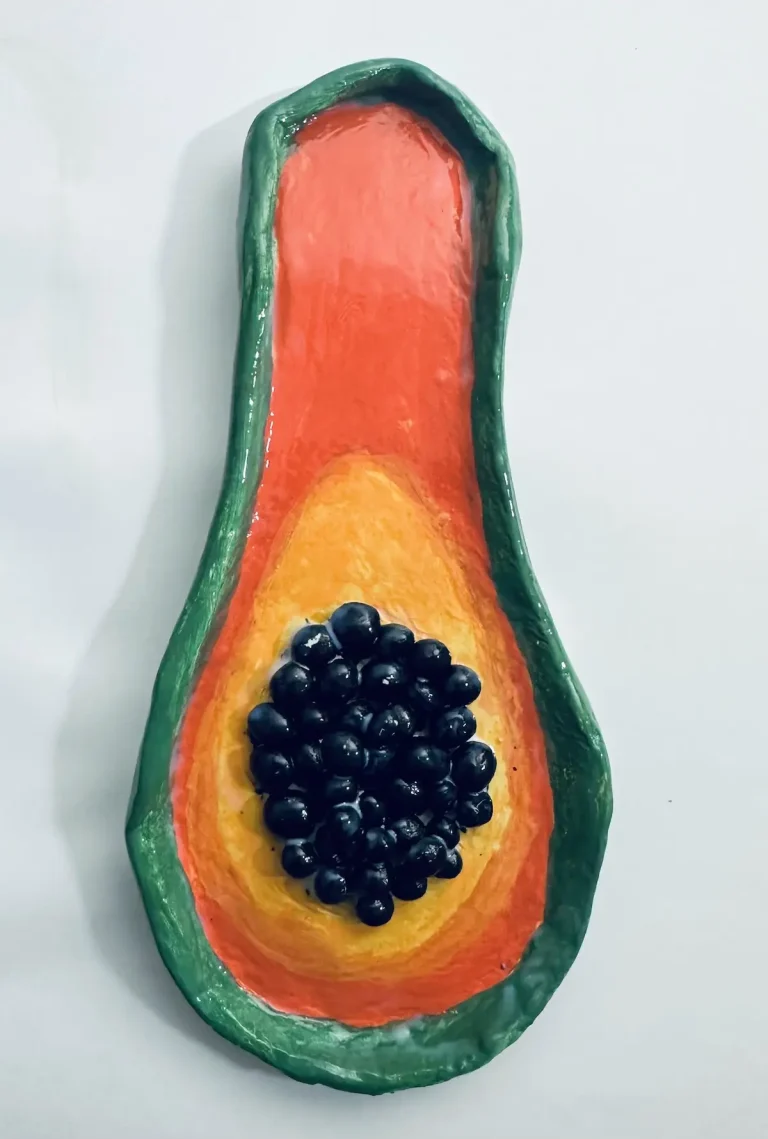
After trying the above projects, I need your feedback. So please leave your feedback in the comment section so others can learn from them. We should grow as a community and become good clay artists.
Be sure to tag @clayandmestudios in your first air dry clay tray project. I sure love to see them when you do. I’ll see you next time with awesome air dry clay tutorials, tips and tricks! Cheers! 🤟🏾