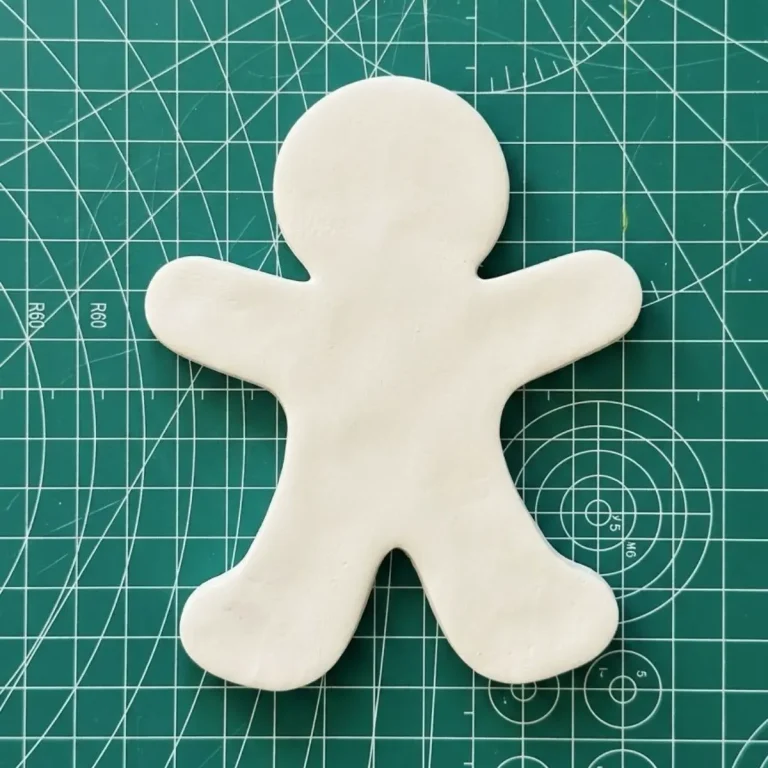
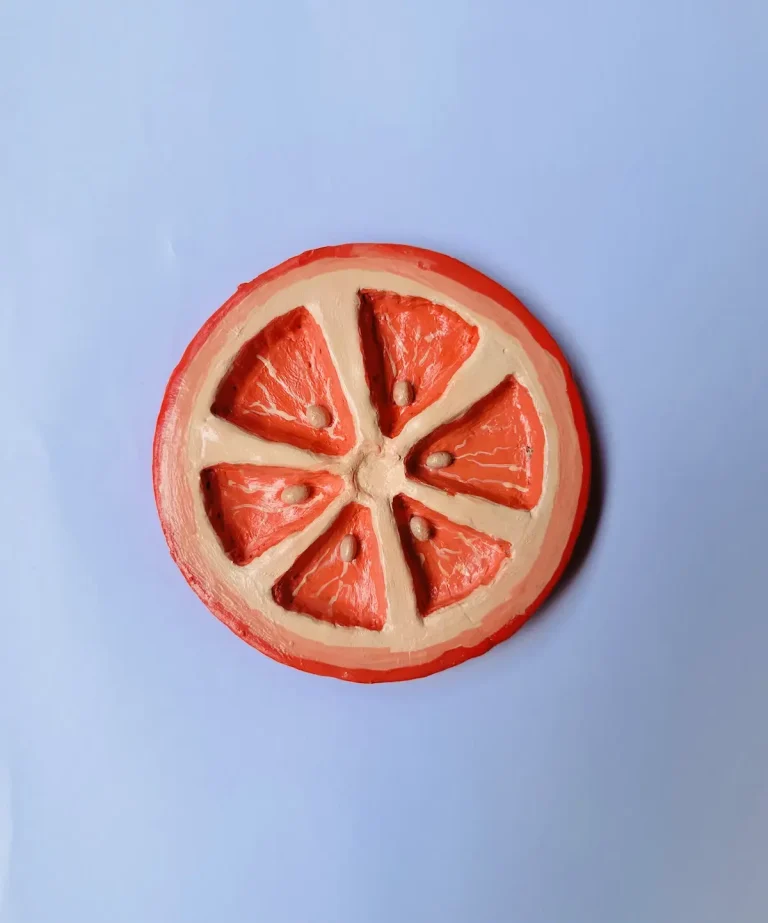
What if I told you I started making a papaya trinket tray but eventually ended up making a shoe sole? I’m kidding. Some say it looks like a papaya tray, but others say otherwise.
Now I can’t forget the feeling of whether it looks like a shoe sole lol.
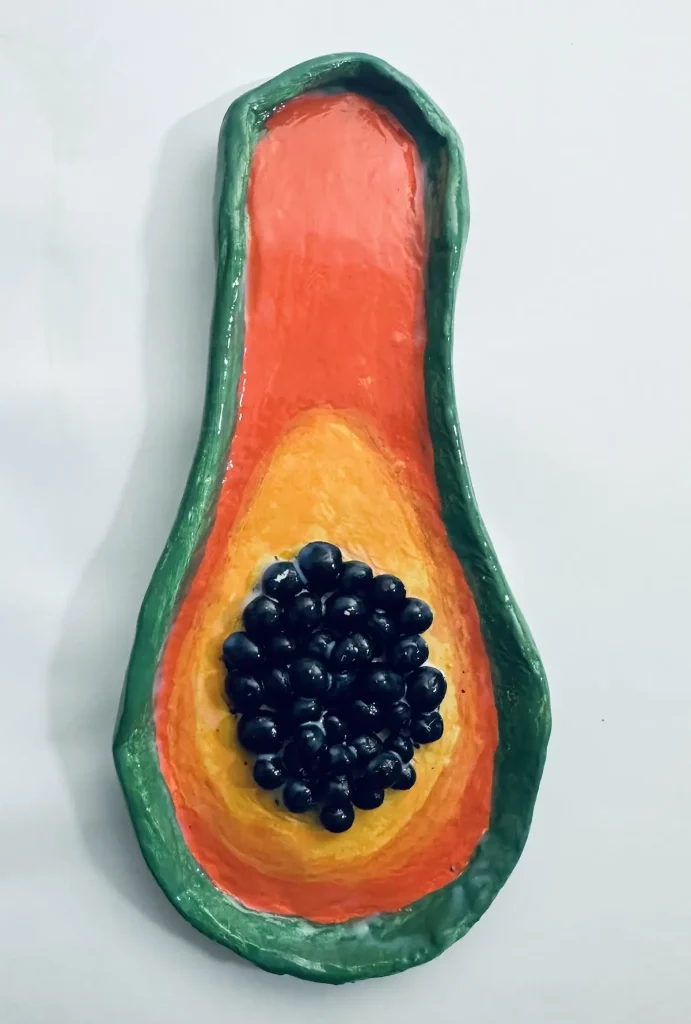
You decide!
As you know, I’m obsessed with clay trays, especially the fruit inspired trays. Today I made a papaya tray with air dry clay. I really loved how vivid it looked.
Today I followed a special bending technique to make the tray rim. I’ll talk more about that in the article.
Enough chit chat, let’s start making!
Why did I select air dry clay?
Air dry clay is the best beginner friendly clay due to several reasons. Number one, air dry clay is cheap. As beginners, you and me make mistakes during each project. We do trial and error and during each step we waste a lot of clay.
For example, polymer clay is 3 to 4 times more expensive than air dry clay. Therefore, when you’re making something a little bit big, like a tray project, its better to go with air dry clay.
I’m a beginner and I know it from experience.
Plus, no kiln and baking needed for drying of air dry clay. It simply just dries itself in the air.
You can shape it as you want simply just by wetting it with water and smoothing it with your fingers. No special tools needed.
Once you become good at what you’re doing, you can switch to a different clay if you want. Until then air dry clay is best for beginners like us who are dreaming of becoming good clay artists.
Supplies you’ll need
If you couldn’t find any of the supplies below, don’t worry, use an alternative one (except the air dry clay lol). I did the same when I lacked tools.
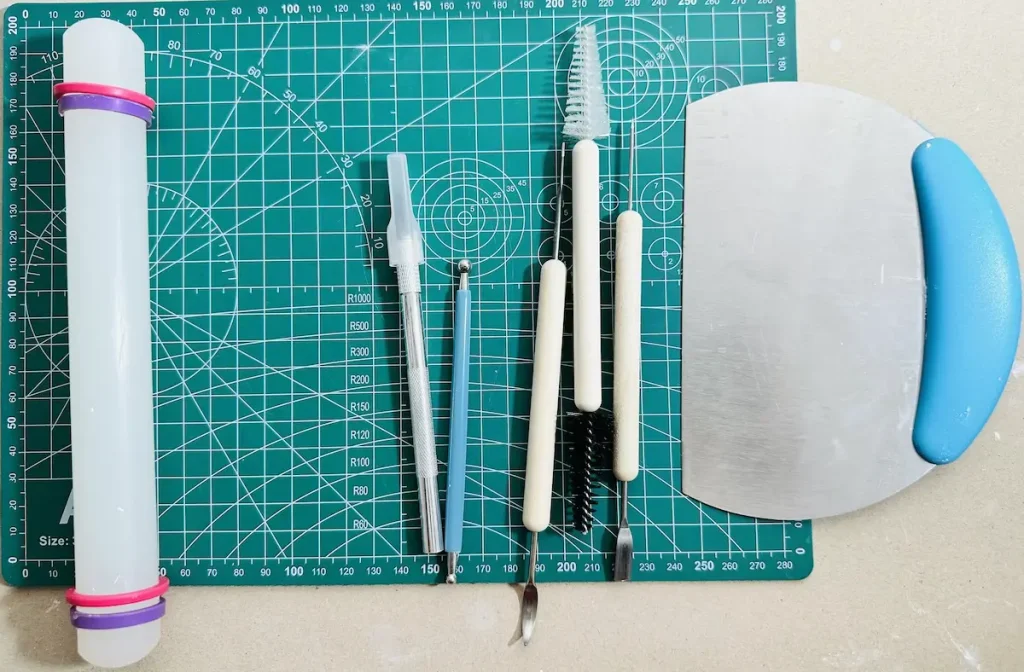
Supplies for making and shaping
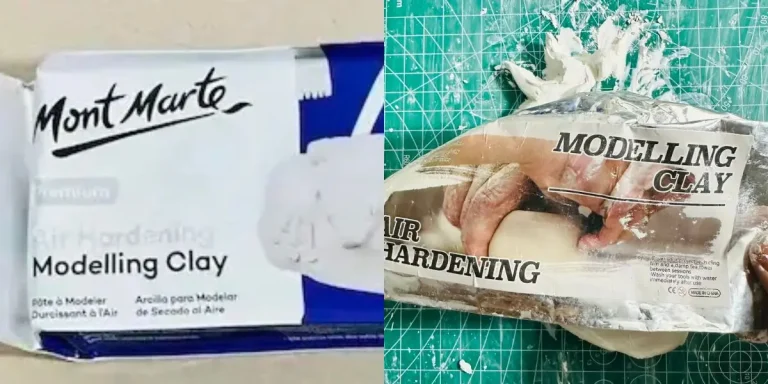
- Air dry clay (any brand you can find is okay. I used Mont Marte)
- Acrylic rolling pin or cooking rolling pin
- PVC mat or silicone mat (or non-stick surface)
- Clay tools (or use toothpicks)
- Clay cutting tool (or small knife)
- Fine sandpaper (good to have, but I didn’t have any)
- Cup of water or spray bottle
- Paper towels
- Optional: Sponge or silicone sculpting tool (or you can use your finger)
Supplies for painting and sealing
- Acrylic paint (black, white, crimson, green, yellow)
- Gloss varnish
- Paintbrushes
- Paper towels
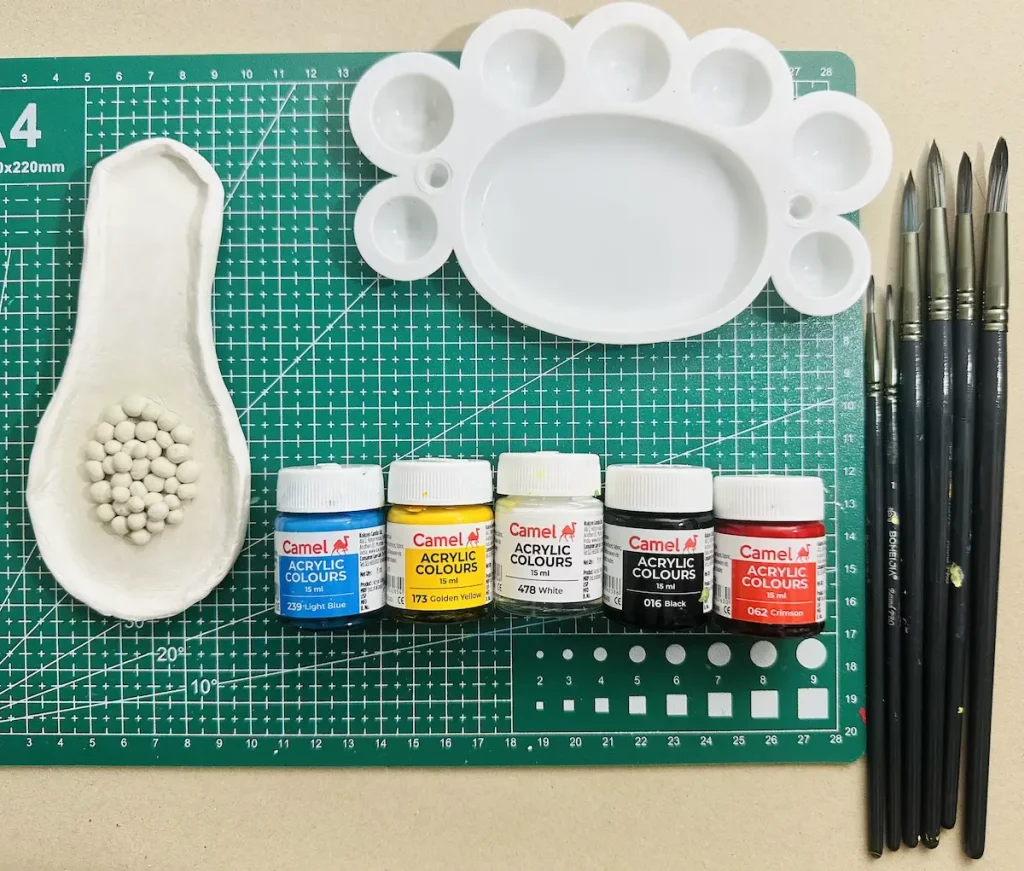
Easy diy papaya trinket tray tutorial video
Below is the full tutorial video on how to make this diy papaya trinket tray with air dry clay, and how I painted and sealed it. I’ve included every technique I used, mistakes I made and how I fixed them in detail.
Now let’s look at the detailed written step by step guide.
Making a papaya trinket tray with air dry clay
Before you start making, go to a well ventilated area, open windows and clean the mat you use. We don’t want dust to stick to air-dry clay.
Step 1: Condition and knead the clay
Take a piece of air dry clay on your mat and start conditioning it by tapping it with water. Add little bit of water to your palms as well.
I especially told you to get an acrylic, silicone, or other non stick mat because air dry clay tend to stick to the surface while kneading if the surface is too smooth. I faced this issue when I was working on my first trinket tray project.
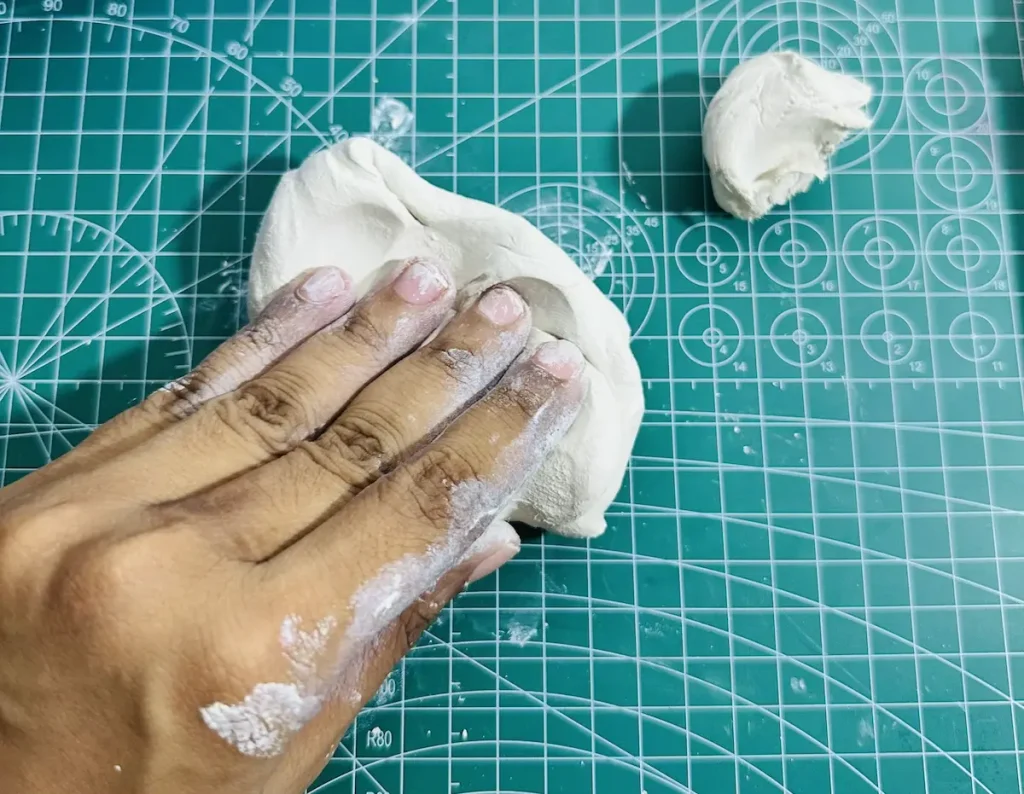
After conditioning the clay, start kneading the clay piece like dough you use to make a pizza.
Knead so well until the clay becomes super soft. Soft air dry clay is easy to shape.
Air dry clay is a highly porous material with lots of air bubbles and moisture inside which can lead to surface cracking and uneven shrinkage upon drying. This is why kneading is must before shaping it.
Knead so well by shifting the clay piece hand to hand with force.
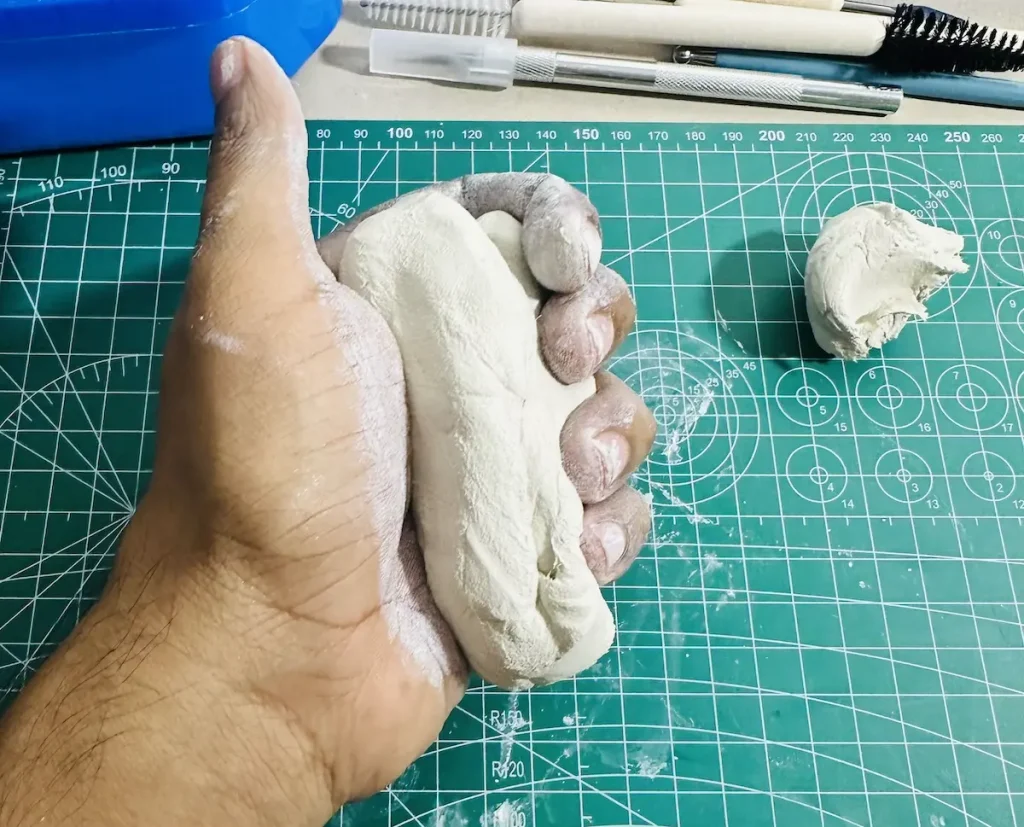
Kneading helps to remove air bubbles inside. Every time you feel clay getting too dry while kneading, wet your palms with a little bit of water and continue kneading. Your hands will feel the right time to move on to the next step.
Step 2: Roll the clay
Now place the soft air dry clay piece on your mat/table and start rolling with the rolling pin.
Even though I told you not to use a super smooth surface for working with air dry clay, I recommend you to use a rolling pin with ultra smooth surface to stop clay from sticking to it and for a clean, flat finish.
Remember to flip, turn and rotate the clay piece 90 degrees while you’re rolling to stop air dry clay piece from sticking to the surface. Otherwise the clay piece will tear apart when you try to lift it up after rolling continuously.
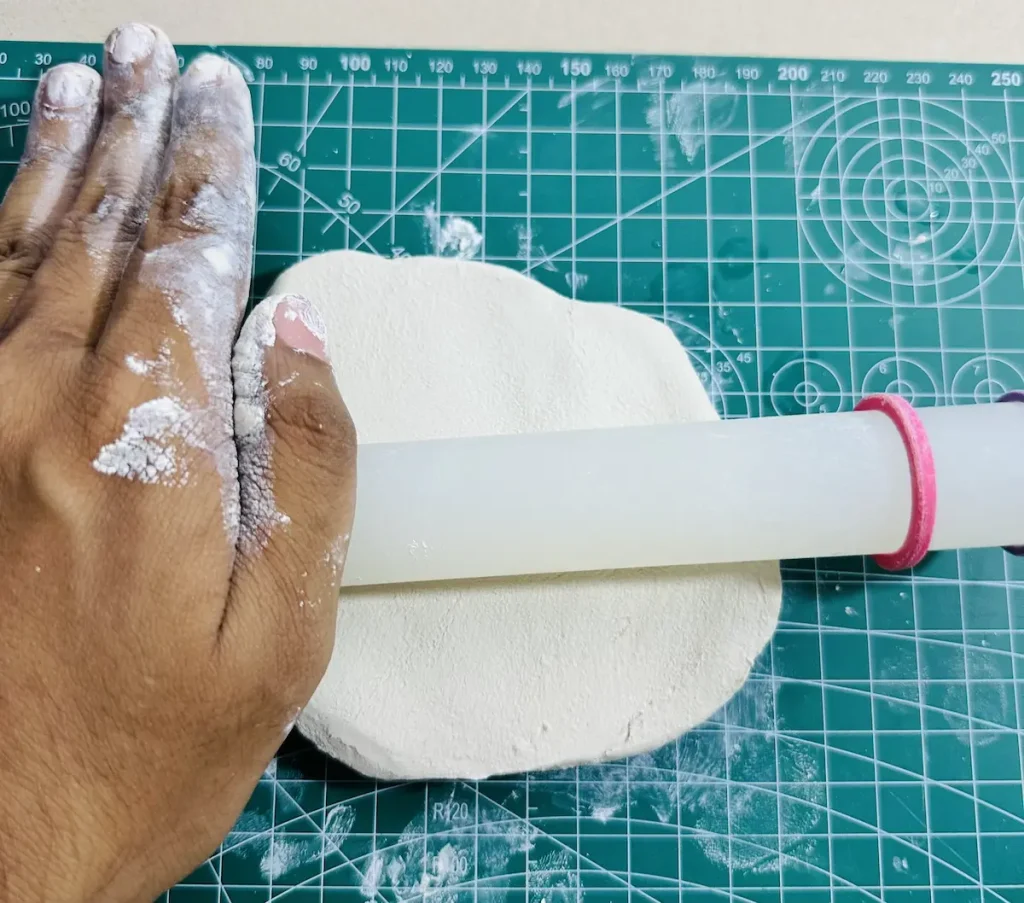
Roll clay to an even thickness because tray base you are making should have the same thickness everywhere.
You can use guide rulers or silicone or rubber rings for that. I used attachable rubber rings around the rolling pin as guides.
I rolled my air dry clay piece until it gets ½ inch thickness. Don’t roll clay too thin because it will tear apart when lifting up and tend to warp upon drying.
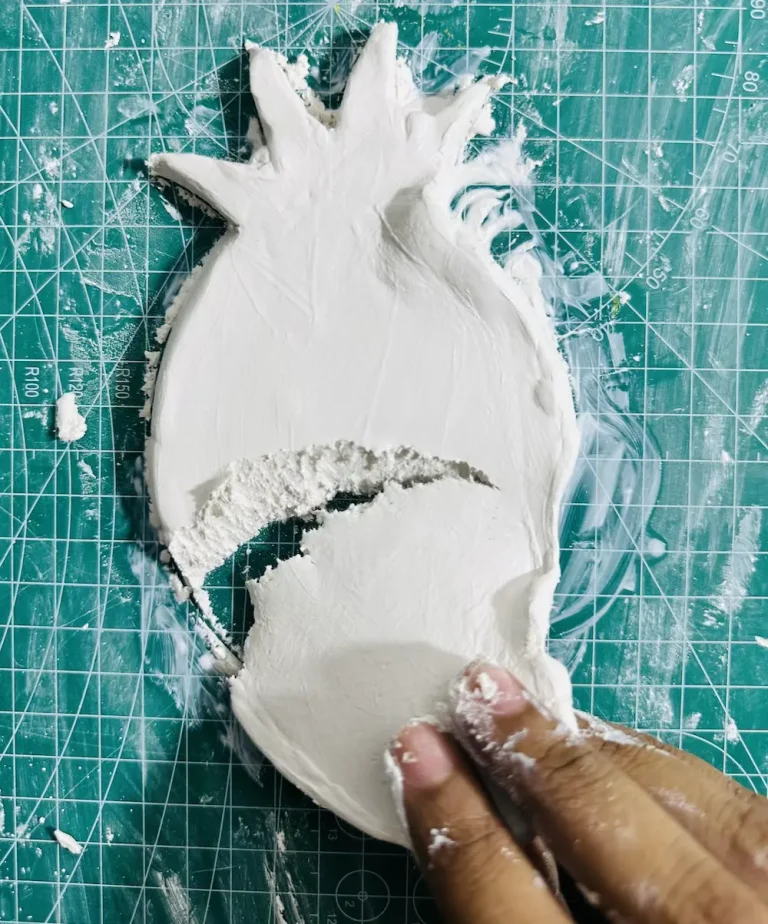
Step 3: Cut out the papaya shape tray base
Now trace the papaya shape on your flat clay piece using a toothpick or a tool. Since I’m bad at drawing and making shapes, I had to trace and erase, trace and erase a couple of times until I get the shape. But still now it looks like a shoe sole. I’m done guys, sooo done!
I think the reason for the elongated papaya shape is because I used my freehand. If you’re bad at drawing shapes, use a template guys.
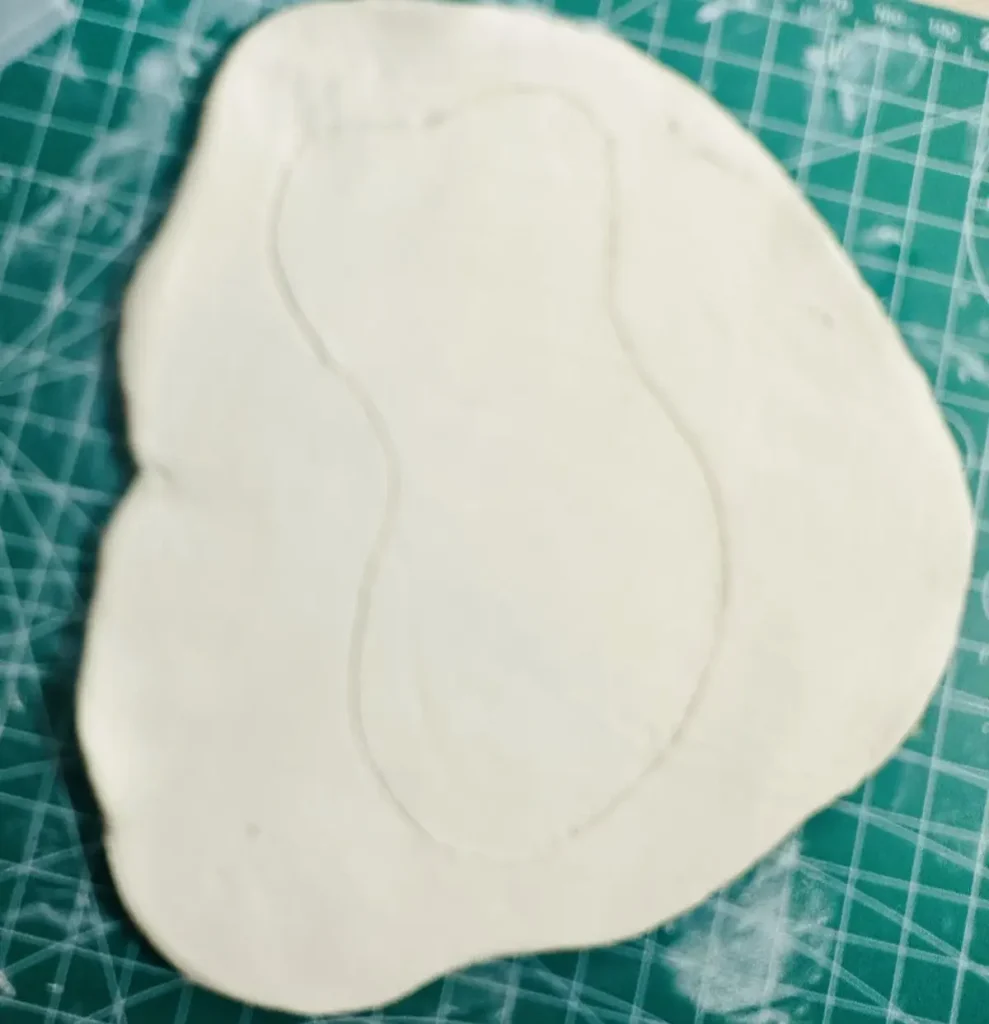
You simply have find papaya shape image on Google and take a trint out of it, cut the shape and place it over your clay and cut along the outline. Simple as that! I was being lazy and ended up with a long shape. But that’s fine. Its also a unique pattern. A unique papaya lol.
Once you’re happy with the traced shape, cut the papaya tray base patiently and remove the excess clay.
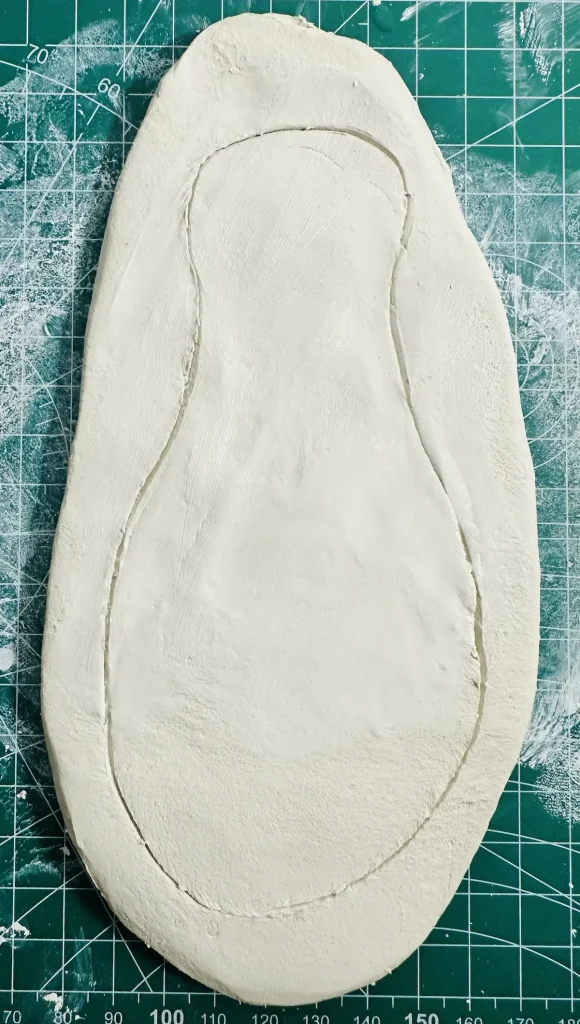
Remove means don’t put it in your clay box because we need that excess clay for making the papaya seeds.
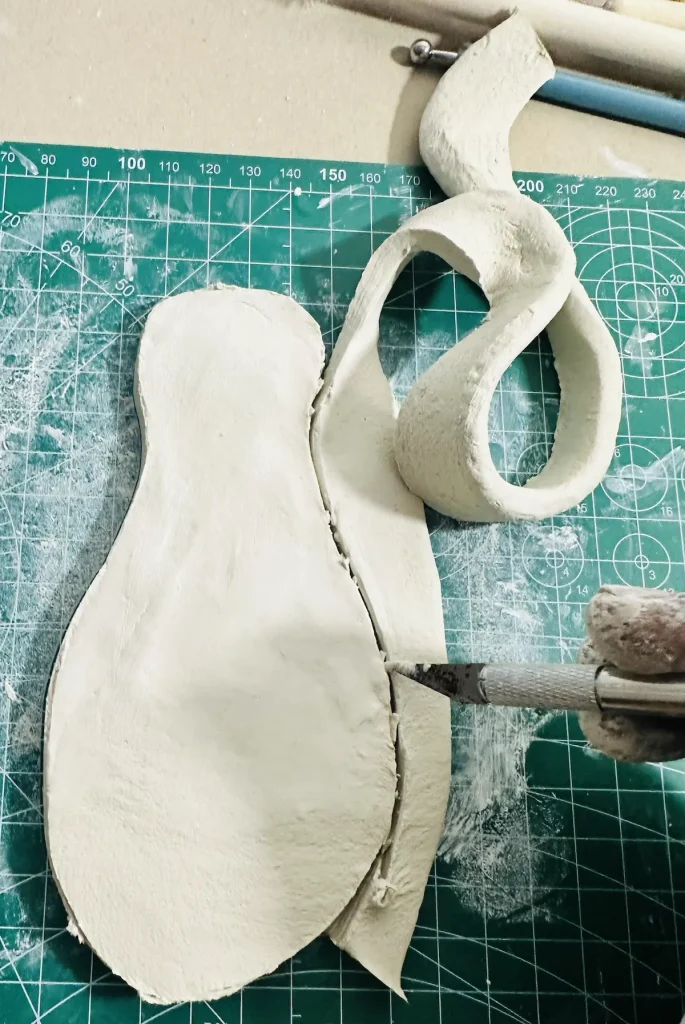
After making the papaya tray base, smooth it properly by wetting your finger with little bit of water and gently sliding it over the surface of the clay. Remove small pores, cracks, and scratches by smoothing it properly.
Step 4: Make the tray rim
Usually after making the tray base, I keep it aside and start making tray rim with excess clay forming thin strips just as I did in my Avocado trinket tray project.
But in this papaya project, I wanted to be unique, do something different. So, I tried gently bending and smoothing the edges upward instead of scoring and slipping a separate clay strip.
I used my fingers and gently bend the edges of the papaya tray base I made upward.
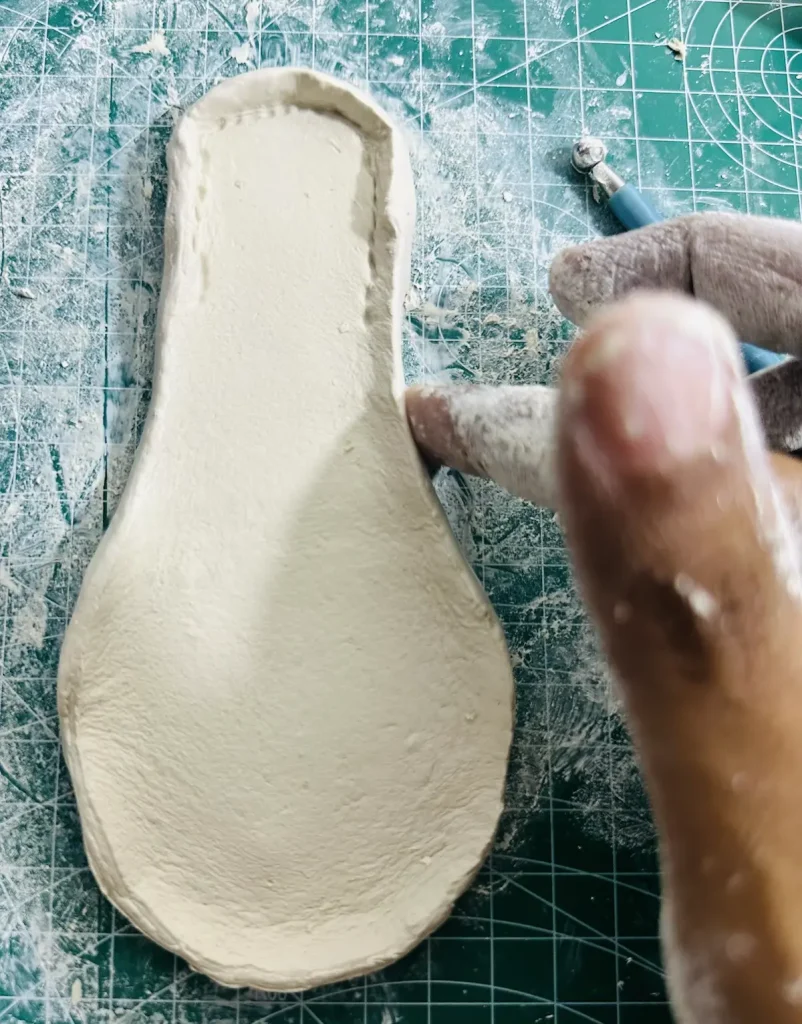
You should smooth the edges continuously while shaping the edges because shape can go so wrong even with a little mistake.
But the method is easy. You simply have to maintain same folding height along the tray base. Plus, you no need to attach air dry clay pieces (rim and tray base) and no need to add extra thin clay coil along the joint.
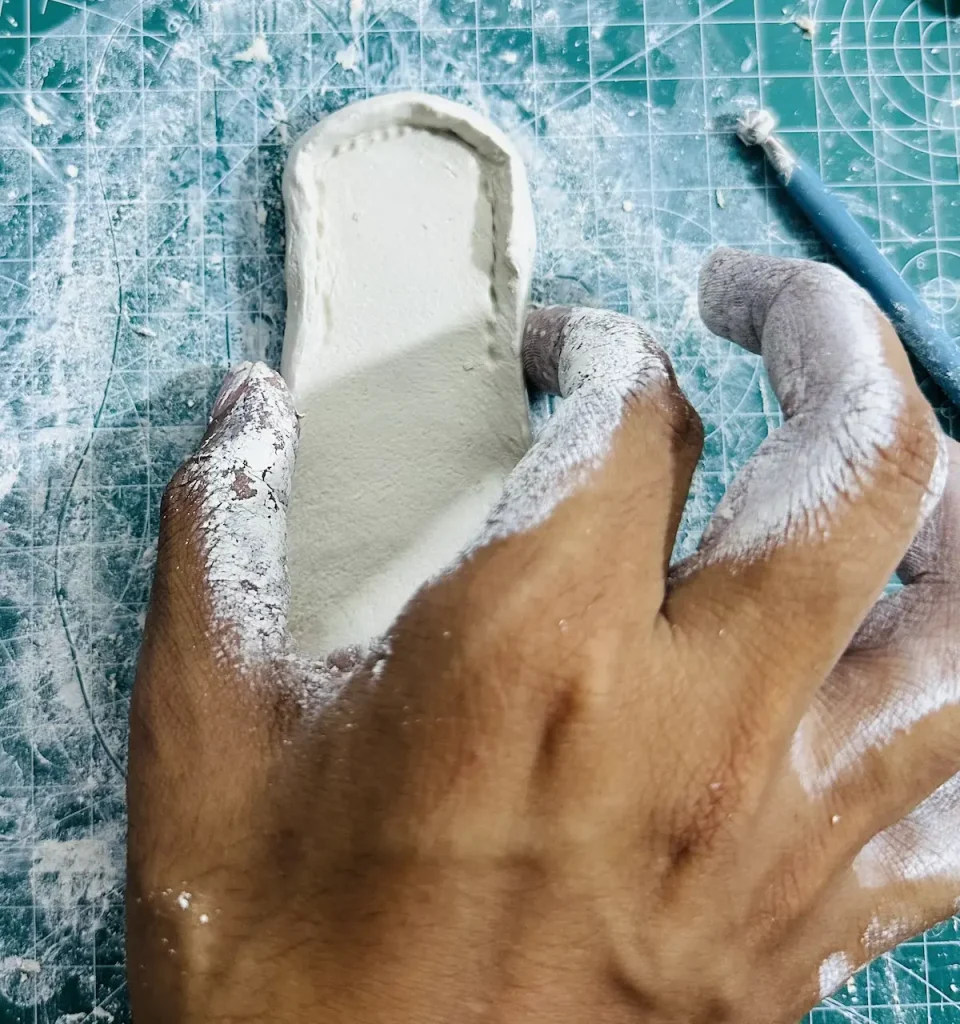
This bond is more seamless and sturdy than the classical score and slip method bond because there will be no 90 degree sharp angle between the tray base and rim. Instead it has a curved shape which spread the pressure more evenly.
You just have to use your fingers and keep folding up along the edge making sure it has the same height and even thickness. Simple as that!
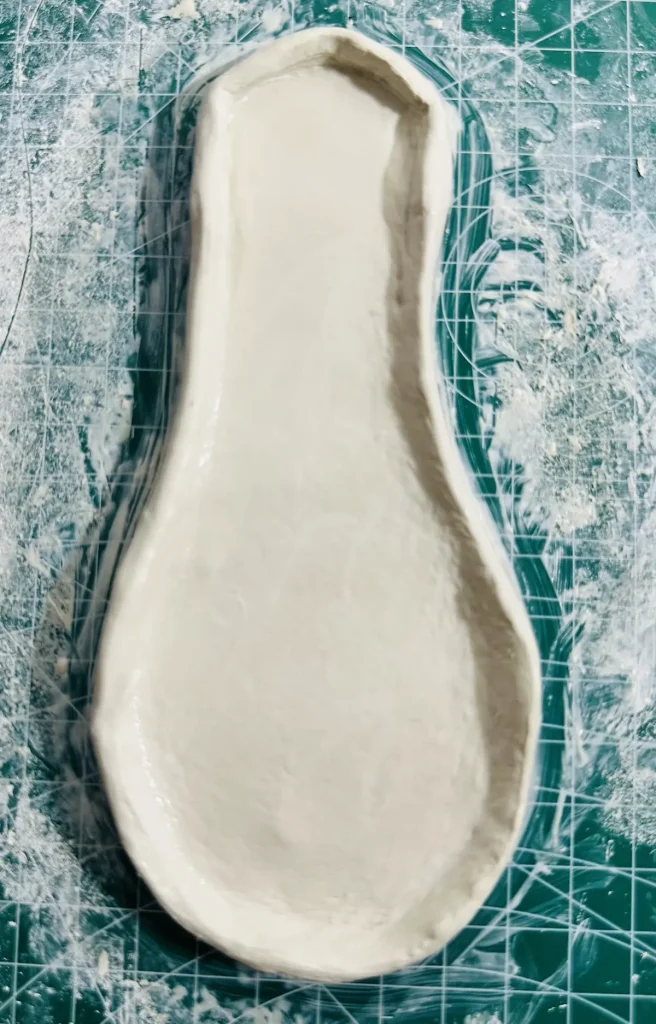
But I think this fold up rim making method is also another reason why my papaya tray bit like a shoe sole because the width of the tray base was decreased because of that method. Therefore, if you’re trying this fold up method for making the tray rim, make sure your tray base is wide enough. I learned that the hard way.
But trying new things is good since we are beginners right? So, that’s fine!
Step 5: making and adding the papaya seeds
Take very small pieces from the excess clay we kept aside and start making balls.
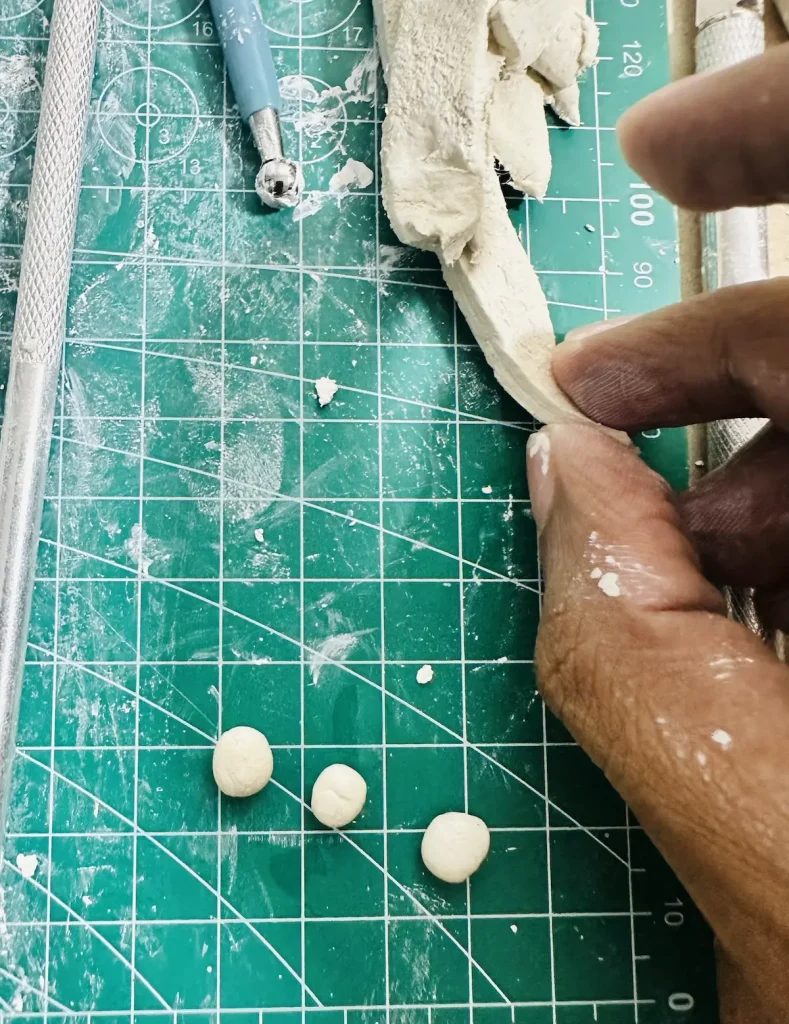
Now we are making papaya seeds. I made around 20 balls and that depends on the size of your tray base.
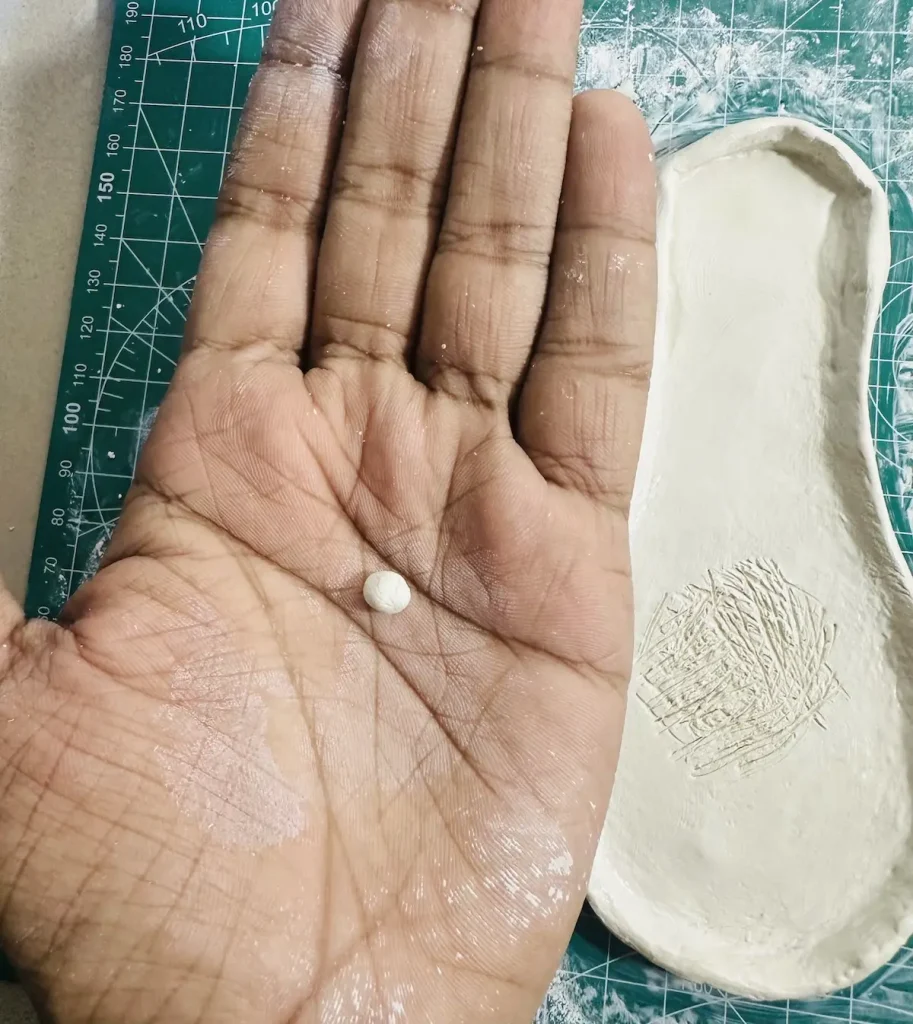
After making the balls score the middle surface of your papaya tray base and tap with little bit of water. This is score and slip method for sticking between the tray base and seeds.
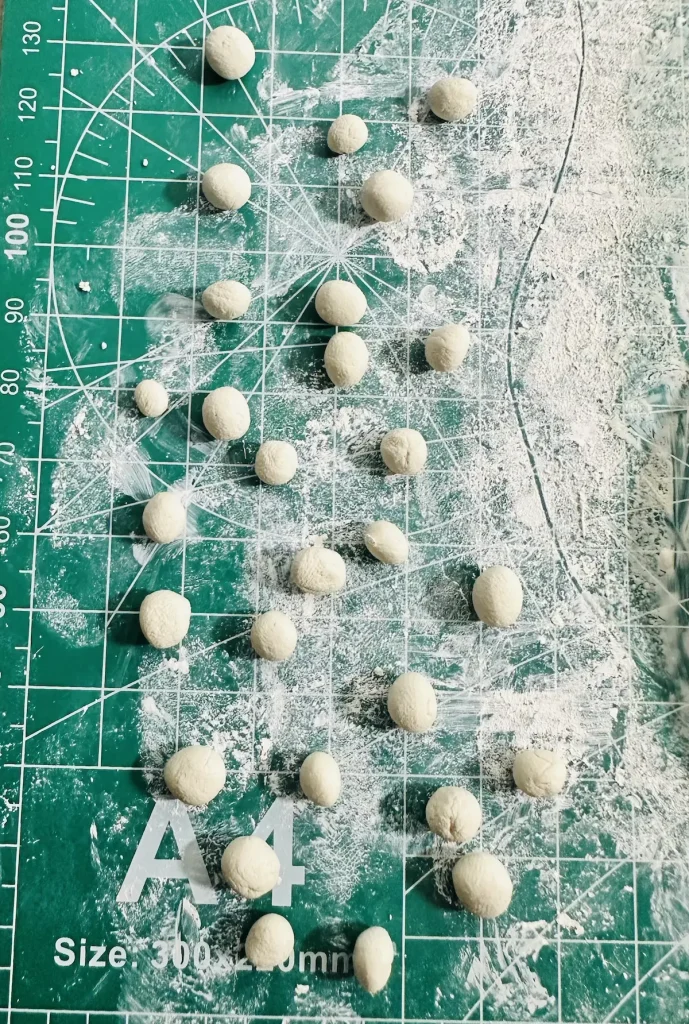
Now place seeds over the scored area and gently press.
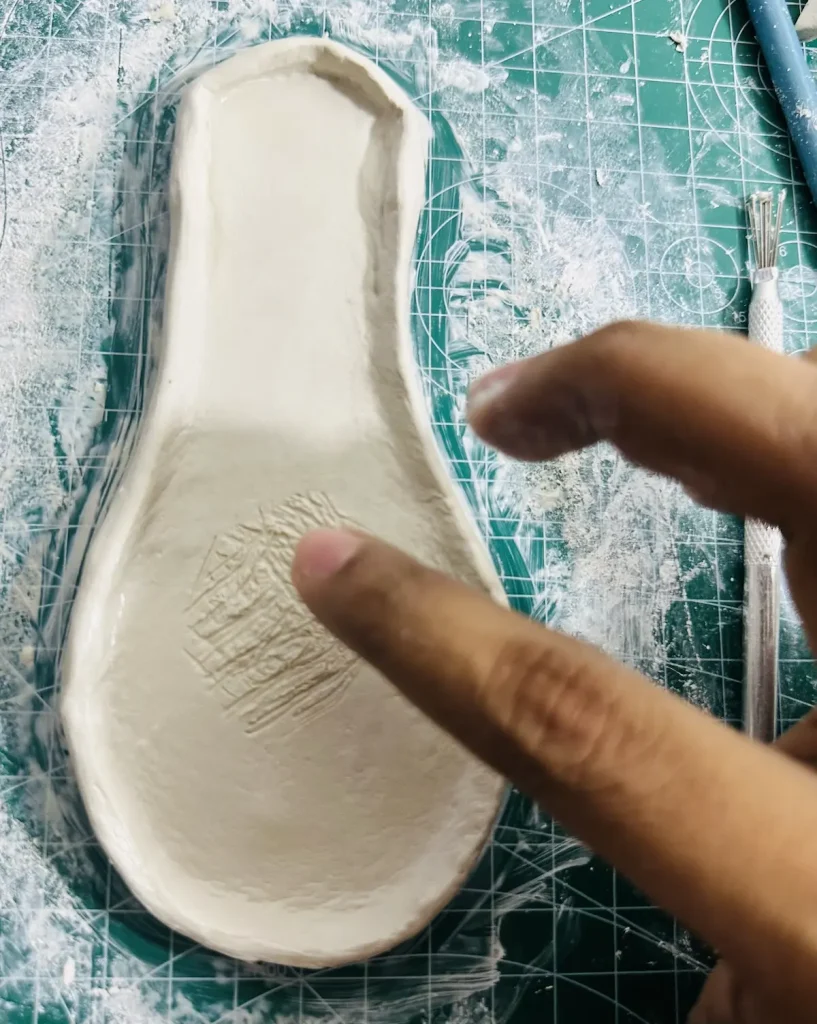
I feel like I should have placed seeds in the middle of the top area of the tray as well because that’s how papaya inside is. So, when you’re making, consider adding seeds over a large area in the middle in oval shape.
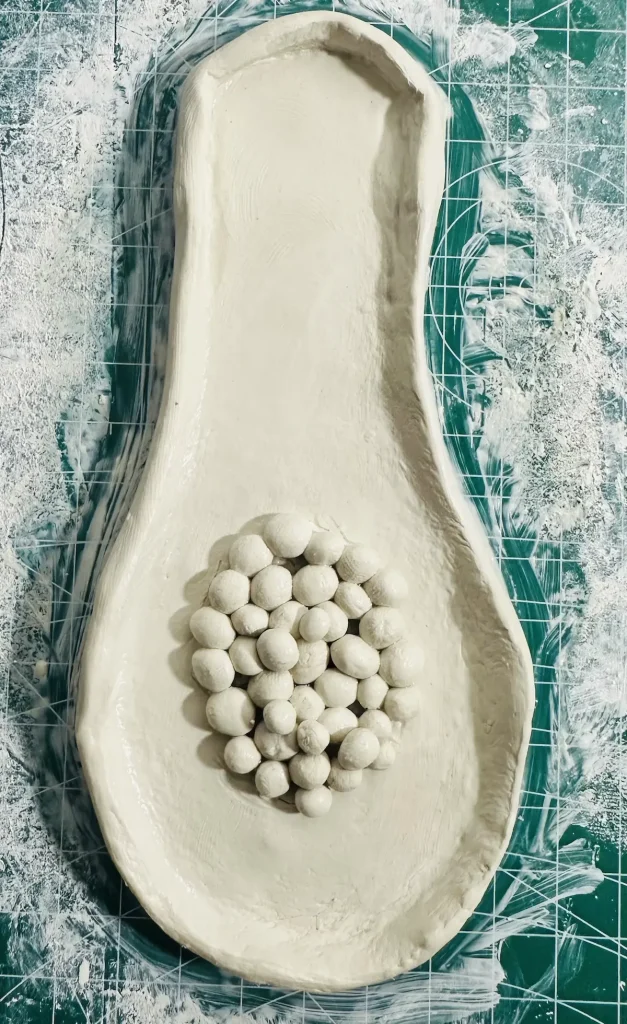
Congratulations, shaping our papaya trinket tray is done! But it is still wet af.
Step 6: Let it dry
Now let the papaya trinket tray you made with air dry clay dry for 24-48 hours in a cool well ventilated area.
Do not keep the tray in the sunlight because quick drying on air dry clay surface cause uneven shrinkage because drying rate between the outside layer and inside should be almost the same. Otherwise the surface will end up forming cracks.
After 2 days check if there’s any wet dark grain spots and let it dry more. If the surface looks dry and more white in color, you are good to start painting.
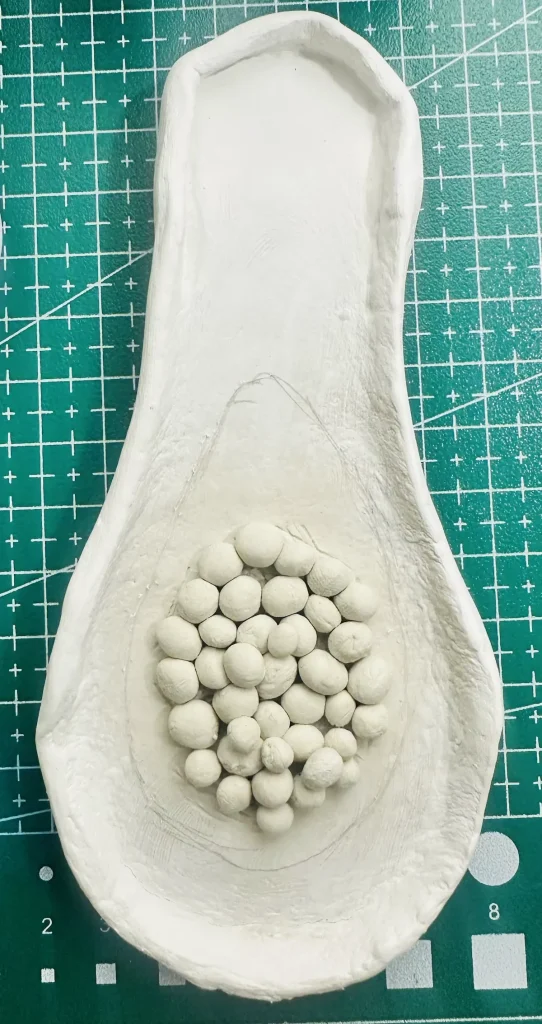
You can sand the surface of the tray with a fine grit sandpaper to remove residue. But I didn’t and only cleaned the surface with a paper towel. However cleaning is a must before painting.
Step 7: Painting the papaya trinket tray
I painted my papaya trinket tray with acrylic paint. Acrylic paints are considered as best paints for air dry clay projects because water soluble, with little water you can make it paint-ready, comes in different colors, and can mix so well easily to make the color we want.
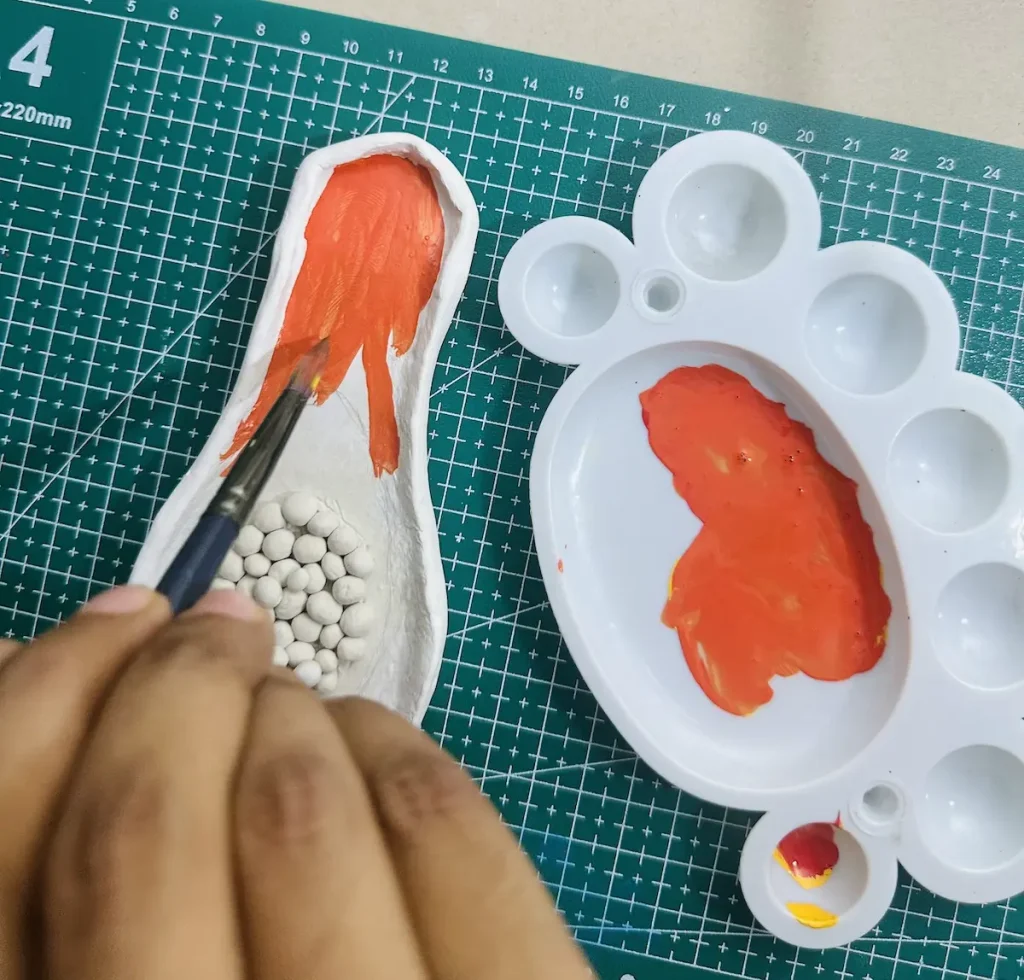
I dont recommend using watercolors for painting air dry clay projects because they need lots of water and water tends to weaken your clay structure.
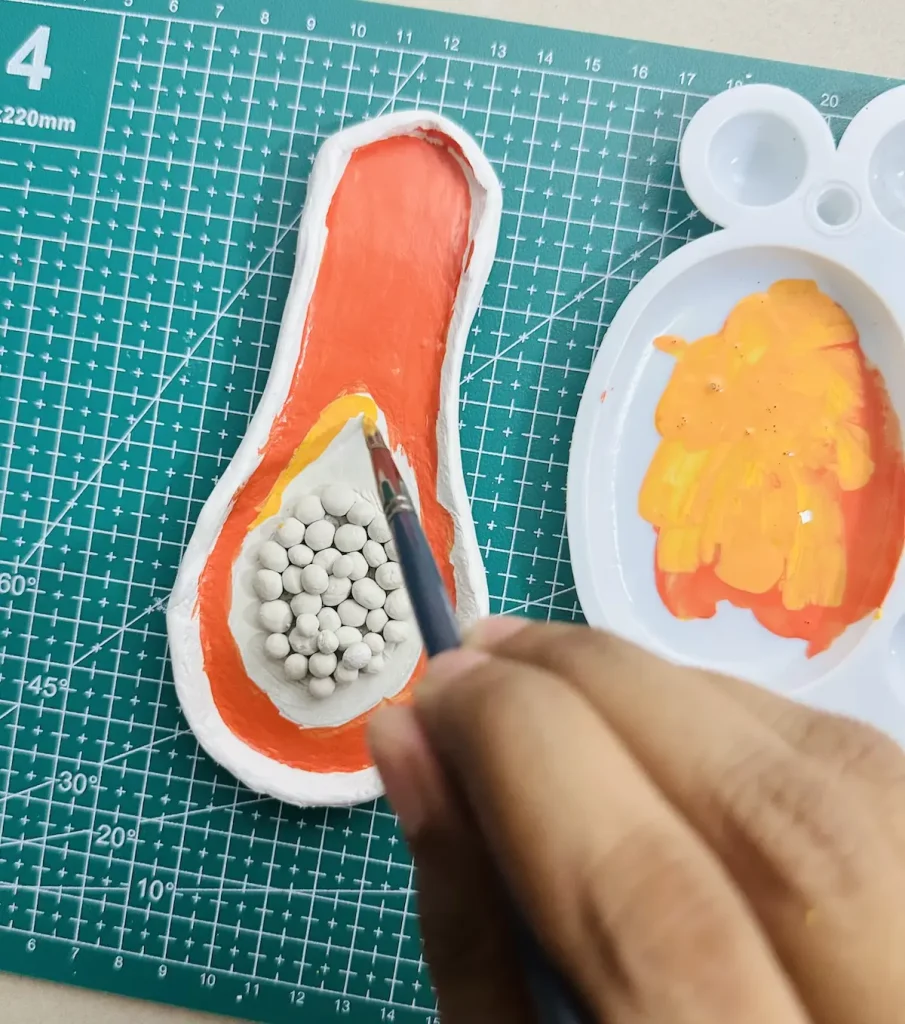
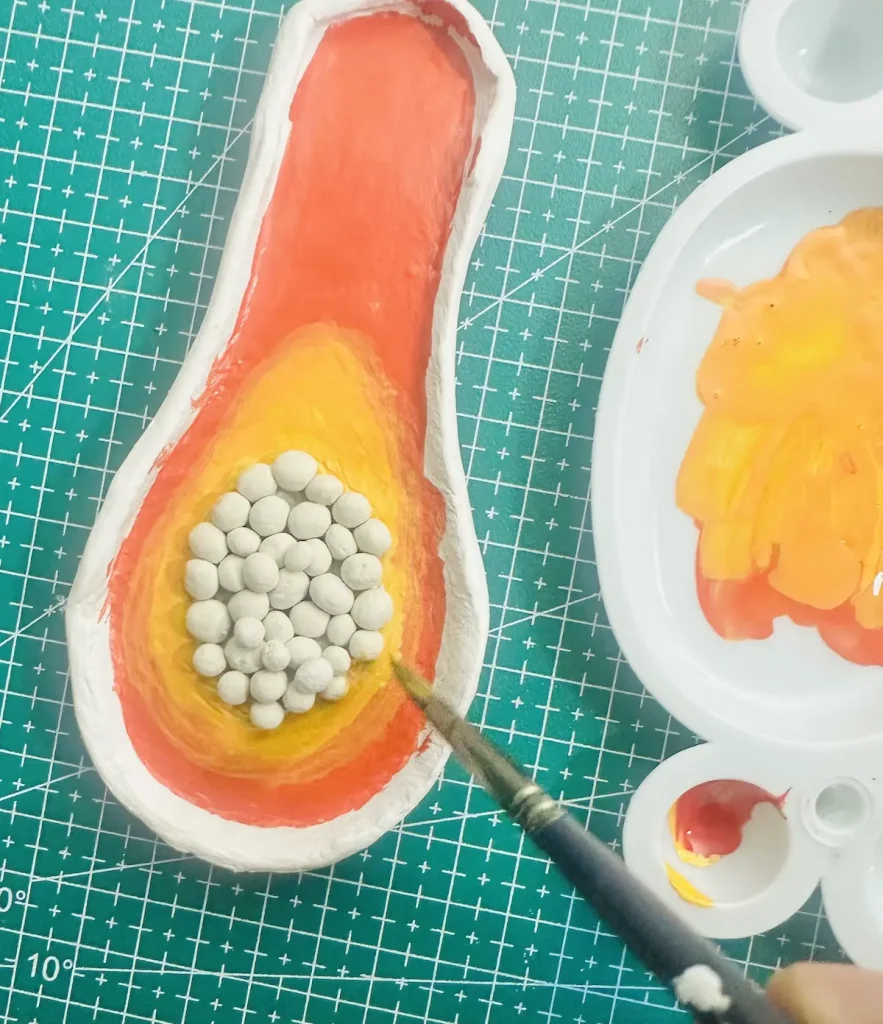
First I painted the tray base with orange color and add some yellow in the middle around the seeds. Seeds were colored in black and the tray rim in green.
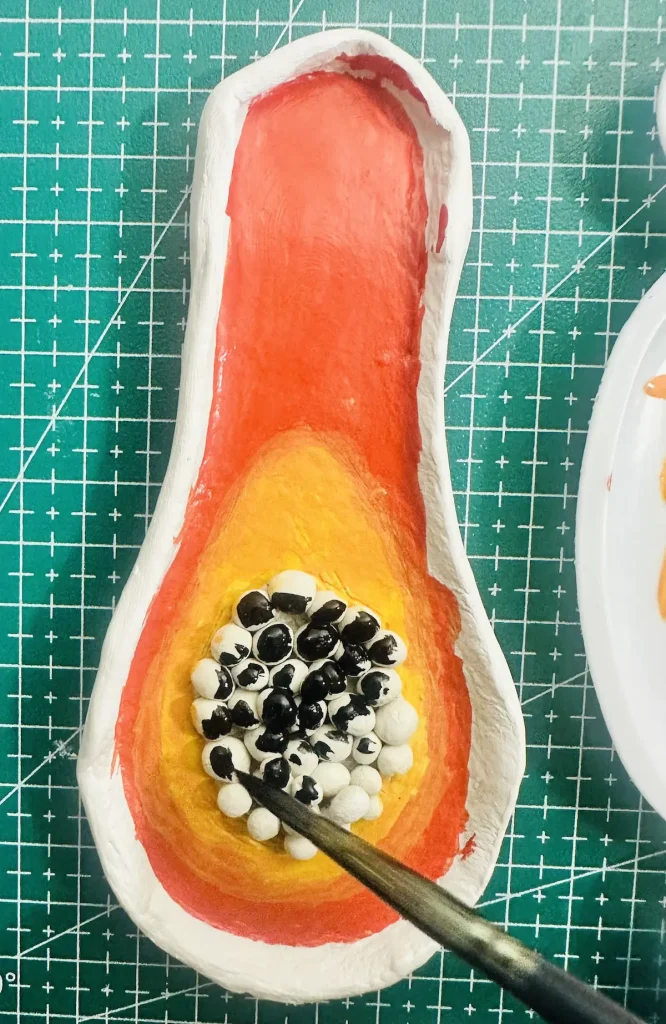
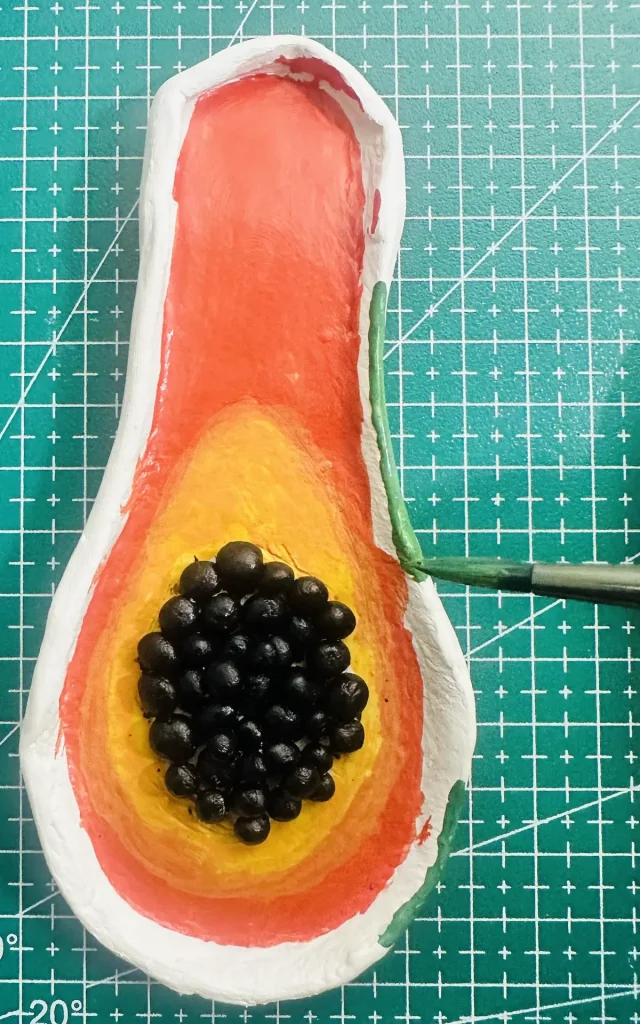
Apply thin coats of paints in one direction to avoid leaving brushmarks.
After painting is done I left it for 2 hours before sealing.
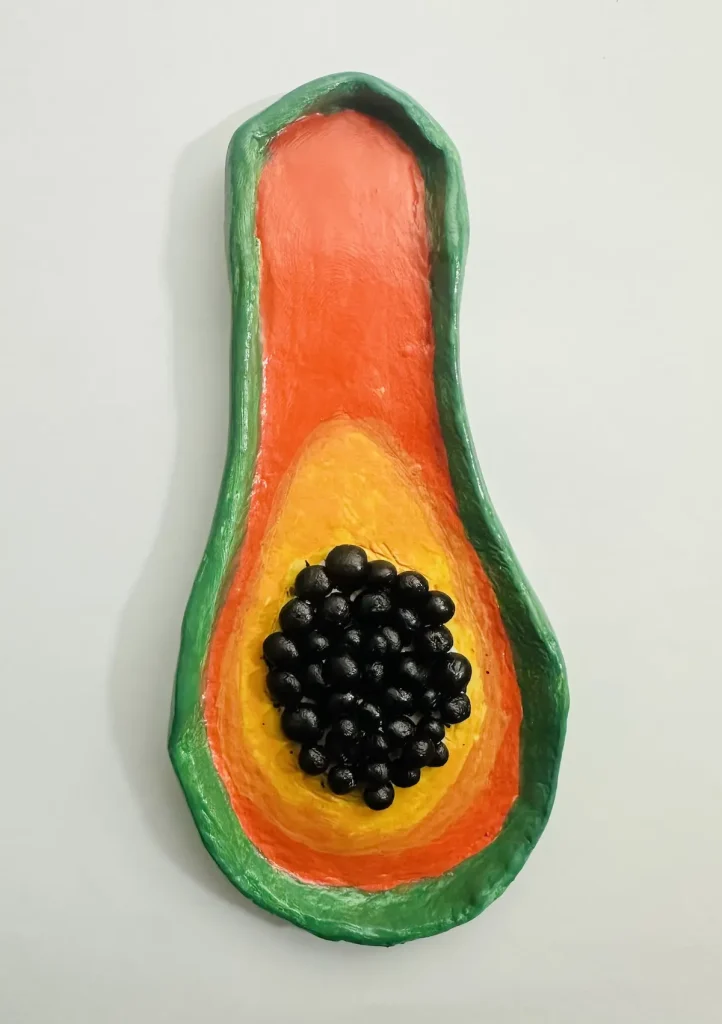
Step 8: Sealing the tray
Sealing your air dry clay projects is a must for long term protection and for nice appeal. A proper sealer stops moisture from reaching air dry clay because moisture weakens the clay.
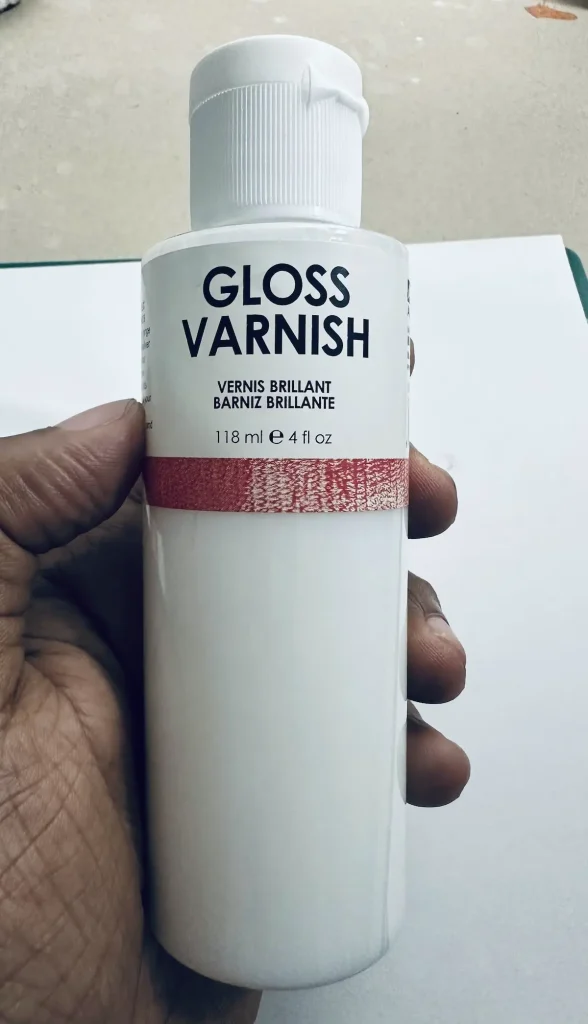
I use gloss varnish as the sealer. You can use UV resin, epoxy resin (for glassy finish), or clear varnish finish as you like. Don’t go for cheap ones like Mod Podge or Nail polish because they do not give the long term protection you want for your beautiful air dry clay project.
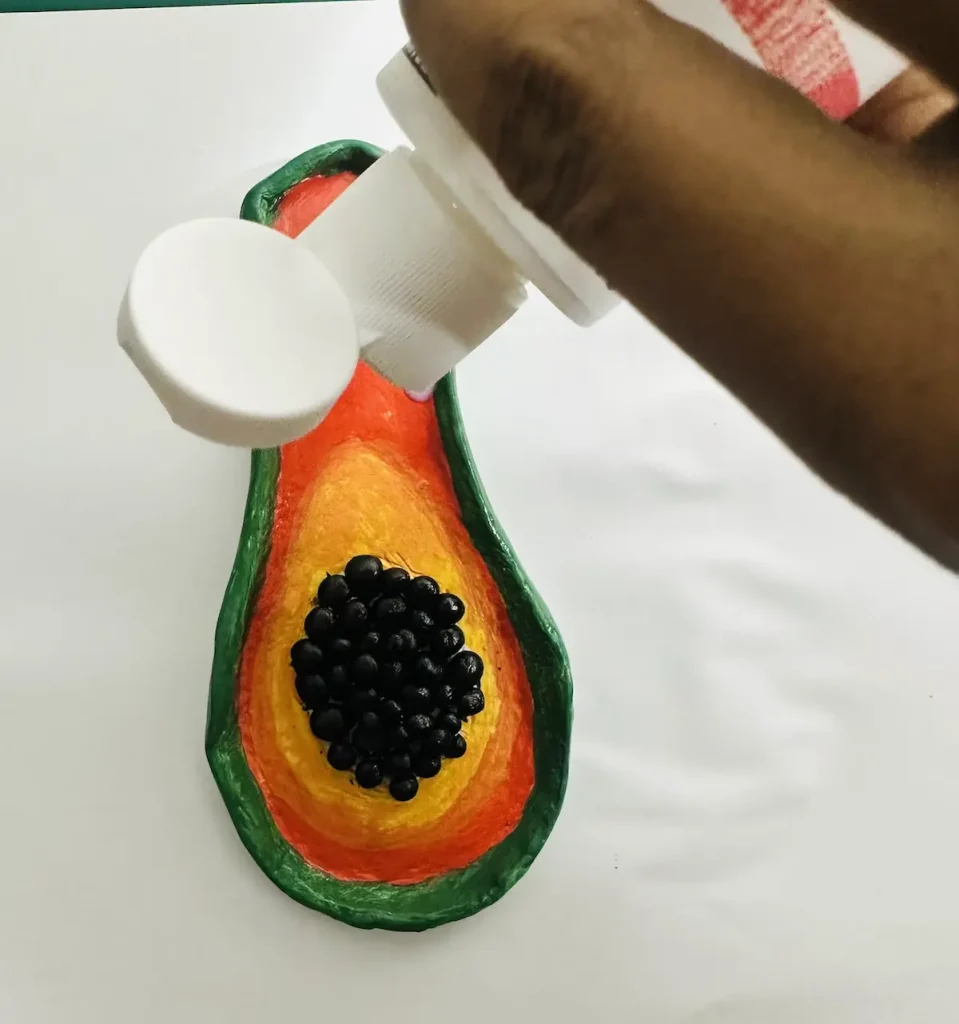
Apply thin coats of sealer as you did with paints. Make sure to cover the whole area.
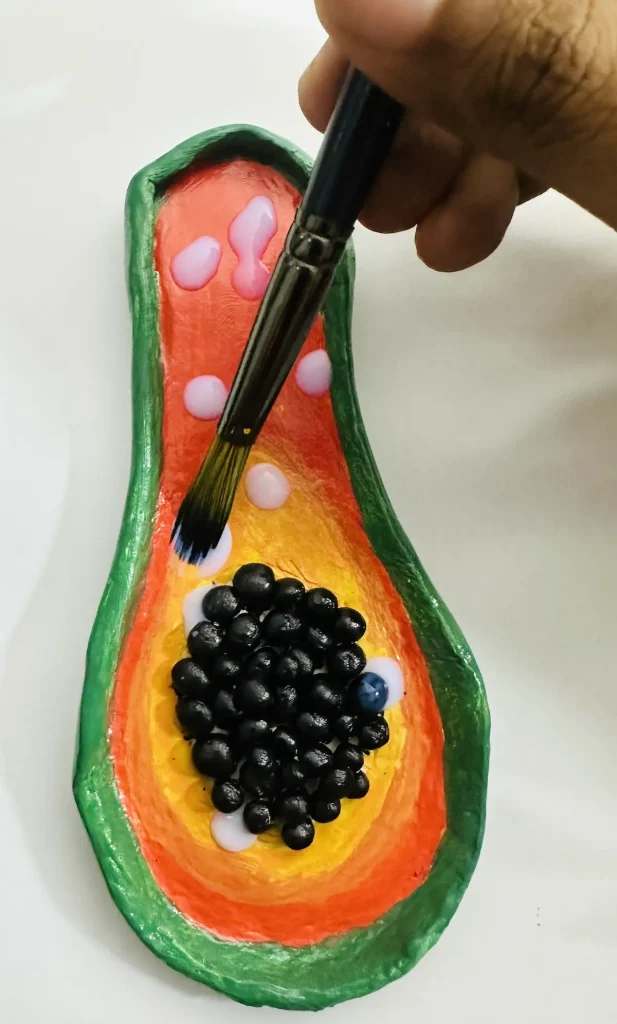
Check out my complete guide on How to Seal and Waterproof Air Dry Clay Trinket Trays.
After sealing the papaya trinket tray let it dry for 24 hours for curing. Gloss varnish I used dry and cure naturally with air. But if you use UV resin, cure it with a UV lamp.
Congratulations guys and gals. Now we have successfully completed our papaya trinket tray project with air dry clay.
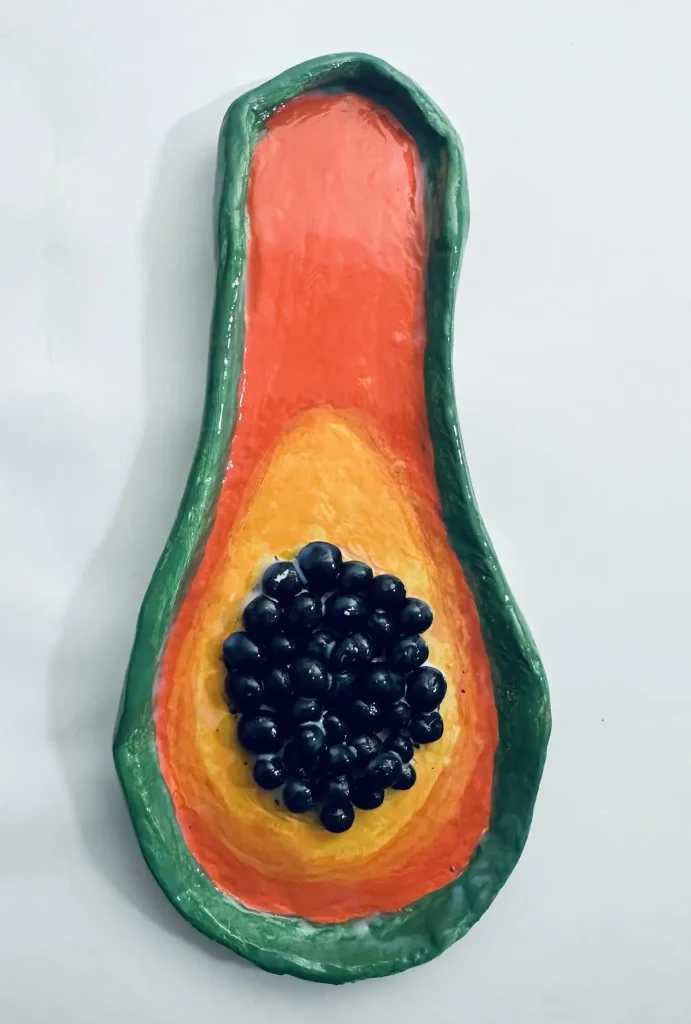
I was so happy because with new tray rim method, I was able to make my papaya tray beautifully as I wished.
How long does it take for an air dry clay trinket tray to dry?
24-48 hours.
How do you keep air dry clay from sticking to the table?
Use PVC or silicone mat. Follow turn, flip, rotate clay while rolling method.
Do I need to attach a separate rim when making a clay tray?
Not always needed. You can try fold upward method and lift tray edges upwards evenly.
How do you seal an air dry clay trinket tray?
With gloss varnish, UV resin, epoxy resin, or any other clear varnish.
Final thoughts
Now you know how to make a papaya trinket tray with air dry clay with simple and easy techniques. Try the tray rim making technique I told you about and tell me your feedback.
Don’t forget to tag @clayandmestudios in your papaya trinket tray project. I want to be proud haha. I sure love to see them when you do. I’ll see you guys with another awesome and easy project! Peace Out! 🤟🏾
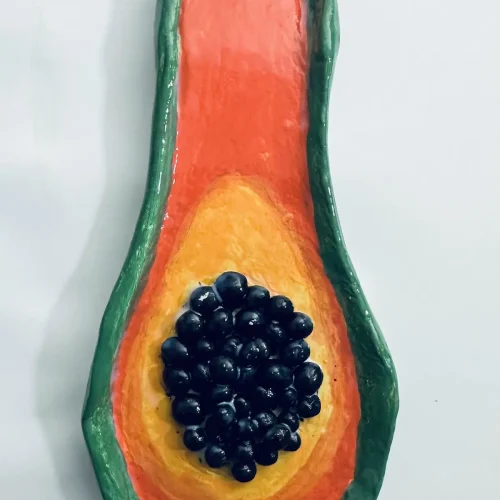
DIY Clay Papaya Trinket Tray

Supplies Needed
- Air dry clay
- Acrylic rolling pin or cooking rolling pin
- PVC mat or silicone mat or non-stick surface
- Clay tools or use toothpicks
- Clay cutting tool or small knife
- Fine sandpaper good to have, but I didn’t have any
- Cup of water or spray bottle
- Paper towels
- Optional: Sponge or silicone sculpting tool or you can use your finger
- Acrylic paint black, white, crimson, green, yellow
- Gloss varnish
- Paintbrushes
- Paper towels
Instructions
1. Knead the clay
- Work that clay until it’s soft and free of air bubbles.
2. Roll it out
- Use a rolling pin on a mat, and don’t forget to rotate it so it doesn’t stick! Aim for ½ inch thickness.
3. Cut your shape
- Use a template to get that perfect papaya shape, then cut and smooth the edges.
4. Form the rim
- Gently fold the edges upward for a seamless, sturdy finish. No extra clay needed! 🤲
5. Make and add the seeds
- Roll small clay balls, score the center, and press them in with a little water. 🥭
6. Let it dry
- Let it sit in a cool, ventilated spot for 24-48 hours. ⏳
7. Paint the tray
- Apply your acrylics in thin, even layers—orange, yellow, green, and black for those seeds! 🖌️
8. Seal the tray
- Protect your tray with a gloss varnish or resin. Let it cure, and you’re all set! ✨