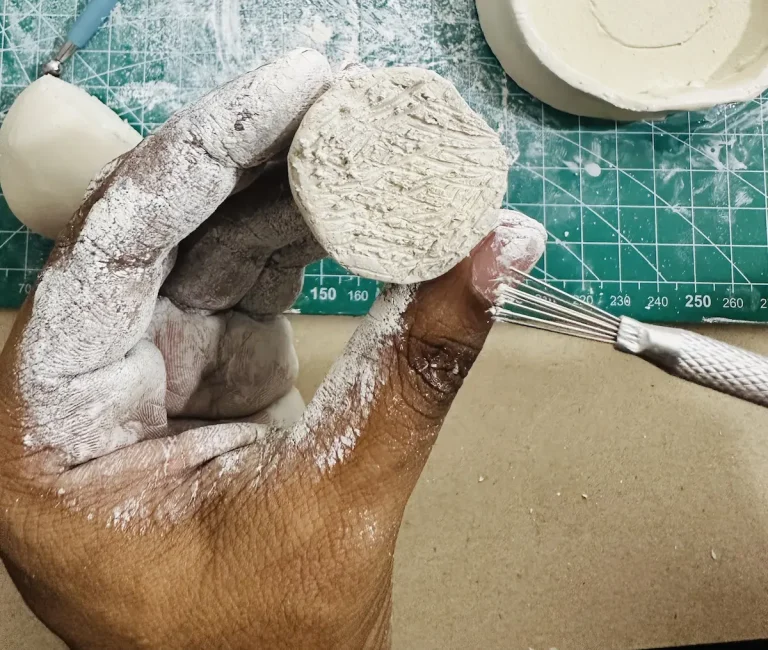
Yes, as a beginner clay artist, there are good days and bad days during this journey. This is a kind of bad day for me because my pineapple trinket tray project completely failed because of my wrong selections, wrong choices, and mistakes I made during the project. 🎨
But experts rarely make mistakes and even publish them on the internet. But I want to be authentic and show how realistic the air dry clay journey is. It’s not all sunshine and rainbows. 🌈
But it’s ok, as these experiences are what teach us to do better next time. ✨
I’ll show you the wrong decisions I took that led to the worst final result.
Let’s dive in! 🌊
The pineapple trinket tray plan (and how it went wrong)
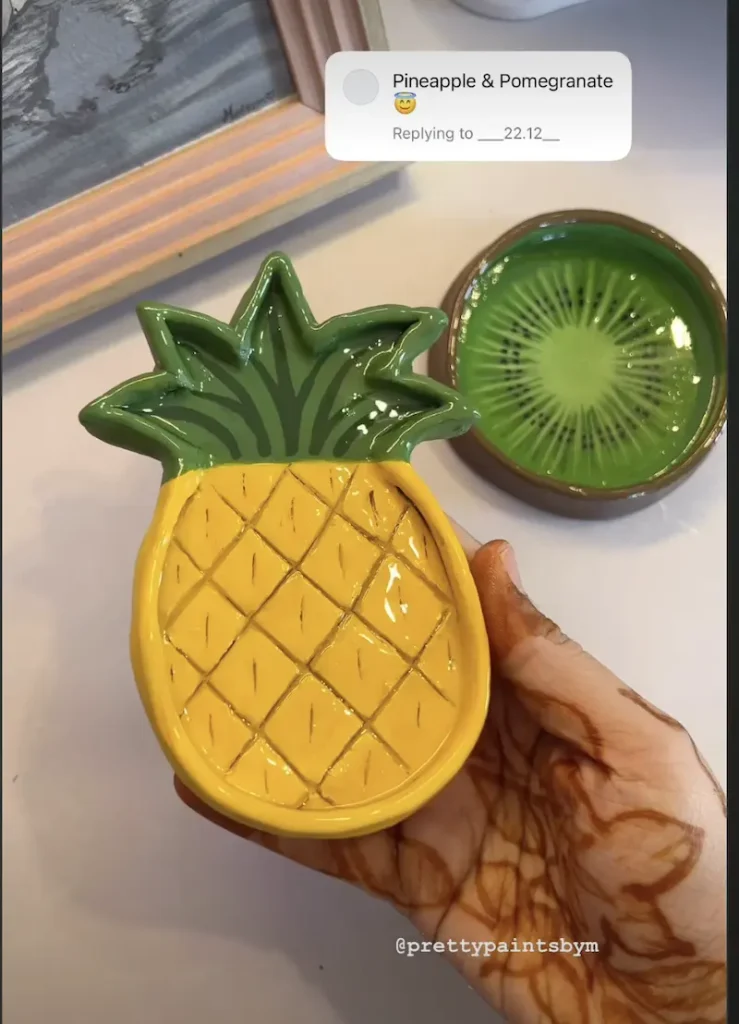
My plan was to make a pineapple trinket tray like this with air dry clay,
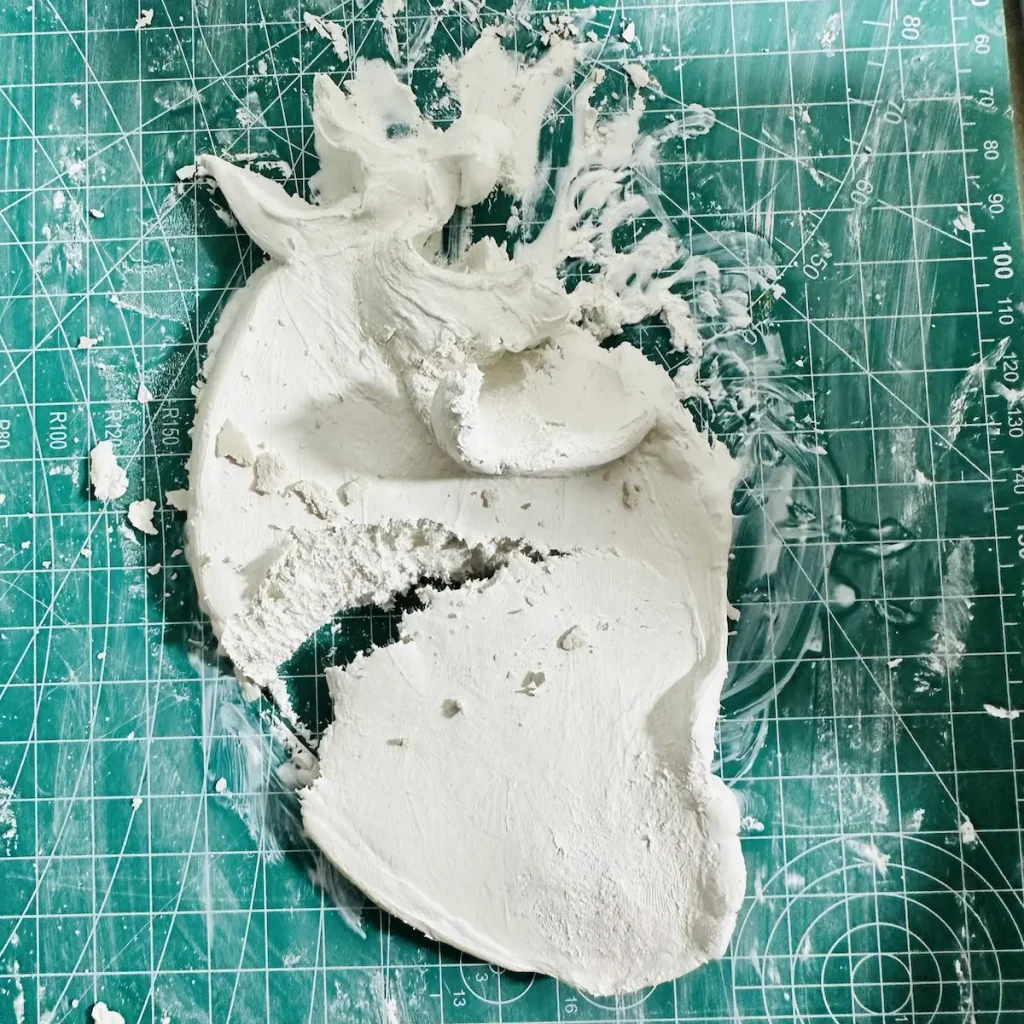
But this is what I ended up with, lol. 😅
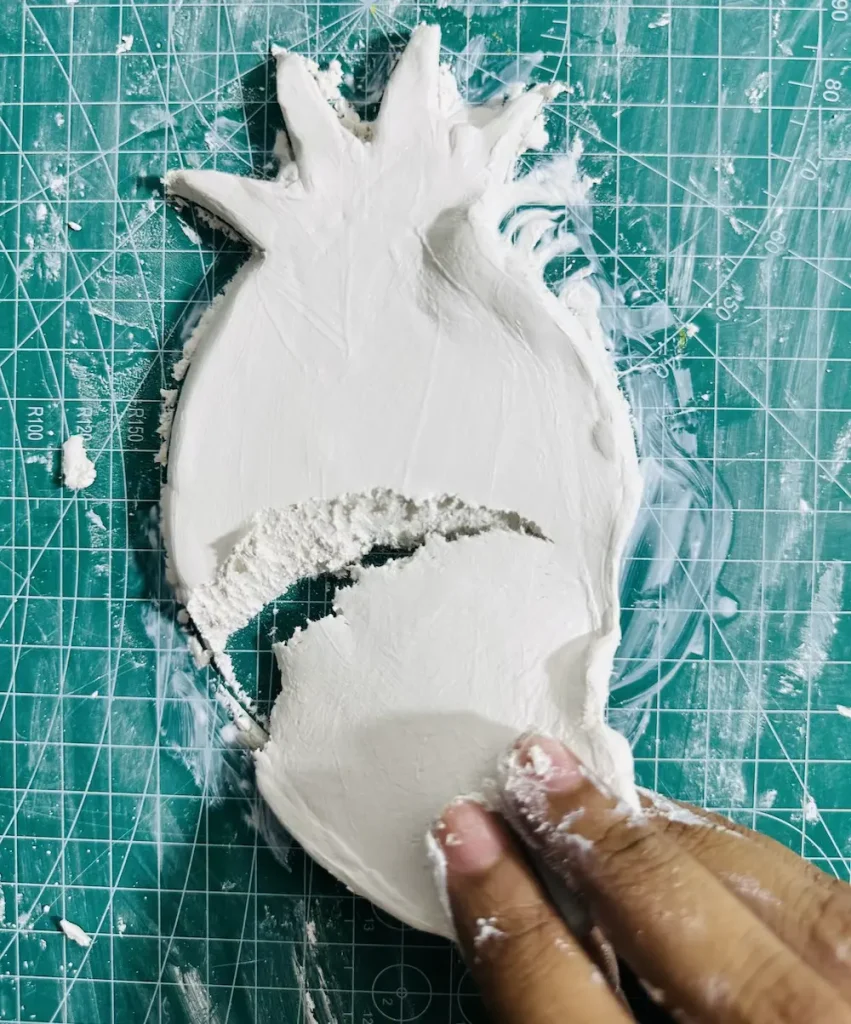
The clay slab cracked on the surface and many cracks formed around the edges. Plus, it was torn apart when lifting it up after rolling.
I applied more and more water to avoid the clay from cracking and to make it softer, which makes it easier to shape, but it ended up sticking to the mat and getting messy.
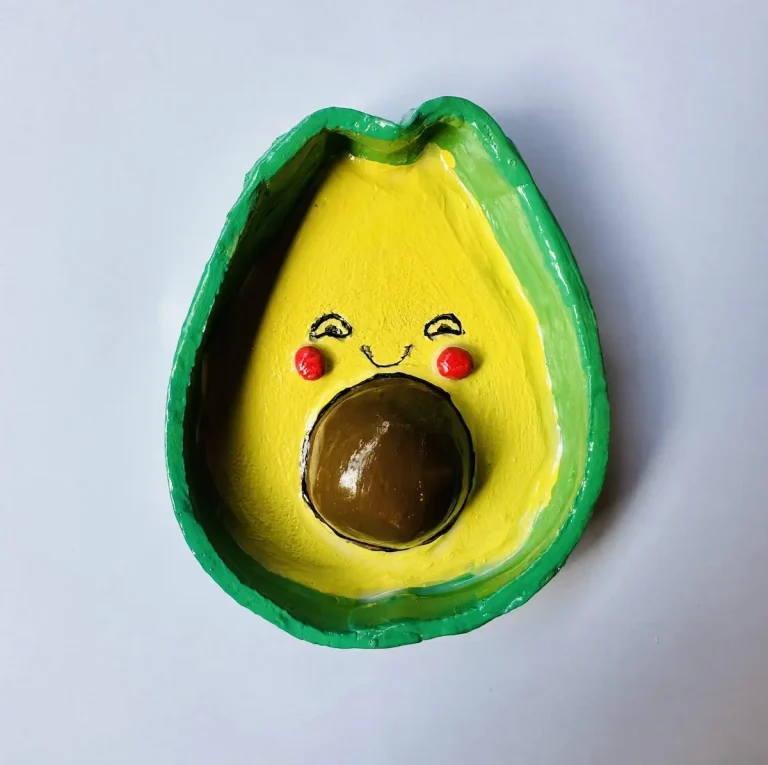
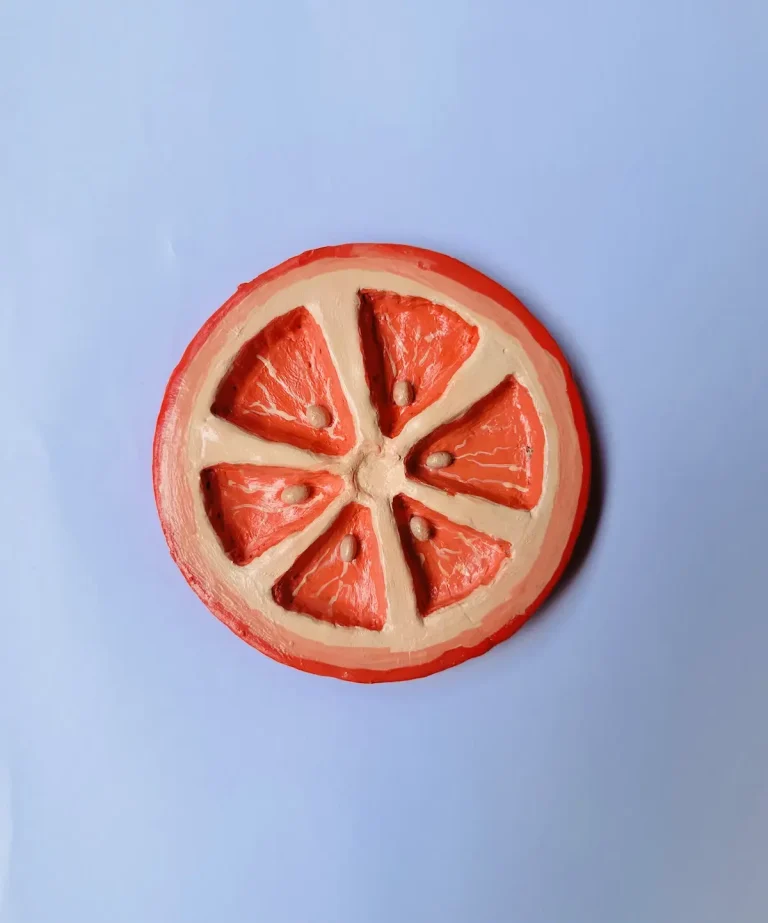
Actually, this is not my first time making a trinket tray. I have made an avocado trinket tray, a strawberry tray, a papaya tray, a watermelon tray, a banana tray, and an orange trinket tray as a beginner clay artist. I was able to improve my skills each time.
For example, during my latest orange trinket tray project, I made no mistakes and was able to make distinct orange dividers inside the tray base by hollowing out the clay.
But honestly, this pineapple trinket tray was not planned to be that difficult, but it failed because I did things differently than in my previous projects. Lesson learned. Lol. 😉
Tutorial video
Below is the full video on how I ruined my pineapple trinket tray project with air dry clay. I’ve included every mistake I made and how I fixed them in detail.
Air dry clay mistakes I made on this project
Let me tell you what mistakes I made so you can avoid them and make a clean and nice trinket tray project as I showed earlier. 📝
Mistake 1: Trusting an unbranded air dry clay
First of all, this is not sponsored by any air dry clay brand. I’m telling you purely from my honest experience.
Usually, I make my trinket tray projects with Mont Marte air dry clay. I made the previously mentioned avocado, strawberry, papaya, watermelon, orange, and banana trays with it, as it never caused any trouble.
But before this project, when I checked online stores, all the Mont Marte air dry clay was out of stock, and I had to buy an unbranded local, cheap product because I couldn’t wait. 📦
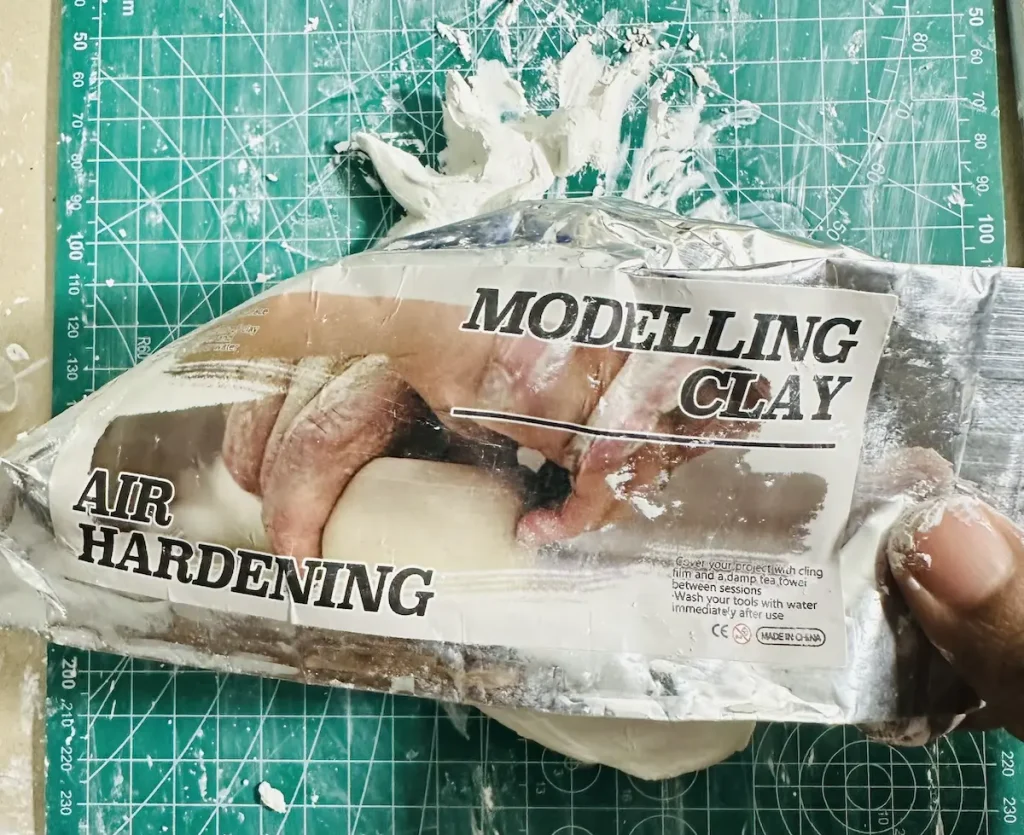
It does not have a name and just has “air hardening modeling clay” on the label.
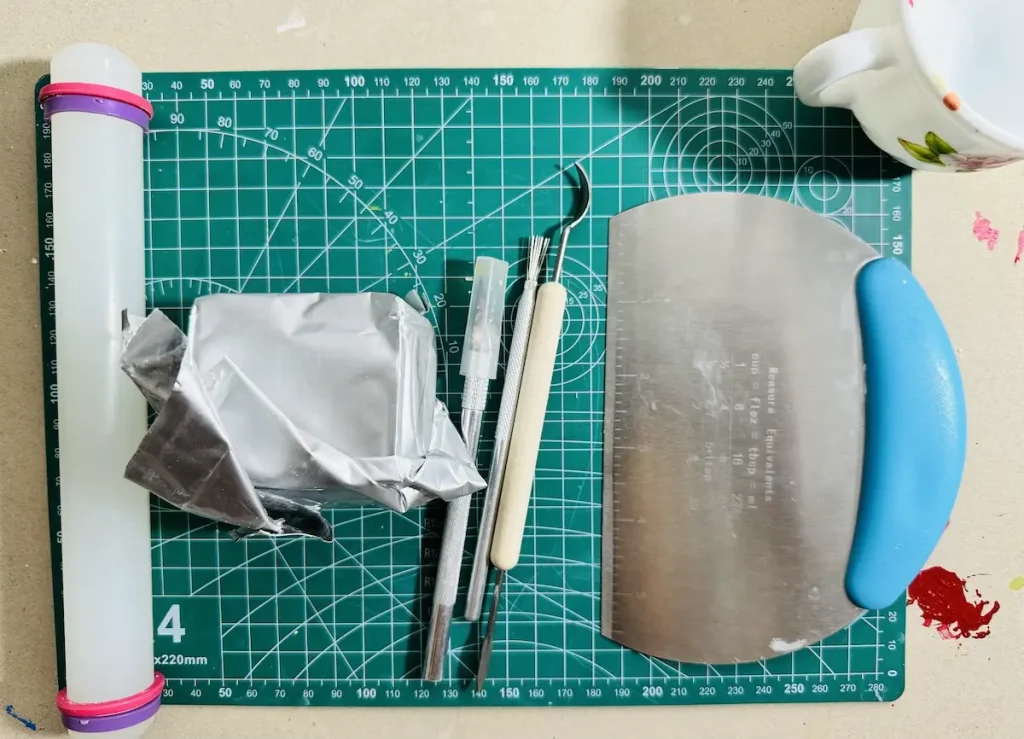
If I had waited 2–3 days more, I may have gotten the Mont Marte.
However, the lesson was learned even before I started to shape the clay tray base.
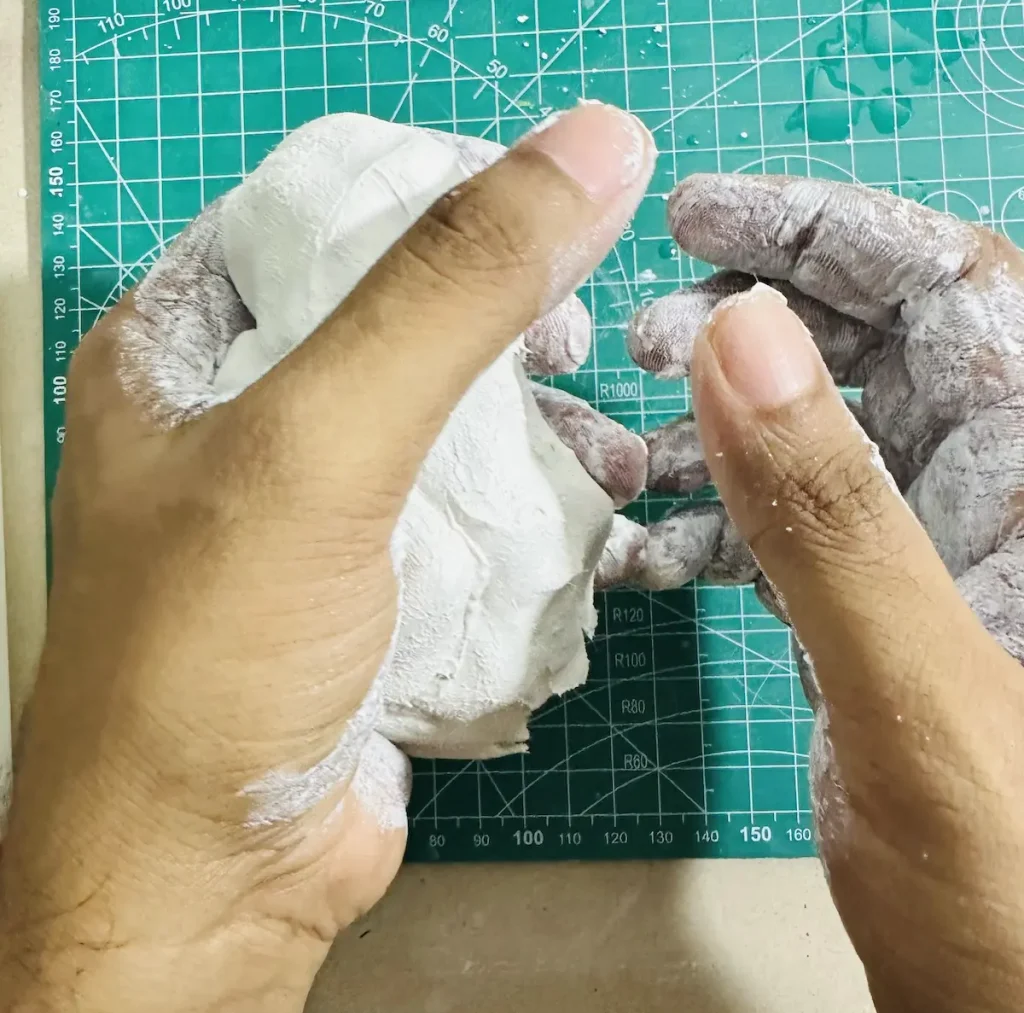
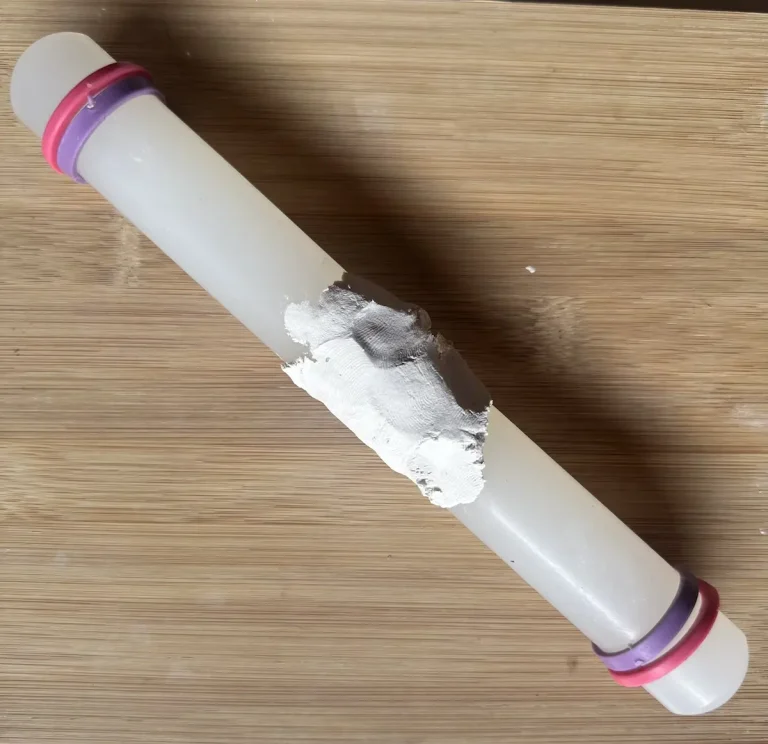
First of all, I conditioned the unbranded air dry clay piece with a little bit of water as I regularly do and started kneading it like a dough by pressing and squeezing with force.
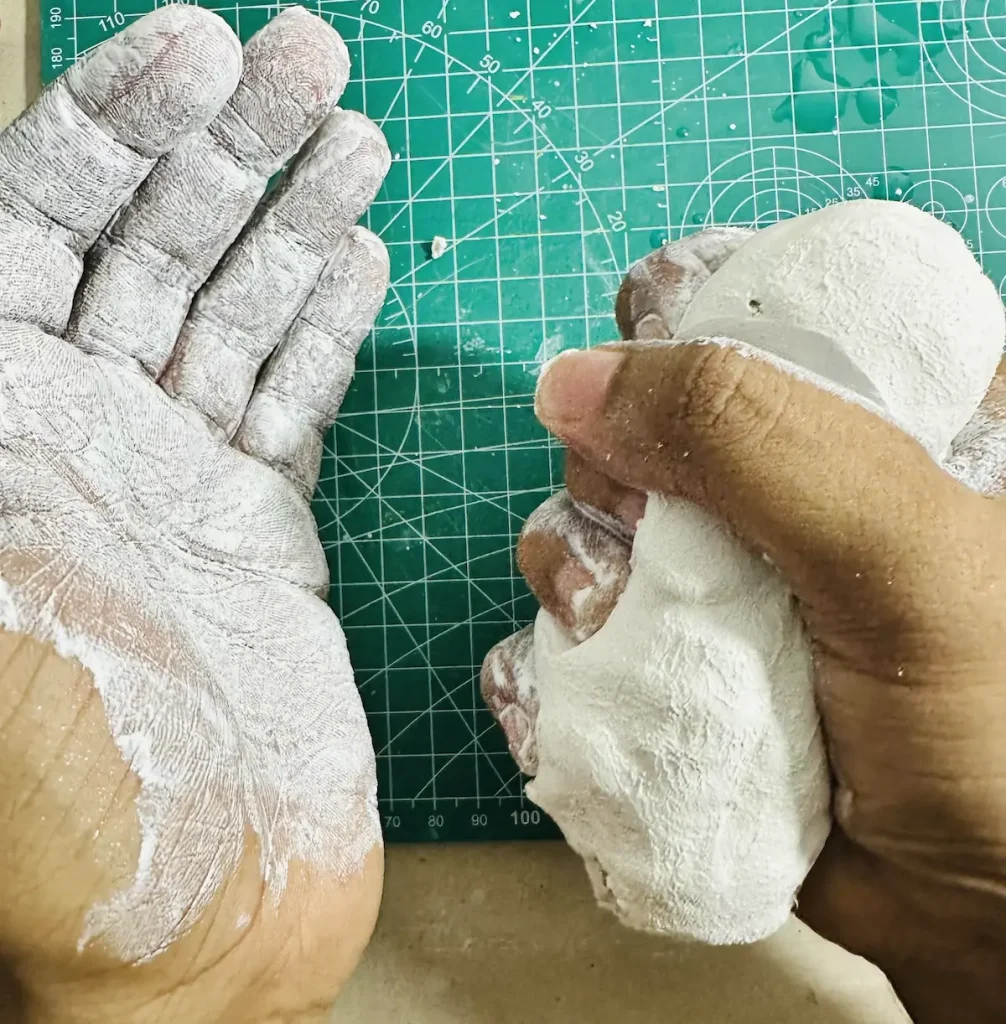
When I kept kneading, I realized it did not get as soft as the branded air dry clay I used earlier. As I kept kneading, it got drier due to water evaporation, not softer.
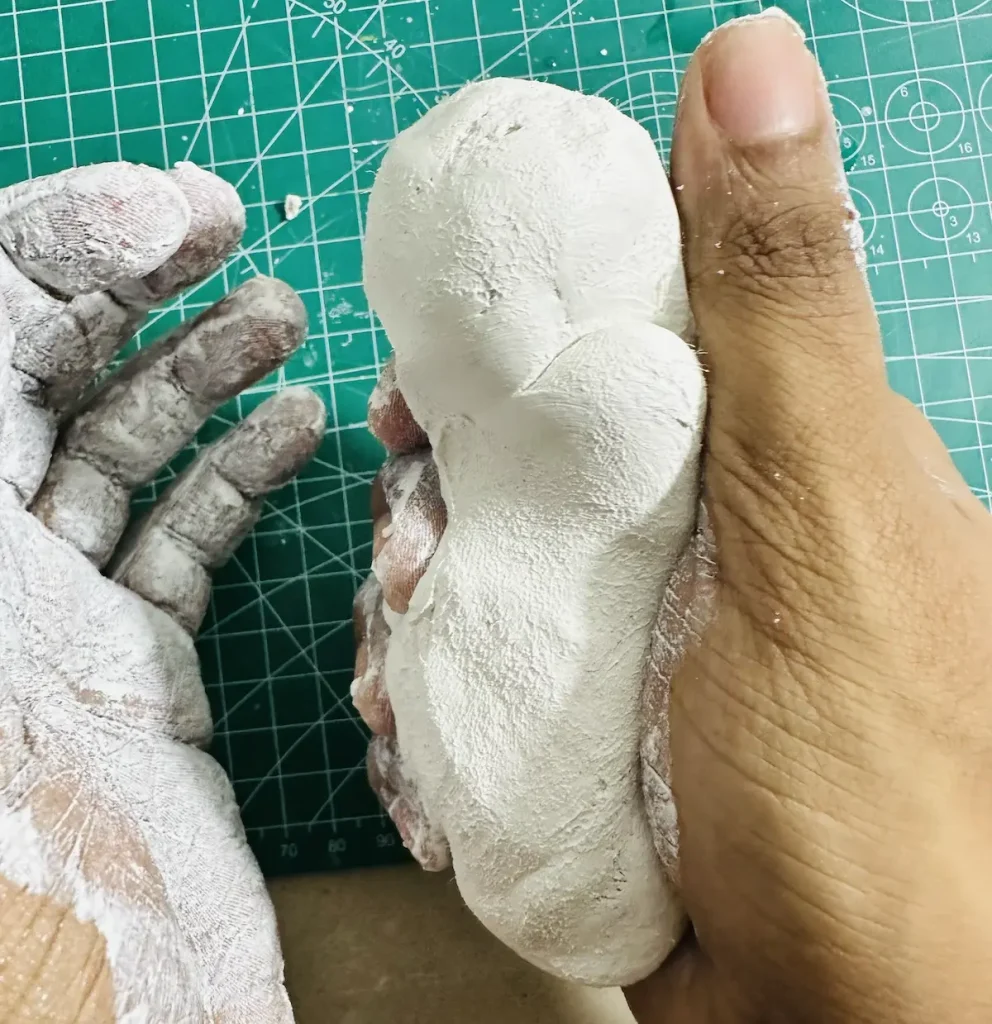
Usually, with the correct amount of water, air dry clay becomes more flexible, but not this one. It lacked elasticity and kept cracking while kneading. 💔
Little crumbles fell off the clay as I worked with it. That was frustrating because I had to knead it for more than 15 minutes, but still had no positive result.
But I ignored those signs and placed the kneaded clay on the mat and started rolling.
I tried to make it an even thickness, but the clay slab kept cracking on the surface and more around the edges. Cracks became longer and longer upon cracking.
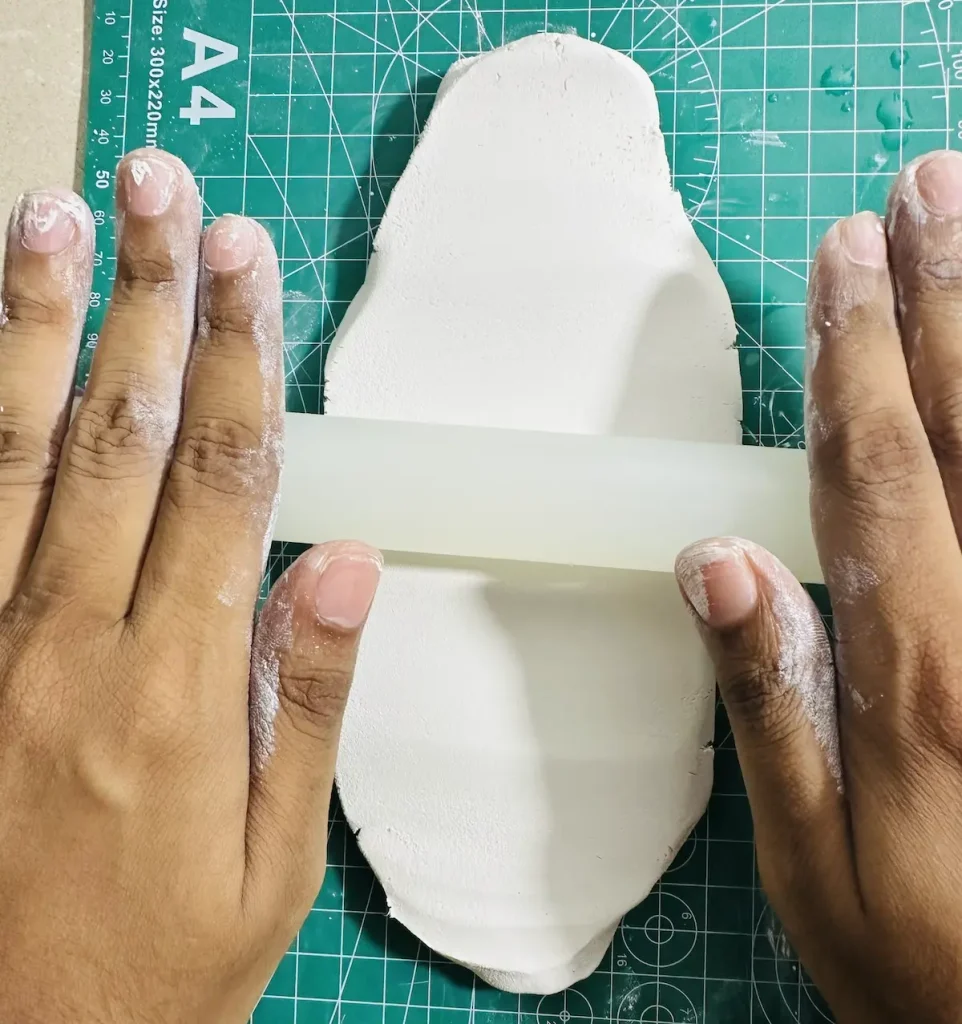
I flipped, turned, and rotated the clay 90 degrees while rolling to avoid the clay from sticking to the surface, but I couldn’t do it properly because the clay slab tore apart from cracked areas when turning. 🔄
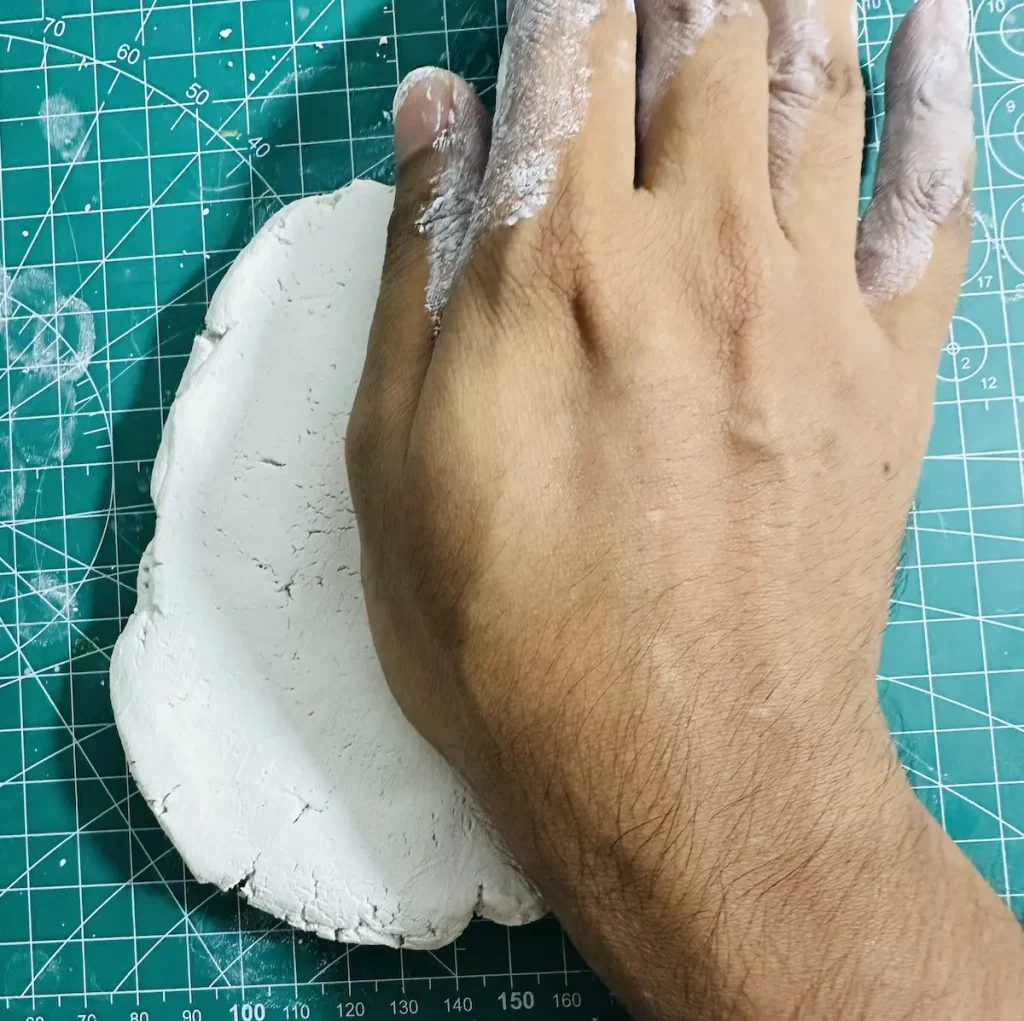
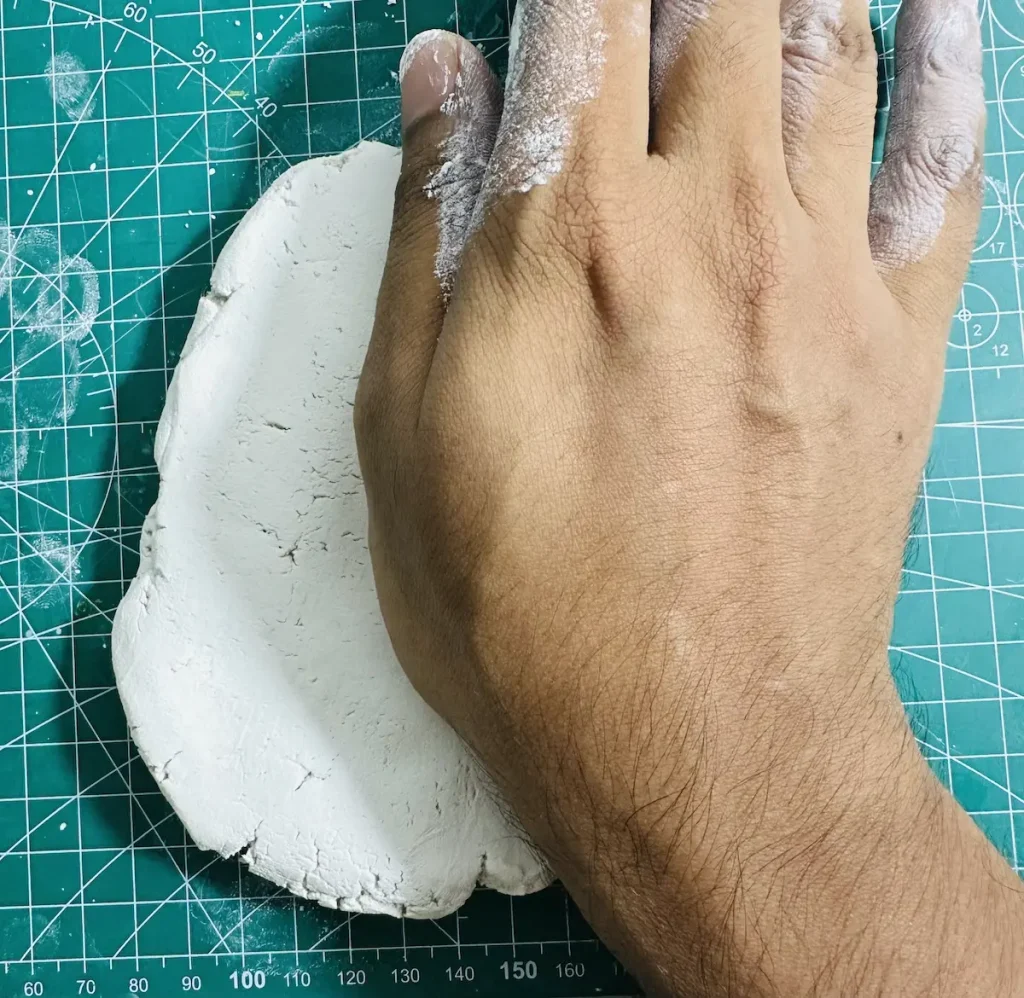
So, I kept adding more and more water which made it worse as it stuck to the surface.
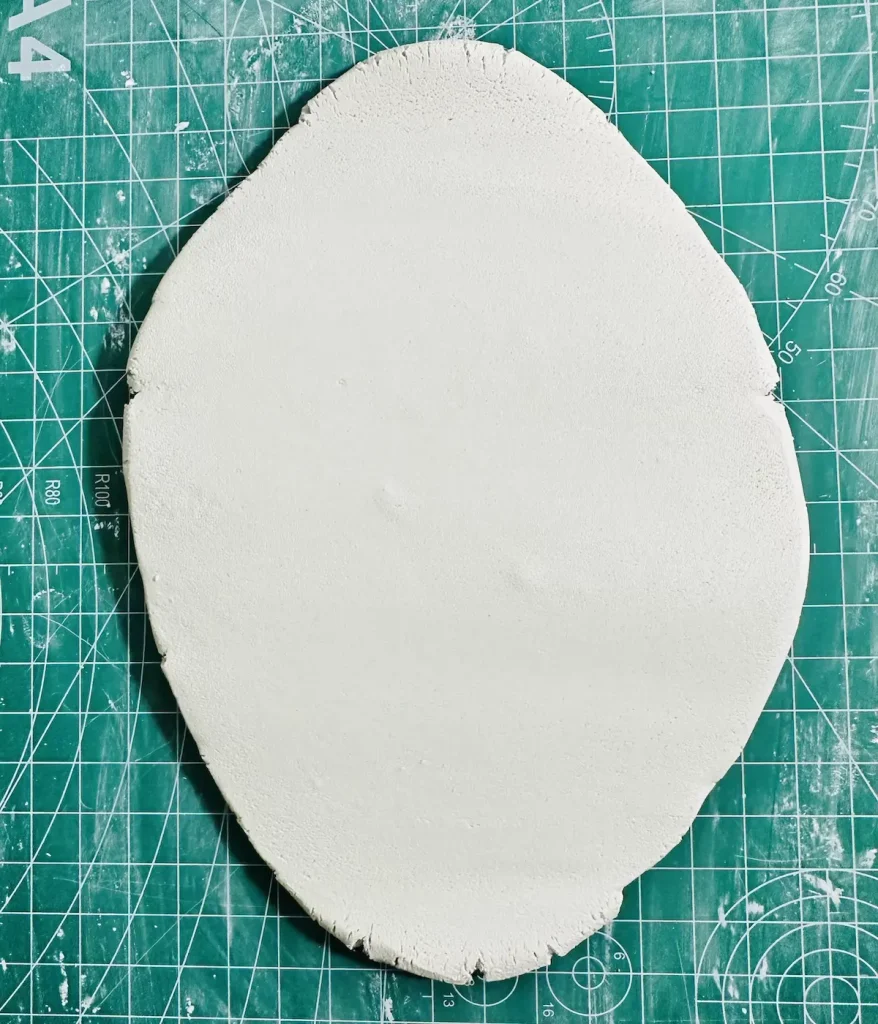
Make sure to get a reputable air dry clay brand because they are reputed because of a reason. Read customer feedback. Don’t go with cheaper products even if you’re looking for a budget-friendly option, not with air dry clay.
I recommend going with Mont Marte, DAS, Crayola, and Sculpd & Pott’d, which are popular and filled with positive feedback. ✅
Because of that cheap, unbranded air dry clay brand, my project became an ugly, messy disaster in the end. My hours of work were ruined. 🤦♀️
Mistake 2: Using too much water
As I told you, since the air dry clay was not behaving properly as I wanted, I kept adding water and kneading.
But I forgot that too much water is the worst enemy of air dry clay. Applying too much water made it messy and it stuck to the mat, preventing it from lifting up.
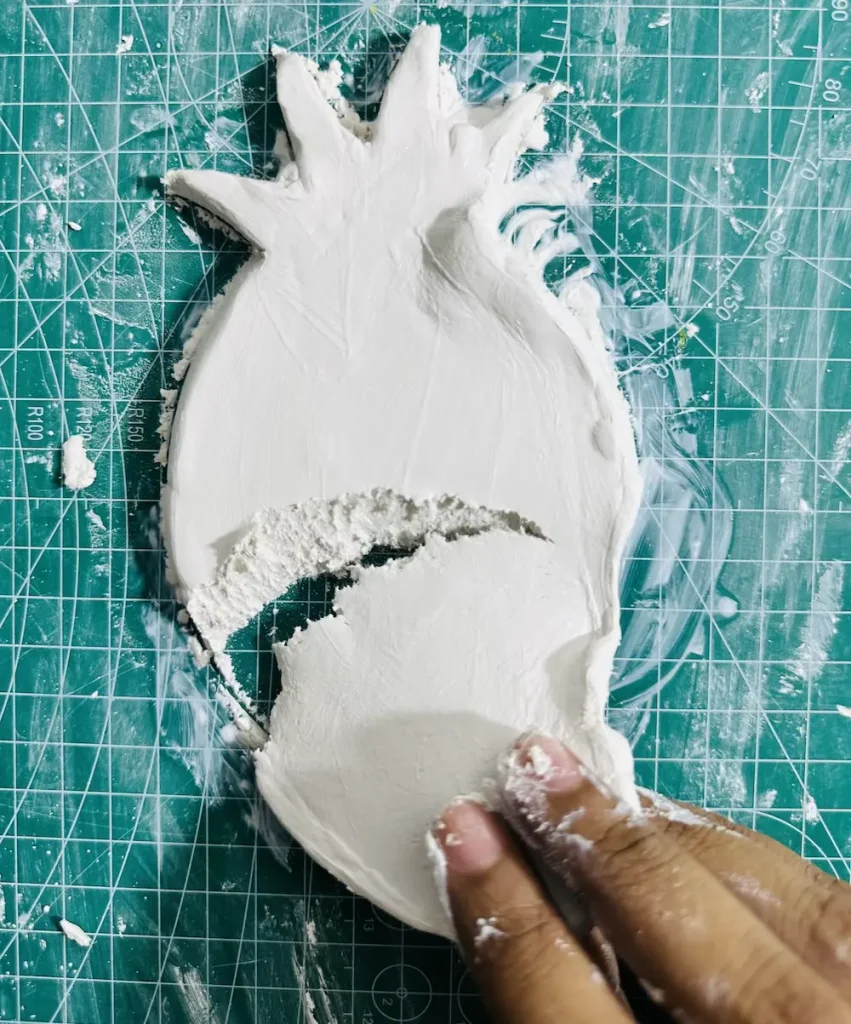
When I tried to lift it up with force, the clay was torn apart because the air dry clay slab stuck so hard to the mat, forming vacuum-like areas due to high moisture content. 💧
Make sure to apply water sparingly and knead the clay until it is soft. If the clay is not showing any sign of softening, it is better to go with another clay brand rather than continuing with this one with more and more water.
More water means messier clay.
Mistake 3: Freehand drawing caused torn edges
I’m a fan of freehand drawing. I have never used cookie cutters, molds, or templates for making projects, including trinket trays. ✍️
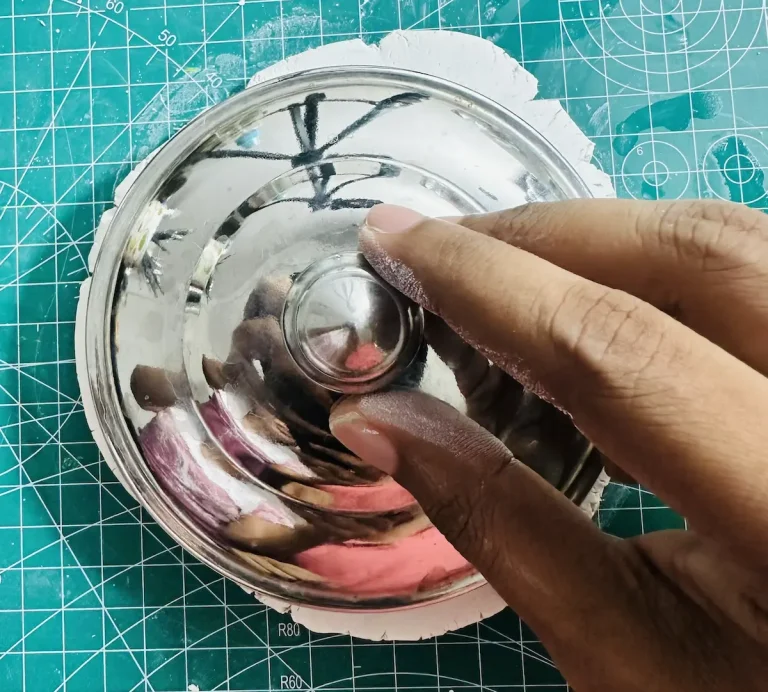
But when it comes to this pineapple trinket tray, I had to trace the shape several times. It was as if the clay didn’t give me a headache when kneading and rolling with no cracks. But since the clay kept cracking and crumbling from the beginning, drawing part made it worse because I had to do it several times.
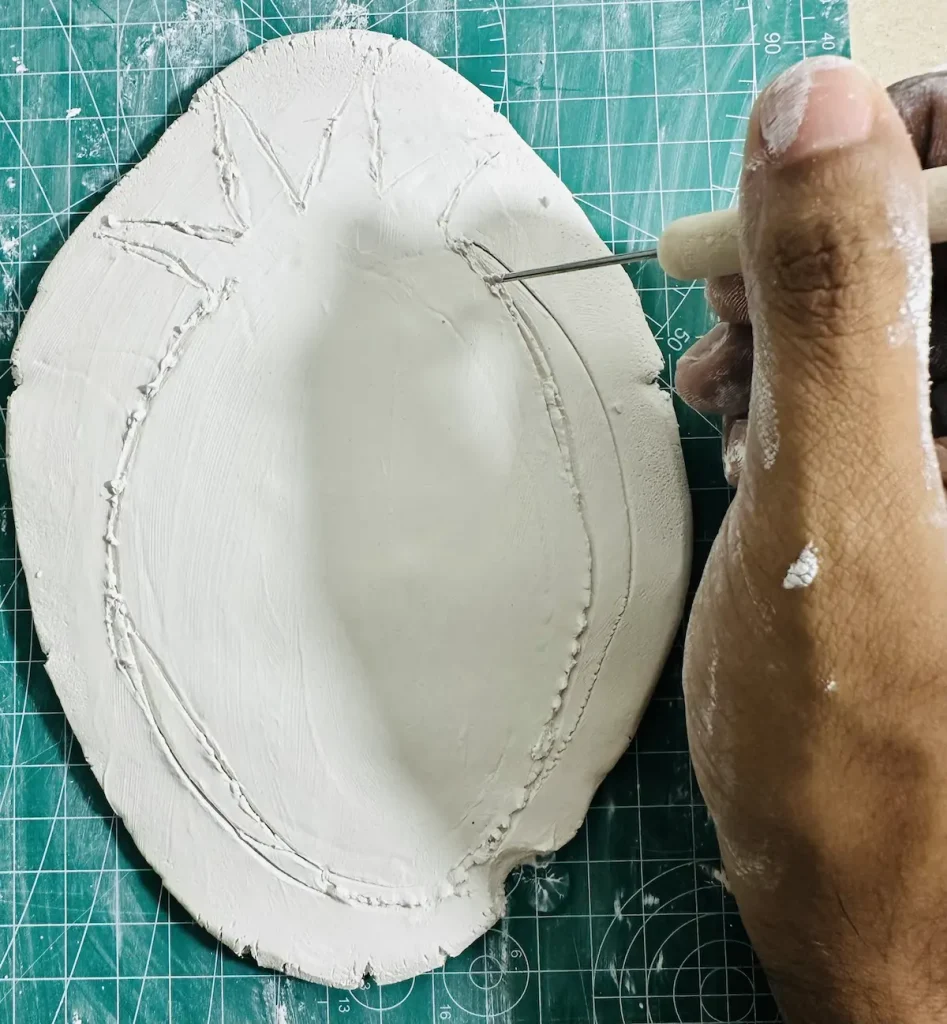
Therefore, use a stencil for accurate drawing from the first try. Search on Google Images for a 2D pineapple sketch, take a printout of it, and cut around it to make a paper template.
Place that template on your rolled clay slab and start drawing around it. That way you can get the shape you want without making any errors.
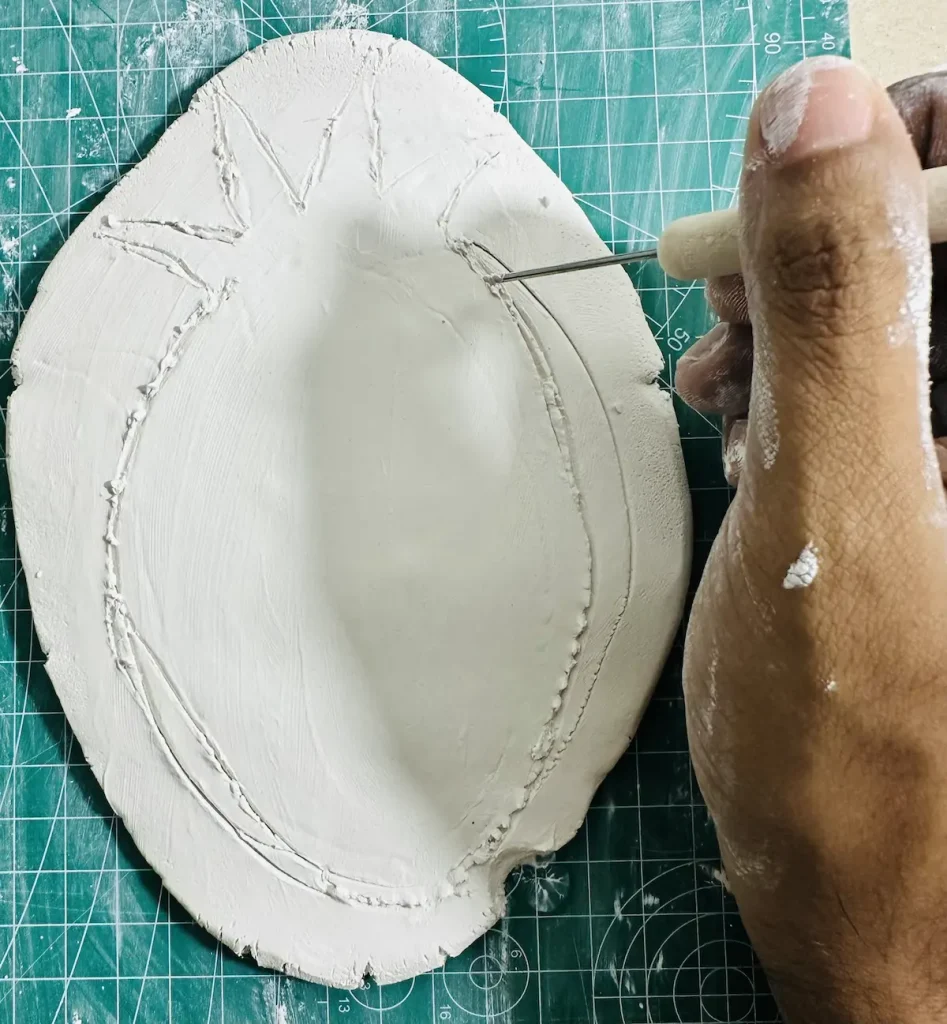
But I highly recommend you do it freehand more instead of using stencils because it develops your drawing skills which is important when you have no cookie cutters, molds or templates.
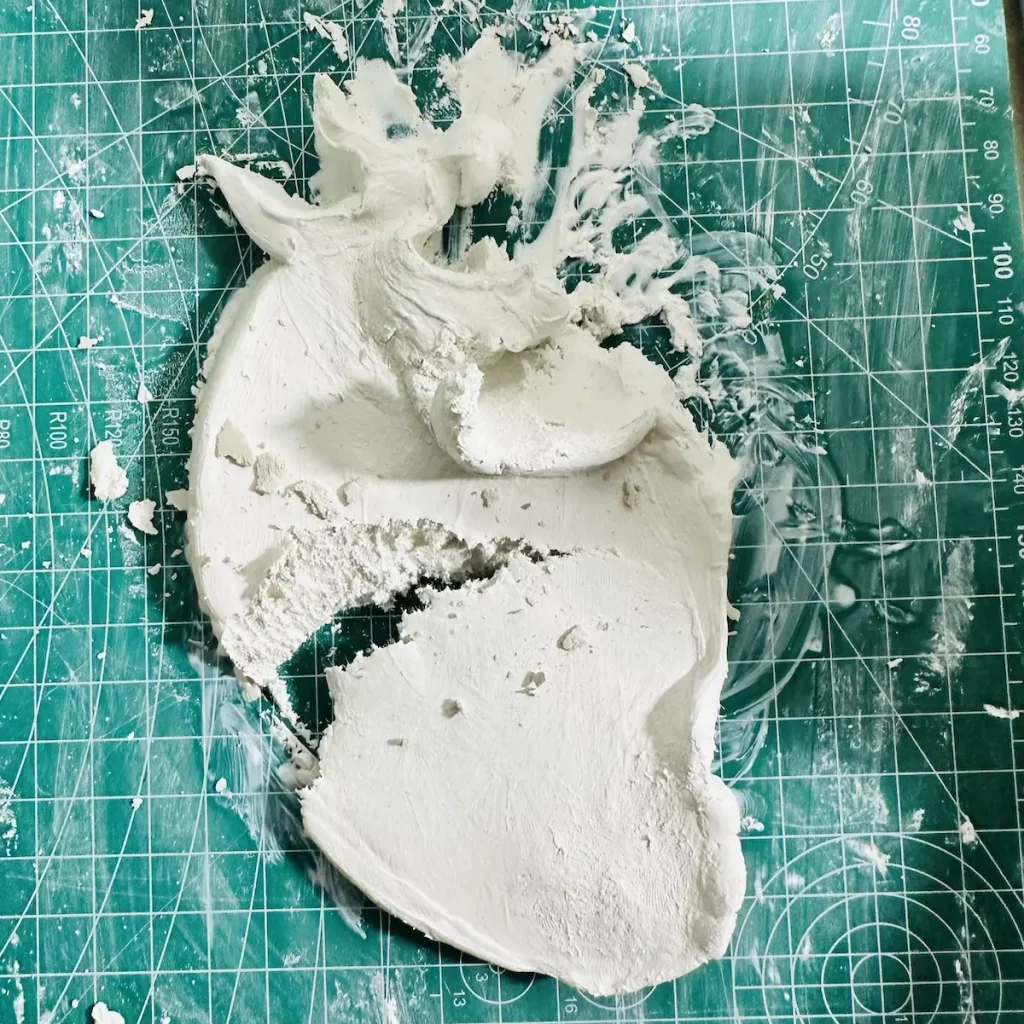
Plus, the edges I made were torn because the clay slab started to crack quickly and the knife always got stuck in the middle of tracing.
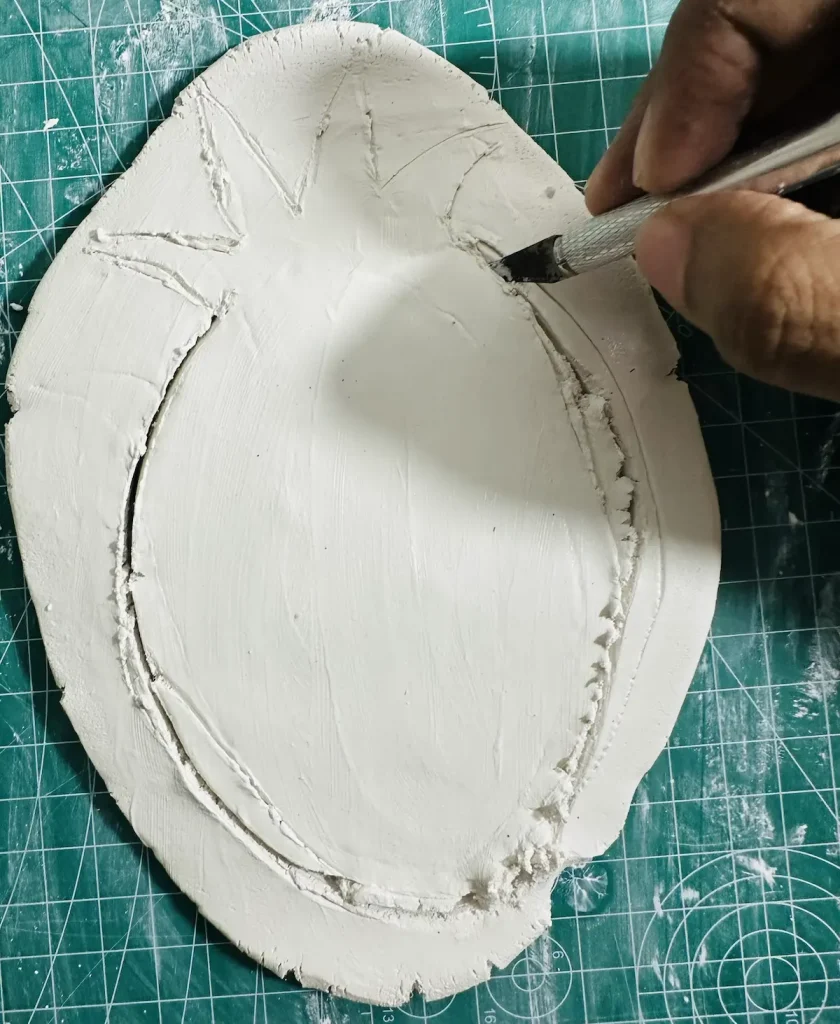
That’s because the clay was too wet, and when the knife dragged along the outline, clay pieces started to come out as chinks with no sharp edges. 🔪
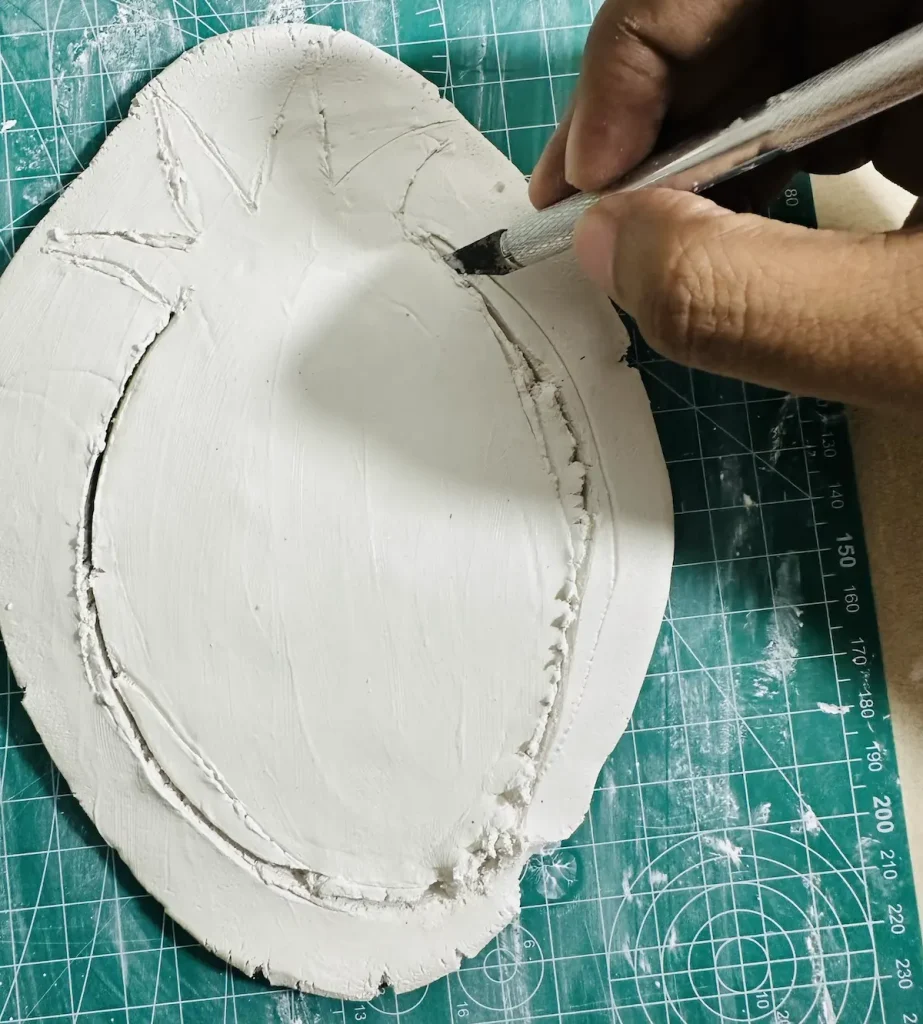
This left the base of the pineapple trinket tray looking quite unsightly. Although I attempted to smooth the edges by gliding my water-dipped fingers along them, the damage was too severe for such a simple fix to work.
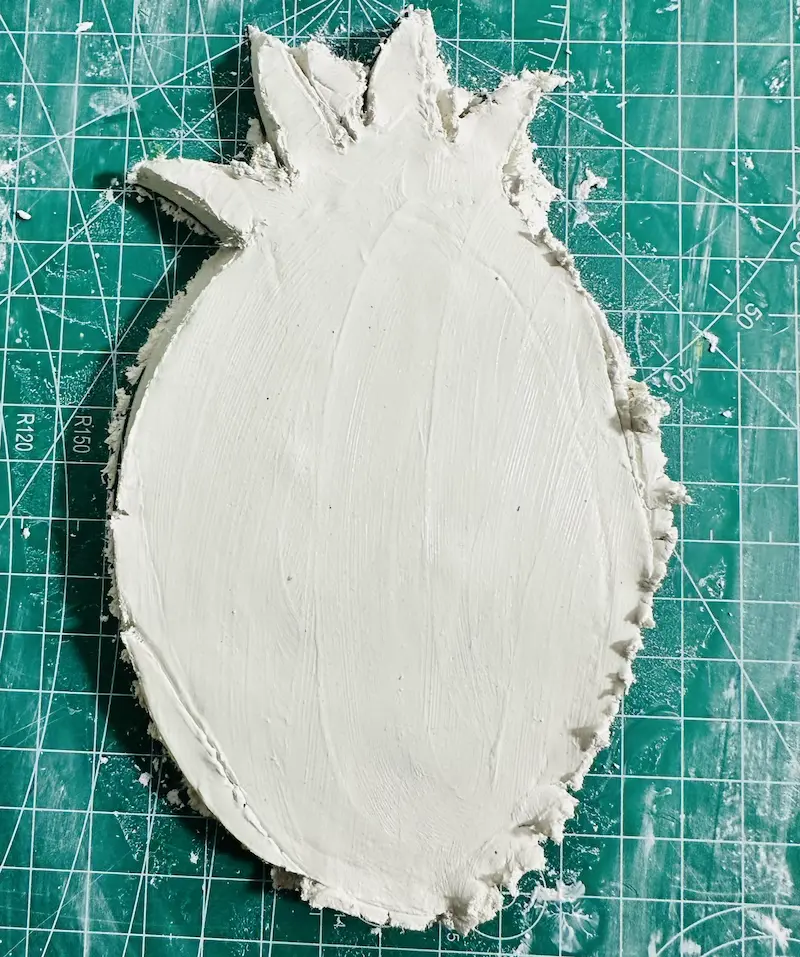
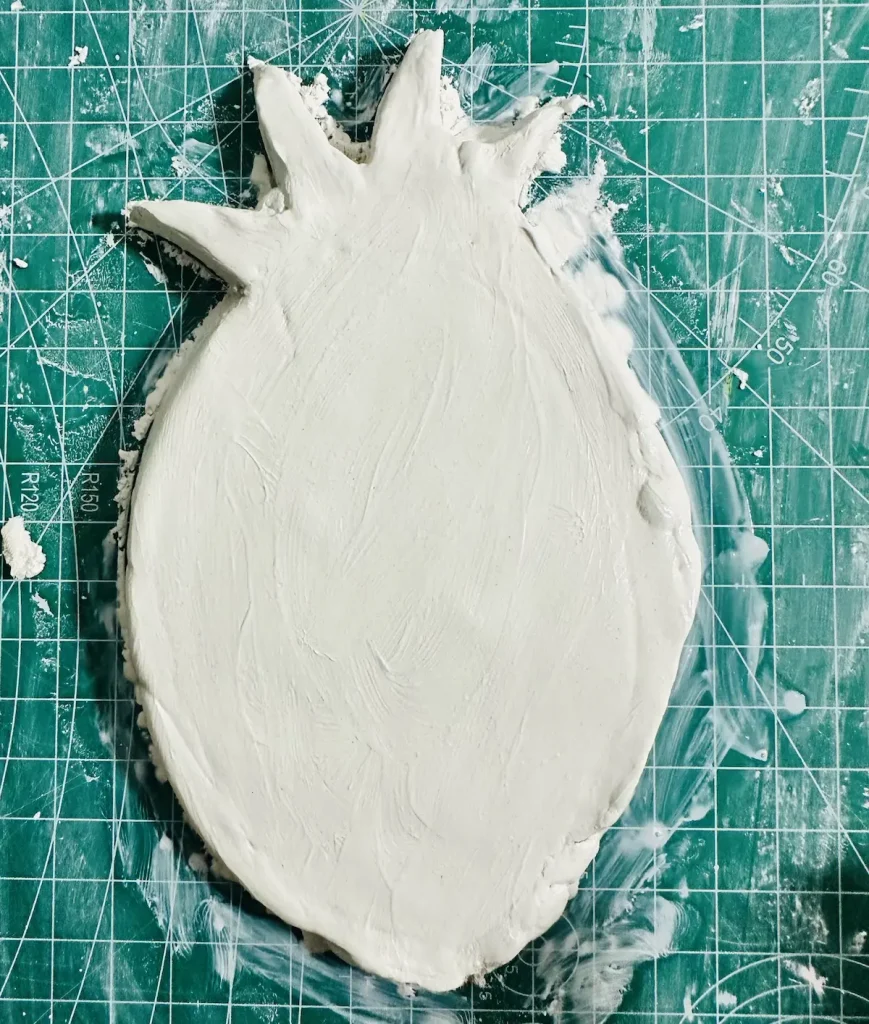
Because of the above reasons, I could not complete my pineapple trinket tray project. I was frustrated several times and ended up giving up even before completing the tray base because the clay was cracking continuously.
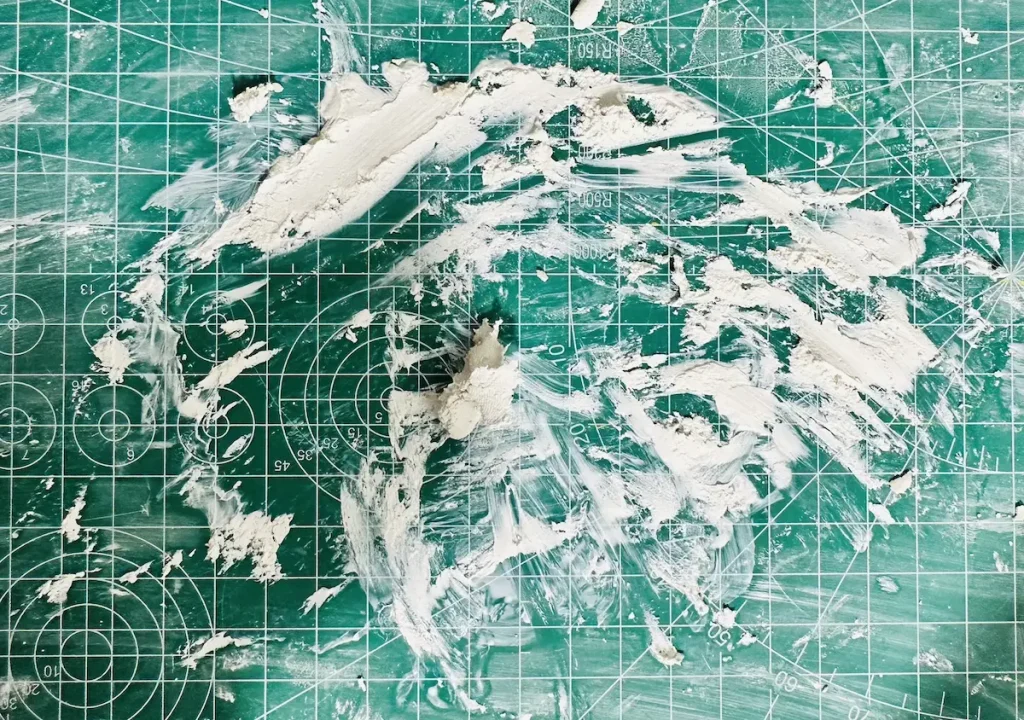
How I am fixing it for next time
I think we can see where all the mistakes begin. Yes, using an unbranded, cheap air dry clay product. That’s the worst mistake that ruined everything. 💡
If the clay was good, I wouldn’t use that much water. If the water amount is ideal, the edges will cut sharp with no torn areas. Plus, the clay won’t stick to the mat.
Therefore, select your air dry clay product wisely.
If I redo the pineapple trinket tray project, here’s what I’ll do:
- Select Mont Marte or a popular, reputable air dry clay brand instead of an unbranded one.
- Use a little bit of water when kneading the clay.
- Follow the paper template method without freehand cutting. (I don’t recommend you do it always).
- Lift up the knife when cutting around the edges regularly rather than dragging it on the table with wet clay pieces.
👉🏽 I did it!! Read my comeback pineapple trinket tray project! 🥳
Final thoughts
Will I do it again? Yes, of course. One thing I learned as a beginner air dry clay artist is that you should not get satisfied with one project. There is always a better and easier way of doing things. 🌟
If I had given up on my air dry clay artist dream after my first failed rabbit project and after my first trinket tray project because the clay kept sticking onto the mat, I wouldn’t have learned the flip-and-turn method when rolling.
If I had given up after my pineapple trinket tray project, I wouldn’t have learned the importance of using a quality air dry clay product. See, I keep learning, and so can you. If you are also struggling with your air dry clay project, don’t worry or panic. 🧠
Search and study why it went wrong and how you can do it better. It’s always trial and error. Then start again and I can guarantee you will succeed in the end. That’s how the world works. Not just in air dry clay, even in life.
If you’re struggling with your project, upload it to one of your social media accounts and tag @clayandmestudios so I can have a look and give advice based on my experience. Remember, these are all part of your journey! Cheers! 🤟🏾