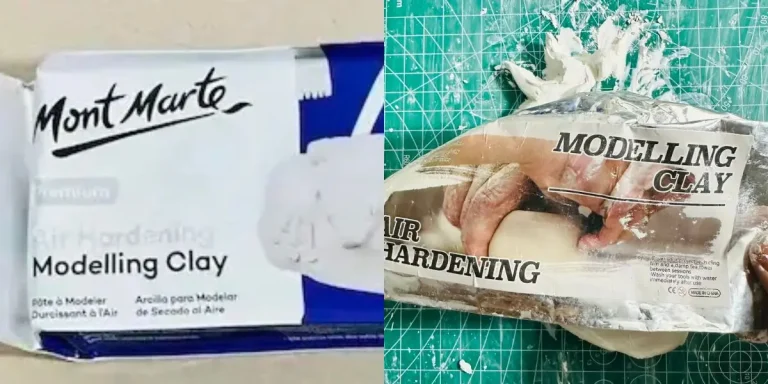
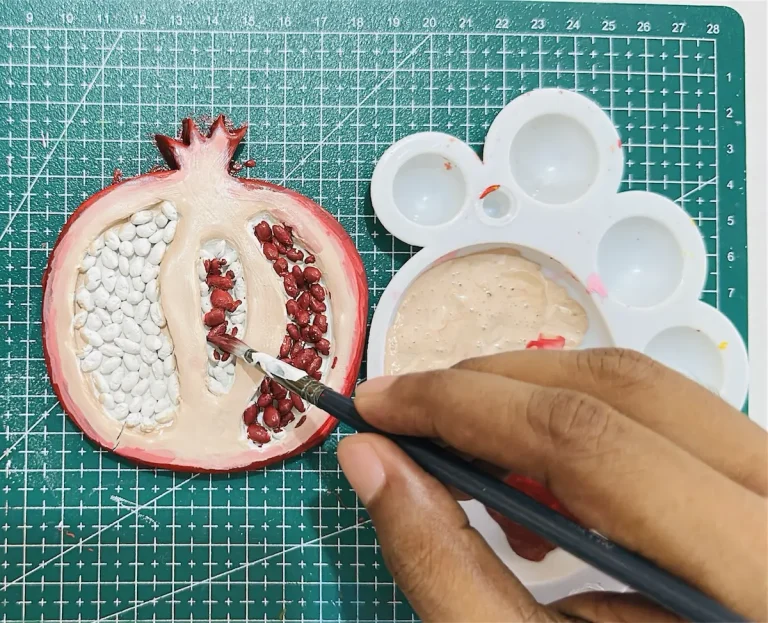
I always thought I couldn’t draw any shape. I relied on templates and rulers. When it comes to air dry clay, I was eager to purchase cookie cutters and molds even before buying the clay crafting tools. Thankfully, back then all the cookie cutters were out of stock.
I was worried when I drew shapes while making tray bases and ponds because I wanted the shapes I drew mathematically perfect, with no imperfections and to be perfect on the first try.
Now I know I was totally wrong.
First of all, I’m not an expert. I’m also a beginner like you. So, beginners do make mistakes and it’s totally ok. Most importantly, we learn from our mistakes.
If we use templates, stencils, molds and cookie cutters when working with air dry clay from the very beginning, we depend on them even when drawing a simple shape.
We develop no freehand skills, which is important. If one day you wanted to make a shape but got no molds or cookie cutters, you won’t be able to do that because you didn’t even try to draw even basic shapes freehand.
Now I don’t even think about using molds or cookie cutters because I love freehand drawing even with some imperfections. Those little errors you make when drawing an organic shape make your air dry clay project unique.
You’re an artist, not a mathematician. Remember that!
Let me show you how I draw organic shapes freehand with no expensive molds or cookie cutters.
Why freehand organic shapes are better
Organic shapes are not mathematically perfect. They have irregular curves, soft edges, and uneven contours. So, why are you trying to use molds or cookie cutters for making them?
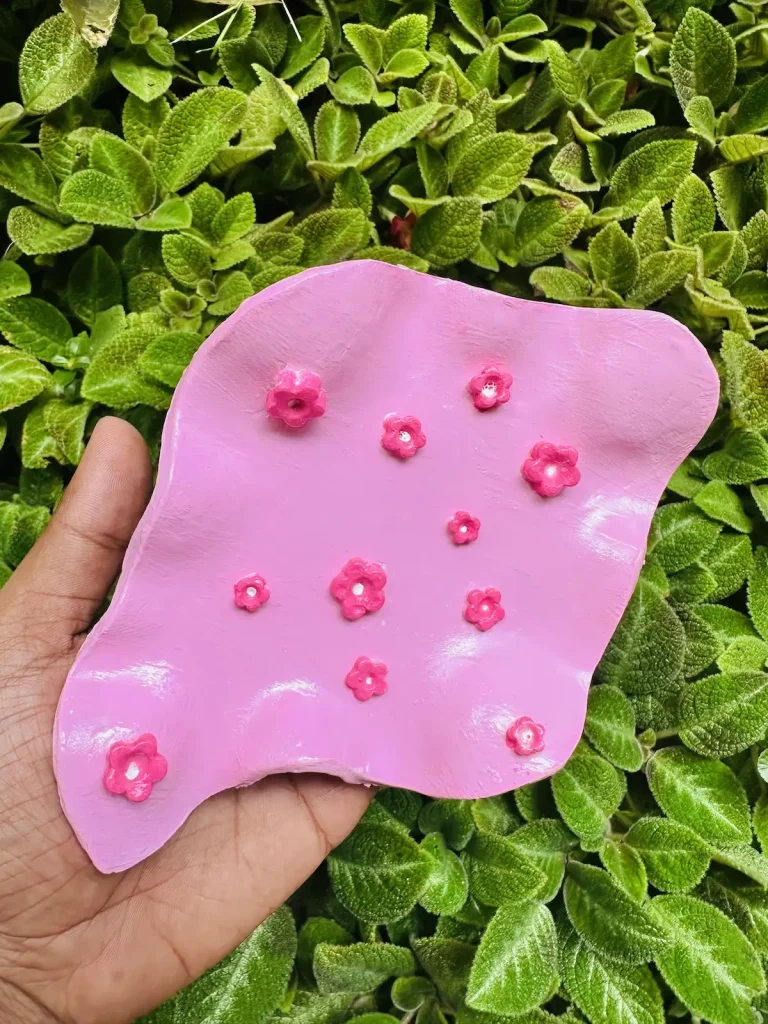
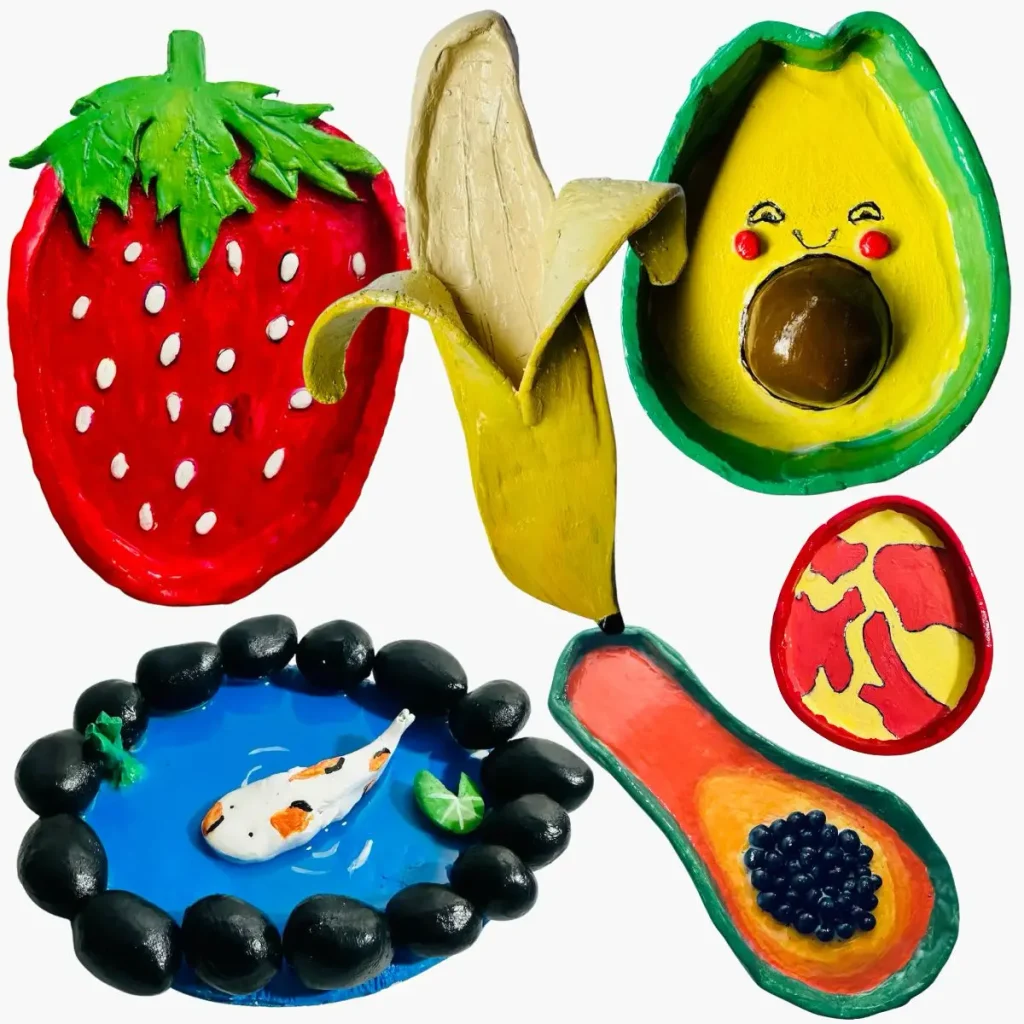
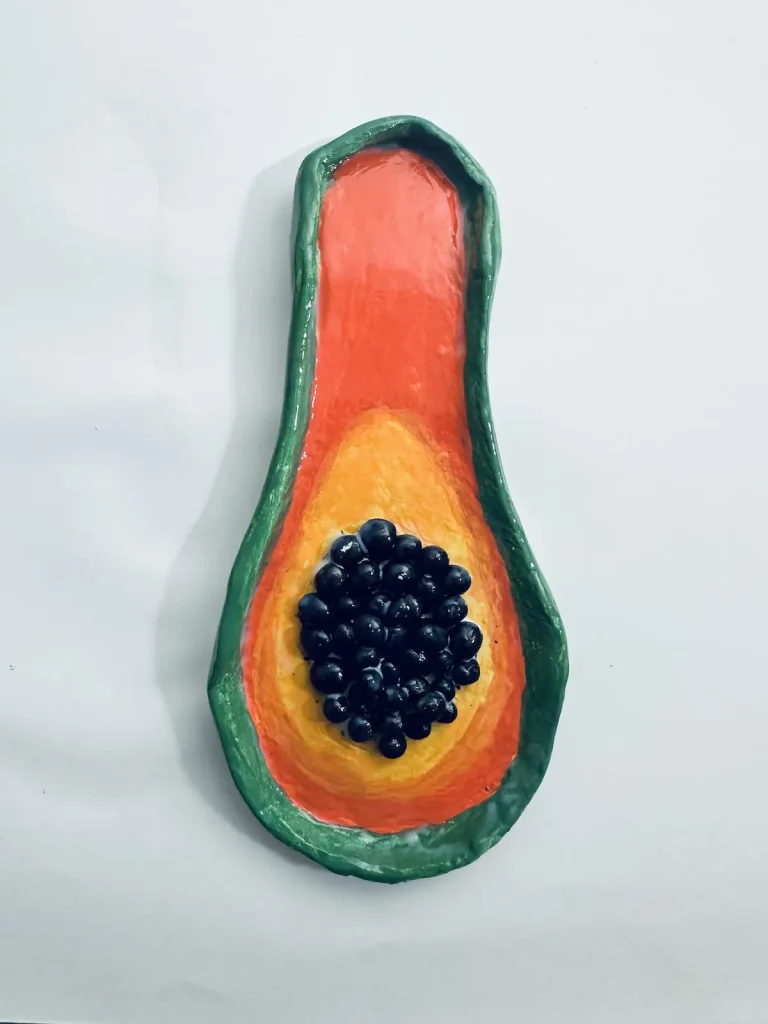
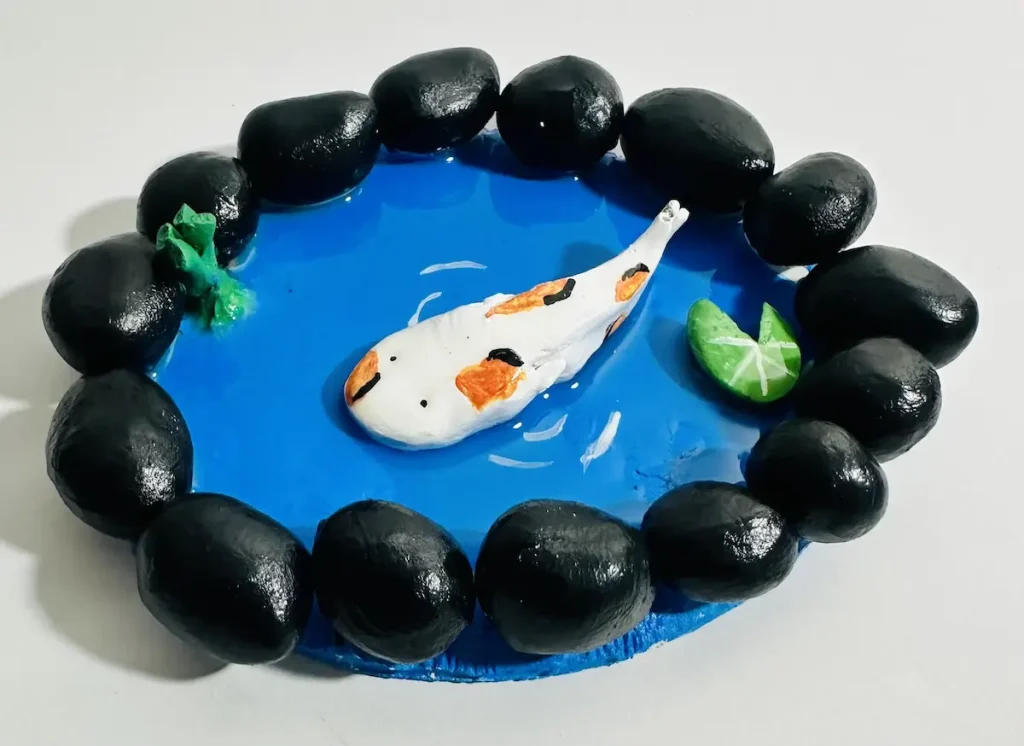
I have made trinket trays in different shapes with air dry clay, including strawberry, papaya, banana, avocado and oval-shaped. Plus, a natural koi fish pond. I have never used cookie cutters or molds for any of them because I thought fruits have organic shapes and they are not always the same. Fruits come in different organic shapes and natural ponds too.
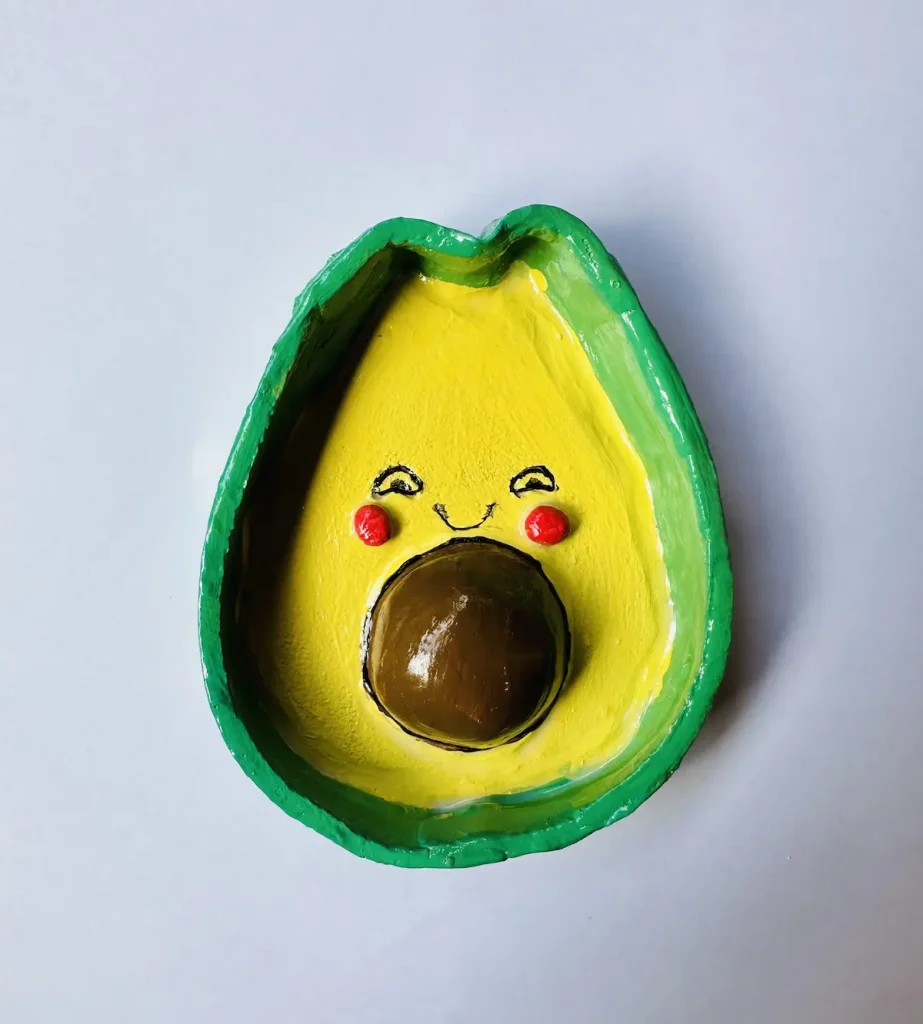
When I was making my papaya trinket tray project, the shape of the papaya tray base was a bit too long and too thin. But I told myself, it’s fine because there are thin papaya fruits in this world and mine is one of them lol.
Same happened when I was working on the banana trinket tray project. The banana tray base width was a bit narrow. But it was ok because bananas do come in different sizes. It looked beautiful in the end.
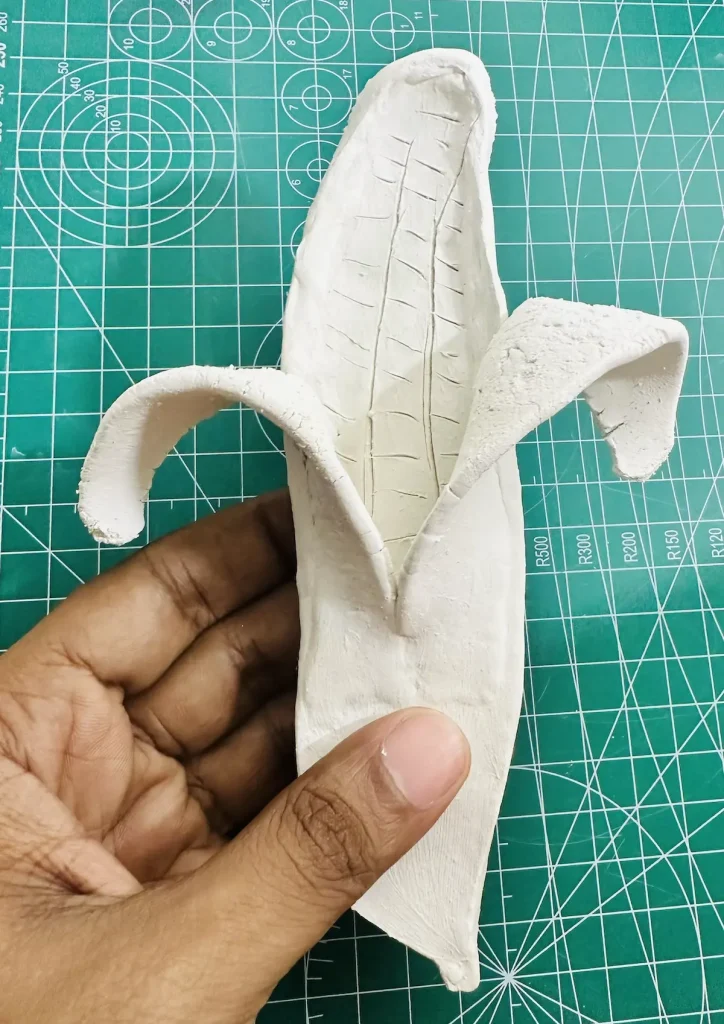
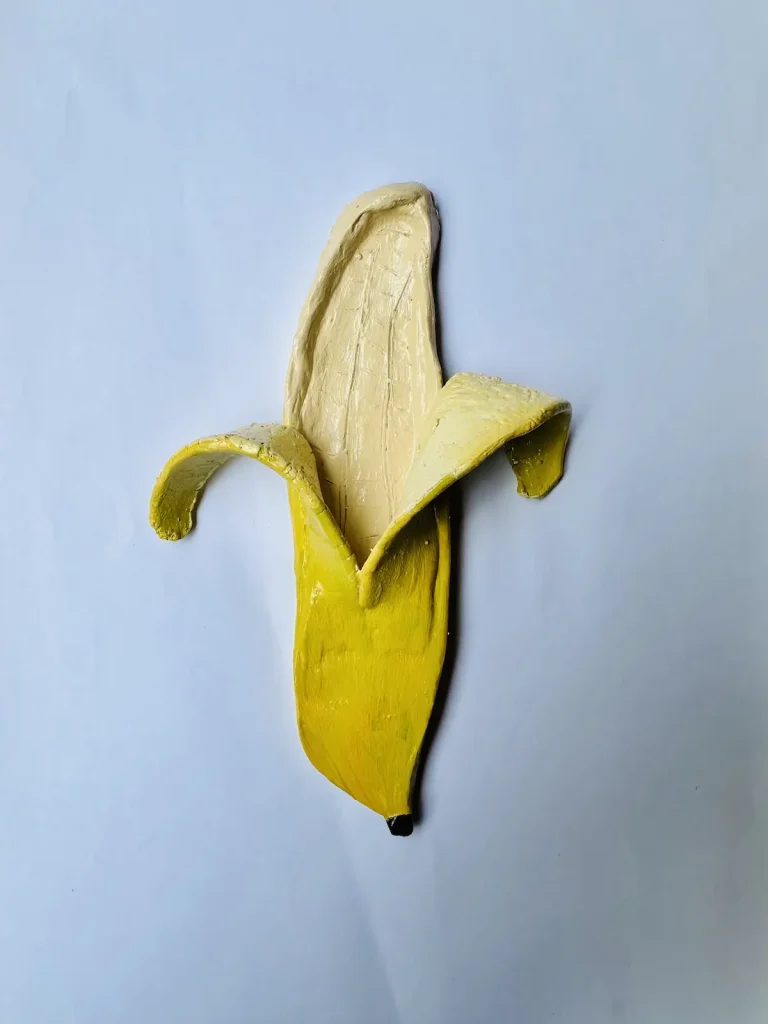
You don’t need to be an Einstein when drawing an organic shape. Little imperfections you make when freehand cutting make your organic shape even better.
Who loves to see all the bananas in the same shape? Some are small, some are big and some have weird looking shape.
Mistakes you make during freehand cutting will eventually reduce because you become good at it day by day. But not when you always use molds and cookie cutters.
Developing freehand cutting from the very beginning is important when you’re drawing and cutting complex shapes in the future.
As a person who is bad at drawing and sought every single cookie cutter and mold from the very beginning of my air dry clay journey, let me tell you why you don’t need them.
- Using cookie cutters and molds limits your potential. With freehand, you can draw whatever shape you want. You can make your projects with organic shapes unique.
- You learn how to fix little imperfections with freehand cutting. With cookie cutters, everything looks perfect and you never learn how to fix and learn from your mistakes.
- Makes your air dry clay project unique.
Use cookie cutters or molds when you need to make a shape that is a mathematically accurate circle, square, rectangle, or cylinder.
But when it comes to organic projects with organic shapes like flowers, fruits, natural pools or trays, use your freehand skills because they do not have a specific shape or size.
Trust me, you will never go wrong using freehand. Instead, you’ll get addicted to it and become a master of using your hands.
Tools for shaping your clay
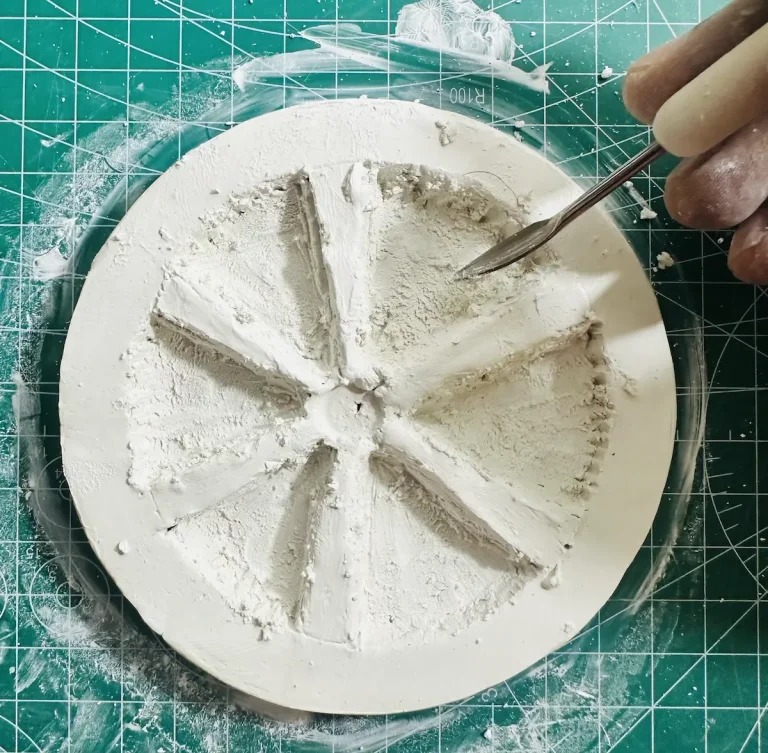
Here are the tools I use for shaping my air dry clay projects instead of cookie cutters or molds,
- Cup of water
- Your hand
- Your fingers
- A pencil
- Rolling pin
- Clay cutting tool or toothpicks
Funny right? No mold or template can replace your hands. They can make anything you want.
Pyramids were built by our hands, so why not a simple air dry clay project?
How to shape organic air dry clay forms
Here’s how I shape organic air dry clay projects with no expensive cookie cutters or molds,
Step 1: Roll out clay slab
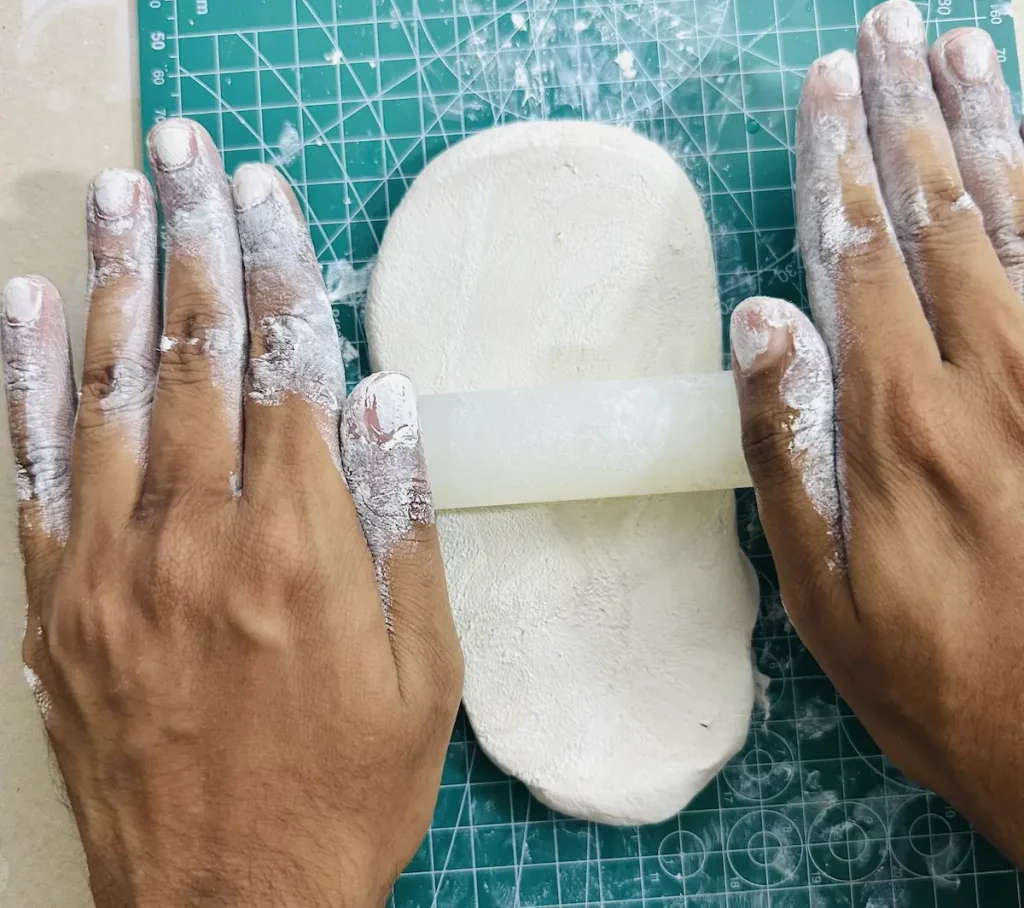
Roll your air dry clay piece to an even thickness. Slabs that are too thin tend to tear apart when lifting, and too thick ones take ages to dry. I aim for ½ inch thickness, which makes trinket trays sturdy.
Step 2: Trace with a pencil (don’t cut directly)
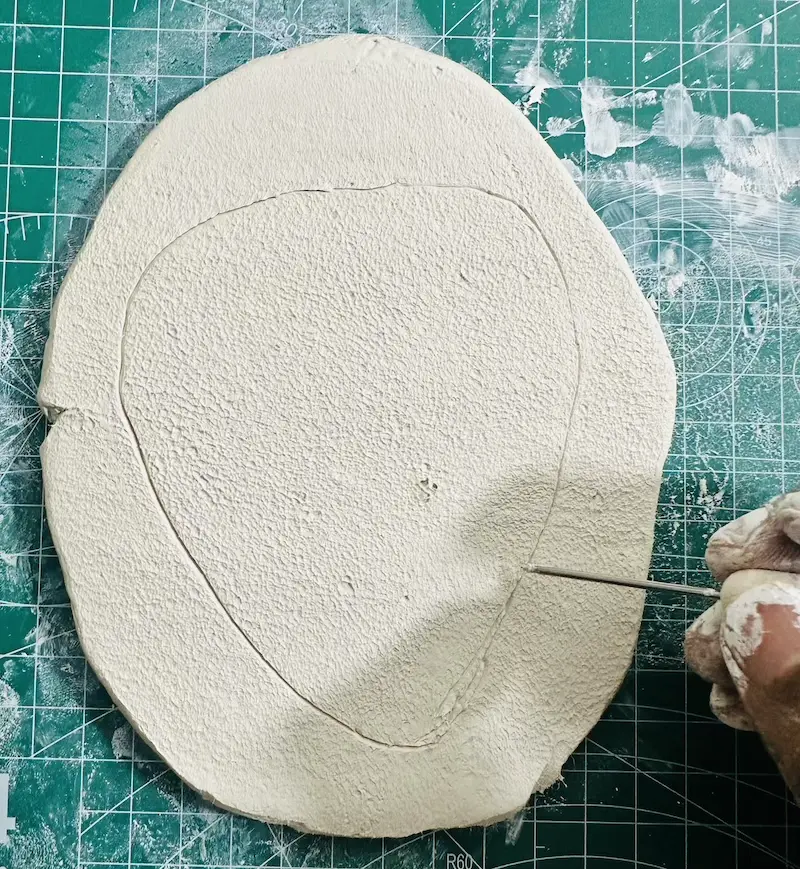
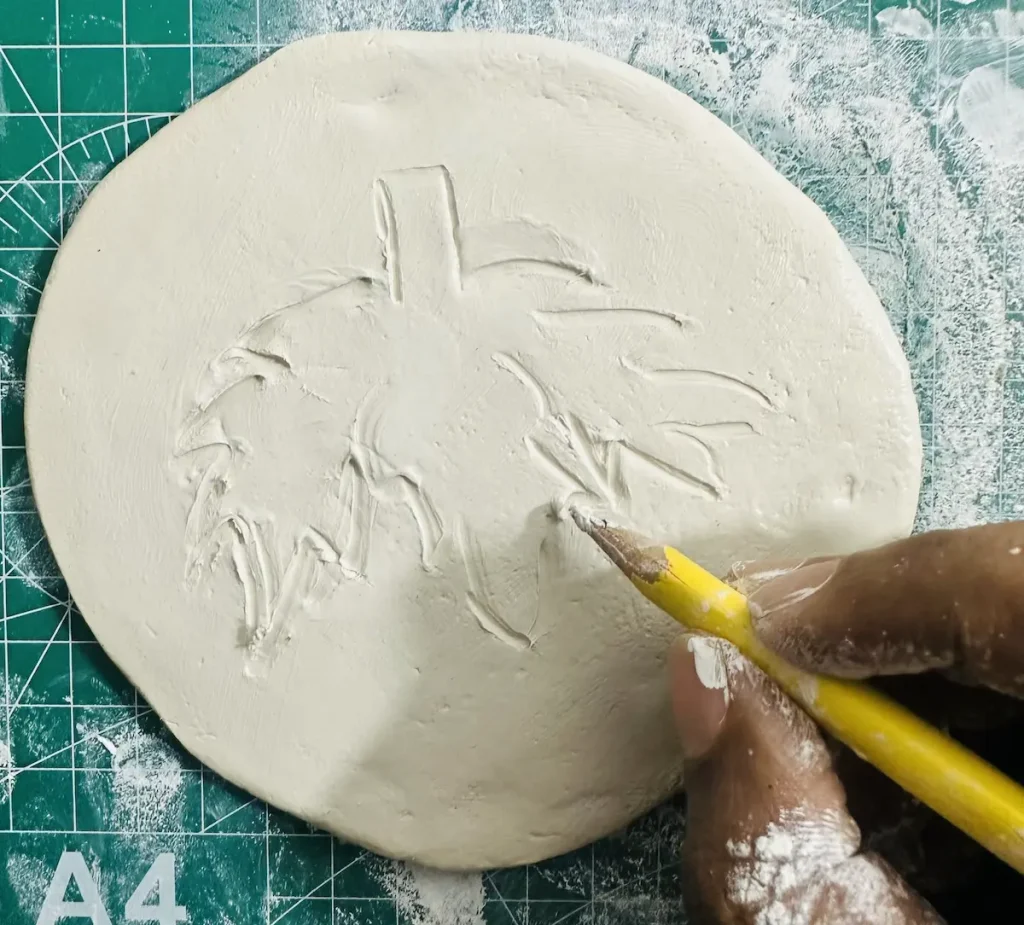
Now trace the shape you want to cut using a pencil by gently mapping out the surface. Just mark with a few dots. Then you know the lines you should cut along.
Since I’m bad at drawing, I don’t cut directly. So, if you are a beginner too like me, start tracing with a pencil.
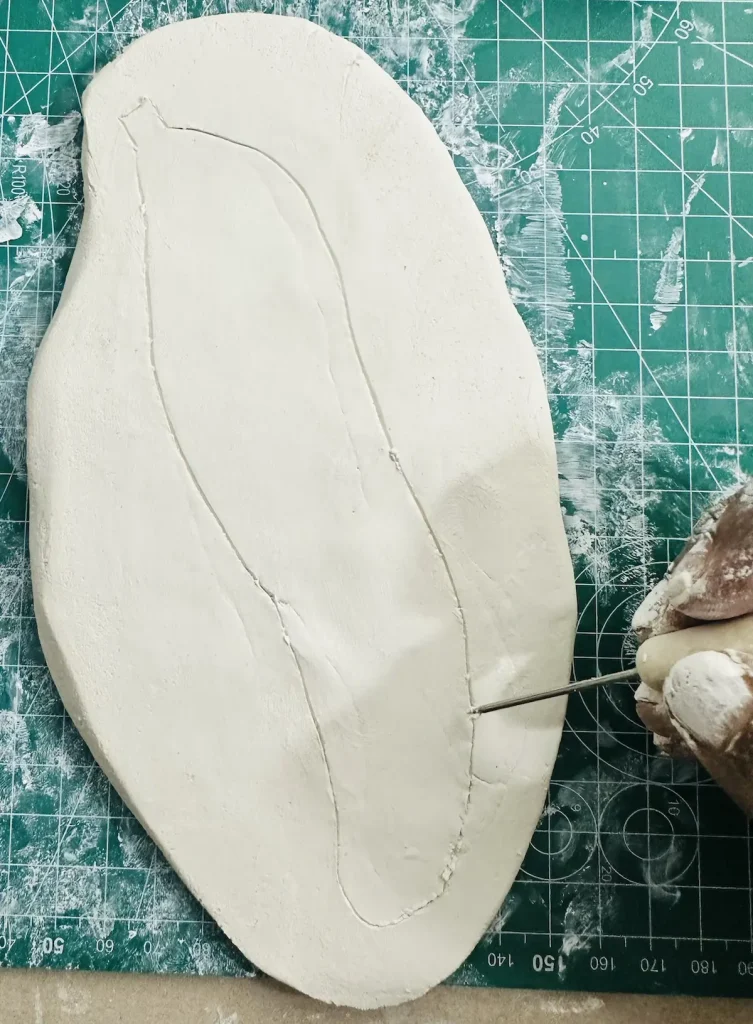
I did this when making the banana curve. I made a couple of mistakes during tracing but quickly fixed them and finally traced the shape that I had in my mind and did the cutting properly. There is no going back once you are done cutting. Therefore, tracing always comes before cutting.
Step 3: Water slide method for erasing mistakes
If you accidentally made a mistake, or if you made a wrong mapping during tracing, you can simply erase it by dipping your index finger in water and sliding it on the clay slab until the mistake vanishes.
It’s easy to correct your mistake during this gentle mapping process. You can do the same when you’re tracing a shape.
When I was making the strawberry trinket tray project, I traced the shape of the banana bit longer. I realised that quickly and erased the trace I drew and re-traced the correct shape. Simple as that!
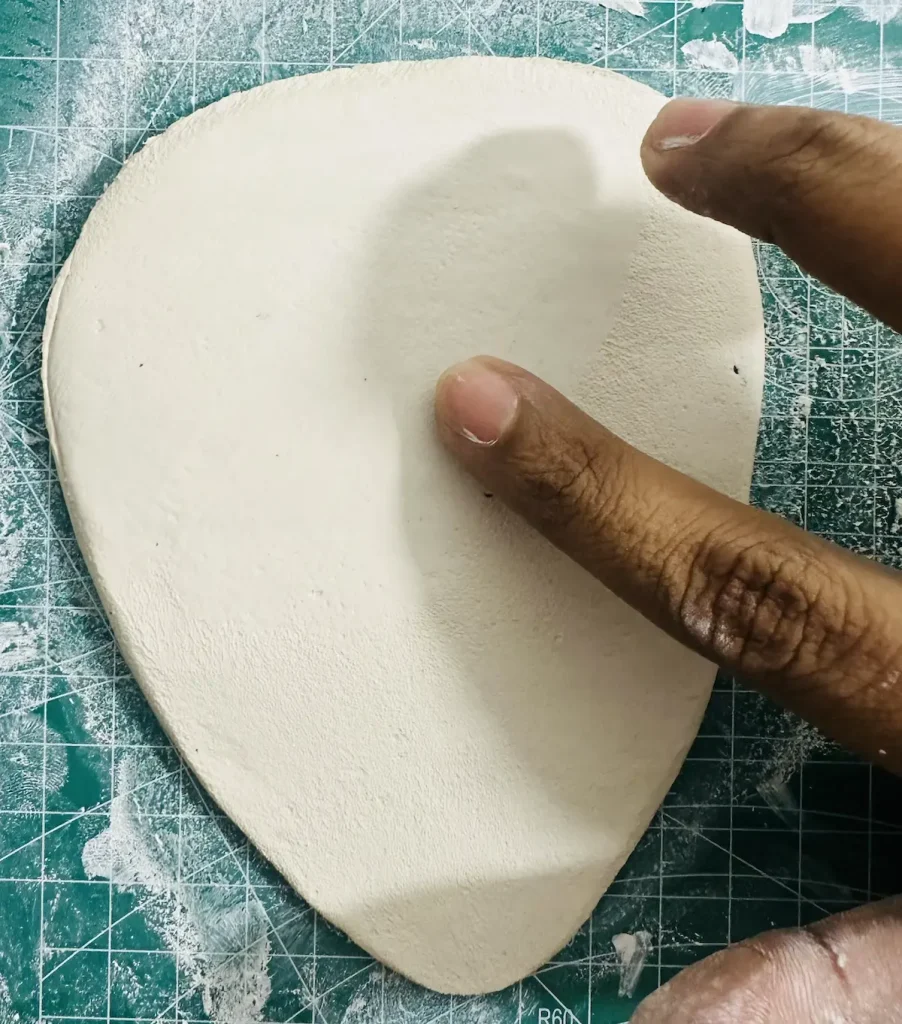
Some people suggest using a damp sponge for erasing mistakes, but I find erasing with your index finger is easier. I tried using a damp sponge but failed because of the texture of my damp sponge pasted on my clay slab.
You can do miracles with your fingers! Hahaha.
Step 4: Cut the organic shape
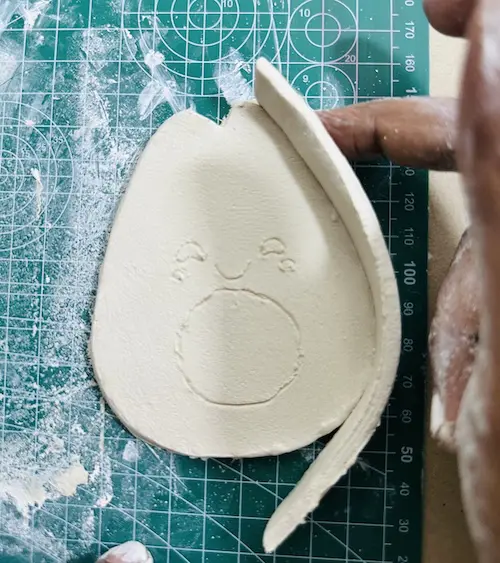
Now take your clay cutting tool or toothpick and cut along the lines you traced.
Try not to lift up the blade until you cut the whole piece in one go, because clay might pop out and ruin the edges.
It’s ok, we can still smooth out the edges.
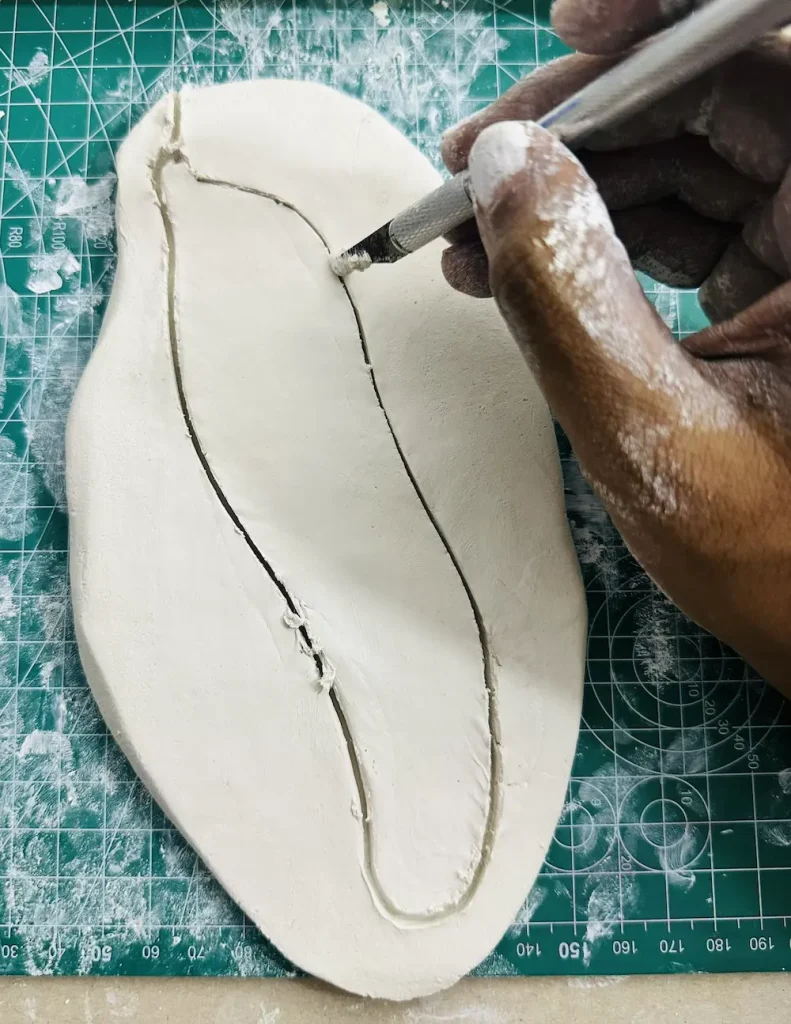
Remove the excess clay around and now you can see how unique the organic shape you made with air dry clay is. Cookie cutters or molds can’t do that.
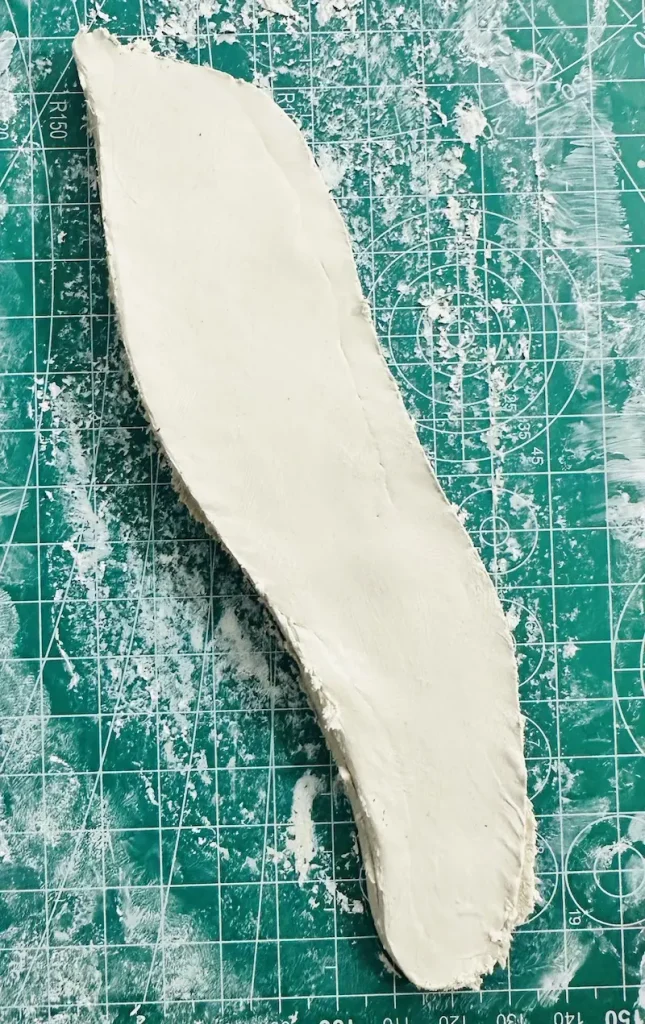
Smoothing and finishing the edges
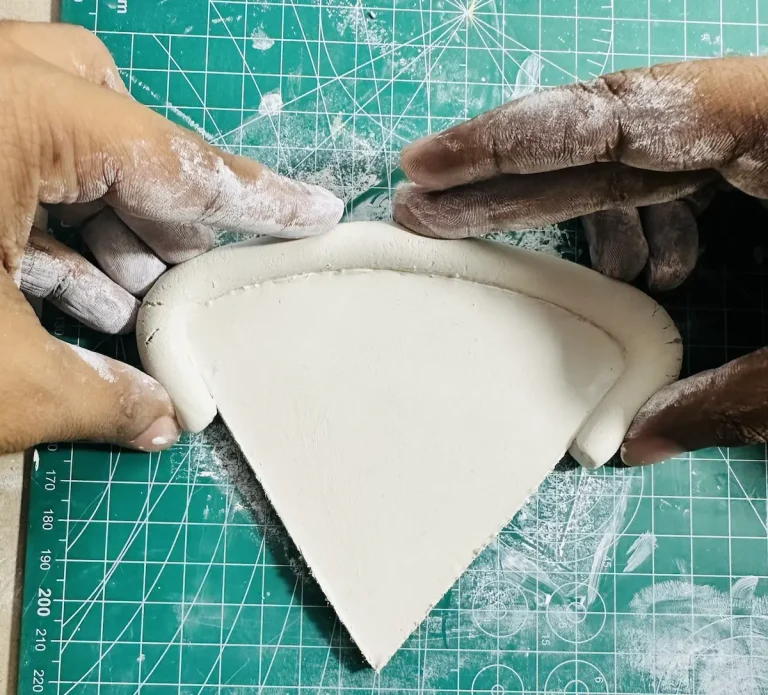
After shaping the organic shape smooth the edges. I always smooth out the tray edges after shaping to get the nice look and also it makes the painting process easier.
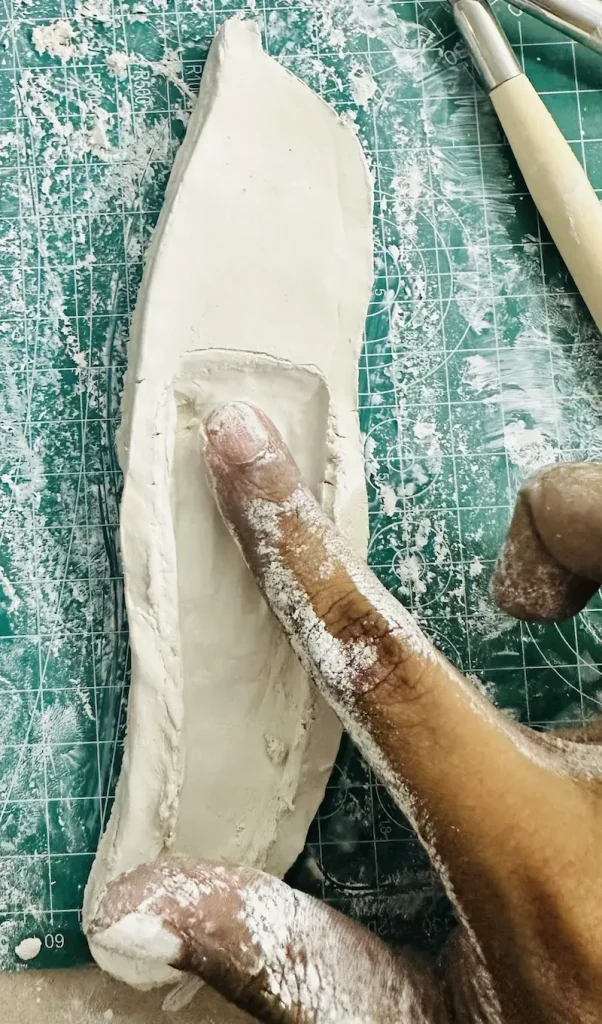
First, dip your index fingers in the water and gently touch the clay slab edges. Then glide your finger on the clay slab until it removes small cracks, pores, bumps and errors we made during tracing and cutting phases.
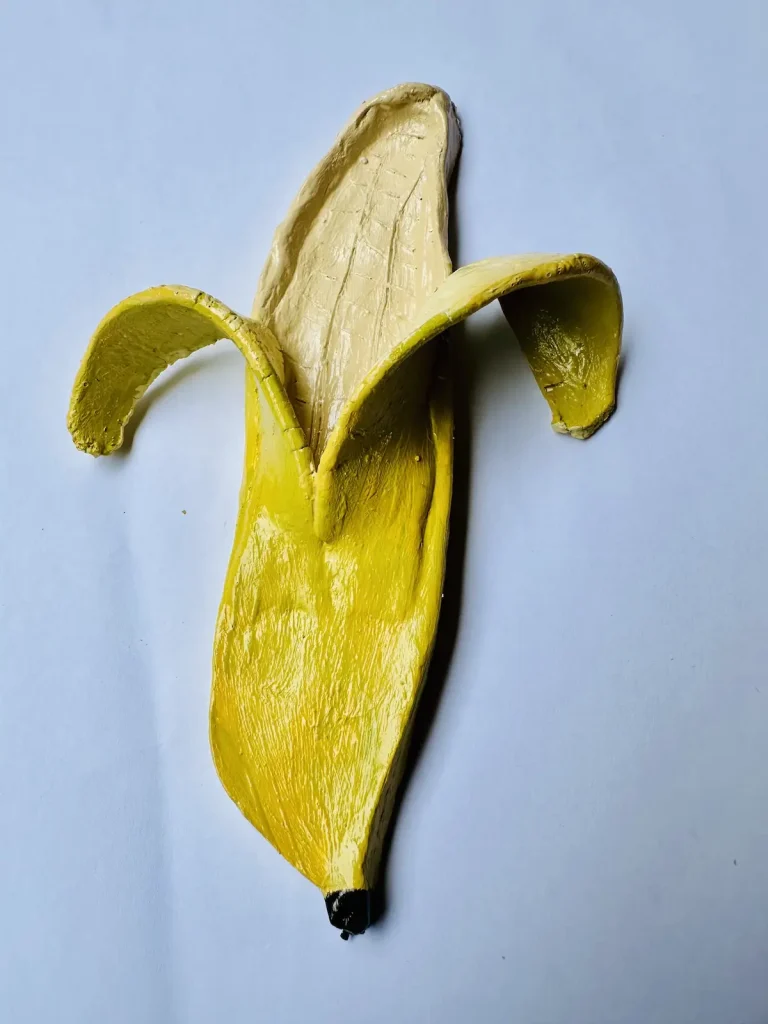
You can smooth out freshly cut rough edges and emphasize the organic shapes of your air dry clay projects.
Project ideas you can try without molds or cookie cutters
Here are the projects I made and I’m willing to make without molds or cookie cutters, only freehand,
- Banana trinket tray
- Papaya trinket tray
- Strawberry trinket tray
- Avocado trinket tray
- Basic trinket tray
- Koi fish pond
As you can see, I’m a fruit inspired tray addict lol.
Final thoughts
So, my friend, you should stop worrying about having the perfect stencils, cookie cutters or molds. Start with what you have. We are beginners and we do make mistakes. We are in the learning phase. Plus, when making an organic shape, mistakes are not actually considered as mistakes.
Natural organic things do come in various shapes, sizes and angles. You can make whatever you want. Always try to use freehand because that’s one of the most important skills you should improve in your clay journey.
I’d love to see how you make your next project with no cookie cutters or molds only using freehand.
Be sure to tag @clayandmestudios in your organic project. I’ll see you next time with more useful tips I learn along this journey! Cheers! 🤟🏾