Imagine you’re lost in a desert and you’re looking for a hydration fruit to gain your energy back. What’s the first fruit that comes to your mind? Yes, that’s it! The mighty juicy watermelon.😍 (Sorry if you aren’t a watermelon fan 😂)
Welcome to another day of my fruit inspired trinket tray project series. It’s watermelon time, baby! 🍉
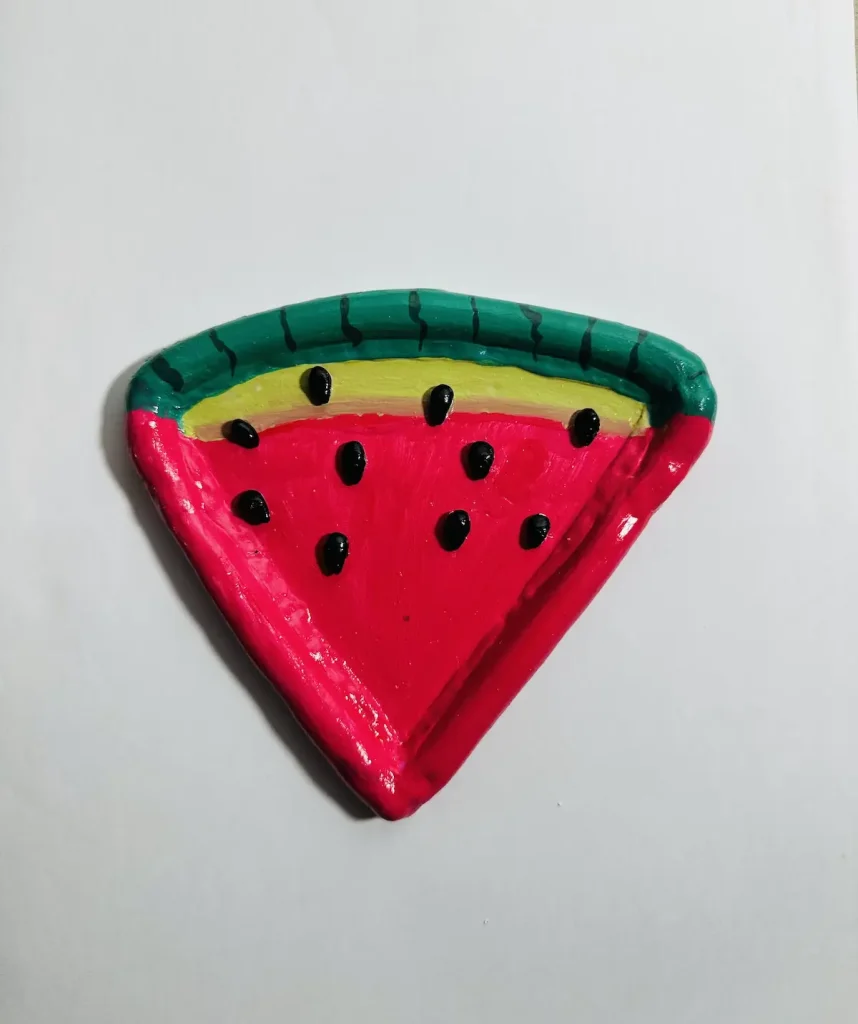
You know I’m a beginner, right? If you didn’t, now you know. I hate complex tutorials by online experts. So, I do my research before the project as a beginner and grab the simplest steps and follow them. Sometimes I make mistakes, but that’s fine, we beginners are ok to make mistakes. They are our teachers.
So, if you’re looking to learn from a beginner who is at the early stages of the clay journey, welcome!
While making this watermelon trinket tray, I’ll tell you what easy steps I followed, what went wrong, how I fixed them, and how you can make a better one. Professionals don’t tell you that because they don’t make mistakes as we do. ✨
Sorry, too much talking. Let’s dig in!
Materials you will need
Don’t worry, I don’t use expensive tools. If you don’t have any of the following except the clay 😂, grab an alternative item in your home. Nothing can stop you today from making this.
- Air dry clay (any brand you can find is okay, I used Mont Marte)
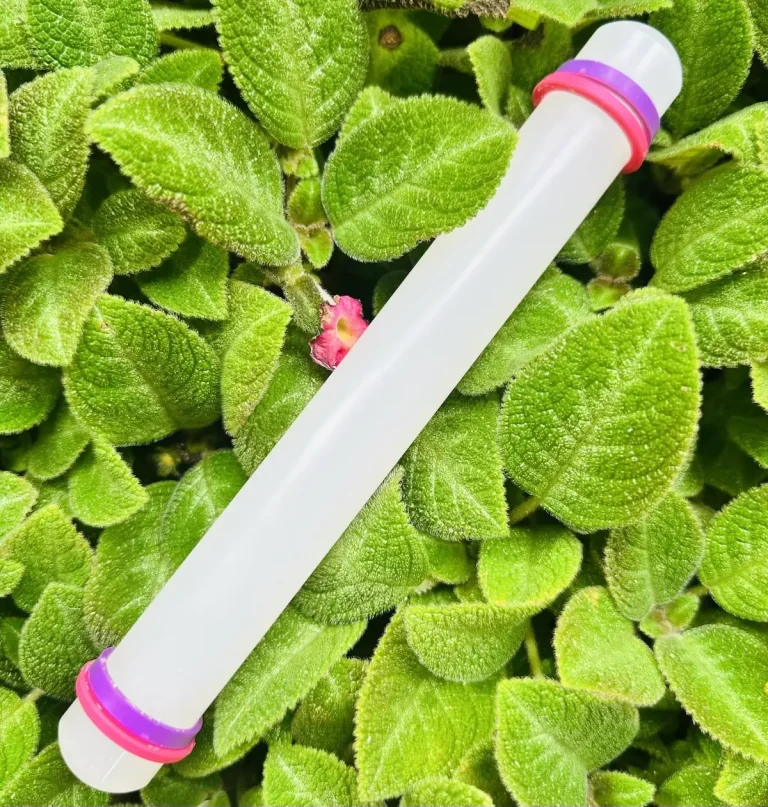
- Acrylic rolling pin or cooking rolling pin
- PVC mat or silicone mat (or non-stick surface)
- Clay tools (or use toothpicks)
- Clay cutting tool (or small knife)
- Cup of water or spray bottle
- Acrylic paint (crimson, black, white, green)
- Gloss varnish
- Paintbrushes
- PVA glue
- Scissors
- Paper towels
- Optional: Sponge or silicone sculpting tool (or you can use your finger)
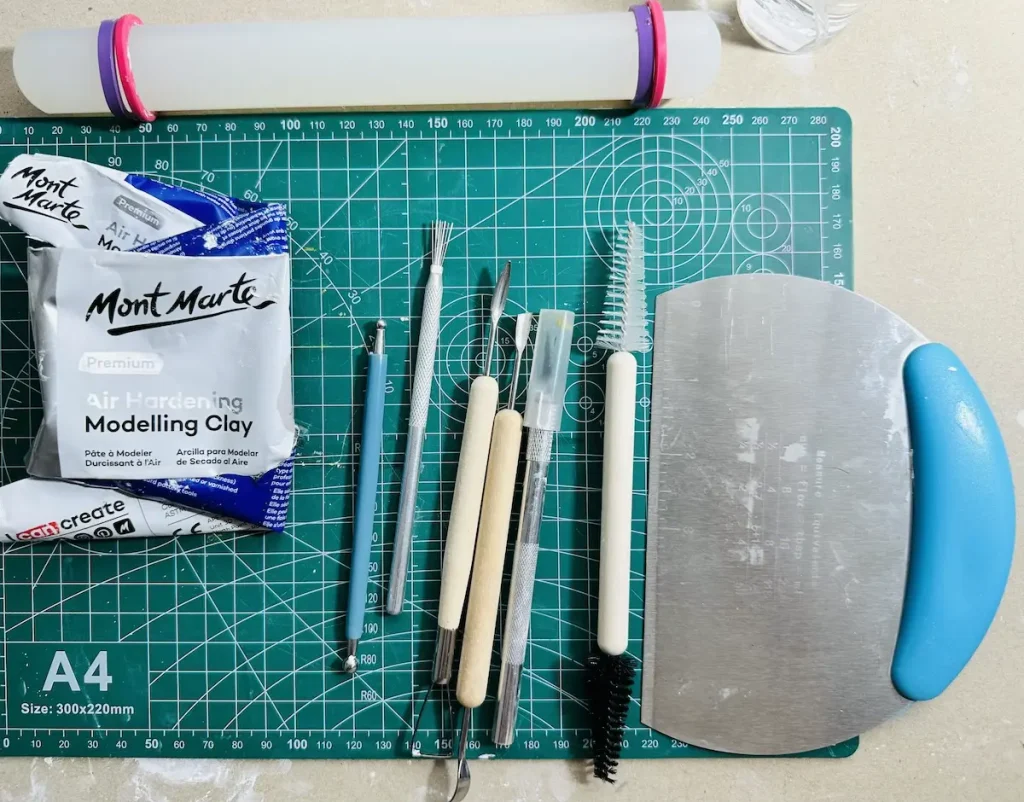
The reason I used air dry clay for this project is because no kiln or baking needed, easy to shape with little bit of water, dry in the air and cheap compared to other clay types (ex: polymer clay)
Watermelon, be ready! We’re coming for you. Let’s start making!
Easy diy watermelon trinket tray tutorial video
Below is the full tutorial video on how to make this diy watermelon trinket tray with air dry clay, and how I painted and sealed it. I’ve included every technique I used, mistakes I made and how I fixed them in detail.
Now let’s look at the detailed written step by step guide.
Step-by-step watermelon trinket tray tutorial
STOP! Don’t start right away. Please go and open all the windows in your room or go to a well-ventilated area. I don’t want you to cough during the project. Please step away from our watermelon when coughing. 💨 💨
Step 1: Knead the clay
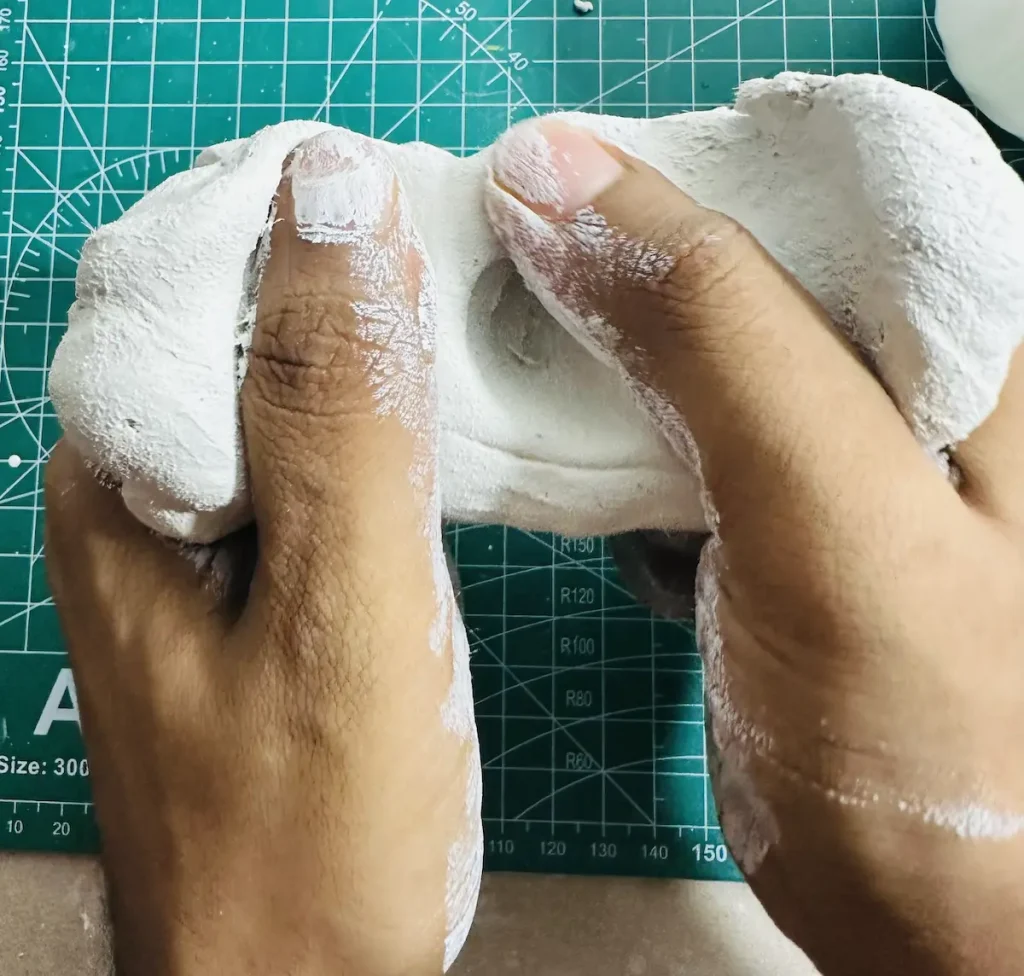
Before you start any project with air dry clay, kneading comes first. Air dry clay is a highly porous material with lots of moisture and air inside.
Kneading helps to spread the moisture evenly and release air inside which is good to avoid the clay from cracking when drying the project.
First, condition the air dry clay piece with a little bit of water on the surface and knead the clay well until it becomes soft like dough.
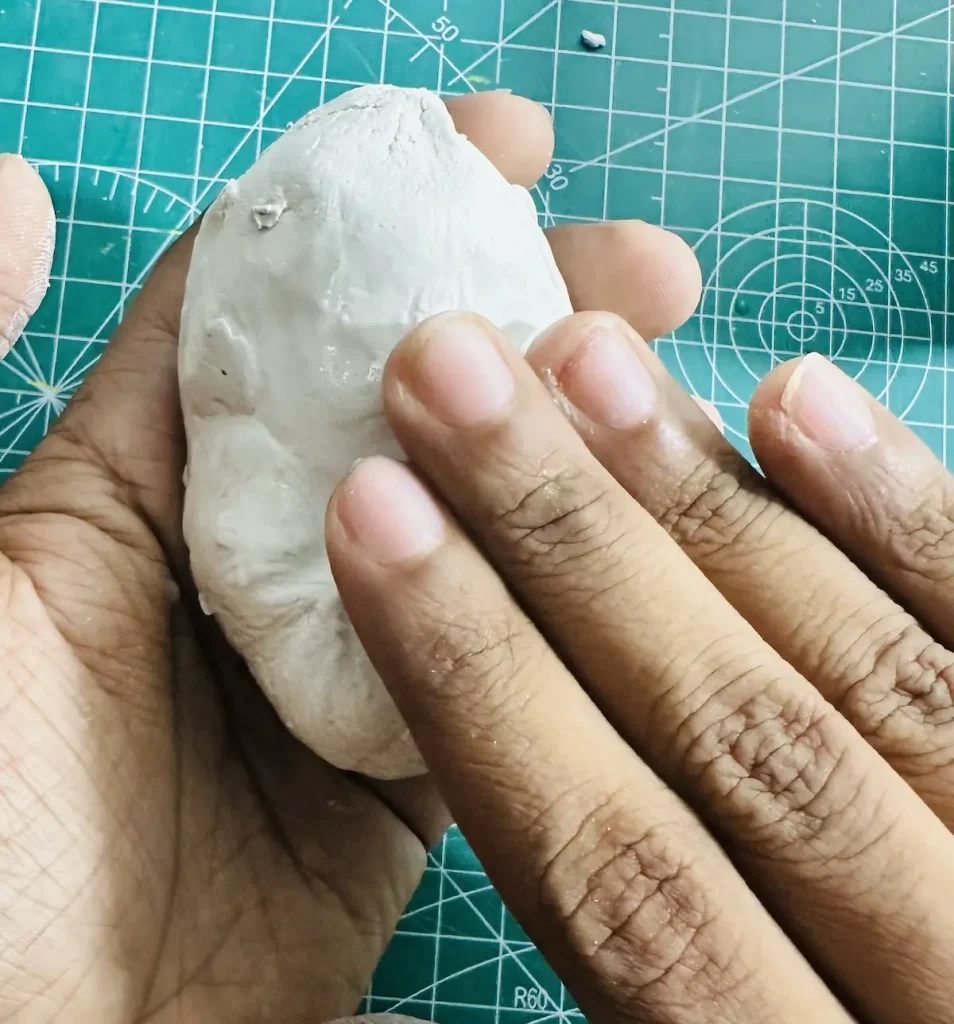
When the clay is soft enough you’ll feel it’s time for shaping.
Usually I knead my air dry clay piece for around 3-5 minutes.
Step 2: Roll the clay
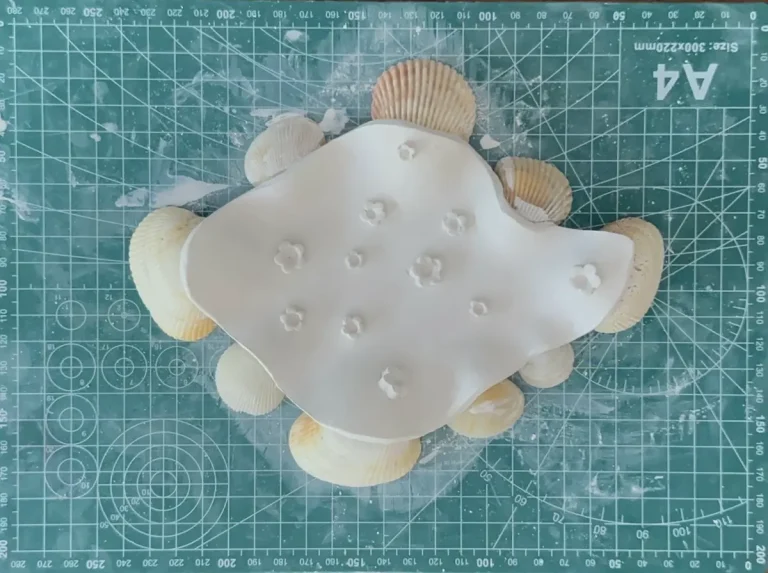
Place the kneaded air dry clay piece on your mat and start rolling with an acrylic pin. I aimed for ½ inch thickness. Don’t make the tray base too thin, which can tear and crack easily, or too thick, which takes ages to dry.
You can use a cooking rolling pin as well, but make sure to wrap it with parchment paper before rolling to avoid clay from sticking onto it.
Turn, flip and rotate the clay piece 90 degrees while rolling after each 2-3 rolling rounds to avoid air dry clay from sticking to the surface.
I use a PVC mat for this project, but you can use a silicone mat as well. Don’t use smooth surfaces for working because clay will stick to it and may tear apart when you try to lift it up after rolling.
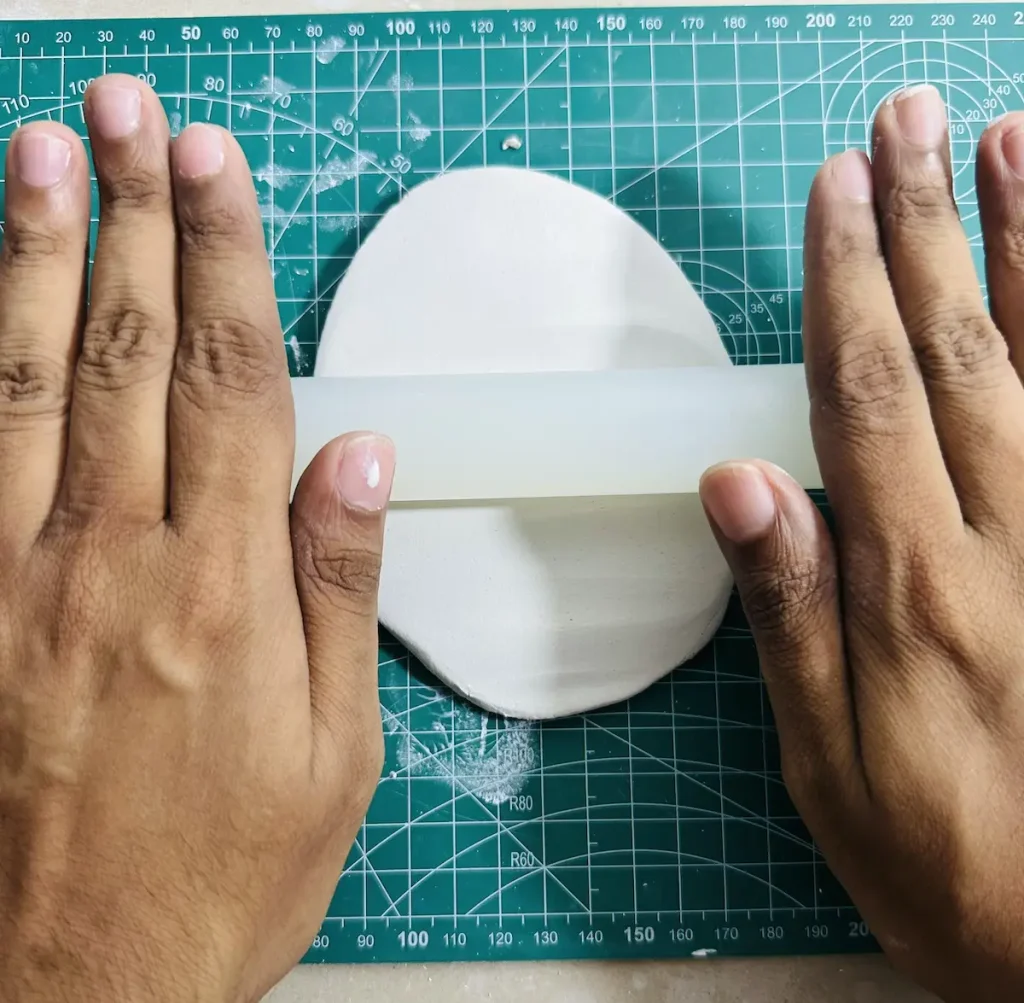
I forgot to flip, turn, and rotate the clay during my first trinket tray project and the clay ended up sticking because I rolled the clay nonstop without changing its position while rolling. Had to roll the clay for around 15-20 minutes because each time the clay was torn apart and I had to restart again. Don’t be like me, friends. 😅
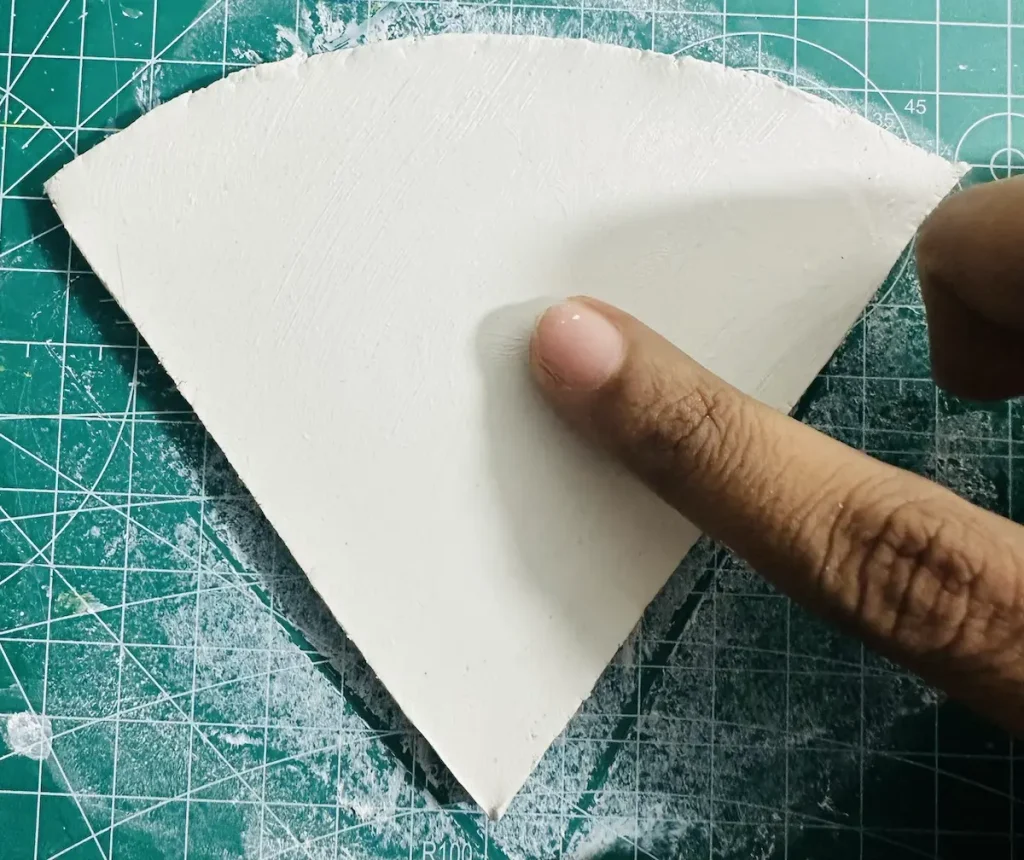
After rolling the clay slab, smooth it out by dipping your fingers in water and gliding over the clay slab.
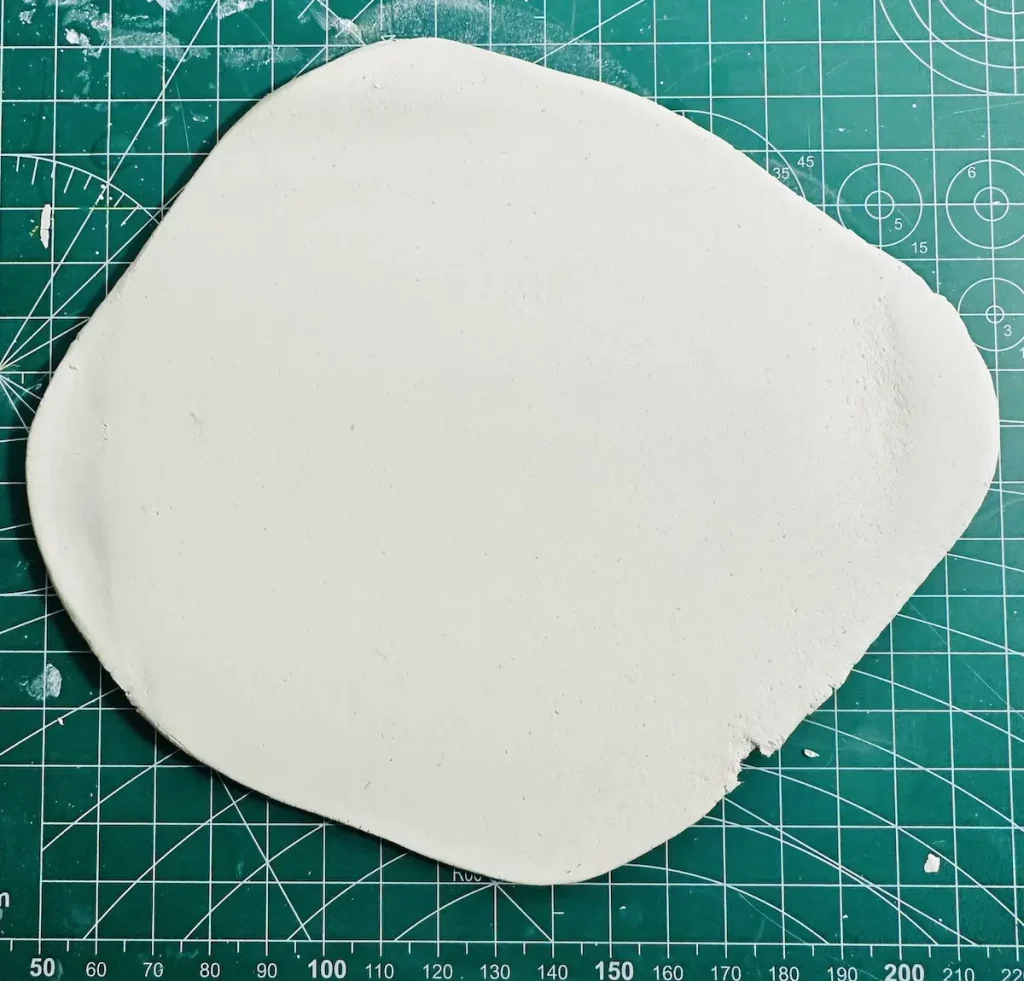
Smoothing the clay slab is a must after each step to avoid forming small cracks and scratches on the surface.
Step 3: Cut the watermelon base
If you’re bad at drawing like me, trace before you cut. I learnt that the hard way after making lots of mistakes. I recommend you trace and cut freehand without using a stencil, cookie cutter, or mold because, as beginners, we need to develop our freehand skills.
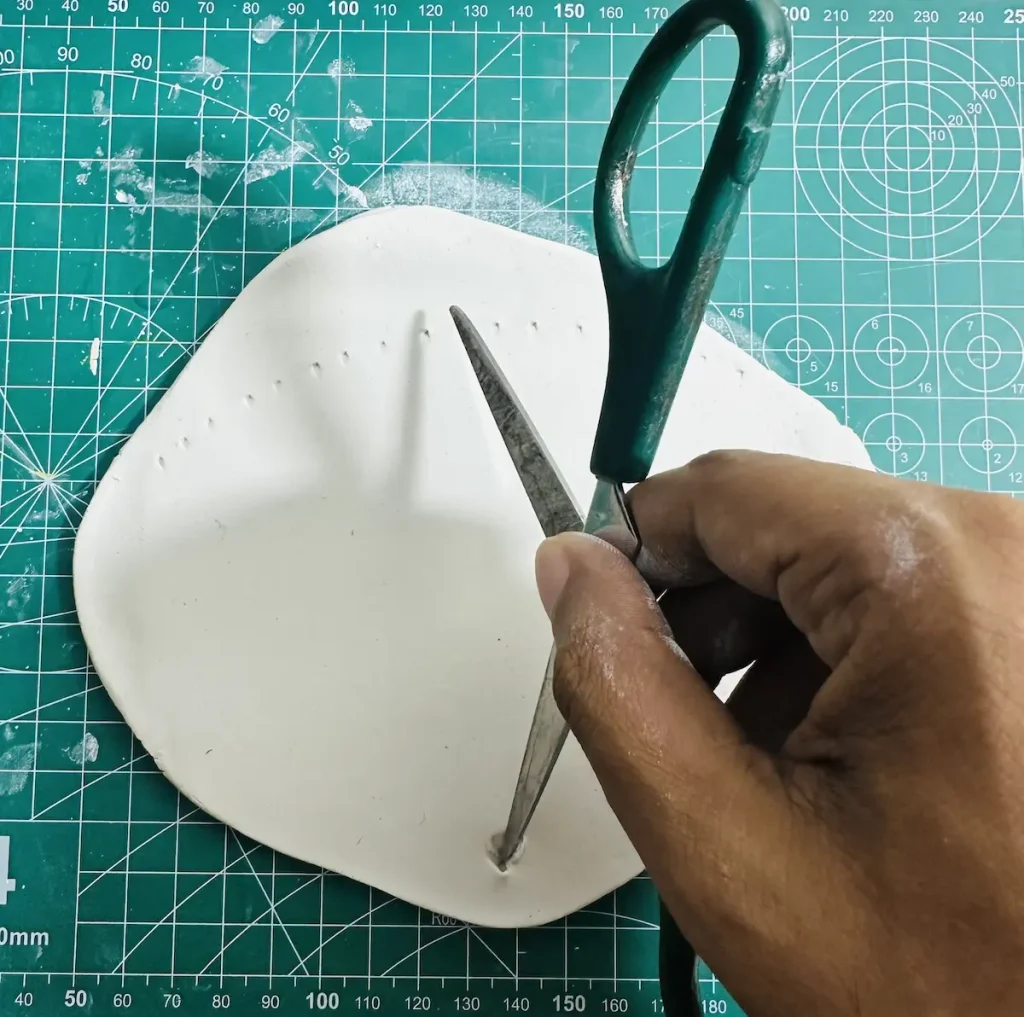
Once you become good at freehand cutting, Yes, you can use templates for complex shapes.
Yes, lots of mistakes happen when you use freehand. But that’s fine because every time you make a mistake and correct it, you learn something and you improve every single time.
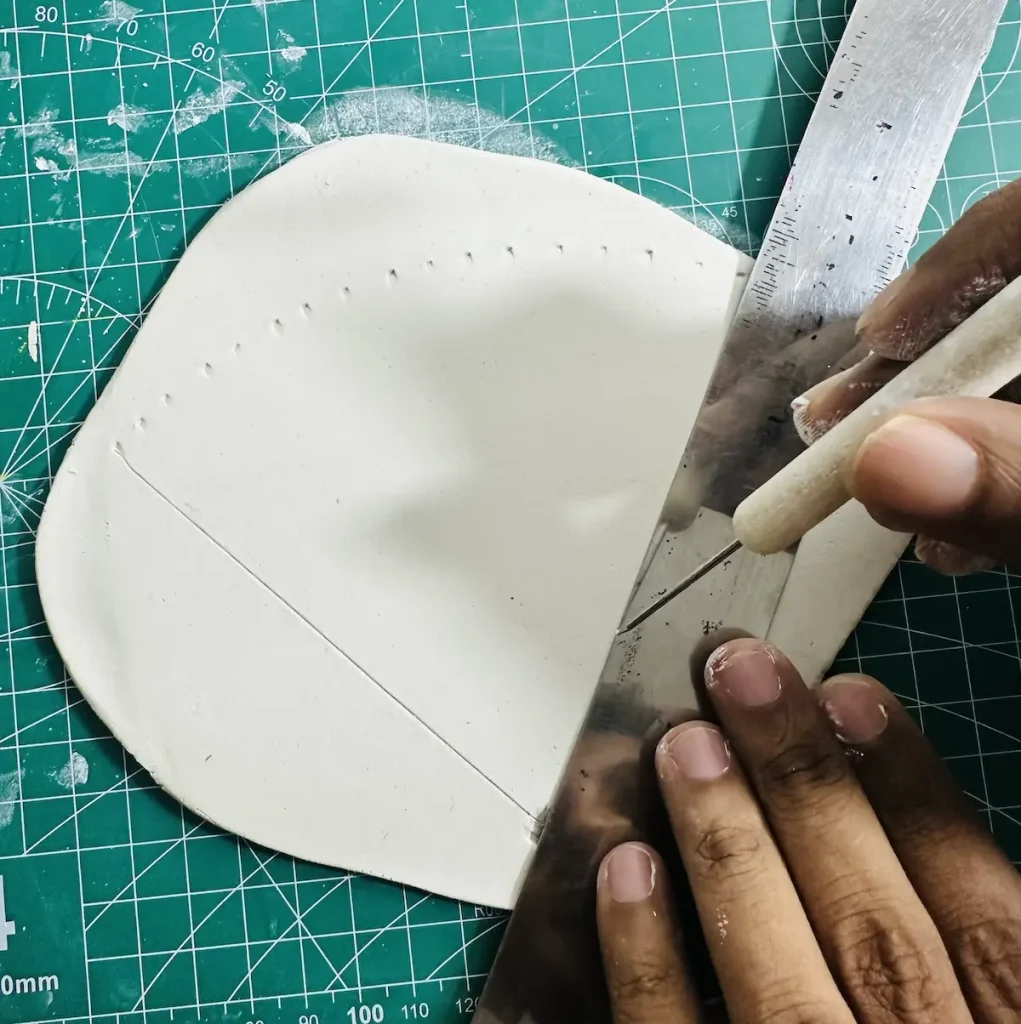
By tracing first before cutting, you’ll be able to correct any mistakes just by dipping your index finger in water and smoothing over the errors until they disappear.
For tracing the curved shape at the top of the watermelon, I used a pair of scissors and a ruler for mapping.
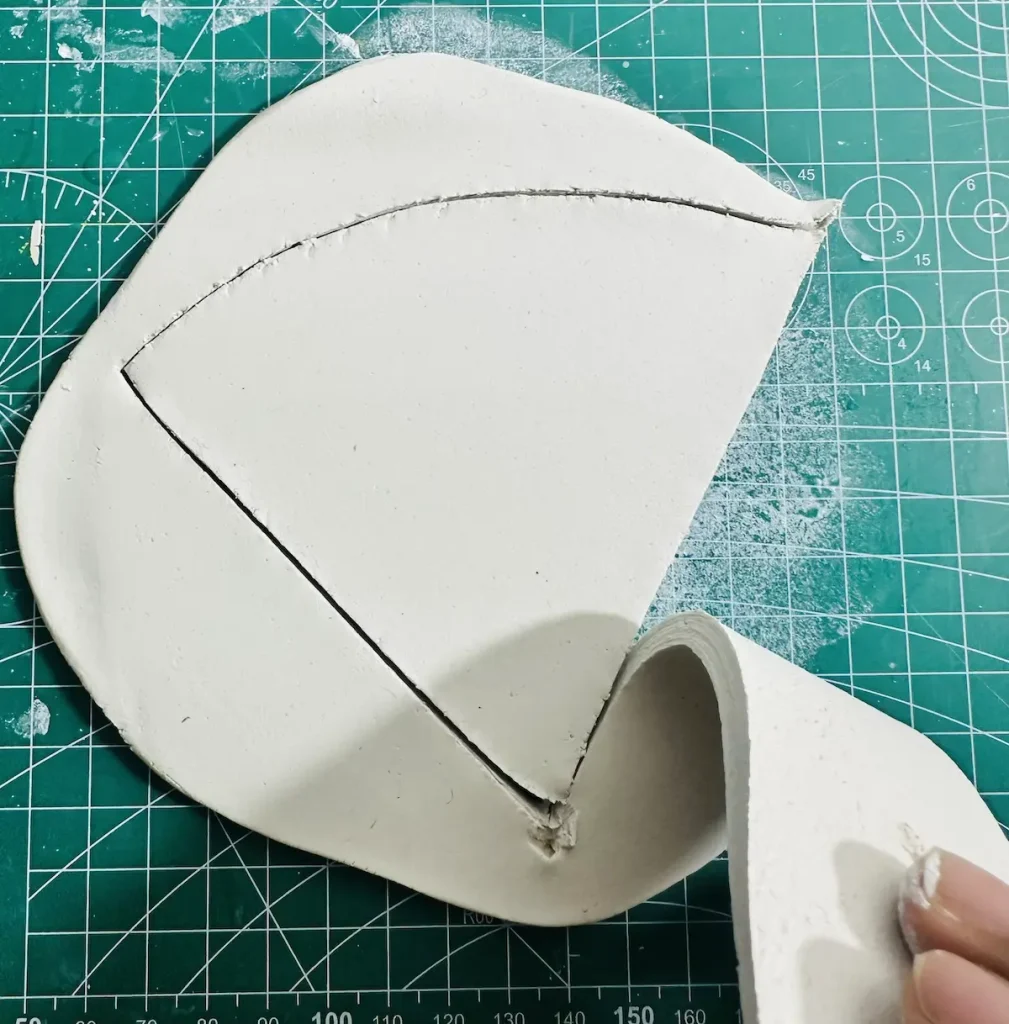
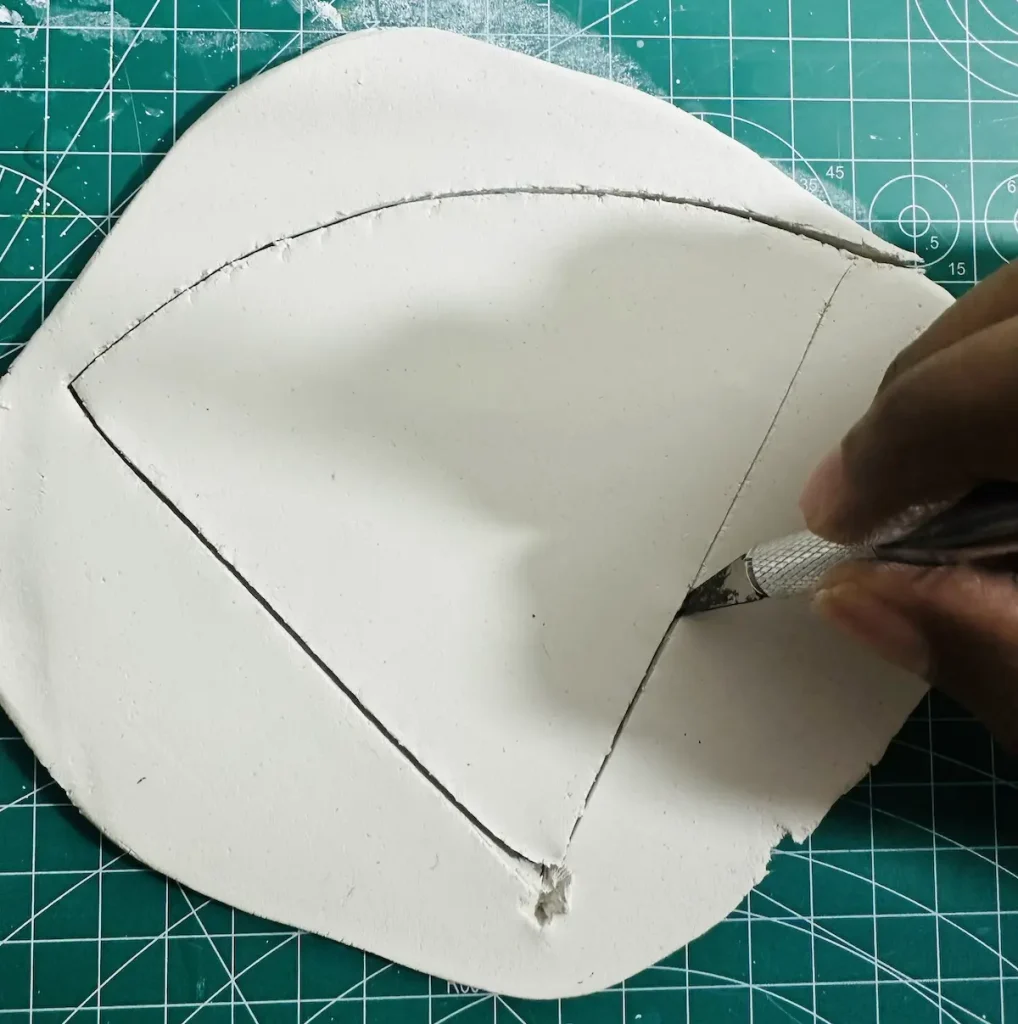
I marked dots on the clay slab and cut along the traces I made using the cutting tool. You can use a toothpick for tracing and a small knife for cutting as well. 🔪
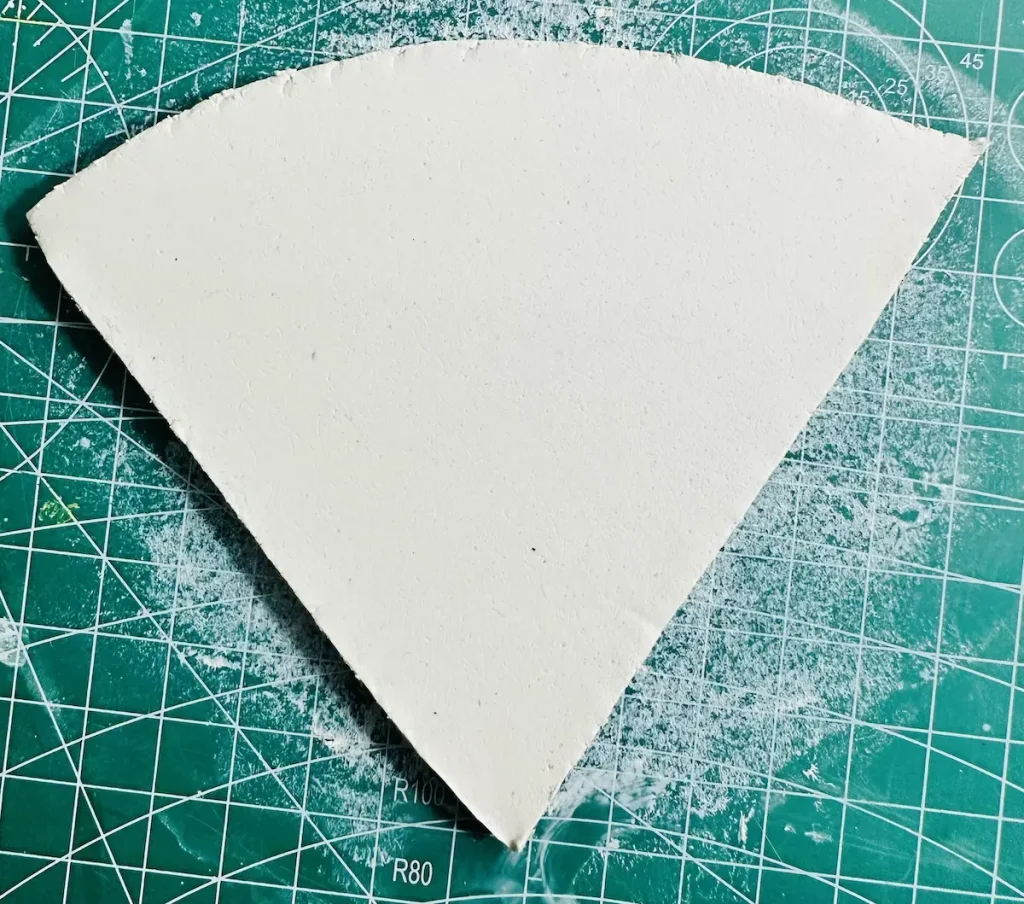
After cutting the tray base, smooth the clay slab and its edges with your fingers.
Step 4: Cut the tray rim
I planned to make the tray rim/lip like a clay cylinder instead of making a wall with rough edges.
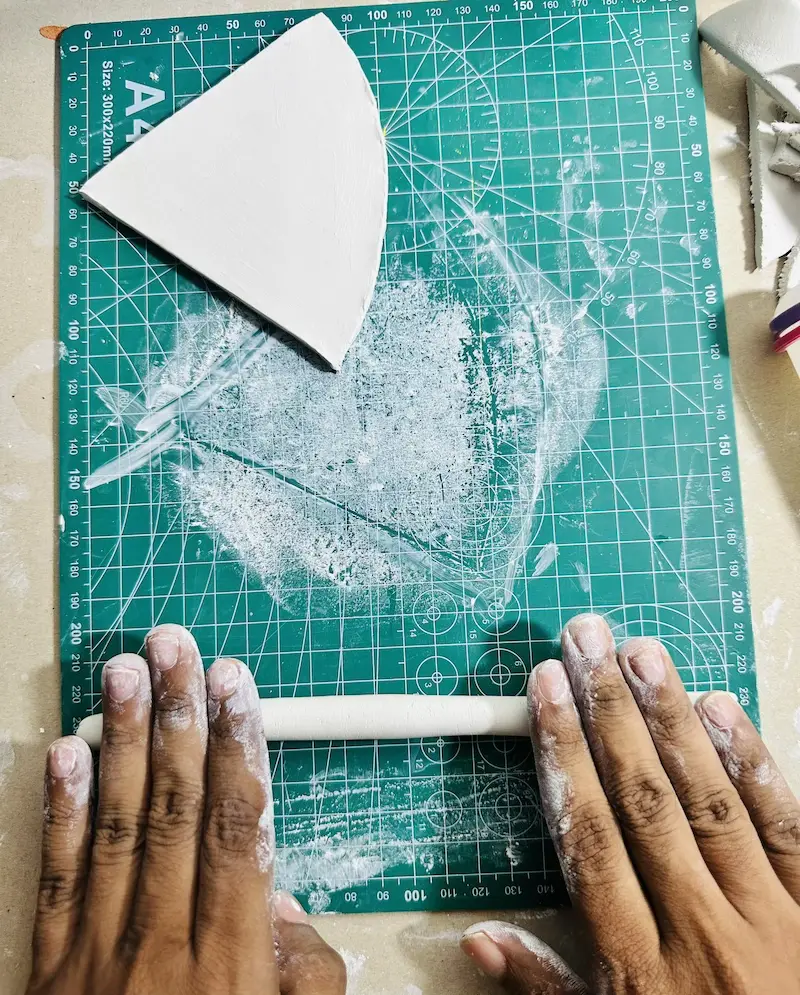
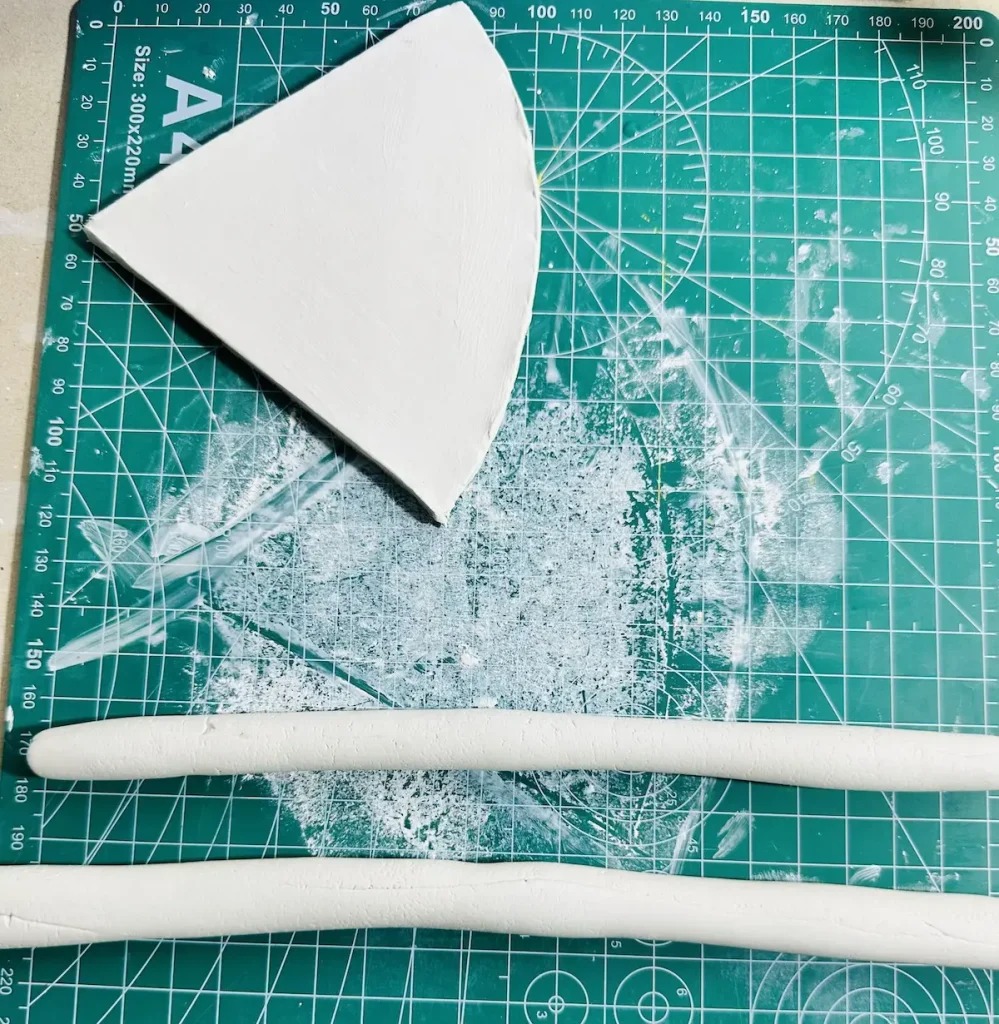
To do that, first, I took a wet clay piece, knead and roll it using my palms to make a thick long cylinder shape, a snake-like clay roll.
I made two clay cylinders. One for the curved top of the watermelon and other for the sides.
Cut the ends of the rim with an angle, which is easier to attach.
Step 5: Attach the tray rim to the base
You cannot attach air dry clay pieces just by pressing them together. Even though wet clay attaches just by pressing together, they separate as soon as they start to dry due to the shrinkage of the clay.
Follow the score and slip method to attach air dry clay pieces.
In the score and slip method, you first score both clay surfaces using the tool or with a toothpick and then tap those scored surfaces with a little bit of water or a clay and water mixture called “slip”. Then gently press those surfaces together. Now they have a place to grip and for better adhesion. Therefore, upon drying, those attached clay pieces won’t break due to that strong bond.
Slip is a mixture you can make by mixing air dry clay with water in a 1:1 ratio. It works as a glue. Or you can use just water. Both are fine.
I used water because I didn’t have slip.
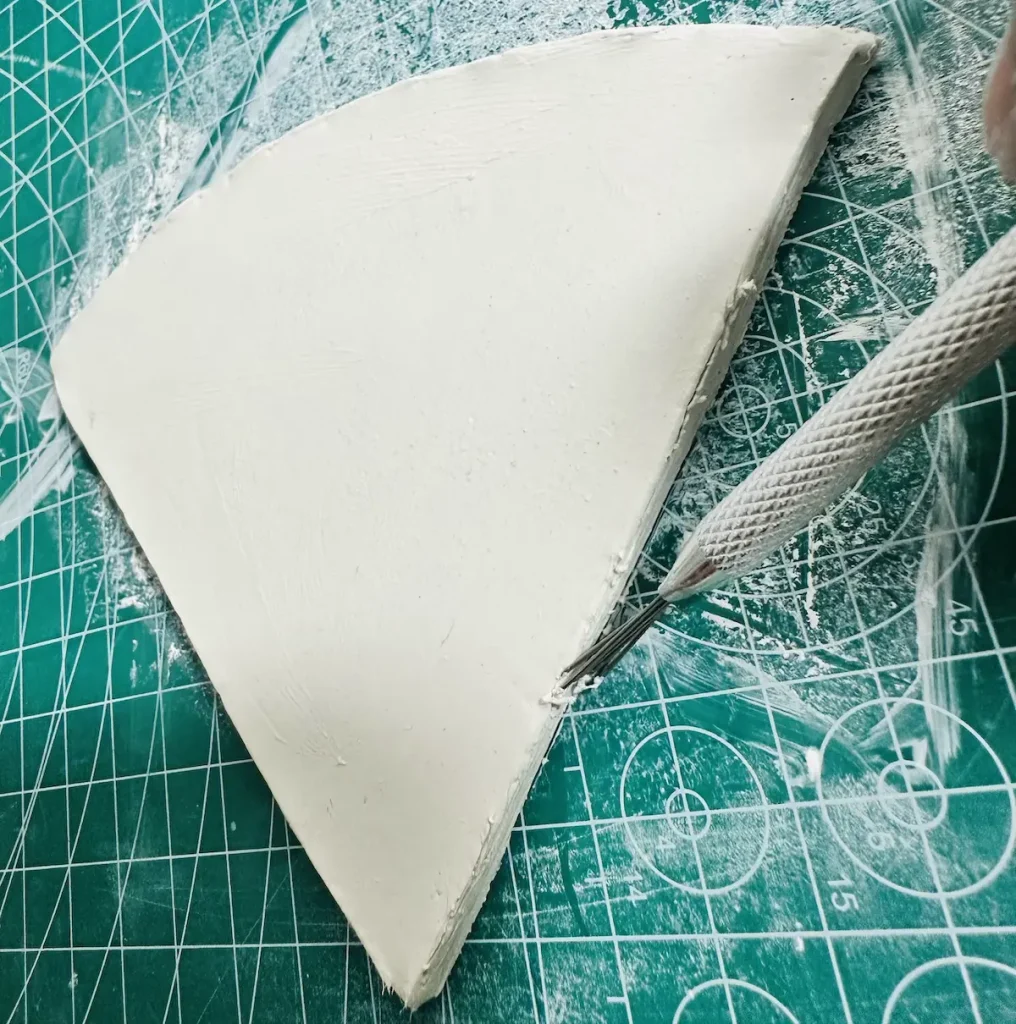
First score along the edge of the watermelon tray base and the bottom area of the tray rims you made.
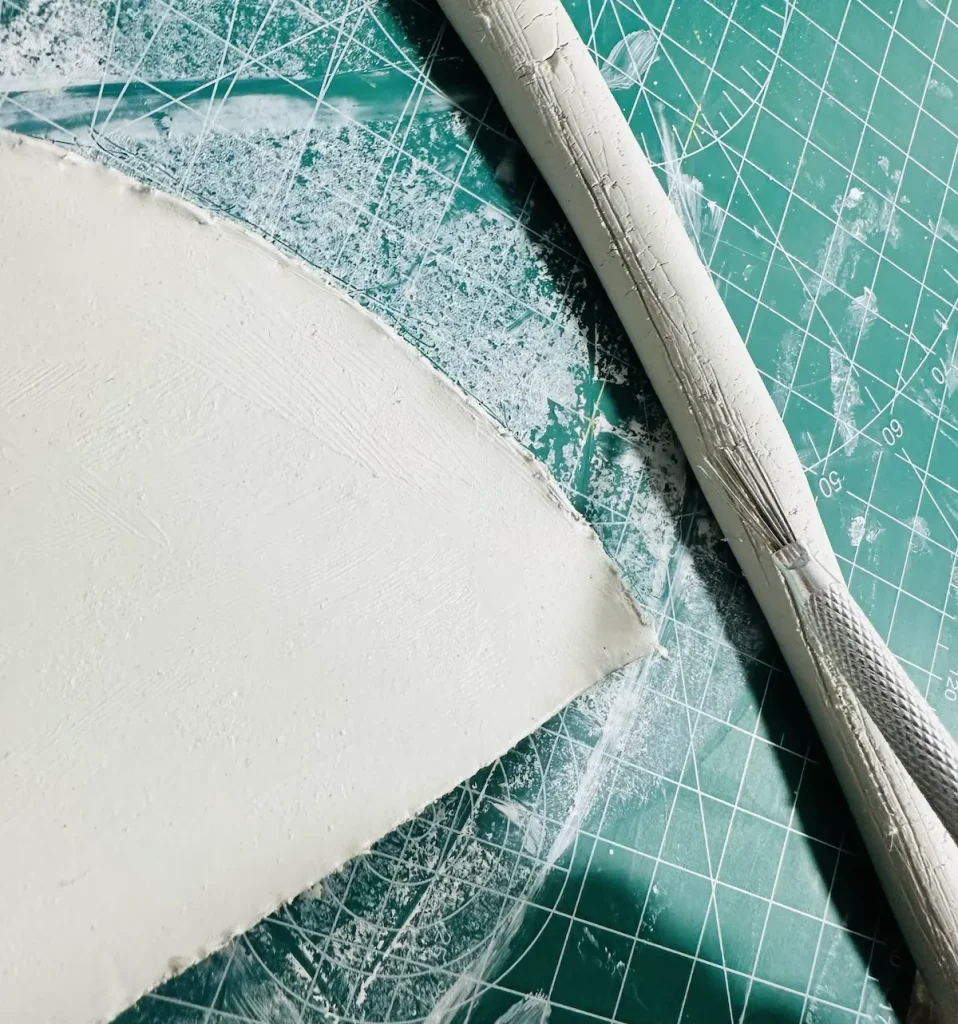
Then tap both surfaces with a little bit of water or apply slip.
Next take one rim and gently press it to the edge of the tray base and hold it for a few seconds. Then attach the second one.
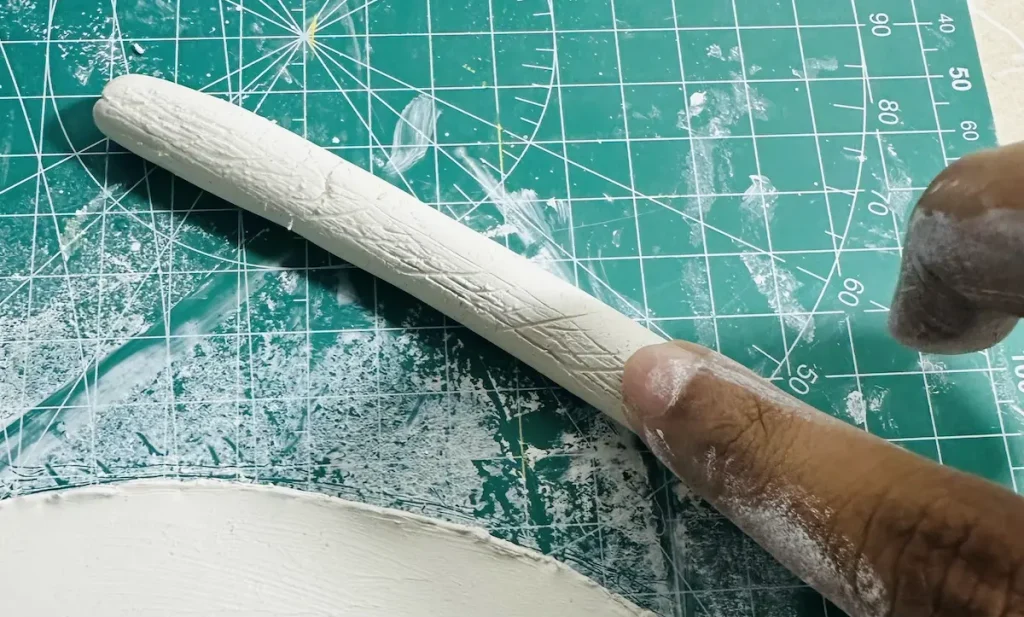
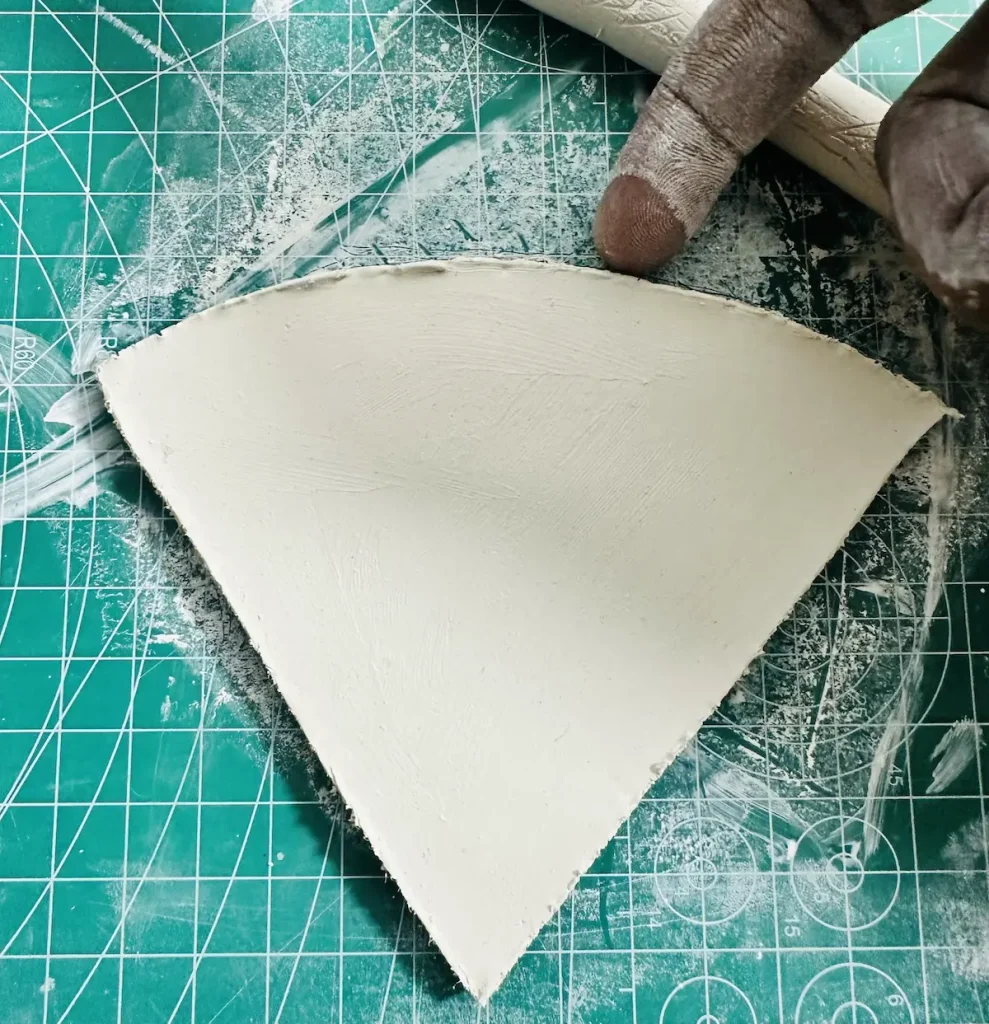
You need to be careful when attaching because the rim tends to separate quickly because the watermelon shape we made has sharp corners with around 45-degree angles.
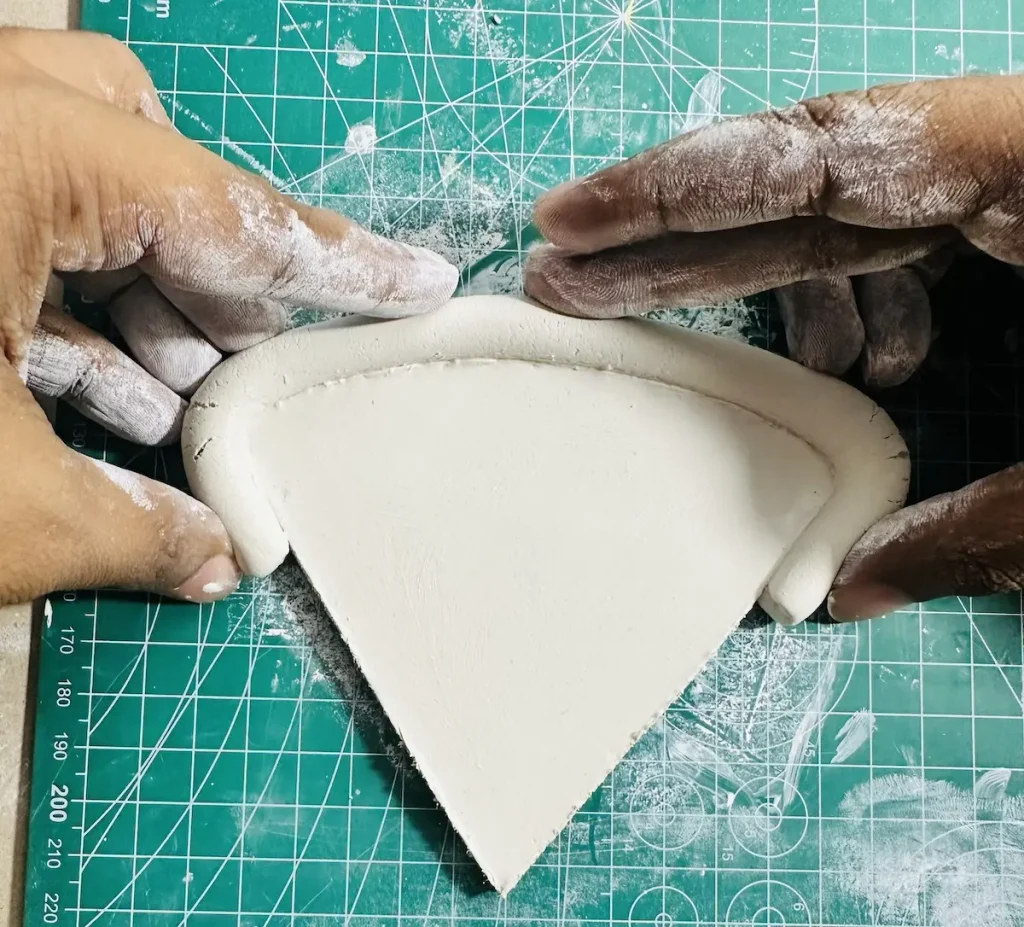
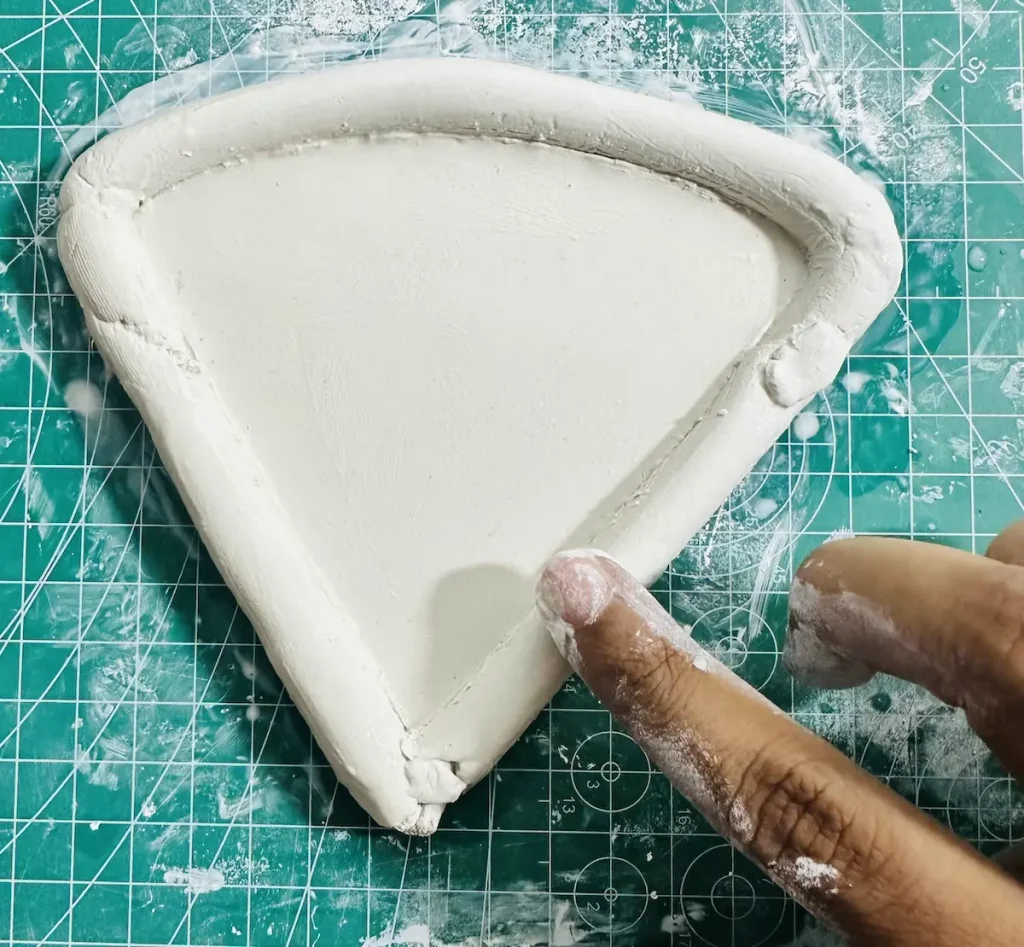
After attaching, a few cracks occurred in the sharp corner areas. I managed to smooth them out by gliding my finger continuously over the rim until the cracks disappeared.
I have noticed these cracks occurred because the thickness of the tray rim I made was too high, so they tend to crack when I bend them to attach around sharp angles in the tray base.
Therefore, when you’re making the tray rim try to make it a little bit thinner than mine to bend it easily around the sharp-angle corners. That’s it.
Reinforcing the joint with a clay coil
After attaching the tray rim to the base, I rolled a very thin air dry clay coil seam and placed it along the bond of the tray rim and base and gently pressed along the joint. Then smooth and blend it with the clay using water and your finger.
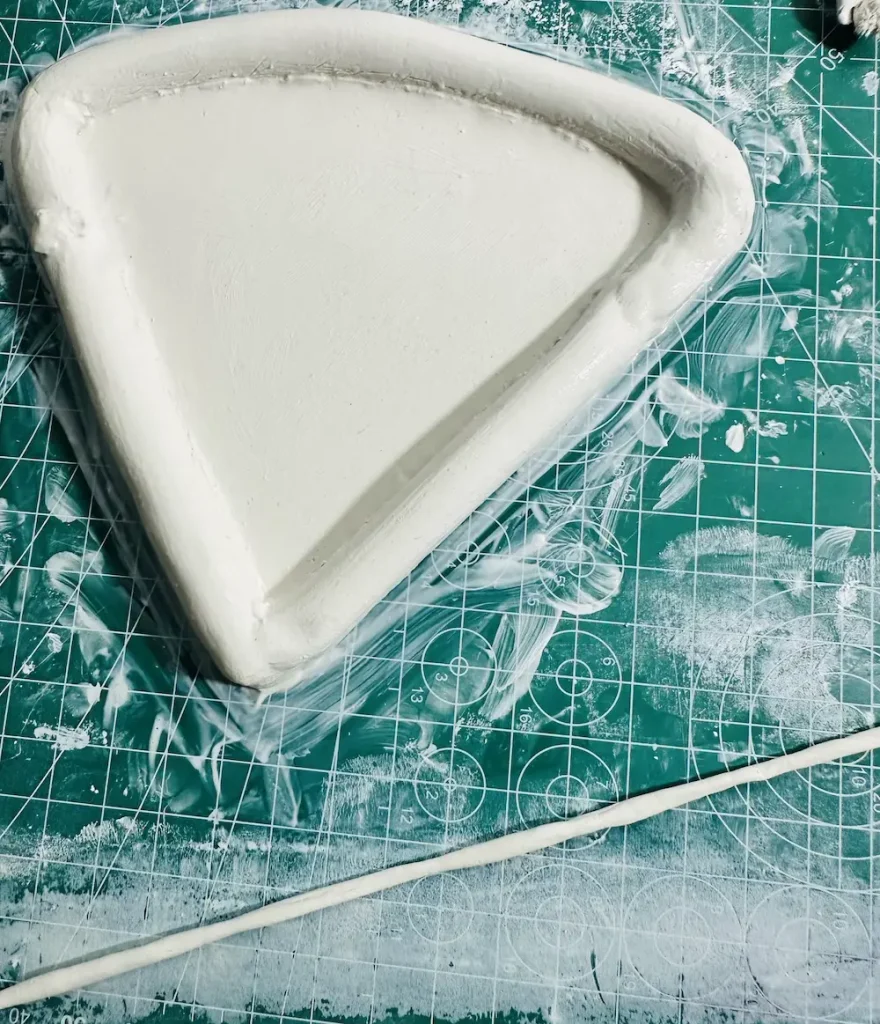
The purpose of adding a clay coil is to reinforce the joint between the tray base and the rim. It helps to remove the sharp 90-degree angle with lots of tension between the tray base and rim and spread the pressure evenly.
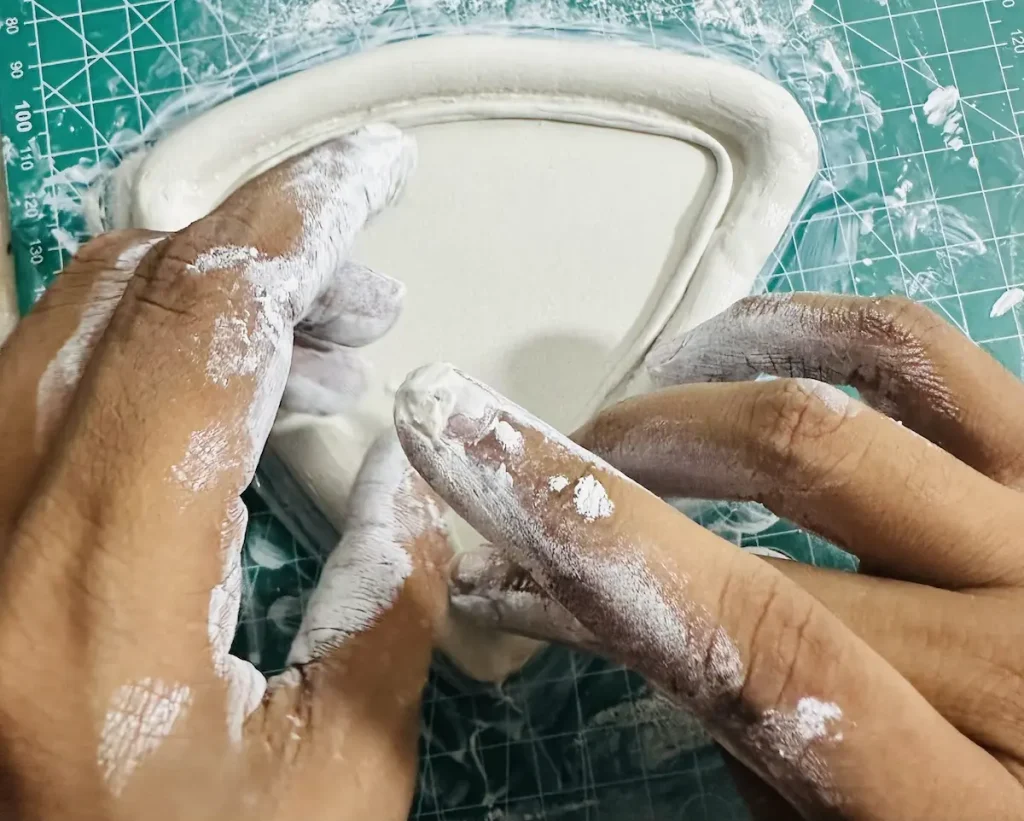
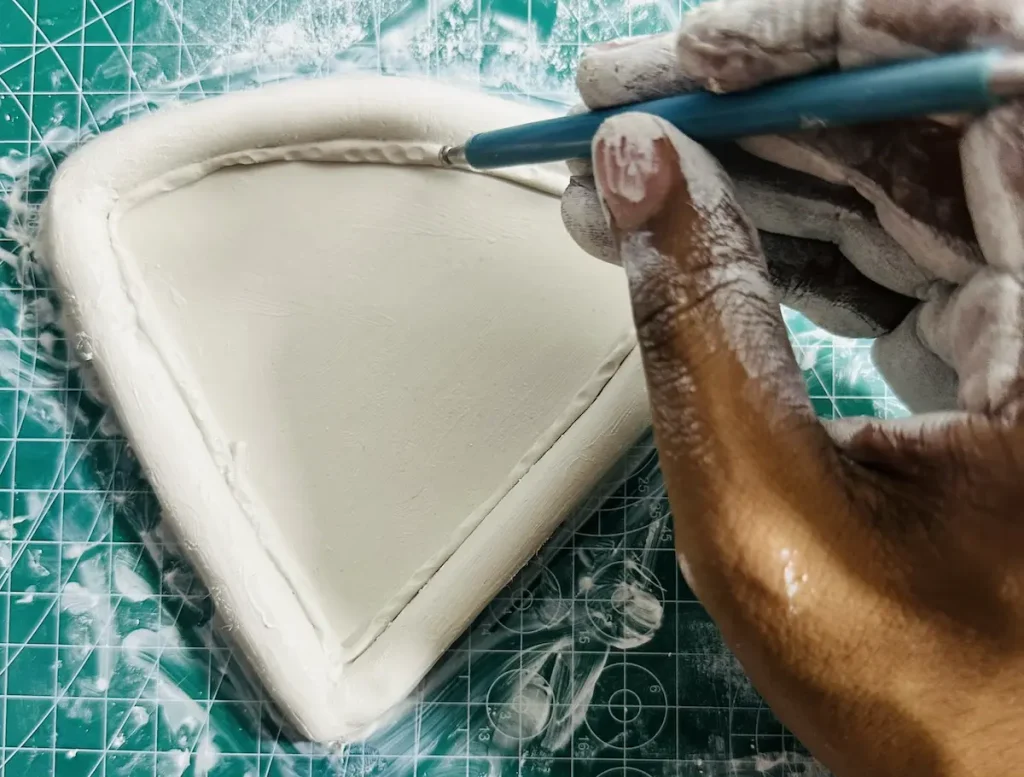
Well, friends! Now we have successfully completed the watermelon trinket tray. 🍉🎉
Don’t forget to smooth the surface of the tray base and the rim with a little bit of water.
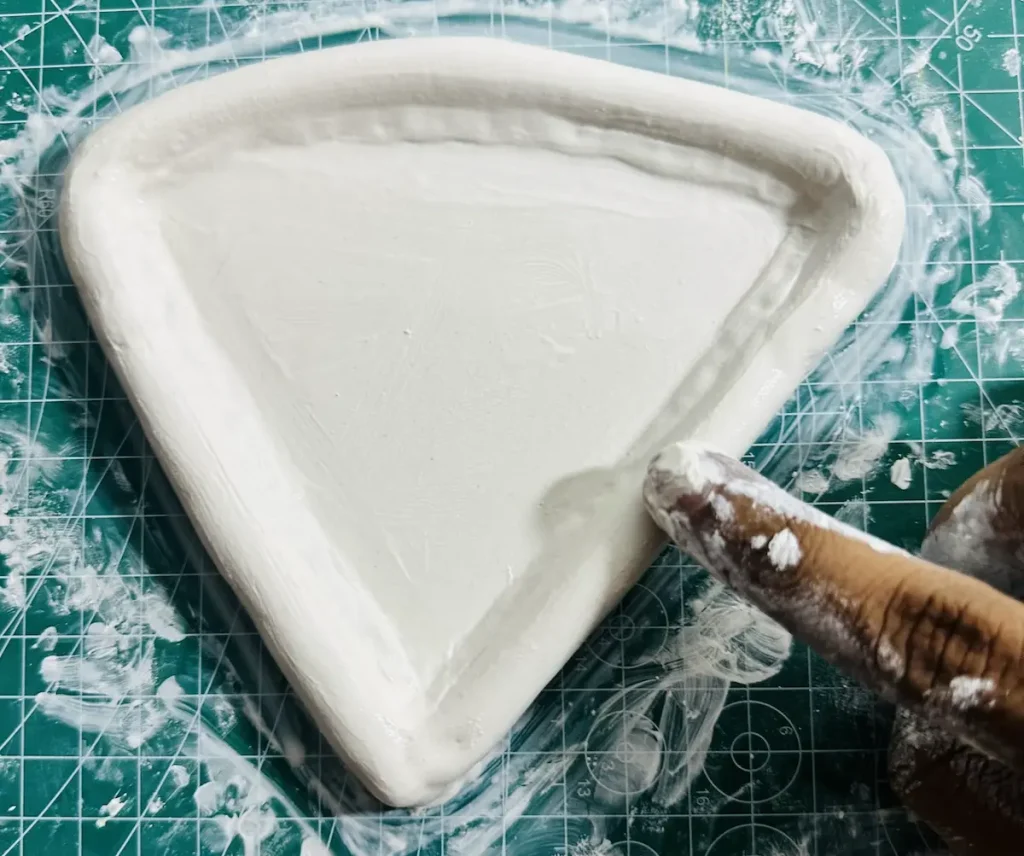
Step 6: Sculpting the 3d watermelon seeds
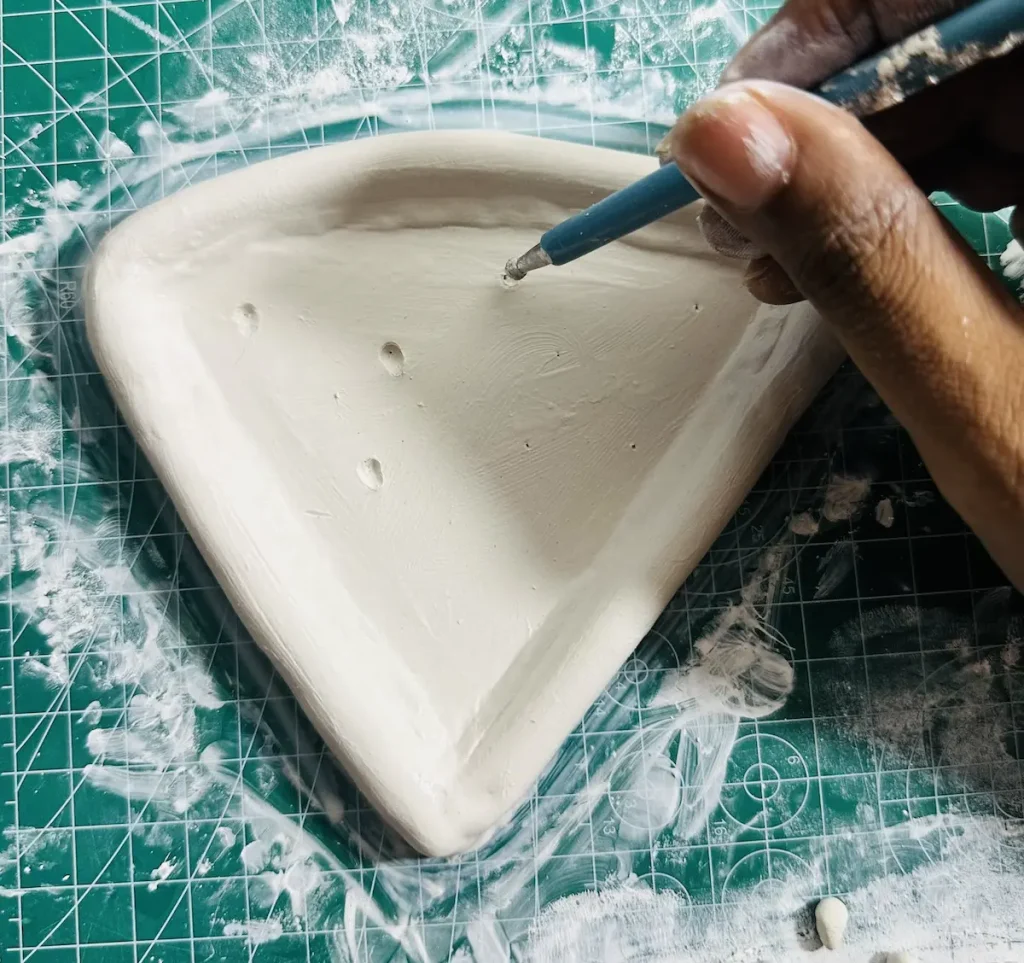
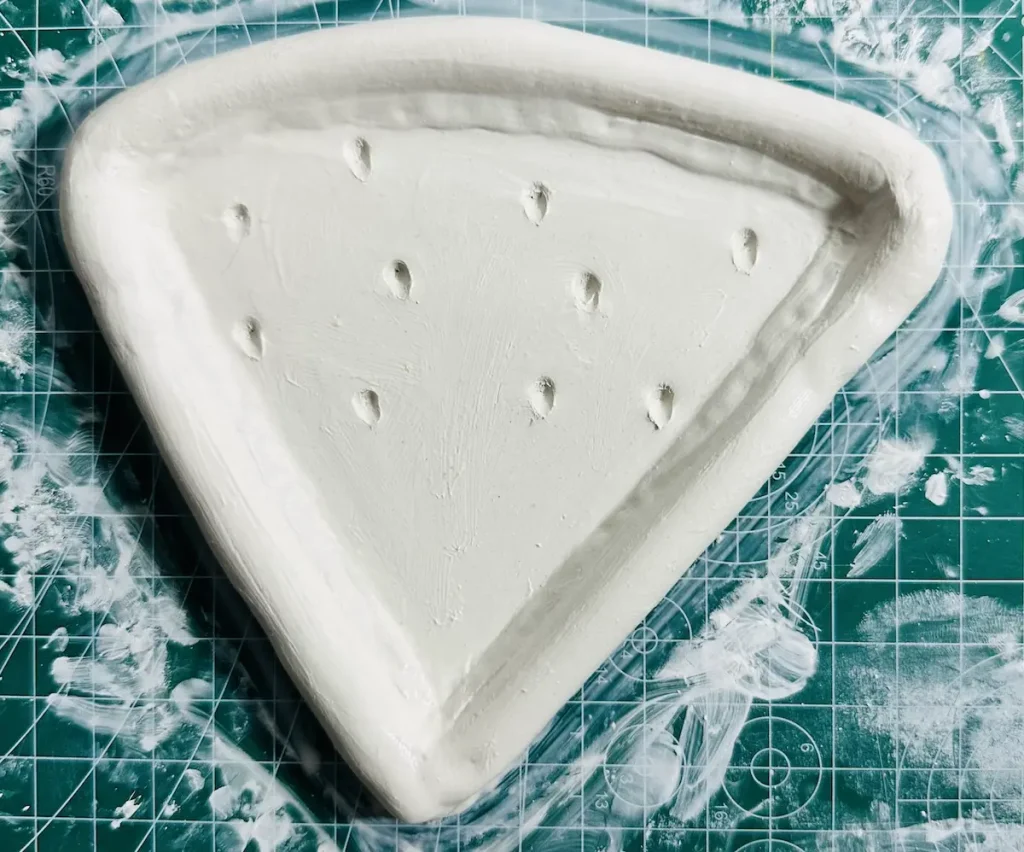
Instead of sculpting the seeds directly onto the tray base, I decided to make them separately and attach them later. Painting them individually before attaching creates a nice, ‘popped-out’ 3D look that you can’t quite achieve if you sculpt them onto the tray from the start.
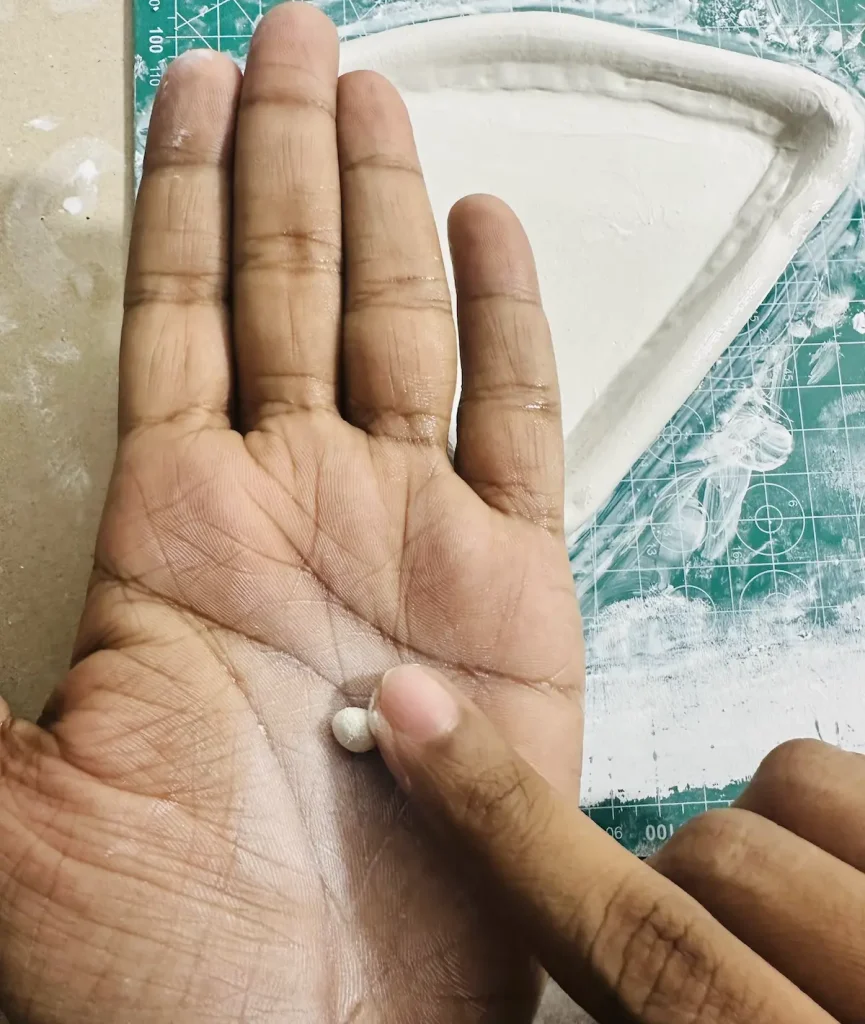
Take tiny clay pieces and make teardrop-shaped seeds with them. I made 10 watermelon seeds and mapped and marked the locations they’ll attach to on the tray base using a tool, or you can use a toothpick. 🧶
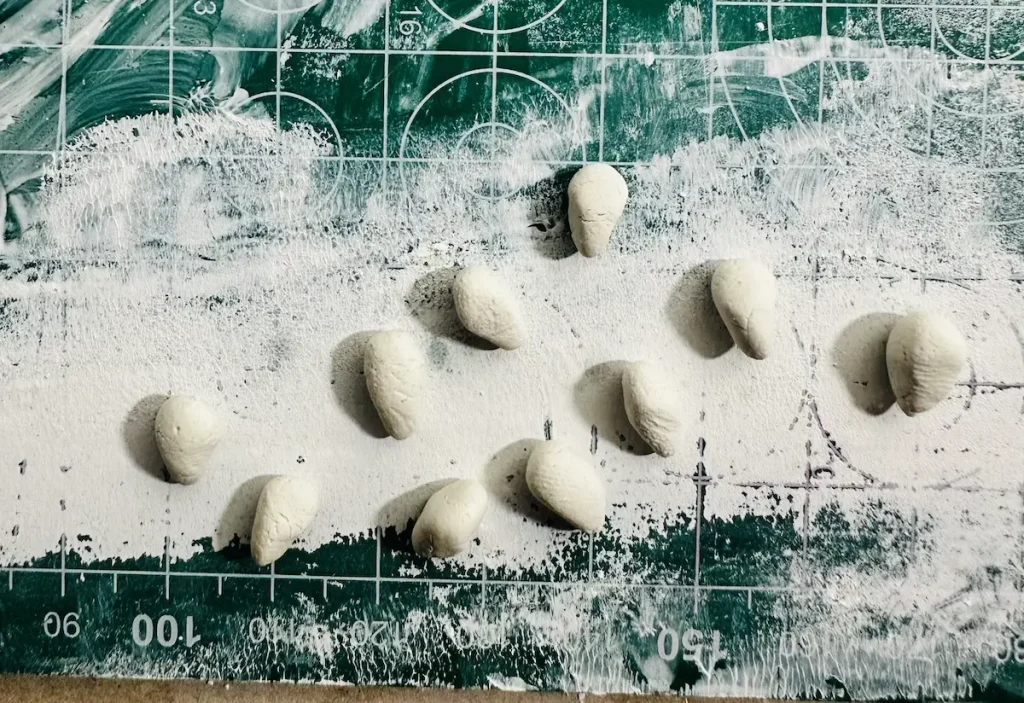
Then let the seeds dry well for 2 days. Will attach them after painting the tray.
Step 7: Let it dry
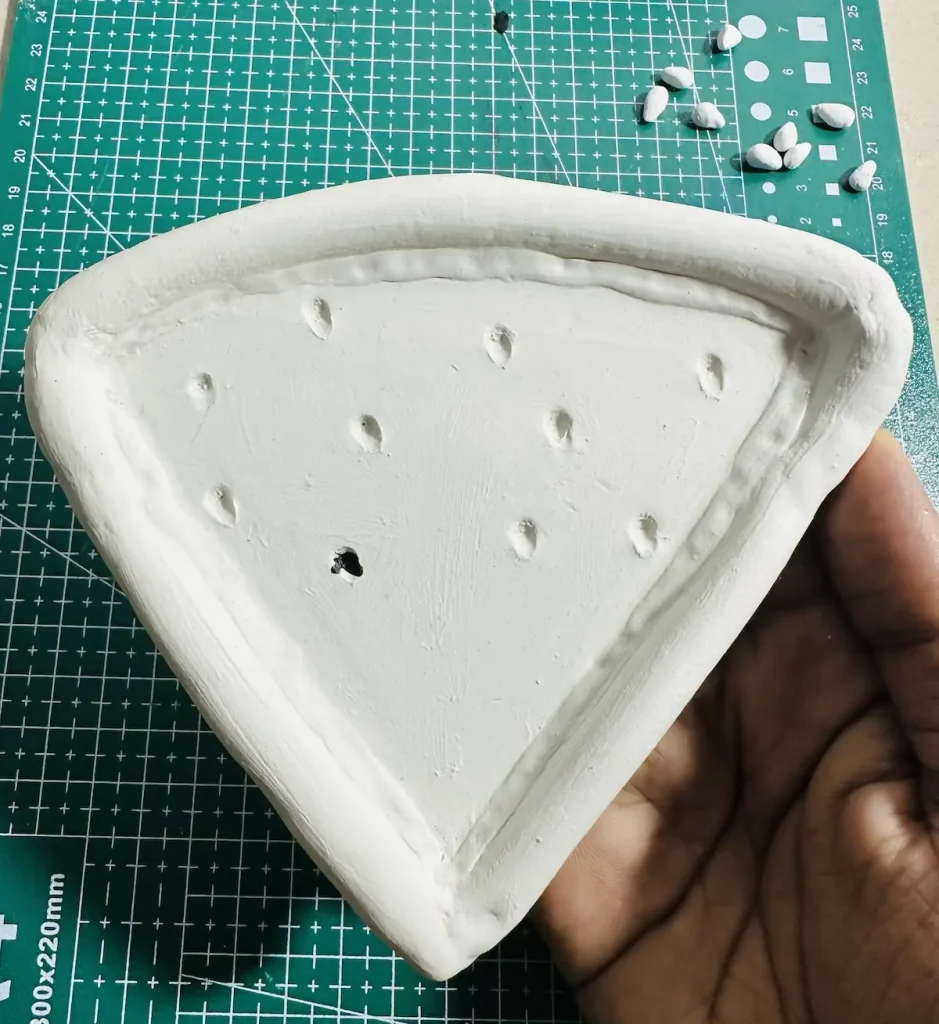
Now let the watermelon trinket tray and the seeds you made with air dry clay dry for 48 hours.
Drying time depends on the thickness of the tray base, rim and the humidity of your area.
However, don’t start the painting process until the project is fully dry. ⏳
You can identify wet areas by grey patches. Usually air dry clay becomes more and more white when it’s fully dried.
Oh, I forgot to say, let it dry in a cool and well ventilated area. Don’t place it in the sunlight, which speeds up the drying rate and can cause uneven shrinkage and cracks upon drying.
Clean the project well with paper towels before starting to paint.
It’s time to paint baby!
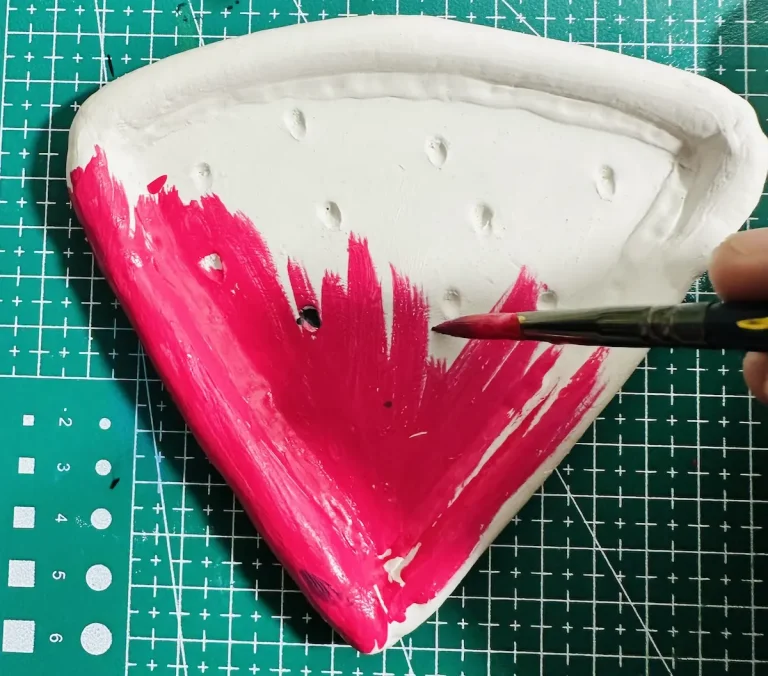
Step 8: Paint the watermelon trinket tray
I use acrylic paint for my air dry clay projects. I recommend acrylic paints for you too because they come in vivid colors, only need a little bit of water for mixing, dry quickly in the air, make a water resistant coating and are beginner friendly.
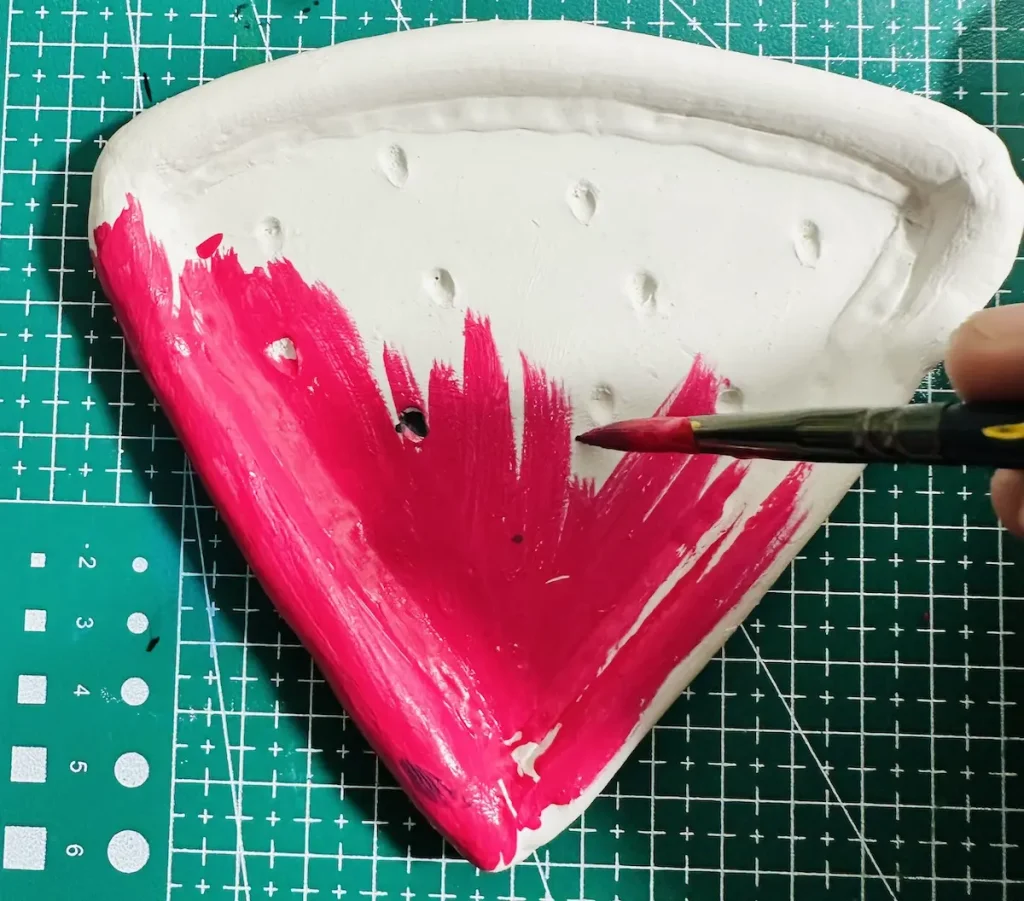
I used crimson, white, green, and black acrylic paints and mixed them to get the colors I wanted for the different parts of the trinket tray. 🎨
Apply thin and even coats of acrylic paint in one direction to avoid forming tacky spots and bubbles.
Read, How to Paint Crisp Details and Layer Colors on Air Dry Clay
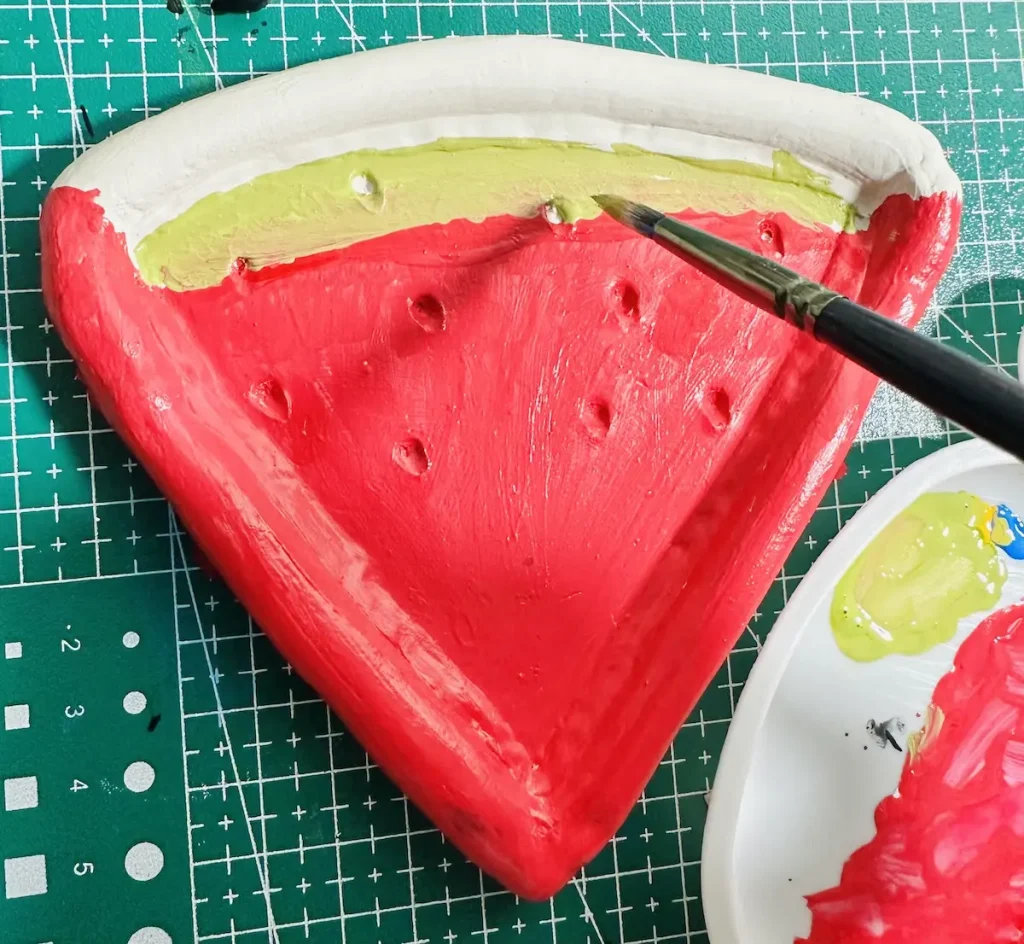
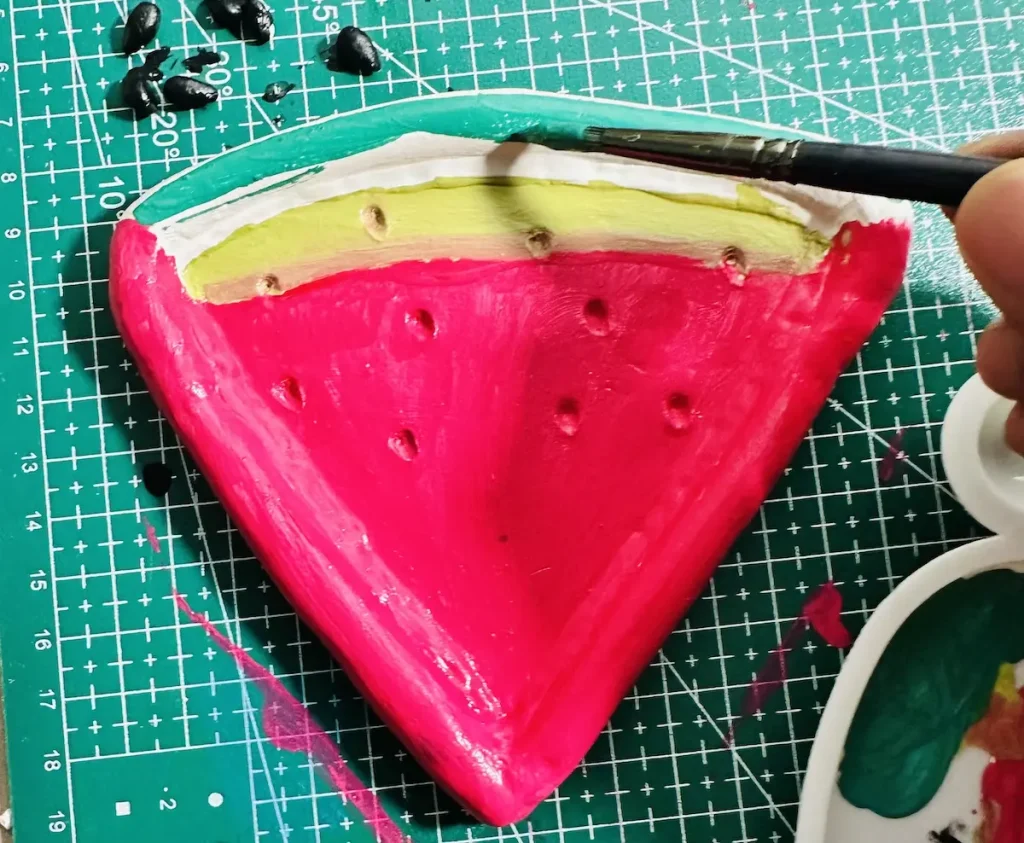
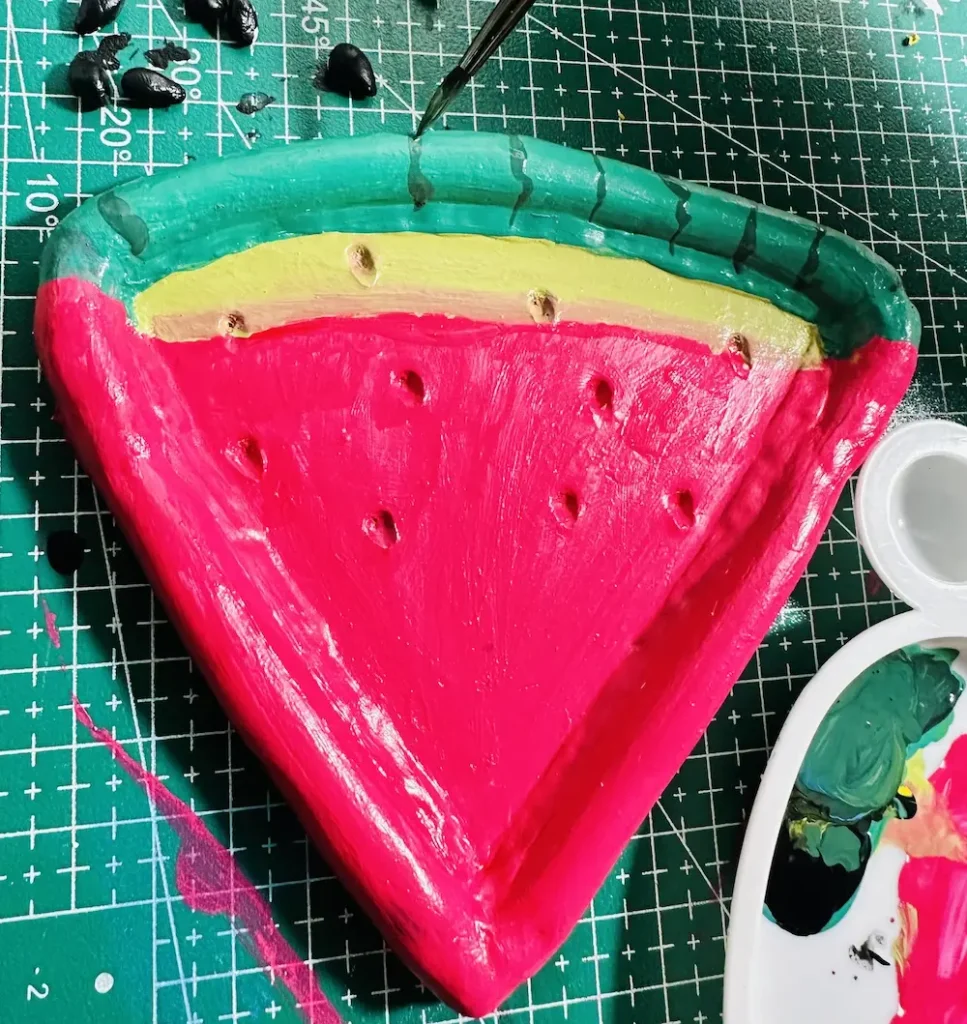
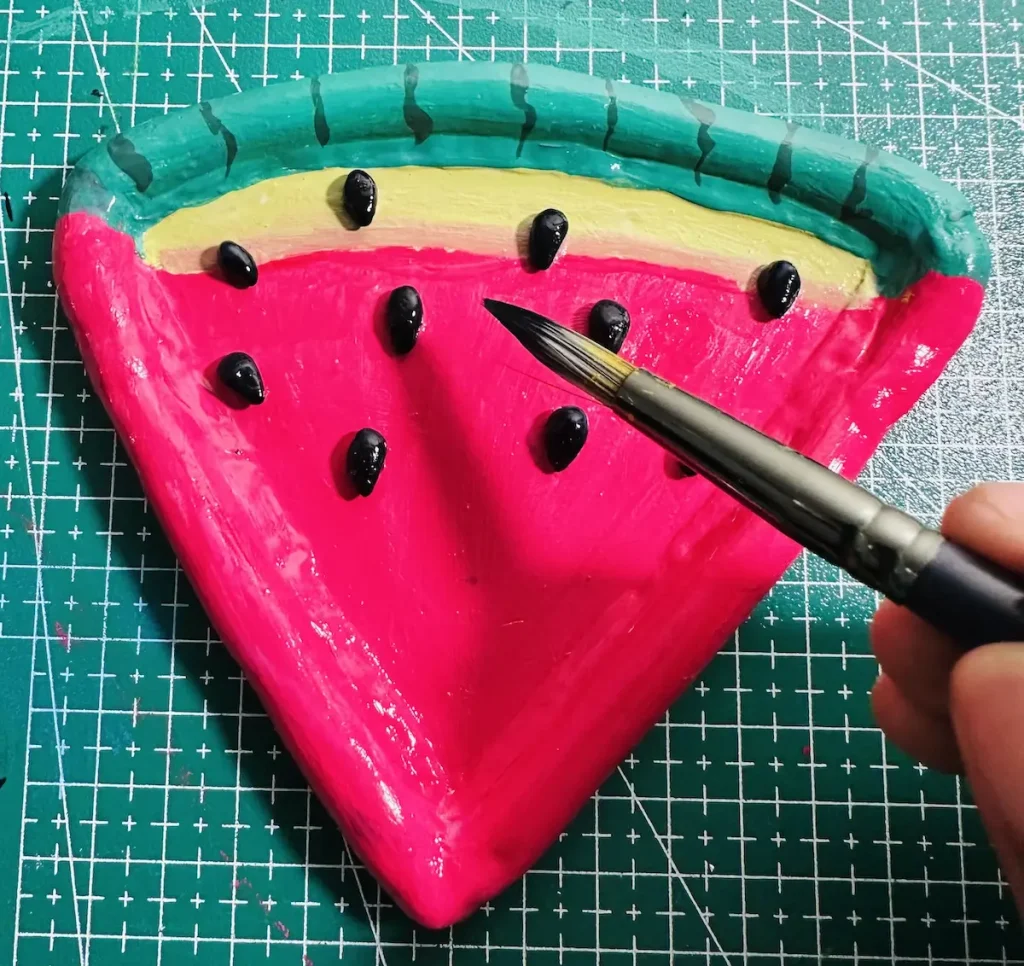
Step 9: Paint and attach watermelon seeds
- Paint each watermelon seed with black acrylic paint evenly.
- Let each dry for 2 hours with the trinket tray.
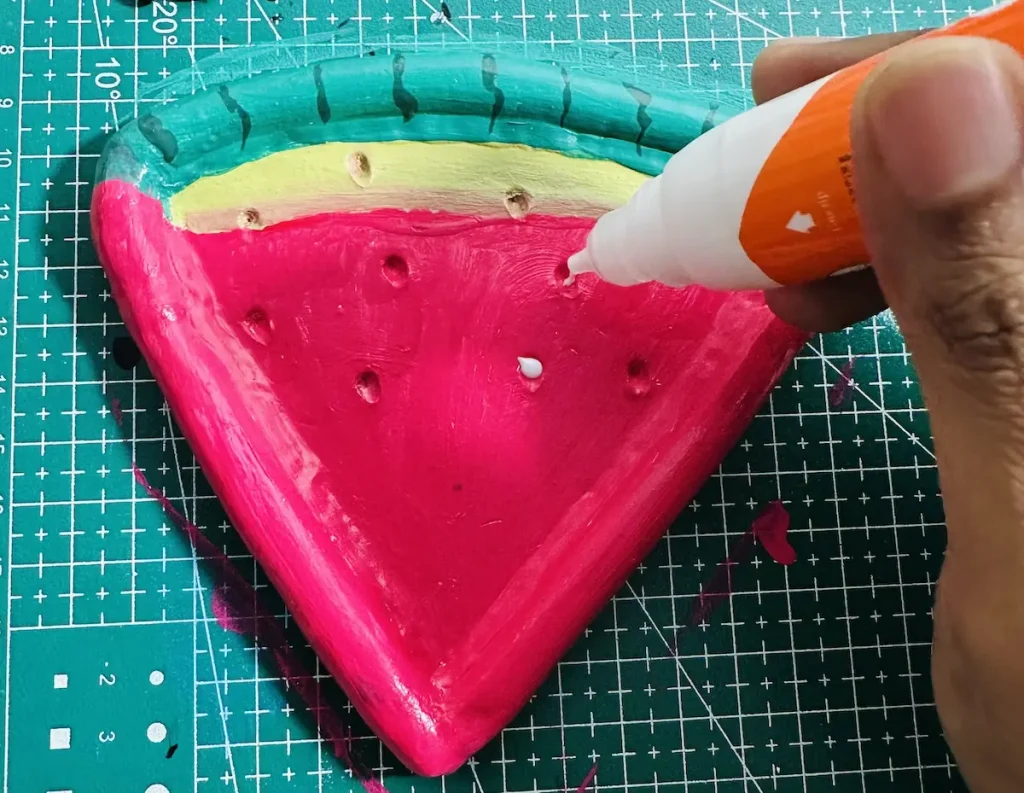
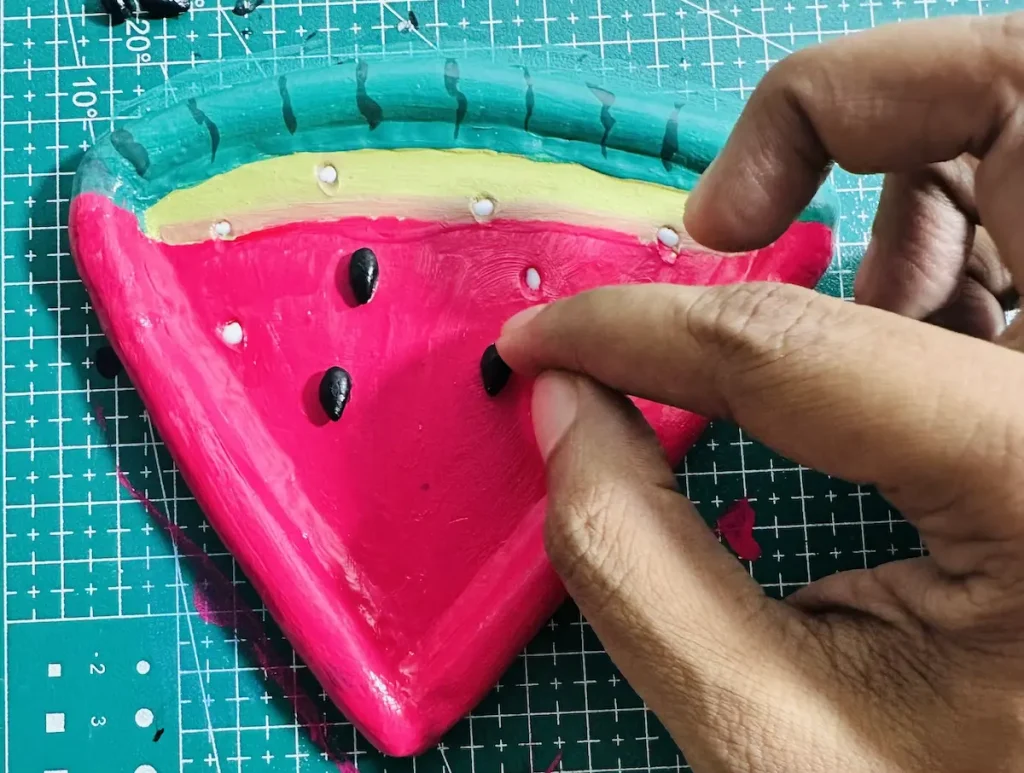
- Add a little bit of PVA glue to the marked locations on the tray base for seeds
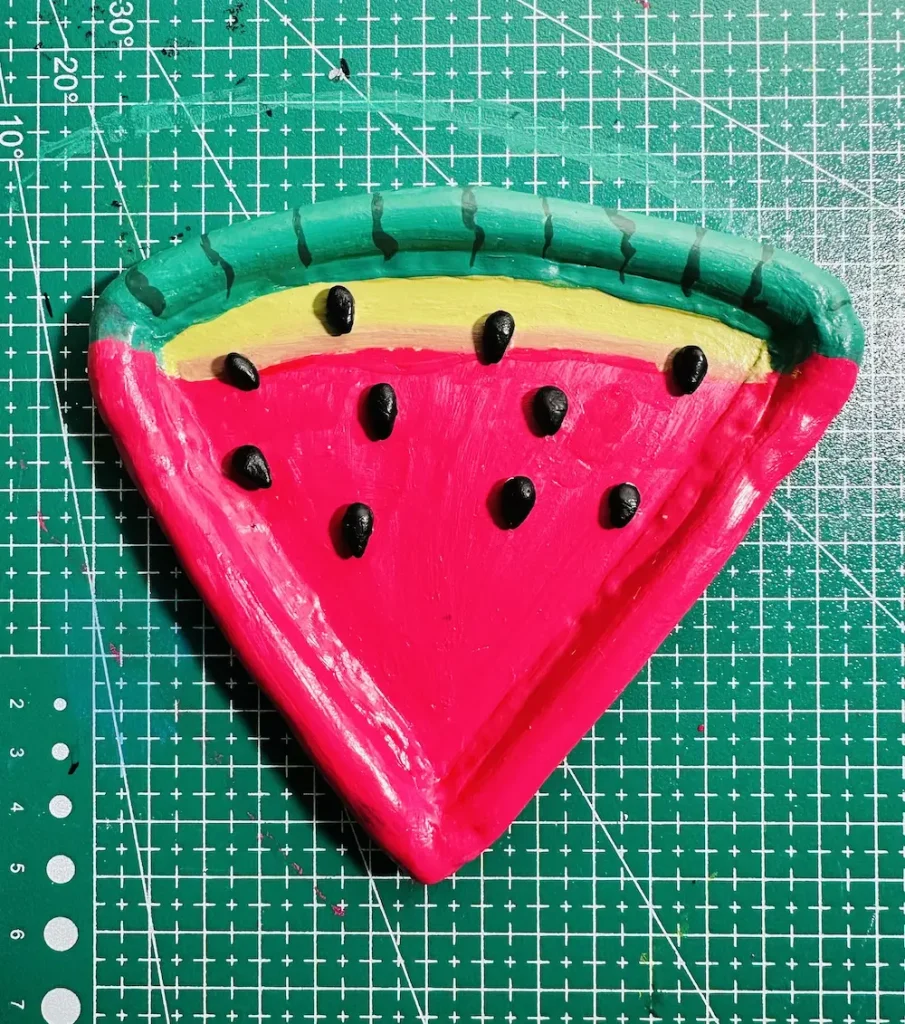
- Gently place each seed on the glued areas on the tray
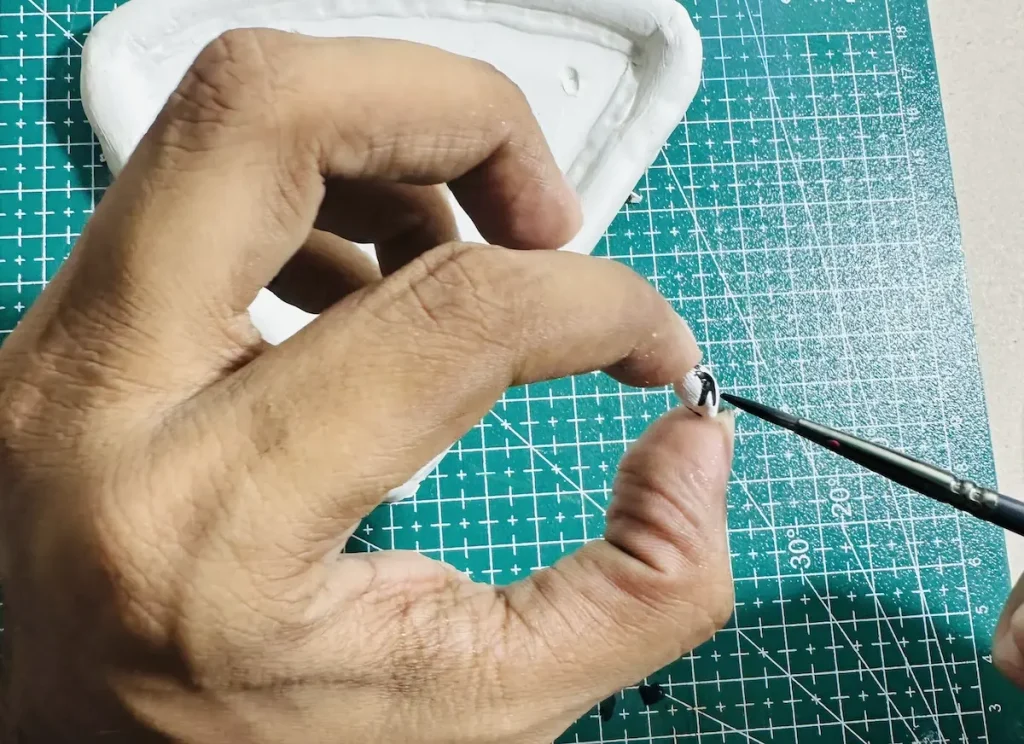
After painting, let the completed trinket tray dry for 2-3 hours before sealing.
Step 10: Seal the tray
Sealing air dry clay is a must. Otherwise, moisture eventually penetrates and weakens the clay.
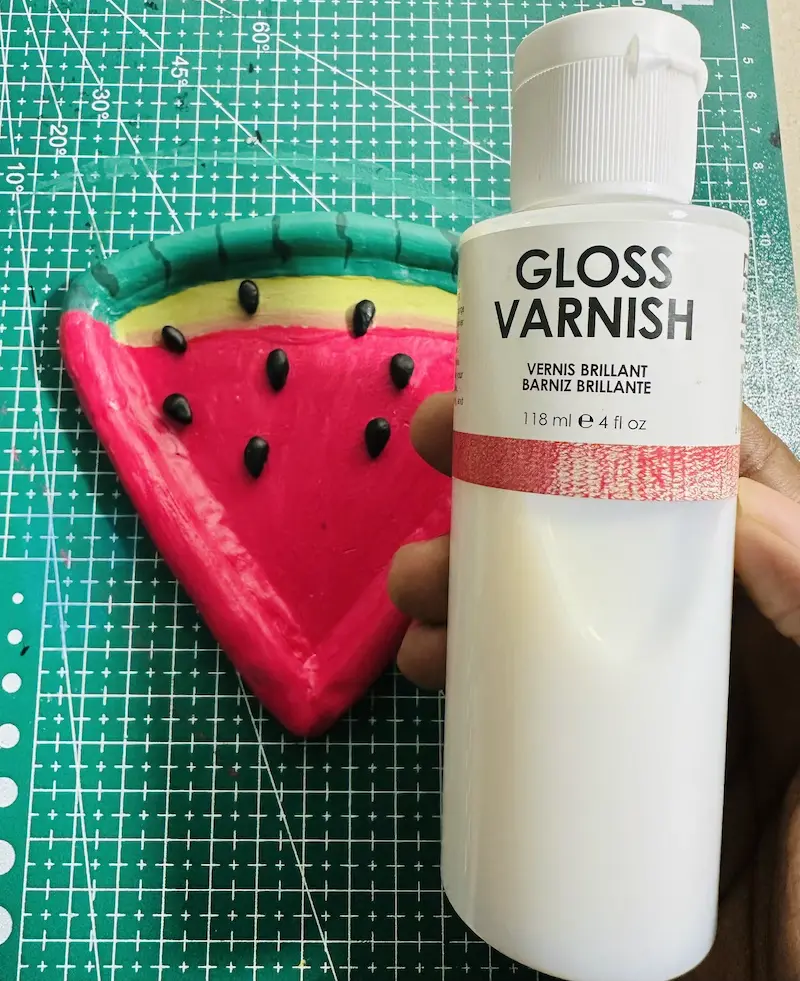
I sealed this watermelon trinket tray with gloss varnish which is easy to use, protects air dry clay projects long term from moisture, water resistent, dries in the air and gives a glossy, ceramic like finish.
Alternatively, you can use UV resin, polyurethane, or epoxy resin if you want a glass-like glossy finish.
Gloss varnish can offer the long-term protection you want and a nice appeal to your projects.
Apply 2-3 coats of gloss varnish to get the shine you want. Apply thin and even coats in one direction to avoid forming bubbles.
Let each acrylic paint layer dry for 1 hour before applying another.
After sealing, let the watermelon trinket tray dry and cure for 24 hours in a well ventilated area.
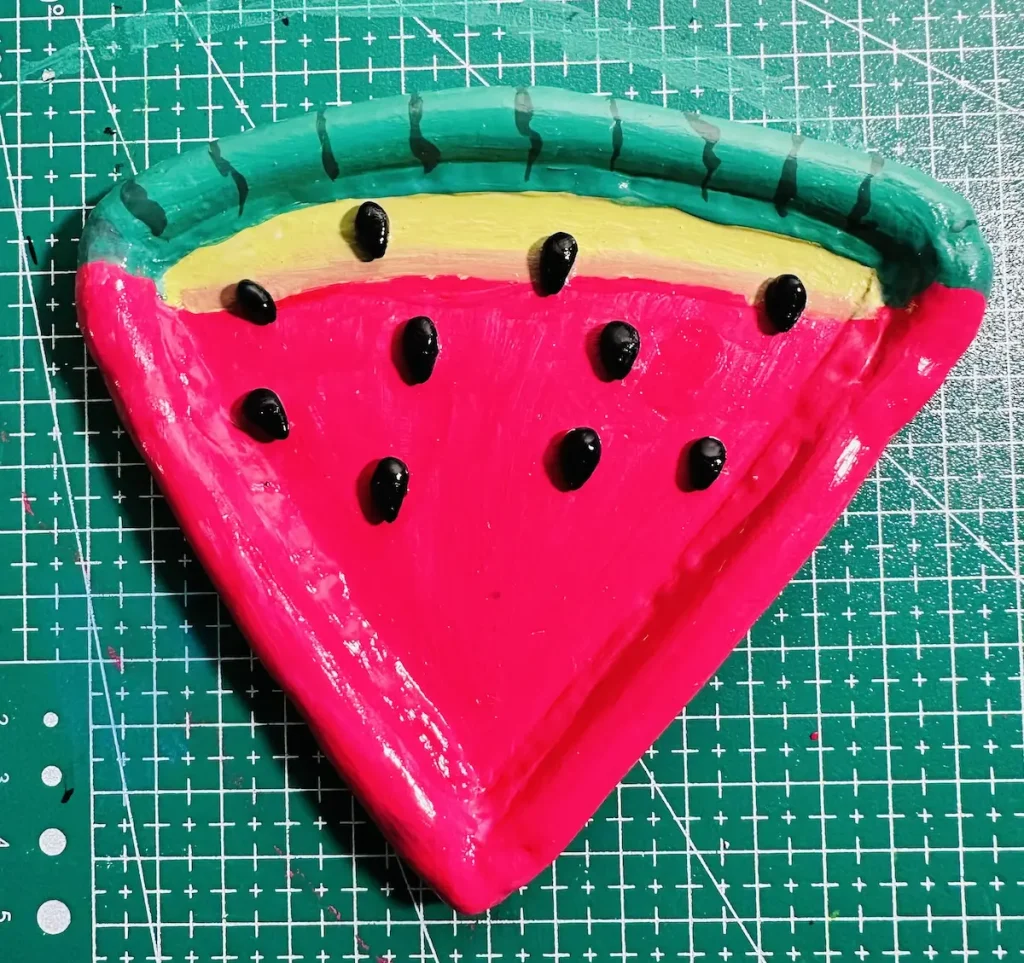
Congratulations, guys and gals! You have successfully completed the watermelon trinket tray project.
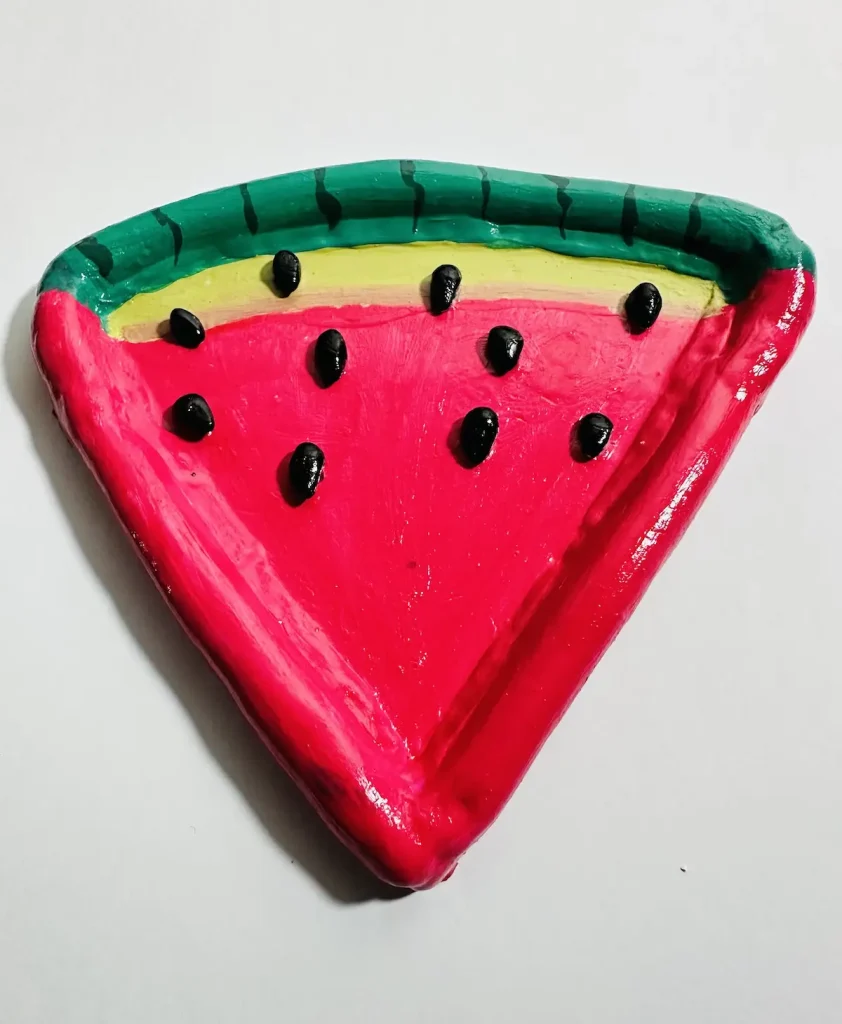
Tips for a perfect air dry clay finish
- Apply thin coats of paint and sealer.
- Apply in one direction to avoid forming brush marks.
- Let each paint coat dry for 1-2 hours.
- Don’t overpaint or overseal tacky spots.
- Let the project dry and cure for 24 hours after sealing.
- Let it dry and cure in a well ventilated area.
FAQ
How do you seal air dry clay trinket trays?
Apply 2-3 coats of gloss varnish. Apply thin and even coats in one direction for a glossy and ceramic-like finish.
How do you attach two pieces of air dry clay together?
Score both surfaces first. Then tap with a little bit of water or apply slip and gently press the two air dry clay pieces together.
What paint is best for air dry clay?
Acrylic paint.
How long does an air dry clay trinket tray take to dry?
48 hours or more depending on your clay slab thickness and humidity in your area.
Can you glue things to dried air dry clay?
Yes, glue things with PVA glue to attach to dried air dry clay pieces.
Final thoughts
Now you know every single detail you need to make this cute watermelon trinket tray. I’ve shared everything I followed and the mistakes I made so you can do it better. 💡
Patience is the key when kneading, painting and drying the project. Don’t make anything in a hurry which can ruin your hours of work.
You can use this watermelon trinket tray to hold your rings, jewelry and as a home decor item.
Now I need to see how you do it. This is your chance. Make one and share your feedback in the comments section on how it went.
Be sure to tag @clayandmestudios in your watermelon trinket tray project. I sure love to see them when you do. I’ll see you next time with another awesome project! Cheers! 🤟🏾
Watermelon Trinket Tray

Supplies Needed
Air dry clay (any brand you can find is okay, I used Mont Marte)
Acrylic rolling pin or cooking rolling pin
PVC mat or silicone mat (or non-stick surface)
Clay tools (or use toothpicks)
Clay cutting tool (or small knife)
Cup of water or spray bottle
Acrylic paint (crimson, black, white, green)
Gloss varnish
Paintbrushes
PVA glue
Scissors
Paper towels
Optional: Sponge or silicone sculpting tool (or you can use your finger)
Instructions
1. Knead the clay
- Spend 3-5 mins kneading with a little water until soft like dough. Gets those air bubbles out! 🫧
2. Roll the clay
- Aim for ½ inch thickness. Remember to flip, turn, and rotate your clay often so it doesn’t stick!
3. Trace & Cut the tray base
- Don’t go freehand right away! Trace your shape first, then cut. It saves you from so many “oops” moments. 🔪
4. Make the tray rim
- Roll two long “clay snakes” for the edges. Use the score and slip method (scratch, add water, press) to attach them.
5. Reinforce the tray base and rim joint
- Add a thin clay coil along the inside of the rim to keep everything sturdy. Smooth it out with your finger and water. 💧
6. Make watermelon seeds
- Make tiny teardrop seeds separately. Let them dry for 2 days while the tray dries.
7. Let it dry
- Let it chill for 48 hours in a cool, well-ventilated spot. No direct sunlight—we want it dry, not cracked! ⏳
8. Paint
- Use thin, even coats of acrylics. Paint in one direction for that smooth, professional look. 🎨
9. Attach watermelon seeds
- Once everything is dry, use PVA glue to stick those cute seeds on.
10. Seal the tray
- Protect your masterpiece with 2-3 coats of gloss varnish. Let it cure for 24 hours.