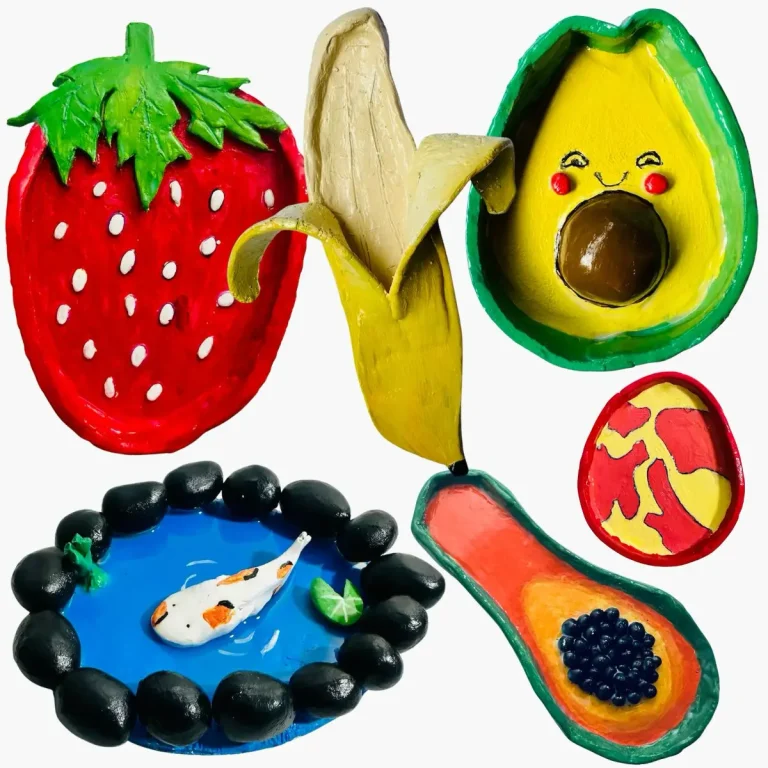
Painting is what gives life to your air dry clay projects. To give the paint crisp details and make layers of colors, you need to have the right paint and brushes. 🎨
Since air dry clay is a porous material, wet paint tends to bleed across lines and colors start to muddy together.
As a beginner air dry clay artist, I have faced a lot of issues when painting my air dry clay projects.
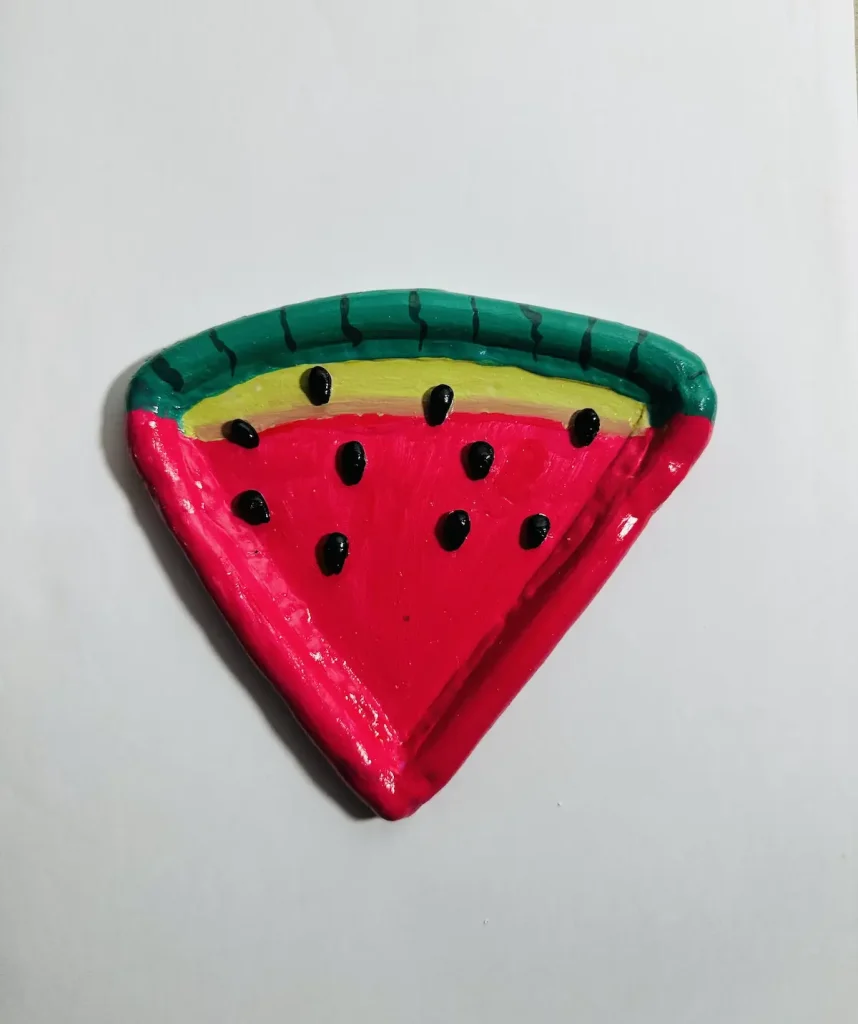
For example, when I was painting my latest watermelon trinket tray project, I painted seeds separately and attached them later after painting the tray base because darker paints normally ruin the appeal of a lighter background. The same happened when I was painting the dark green strips around the light green tray rim. 🍉
I’ll explain to you in detail what methods you need to follow to get the best out of your painting job and to avoid making mistakes when combining darker colors with lighter ones.
Let’s dig in!
Can you paint air dry clay without sanding or a base coat?
Yes, you can paint air dry clay with no sanding or applying a base coat. The best example is me. ✨
I don’t sand with a fine grit sandpaper like many online gurus tell because most of the time, when sanding, the fine details you gave on your air dry clay project get ruined and erased.
I don’t want that to happen.
Plus, people recommend applying a primer like Gesso before painting air dry clay projects. I don’t do that as well because when you’re painting with acrylic paint, the first coat of it works just as well as a primer. It covers fingerprints, tiny imperfections, and rough edges.
Plus, acrylic does not cover the texture of the air dry clay surface like primer (Gesso) does. Texture is what makes air dry clay projects look unique and aesthetic.
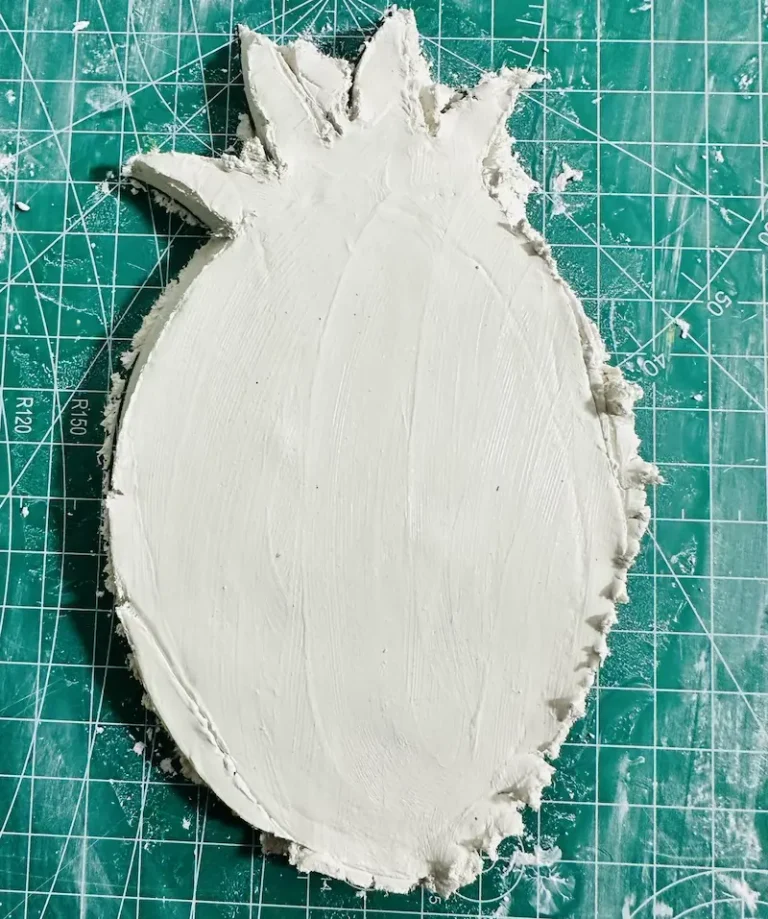
But you have to be sure 100 percent about one thing. Your air dry clay project needs to be fully dried before you paint it. ⏳
After making the project you want, let it dry in the air in a well-ventilated cool area for about 48-72 hours before painting. This drying time can get longer if your project’s thickness is high or if the humidity is high in your area.
After about 72 hours, check if there are any grey patches on the clay, which are an indication that the clay is still wet. If the clay is pure white all around, you’re good to paint. ✅
Why do I use acrylic paint on air dry clay?
Acrylic paint is the best paint for air dry clay because it dries in the air, dries quickly, comes in vivid colors, makes a water-resistant coating and provides a glossy finish.
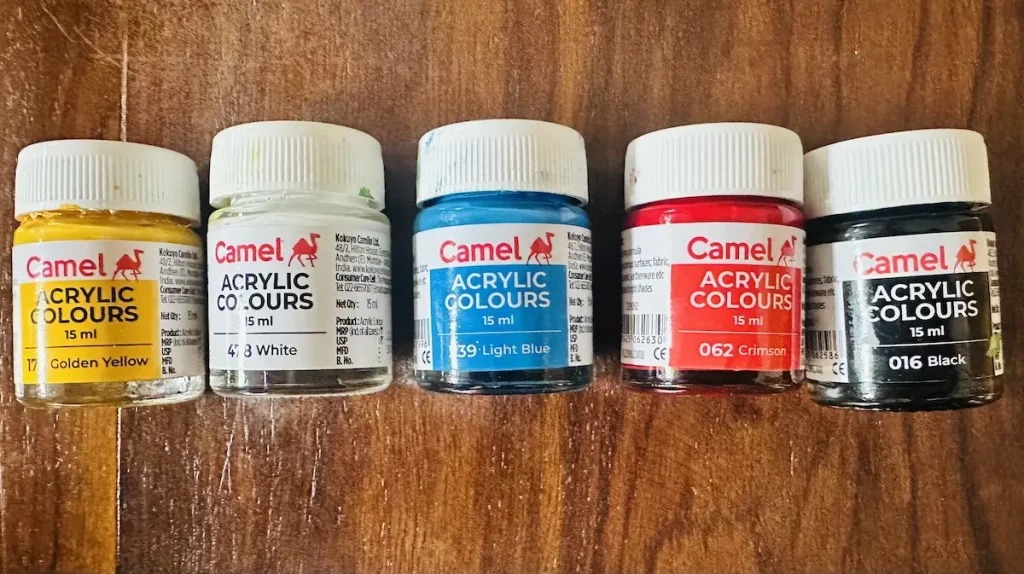
I directly apply acrylic paint on raw, dried air dry clay and achieve beautiful, vibrant results. It saves time and helps to keep the rustic, handmade charm. 🌟
Usually, I apply 2 coats of acrylic paint. The first one works as a base coat. It helps to cover all the fingerprints, small bumps, cracks, and porosity on the air dry clay surface and makes it smoother. Actually, it does what primer does even better because it provides color as well.
After applying the first coat of acrylic, I let it dry for 1 hour before applying another. From the second coat onwards, you’ll start to notice the shine on the surface. But don’t go for more than 3 coats of acrylic because the surface may get tacky and muddy.
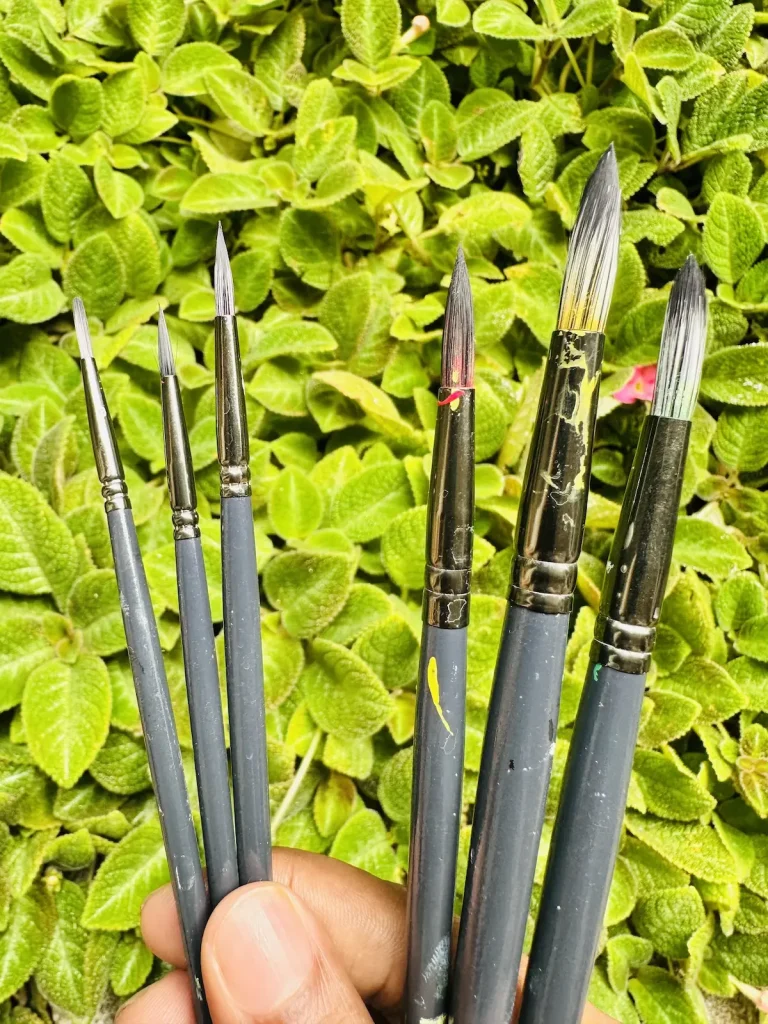
Supplies for crisp painting
Use the supplies and methods to get crisp painting with ease. Don’t worry, it’s not hard. 😊
- Acrylic paints: Easier to use and give a vibrant finish.
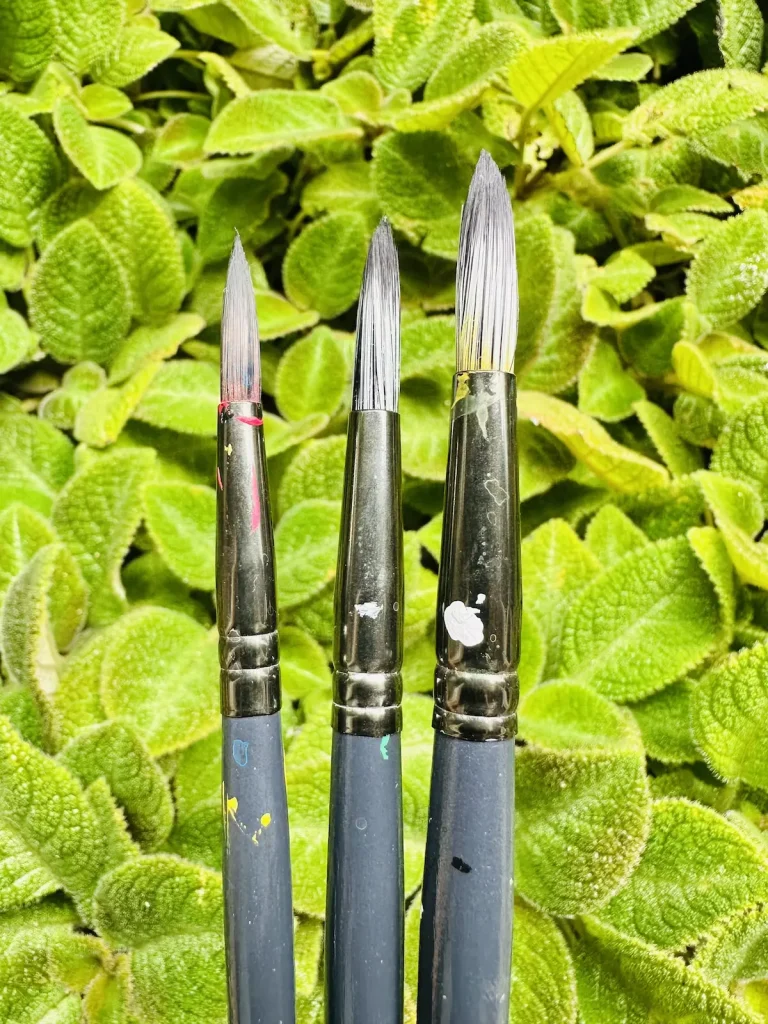
- Flat Paintbrush: Use for blocking colors and to apply over a large surface like tray base and rim.
- Fine liner brush: Use for detailing tasks like applying thin strips over an already painted surface or adding figure details like eyes, mouth, ears.
How to paint tiny, crisp details
If you have already painted your project and it is time for details, use a fine liner brush.
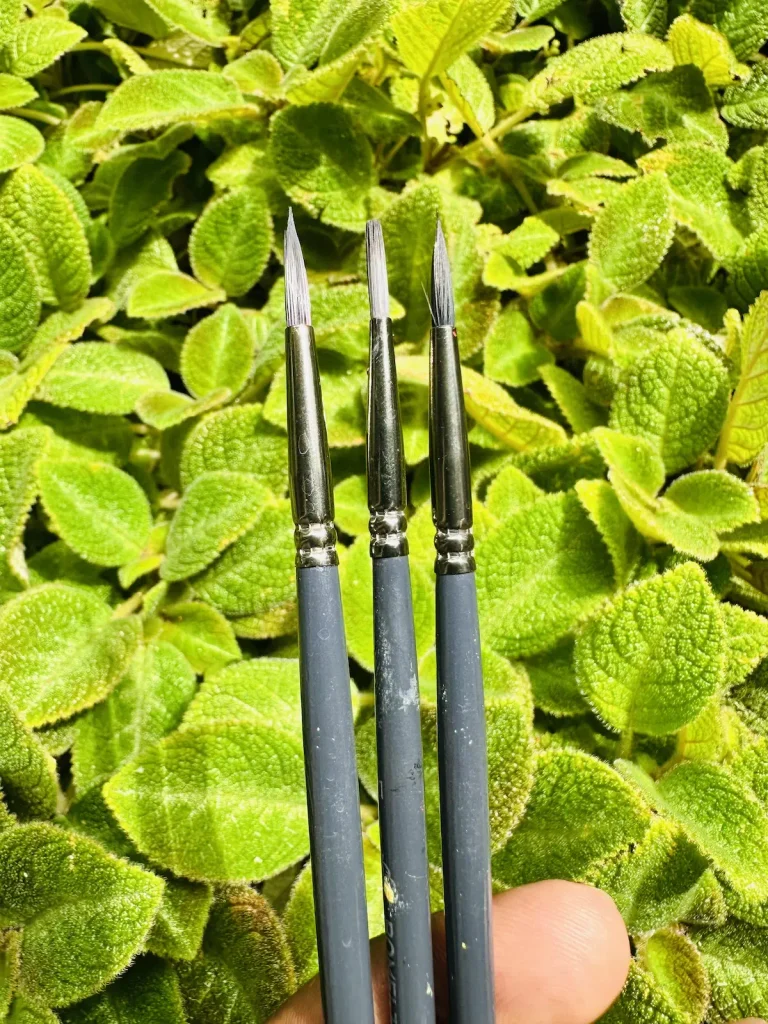
Acrylic paint straight from the tube or bottle is too thick. So, put a little on your paint palette and spread it.
Dampen the fine liner brush very slightly so the paint glides over the textured clay. 🖌️
You need high patience for detailing because there is no or very little room for errors.
I detailed my watermelon trinket tray with dark green strips over the tray rim to make it more realistic. 🍉
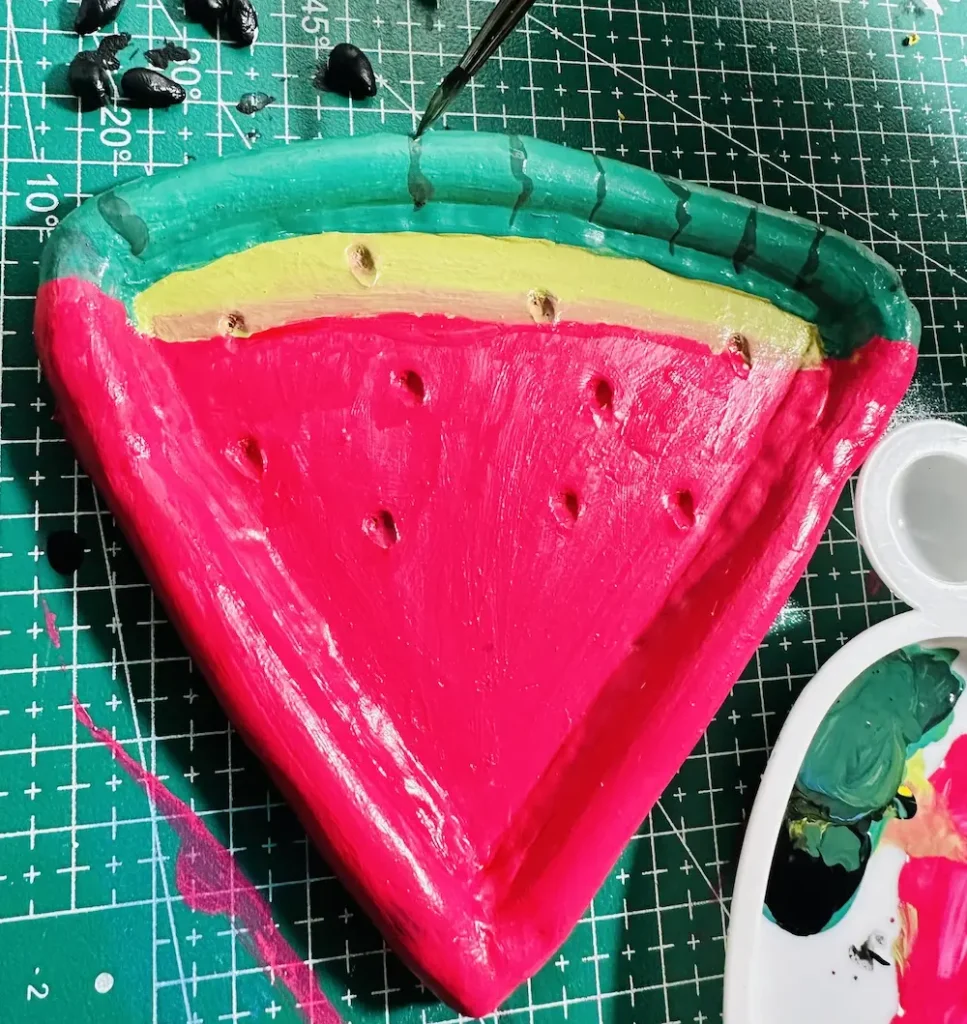
Plus, I painted watermelon seeds separately because I didn’t want to ruin my bright pink tray base surface with black marks.
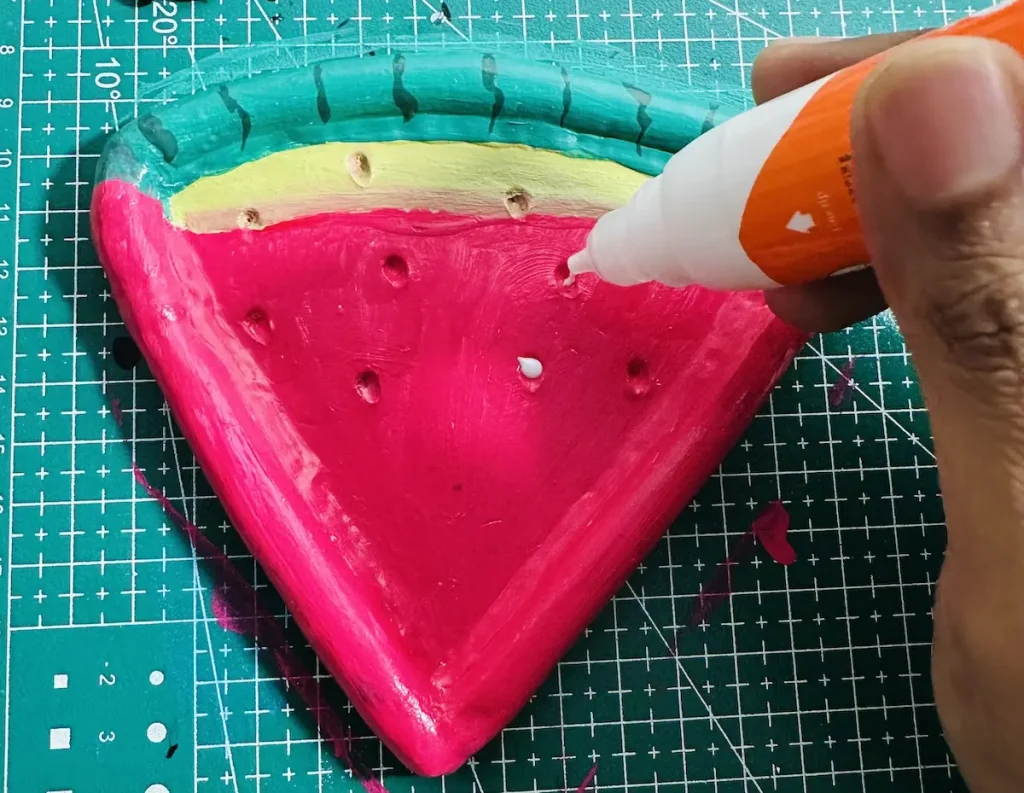
After painting, I attached them using PVA glue, which was easy.
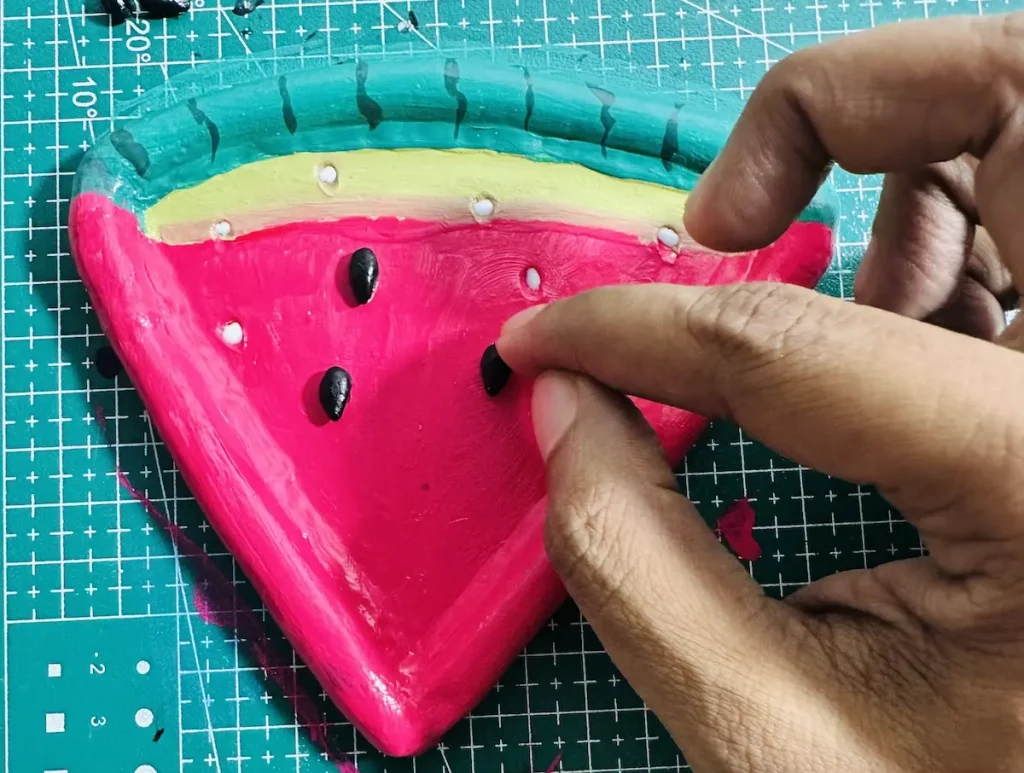
In the watermelon tray, the line between the bright pink and yellowish green was drawn carefully with a fine brush.
Freehand drawing is recommended because watermelon is an organic thing that does not have perfect straight lines.
How to layer colors on air dry clay
For painting in layers, use flat brushes. Use one brush per color. Start with lighter colors and then eventually go to the darker ones because it is easy to cover mistakes later of the lighter colors.
Let each layer you painted fully dry before applying another layer of different color over it to avoid forming muddy areas.
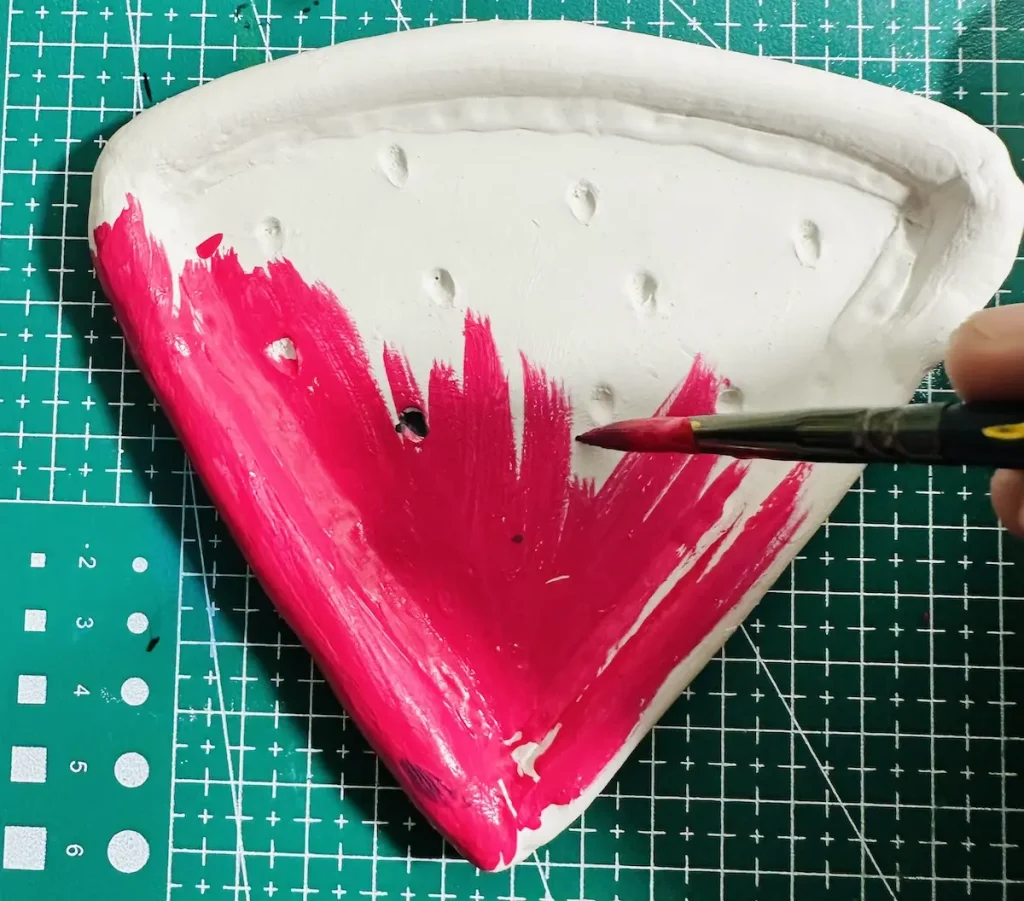
When I was painting my watermelon trinket tray project, first I painted the tray base middle and bottom areas with bright pink acrylic.
Next applied yellowish green to the top of the tray below the tray rim.
I didn’t have green acrylic on hand, so I had to mix yellow and blue to get the slight green I wanted for this area. Mixed more yellow with a little blue to get the yellowish green color. 🎨
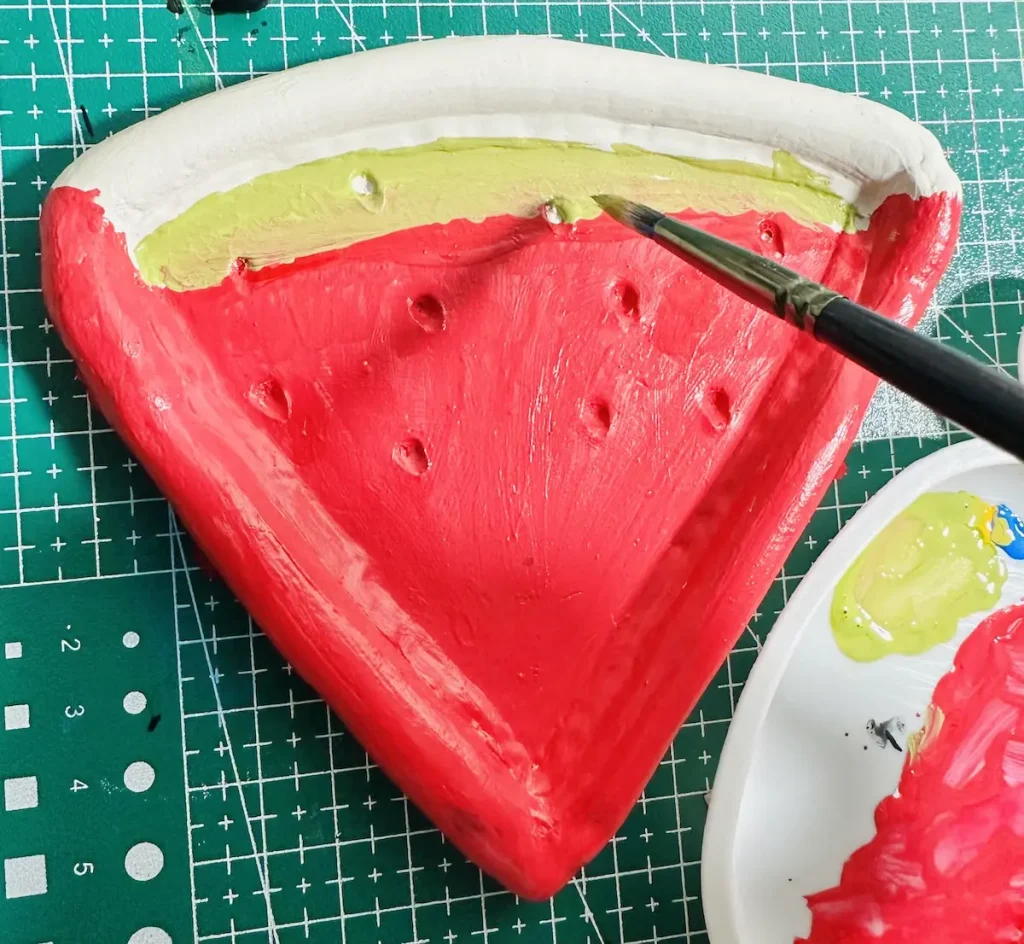
Then, as I told you earlier, the line between the yellowish green area and the tray base pink was drawn with a fine brush.
Finally, mixed around equal amounts of yellow and blue to color the top tray rim in green.
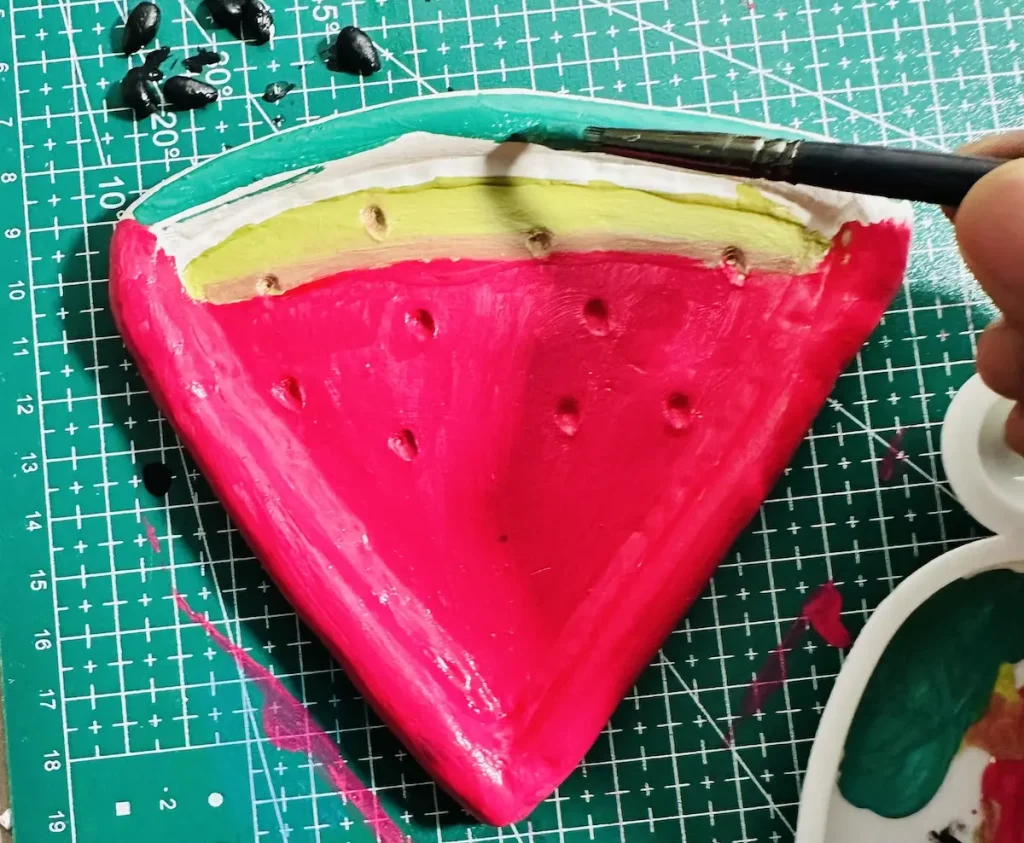
After the base painting part is done, yellow was mixed with more blue to get the dark green color for the strips on the tray rim.
I’m not an expert painter, but I like to do experiments with colors, and I advise you to do the same. Then, you’ll have the freedom to select and make the color you want.
Don’t worry about the colors you don’t have. Always try to mix several colors together and achieve your result.
Don’t forget to seal your clay art!
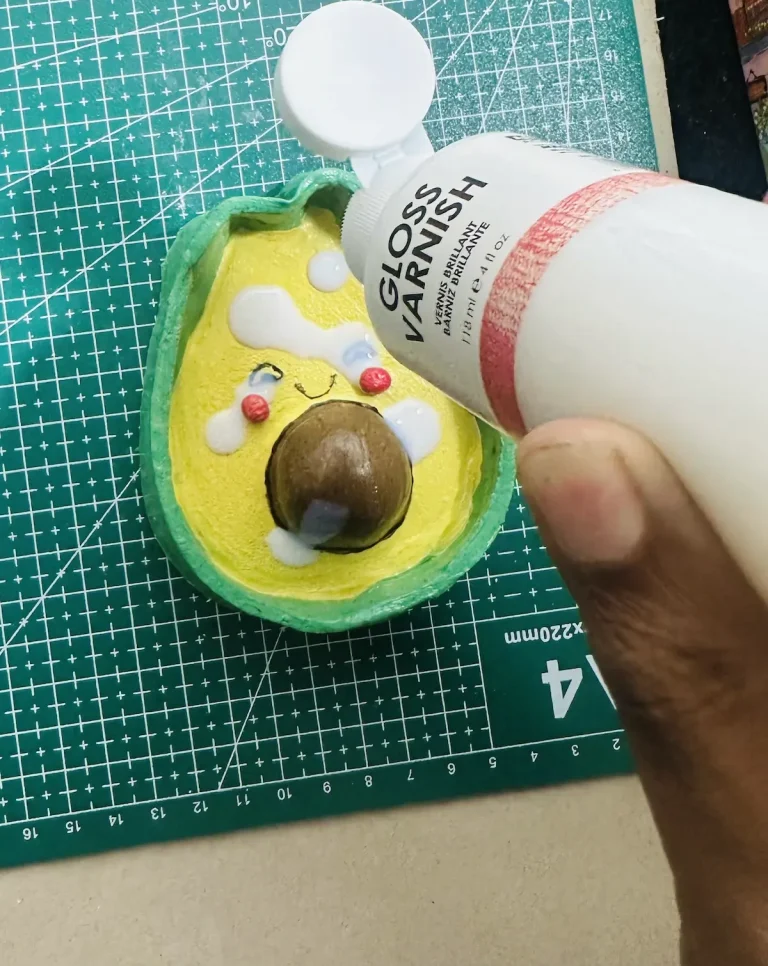
After painting with acrylic, let the project dry for 2 hours. Then you must apply a proper sealant to offer long-term protection and improve the glossy look. ✨
I apply gloss varnish to seal my air dry clay project. Gloss varnish protects the clay from water, which can weaken the clay if it gets inside. 💧
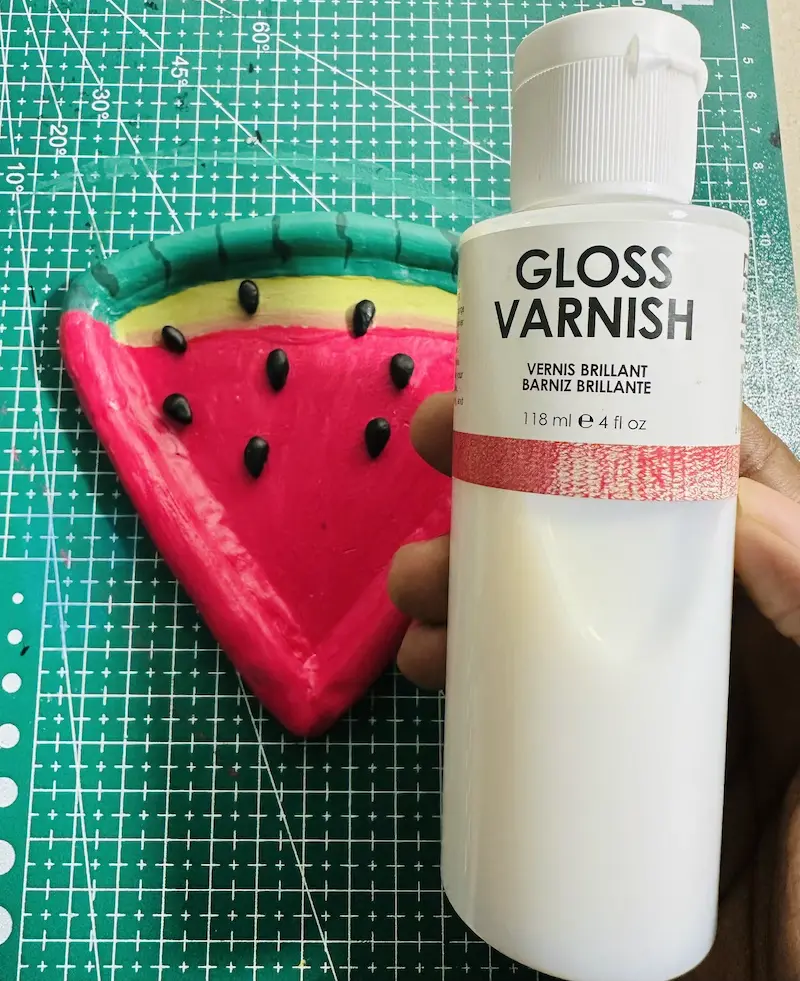
Or you can use UV resin, polyurethane or epoxy resin if you want a glassy like finish.
Gloss varnish dries in the air and is easier to apply. Let it dry and cure for 24 hours after application for maximum protection and look.
Final thoughts
Now you see you can achieve incredibly vibrant, distinct blocks of color without a white base coat underneath just by using acrylic paint properly.
If you do have a fine grit sandpaper and a primer like Gesso, I highly recommend you try them out and do the experiment yourself. Sometimes it is easier to get the knowledge by trying rather than listening to someone. 💡
If you are able to get better results with them, keep using them, but I’m telling you you can still get the same result just by applying acrylic. Keep the clay fully dry and super smooth before painting.
I’d love to see the air dry clay project you painted with acrylic. Be sure to tag @clayandmestudios in your projects. Cheers! 🤟🏾