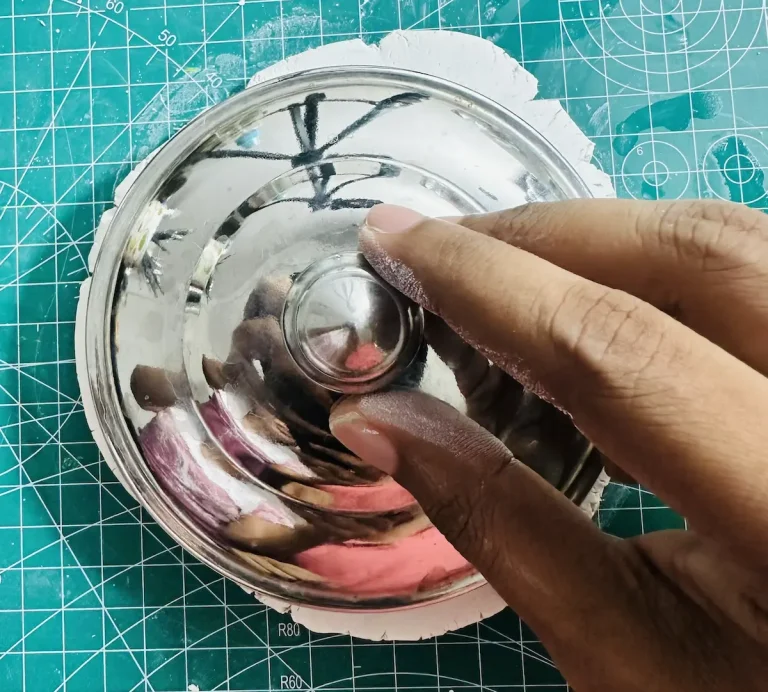
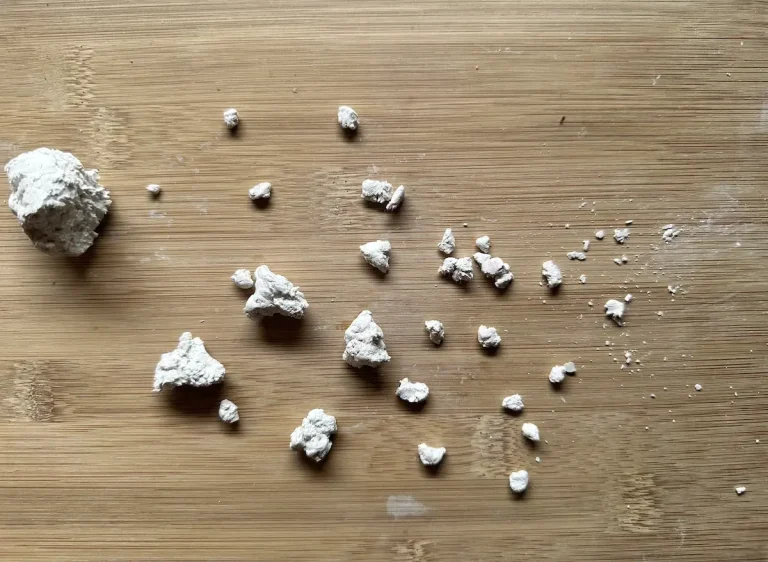
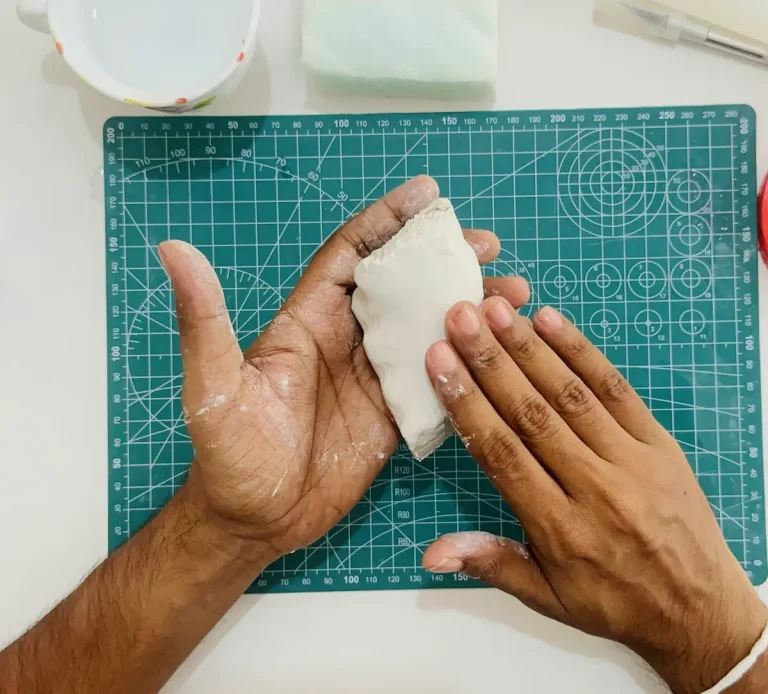
Clean cuts are a must to have sharp edges on any air dry clay project. One of the main reasons why my latest pineapple trinket tray project failed is because I couldn’t get clean and sharp edges and the clay tore from the edges while cutting.
I gave up on the project even before finishing the tray base because it looked so ugly with those torn edges, like being eaten by termites.
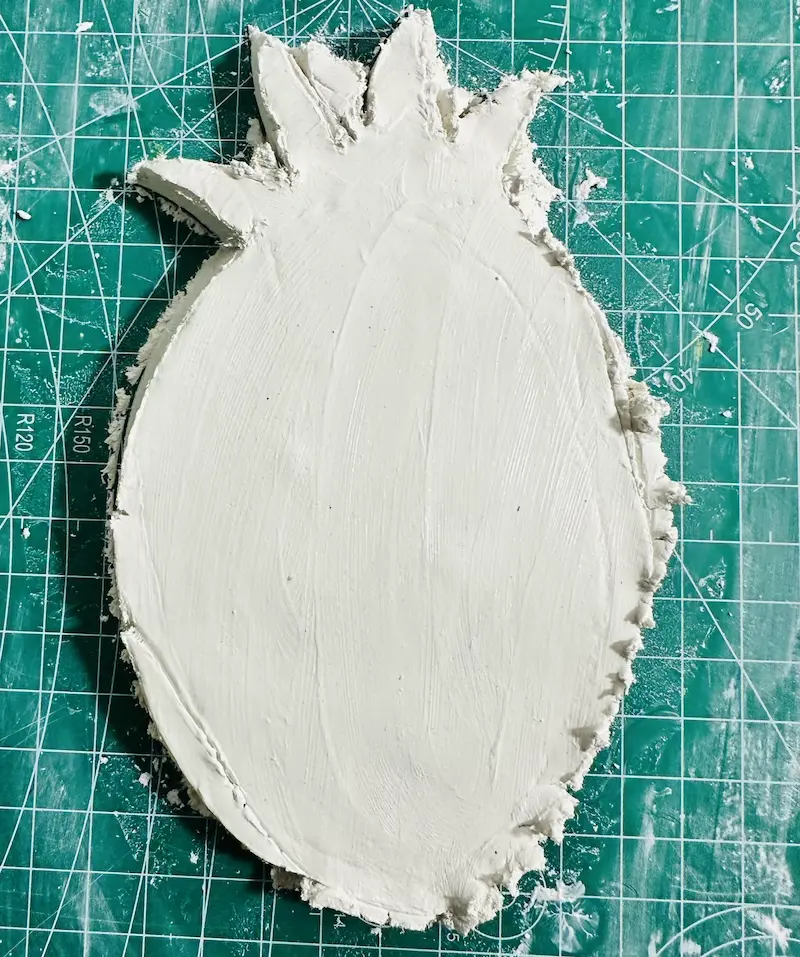
Hours of my work were ruined and as a beginner air dry clay artist, I literally cried. But that was a part of the learning curve of air dry clay.
Later, I learned that happened because of the cheap, unbranded air dry clay product I used and because I applied too much water to the clay, which made it too wet. 💧
By the way, I was able to successfully create many fruit-inspired trinket tray projects, including orange trinket tray, strawberry, papaya, avocado, and more, with nice and sharp edges and clean cuts. Lol, yes, I’m a fruit geek. 🍓
So, let me tell you exactly how you can cut clean and sharp edges in air dry clay without messing things up.
Let’s go…..
Why air dry clay tears when you cut it
Air dry clay tears due to two main reasons: moisture and friction. Air dry clay is a porous material with lots of moisture inside.
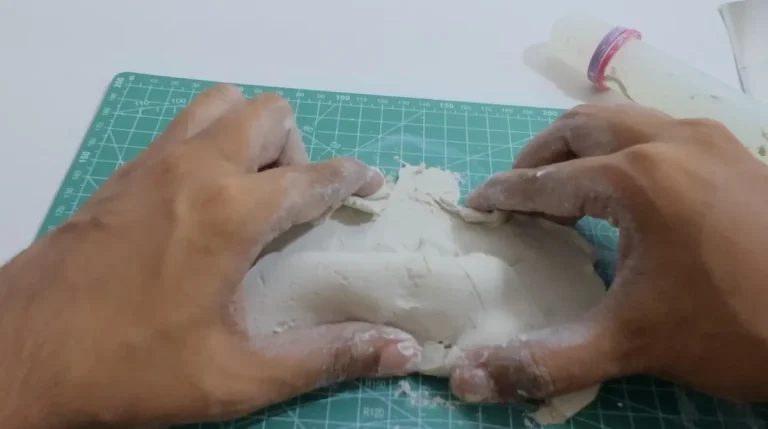
But before kneading the clay, you need to condition it by tapping with only a little bit of water. This is where you need to be careful.
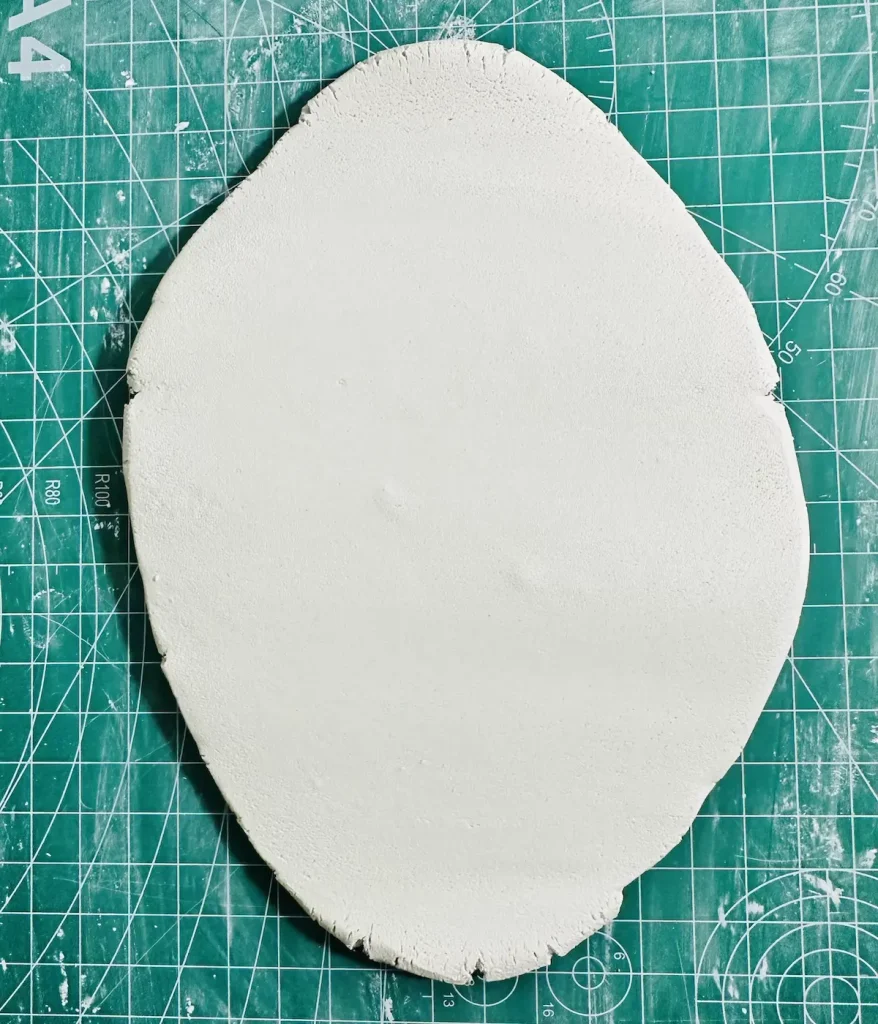
Applying too much water when kneading makes the clay softer. But on the other hand, it makes the clay sticky.
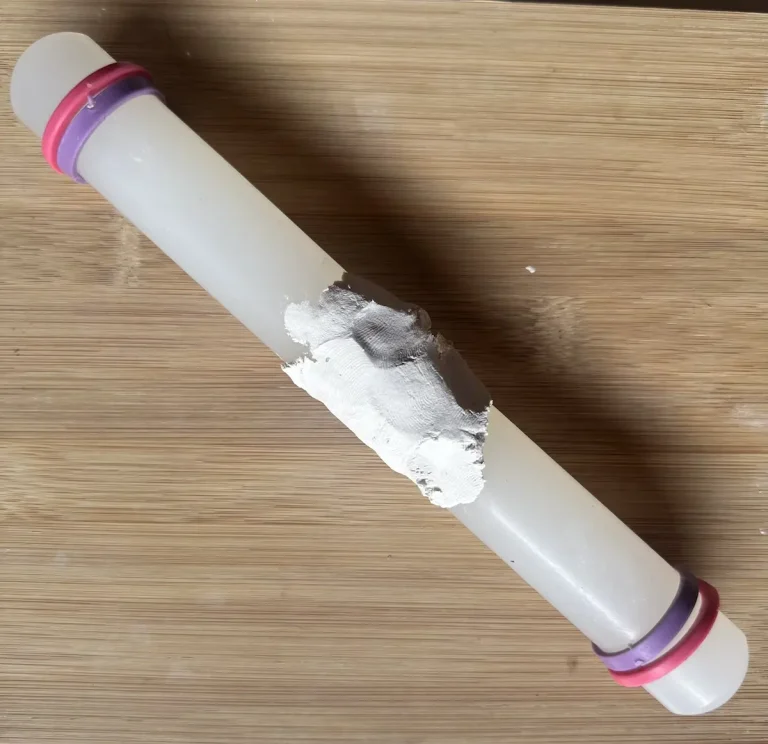
Once you roll the clay out on your mat and use a craft knife to cut the edges, the excess moisture can cause the clay to stick to the metal blade, resulting in tearing.
The stickiness of wet clay creates extra friction and adhesion that results in high resistance to movement.
Wet clay physically grips the side of your metal craft knife as you pull it through the slab, resulting in torn, jagged edges when cutting.
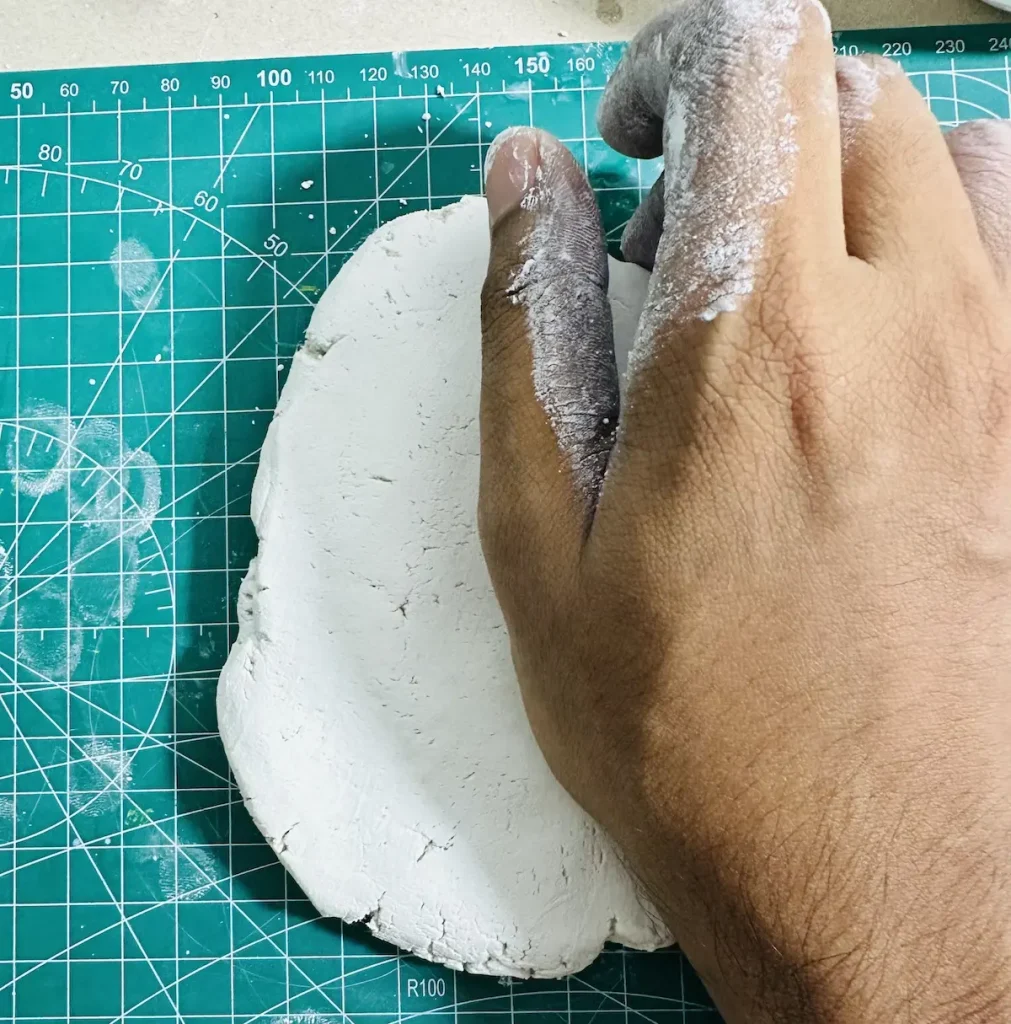
You need to cleanly part the clay. If you drag the craft knife along the wet clay without lifting it up, it creates a high surface tension.
Due to high surface tension, clay sticks to the blade and stretches and pulls along the path of the blade.
Once the clay reaches its stretching limit, the structural integrity will be lost, and you will end up with ragged, uneven tears along your cuts.
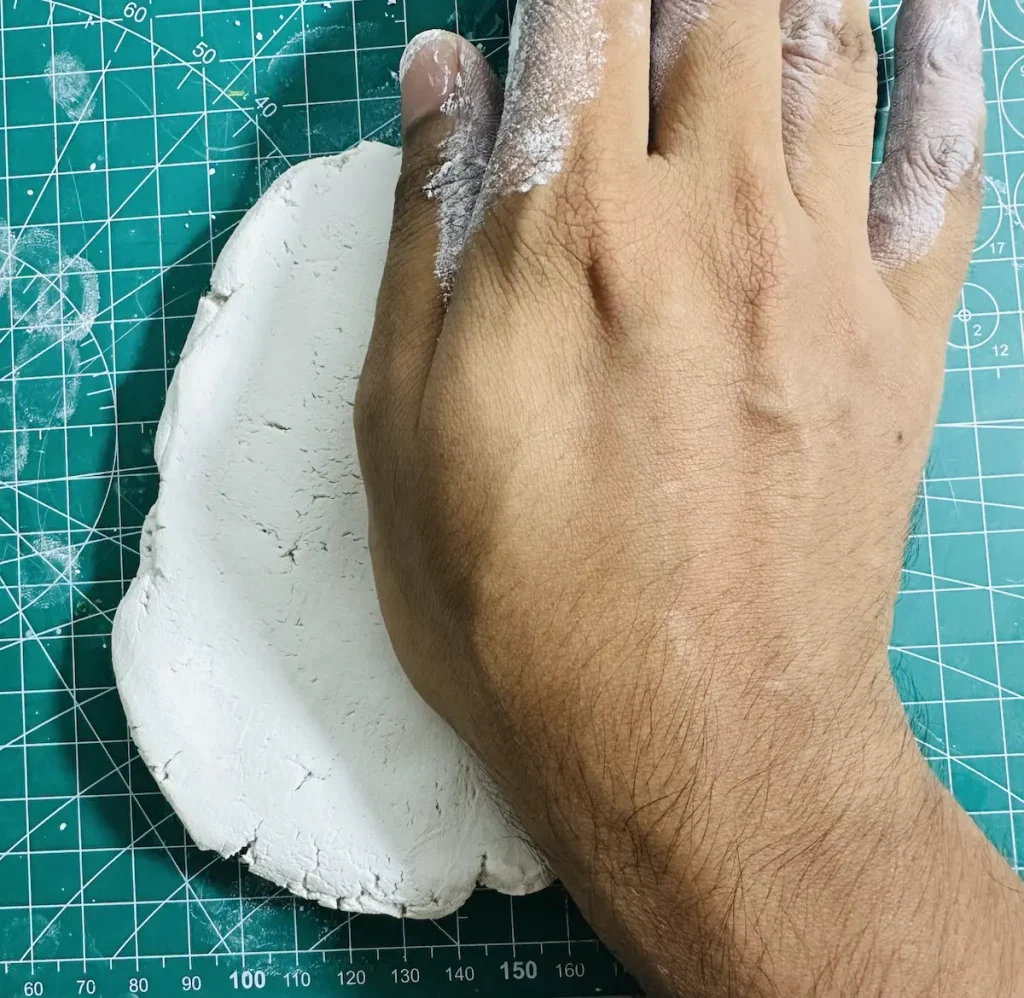
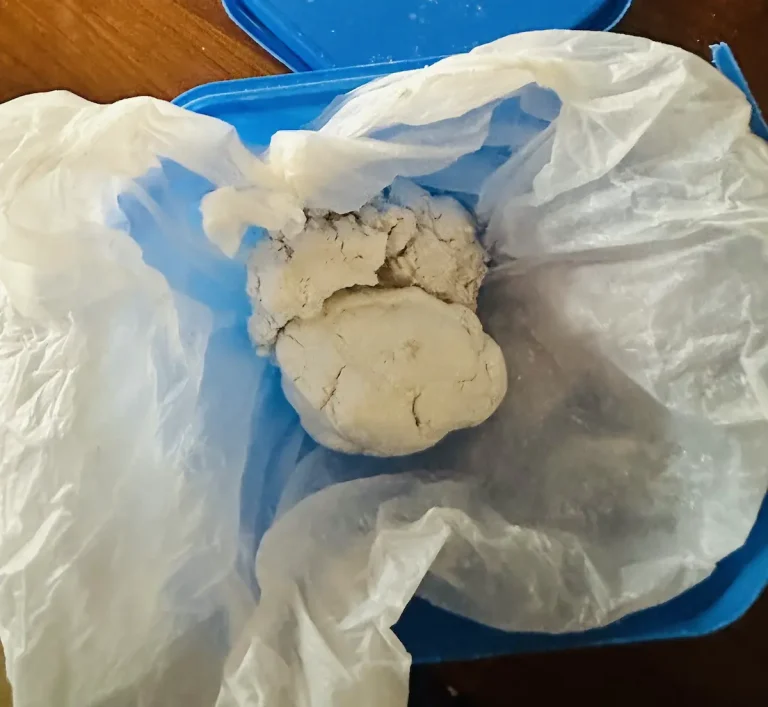
This friction issue mainly occurs due to the clay type you use. Cheap and unbranded clay does not have premium binding agents like quality ones. So, they don’t have the right amount of elasticity and crack quickly, forming torn edges upon stretching. That’s exactly what happened during my pineapple trinket tray project.
The clay slab started to form micro cracks on the surface and around the edges and it tore apart when I tried to lift it up after rolling.
Key factors causing edge tearing of air dry clay
So, based on things we learned, here are the things that cause air dry clay to tear,
- Adding too much water: Makes the clay wet and sticky, causing it to grab the blade.
- Dragging the blade horizontally: Pulling the knife horizontally through wet clay increases the friction and stretches the clay.
- Blade is dirty: If the blade contains air dry clay residue you used in your previous project or dust, it can tear air dry clay.
Before cutting, if you feel the clay is too wet, let it stay as it is for a few minutes to let the excess water evaporate. Once it comes to the ideal state, start cutting to get nice, clean, and sharp edges. ⏳
As you can see, water is the worst enemy of air dry clay.
Best tools for cutting air dry clay
Dedicated tools are great for air dry clay cutting to get nice and sharp edges with less trouble.
Craft knives (x-acto) vs. Needle tools
Craft knives are best for clean and straight cuts in air dry clay, while needle tools are great for detailing. Don’t mix things up.
Craft knives (X-Acto) are best for slicing straight edges, cutting geometric or symmetrical shapes, and trimming flat pieces.
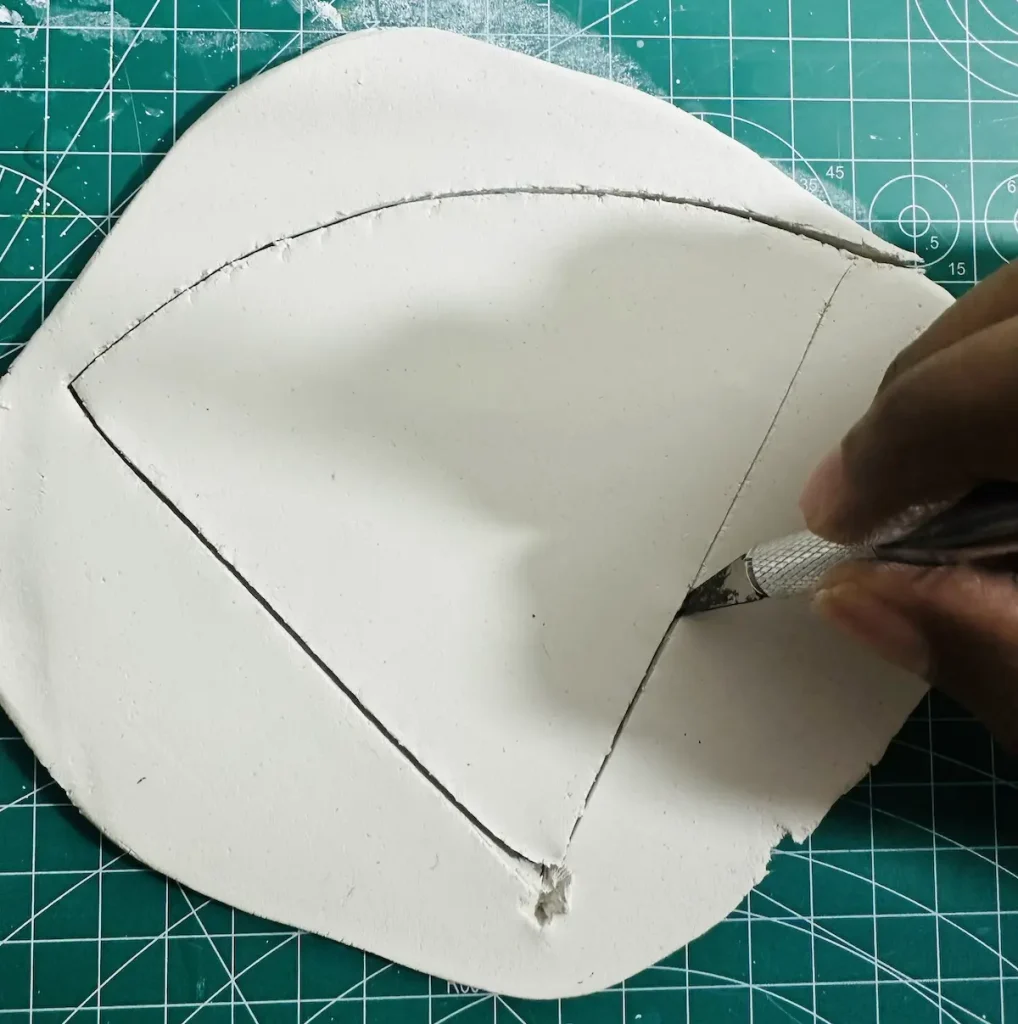
They are built for that. The sharp, flat blade of craft knives cuts smoothly through thick air dry clay like cheese.
But the blade of craft knives can drag or bend if the air dry clay is too wet or sticky, like I discussed earlier.
On the other hand, needle tools are great for scoring, which means scratching the surfaces of air dry clay pieces before attaching with water for a strong bond.
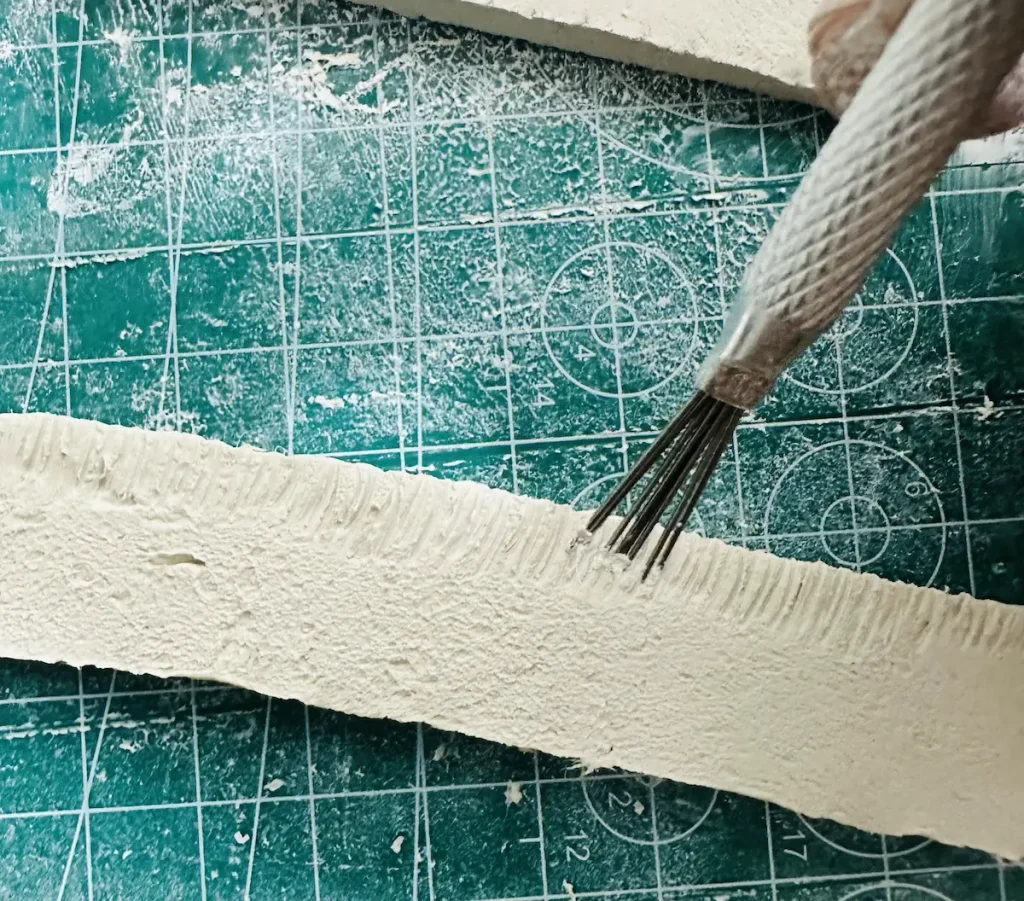
They have thin metal points that can reach tight spaces without damaging the clay.
Never use needle tools for cutting air dry clay slabs or blocks because they can’t perform straight cuts.
Having the right tool for cutting is a must for a nice and sharp edge.
During my pineapple trinket tray project, I did use a craft knife for cutting around the edge, but the issue was with the unbranded, cheap clay, and I used too much water while kneading it.
Paper template
Freehand drawing and cutting on a wet clay slab can form torn edges, especially when you’re not good at drawing.
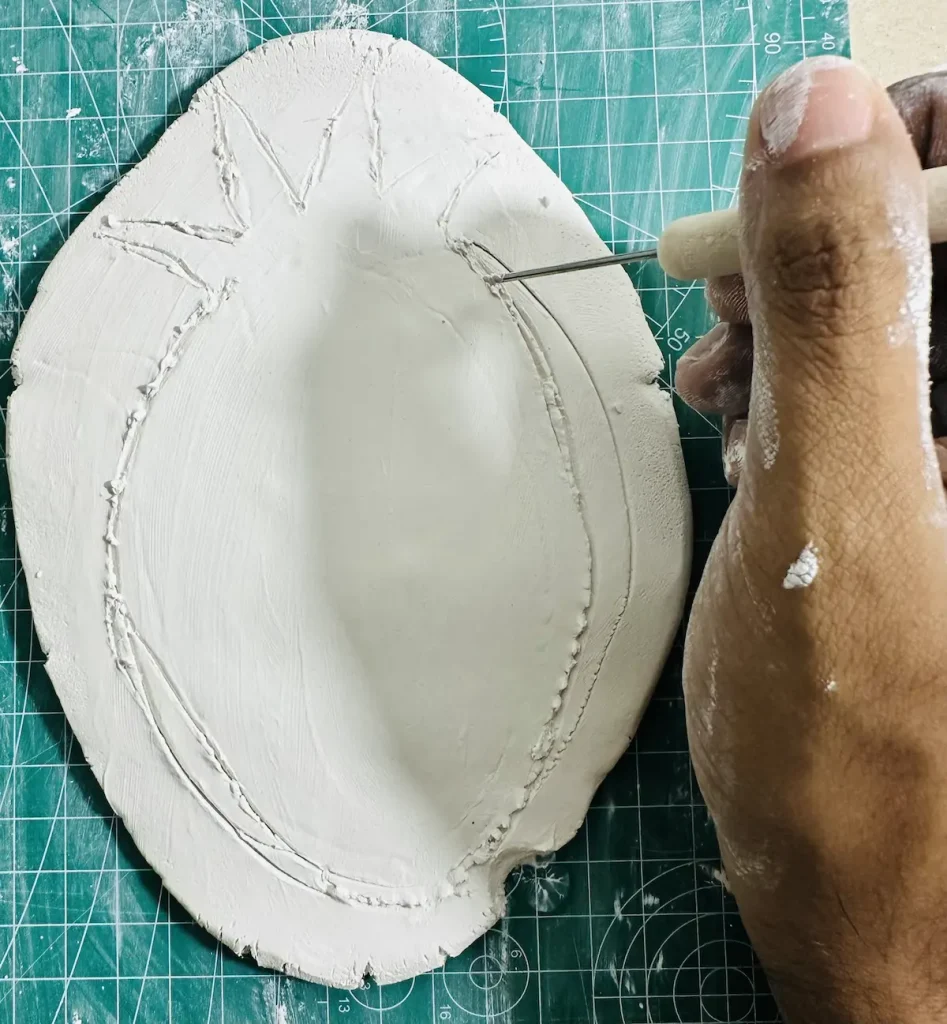
The best option to trace and cut precisely without losing the shape is to use a paper template. With a paper template, you can easily cut clean and sharp edges on wet air dry clay.
First, Google the image you want to trace on your clay slabs and take a printout of it. Then cut along the outline and make a stencil.
Place the paper template gently on your wet clay slab and trace around it before cutting. Finally, cut along the lines you traced. ✂️
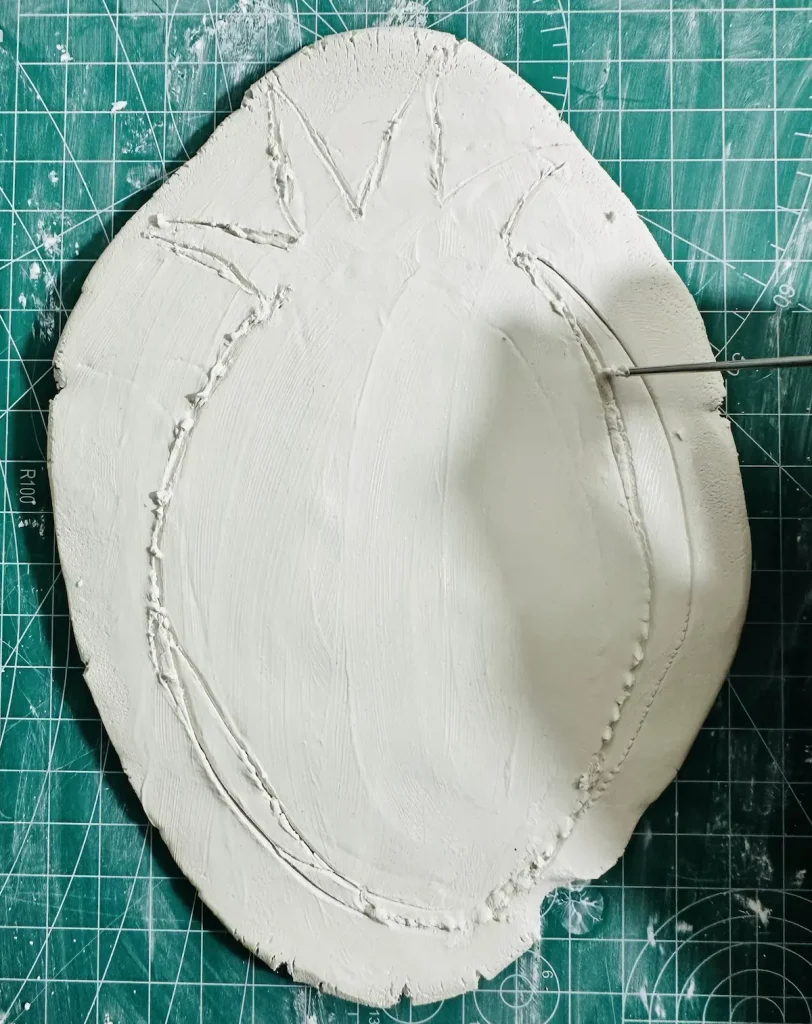
I generally use freehand cutting when making my projects because I’m bad at drawing and want to improve. But I learned my lesson in my pineapple trinket tray project because there were a lot of errors and I had to trace and cut several times, which is not nice.
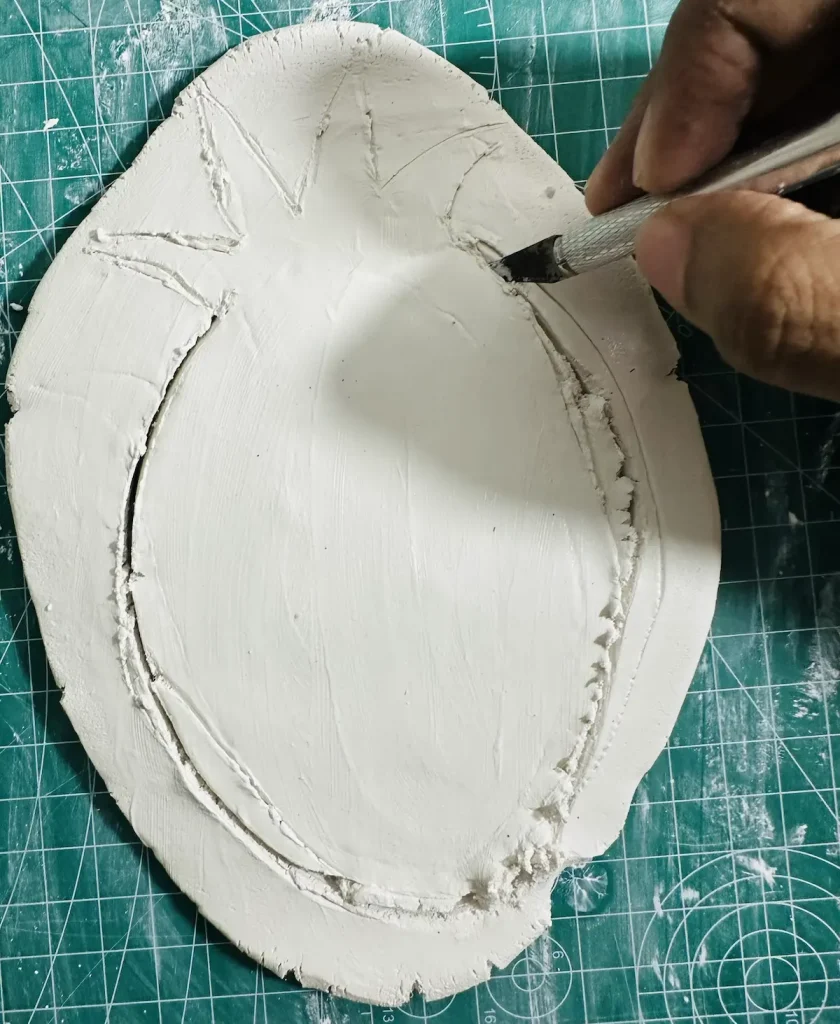
Freehand cutting comes with lots of errors. Yes, it improves your handling over time, but when you’re making a professional project with air dry clay, better to use a paper template.
Freehand cutting is time-consuming and leads to hesitation and uneven pressure.
Read: How to Cut Perfectly Round Air Dry Clay Bases Using Household Templates
How to cut edges every time in air dry clay
Follow the steps below to avoid getting torn edges and achieve nice and clean cuts every single time.
- Apply a little bit of water when kneading the air dry clay: Too much water means the clay becomes more sticky and grabs the blade.
- Let the air dry clay rest for a few minutes after rolling: When the clay slab rests for a few minutes, the water will evaporate and the potential for blade drag will decrease.
- Use the “Press, Don’t Drag” technique: When cutting the wet clay slab, do not drag the blade on the table. Plunge the blade straight down into the wet clay and take it out again; plunge and take the blade out for clean cuts. Dragging horizontally through sticky wet clay forms blunt and torn edges.
- Wipe your blade between every cut: Don’t let previously cut air dry clay particles build up on the knife. They make torn edges on the next cut you make.
How to smooth out a ragged edge
If the cuts you made are clean but have some ragged edges, there is an easy way to fix that.
Dip your index finger in the water and glide around the edges of the wet clay gently and slowly to smooth out the edges even more.
Make sure not to leave fingerprints on the wet clay slab while doing this. Do not use too much water. Just tapping your finger in the water is enough.
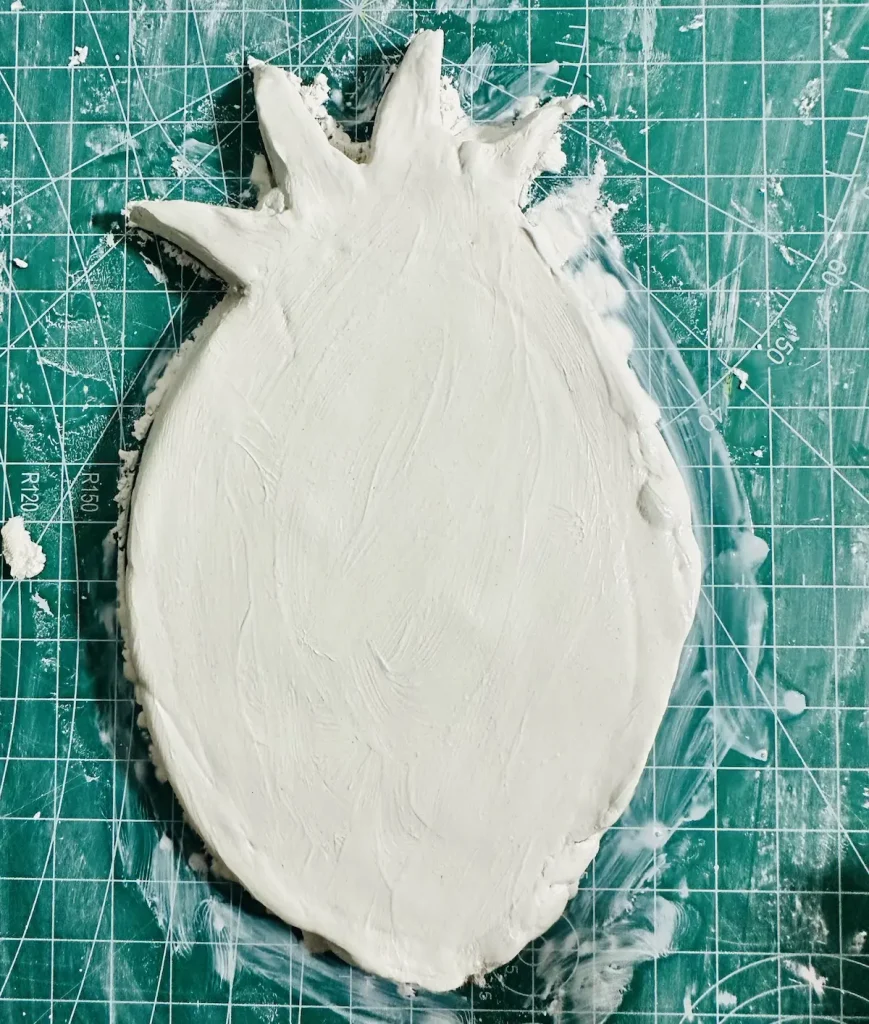
During my failed pineapple trinket tray project, I tried to smooth out the torn and ragged edges with my finger, but it didn’t work. This technique is only effective for minor tears or slightly uneven edges. It cannot fix severely damaged sections.
Final thoughts
Now you know how to make clean cuts and get sharp edges in air dry clay without tearing. I learned that after making my failed pineapple trinket tray project. But I never give up. Soon I’ll make another pineapple trinket tray with air dry clay and try to get clean and sharp edges following the above techniques. I’ll update you about that. 🍍
Let me know in the comments if you have a better technique to get nice and clean cuts. We’re all here to learn.
As beginners, it’s okay if you couldn’t achieve clean and sharp edges. Even I couldn’t do it on my first try. So, it’s okay. Let’s learn from our mistakes and build better next time like a champ! Cheers! 🤟🏾