
Ghosts are tied to Halloween because the 31st of October is considered the date that thins the boundary between the living and spirit worlds. 👻
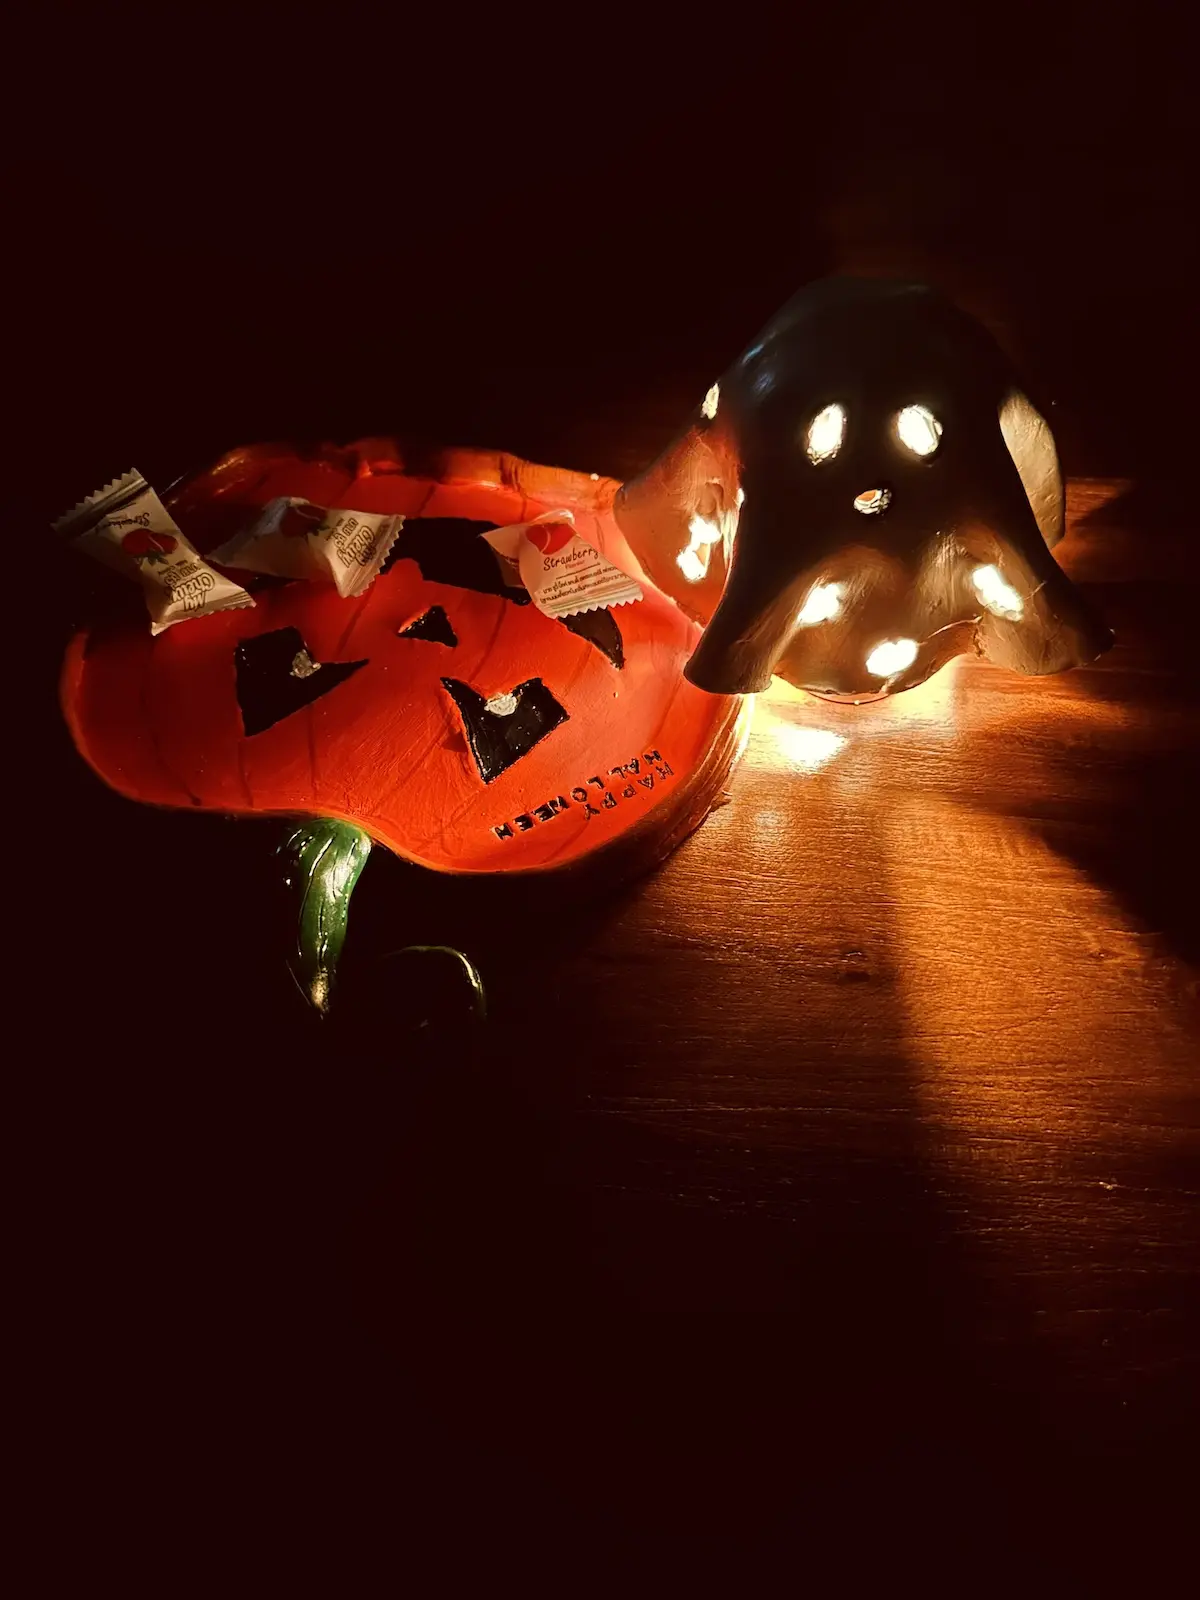
So today, I’m gonna make a ghostie with air dry clay that can be used as a home decoration for your house this Halloween season.
This project takes a completely different approach than my previous ones because it isn’t a tray or dish. It’s a piece of home decor without a base.
Today, I’m trying to make something new in a different shape with air dry clay as an experiment as a beginner, testing my limits after mastering trinket trays and dishes. Let’s see how it goes.
You can follow this guide with me because I’m also a beginner like you and I’m gonna share every step I took, every mistake I made and how I fixed them with easy tips and tricks. So stay with me till the end.
There are no complex steps here because I’m just like you, someone who hates complex and expensive methods.
Let’s start making! ✨
Why I used air dry clay? 🎨
Air dry clay is considered the best beginner friendly clay type for the following reasons,
- No kiln or baking needed. 🚫🔥
- 2x or 3x cheaper than polymer clay. 💰
- Dries in the air (No oven needed). 💨
- Easy to shape and bend. 🖐️
- Easy to smooth. ✨
- This project is not a miniature one and need a lot of clay. 🧱
For all the pros and cons of air dry clay, read The Pros and Cons of Air Dry Clay: A Complete Beginner’s Guide.
Since it is not expensive, we can have fun with it as much as we want to learn new things, experiment with it and we have enough room to make mistakes and learn from them. If air dry clay is expensive, we always have to worry about our budget and we won’t try new things and we won’t learn along the journey.
Plus, this air dry clay ghost is a little bit big, so you can’t use an expensive clay type like polymer clay. Since the ghost comes in white air dry clay is the best option you should go with.
Yes, air dry clay is prone to crack and warp as it dries. But you can handle, control and avoid them by following simple tips and tricks. Don’t worry, I’ll teach them as well during this article.
If you want to know almost and everything about air dry clay, read Air Dry Clay for Beginners: The Ultimate Step-by-Step Guide.
Ok! Now you know why air dry clay is suitable for this ghostie. Let’s dig in! ⛏️
Supplies you’ll need 🛠️
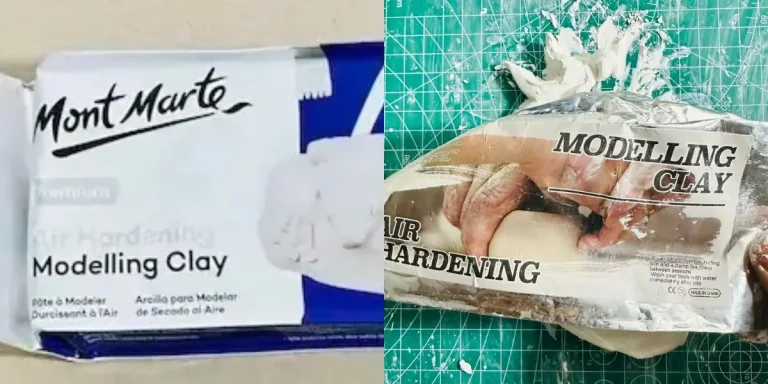
- Air dry clay (DAS, Mont Marte, Jovi, or any reputed brand you can find is okay)
- Acrylic rolling pin
- PVC mat or silicone mat (or non-stick surface) 🧘
- Small container or glass 🥛
- Aluminum foil or plastic wrap 🧻
- Clay crafting tools 🛠️
- Clay cutting tool (X-acto knife or small knife) 🔪
- Cup of water or spray bottle 💧
- Flower shape cutter or mold 🌸
- Acrylic paints (white and black) 🎨
- Gloss varnish ✨
- Paintbrushes 🖌️
- Paper towels 🧻
- A pair of scissors ✂️
- Scotch tape 🩹
- Optional: Sponge or silicone sculpting tool (or you can use your finger)
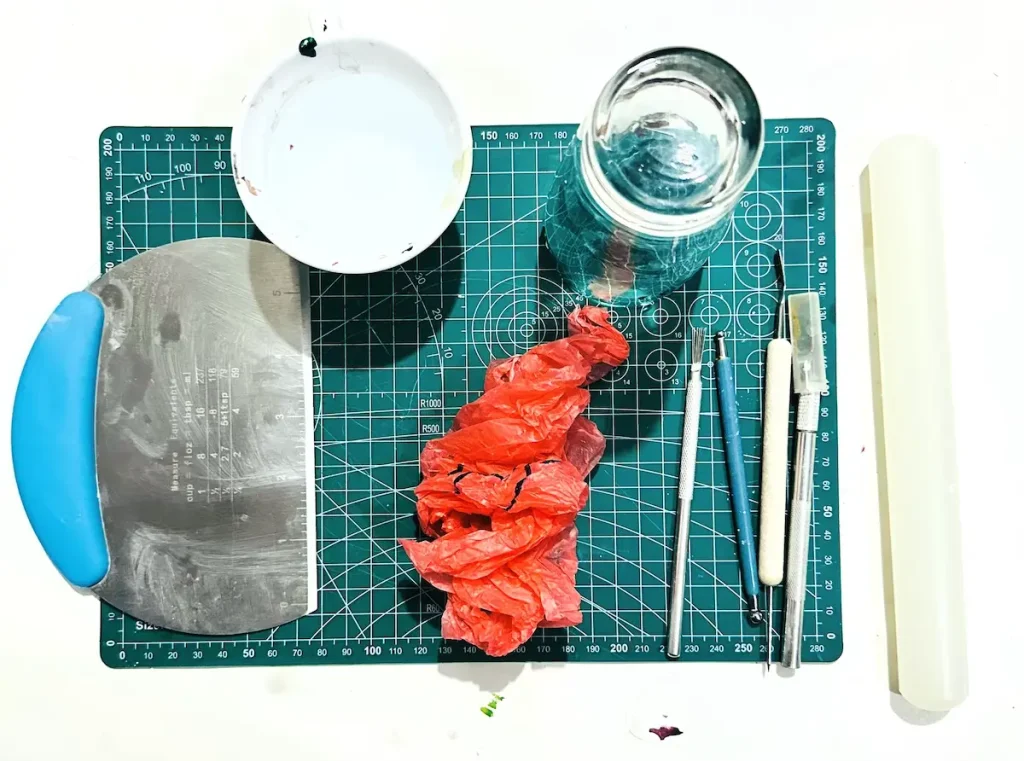
If you can’t find any of the above tools or materials, check your kitchen drawers. You’ll find a handful of items that can be used instead of the clay tools that I mentioned above. Toothpicks, small knives, and cutting boards all are great alternatives. So use them wisely. Air dry clay needs to be budget friendly.
Air dry clay ghost tutorial video
I have recorded everything from start to finish while making this air dry clay ghost so you can watch it and get a good idea about the flow and if you missed anything during the video, you can read them on this written tutorial as well.
Feel free to watch and make a fine Halloween ghost! 📺
Finished watching the video? Let’s have a look at the detailed written step-by-step guide.
Step by step tutorial for your air dry clay ghost
Before you start making it, make sure to open all the windows in your room for good air circulation or shift to a well ventilated area. Air dry clay contains fine dust particles that can make you cough. I don’t want to see my people coughing during the process. Hehe.
Step 1: Conditioning and kneading the clay
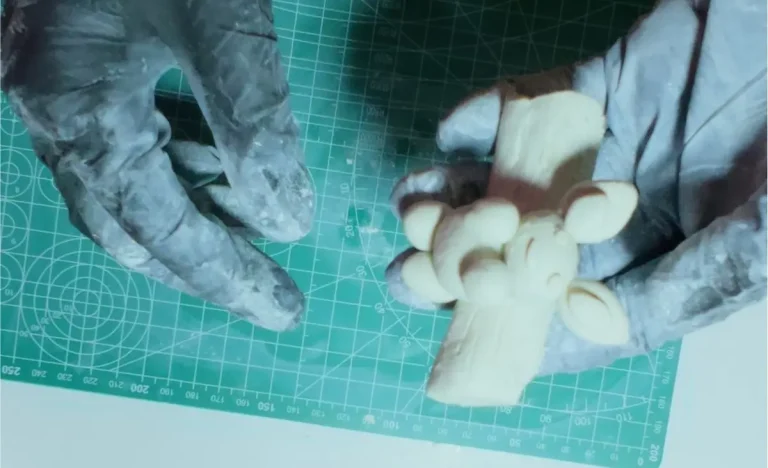
First of all take a fresh piece of clay from the package and condition it by tapping drops of water on to the clay surface.
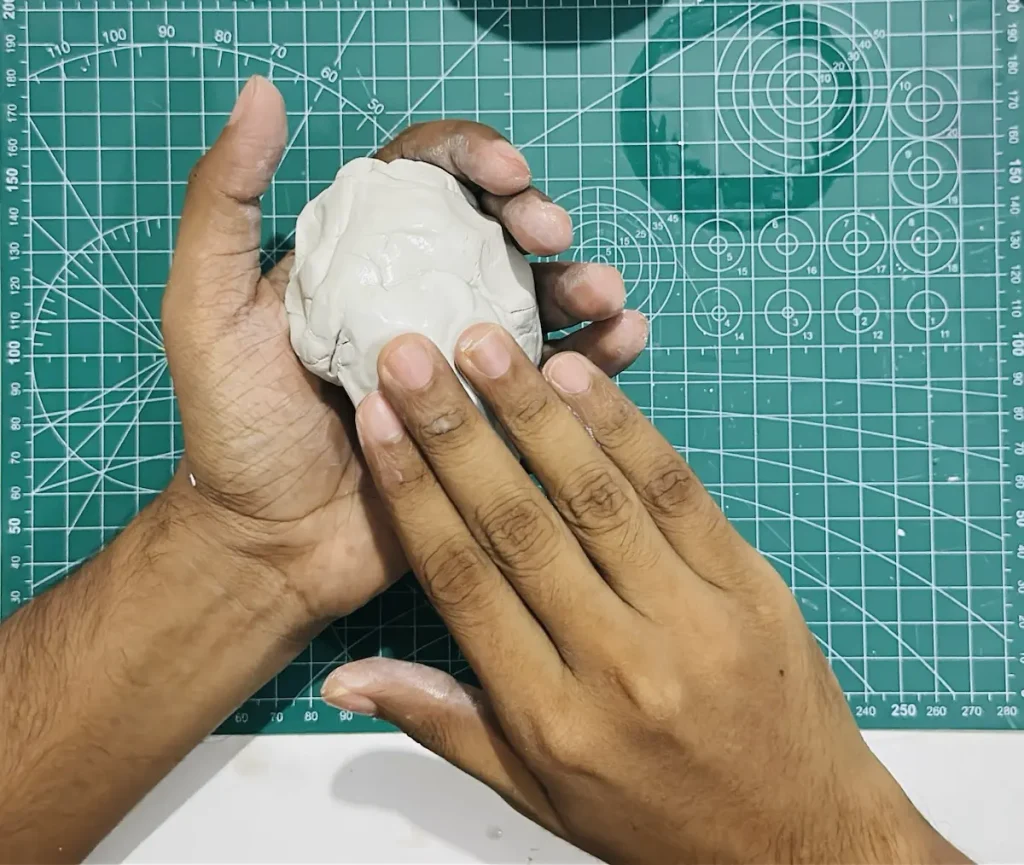
Next knead the clay so well using pull, push and press techniques like a pizza dough.
Make sure not to use too much water when conditioning and kneading air dry clay because air dry clay already contains a lot of moisture inside and excess water cause rapid evaporation as the clay dries, causing uneven shrinkage. As a result of uneven shrinkage, clay will start to crack as it dries.
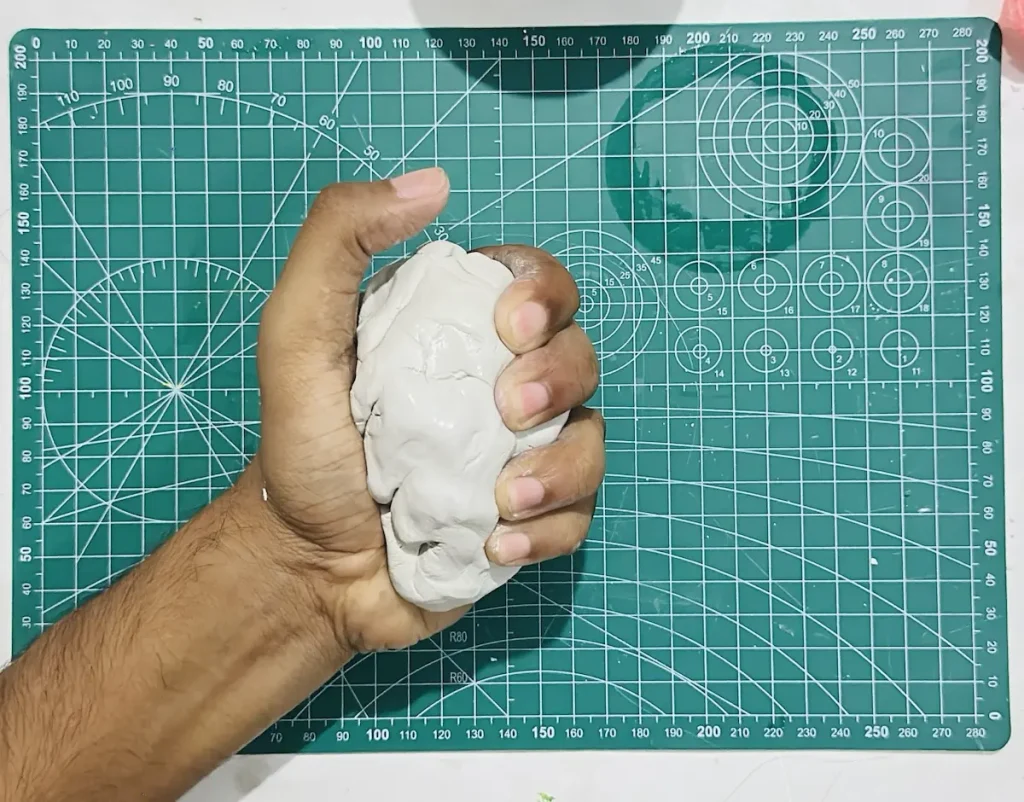
Kneading is a must before you start anything with air dry clay because it helps to spread the moisture evenly across all the layers of the clay and releases the trapped air inside.
Skipping the kneading step causes uneven evaporation of water and form micro cracks due to the uneven shrinkage and air pockets inside.
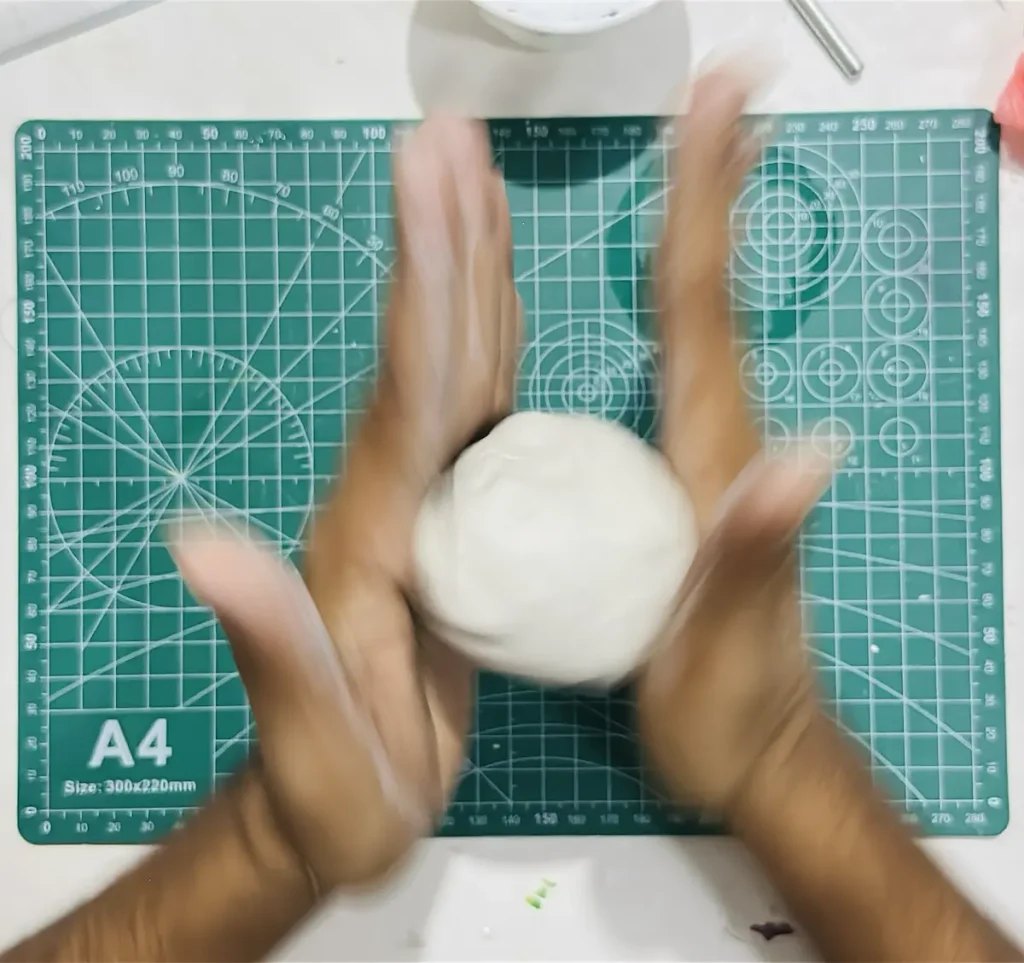
Knead the clay well for about 2-3 minutes until become soft enough for shaping.
Due to the warmth of our hands, the moisture we apply and the pressure we put in, the clay will become soft and comfy, which is great for making shapes and for bending.
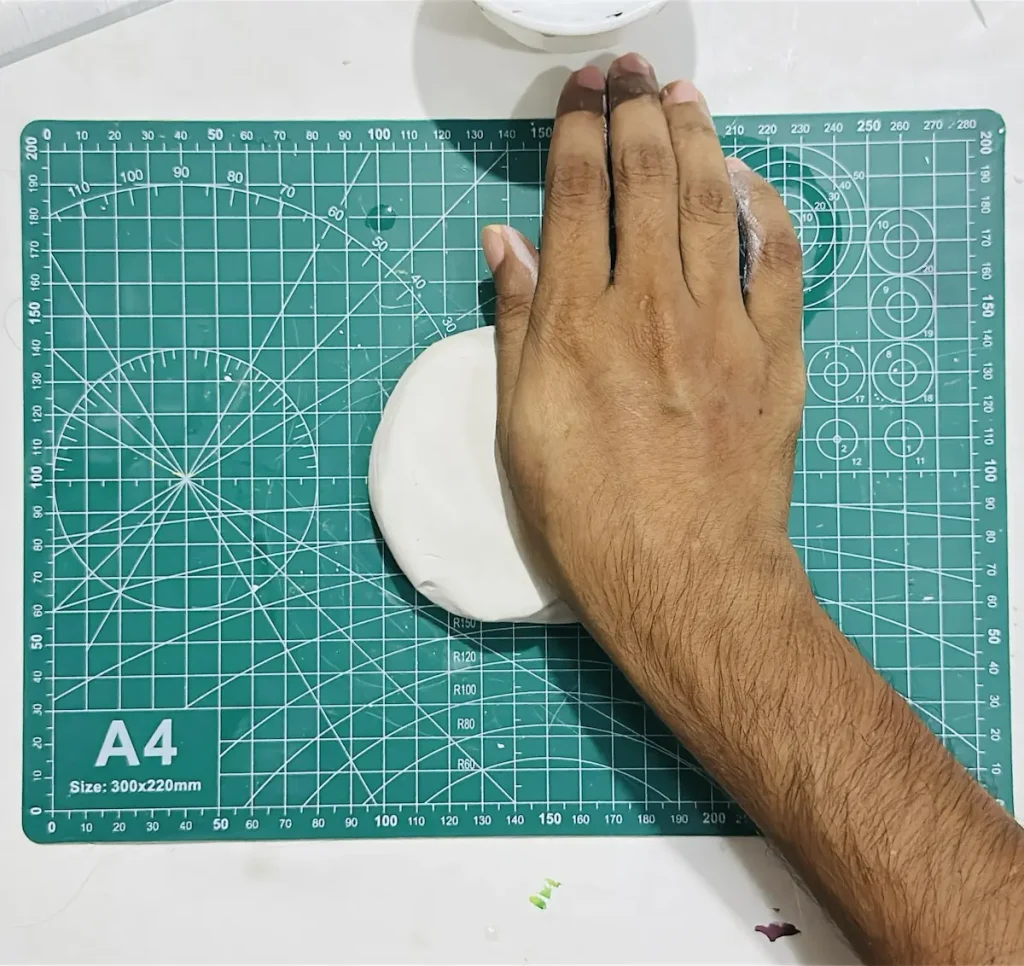
Step 2: Rolling the clay
Place the kneaded clay piece on your mat and start rolling to an even thickness of about ¼ inch.
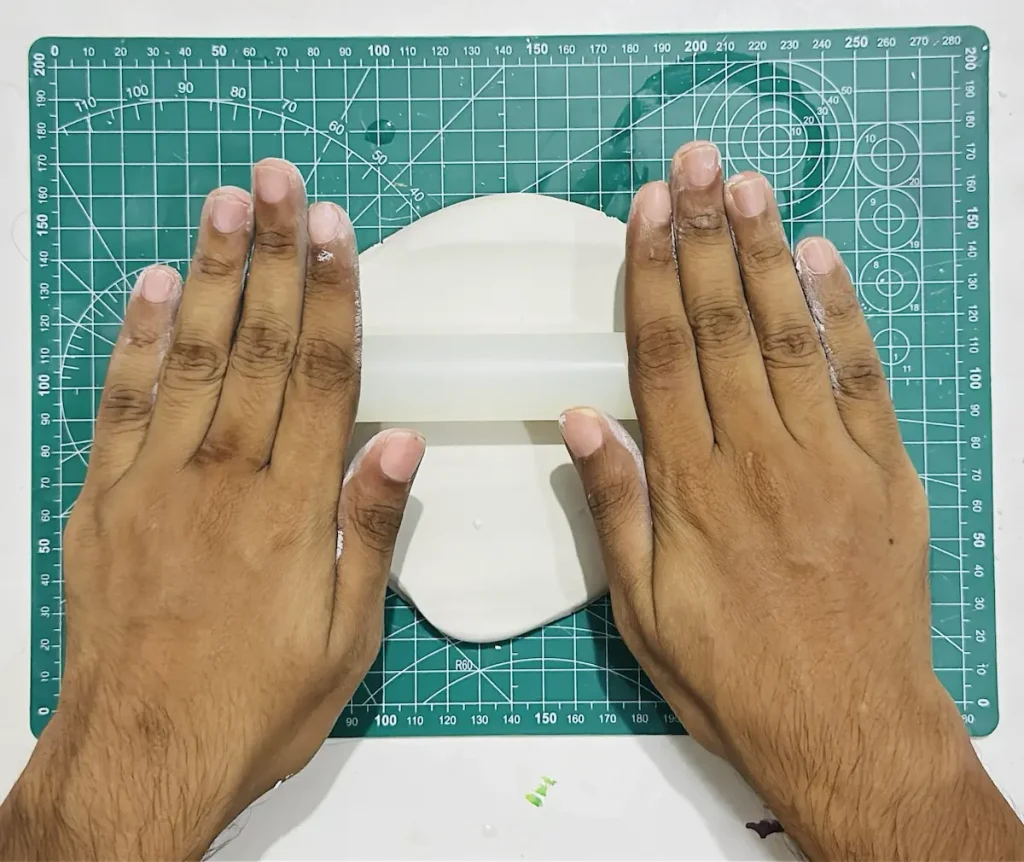
Use a non stick and non porous rolling pin and mat for rolling, because when you’re rolling, the moisture inside the clay comes out and creates a vacuum like seal between the clay and the mat.
The clay sticks so well to the mat because of this seal that when you try to lift the clay up after rolling, it’ll get stuck and mostly tear apart with cracks and splits.
Therefore, when you’re choosing a mat, go for a silicone or PVC mat, which are non stick and easy to clean up.
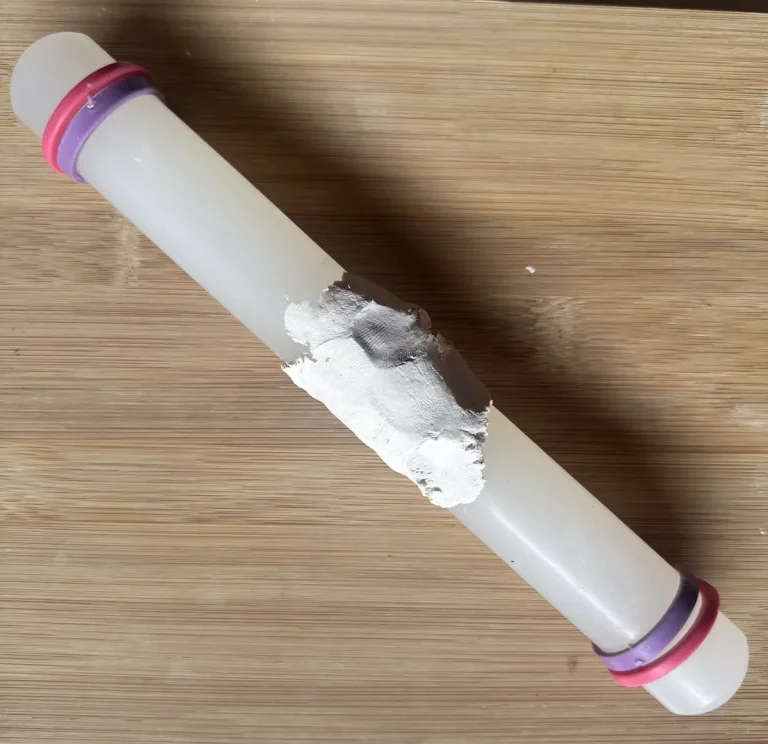
For the rolling pin, go for an acrylic one because clay does not stick to it while you’re rolling.
If you don’t have those mats or rolling pins and are about to use wooden ones, make sure to place parchment paper between the clay and the wooden surface, and another sheet of parchment paper between the clay and the rolling pin. Basically, you have to place the clay like a sandwich while rolling to avoid it from sticking.
To prevent the clay slab from sticking to your work surface, make sure to turn, flip and rotate the clay slab nearly 90 degrees as you roll. Even with a non stick mat and rolling pin, rolling the clay in the same position for too long can cause it to stick. So remember that!
Avoid rolling your clay slab thinner than ¼ inch or thicker than ½ inch. Keeping the thickness strictly within this range guarantees the best results.
Why you should not roll too thin (< ¼ inch)
Rolling the clay too thin loses its structural stability. The edges of the clay slab tend to curl upward like a potato chip as the clay dries. This scenario is known as the warping of air dry clay. Here’s how to fix that!
Why you should not roll too thick (> ½ inch)
If the slab is too thick, it may take several days or even weeks to dry out fully. The outer layer dries significantly faster than the inner layers, which can cause uneven shrinkage and often leads to surface cracks.
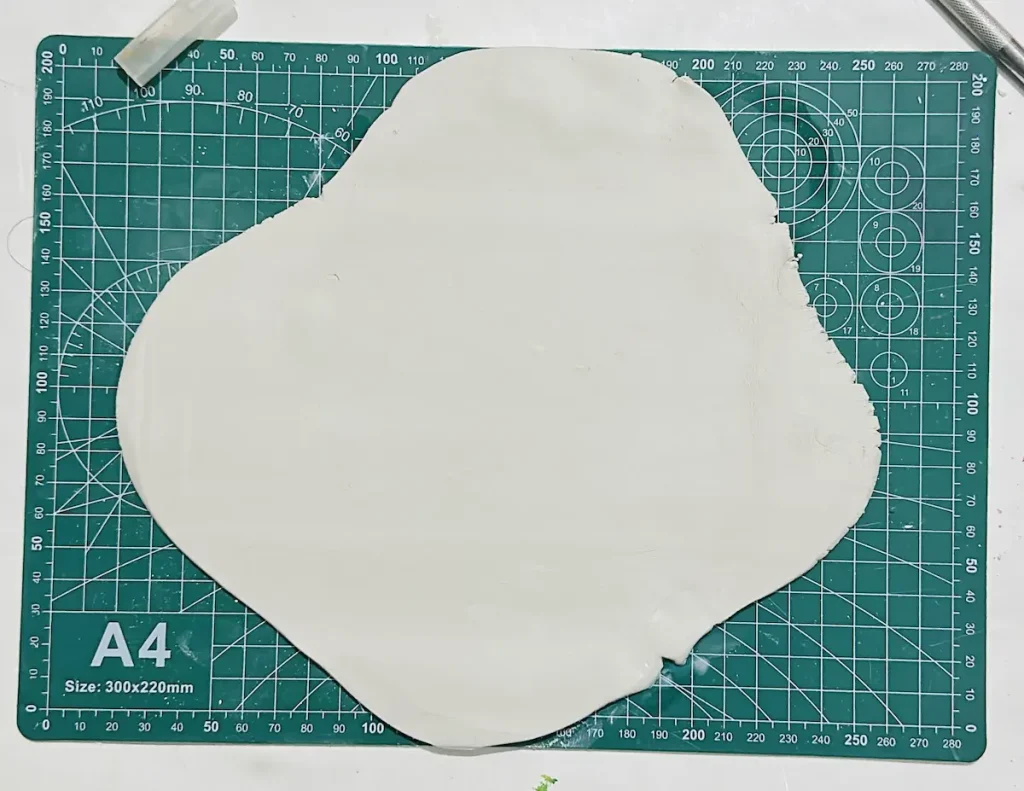
After rolling the clay slab, smooth it out by dipping your index finger in a cup of water and gliding gently on the surface repeatedly until tiny bumps, micro cracks and tiny imperfections vanish.
Don’t forget to follow this smoothing procedure after each step from now onwards.
Step 3: Cut the shape
I cut the shape so randomly using my X-acto knife so the edges of the ghost will be sharp. It’s not hard. You just have to cut the shape like a circle. No need to be a perfect circle.
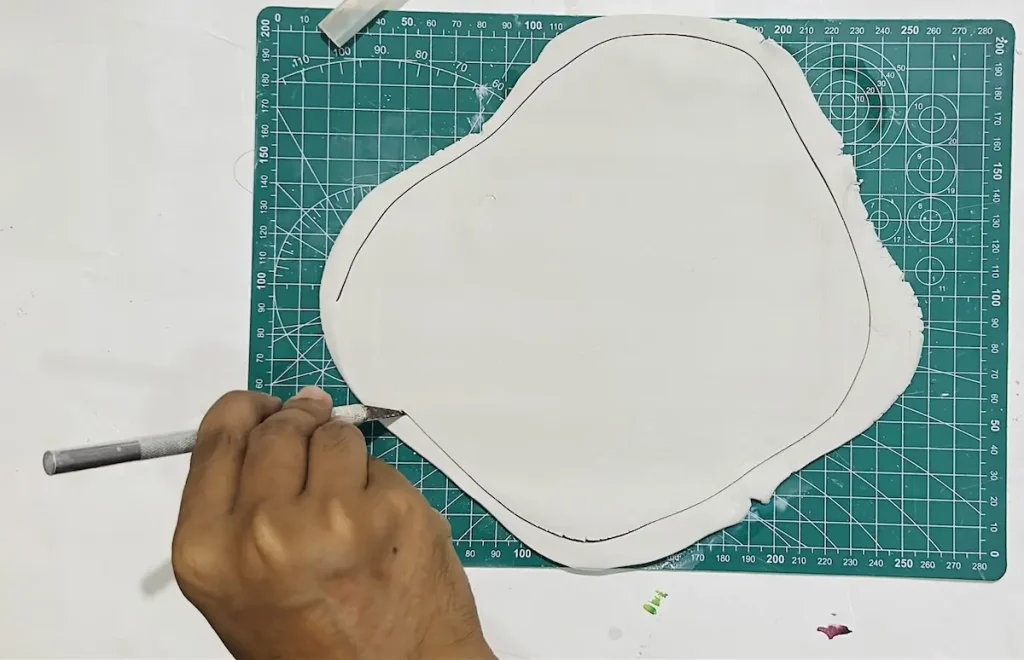
When you’re cutting, make sure not to drag the knife horizontally across the surface because that can form torn up and split edges with cracks.
Lift the knife frequently as you cut and clean the attached small clay pieces and then start cutting again following the up and down motion.
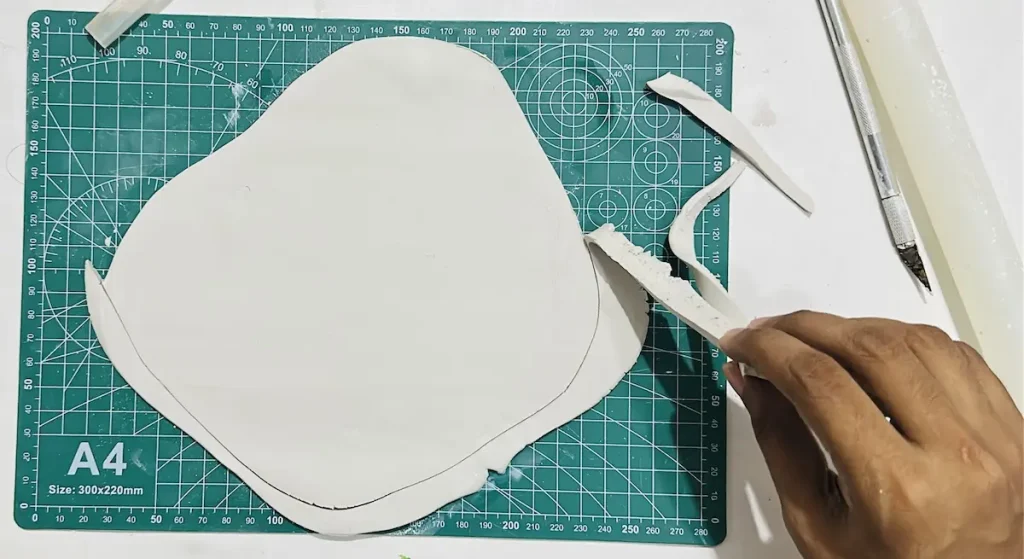
Once you cut the shape completely, remove the excess carefully and smooth out the clay slab.
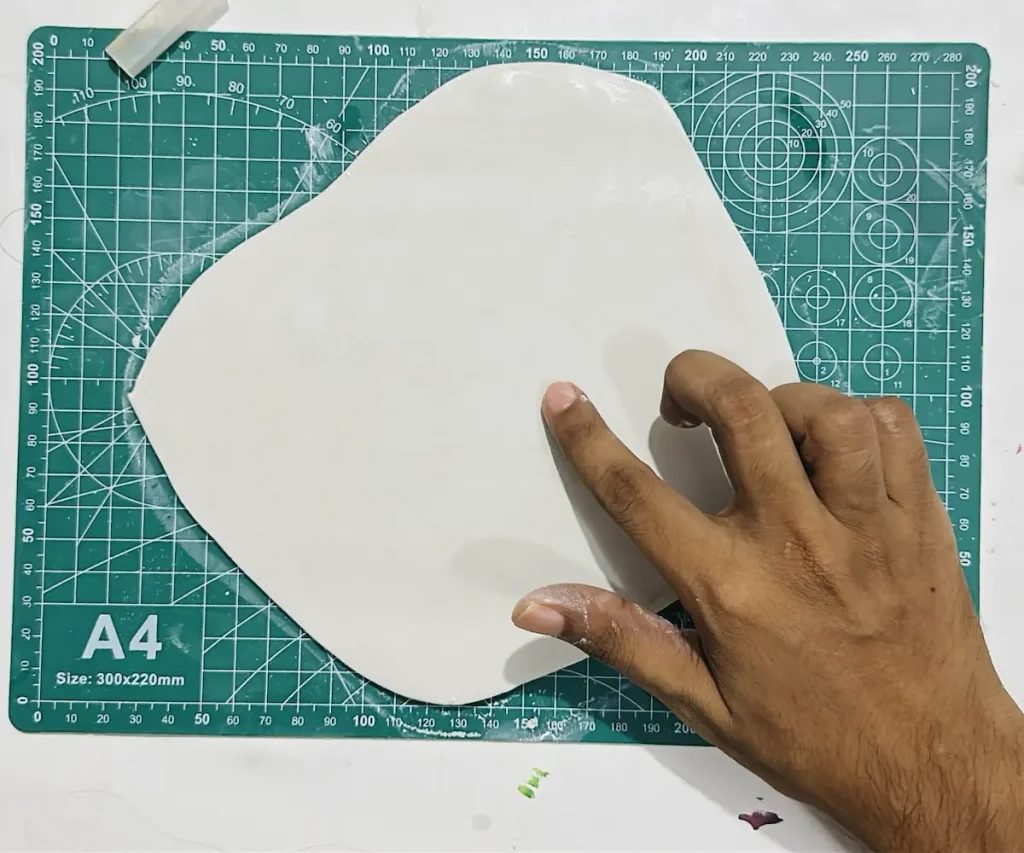
Step 4: Detail the clay slab
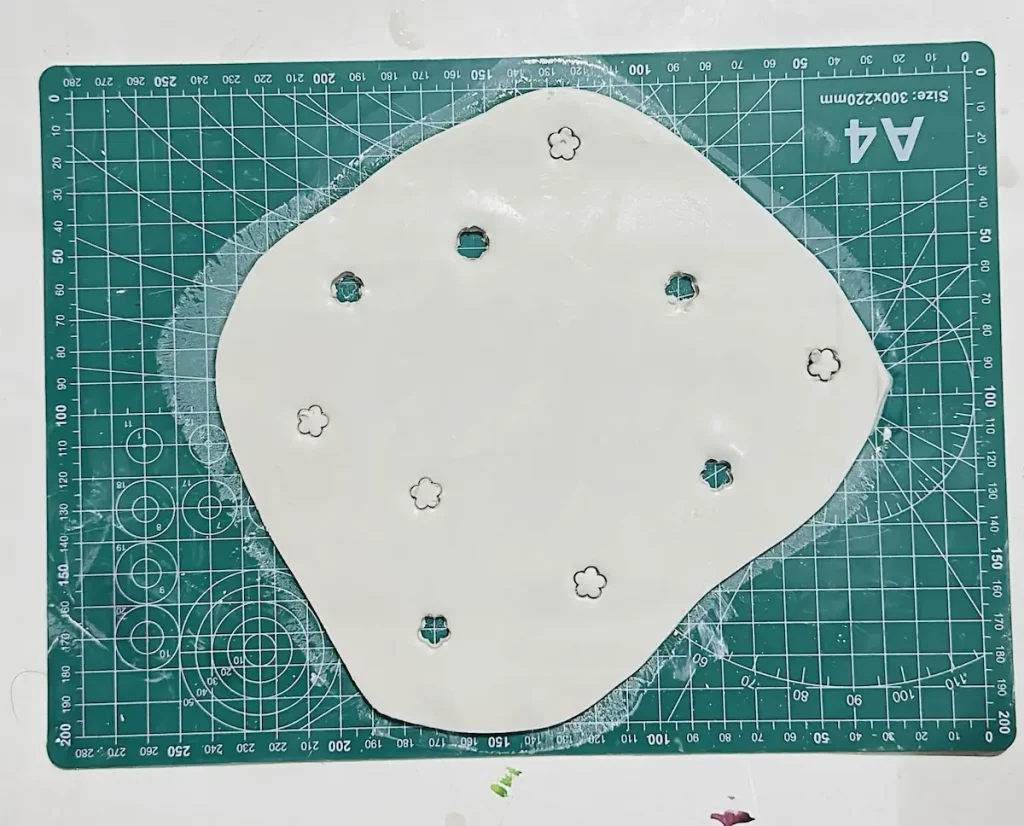
I have a flower shape mold/cutter I bought recently, so I used it to decorate the clay slab I cut with flowers.
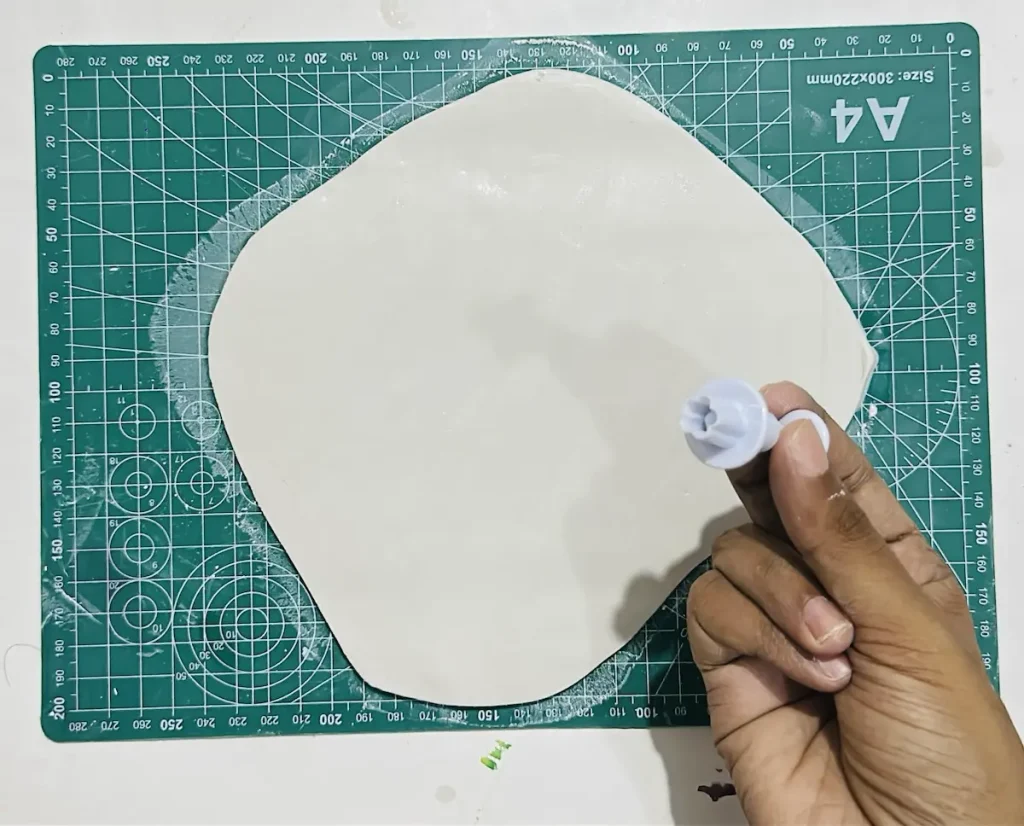
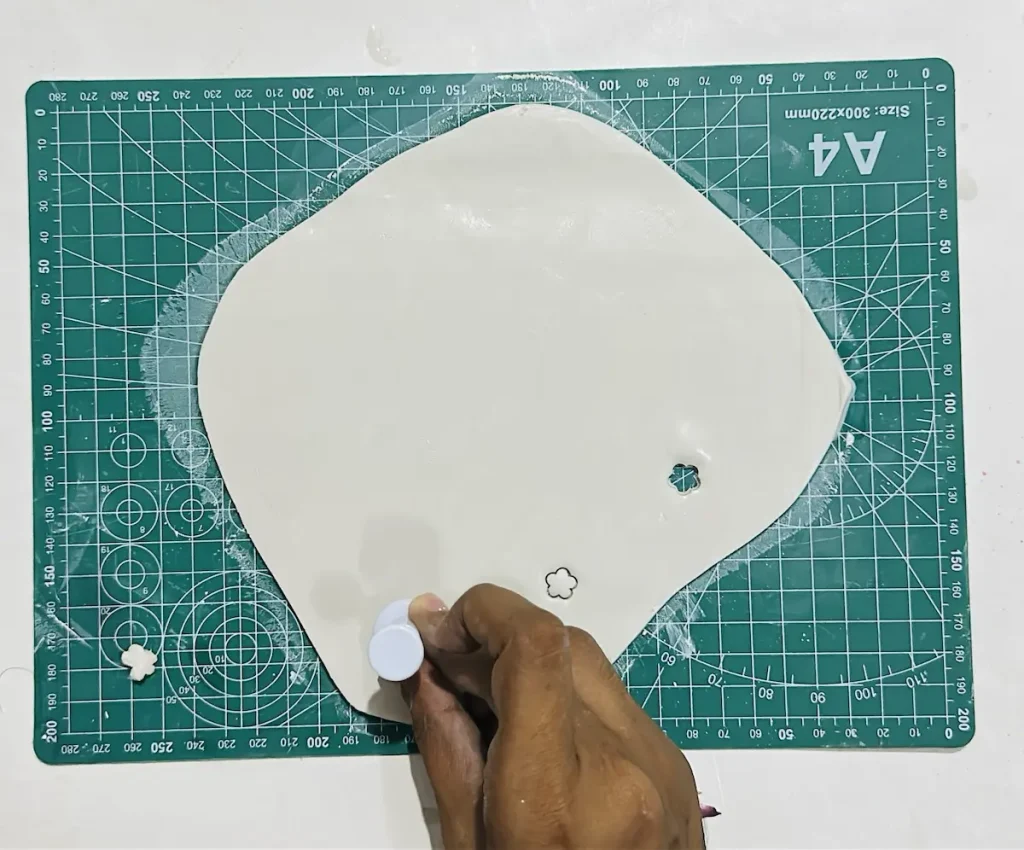
If you don’t have a mold or cutter, try to cut those shapes manually using the X-acto knife.
Make sure to space these flower cutouts randomly across the clay slab so the light will shine through later if you use a tealight or candle.
Step 5: Drape and shape the ghost
Next, take the small plastic container or glass and turn it upside down. Then roll the plastic wrap or aluminum foil into a ball, place it over the top, and secure it well to the container or glass using duct tape or scotch tape.
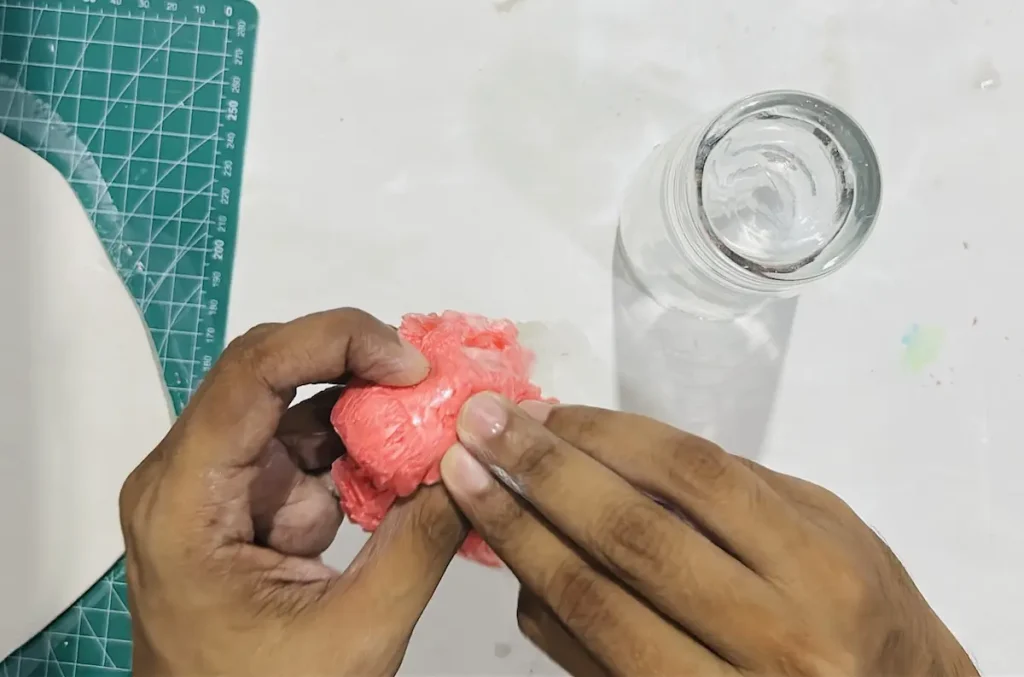
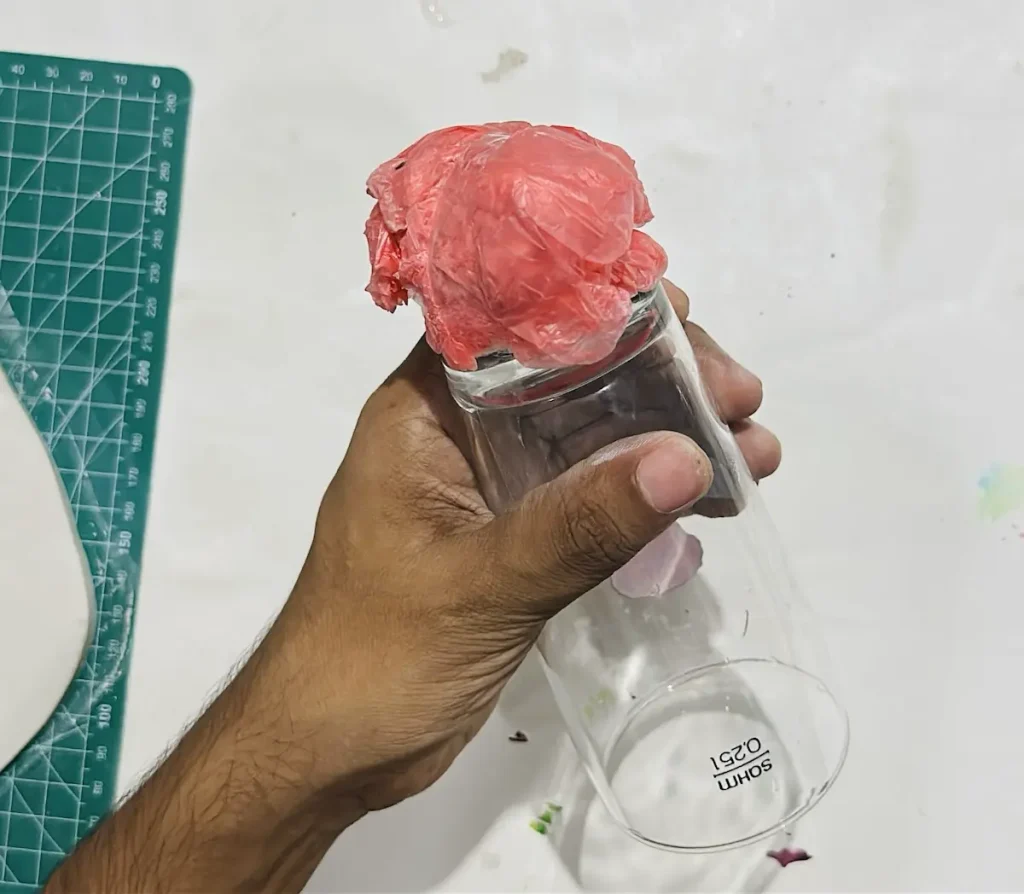
Consider this as the temporary body of our ghost. We will remove it once the clay has fully dried.
After setting that up, drape the clay slab gently over the glass and plastic form.
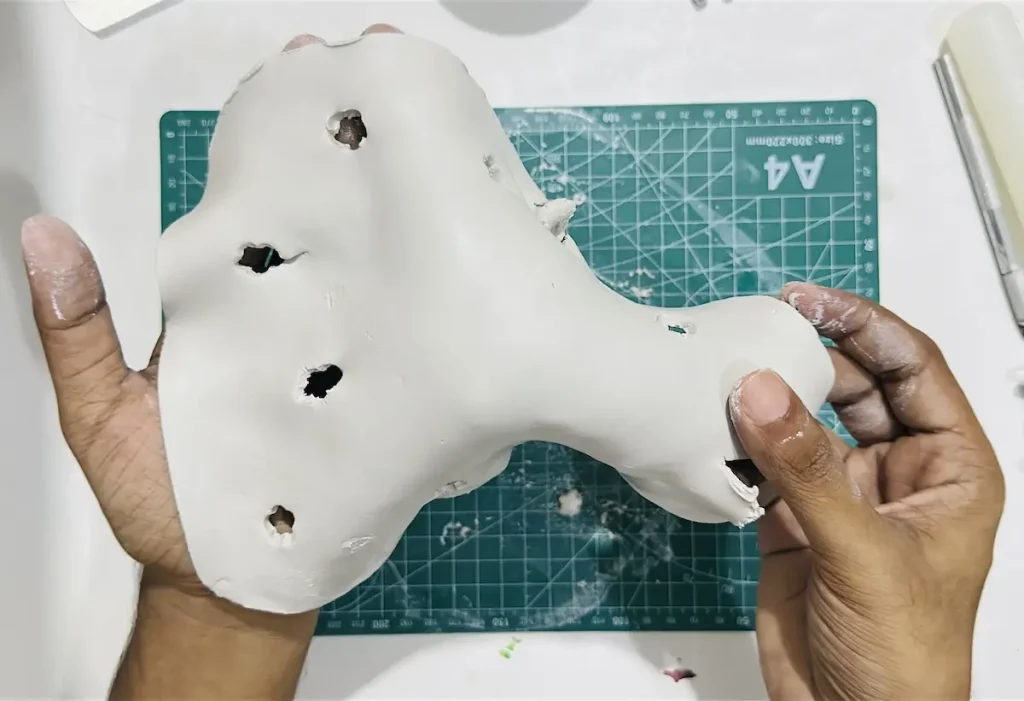
Next, adjust the folds at the bottom so it looks like a floating sheet.
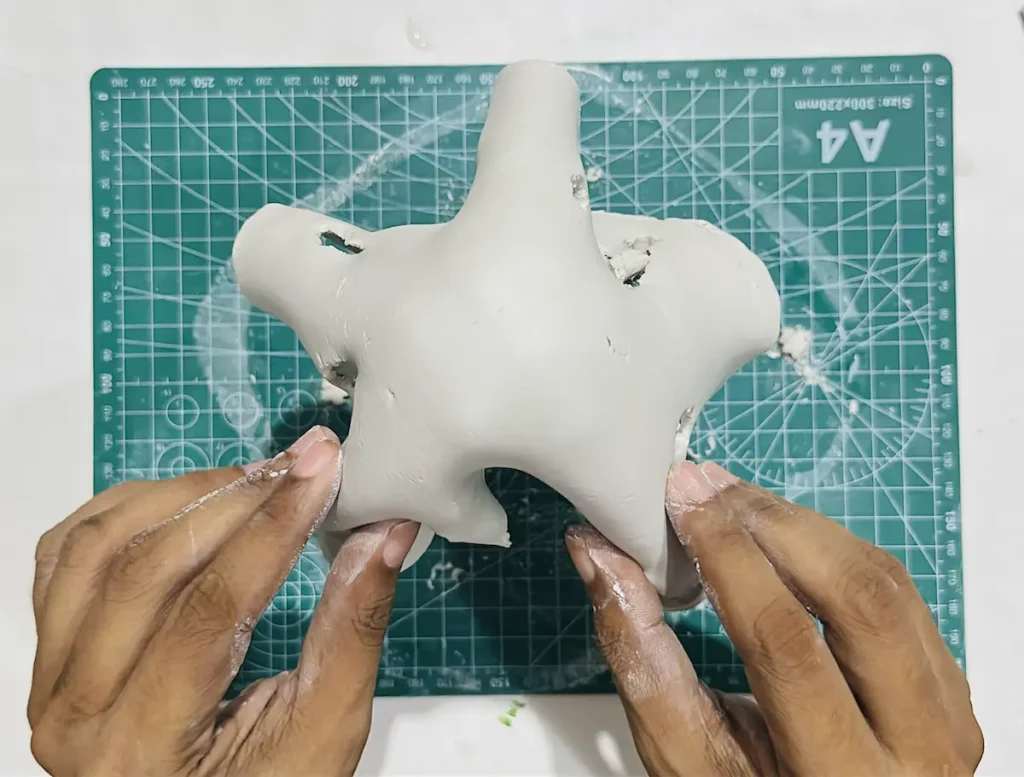
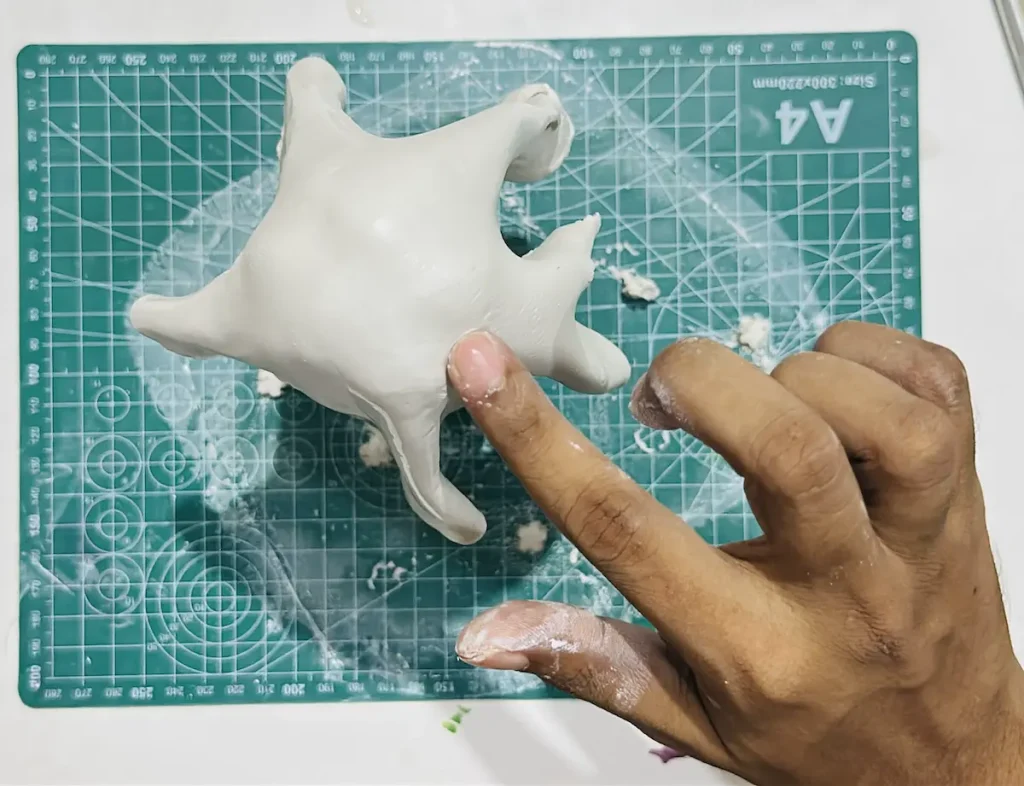
Step 6: Detail the ghost
Take a needle, a toothpick or a clay sculpting tool and carve out the clay from your ghost structure to make the eyes and mouth.
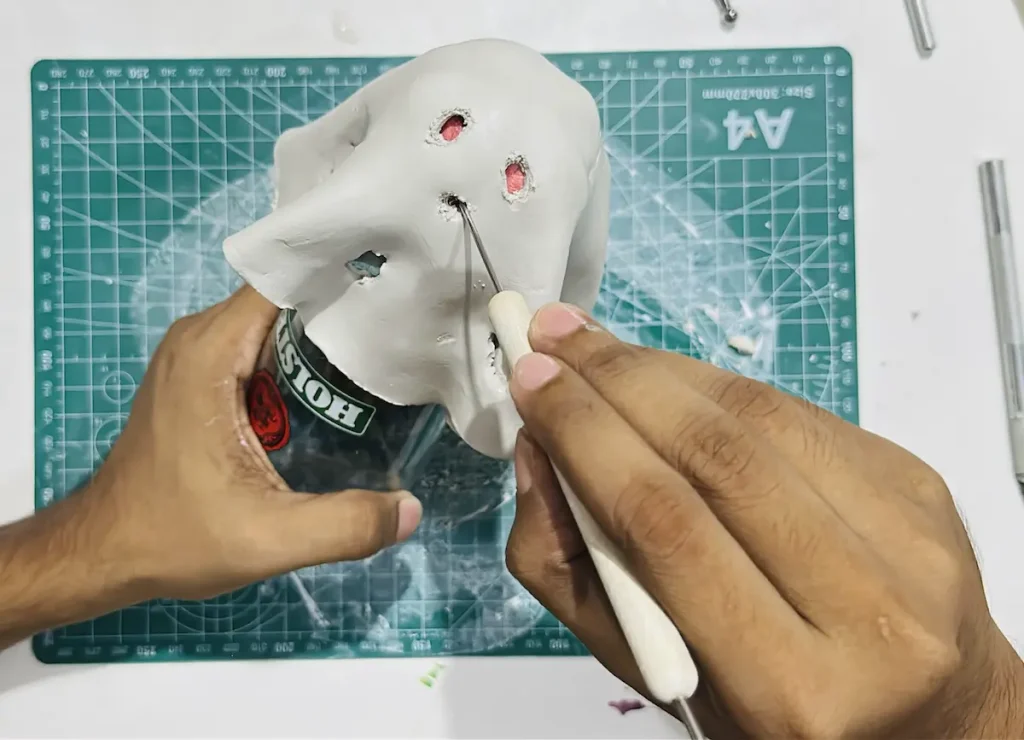
Do this carefully without damaging the clay. You can soften the jagged edges using a paintbrush after dipping it in water.
Awesome friends! We have successfully crafted the air dry clay ghost. Now let it dry fully before painting.
Step 7: Allow the clay to dry
Now let the air dry clay ghost you made dry fully for 48-72 hours in a well ventilated area.
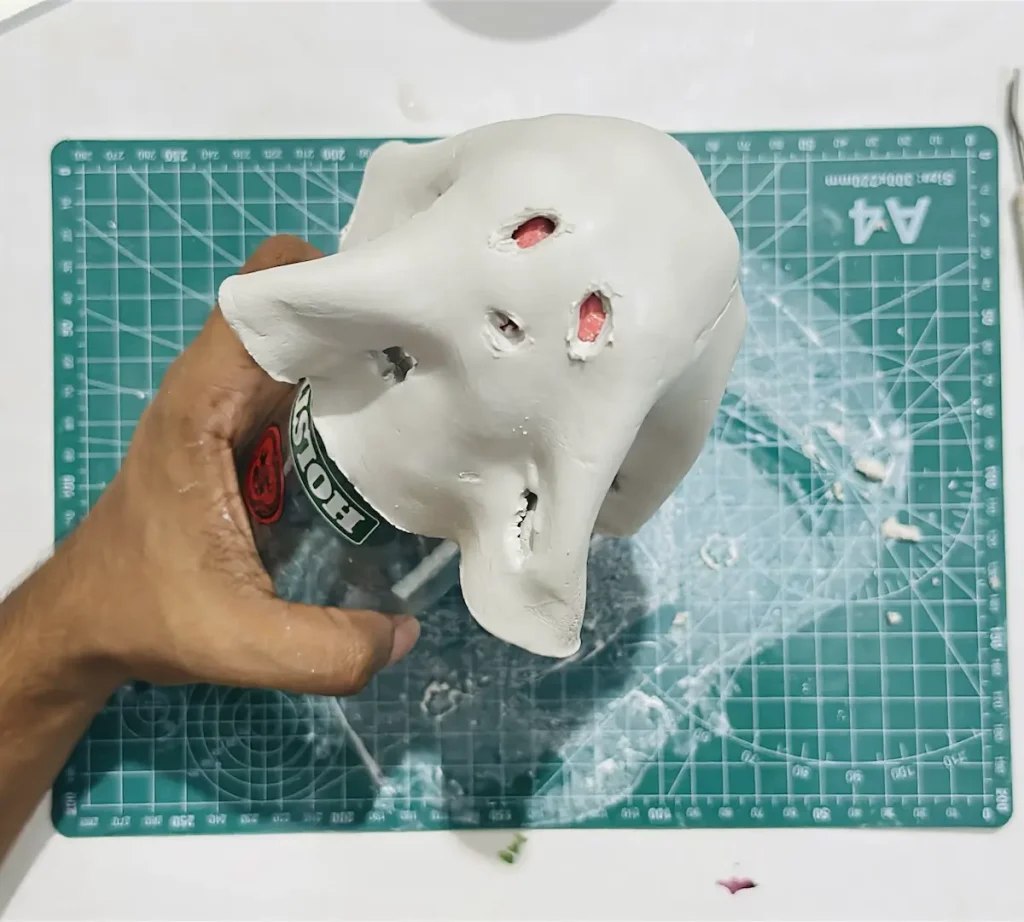
Drying time of air dry clay depends on the thickness of your clay slab and the humidity in your area. When the humidity is high, it will take more days to dry fully because the water evaporation speed is too slow.
Never ever rush the drying process by placing it under direct sunlight, outside, or blowing out your hairdryer because that can trigger uneven shrinkage, which can result in surface cracks. Let it dry slowly.
Once the outer layer of air dry clay feels completely dry after 24 hours, you can remove the glass form to let the inner side dry properly.
Actually, I forgot to take mine off while it was drying, but thankfully the inside still dried out fully. Lucky me!
I think leaving the piece to dry for the complete three days likely made all the difference.
You can notice whether the clay dried fully by the color change. Wet air dry clay has a grey, off-white color, while bone dry air dry clay has a bright, pure white color.
Now it’s time to start painting our ghost.
Step 8: Paint the air dry clay ghost
I used acrylic paint for this project because acrylics are considered the best paint for air dry clay.
Acrylic paint dries quickly within 2 hours, no need for water for mixing and preparation and makes a water resistant coating over your air dry clay project.
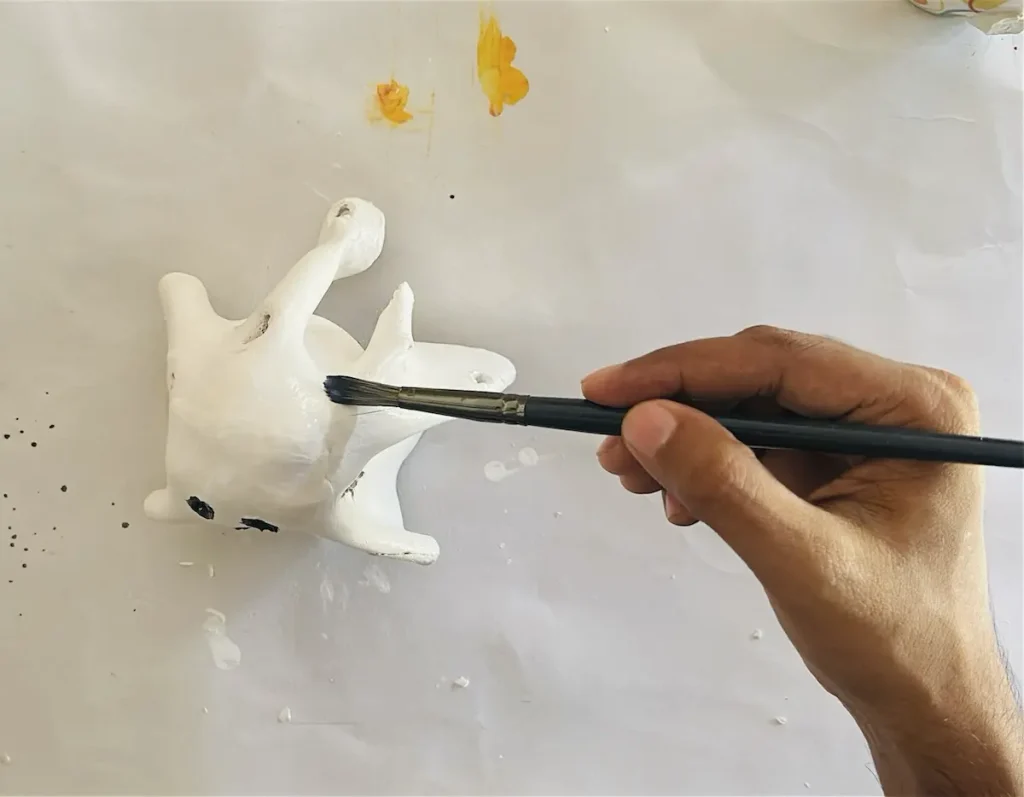
Apply 1-2 thin and even coats of acrylic over your air dry clay ghost in one direction and let each coat of acrylic dry for 2 hours before applying another.
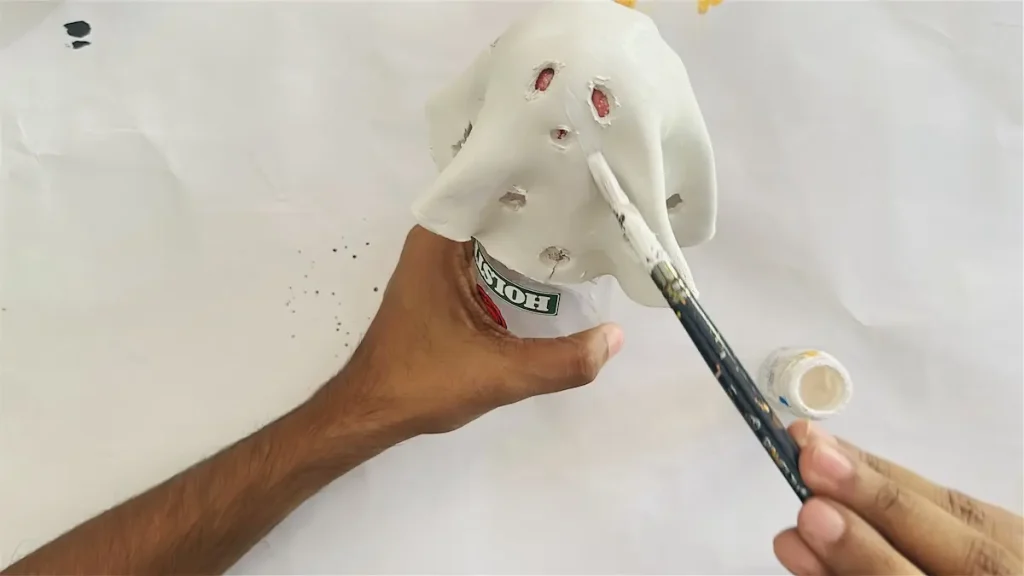
I painted the whole ghost body with white and detailed the eyes and mouth with black.
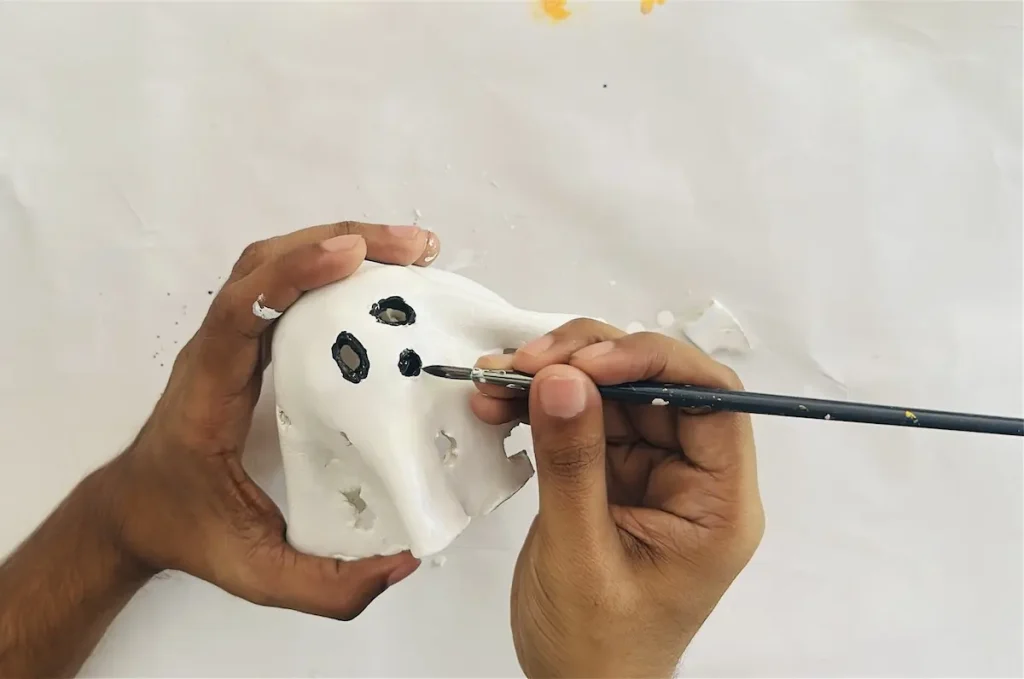
After the final coat, let it dry fully for 2 hours before sealing.
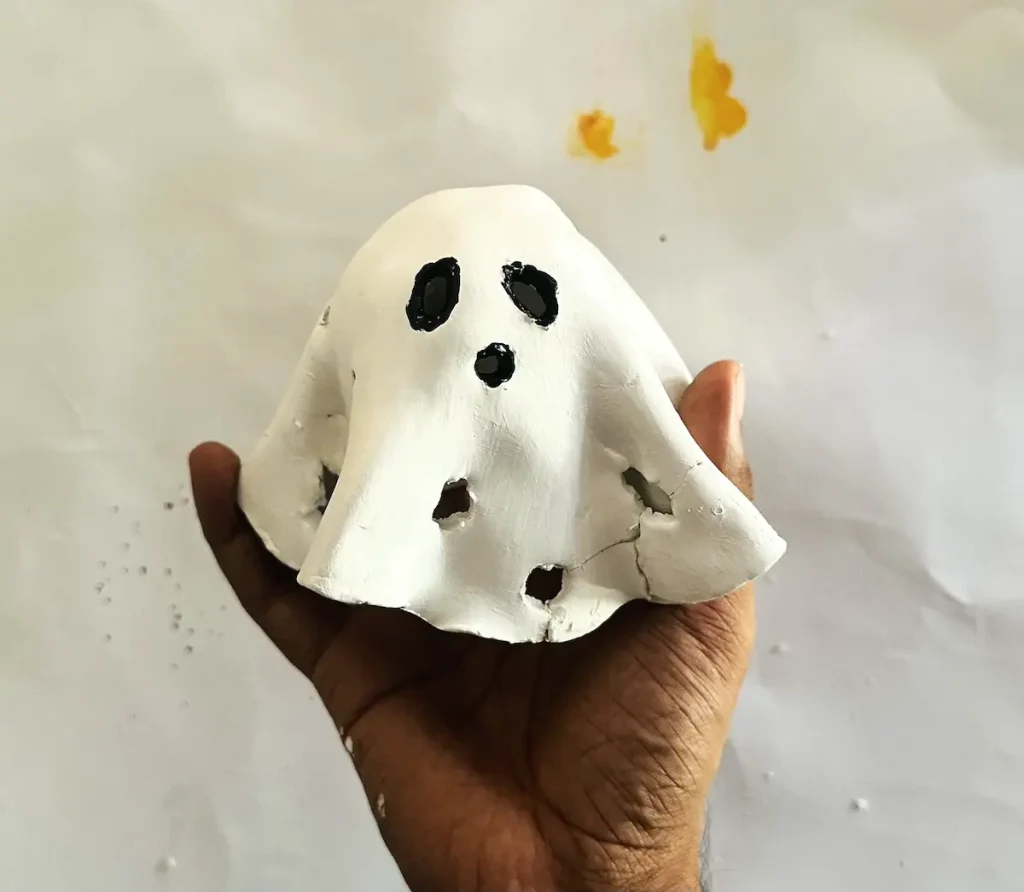
Step 9: Seal the clay
You can use Mod Podge, gloss varnish, UV resin, polyurethane varnish or epoxy resin for sealing this project. All offer water resistant or waterproofing coatings that protect your air dry clay ghost from harsh weather conditions and splashes.
Moisture weakens the clay and causes surface cracks. Therefore, sealing is essential before you keep it as home decor during this Halloween season.
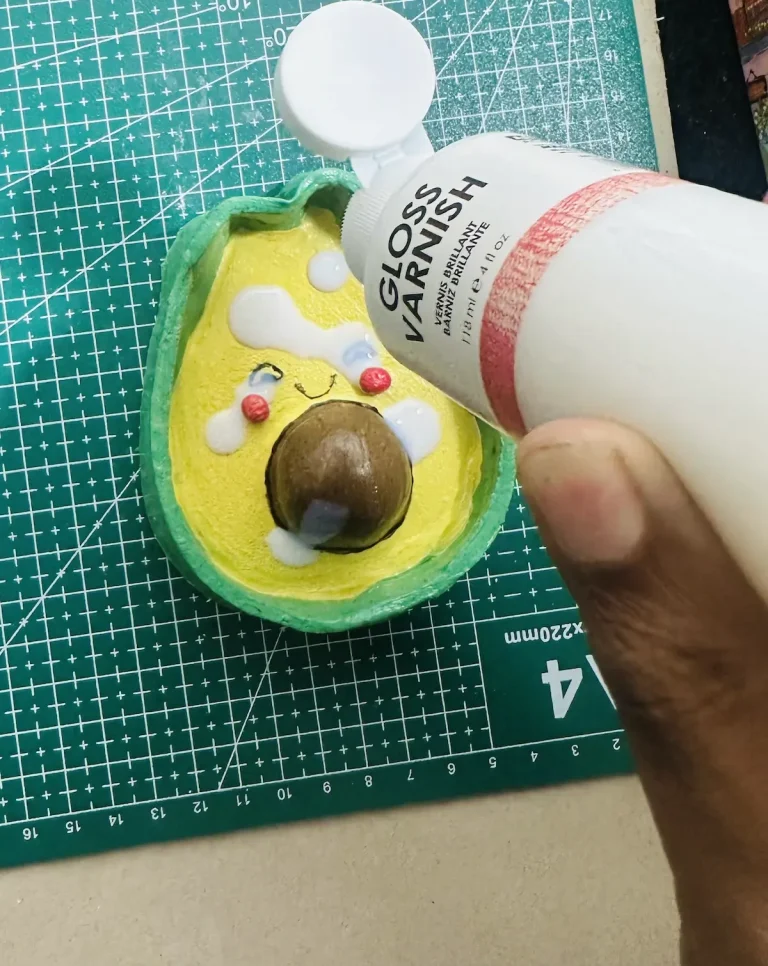
I used gloss varnish for my project and it came out so good. Apply 2-3 thin and even coats and let each coat dry for 24 hours before applying another.
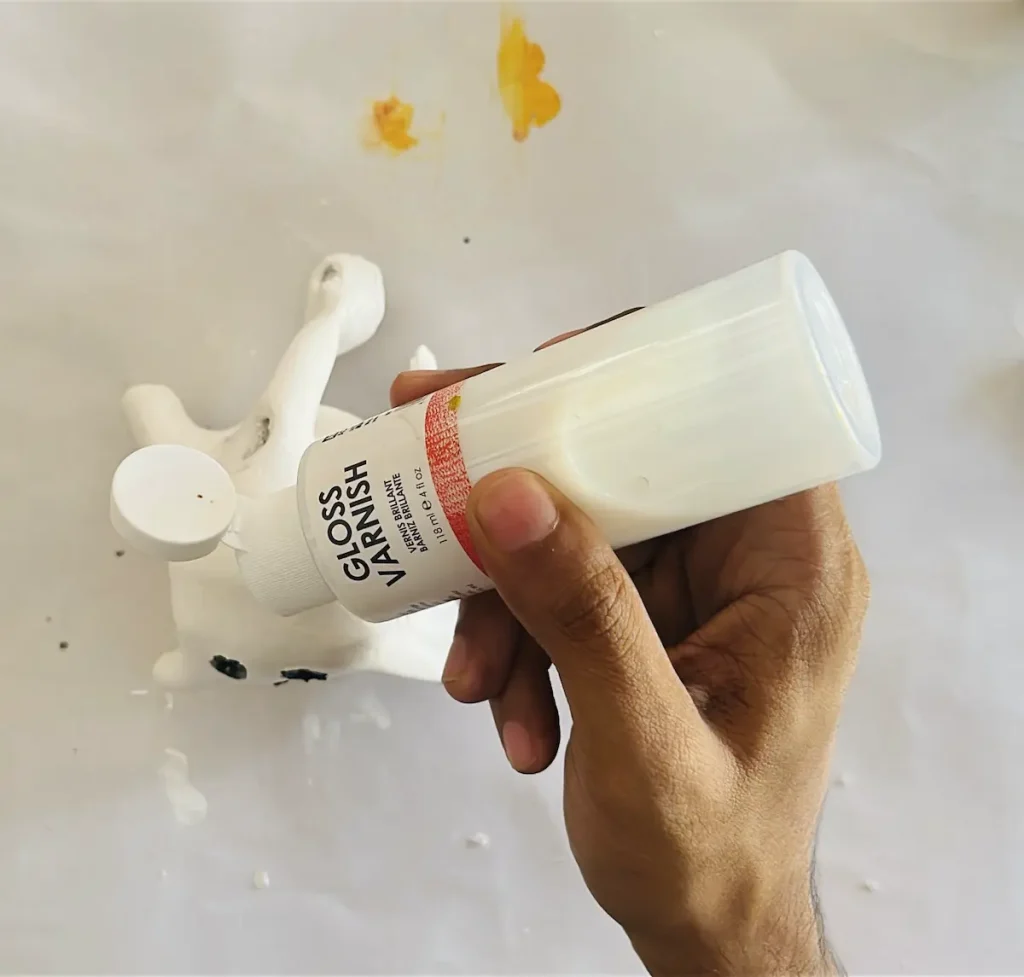
Gloss varnish offers a glossy ceramic look with a water resistant coating. But I made sure not to place my air dry clay ghost outside because air dry clay is not built for harsh weather elements outside even after sealing it with a top quality sealer.
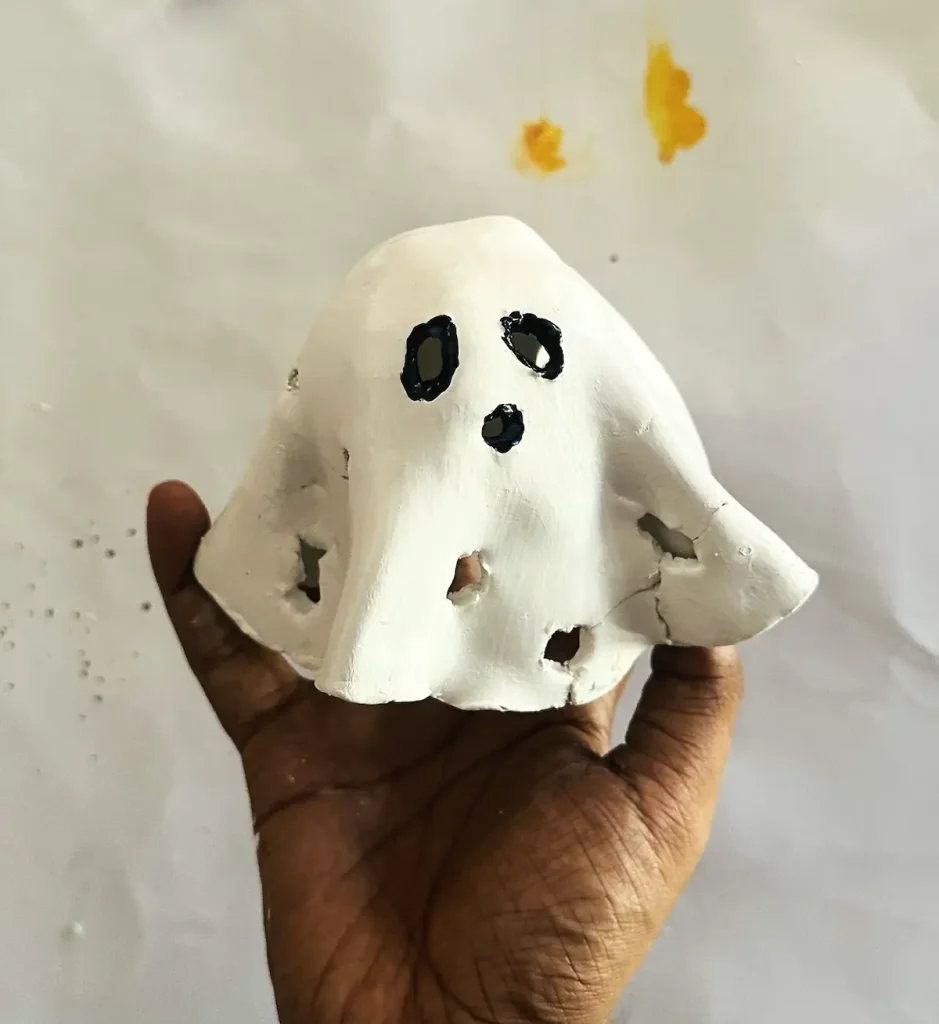
Congratulations, my crafters! We have successfully made our Halloween ghost with air dry clay. Now it’s time for you to make one even better. 🎉
Final thoughts
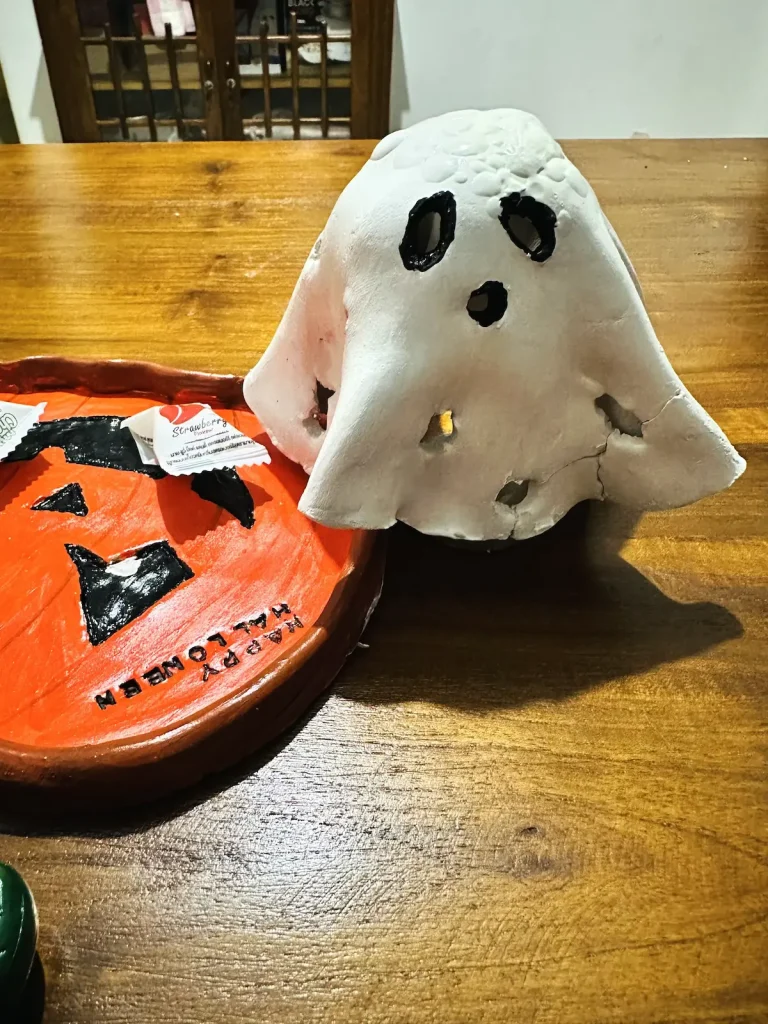
I have described every step, tip and trick I used to achieve this spooky clay ghost in detail. You can place it on your Halloween table or gift it to someone special.
Unique crafts like this are rare because many try to gift things that are purchased online. This is handmade with love.
If you encounter any issues while making this air dry clay ghost, don’t hesitate to mention them in the comment section or contact me through contact@clayandme.com. I’ll answer them all.
Also, if you’ve found better ways to do the above steps, please mention them as well in the comments section for the support of our clay community.
Be sure to tag @clayandmestudios in your air dry clay ghost project. I sure love to see them when you do. I’ll see you next time with another awesome project! Cheers! 🤟🏾
DIY Air Dry Clay Halloween Ghost Guide

Supplies Needed
Air dry clay (DAS, Mont Marte, Jovi, or any reputed brand you can find is okay)
Acrylic rolling pin
PVC mat or silicone mat (or non-stick surface) 🧘
Small container or glass 🥛
Aluminum foil or plastic wrap 🧻
Clay crafting tools 🛠️
Clay cutting tool (X-acto knife or small knife) 🔪
Cup of water or spray bottle 💧
Flower shape cutter or mold 🌸
Acrylic paints (white and black) 🎨
Gloss varnish ✨
Paintbrushes 🖌️
Paper towels 🧻
A pair of scissors ✂️
Scotch tape 🩹
Optional: Sponge or silicone sculpting tool (or you can use your finger)
Instructions
1. Condition & Knead
- Tap a few drops of water on fresh clay and knead thoroughly for 2–3 minutes to release air bubbles and prevent cracking. 🖐️
2. Roll it Out
- Roll the clay on a non-stick mat to ¼-inch thickness. Rotate and flip frequently so it doesn’t stick! 🥐
3. Cut the Circle
- Use an X-acto knife in an up-and-down motion to cut out a rough circle slab. Lift the blade to clean attached clay pieces as you cut. 🔪
4. Detail the Slab
- Press flower cutouts or patterns into the clay slab with a mold or cutter so light can shine through later. 🌸
5. Drape & Shape
- Tape a foil or plastic wrap dome to an upside-down glass. Gently drape the clay slab over it and adjust bottom folds to create floating sheet ruffles. 🥛
6. Carve Face Details
- Carve out eyes and a mouth using a needle tool or toothpick. Smooth rough edges with a wet paintbrush. 👁️
7. Slow Dry
- Let dry naturally in a well-ventilated area for 48–72 hours until bright white. Remove the inner glass form after 24 hours to help the inside dry. 💨
8. Paint & Seal
- Apply 1–2 coats of white acrylic paint on the body and black for the eyes and mouth. Once dry, seal with 2–3 coats of gloss varnish to protect against moisture! ✨🎨