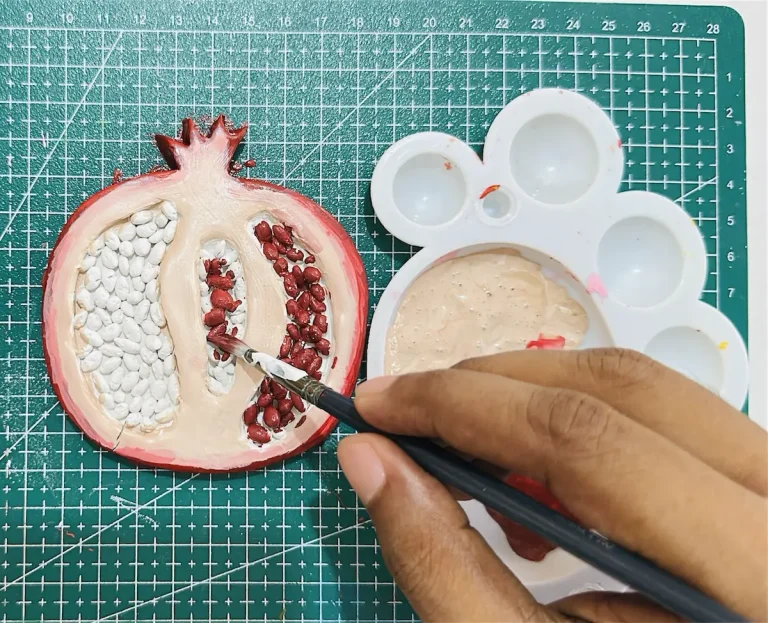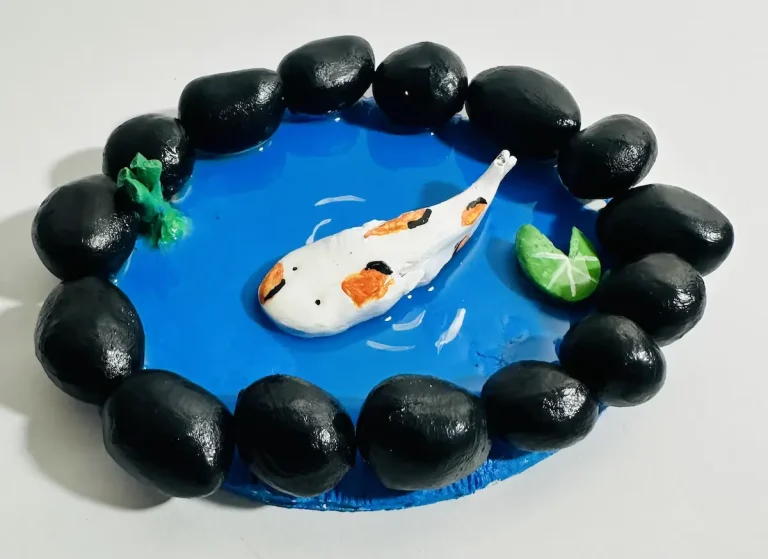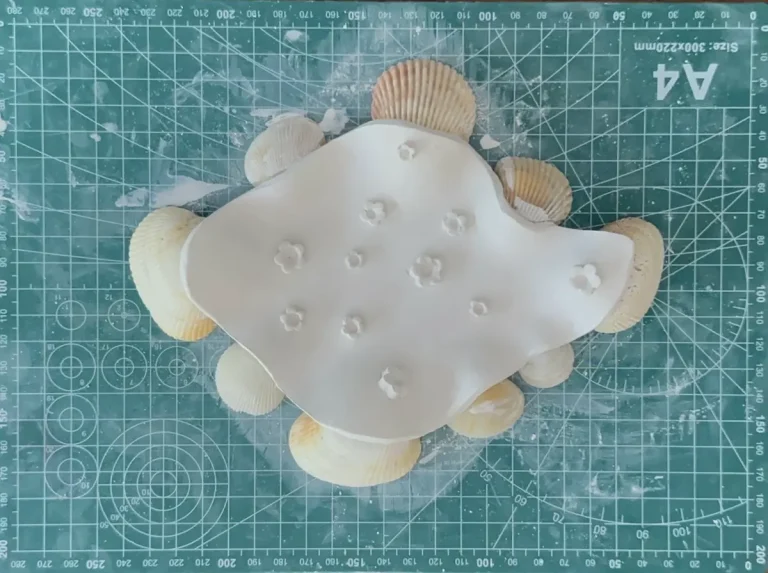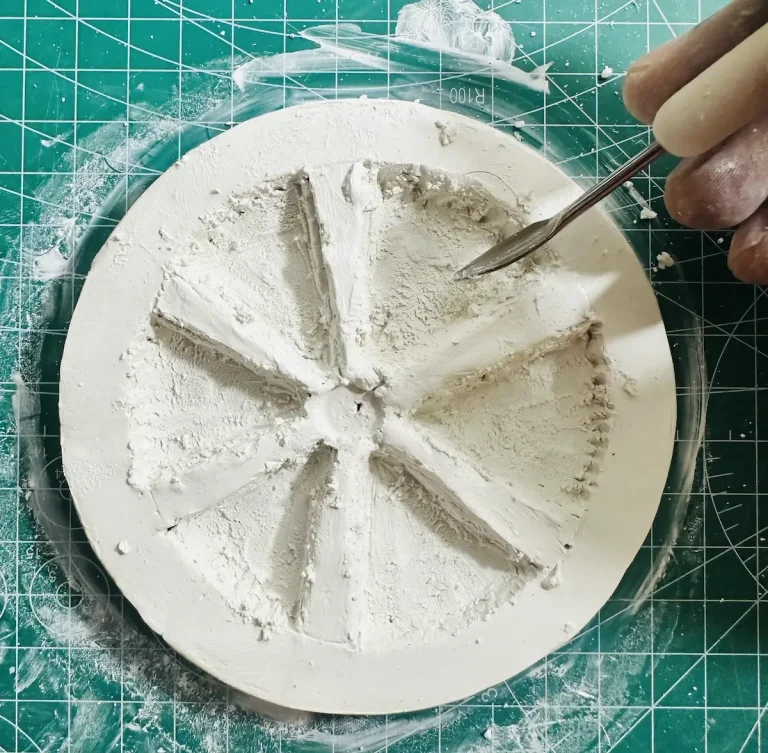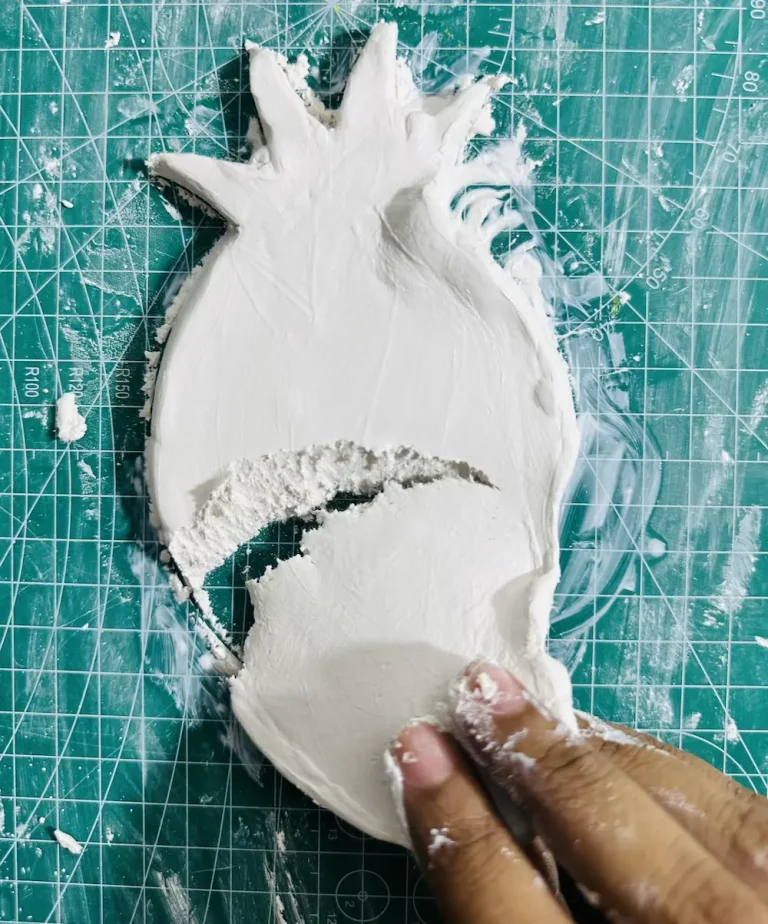

In this Halloween month, I thought to make something new for my air dry clay collection. Since I have already got some experience making trays (especially fruit trays), I thought it’s cool to make a tray related to spooky Halloween inspired by a jack-o’-lantern design. 🎃
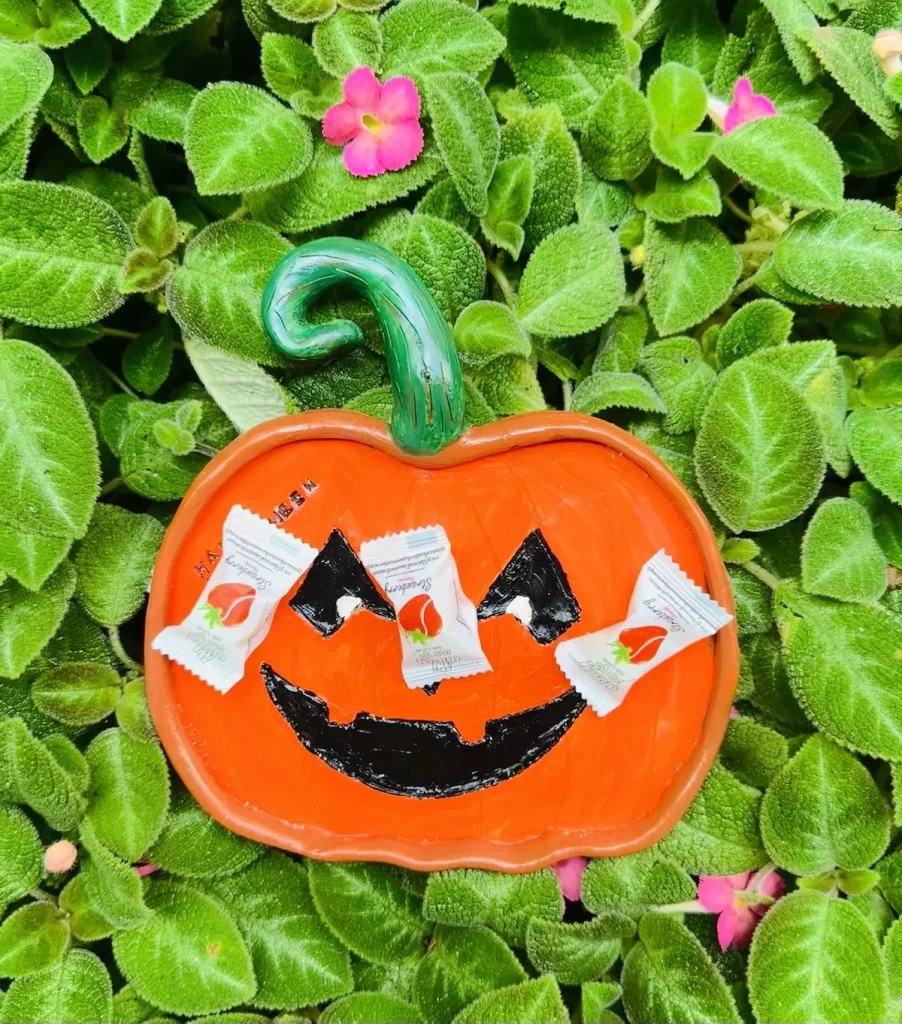
You can use this trinket tray to place candy (sweets and lollies) you collect during this festive season. Actually, I made it quite bigger than my previous trinket trays to use it for more occasions to hold more items. 🍬
You can gift this to your loved ones, which is such a unique gift, and most importantly, it was not purchased from a store. You’re gonna handmade it with love. 🎁
In this tutorial, I’m gonna tell you each and every step I followed to make this spooky tray. Don’t worry, I don’t provide expert and complex tips which are hard for beginners. As a beginner myself, I’d love to follow a guide with simple steps because they are easy to follow. So, you’re at the right place. 👍
Ok, enough talking! Let’s start making! ✨
Supplies you’ll need
- Air dry clay (DAS, Mont Marte, Jovi, or any reputed brand you can find is okay)
- Acrylic rolling pin
- PVC mat or silicone mat (or non-stick surface)
- Clay crafting tools
- Clay cutting tool (X-acto knife or small knife)
- Cup of water or spray bottle
- Acrylic paints
- Gloss varnish
- Paintbrushes
- Paper towels
- Optional: Sponge or silicone sculpting tool (or you can use your finger)
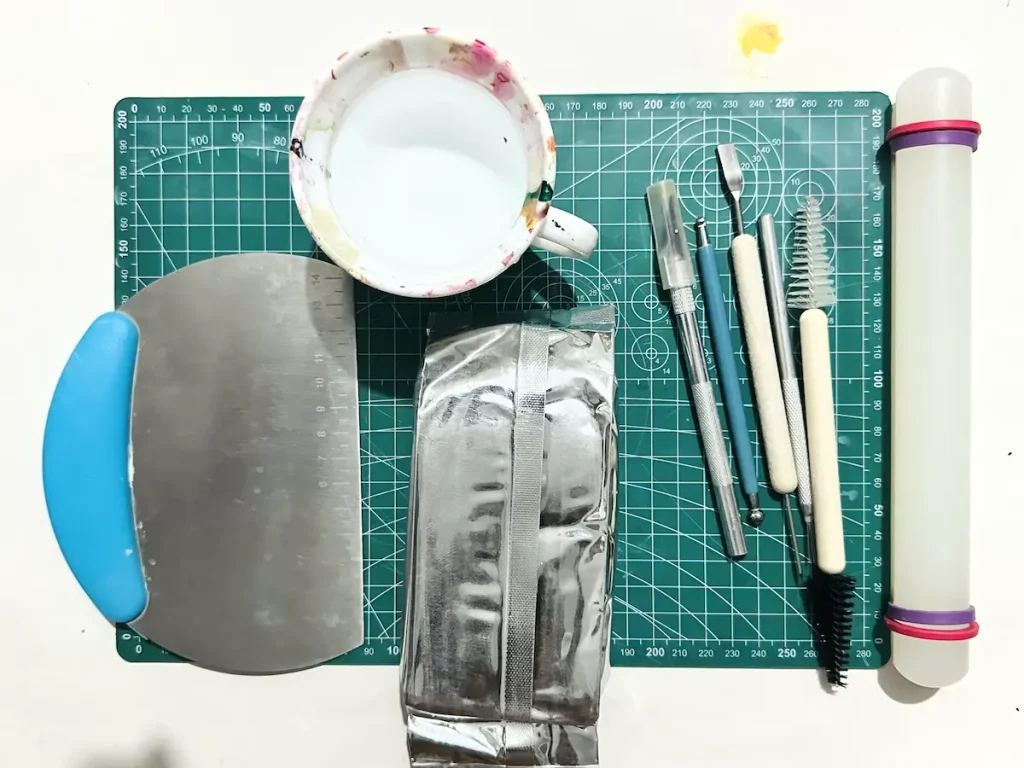
If you couldn’t find any of the above tools, simply check your kitchen drawers. You’ll find a handful of items that can be used as clay crafting tools. Toothpicks, a small knife, and wooden cutting boards are such. 🍴
Air dry clay needs to be budget friendly and beginner friendly, so you don’t need to have expensive tools to get the result you want. That’s why I used air dry clay, which is great for beginners due to its cost effectiveness and ability to shape easily. 💡
Read: The Pros and Cons of Air Dry Clay: A Complete Beginner’s Guide
Easy DIY Halloween pumpkin tray tutorial video 🎥
To make it easier for you, I made a video tutorial as well and embedded it here. You can use it too with this written tutorial to never miss anything and achieve a better result than mine, adding your creativity as well. 🎬
Feel free to watch and try it out! 📺
Finished watching the video? Let’s have a look at the detailed written step by step guide.
Step by step guide to making your air dry clay pumpkin
Before you start making, I highly advise you to go to a well ventilated area or open all the windows in your working area. Tiny air dry clay particles can make you cough during the process, and good air circulation stops them from going into your nose. 🪟
Step 1: Conditioning and kneading the clay
Even though this step seems small, trust me it is one of the most important, because if you skip this, your hours of work will be gone due to cracks. ⚠️
First of all, take a fresh piece of clay from the package. If you want to make the tray look bigger, you’ll probably have to take around 1.1 lbs (500g) of air dry clay, which is quite a big chunk of a piece. 🧱
Then tap the clay surfaces with a little bit of water to condition the clay.
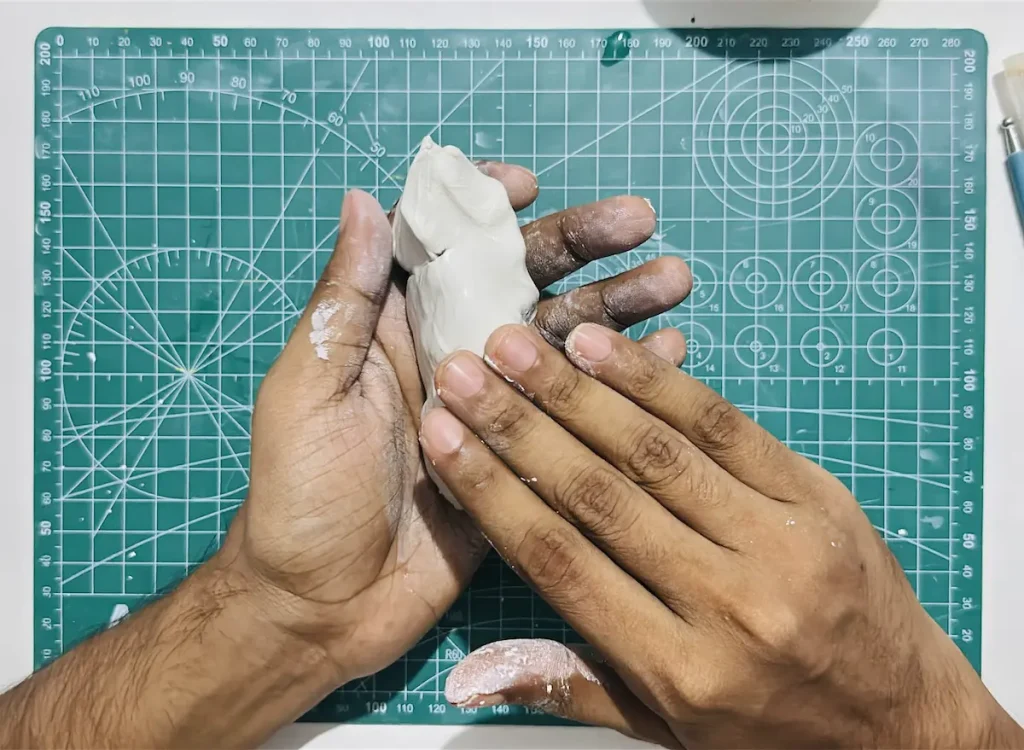
Conditioning before kneading is a must to remove the stiffness and make the clay flexible enough for kneading. 💧
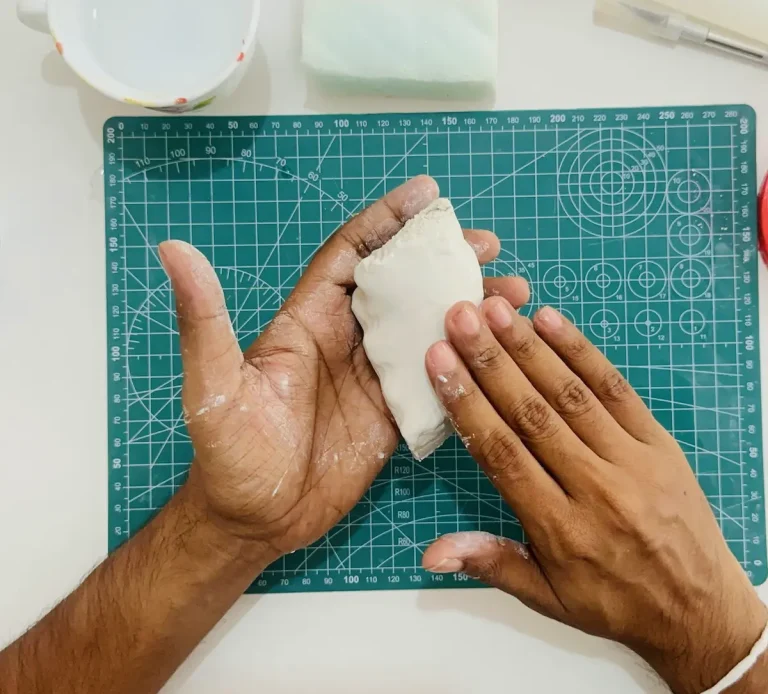
Next, start kneading the clay with force using the pull and push technique just like when you’re making a pizza dough. Add a little bit of water while you’re kneading to make it easier, and keep kneading until the clay becomes soft enough for shaping. 🍕
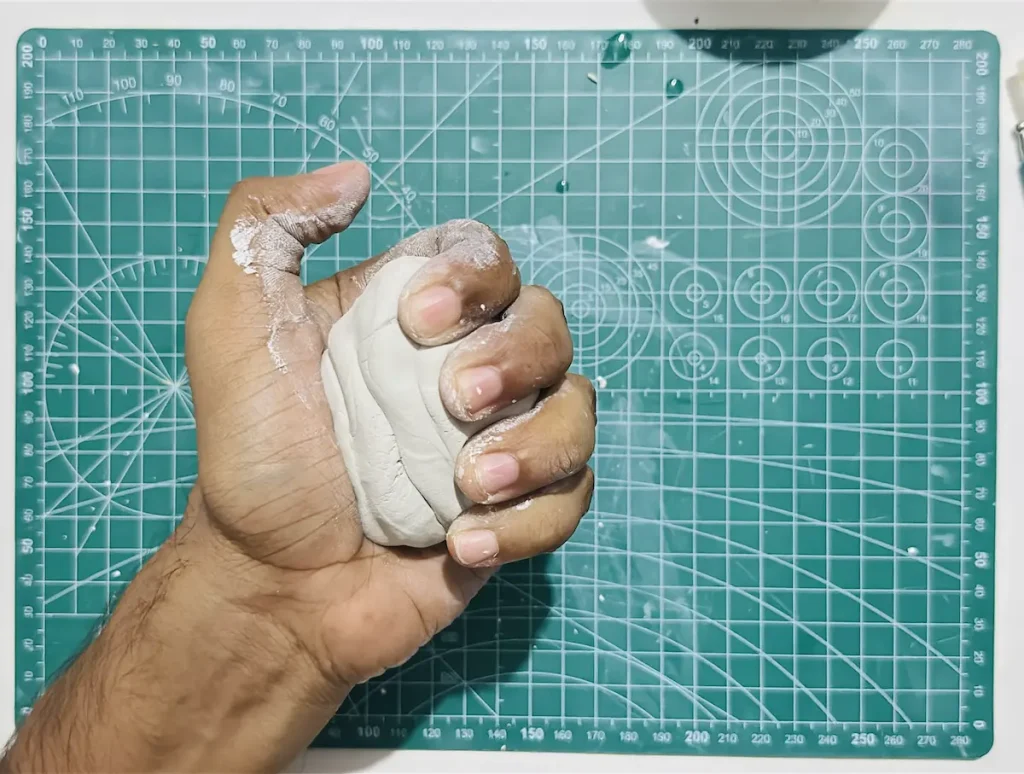
You’ll feel when to stop kneading the clay and move into the next step.
Let me tell you the importance of kneading air dry clay before you start any project with it: 📌
- Makes the clay soft enough for shaping.
- Stops clay from cracking as it dries.
- Spreads the moisture evenly.
- Avoids uneven shrinkage as the clay dries.
- Releases the trapped air bubbles.
Air dry clay is a highly porous material with lots of moisture and air bubbles inside. They are spread randomly across different layers of air dry clay. When you’re kneading, the moisture inside will spread evenly across all the layers, and trapped air bubbles will release.
This is a good thing because air dry clay shrinks as it dries, and having unorganized moisture amounts leads to uneven shrinkage, which can cause surface cracking. ⚡
Due to the uneven shrinkage, the tension buildup between the inner and outer layers of air dry clay becomes higher, forming microcracks on the surface. These cracks will become bigger and wider as the clay dries.
Basically, it means that if you skip kneading the clay before shaping your project, there is a high chance of surface cracks occurring as it dries. So, kneading is a must.
Step 2: Rolling the clay
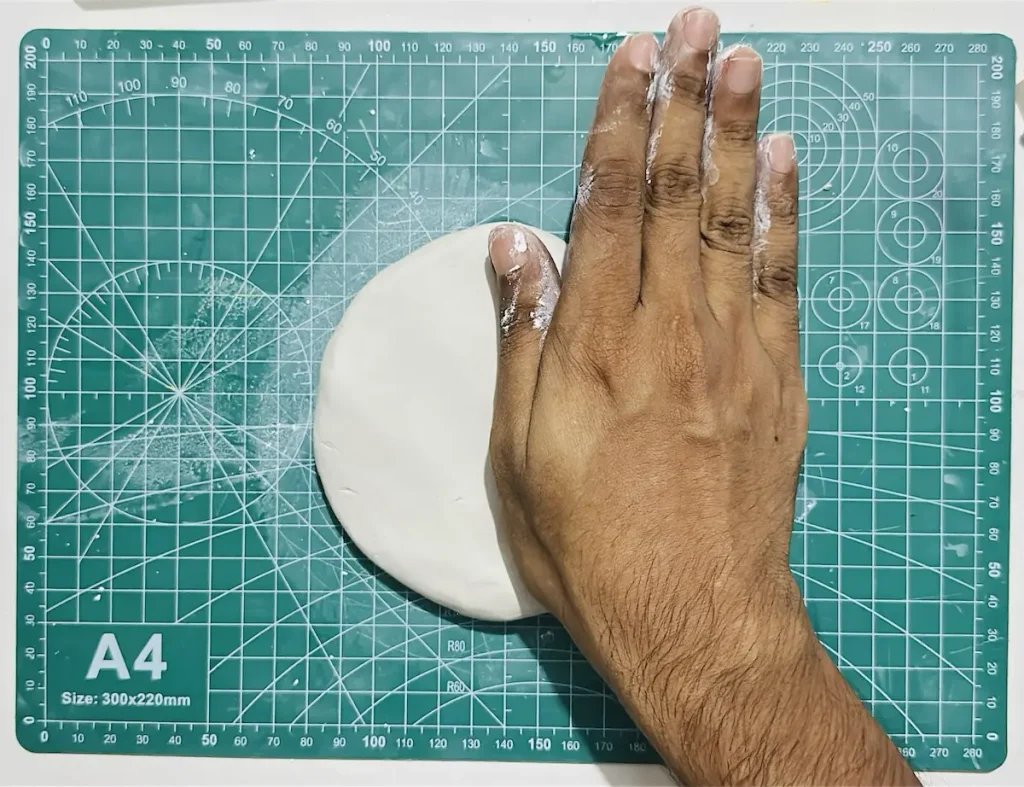
Now roll your kneaded air dry clay piece to an even thickness of about 1/4 inch. 🪵
Make sure to use a non stick rolling pin and mat for rolling your air dry clay.
I use an acrylic rolling pin, and my mat is made of PVC, which makes both non stick. Or you can use a silicone mat as well.
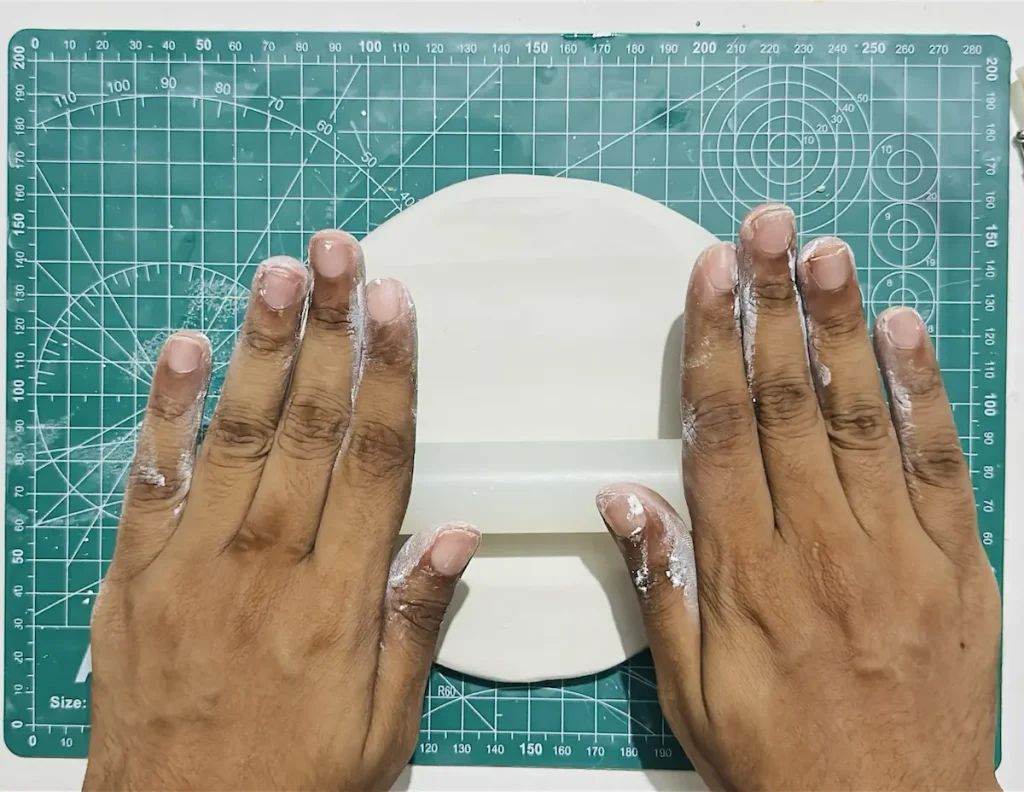
If you’re planning to use a wooden cutting board as your rolling surface, make sure to place parchment paper above it before placing the clay to avoid it from sticking to the surface. Because wood absorbs the moisture of the clay quickly and makes a vacuum like seal, which makes it harder to roll and lift the clay up after rolling. 📜
Same if you’re using a wooden rolling pin. Place parchment paper between the rolling pin and your clay while rolling to avoid the mess.
Even though you use non stick materials for the rolling surface and pin, you should not keep the clay piece in the same position while rolling, which can create adhesion between the surface and the clay.
Therefore, make sure to turn, flip and rotate the clay around 90 degrees while you’re rolling to avoid it from sticking onto your mat.
Don’t roll your clay piece too thin because thin pieces have a high tendency to warp as the clay dries due to the shrinkage. The weight of the clay needs to be high enough so it can bear the tension that forces towards the middle as the clay dries, because outer areas of the tray dry and shrink quicker than the clay inside due to the higher air circulation.
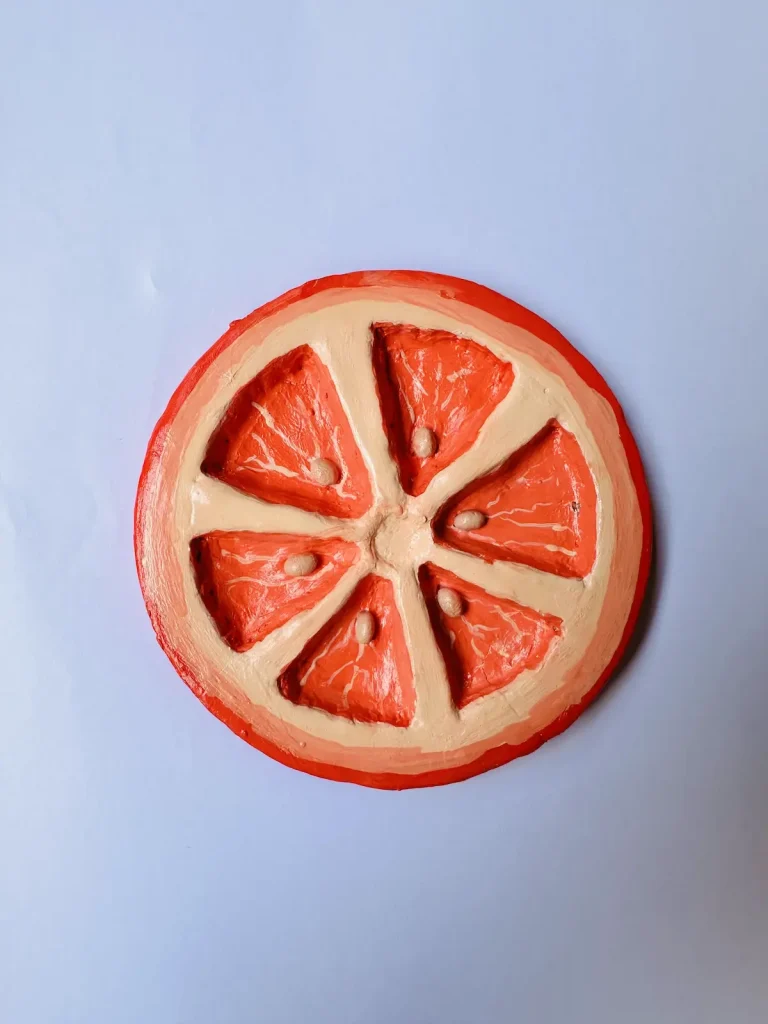
Also, make sure not to make the clay piece too thick because it may take weeks to dry fully. 1/4 inch thickness is ideal as the tray base, or you can make it 1/2 inch if you plan to hollow out the clay just like I did while making the orange trinket tray. 🍊
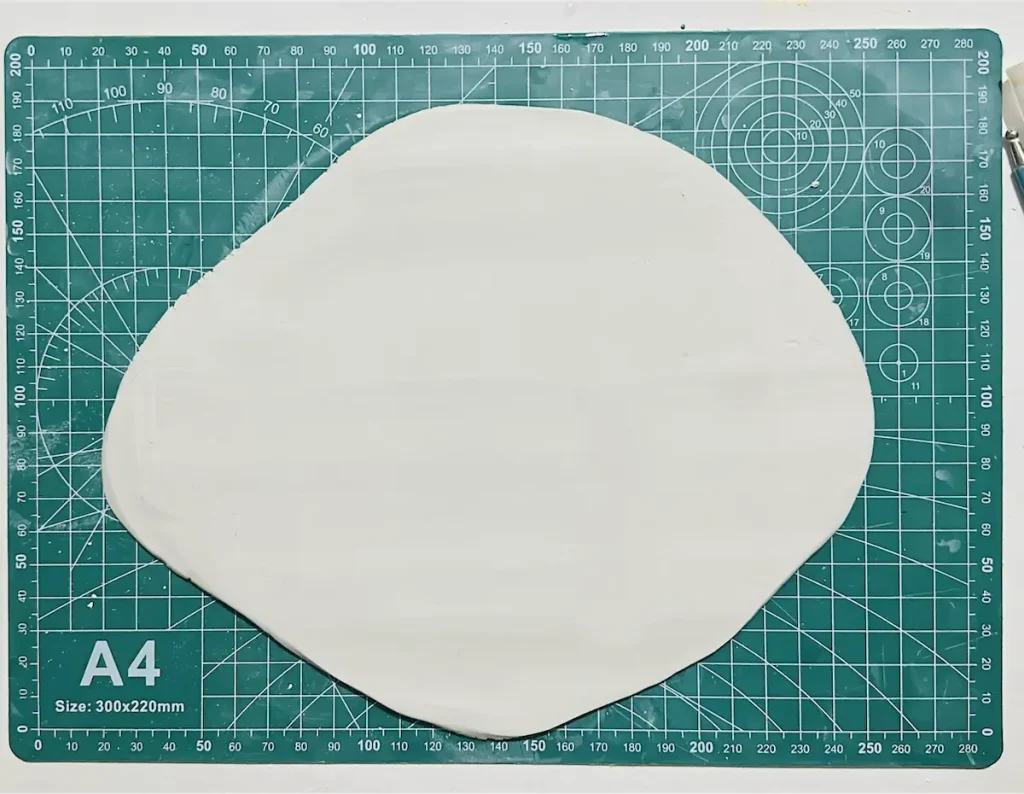
After rolling the clay slab, smooth it out by dipping your index finger in the cup of water and gliding across the clay slab to remove tiny bumps, cracks, and imperfections. Smoothing after each step is a must to get a nice and clean look, but only with a little amount of water. 💧
Step 3: Making the paper template
As you know, usually I do freehand tracing before cutting, and I admire it because freehand drawing without using cookie cutters, molds, or templates improves your drawing ability and makes your piece unique. 🎨
Honestly, I’m so bad at drawing, and I make at least 5-6 errors while tracing the clay slab because my right hand doesn’t behave as my brain wants. 😂 But still, I do freehand tracing because I want to get improved.
Except for this project.
In this project I planned to use the paper template method because the tray is big and I need to get the exact jack-o’-lantern face with no mistakes.
- Here are the steps I followed to make the paper template as easily as possible: 📝
- Googled “halloween pumpkin 2d online” images. 🔍
- Selected the one I liked the most with a jack-o’-lantern face. 🎃
- Took a black and white printout of it on an A4 size paper. 🖨️
- Cut around the outline to get my paper template. ✂️
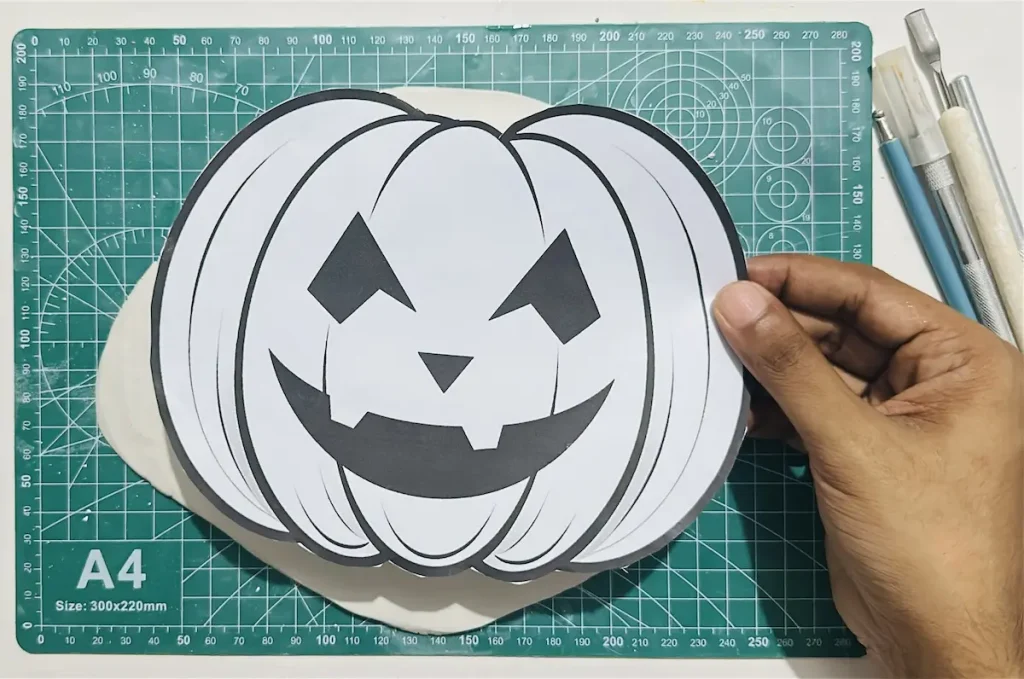
If you already have a jack-o’-lantern face pumpkin mold, I highly recommend you use that because it is much easier and you don’t need to carve it, which I do in later sections to emphasize the details of the face.
Step 4: Tracing and cutting the pumpkin shape
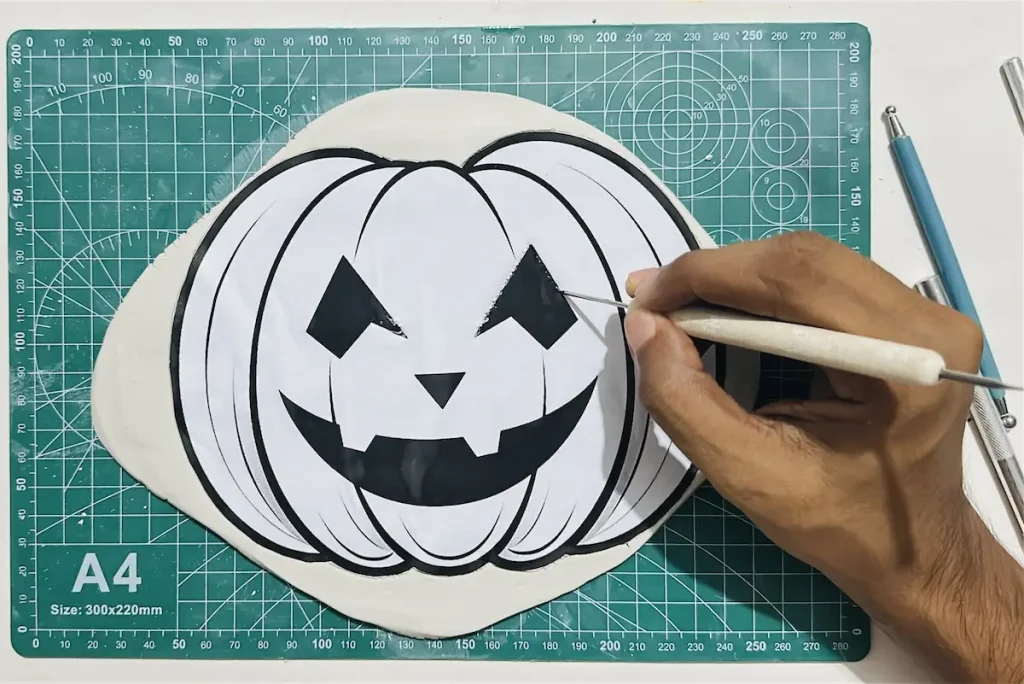
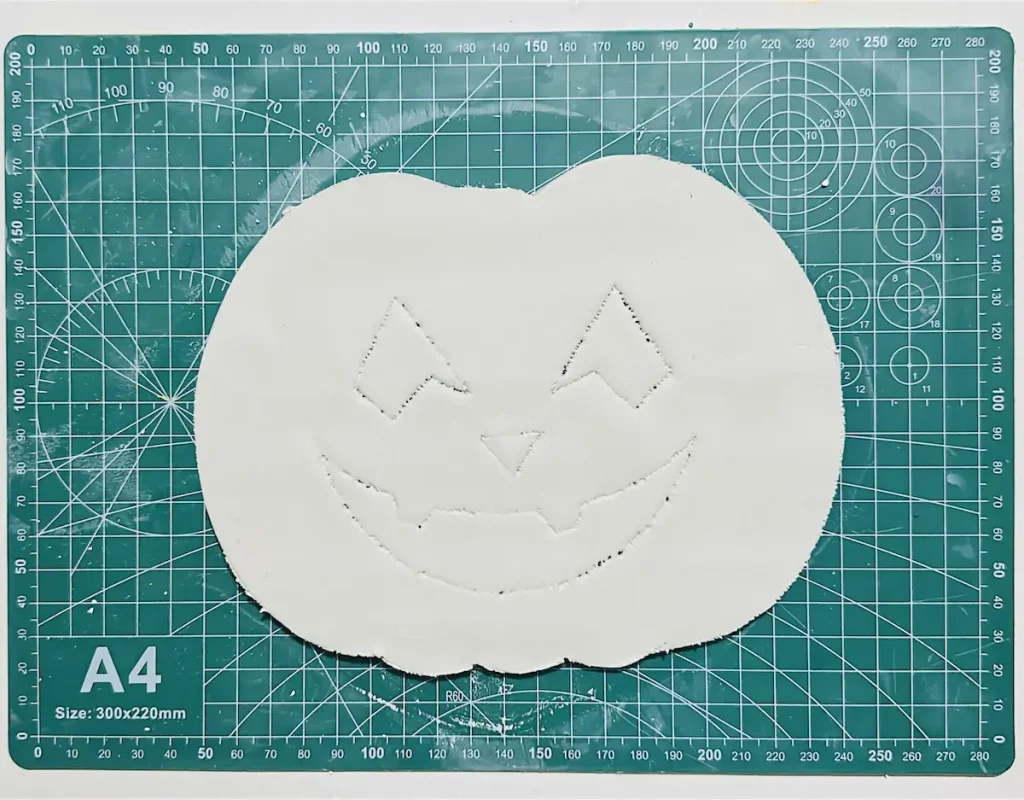
Now place the paper template you made in the middle of your rolled air dry clay slab and trace around it using your clay tracing tool or toothpick. ✏️
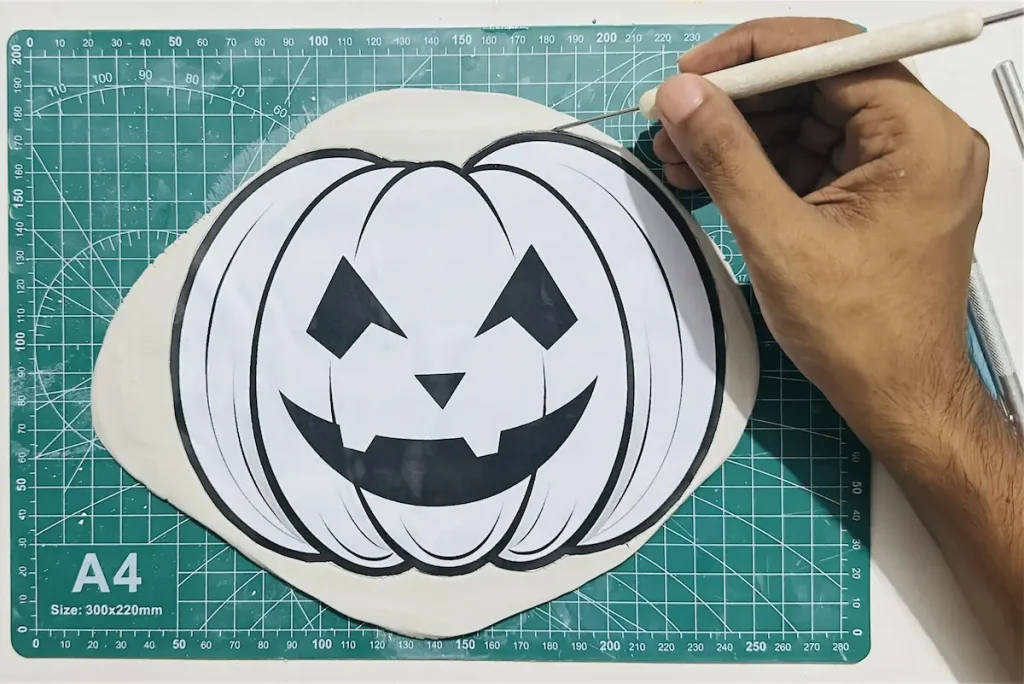
Do this patiently because we don’t want to mess up the face. After tracing the outline of the pumpkin, map the eyes, nose, and mouth with the same tool by placing nearby dotted lines. This will help you get the exact shape of the face while cutting.
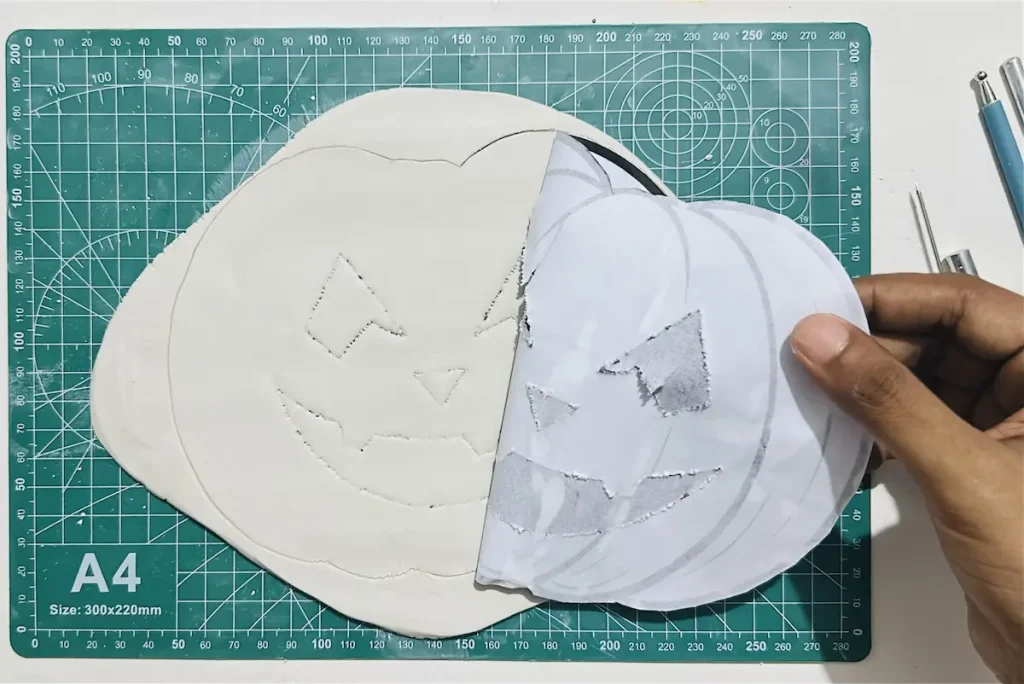
Next, cut along your traced lines patiently using the X-acto knife or a small knife. 🔪
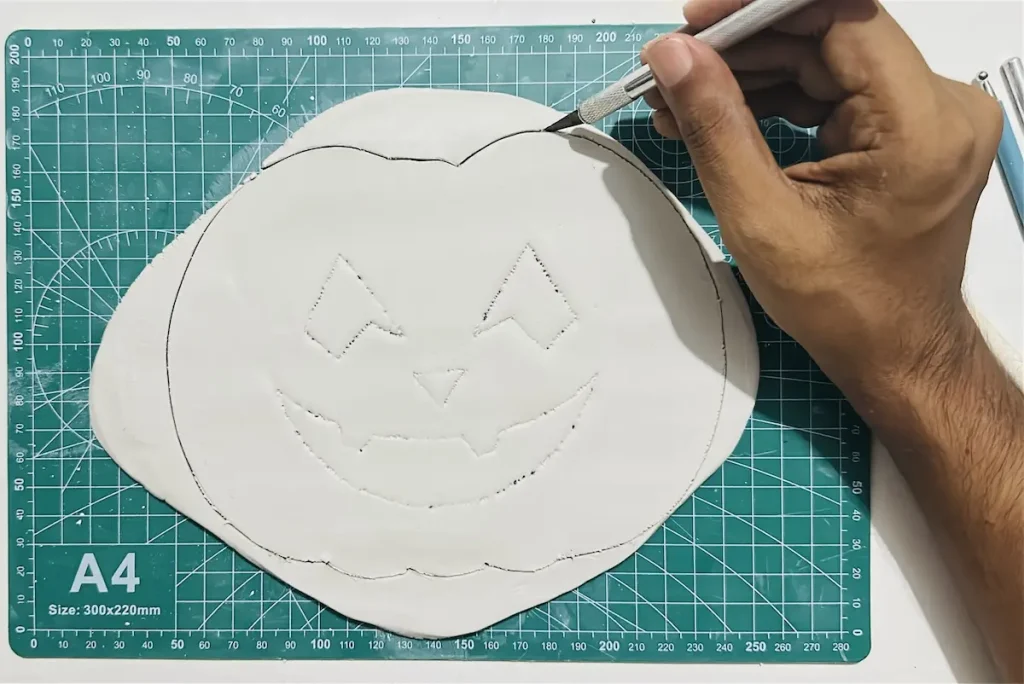
Do not drag the knife horizontally along the mat while you’re cutting the outline because the wet clay may stick to your blade and form fuzzy and torn edges.
Lift the blade while you’re cutting the outline constantly, clean the stuck tiny clay pieces, and start cutting again. This up and down cutting motion will help you get sharp, nice, and smooth edges with no cracks.
Be careful when cutting the bottom of the pumpkin shape because there is a wiggly area which can easily go wrong.
After cutting the jack-o’-lantern face pumpkin, remove the paper template and remove the excess clay.
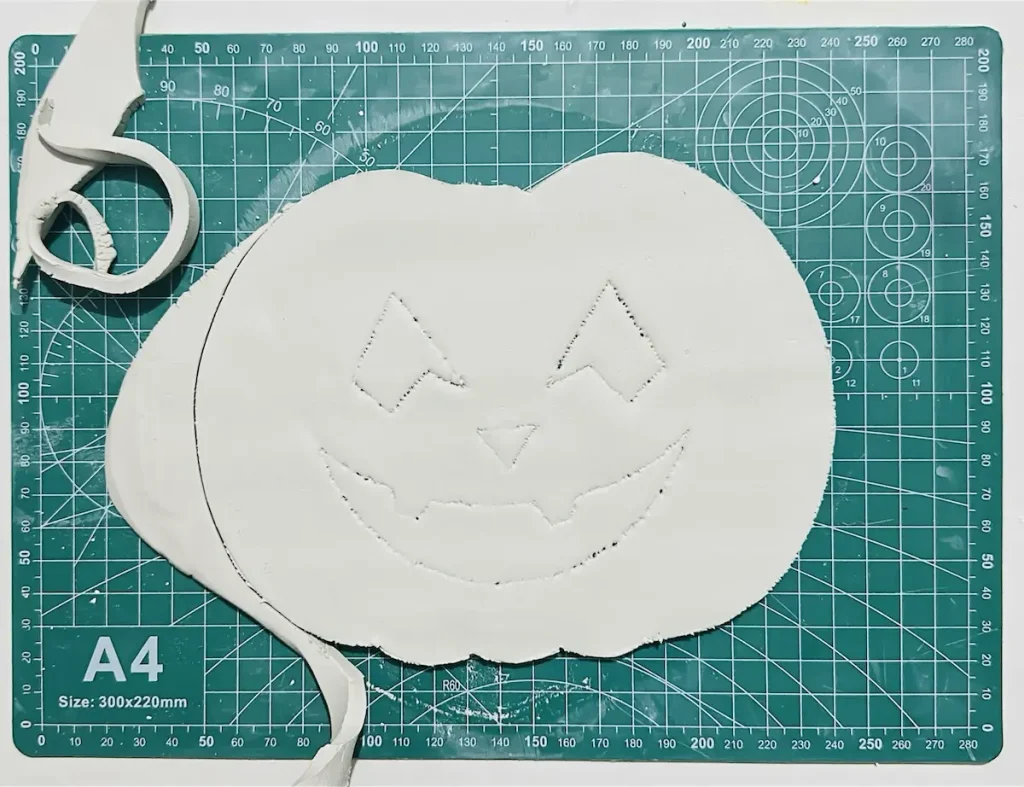
Finally, smooth out the edges and top of the clay slab with a little bit of water.
Step 5: Making and attaching the tray rim
Since the tray is big, I’m not going to attach the tray rim outside as a separate section around the base. Instead, I’m going to place it over the base around the edge. This way I can guarantee it won’t separate as the clay dries due to shrinkage, because I have the advantage of gravitational force as well. Don’t worry, you’ll eventually understand what I meant. Keep reading…
First of all, I took a fresh piece of clay and kneaded it well to make it soft. Then I rolled it to an even thickness like a snake. 🐍
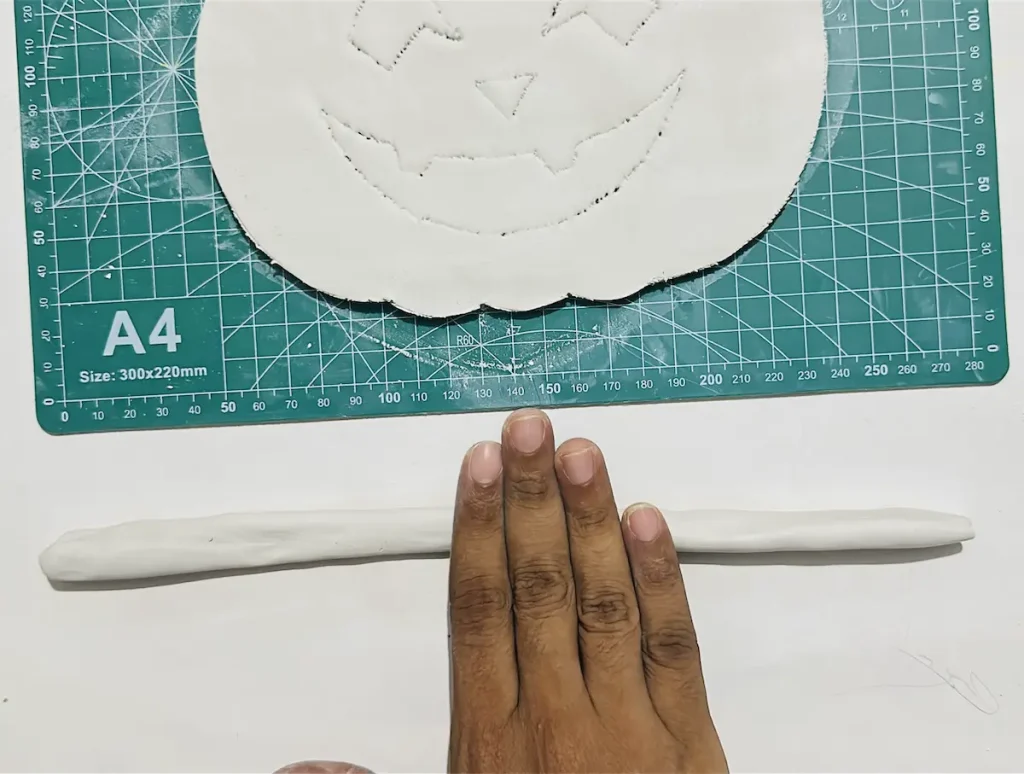
Trust me, it was so long and rolling kept getting challenging because you’ll have to keep the same thickness (same diameter) everywhere to get the perfect rim shape.
After rolling the clay you need to follow the score and slip method to attach it to the tray base.
Let me tell you what this score and slip method is in brief. 💡
You cannot attach two air dry clay pieces together just by pressing them because they separate as the clay dries due to the shrinkage.
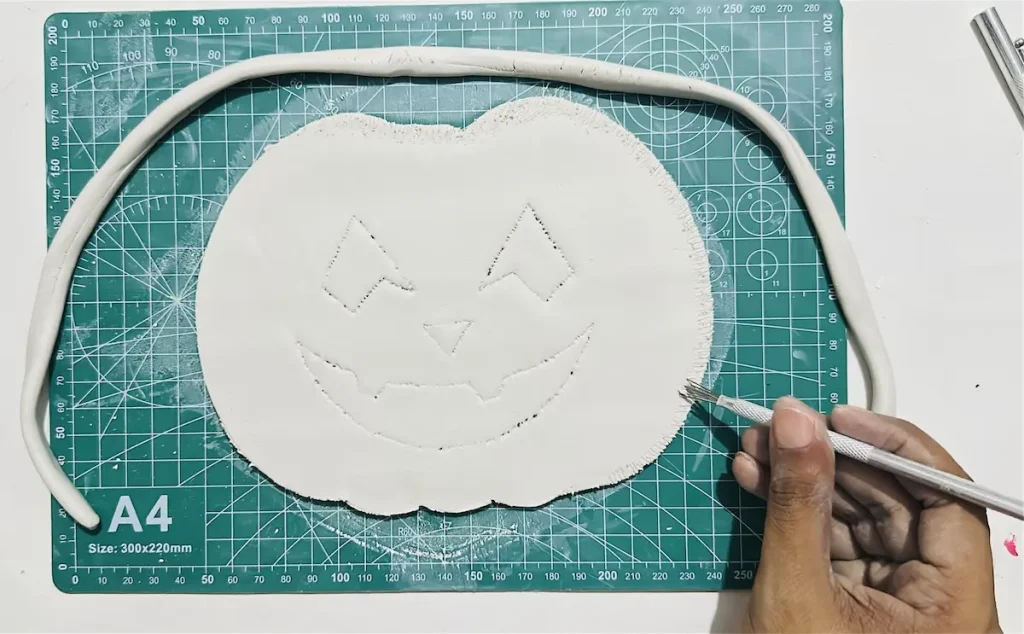
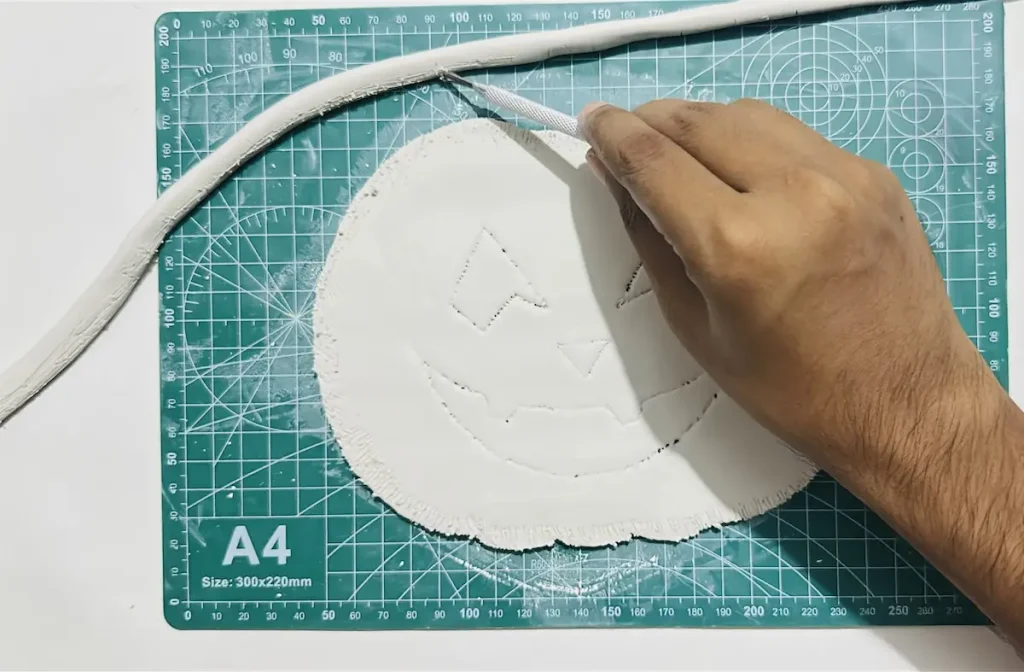
So you need to score the surfaces you’re willing to attach first using the scoring tool or a toothpick. Next, apply a paste called “slip” over the scored area, which works as an adhesive glue for air dry clay. 🧪
You can make this slip paste by mixing tiny pieces of air dry clay with an equal amount of water thoroughly in a small can and letting it sit for hours before use. It makes a creamy paste you can use to attach air dry clay pieces together. After using, close the lid and place somewhere safe until you use it again for another project in the future. 🏺
If you don’t have the slip, I suggest you make one, or you have another option which is “water”. 💧
Let me tell you how,
First, I scored around the edges of the tray base and then scored along the tray rim I made. Then I tapped the scored areas with a little bit of water using my fingertips. Trust me, water works just as good as the slip I talked about earlier. Slip is the professional method while water is the shortcut. But still, I recommend you make the slip for this one or for your future projects because it is the industry standard.
Water also works as adhesive glue because it mixes with the scored tiny clay pieces and helps to attach two air dry clay pieces well, which won’t separate as the clay dries.
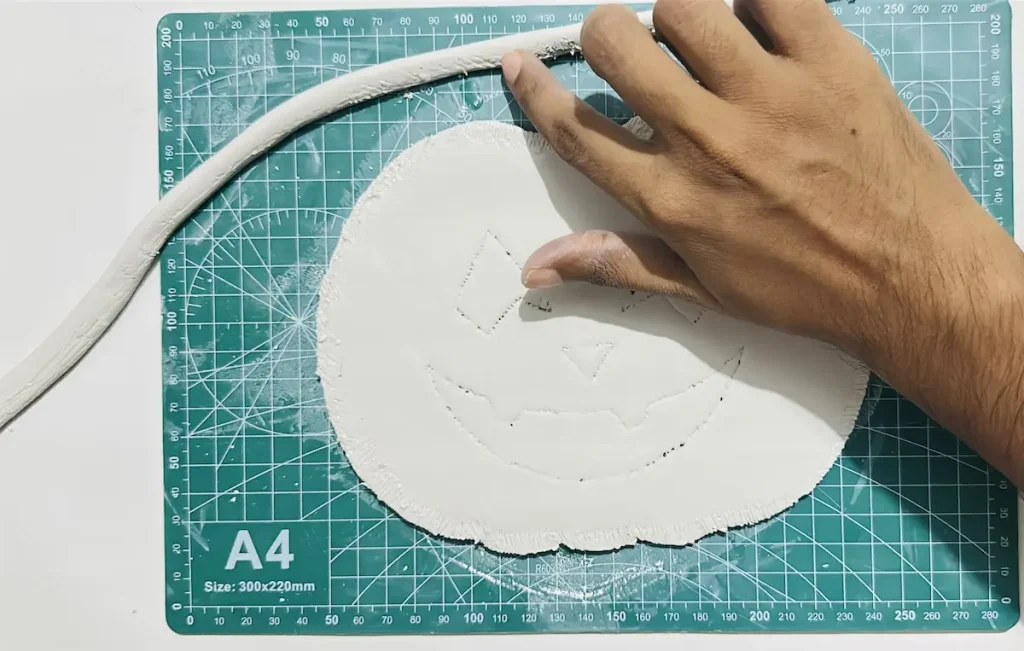
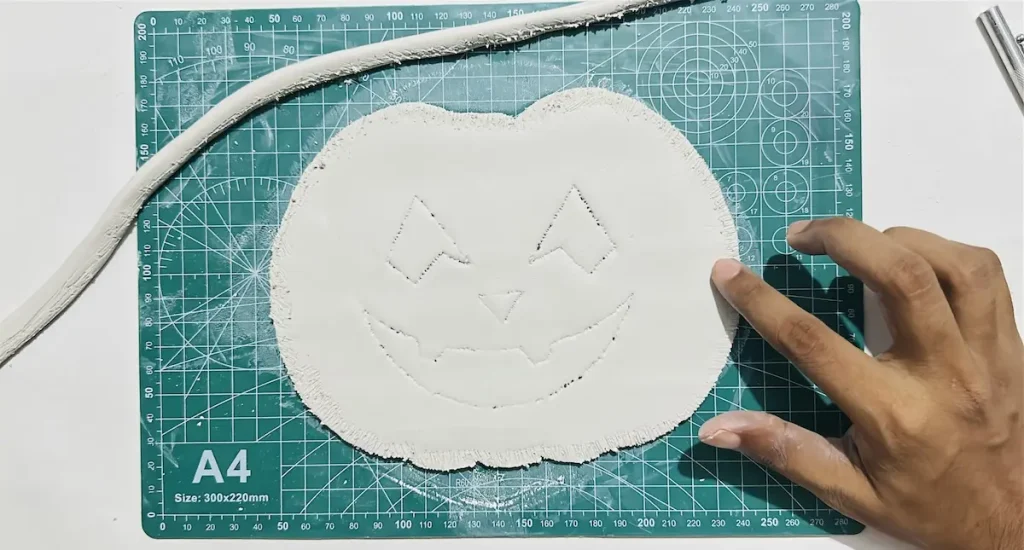
Next I carefully placed and attached the tray rim around the pumpkin tray base.
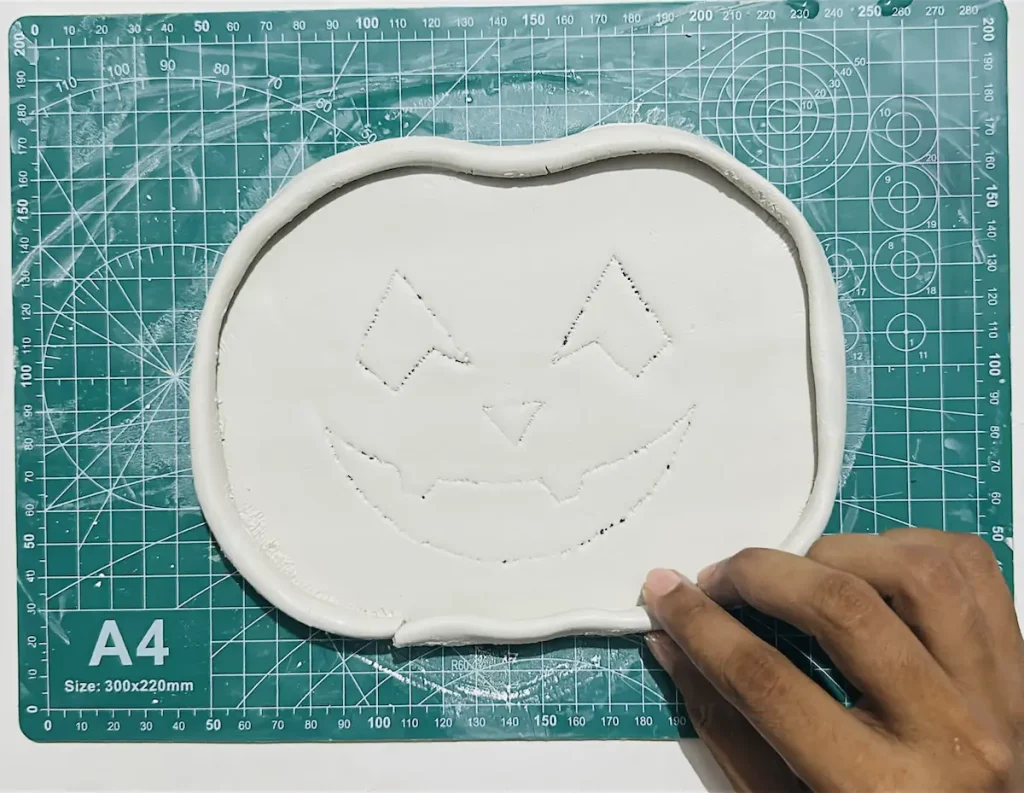
Cut the edges of the tray rim at an angle and attach carefully using a little bit of water without making a bump where two ends meet.
Now smooth out along the tray rim and the tray base middle to make the combo look nice, clean, and smooth.
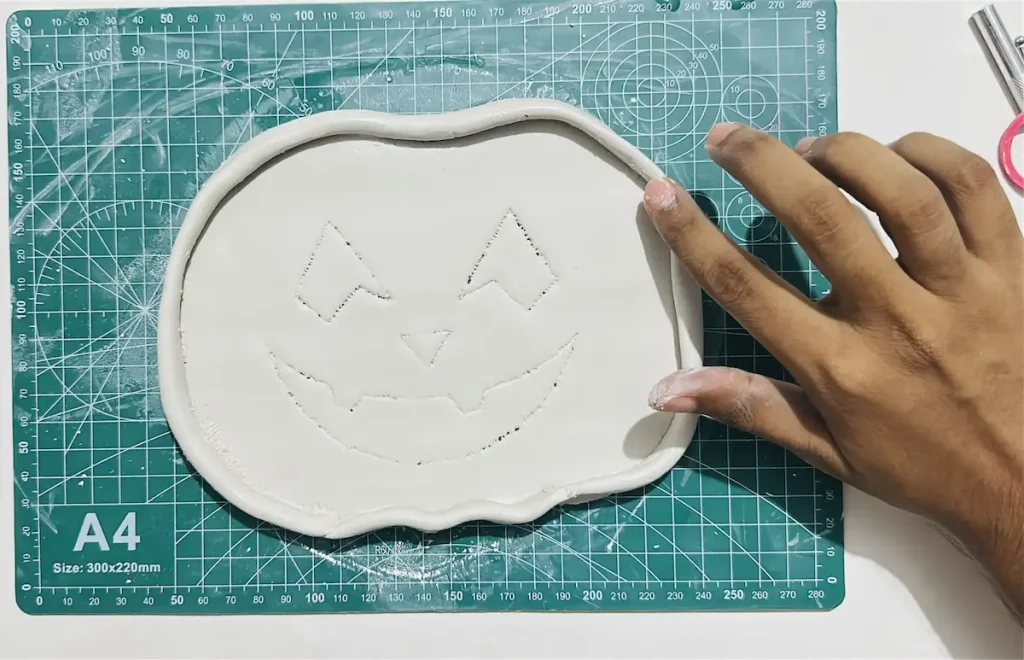
Step 6: Carve the eyes, nose and mouth a little
To make the jack-o’-lantern face more realistic, I carved the eyes, nose, and mouth areas of the pumpkin a little with my carving tools. This is an optional step. It was a little experiment of mine. 🛠️
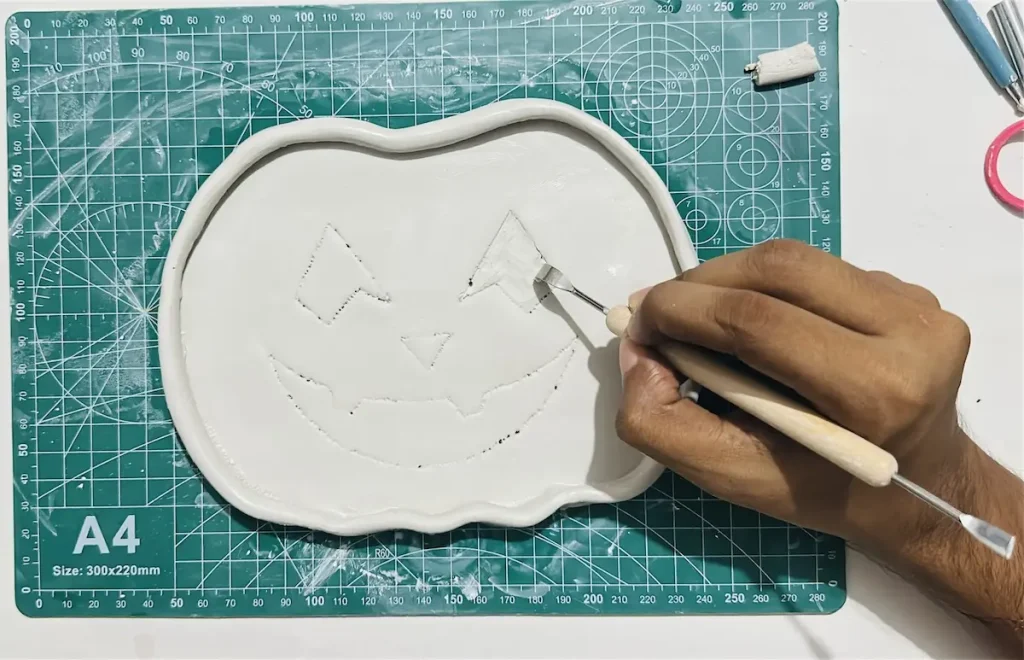
Make sure not to damage the tray base or hit the bottom while you’re hollowing out the clay. That’s why I told you to carve only a little. We are trying here to make it look beautiful only, and there is no use in carving deeper. Remember that!
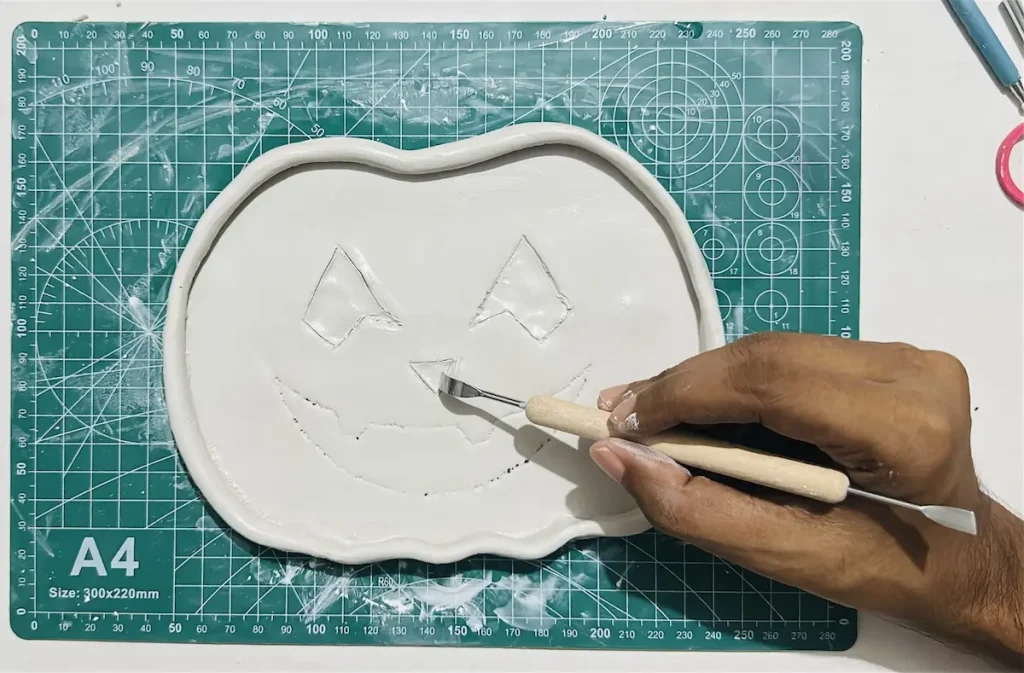
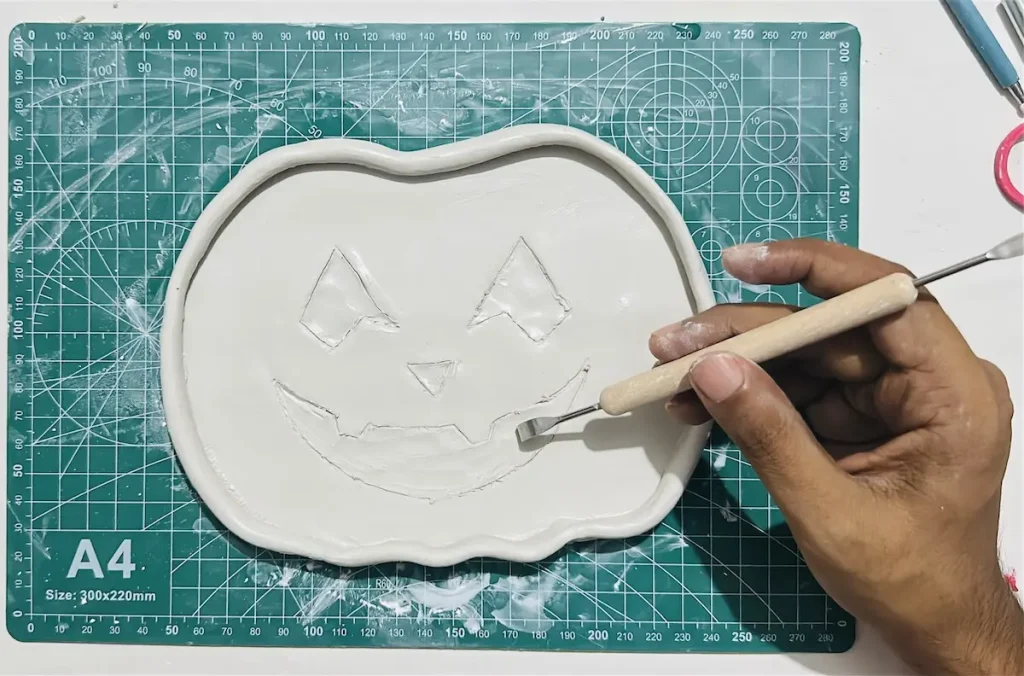
After carving is done, smooth out the hollowed areas with a little bit of water to make the spaces nice and clean.
I have stamped “HAPPY HALLOWEEN” on the tray base.
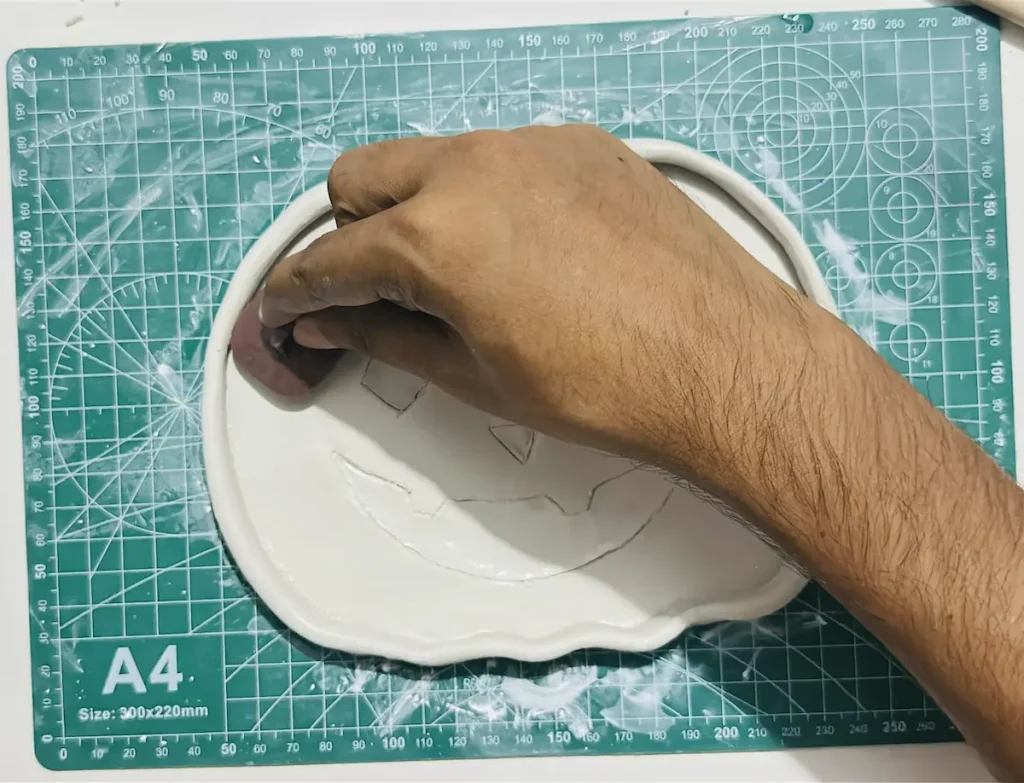
Awesome friend! You have made the Halloween pumpkin tray. But it is still, you know, now it’s time to let it dry and start the finishing part. Oh!!! WAIT WAIT!!! I ALMOST FORGOT! We need to add the stem before letting it dry. I’m sorry. 😅
Step 7: Adding the pumpkin stem
First knead a fresh, small piece of air dry clay and bend it to make the pumpkin stem shape.
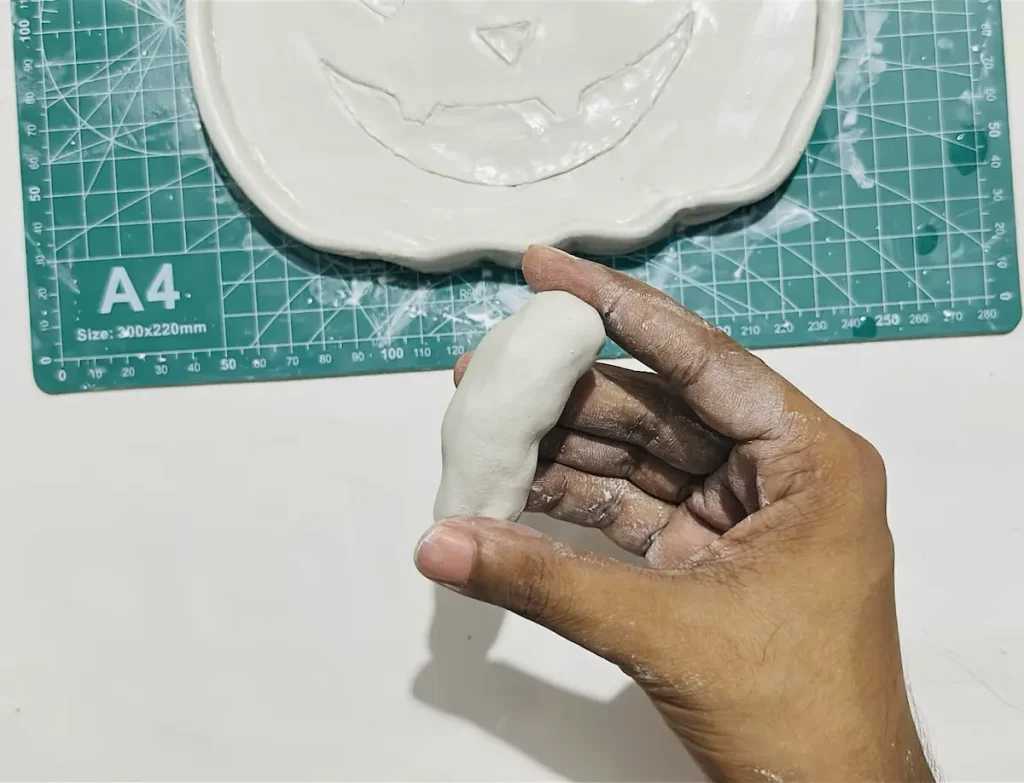
Then shape the stem body and shape the bottom with a wider and flat design, which helps to make a better grip with the tray.
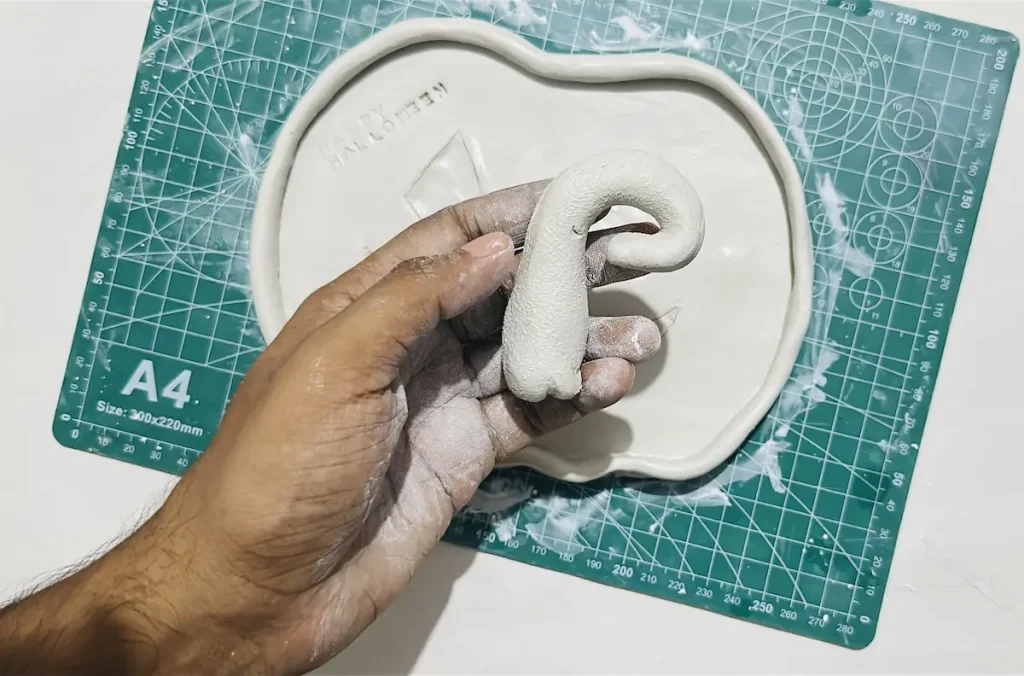
Next score the bottom of the stem and the top small area of the tray rim. Apply the slip or tap the scored areas with a little bit of water and attach the stem to the tray rim.
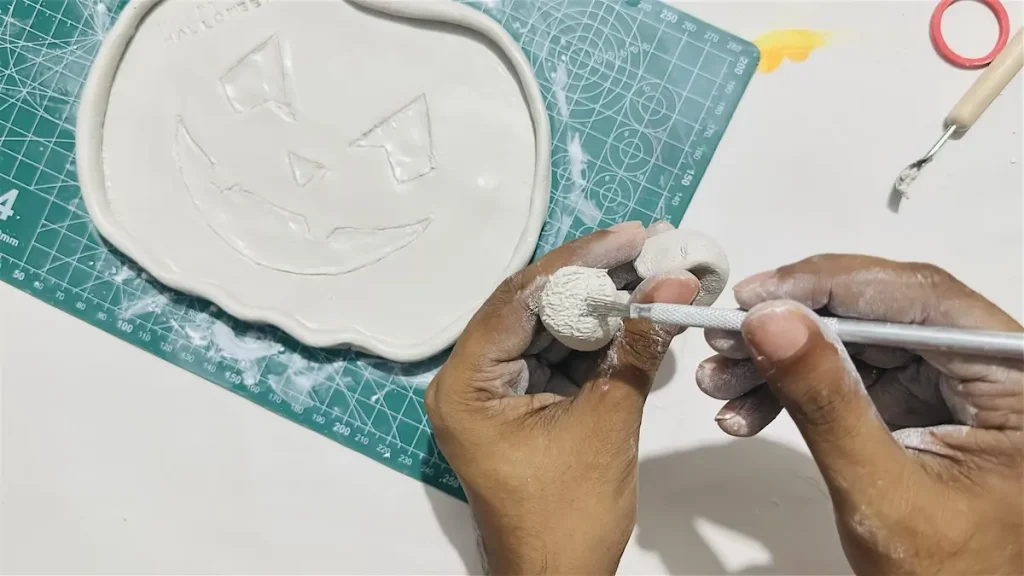
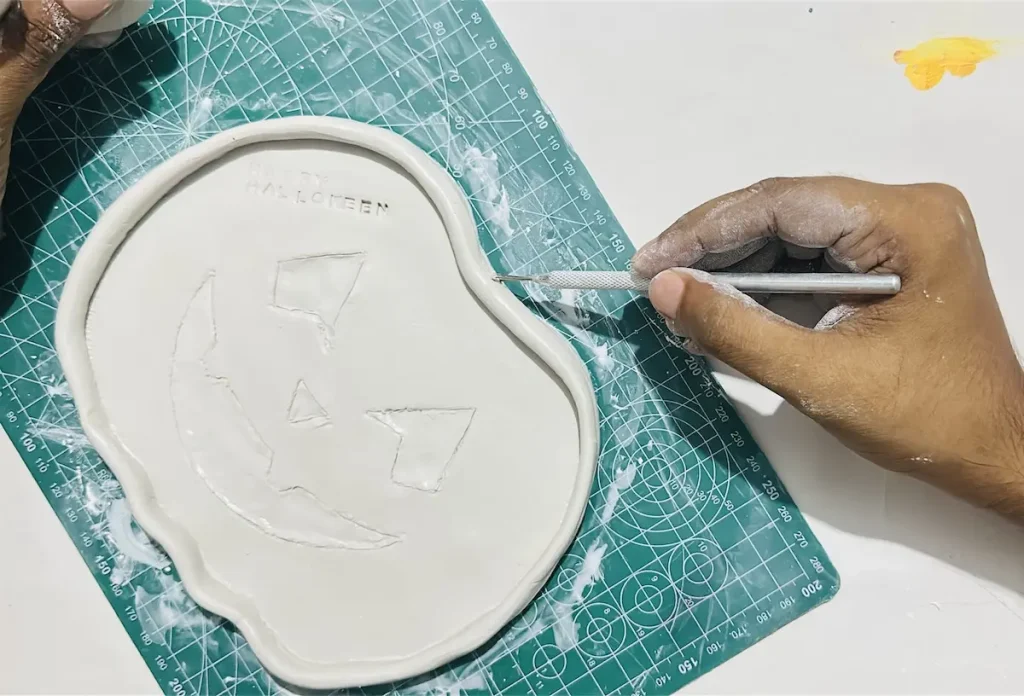
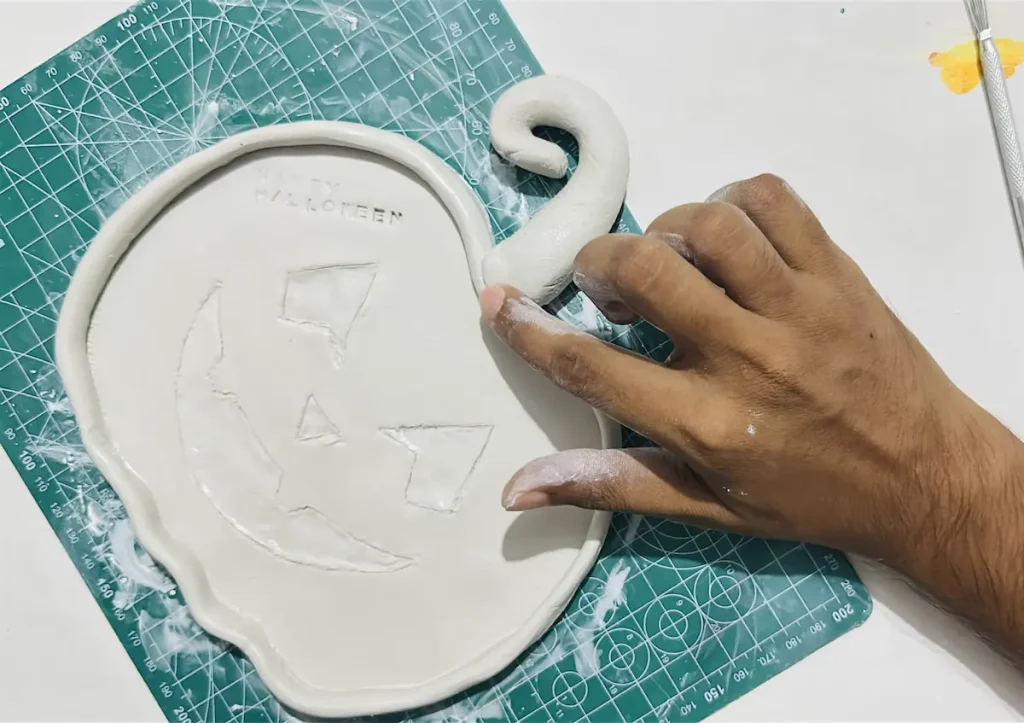
Smooth out the joint to vanish the seam, and detail the texture of the stem using a toothpick or clay scoring tool to give a realistic look.
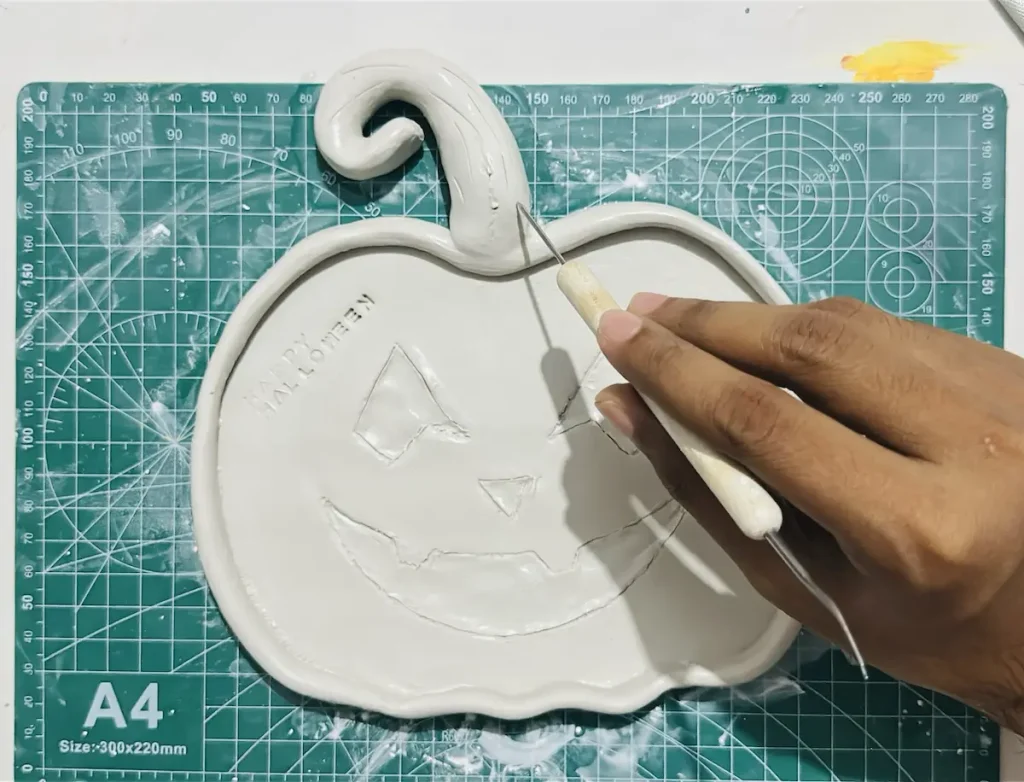
That’s it. Now it’s time to let the project dry.
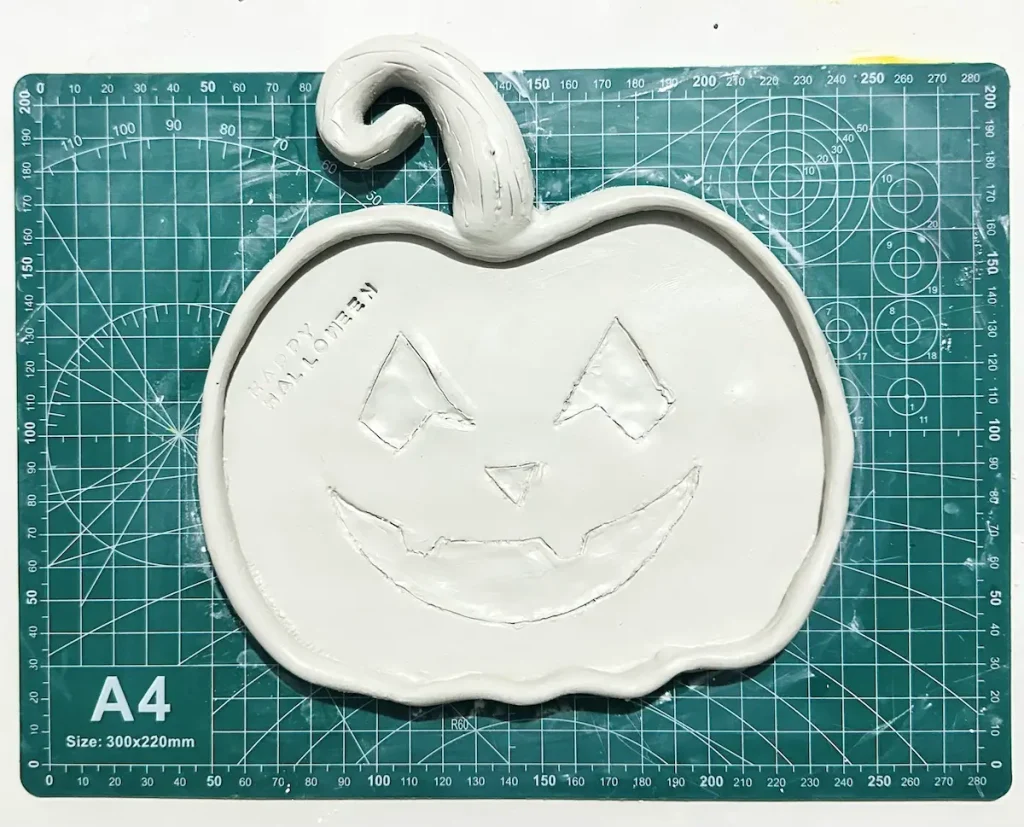
Step 8: Letting it dry
Let the Halloween pumpkin clay tray dry for 72 hours (3 days) in a cool, well ventilated area. Usually, I let my projects dry for 24-48 hours, but not this one because it is too big and it needs more drying time due to the high clay amount. ⏳
Slow drying is a must to avoid clay from cracking.
Drying time can change due to the thickness of your air dry clay and the humidity in your area. High humidity means a slow water evaporation speed and the drying time will be longer. 🌧️
Make sure not to place the project under direct sunlight, outside, or apply a heat source to make it dry faster. Yes, it will dry fast, but you’ll end up with cracks on the surface due to the uneven shrinkage.
High air circulation dries the outer area of the tray faster than the tray base middle, building up tension between the layers. As the tension exceeds over a certain limit, the clay will start to crack and there is no going back from there. 🛑
Your hours of work will be completely gone because cracks loosen up the clay and ruin your work. This is why I keep telling you to let your project dry slow. Slow drying won’t trigger uneven shrinkage and no surface cracks.
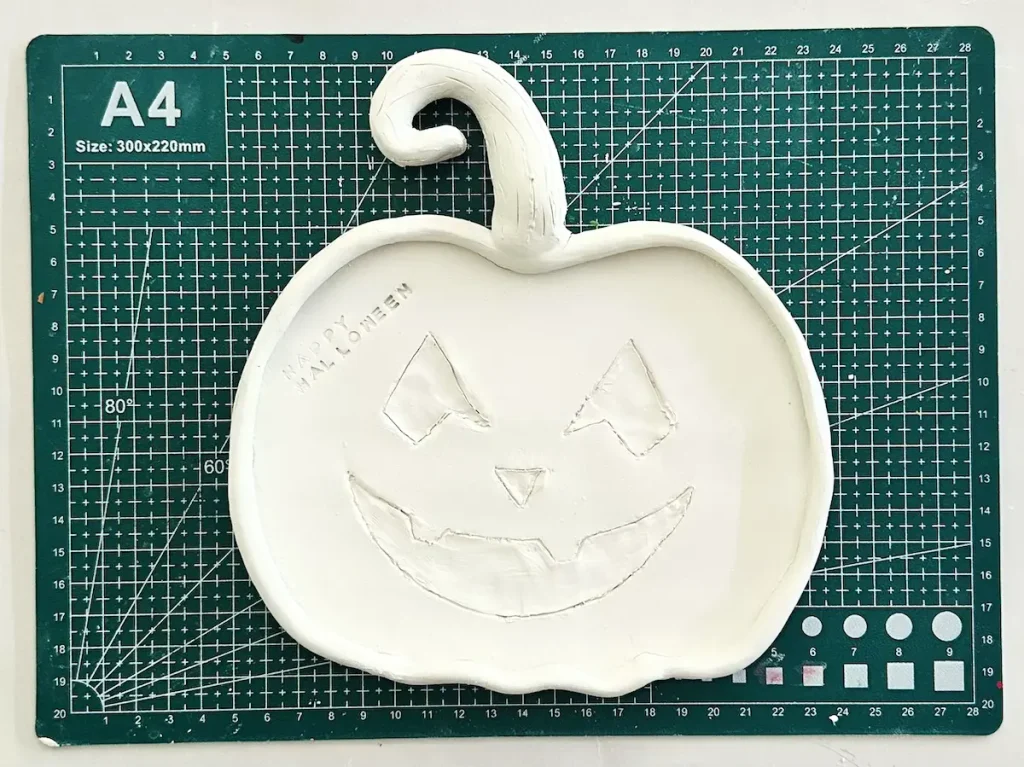
Air dry clay has a grey color when it is wet. So after drying for 3 days, check if there are any grey patches on the surface and the bottom. If there are some, you need to let it dry for another 24 hours. 🕵️♂️
Once the project is fully dried, it will display in pure white form and that’s when you’re good to move into the painting and finishing step. ⚪
Read: Can You Paint Air Dry Clay Before It Dries? (And What Happens If You Do)
Step 9: Painting the pumpkin tray
I used acrylic paints for my air dry clay projects because they come in vivid colors, need no water for mixing or dissolving, dry quickly within 2 hours, make a water resistant coating over the clay, and provide a glossy and shiny finish. 🎨
If you use any other kind of paint, make sure not to use too much water for mixing or dissolving, because water weakens the clay inside, loosens joints, and causes cracks to occur. ⚠️
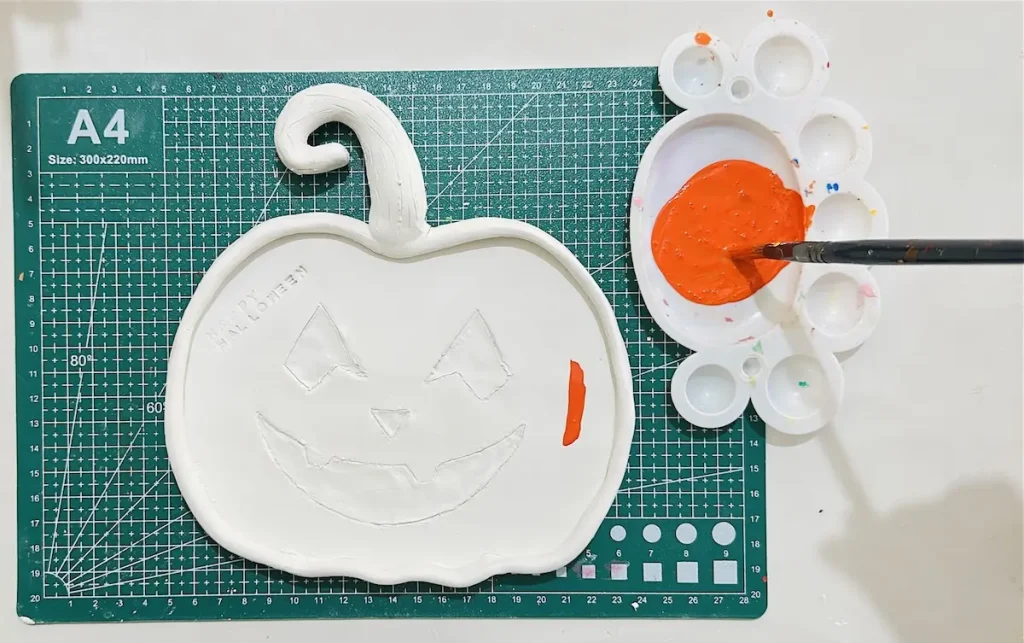
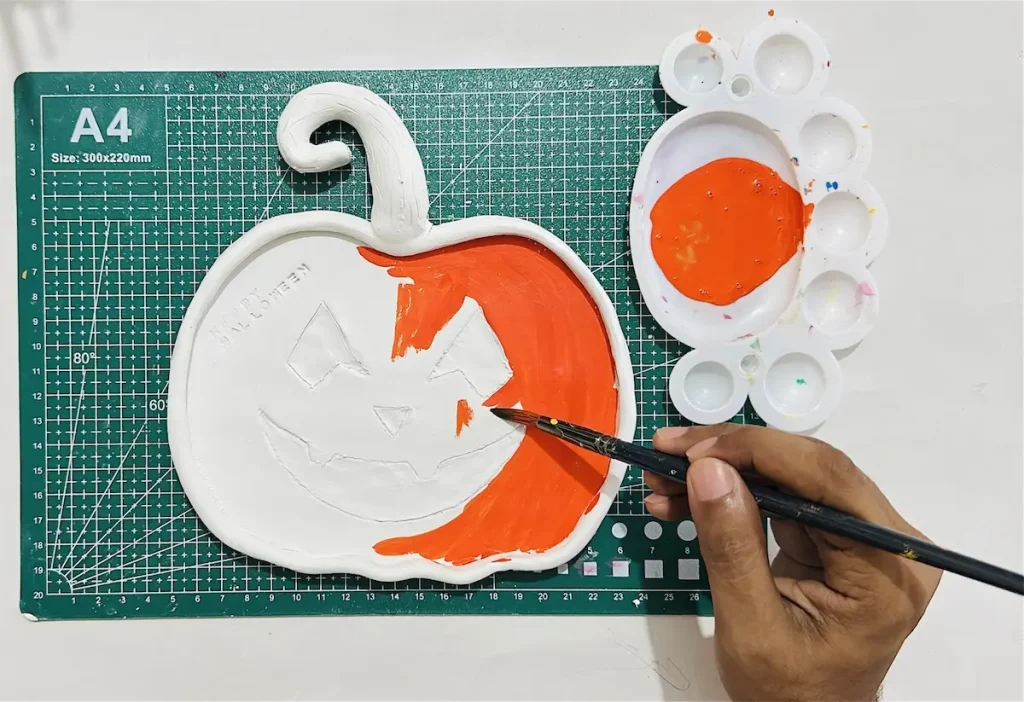
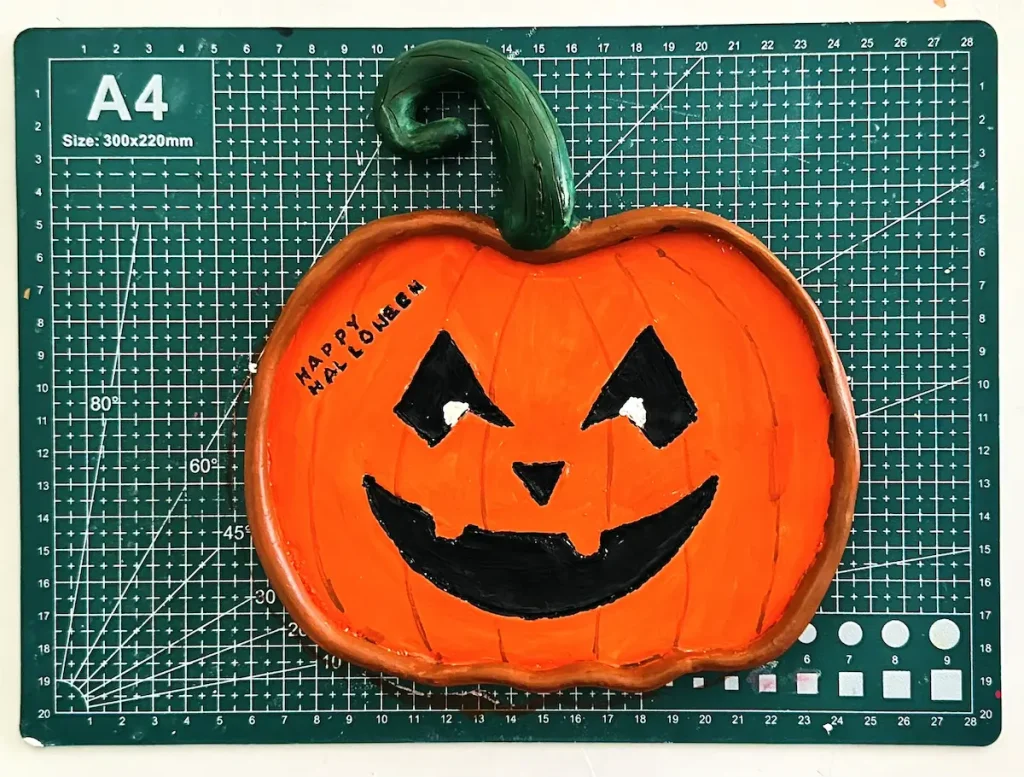
I mixed orange with white acrylic to make the color I wanted for the tray base. I started painting from the tray base because then I can spin and rotate the piece as I want while painting without worrying about touching the paint. 🖌️
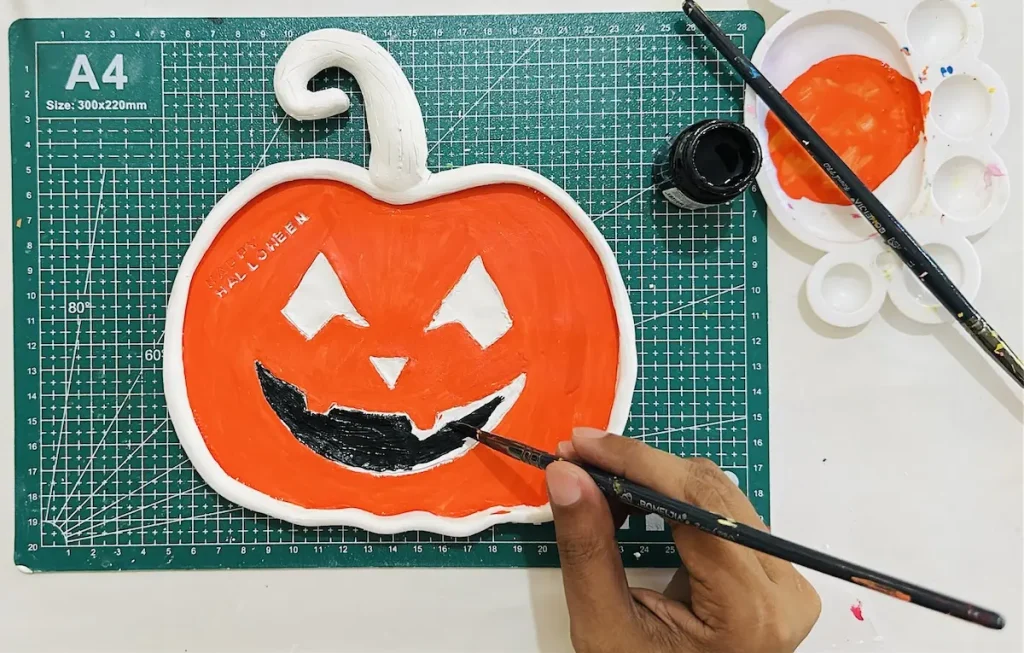
Then I painted the clay-carved eyes, nose, and mouth of the pumpkin with black color. 🖤
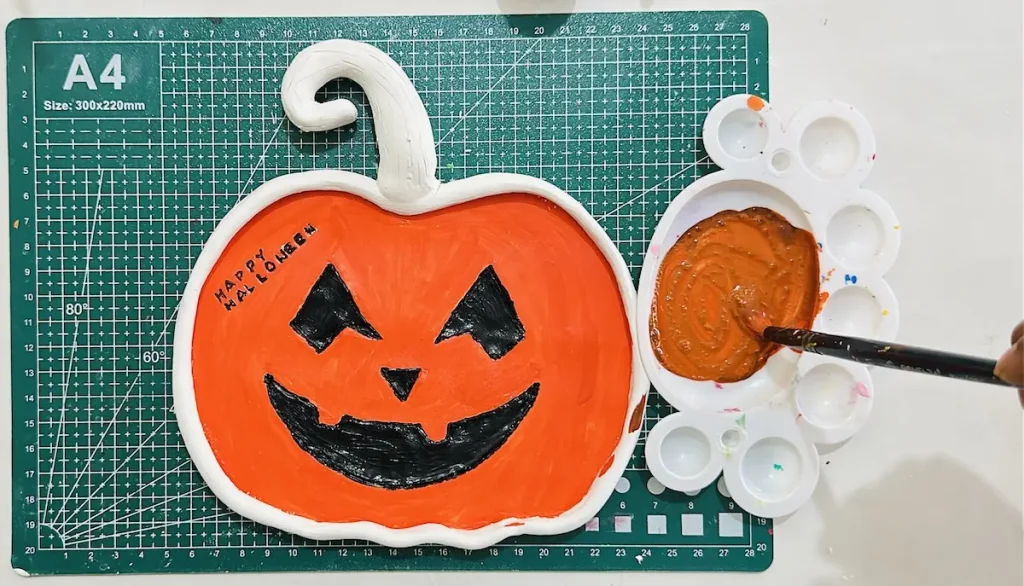
After painting the tray base I painted the rim with a dark orange color to emphasize it even more.
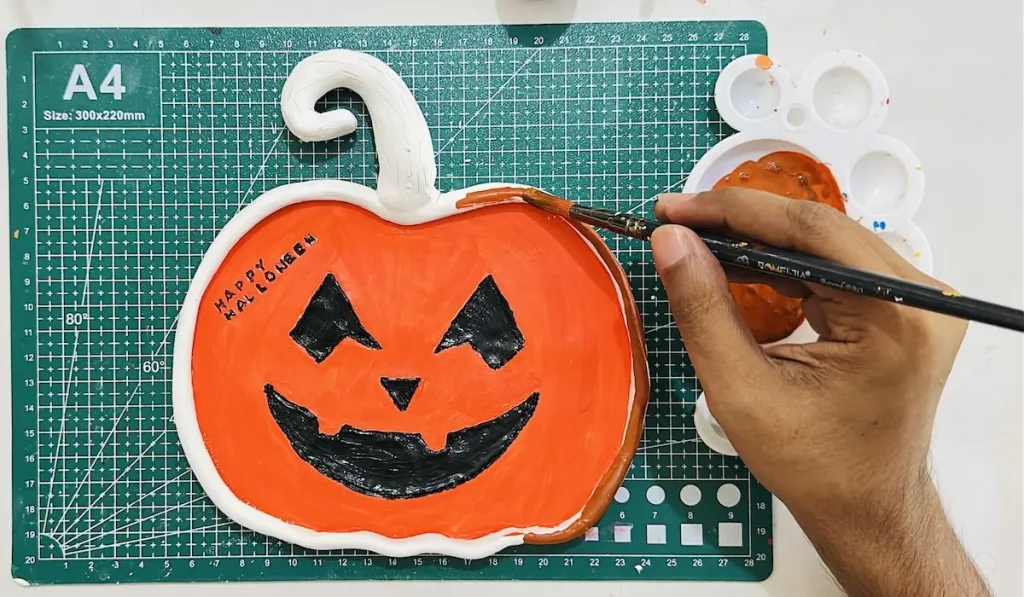
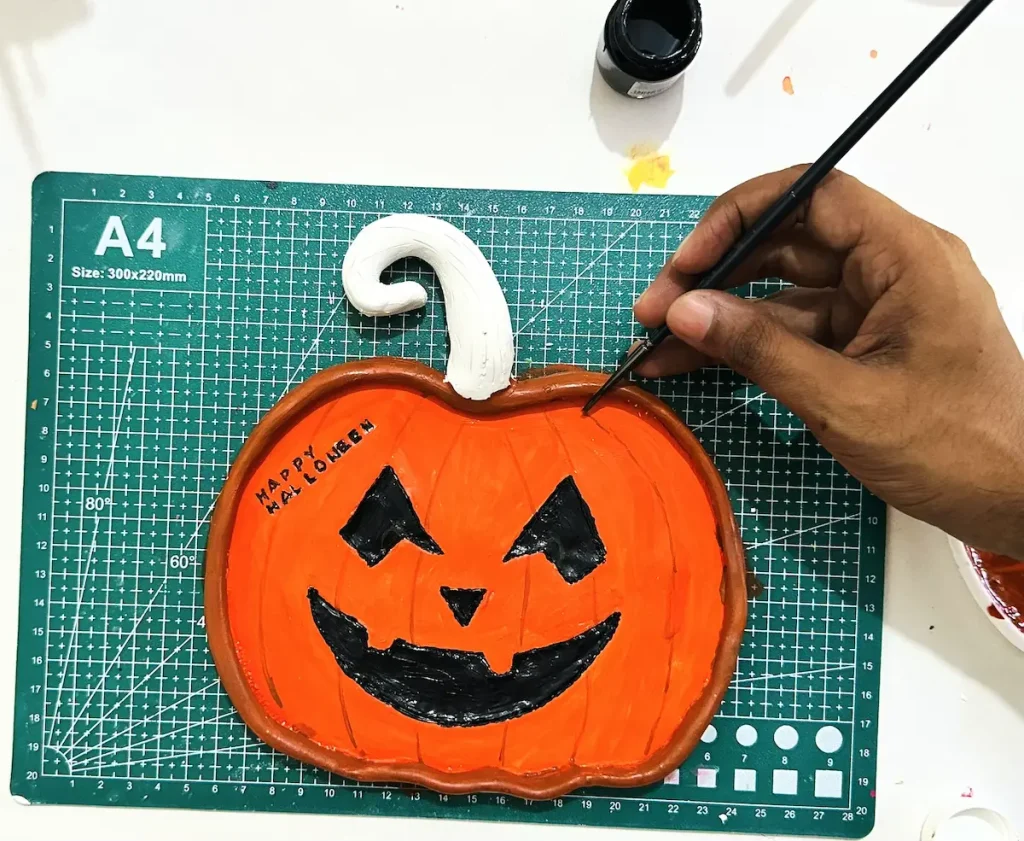
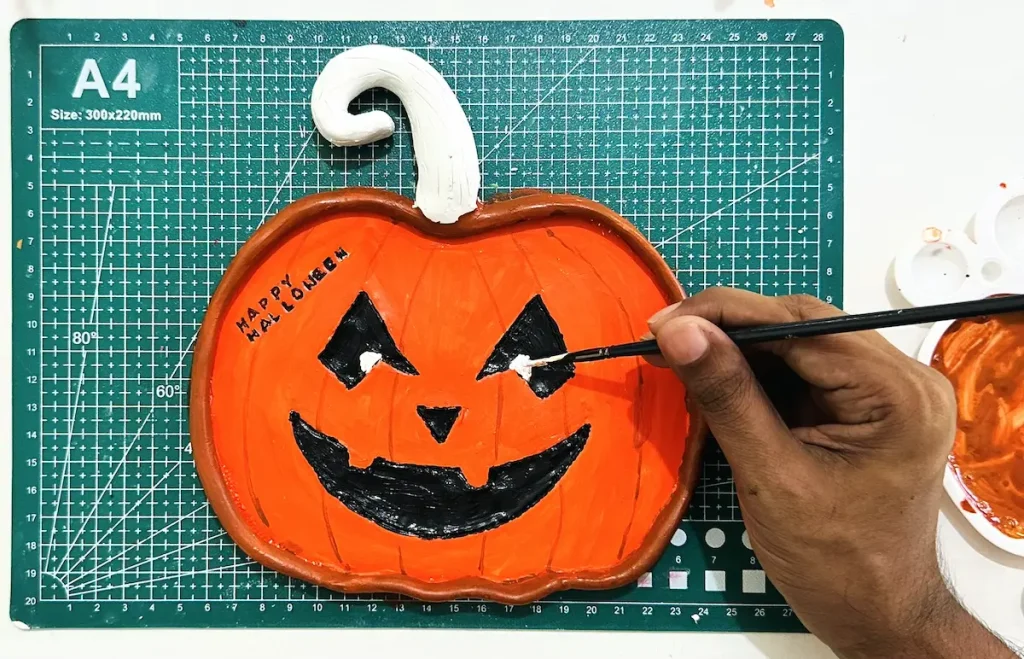
Finally, I painted the stem area with green color acrylic. 💚
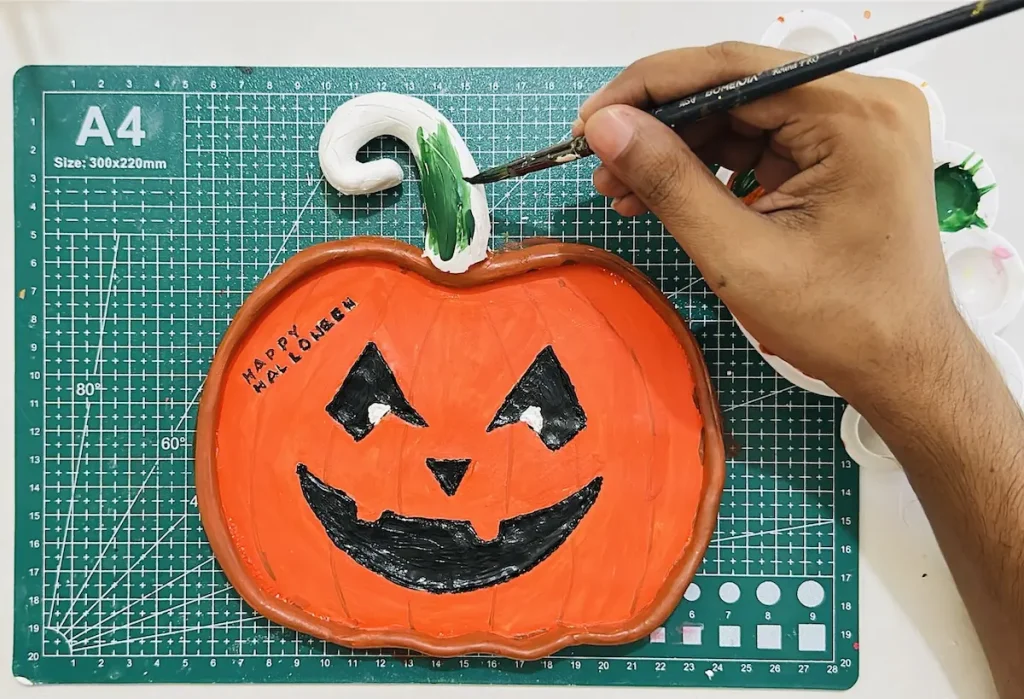
For the detailing part I used white and dark red acrylics. Do as you like to get the finish you want.
Make sure to apply thin and even coats of paint in one direction for a nice finish. Apply 2-3 coats of acrylic and let each coat dry for 2 hours before applying another.
After the final coat let it dry for 2 hours before you start the sealing.
Step 10: Sealing the tray
You can use gloss varnish, polyurethane varnish, UV resin, or epoxy resin for sealing your air dry clay projects. 🛡️
I used gloss varnish because it makes a water resistant coating over air dry clay, offers long term protection, and most importantly provides a ceramic, glossy like finish. ✨
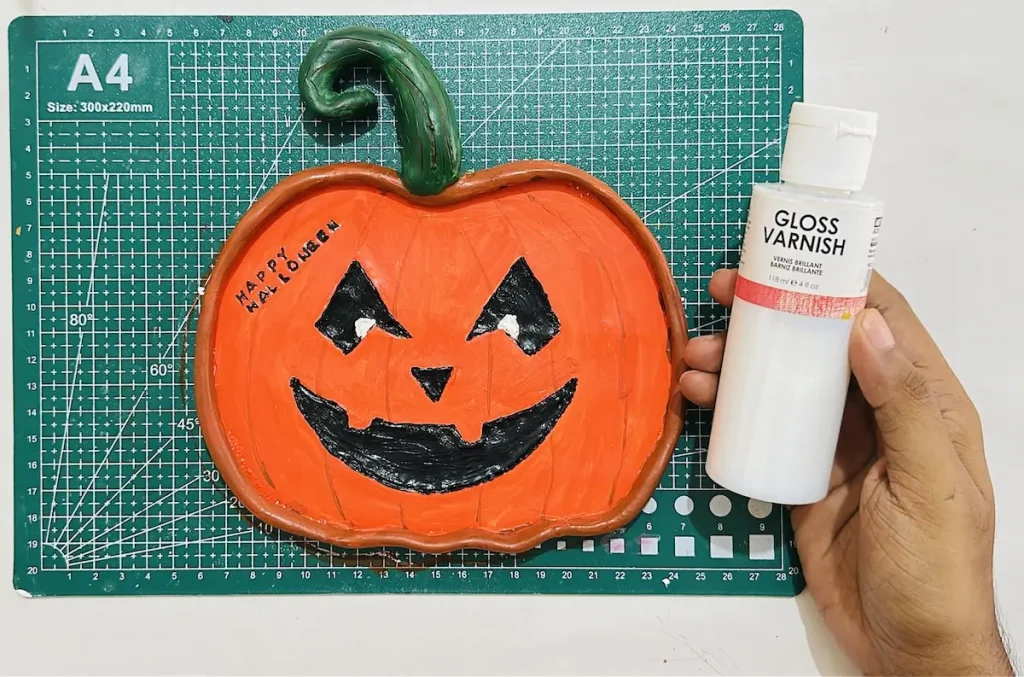
If you want a water like, more glass like finish, go with epoxy resin, but avoid forming bubbles as you finish.
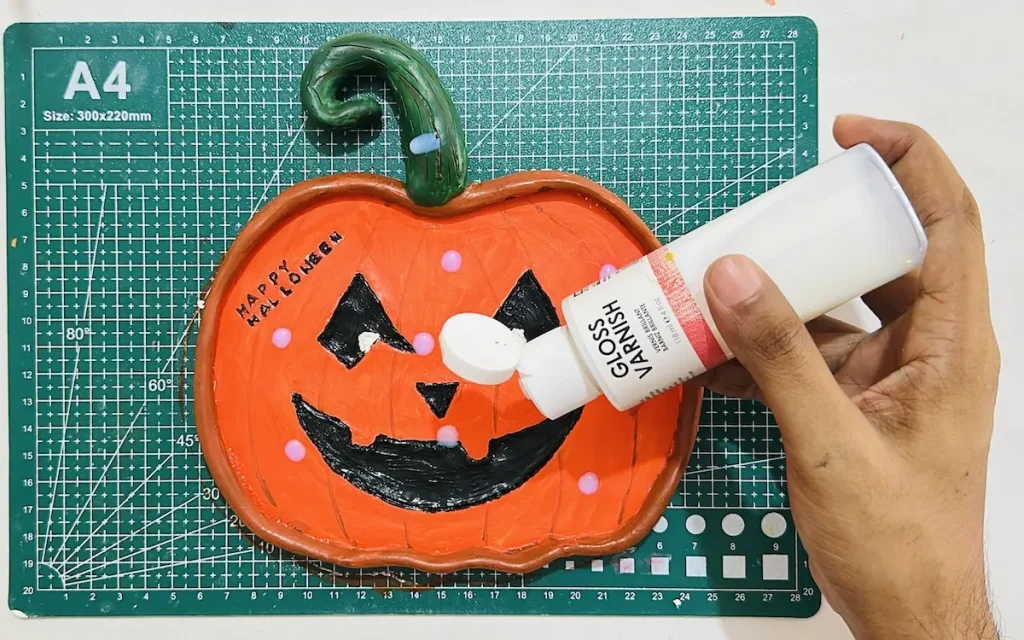
Apply a thin and even coat of gloss varnish along one direction to avoid forming tacky spots and a mushy core.
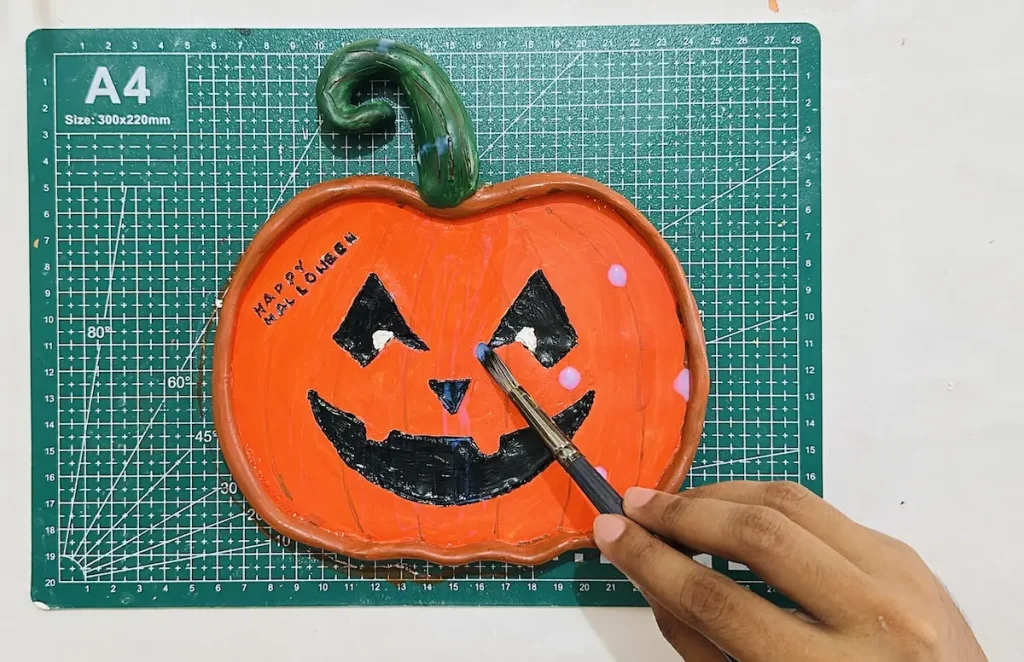
Apply 2-3 coats and let each coat dry for 24 hours. 🕒
Sealing air dry clay is a must before using it or placing it as home decor, because outside moisture weakens the clay and causes surface cracks. 🏠
I highly recommend you not to place your air dry clay projects outside, even after sealing them with the best sealer in the world, because harsh weather conditions eventually damage the sealer coating, find a way to get inside of the clay, and damage it. So, always place your air dry clay projects inside. Remember that!
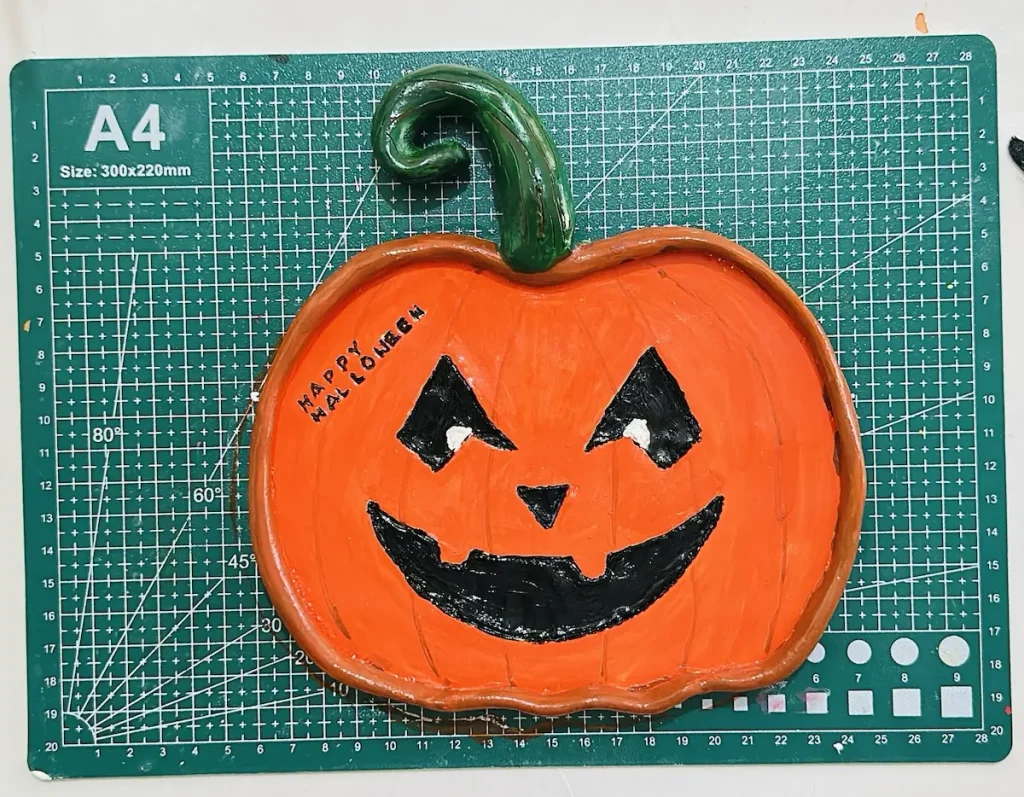
After sealing the pumpkin tray completely, let it dry and cure for 24 hours. That’s it!
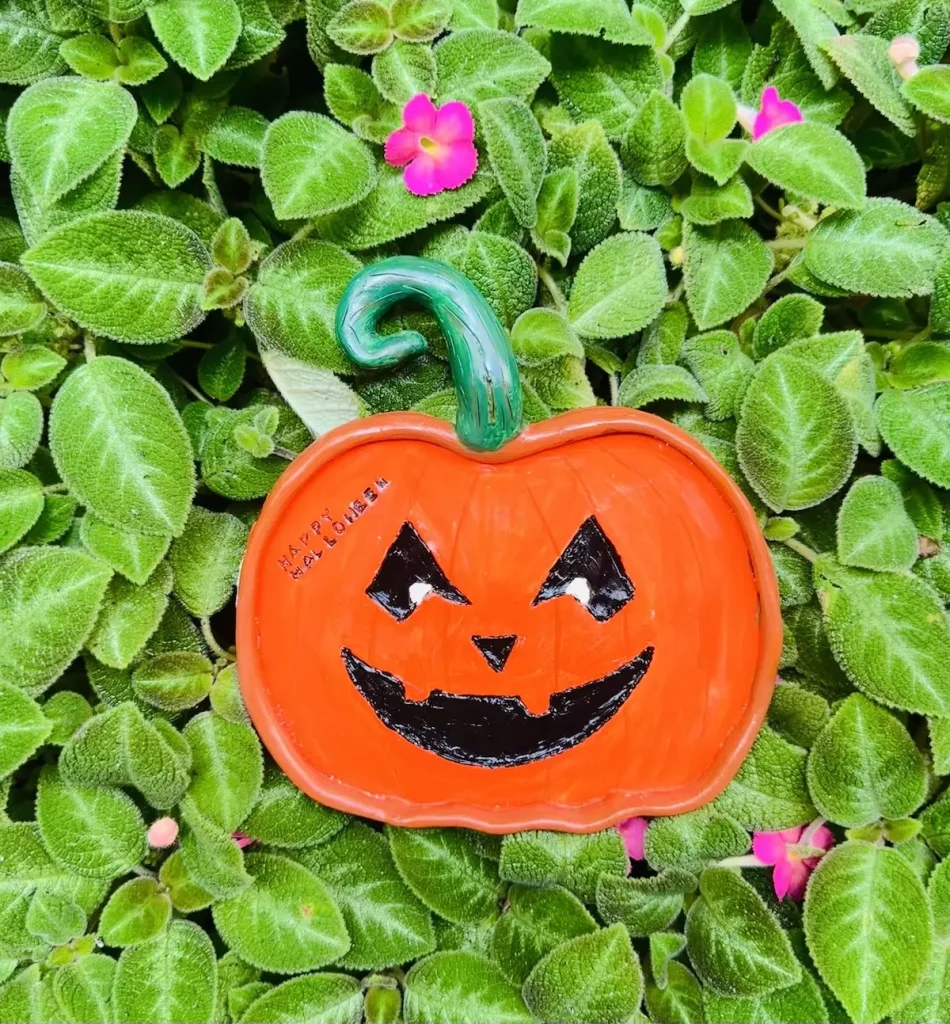
Congratulations my friends! We did it! We made a unique handmade spooky pumpkin air dry clay tray for this Halloween season and the process is worth remembering. 🎃🥳
Final thoughts
I tried my best to provide you all the things I did to achieve this beautiful piece as simple as possible. Once you have read the entire tutorial, please mention any additional questions in the comments section.
I’ll answer all of them asap. 💬
Also, if you found better ways of doing things than I did, please mention them too in the comments section. We need to share the things we know with the community, which is wonderful. 🤝
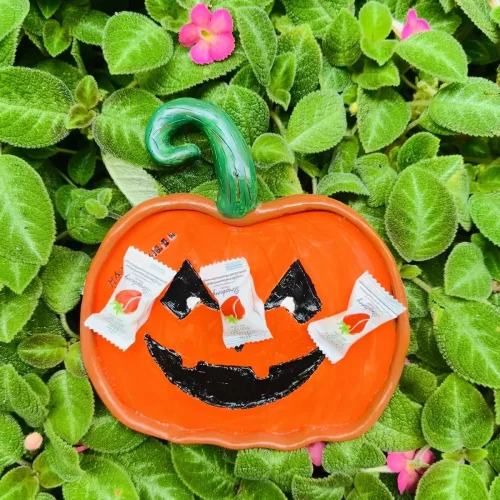
Now it’s time for you to start your own spooky pumpkin tray with air dry clay. Use it to place the chocolates such as Snickers, Twix, Kit Kat, Milky Way, M&M’s and Gummy Bears during this festive season. Or you can gift it to someone you love to refresh your bond with them.
Be sure to tag @clayandmestudios in your pumpkin clay tray project. I sure love to see them when you do. I’ll see you next time with another cool project! Cheers! 🤟🏾
Halloween Pumpkin Tray with Air Dry Clay

Supplies Needed
Air dry clay (DAS, Mont Marte, Jovi, or any reputed brand you can find is okay)
Acrylic rolling pin
PVC mat or silicone mat (or non-stick surface)
Clay crafting tools
Clay cutting tool (X-acto knife or small knife)
Cup of water or spray bottle
Acrylic paints
Gloss varnish
Paintbrushes
Paper towels
Optional: Sponge or silicone sculpting tool (or you can use your finger)
Instructions
Step 1: Knead and condition the clay 💧
- Take about 1.1 lbs (500g) of air dry clay, sprinkle with a little water, and knead well using a pull-and-push technique until soft to prevent future cracking.
Step 2: Roll out the slab 🪵
- Roll the clay to an even 1/4-inch thickness on a non-stick mat, turning it frequently to avoid sticking, then smooth out bumps with a wet finger.
Step 3: Prepare your template ✂️
- Print a 2D jack-o’-lantern design on A4 paper and cut out the outline to create a paper stencil.
Step 4: Trace and cut the pumpkin shape 🔪
- Place the stencil on the clay, trace around it with a toothpick, map out facial features, and carefully cut the outline using an up-and-down motion with a craft knife.
Step 5: Carve facial features 🛠️
- Gently carve shallow indentations for the eyes, nose, and mouth to add texture, taking care not to cut through the base, then smooth with a little water.
Step 6: Attach the tray rim 🐍
- Roll a long coil of clay with uniform thickness. Score the base edges and coil, apply clay slip or water, and attach the coil on top along the perimeter.
Step 7: Add the stem 🪵
- Shape a small clay piece into a curved stem with a flat base. Score, moisten, and press it onto the top rim, then smooth the joint and carve texture lines.
Step 8: Dry slowly ⏳
- Leave the tray to dry in a cool, well-ventilated area for 72 hours away from direct heat or sunlight until all grey patches turn completely white.
Step 9: Paint the tray 🎨
- Apply 2–3 thin coats of acrylic paint (orange for base, dark orange for rim, black for face details, green for stem), letting each coat dry for 2 hours.
Step 10: Seal and cure 🛡️
- Apply 2–3 coats of gloss varnish, drying 24 hours between coats, to protect the tray with a water-resistant glossy finish.