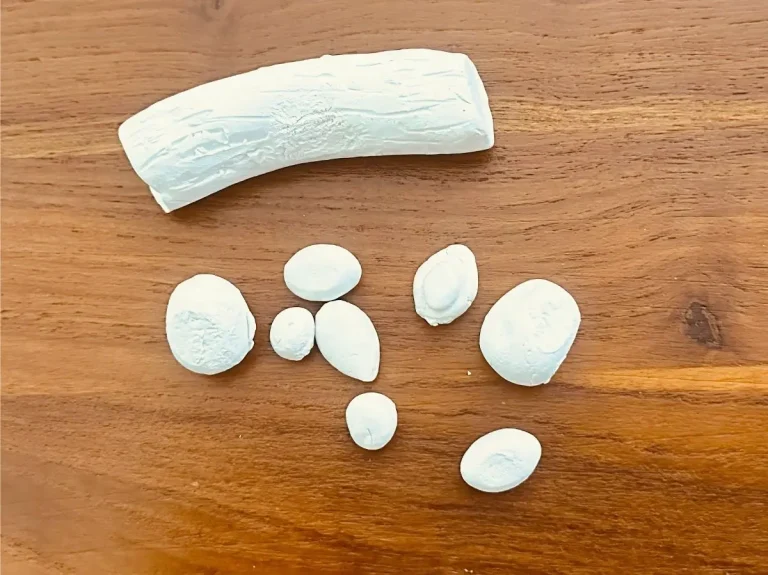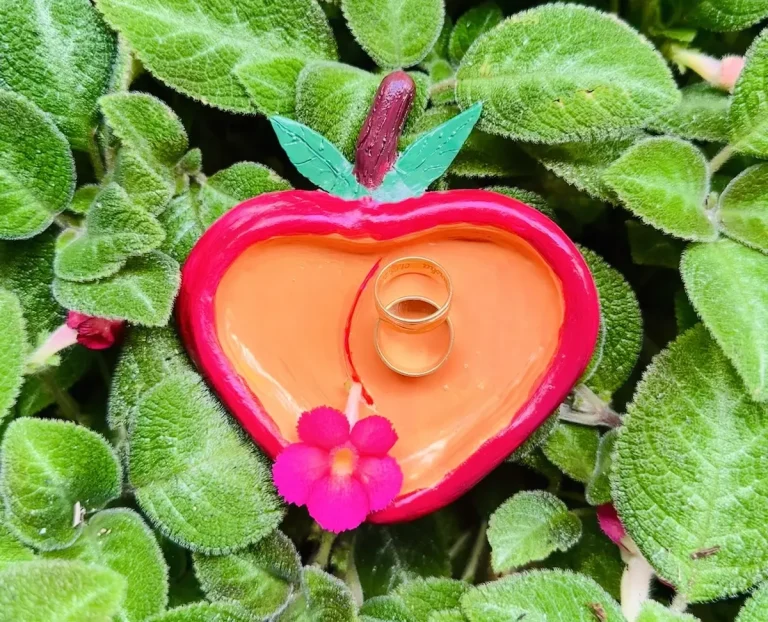

In this Christmas season you should have a thing made of clay to decorate your Christmas table as clay artists. 🎨 That will be unique and you can brag to the visitors how you made it proudly because it is quite highlightable.
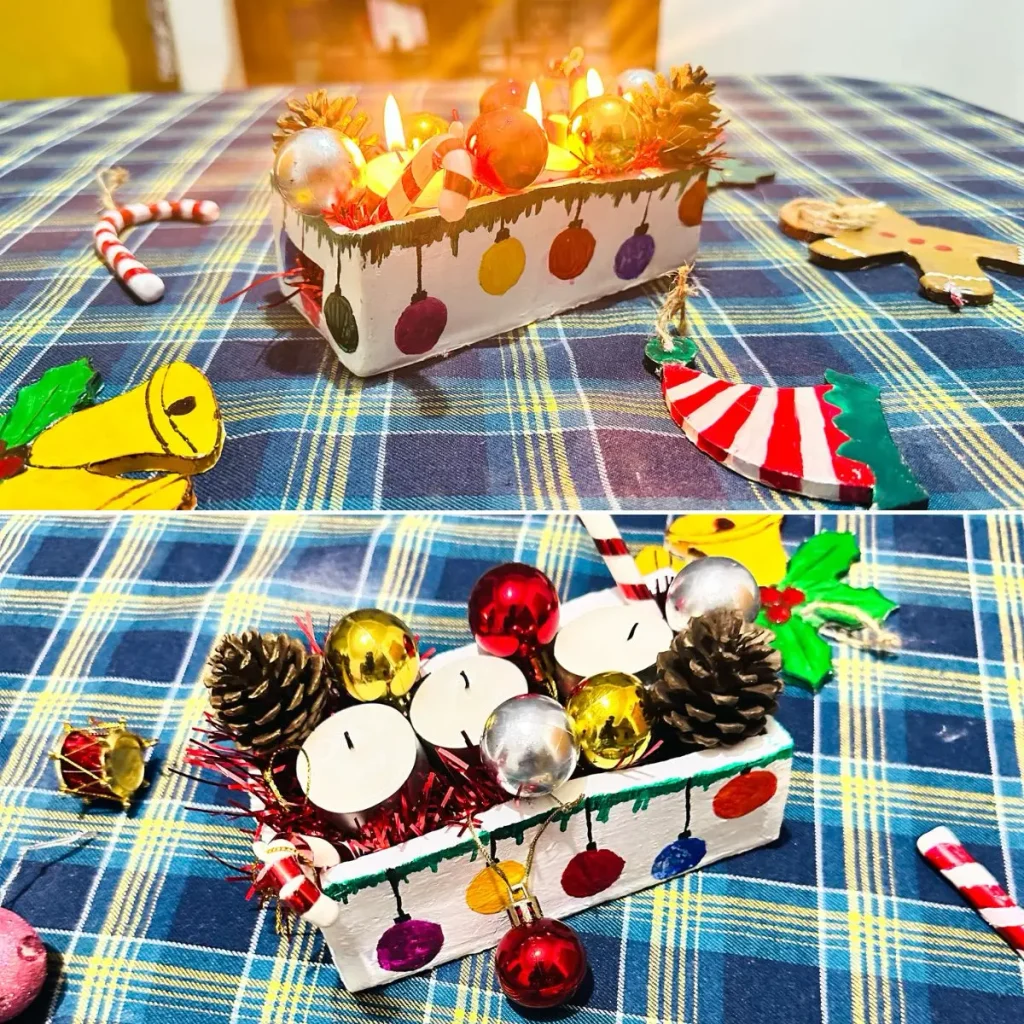
That’s exactly why I thought of making a christmas centerpiece box with air dry clay and decorate it with cute little ornaments. 🎄 Trust me it is not hard to make as it seems.
I’m also a beginner clay artist like you who doesn’t like complex and expert steps to make an item like this. I used the simplest and easiest ways possible to make this and I’m gonna tell you every step, tip and trick I followed. So you can follow and even apply your own things to it to make it even more beautiful. ✨
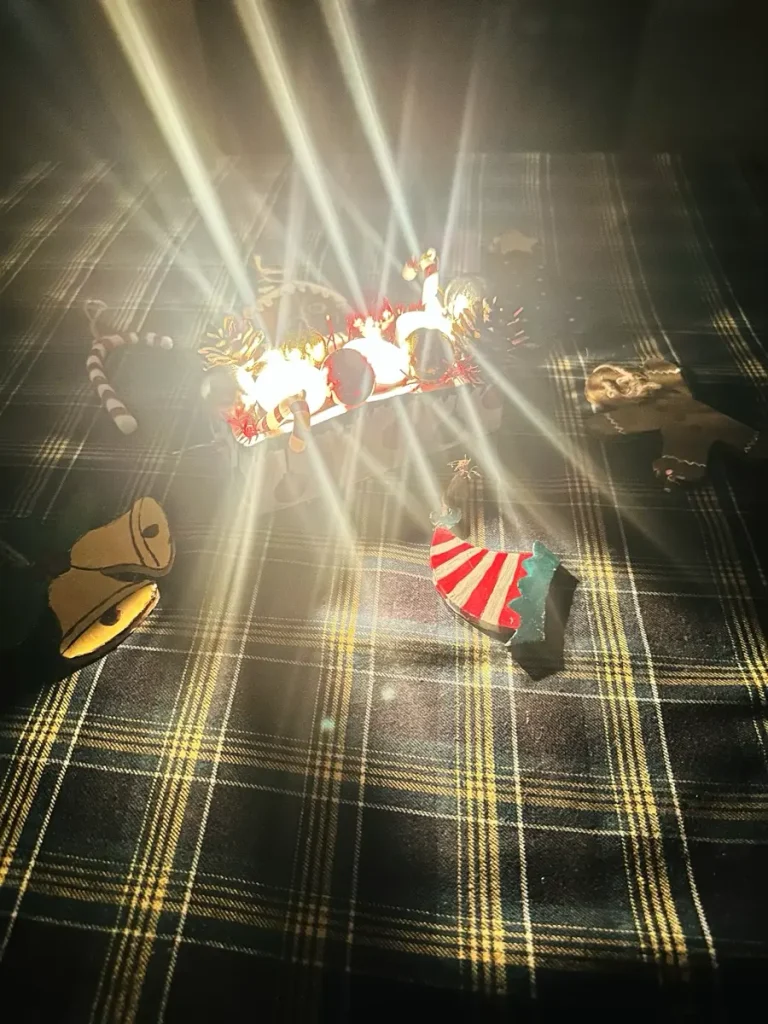
Ok! Enough chatterbox! Let’s start making! Ho Ho Hooooo! 🎅🎁
Why make an air dry clay box for your holiday table?
The reason for using air dry clay to make this centerpiece box for my holiday table is because it is beginner friendly, cheap, easy to bend and no kiln or baking needed like other clay types. 🛠️
Air dry clay dries in the air and is able to shape to anything you want after applying a little bit of water. 💧
Read: Air Dry Clay for Beginners: The Ultimate Step-by-Step Guide
Plus, you can make this any size you want without buying centerpieces boxes from the stores. 📦 I have already made several Christmas ornaments with air dry clay like the gingerbread house, elf hat, and candy canes. 🍬 So making a box to contain them which are also handmade pairs well.
Yes, air dry clay tends to crack often. But with the right procedure and easy techniques you can avoid it from happening. So, nothing to worry about! 😊
Read: The Pros and Cons of Air Dry Clay: A Complete Beginner’s Guide
Don’t overthink! Let’s try to start making this beautiful piece with air dry clay. Trust me you won’t go wrong! 👍
Materials and tools you will need
- Air dry clay (DAS, Mont Marte, Jovi or any reputed brand you can find is okay)
- Acrylic rolling pin
- PVC mat or silicone mat (or non-stick surface)
- Clay crafting tools 🛠️
- Clay cutting tool (X-acto knife or small knife) 🔪
- A ruler 📏
- Cup of water or spray bottle 💧
- Acrylic paints 🎨
- Gloss varnish ✨
- Paintbrushes 🖌️
- Paper towels 🧻
- Optional: Sponge or silicone sculpting tool (or you can use your finger) 🧽
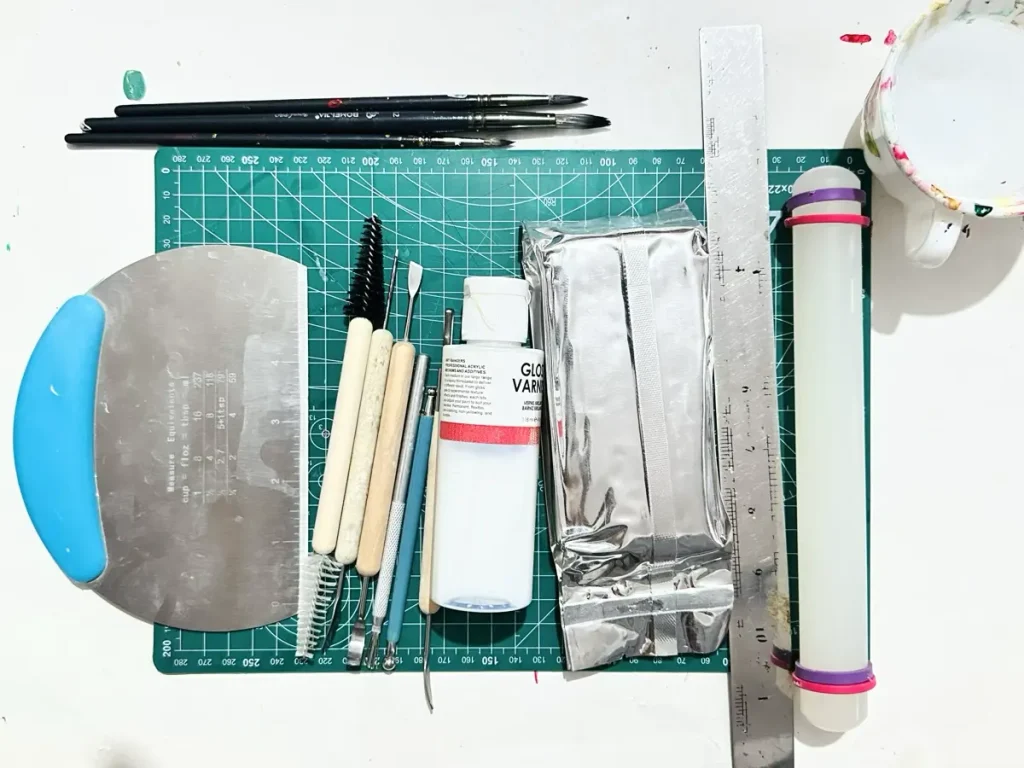
If you couldn’t find any of the above tools, open each drawer in your kitchen please. You’ll find a handful of items that can replace above clay crafting tools. Especially a knife to replace the X-acto knife. 🍴
Air dry clay projects need to be budget friendly. Use toothpicks, small knives and cutting boards if you don’t have any of the above as suitable. 💡
Video tutorial: How I made the air dry clay centerpiece box
I have recorded everything I did in this project and uploaded it here. So you can watch it alongside this written tutorial to get a better understanding about how steps, tips and trucks need to be done to get a better result. 🎥
Feel free to watch and make a beautiful Christmas centerpiece box! 📺
Finished watching the video? Let’s have a look at the detailed written step-by-step guide. 📝
Step-by-step: How I made the air dry clay Christmas centerpiece box
Before you start making, I recommend you to open all the windows in your working area or shift to a well ventilated space because air dry clay contains fine particles that can make you cough. 🪟
We don’t wanna see a doctor during this holiday season right? 🩺
Step 1: Conditioning and kneading the clay
First of all take a big chunk of air dry clay piece because we are making a box and start conditioning the surface of it with a little bit of water. 💧
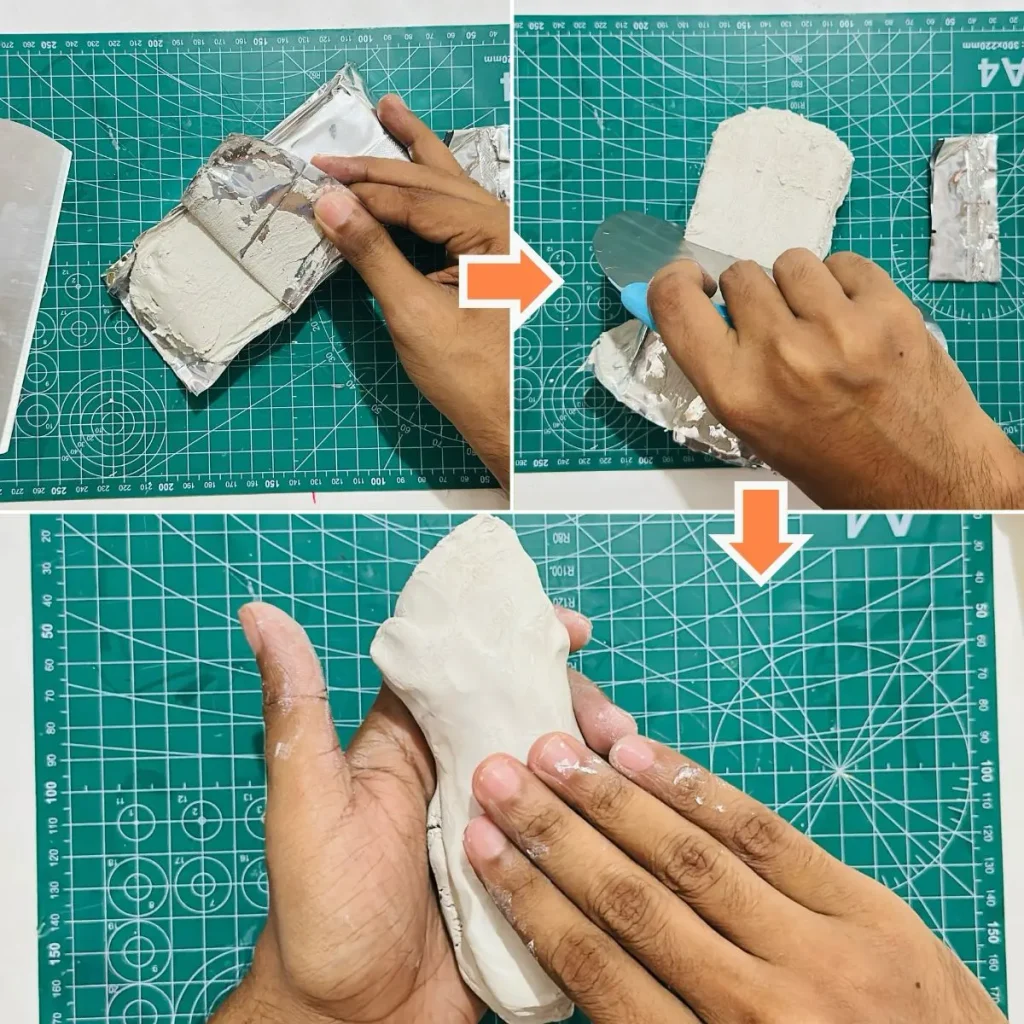
Conditioning helps to make the clay soft and easy to knead by reducing the stiffness of it.
Next start kneading the clay well like a pizza dough using pull, push and press techniques for about 3-5 minutes. 🍕
This will make the clay super soft, comfy to hold and easy to shape during the later steps.
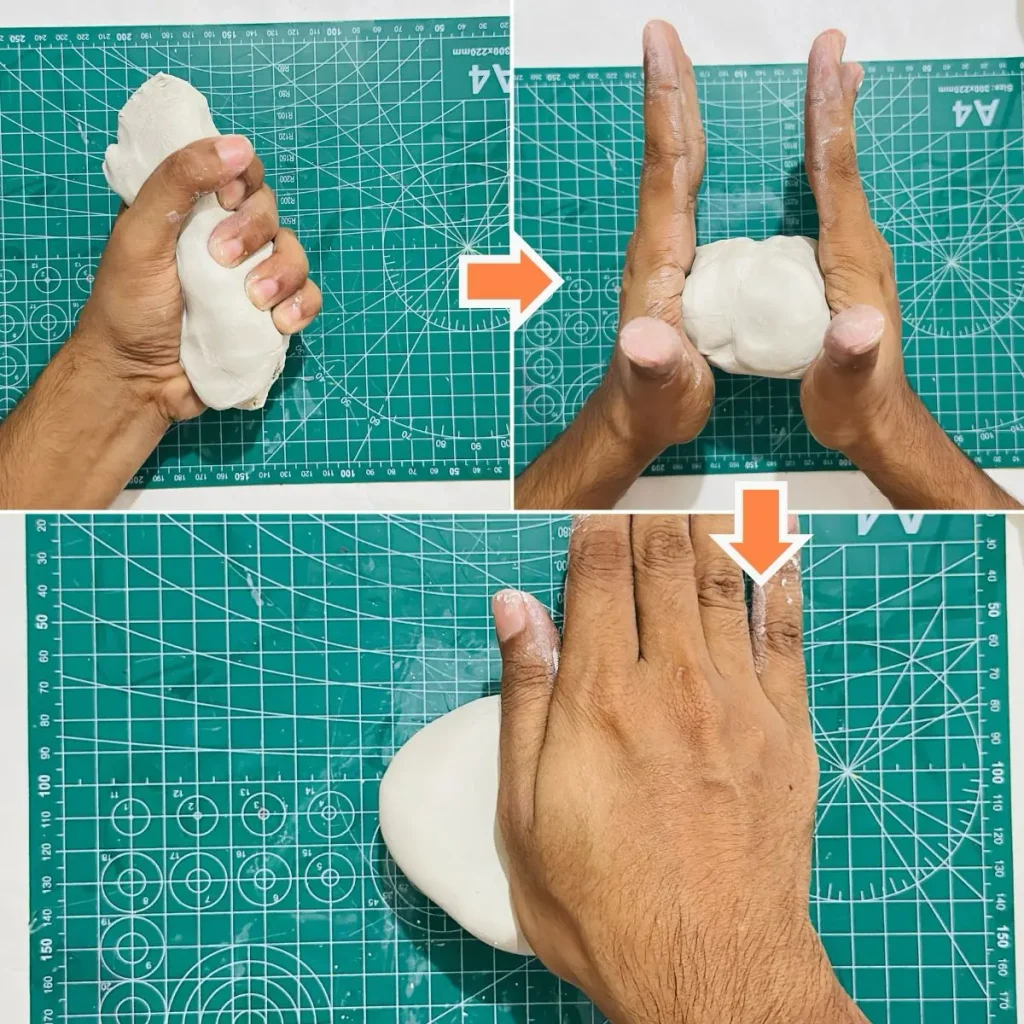
But let me tell you kneading does something more than that, it basically helps to avoid clay from cracking as it dries. ⚠️
Let me tell you how.
Air dry clay has a lot of moisture inside which evaporates as the clay dries causing the clay to shrink. 💨
Usually the moisture inside of the air dry clay has spread unevenly. This results in uneven shrinkage of the clay because water evaporates at different areas of the air dry clay at different rates.
Now you might think why can’t we stop the clay shrinkage? Sorry to say, shrinkage of air dry clay is unavoidable but can be controlled by deciding how much we knead the clay and how much water we use when conditioning, kneading and smoothing the clay.
Kneading helps to spread the moisture inside of the clay evenly which helps to evaporate moisture at the same rate from all the areas. This avoids uneven shrinkage from happening and clay won’t crack as it dries because shrinkage happens in all the areas at the same rate. ✅
When you use too much water when conditioning and kneading the clay, it causes rapid evaporation of water as it dries which can lead to surface cracks. Therefore make sure to use only a little bit of water for whatever thing you’re going to make with air dry clay. 💧
Step 2: Rolling the clay
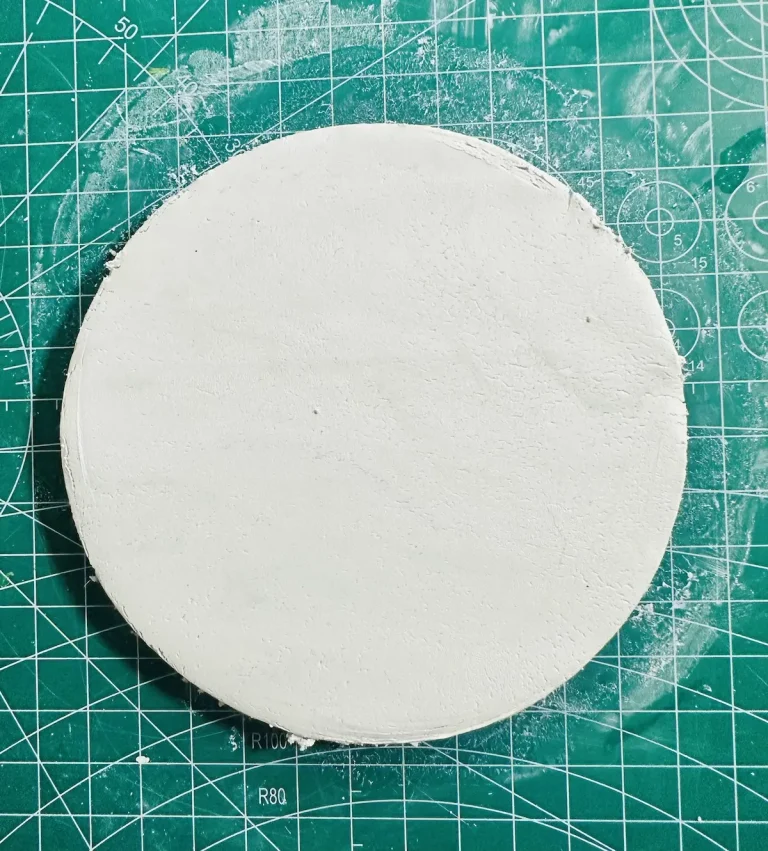
Now place the kneaded clay piece on your working mat roll to an even thickness for about 1/4 inch to 5/16 inch (6 mm to 8 mm). 📏
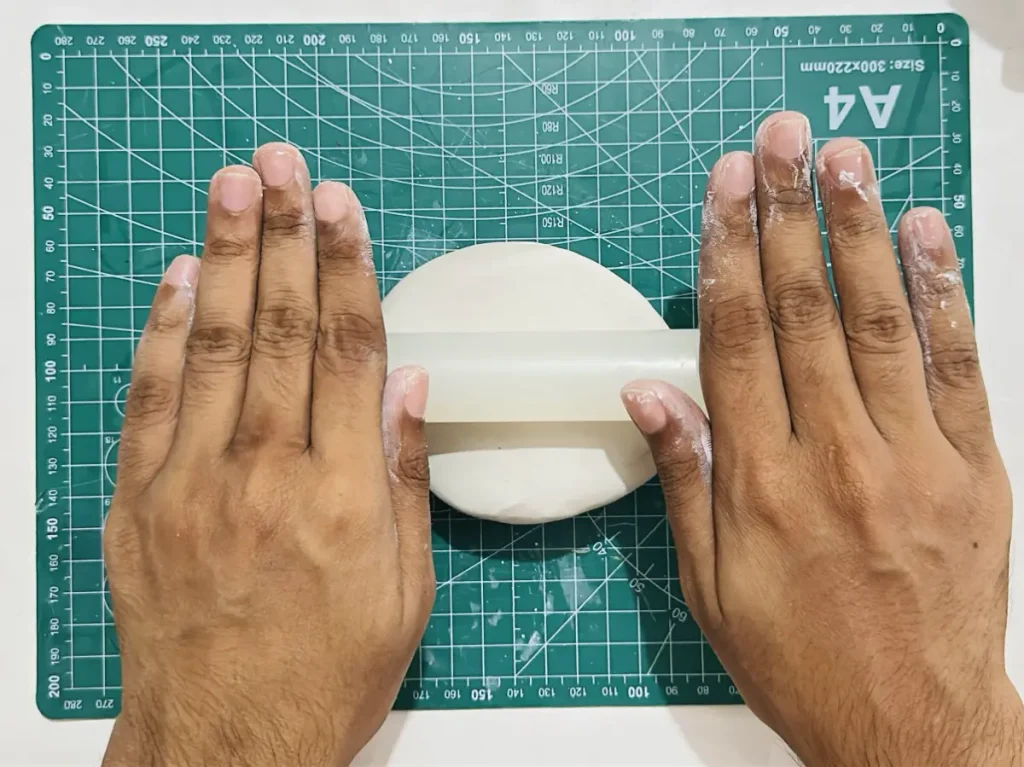
Make sure to keep the thickness below ½ inch and above ¼ inch because rolling the clay slab too thin can cause clay from curling up from the edges as it dries like a potato chip. 🥔
Same like rolling the clay slab too thick takes more days or sometimes weeks to dry because of the poor air circulation inside which can also cause clay to crack as it dries due to the improper drying. ⏳
Make sure to use a non stick mat when rolling the clay like silicone or PVC mat (what I use) because as you roll, clay tries to make a grip between the mat and might split or crack when you try to lift it up after rolling. 🟩
Read: How to Keep Air Dry Clay from Sticking to Your Table
As for the rolling pin, I highly suggest you try an acrylic one because it does not stick with the clay which can also cause it to split as you roll. 🪵
Here’s tip for you to follow when rolling for a better result, 💡
Flip, turn and rotate the clay slab around 90 degrees while you roll because rolling too at the same position for a long time can lead your clay to crack or split from the edges.
When you roll, the moisture inside comes out and makes a tiny vacuum like space between the mat and the clay surface. This is what leads to surface cracks. Therefore changing the position of your clay from time to time as you roll is wiser choice even when you’re using a non-stick rolling pin and a mat. 🔄
Once you’re done rolling the clay slab, smooth it out by dipping your index finger in a cup of water and glide on the surface until it removes the tiny bumps, micro cracks and tiny imperfections on the surface. 👆💧
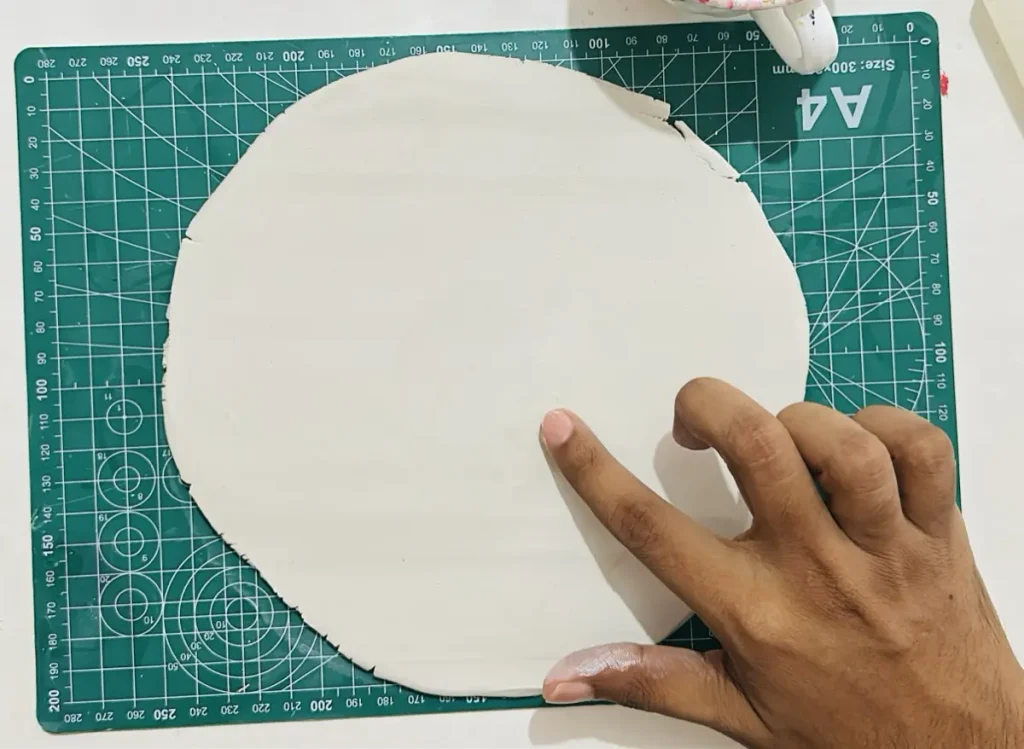
From now onwards, smoothing the surface after each step is essential for a nice and crack free surface. BUT NO TOO MUCH WATER. 🚫💧
Step 3: Cutting the base, long sides, and short ends
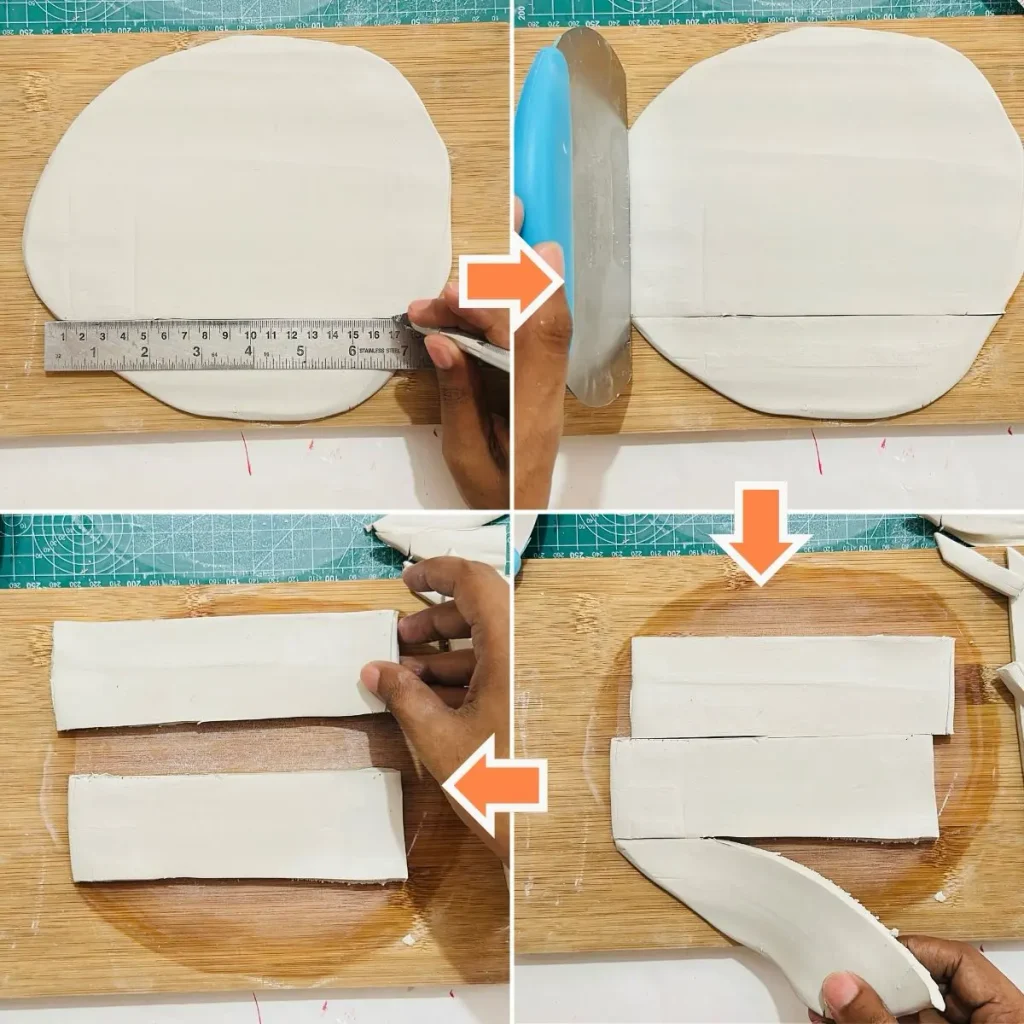
This is where I made a mistake. I trusted too much of my instinct and didn’t use a ruler to cut the base, long sides and short sides of the box. 🤦♀️ Instead, take the ruler and try to trace straight lines on the clay slab. Yes, I did succeed in the end, but made a lot of mistakes along the way because reality was I’m too bad at drawing straight lines even with a ruler. So I had to correct the misaligned lines several times by smoothing the surface which was a super frustrating experience. 😅
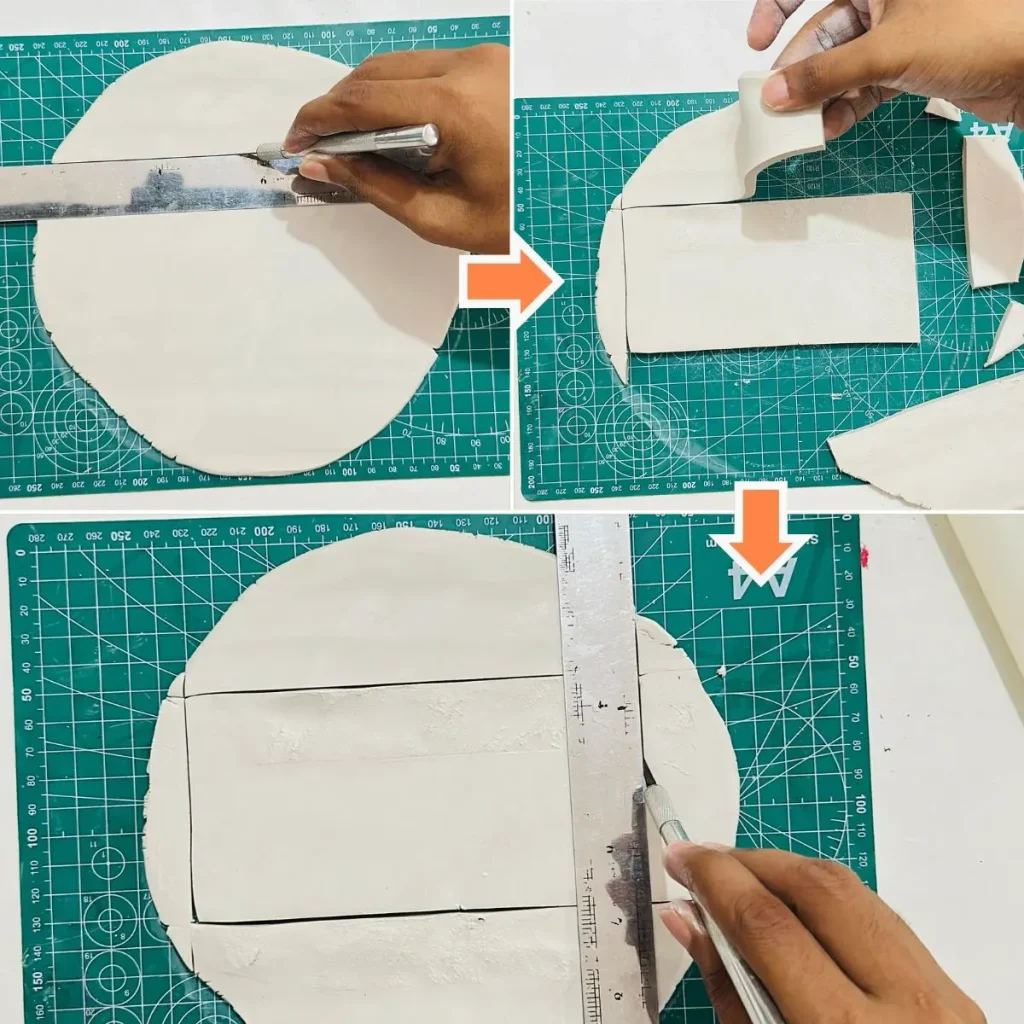
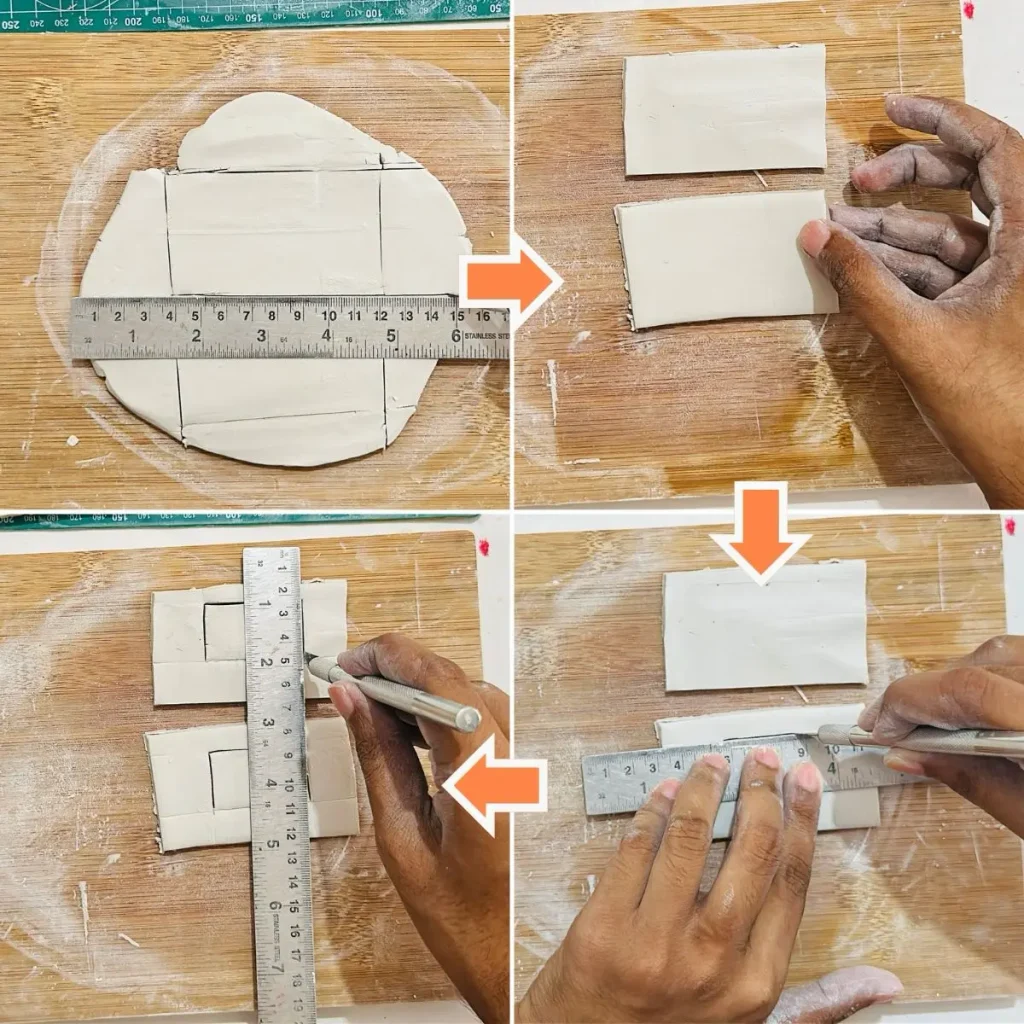
Don’t be like me. Use a paper template to cut the square shapes which is so much easier than tracing freehand. 📄✂️
Here’re the measurements I used for the base, long sides and short ends, 📐
| Component | Width | Length | Height |
|---|---|---|---|
| Base | 3.15 in [8 cm] | 6.30 in [16 cm] | – |
| Long side | 1.97 in [5 cm] | 6.30 in [16 cm] | – |
| Short side | 1.97 in [5 cm] | 3.15 in [8 cm] | – |
| Handles (short side) | 0.98 in [2.5 cm] | 1.57 in [4 cm] | – |
| Assembled Box | 3.15 in [8 cm] | 6.30 in [16 cm] | 1.97 in [5 cm] |
Or you can directly download the paper template here. Take a print out of it, cut along the lines and take the templates. 🖨️✂️
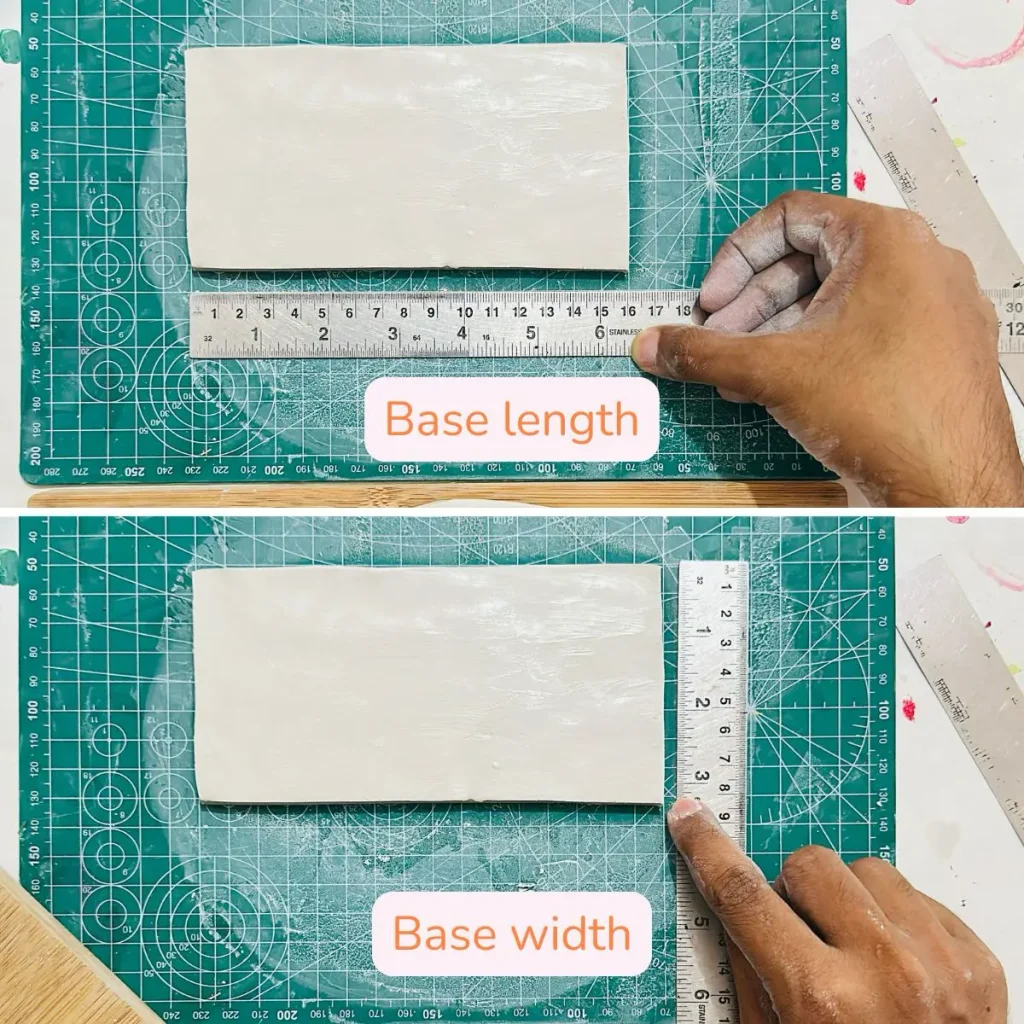
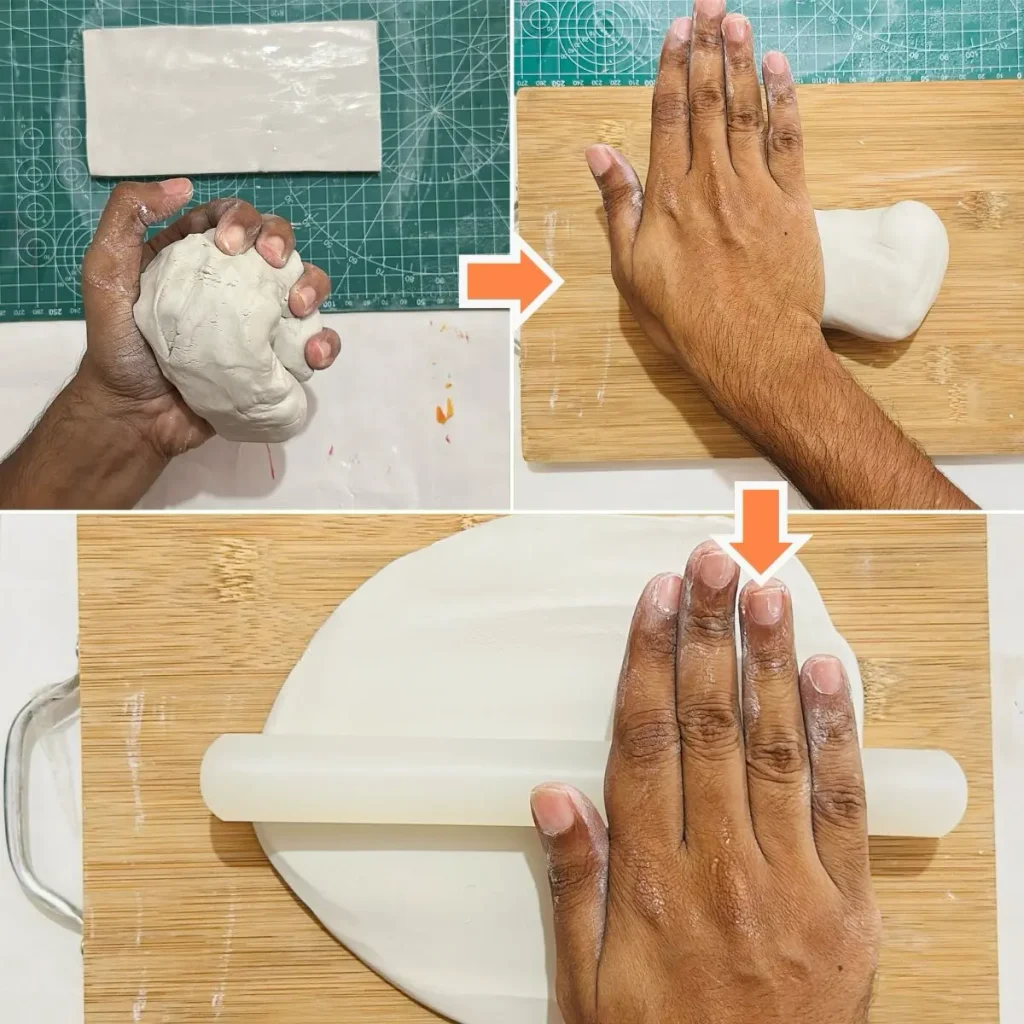
I had to knead and roll another piece of fresh clay to make the sides because the one I previously took was not enough to make all. I rolled the second clay piece to an even thickness as before and cut along the outlines to make the slabs.
After making the paper templates, place them on your rolled clay slab and cut along the edge which is super easy. 🔪
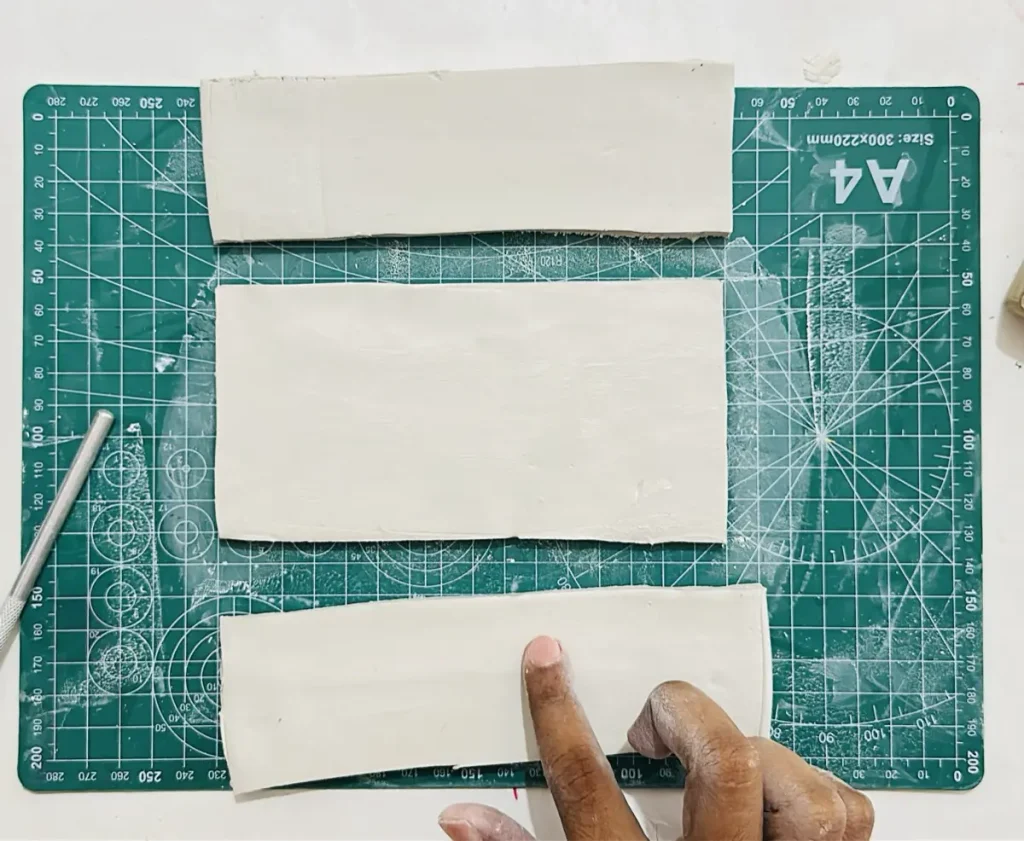
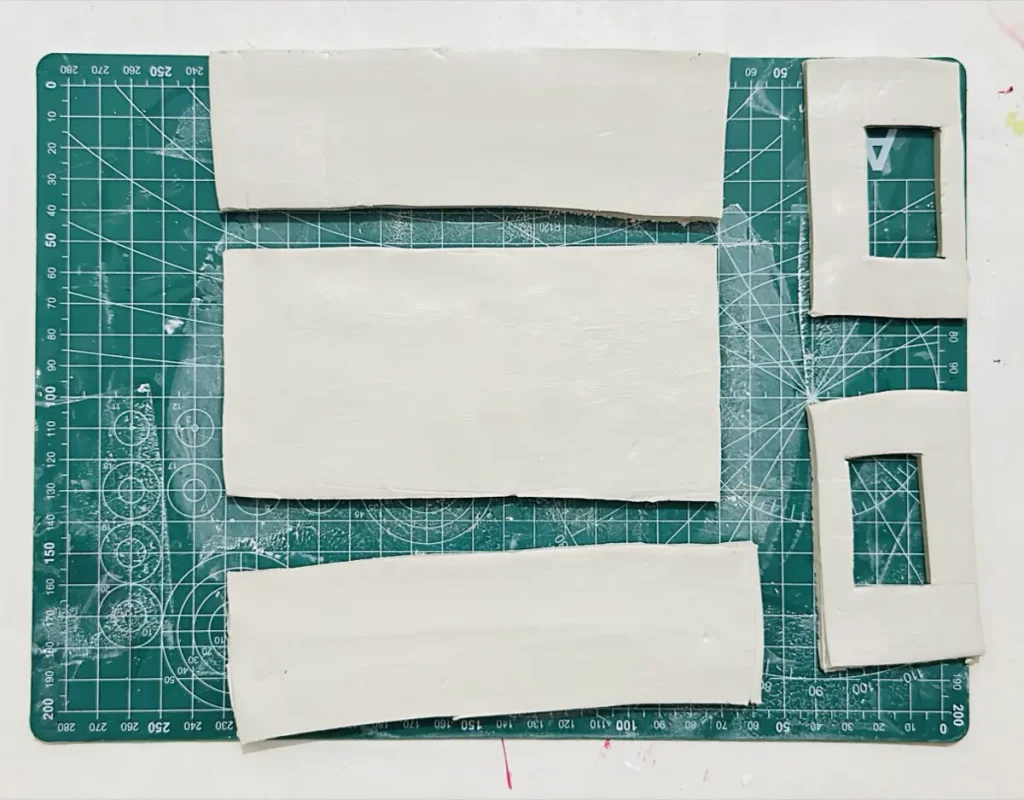
Smooth out the clay slabs you cut to remove tiny scratches that occurred during cutting. ✨
Step 4: Letting the slabs firm up
Don’t attach the clay slabs directly because they are still too wet and unable to stand up as steady as walls. ⏳
Tip: For steady walls with no unbalance or slumping, you need to let clay slabs sit for around 30-45 minutes which is crucial. 💡
Wait until clay slabs become leather hard before attaching them for better, steady and straight walls. 🧱
Step 5: Scoring, slipping, and attaching the box walls
Now it’s time to attach the clay slabs we made. You cannot attach two air dry clay pieces just by pressing them together even though they look sticky. 🧩
As the clay dries, it loses the joints due to the shrinkage. To avoid that you need to make the joint with more adhesion. That’s where the score and slip method comes in.
First you need to score the areas of air dry clay you’re going to attach. This helps to make a better grip between the surface that won’t lose due to the shrinkage as the clay dries.
Next apply an air dry clay and water mixture which is known as the “slip” on top of the scored surfaces. This slip paste acts like a cement/glue for the air dry clay. You can make it by mixing tiny pieces of air dry clay with an equal amount of water and mixing them thoroughly and letting it sit for hours. This makes a creamy paste which is the “slip. 🥣
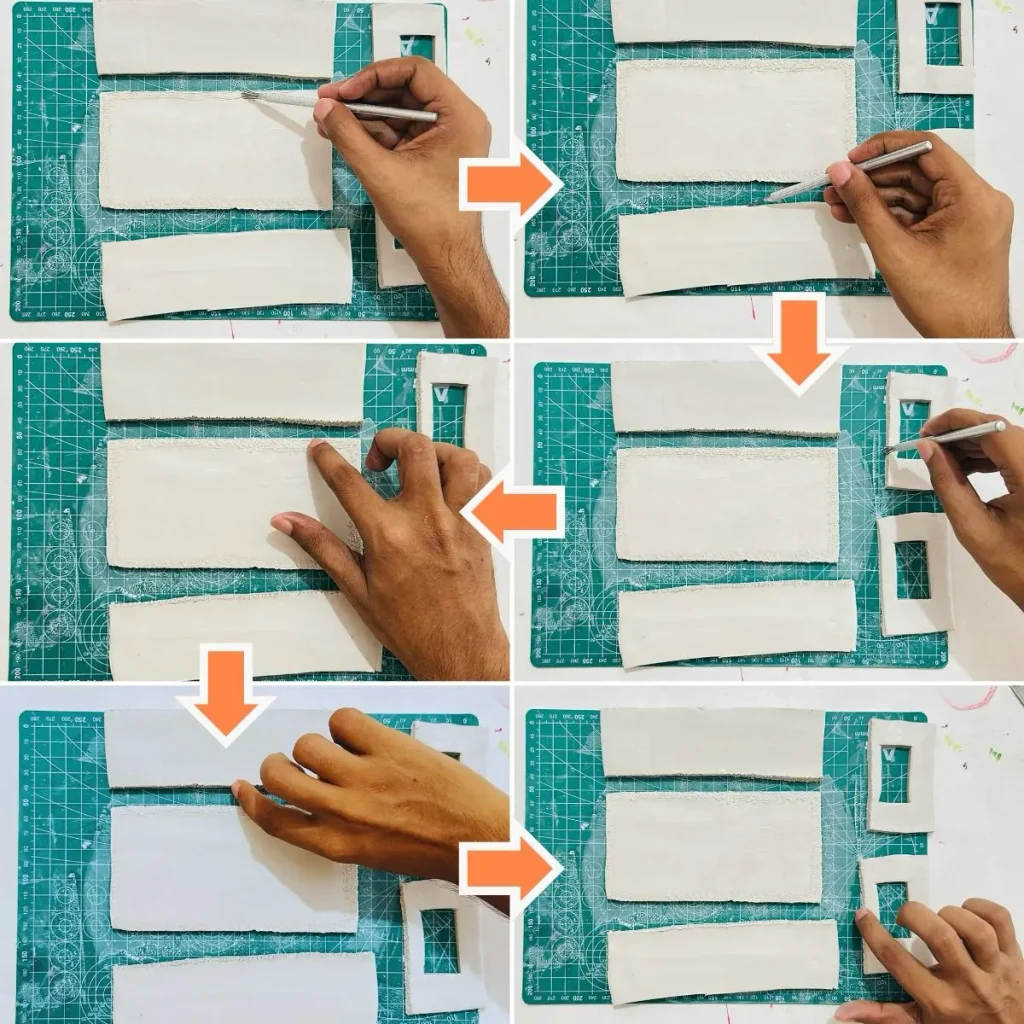
If you don’t have the slip, don’t worry. Instead you can tap the scored surfaces with a little bit of water. It works just fine. I know it because that’s what I used since I didn’t have the slip. But make sure only to use a little bit of water for tapping the scored surfaces. 💧
First I scored along the corners of the clay slabs that were about to attach. Then tapped the scored surfaces with a little bit of water. 🔪💧
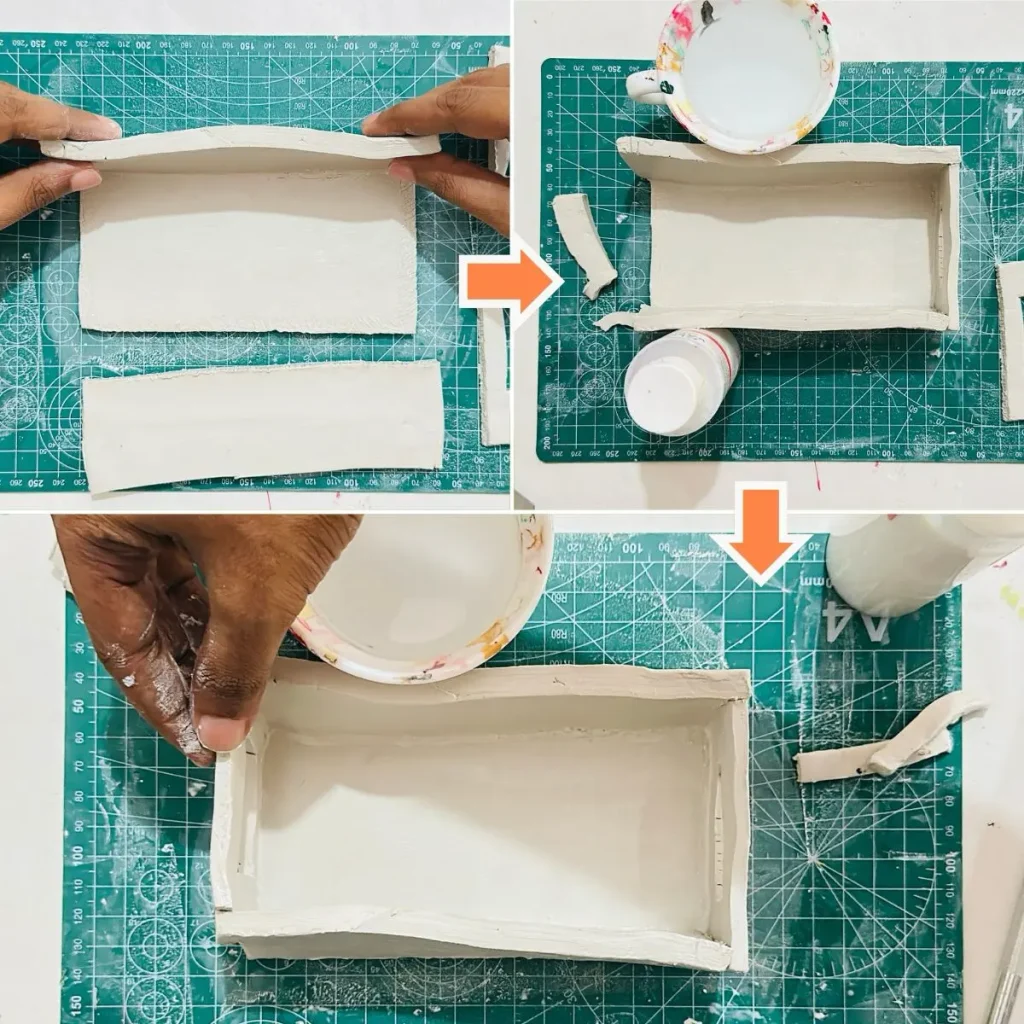
Finally attached the walls to the base and assembled the centerpiece box. Do this carefully because walls tend to slump. Hold the walls you attached for several minutes steady before releasing. 📦
I made a curved shape in the middle by bending the long side slabs a little to the inside using my hands while attaching to make the shape more unique. It’s completely optional btw. You can make the walls straight or curve as you want. 👋
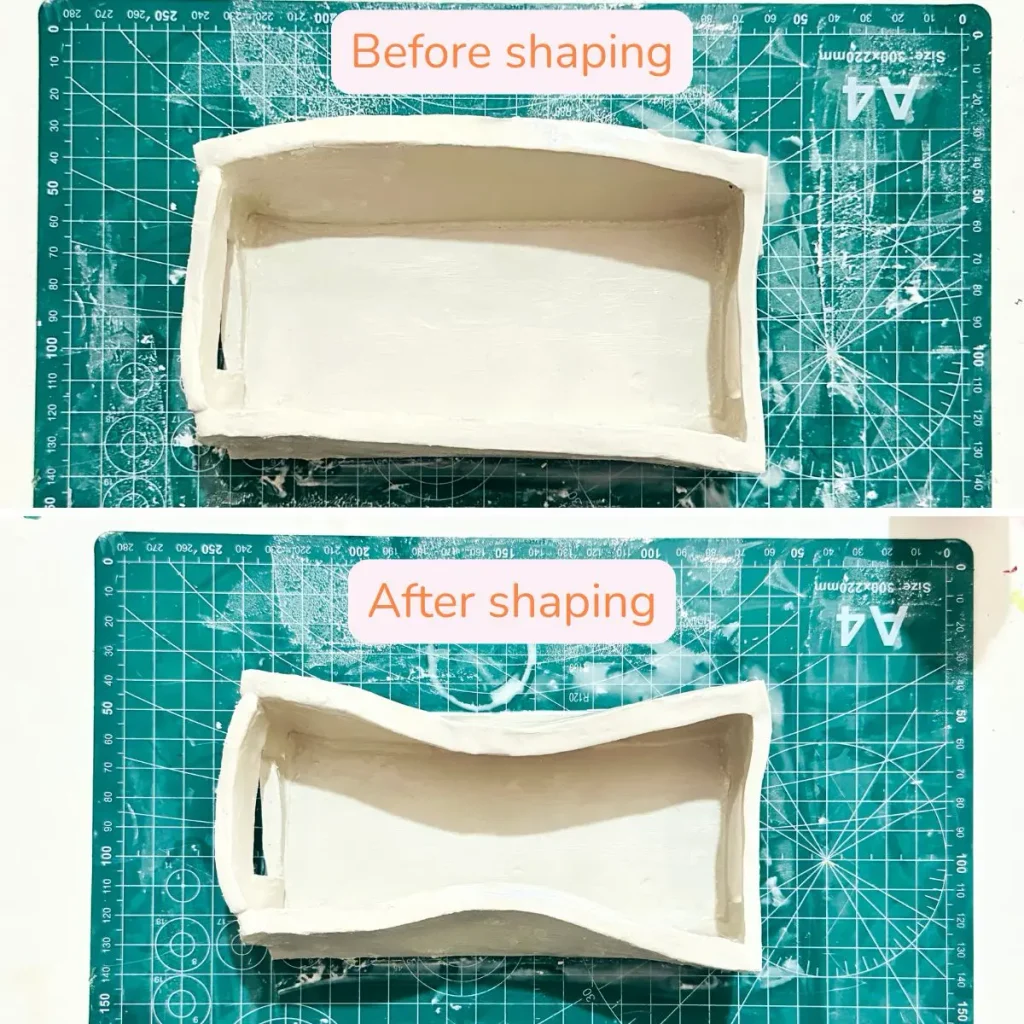
After assembling the box, I smoothed out the walls, base and the edges with a little bit of water to remove tiny imperfections. ✨
Congratulations friend! We made the centerpiece box with air dry clay, but it is still wet and needs to be decorated. 🎉
Step 6: Letting it dry
Now let the centerpiece box you made with air dry clay dry for 48-72 hours. I let mine dry for 3 days because the days were rainy and the humidity was high which slowed down the drying speed. 🌧️⌛
Wet air dry clay has a grey, off white color and is cold to touch. Clay turns into pure white when it is completely dried. So, check the surface after 2 days for any grey patches. If there’re some, leave it to dry for another 24 hours. 👀
Keep in mind to let your air dry clay project dry in a dry, well ventilated area. 🌬️
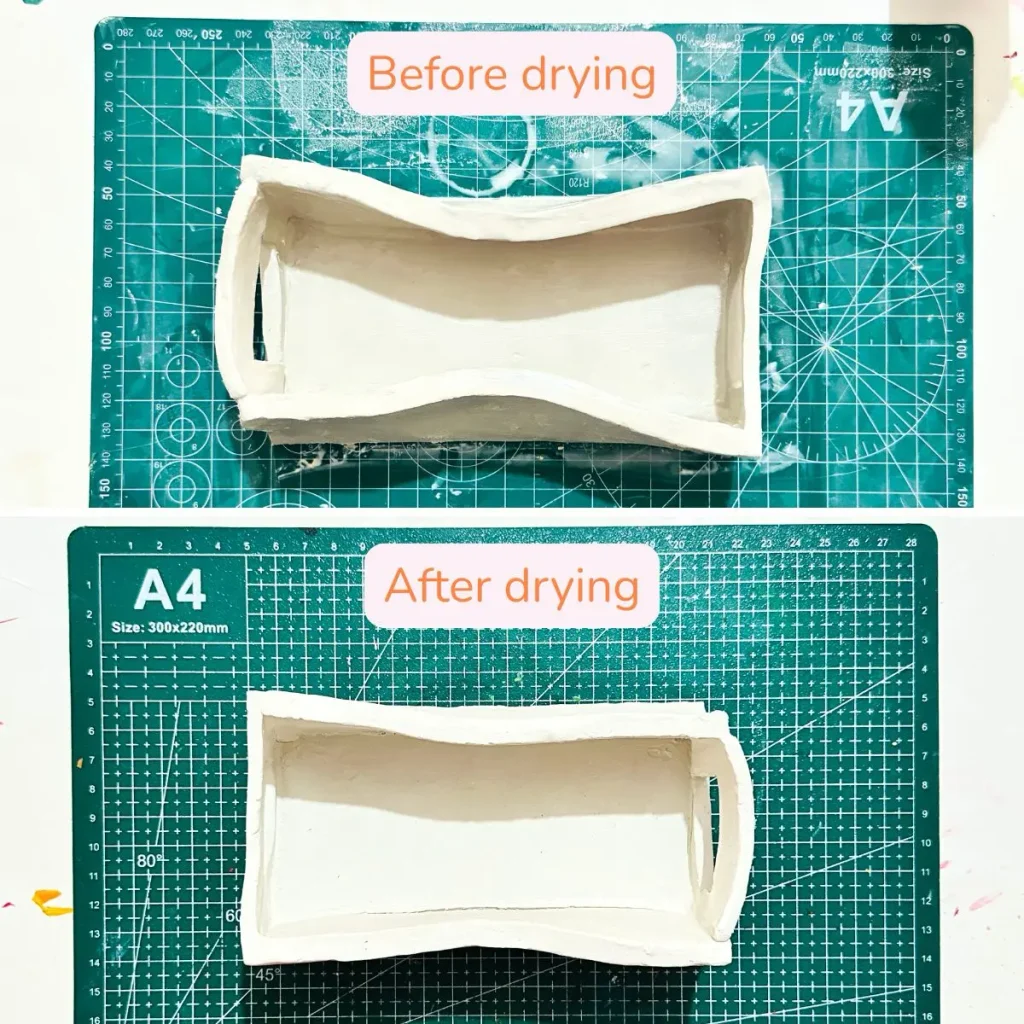
Never ever place it under sunlight, outside or blow your hairdryer to increase the drying speed because that accelerates the rapid evaporation of water which can cause uneven shrinkage and you’ll end up with surface cracks on your beautiful air dry clay piece. 🚫☀️💨
Always let your project dry slowly. If you really want to dry more effectively, flip the piece after 24 hours to even out the air circulation for both top and bottom sides. 🔄
However make sure not to paint or seal your air dry clay piece until it dried fully. Otherwise the paint may start to peel off and hours of your work can get ruined. 🛑
Step 7: Painting the centerpiece box
I used acrylics to paint my Christmas centerpiece box. 🎨
Actually acrylic paint is considered as the best paint for air dry clay because it comes in vivid colors, dries within 2 hours, no need to mix with water for mixing and preparation and most importantly makes a water resistant coating over the project. ✨
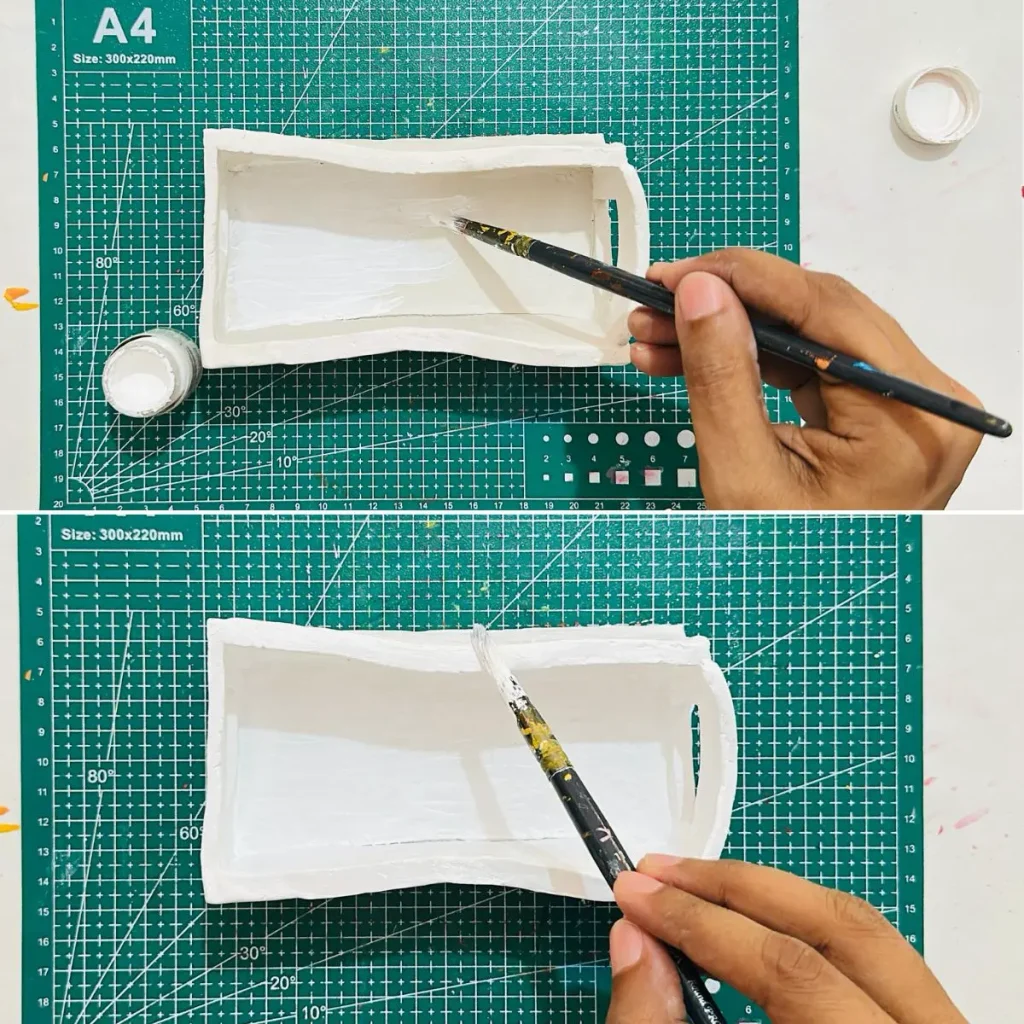
First of all, I painted the whole box with white acrylic color and let it dry for 2 hours. 🤍
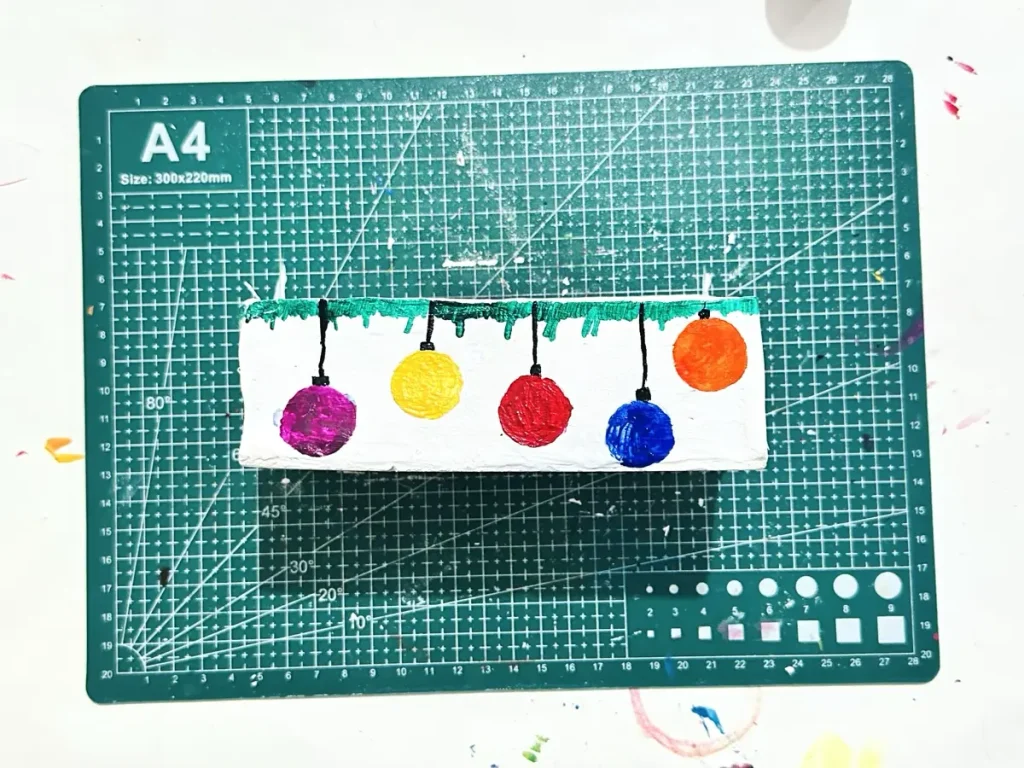
Next I did the decorations with red, blue, black, green and orange colors to give it the Christmas theme look. ❤️💙🖤💚🧡
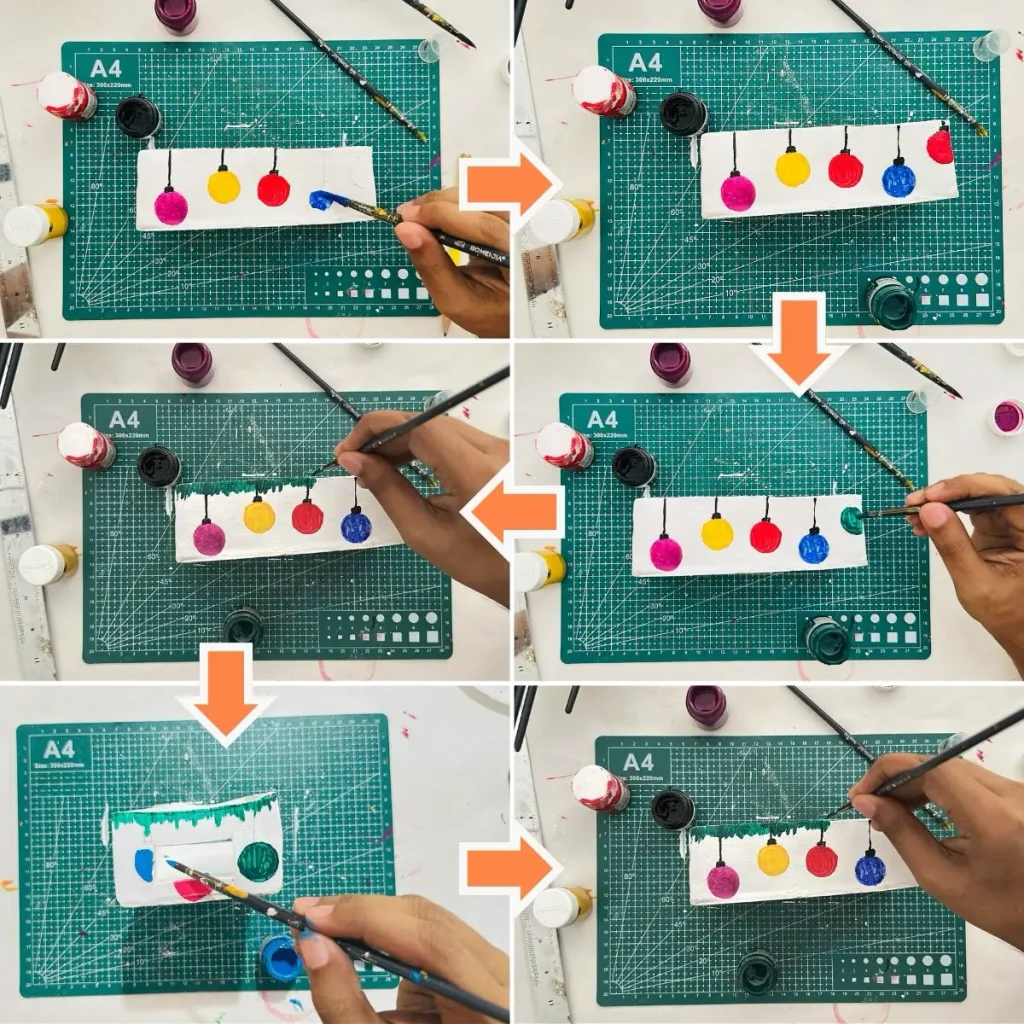
Apply thin and even coat along one direction for a more professional looking finish. 🖌️
Once the painting part is done, I let it dry for 2-3 hours before sealing. ⏳
Step 8: Sealing the box
Not like painting, for sealing you have different options such as gloss varnish, UV resin, polyurethane varnish, Mod Podge and epoxy resin. They all offer water resistant or waterproofing coating and long term protection. 🛡️
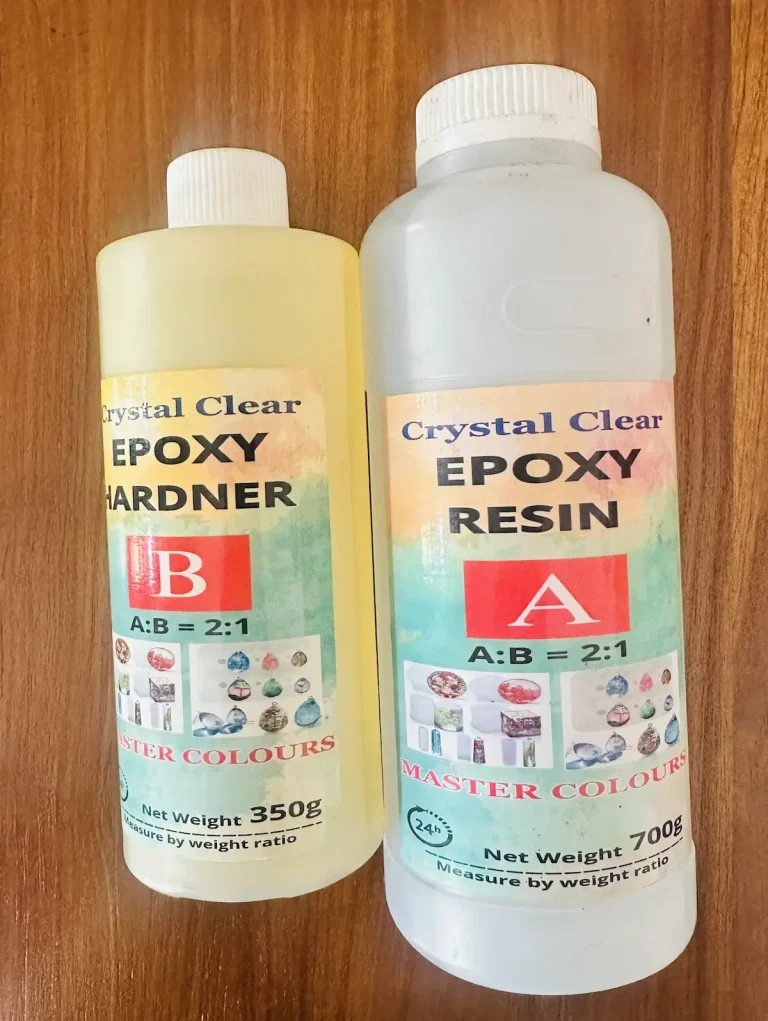
I used gloss varnish but if you want a more glassy finish, try epoxy resin. ✨
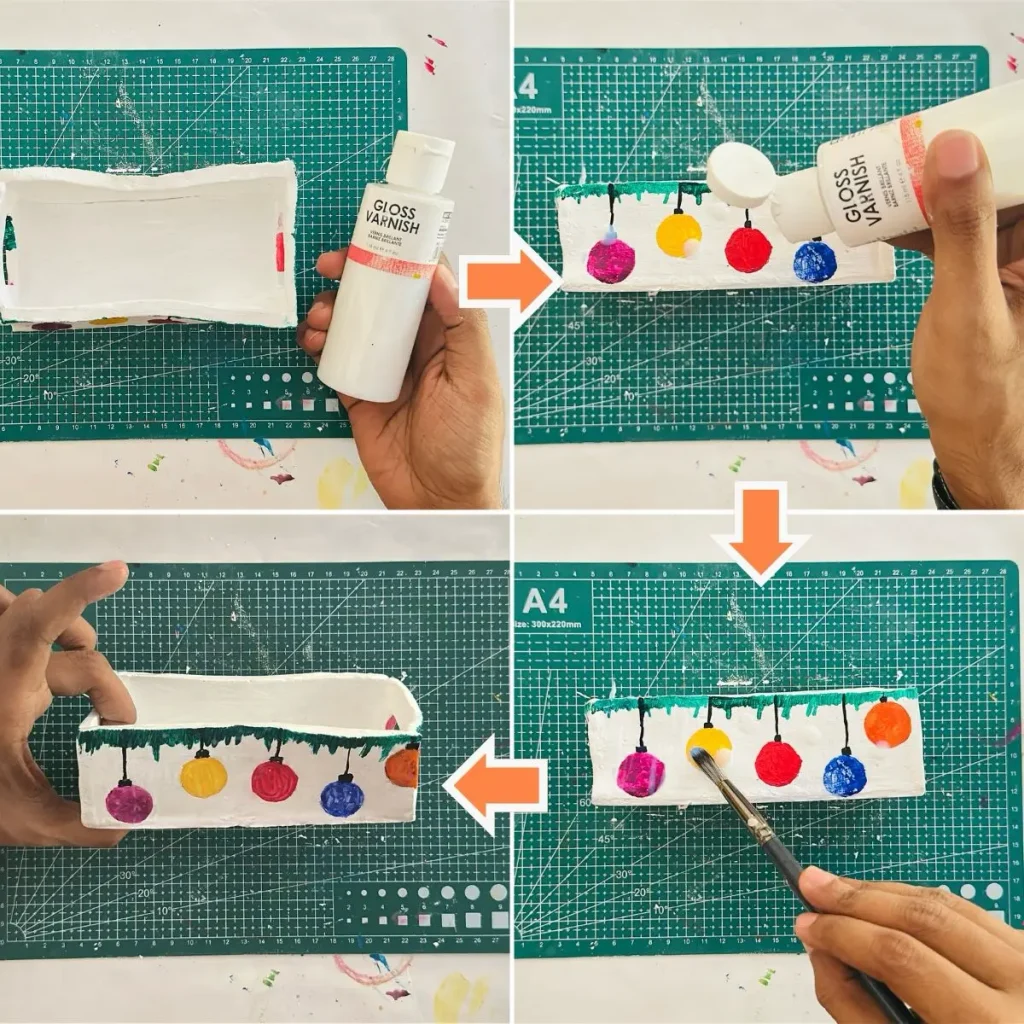
Gloss varnish offers a water resistant coating and protects your air dry clay project long term from weather elements. 🌧️
Apply 1-2 coats of thin and even coats of sealant in one direction and let each coat dry for 24 hours before applying another. 🖌️
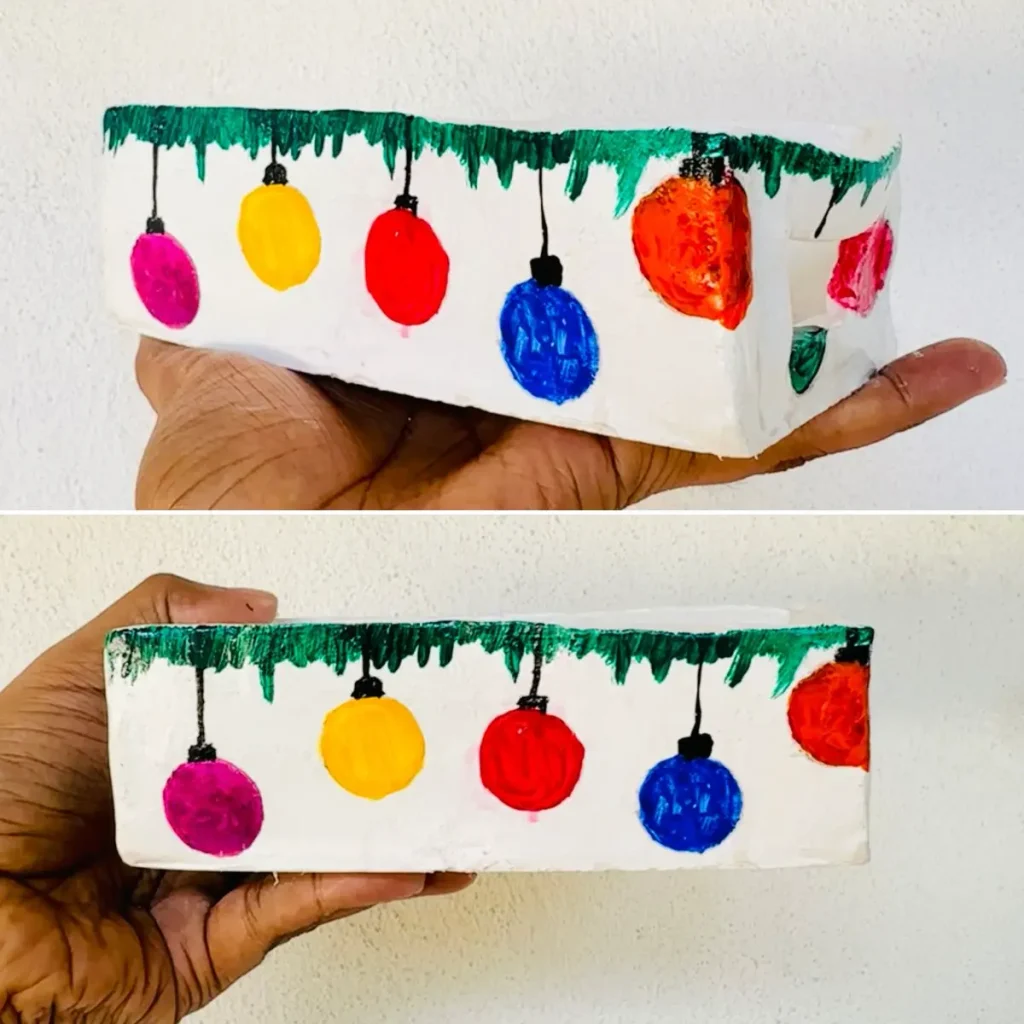
Make sure not to apply sealant before the previous layer dries fully to avoid forming tacky spots and mushy core. ⚠️
Even after sealing your air dry clay project, never ever place it outside because harsh weather conditions damage the outer sealer and water will find a way to sneak inside of your air dry clay project and weaken the clay. Weakening of clay results in surface cracks and loose joints. Therefore always place your air dry clay items inside even after sealing it with the best sealer in the world. 🏠
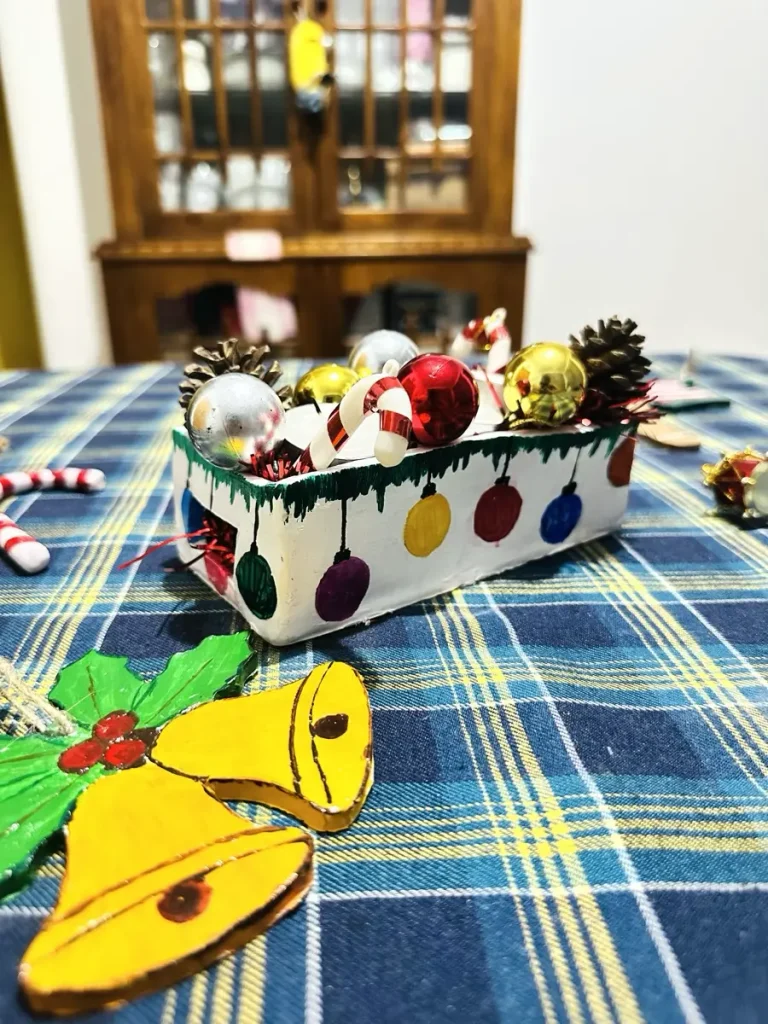
Once the sealer is dried and cured, you’ll notice the real difference and you can start to admire how beautiful the thing you made. Your beautiful Christmas centerpiece box! 🌟
Final thoughts
Now it’s time for you to make your Christmas centerpiece box and fill it up with cute christmas ornaments, mini candles, candy canes and ribbons you got. 🎁🕯️🍬
Tip: Make sure not to place the candles too near to the walls of your centerpiece box because air dry clay cannot resist heat. Most air dry clay is made of paper fibers which are flammable. ⚠️🔥
Then place it on your holiday table. Everyone will surely admire it and you will have to talk about it for hours. 💬
Give it a try. I’m hundred percent sure you’ll be able to make a better one than mine. If you found out new tips and tricks to do things better please don’t forget to mention them in the comments section. Our community loves to hear them. 💬❤️
Be sure to tag @clayandmestudios in your Christmas centerpiece box. I sure love to see them when you do. I’ll see you next time with another cool project! Cheers! 🤟🏾
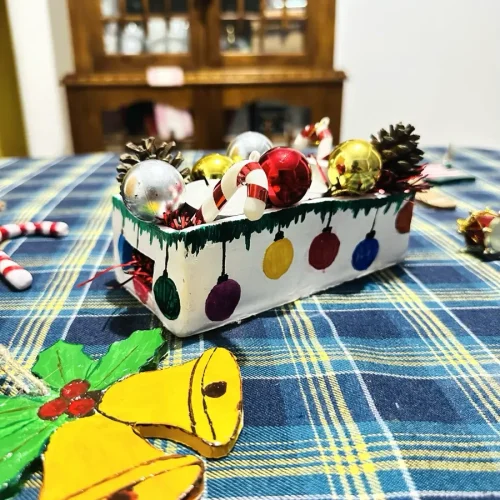
DIY Air Dry Clay Christmas Centerpiece Box (Easy Holiday Tutorial)

Supplies Needed
Air dry clay (DAS, Mont Marte, Jovi or any reputed brand you can find is okay)
Acrylic rolling pin
PVC mat or silicone mat (or non-stick surface)
Clay crafting tools 🛠️
Clay cutting tool (X-acto knife or small knife) 🔪
A ruler 📏
Cup of water or spray bottle 💧
Acrylic paints 🎨
Gloss varnish ✨
Paintbrushes 🖌️
Paper towels 🧻
Optional: Sponge or silicone sculpting tool (or you can use your finger) 🧽
Instructions
Step 1: Condition & Knead
- Add a drop of water and knead well for 3–5 minutes to keep it crack-free. 🍕💧
Step 2: Roll the Clay
- Roll to 1/4″–5/16″ thickness on a non-stick mat, rotating as you go. 📏🔄
Step 3: Cut the Pieces
- Use paper templates to cut out your base and wall panels easily. 📄✂️
Step 4: Firm Up
- Let slabs sit for 30–45 minutes until leather-hard so walls won’t slump. 🧱⏳
Step 5: Score, Slip & Assemble
- Score joint edges, apply slip or water, and press the box together! 📦🧩
Step 6: Dry Slowly
- Allow 48–72 hours to air dry away from direct heat or hairdryers. 🌧️⌛
Step 7: Paint & Decorate
- Use colorful acrylic paints for a fun holiday look. ❤️💚🎨
Step 8: Seal & Protect
- Apply gloss varnish or resin to protect your masterpiece! ✨🌟