
Never ever buy ornaments for your christmas tree again. As clay artists we should make things ourselves which are handmade, unique and make us proud when hanging them in our christmas trees.
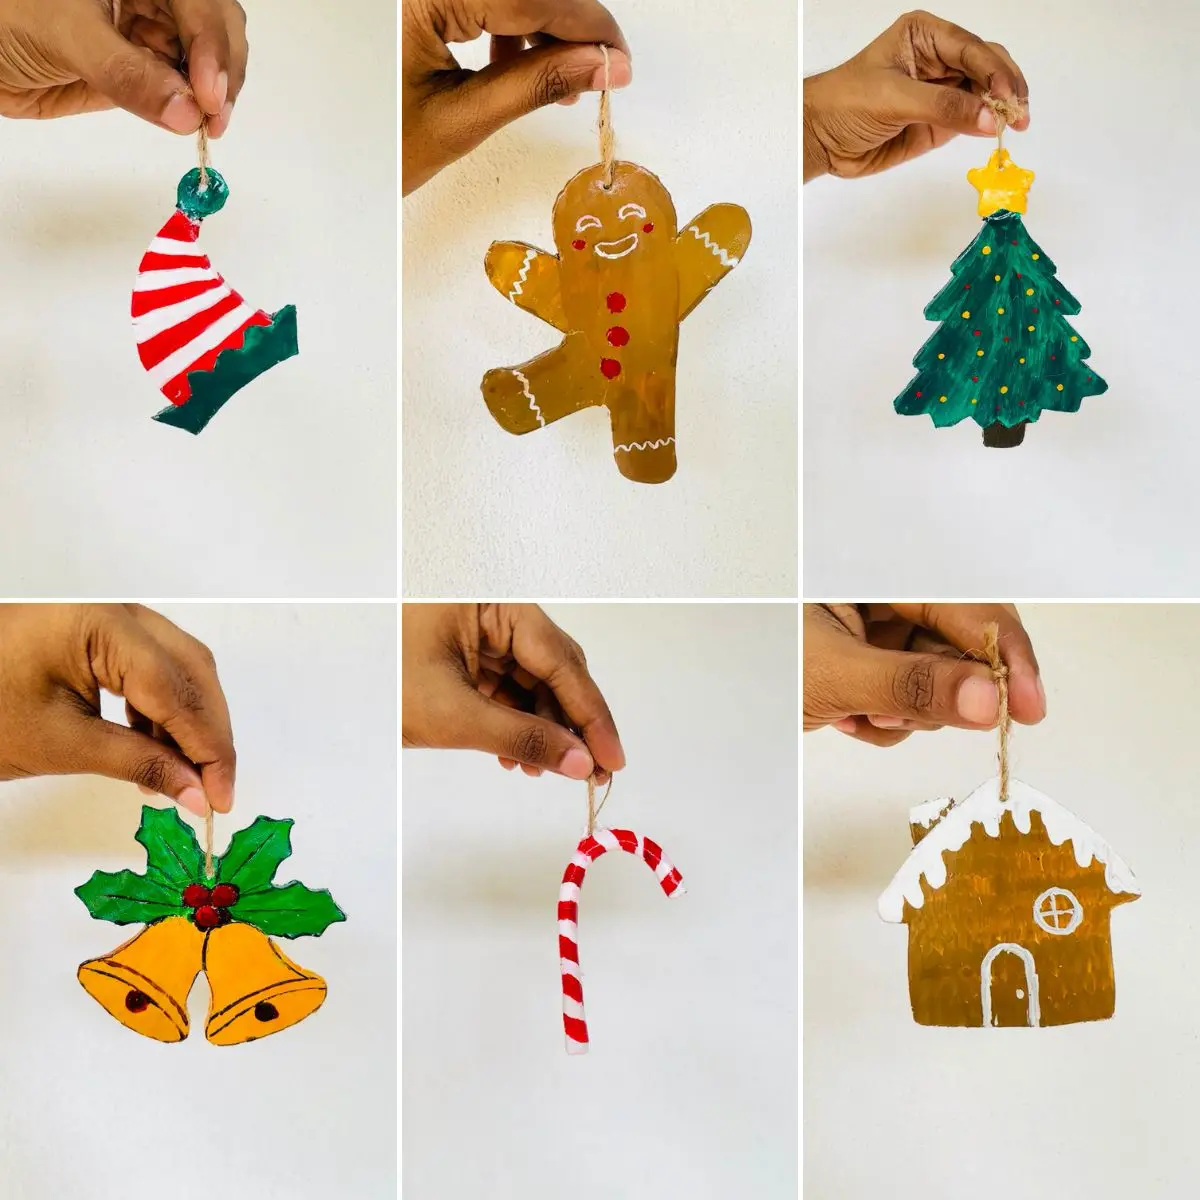
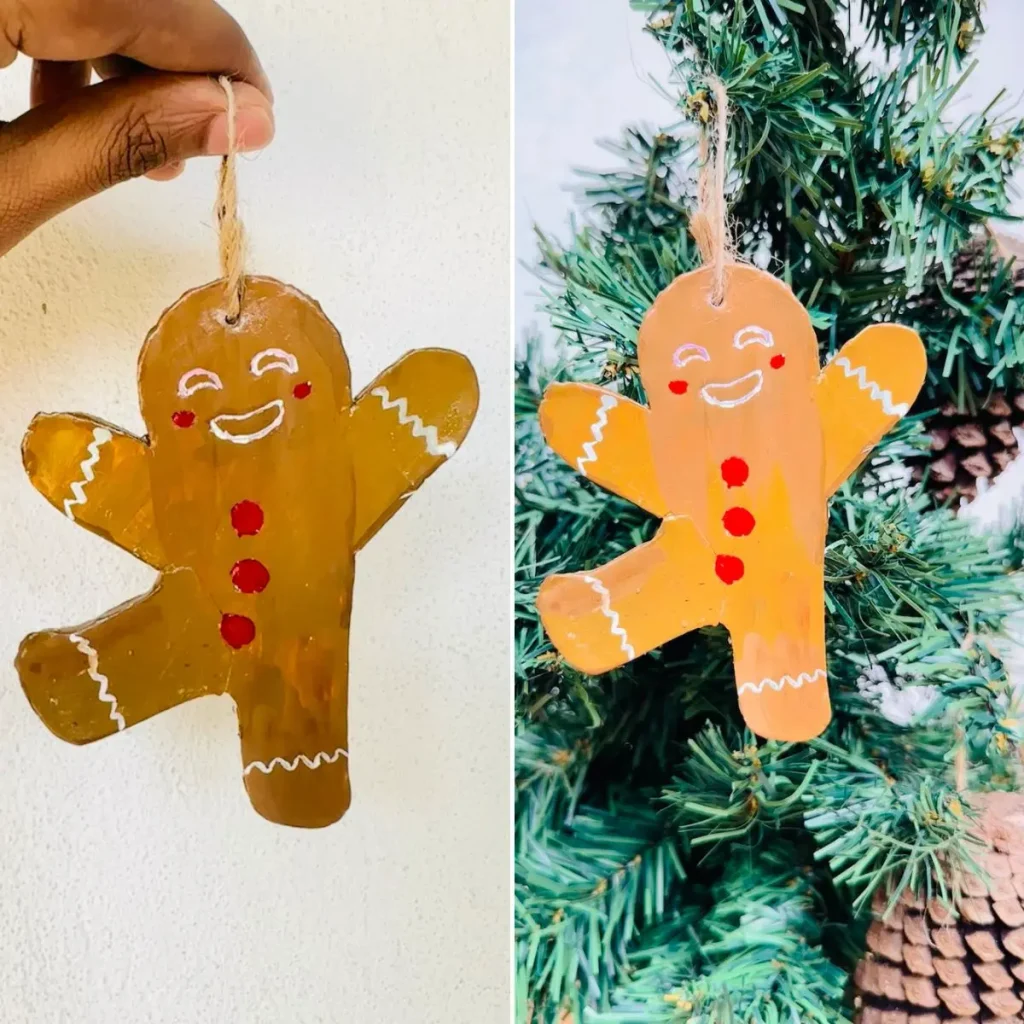
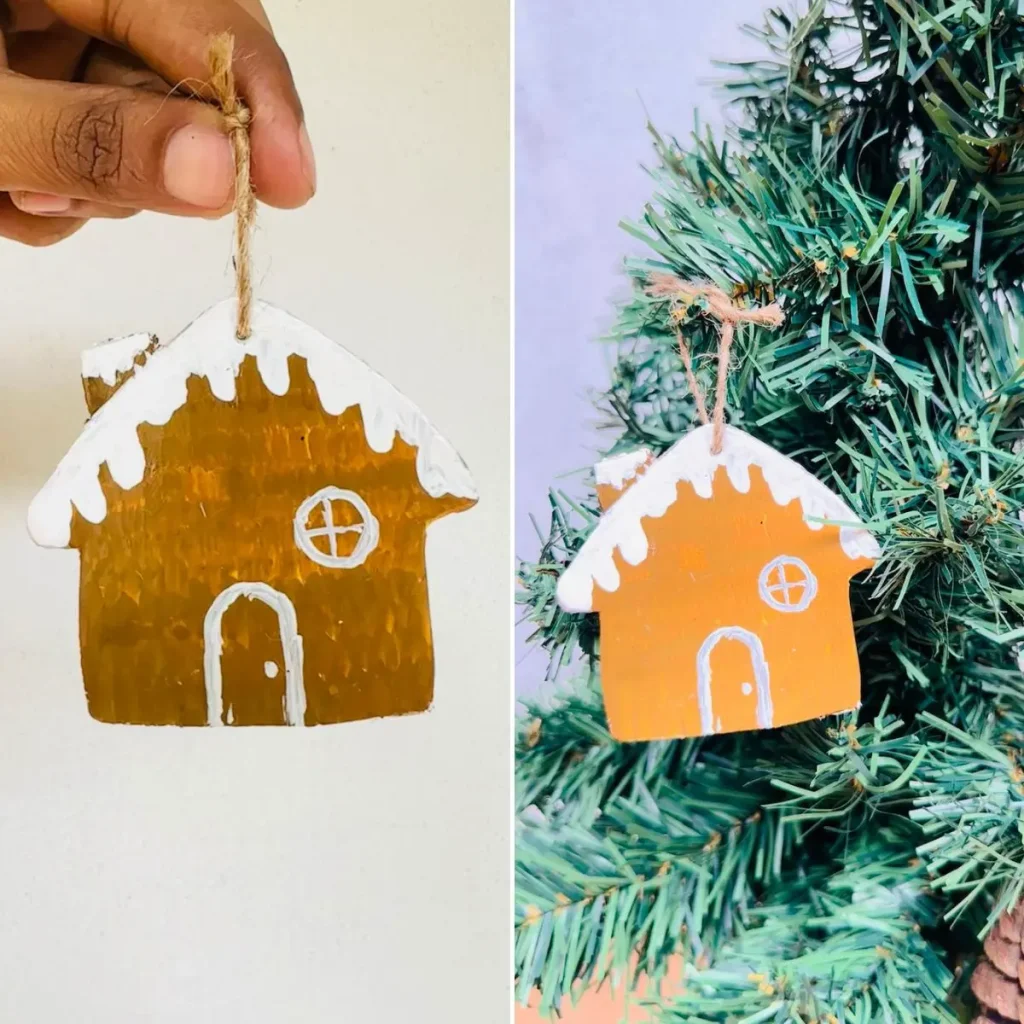
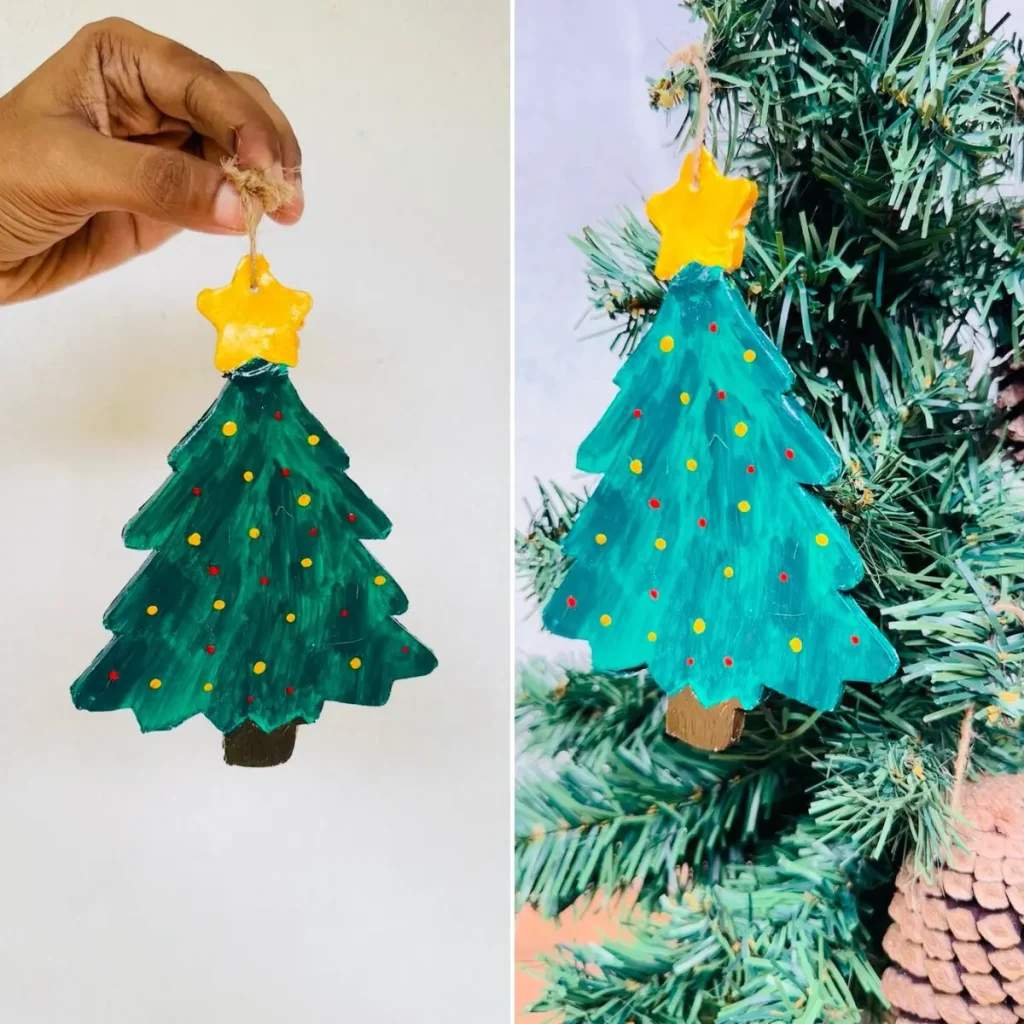
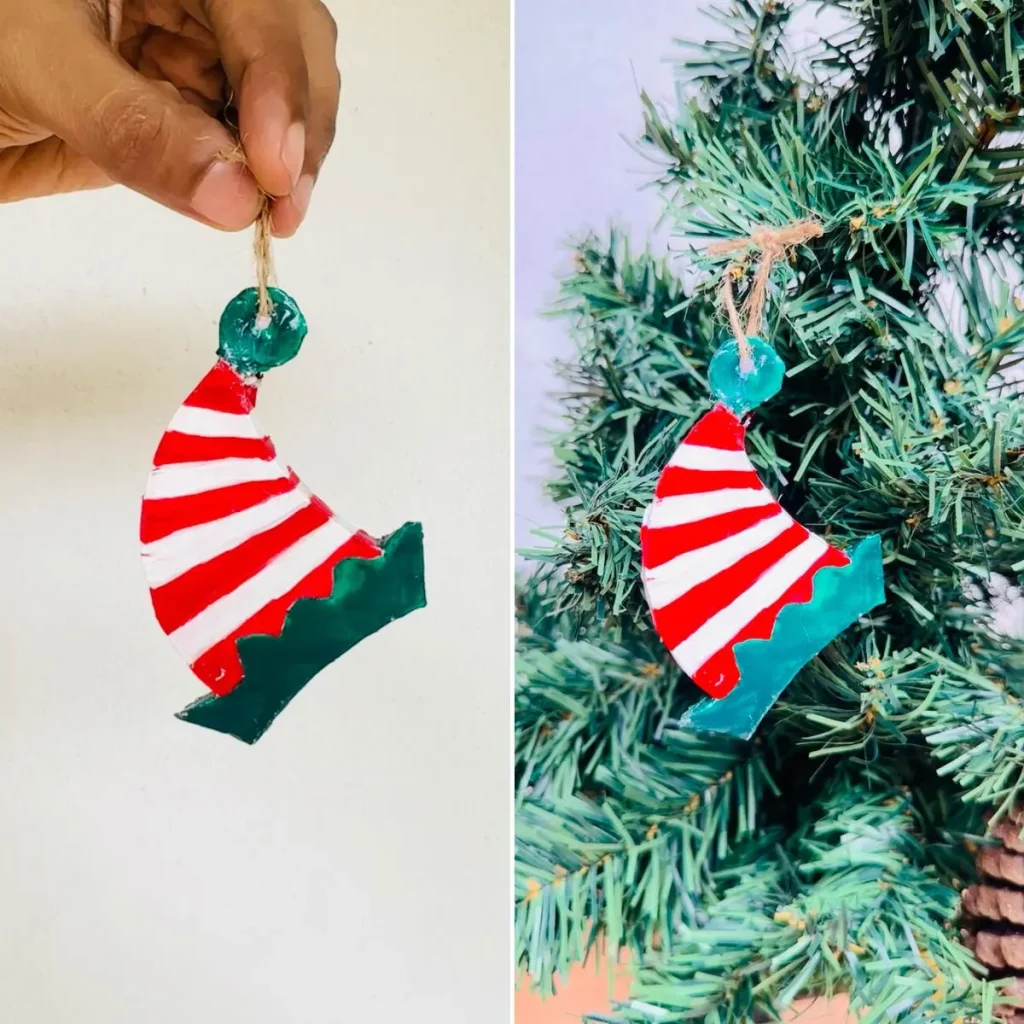
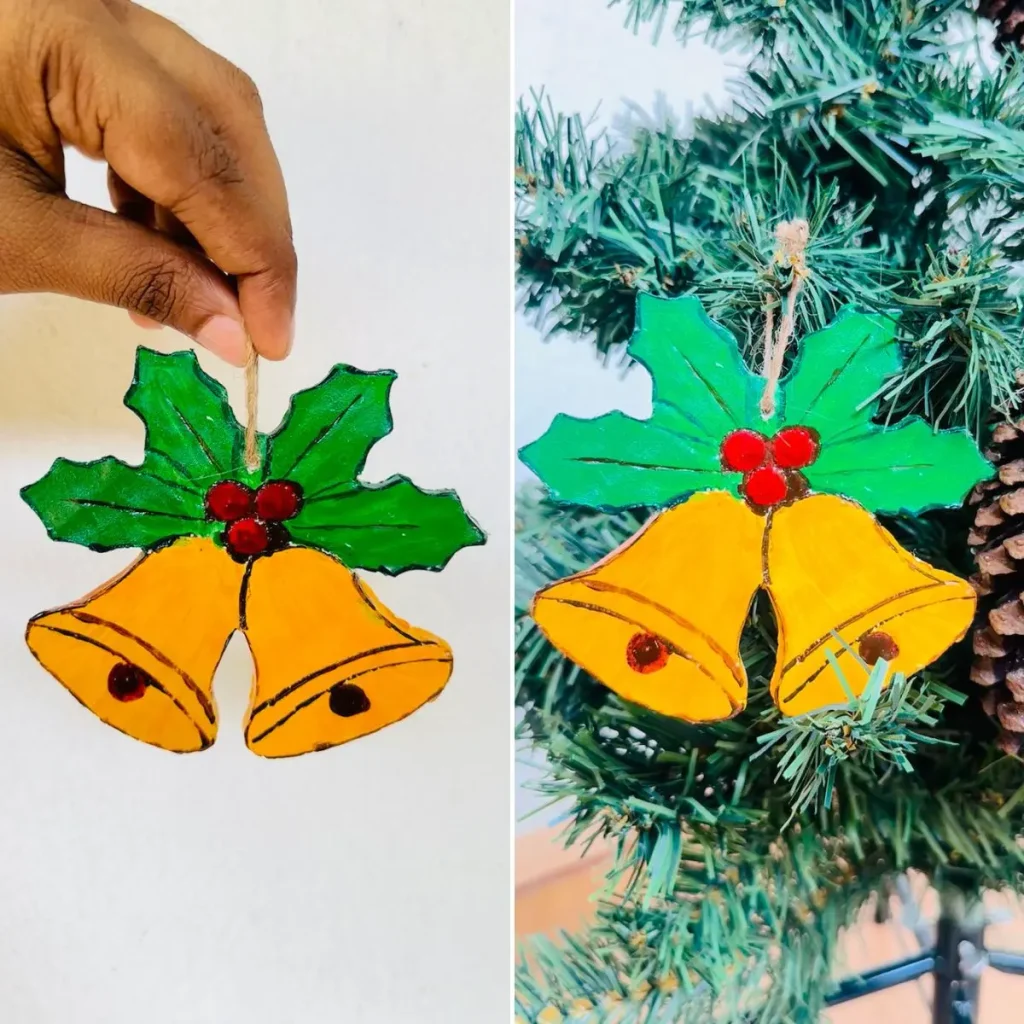
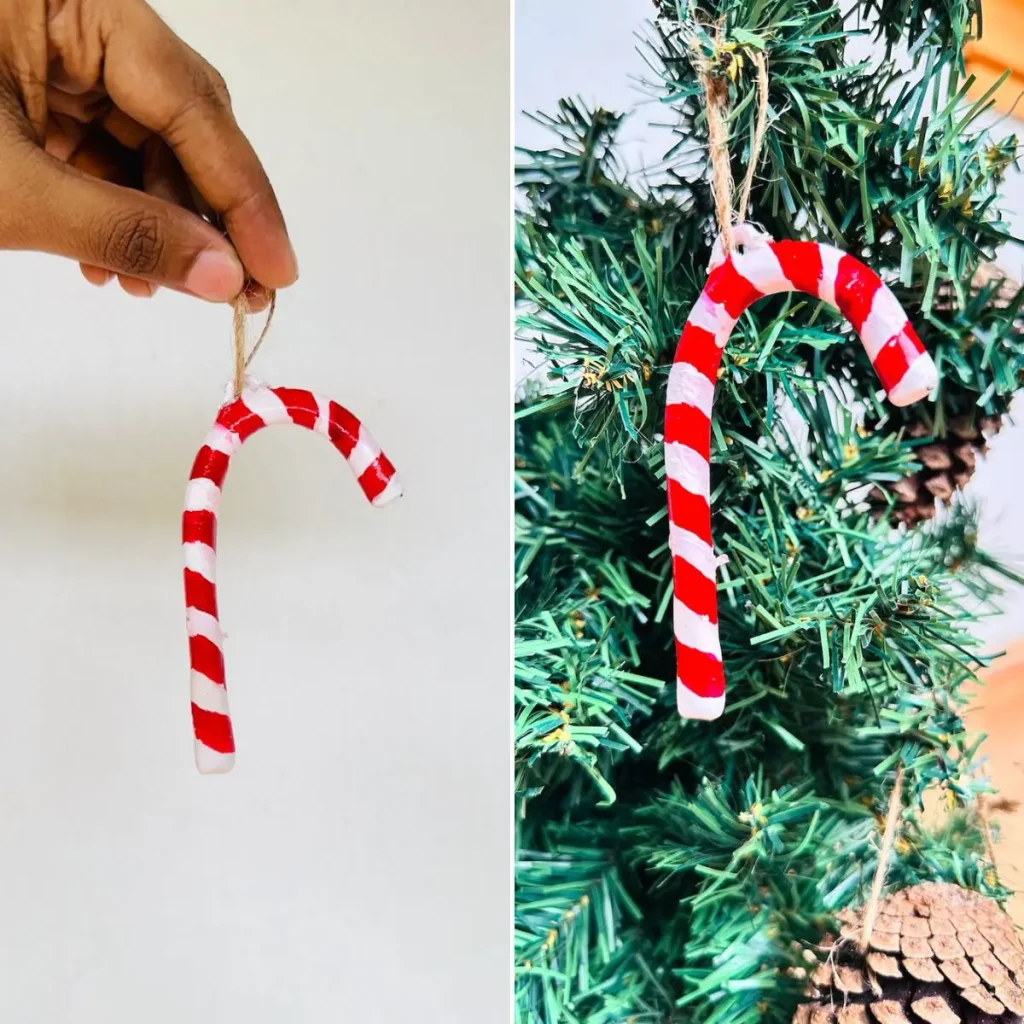
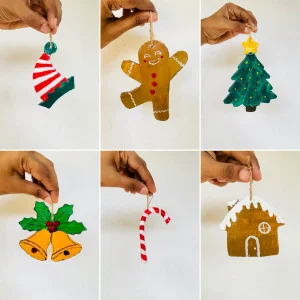
Today let’s make ornaments for your christmas tree using air dry clay. I have made a cute little christmas tree 🎄, a gingerbread man 🍪, a gingerbread house 🏠, a candy cane 🍬 and christmas bells 🔔 only using air dry clay. It was super fun! 🎉
In this article I’m gonna tell you each and every step I followed, tips and techniques I used to make them as a beginner. Yes, I’m also a beginner like you who is still learning, therefore no expert, complex steps will be shared. I guarantee you that because I too hate them.
At first I thought it’ll be a difficult task to make them because shapes need to be perfect and the colors also need to be highly accurate to match this Christmas season. Trust me! The process is super simple and easy to tell you. Start making with me! ✨
Let’s jump in! 🚀
Why air dry clay?
Air dry clay is the best clay if you’re a beginner. Let me tell you why.
Air dry clay is,
- Easy to shape.
- Easy to bend.
- No kiln or baking needed. (dries in the air)
- A lot cheaper than other clay types.
- Easy to fix mistakes.
I know you have heard a lot of good things about air dry clay and polymer clay. But air dry clay is better if you’re new to this because it is 2x or sometimes 3x cheaper than polymer clay.
When clay is cheap, we have enough room to have fun with it, experiment with it. They help to learn new clay skills and get better use to it. But during the process of learning a lot of clay will be wasted. Who likes to waste when the material is expensive right? No one. This is the main reason why air dry clay outperforms polymer clay for beginners.
Read: The Pros and Cons of Air Dry Clay: A Complete Beginner’s Guide
You can easily fix small scratches, micro cracks and bumps of air dry clay by smoothing out the surface with a little bit of water. They won’t be permanent if you act soon enough.
Yes I know I know, people and online gurus don’t like air dry clay because they crack and crumble so easily. I don’t say they are completely wrong.
But trust me! If you follow the correct procedure and techniques you’ll have nothing to worry about. People make masterpieces with air dry clay. So you have nothing to worry about. I’ll teach how to avoid air dry clay from cracking by following the right techniques which are specific to this project. But if you learn to know in depth about the cracking of air dry clay and how to stop it, read this one.
In order to avoid clay from crumbling, read this one.
Tools and materials needed
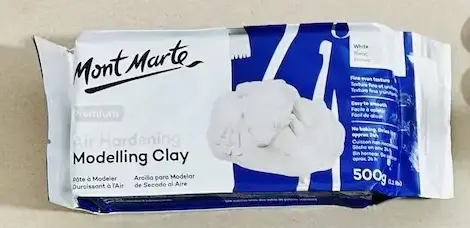
- Air dry clay (DAS, Mont Marte, Jovi or any reputed brand you can find is okay)
- Acrylic rolling pin
- PVC mat or silicone mat (or non-stick surface)
- Clay crafting tools
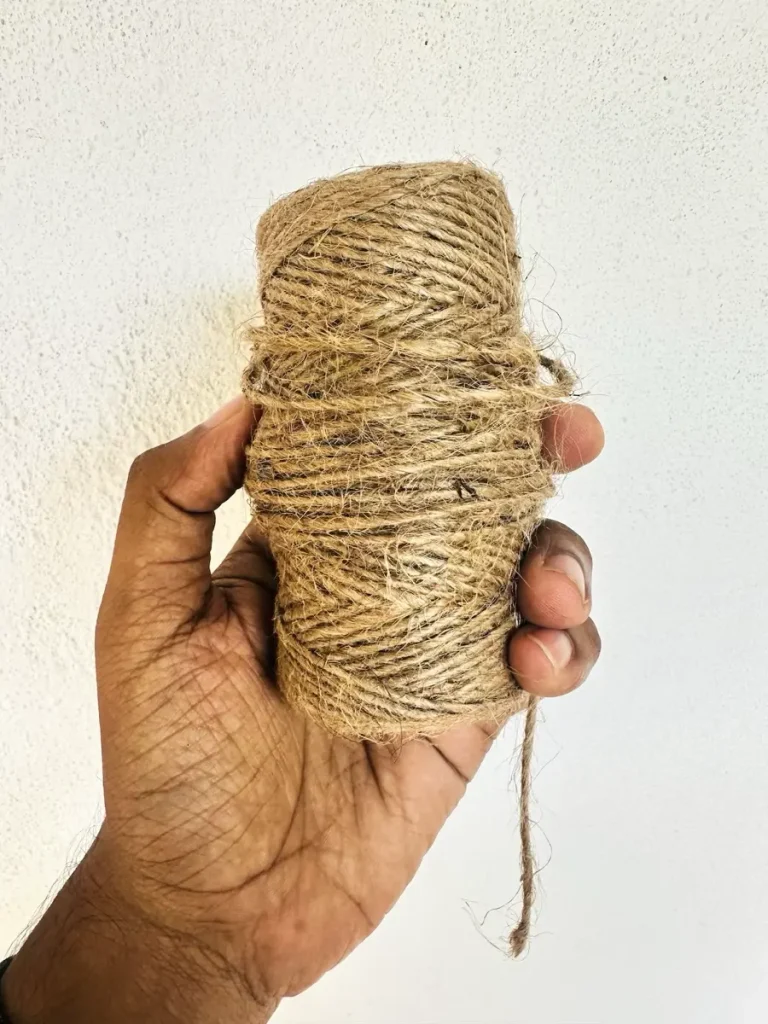
- Wool yarn
- Clay cutting tool (X-acto knife or small knife)
- Cup of water or spray bottle
- A4 size paper
- Acrylic paints
- Gloss varnish
- Paintbrushes
- Paper towels
- Optional: Sponge or silicone sculpting tool (or you can use your finger)
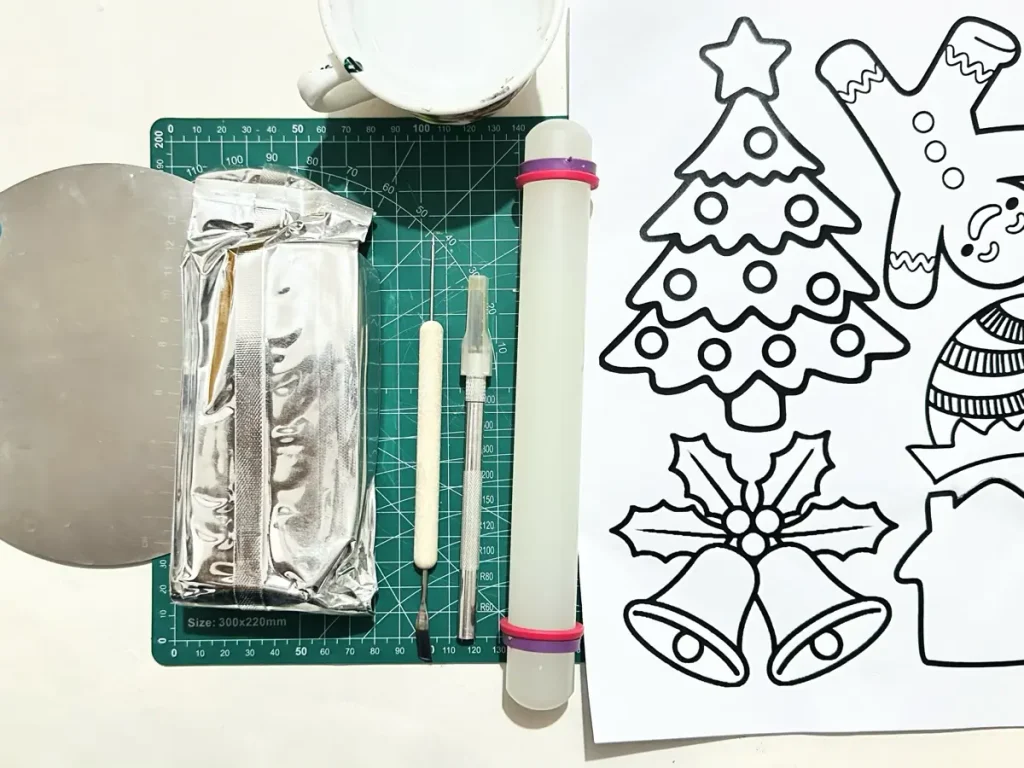
If you couldn’t find any of the above tools, open each drawer in your kitchen please. You’ll find a handful of items that can replace above clay crafting tools. Air dry clay projects need to be budget friendly. Use toothpicks, small knives and cutting boards if you don’t have any of the above as suitable.
Air dry clay christmas ornaments tutorial video
I have filmed everything I did during this project and uploaded it for your help. Watch this video tutorial as you make to get a better understanding about the project with this written tutorial.
Feel free to watch and make fine christmas ornaments! 📺
Finished watching the video? Let’s have a look at the detailed written step-by-step guide.
Step by step clay christmas tree ornaments tutorial
Before starting, open all the windows of your working room or go to a well ventilated area. 🪟 I don’t want you to cough during the process because of fine air dry clay particles. 😷
Step 1: Condition the clay
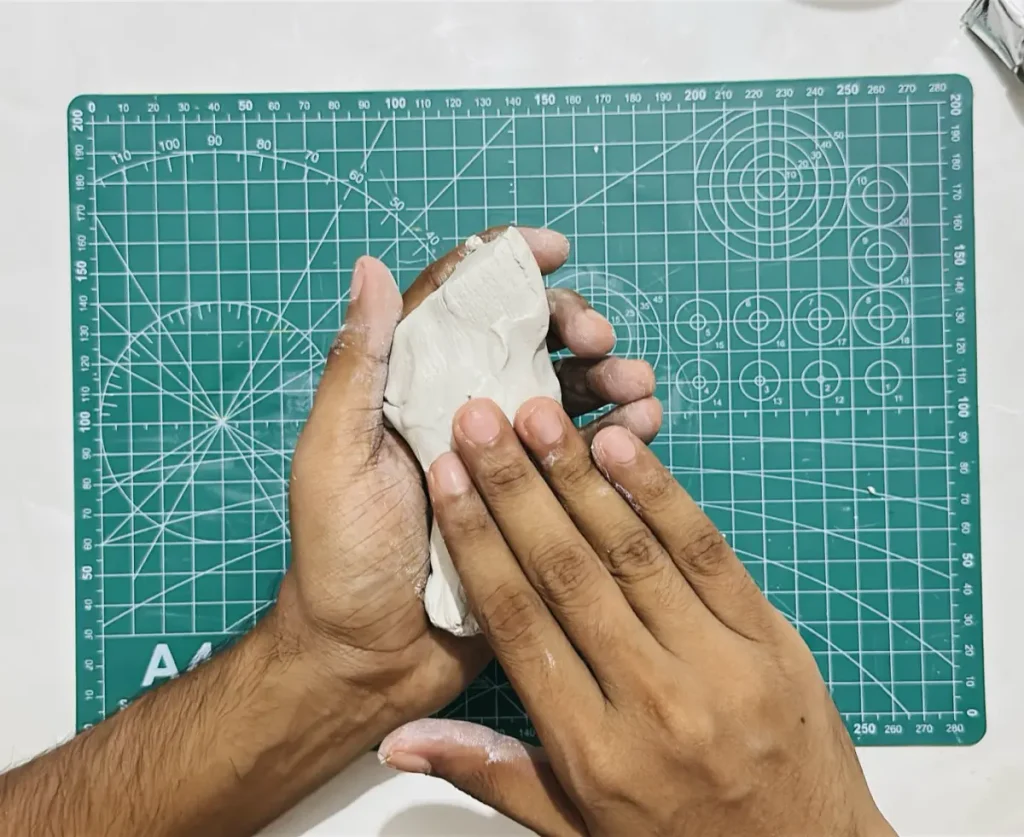
Conditioning air dry clay is must before you start making any project. Take a fresh piece of clay out from the package and tap a little bit of water on the surface.
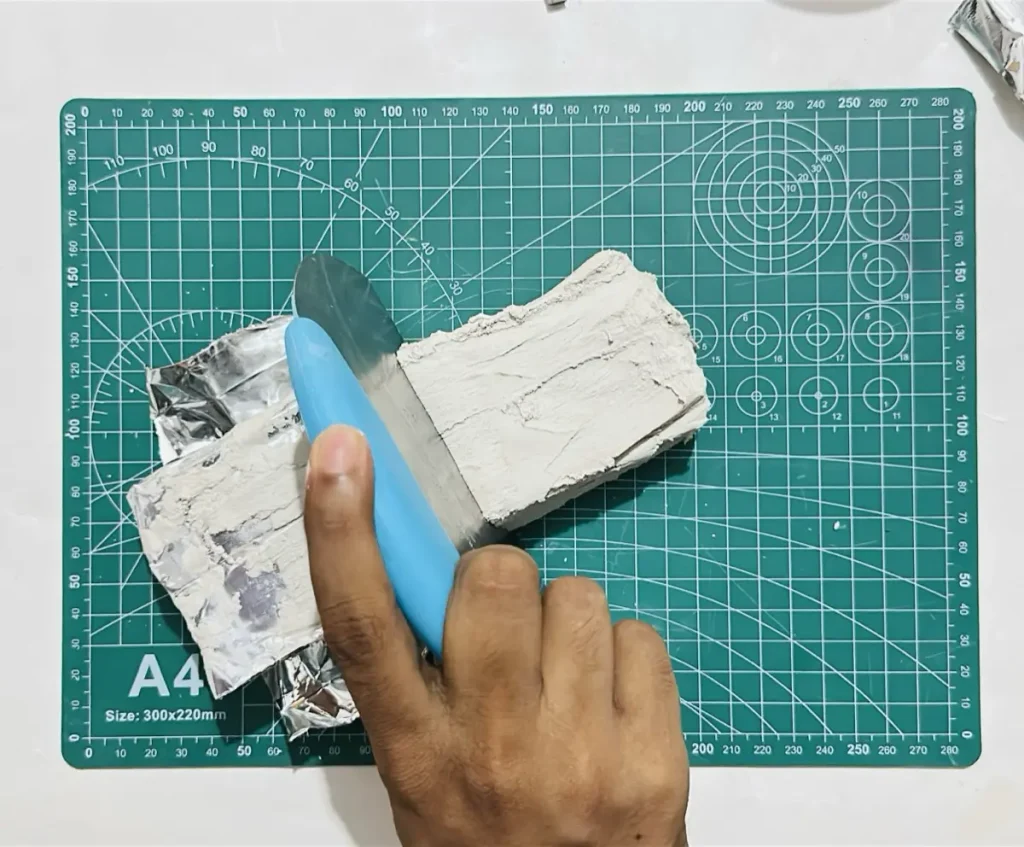
Make sure to take a big chunk of clay piece because we gonna make 5 ornaments from one clay piece.
Conditioning makes the clay soft and easy to knead. Plus, it gives the reduced moisture of the air dry clay during the shipping.
Step 2: Knead the clay
Kneading helps to make the clay soft, easy to shape and most importantly avoid it from cracking as the clay dries.
Knead your air dry clay piece using pull, push and press techniques like making a pizza dough while adding droplets of water.
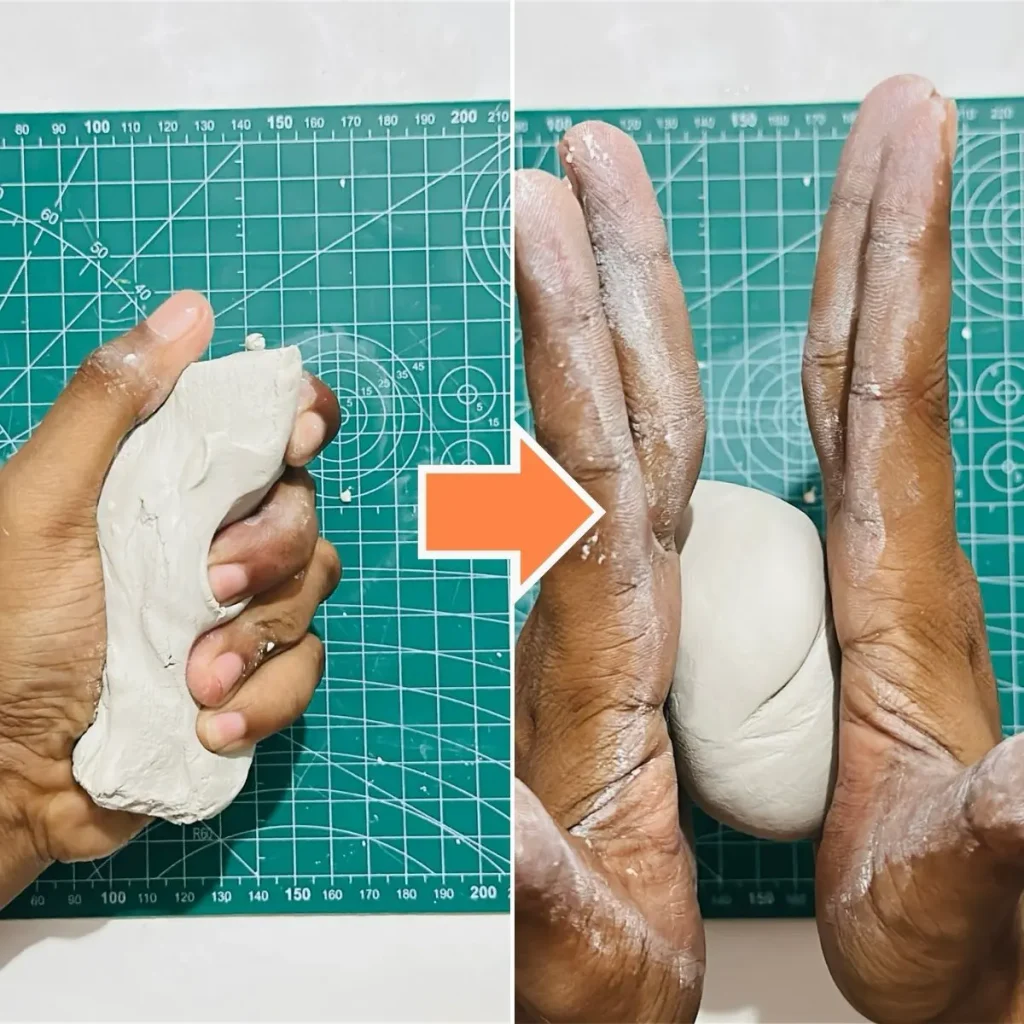
Air dry clay is a highly porous material with lots of air bubbles and moisture inside. But they are spread randomly across different layers of air dry clay. As the clay dries moisture will start to evaporate and clay will start to shrink. Since the shrinkage of air dry clay happens unevenly due to the rapid evaporation and randomly spread moisture content, it starts forming surface cracks.
These surface cracks will become wider and deeper as the clay dries due to the uneven shrinkage.
But you can avoid this (not the shrinkage of the clay because that’s the nature of air dry clay), I mean the surface cracking by kneading the clay well before shaping only with a little bit of water.
Kneading helps to spread moisture evenly across all the layers of air dry clay and releases air bubbles out.
Having evenly spread moisture means no uneven shrinkage as the clay dries. Therefore clay won’t crack as it shrinks when drying.
Now you can clearly see why kneading is one of the most important steps when working with air dry clay.
I have seen many Tiktok and Youtube tutorials that do not highlight the kneading part well. But trust me, they do knead, but they don’t show you. Gatekeeping is not good for a growing clay community.
Knead the clay for around 3-5 minutes until it becomes soft enough for shaping. Don’t worry you’ll feel when it’s time to stop the kneading and move onto the rolling step.
Don’t knead too long because it can cause air dry clay to lose moisture and it may start to crumble.
Step 3: Roll the clay
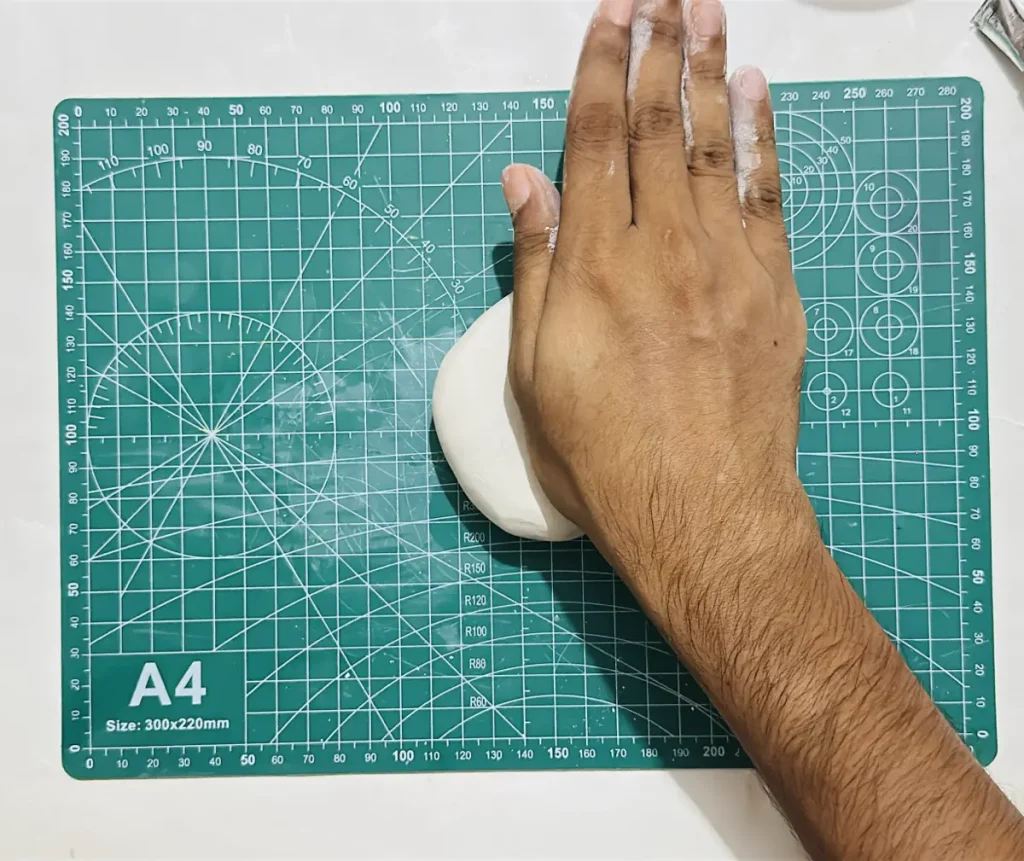
Now start rolling the kneaded clay piece to an even thickness about ¼ inch.
Make sure to use a non-stick mat and a rolling pin to avoid clay from sticking to them while rolling.
Non stick mats I recommend are silicone and PVC mats and use an acrylic rolling pin for the rolling.
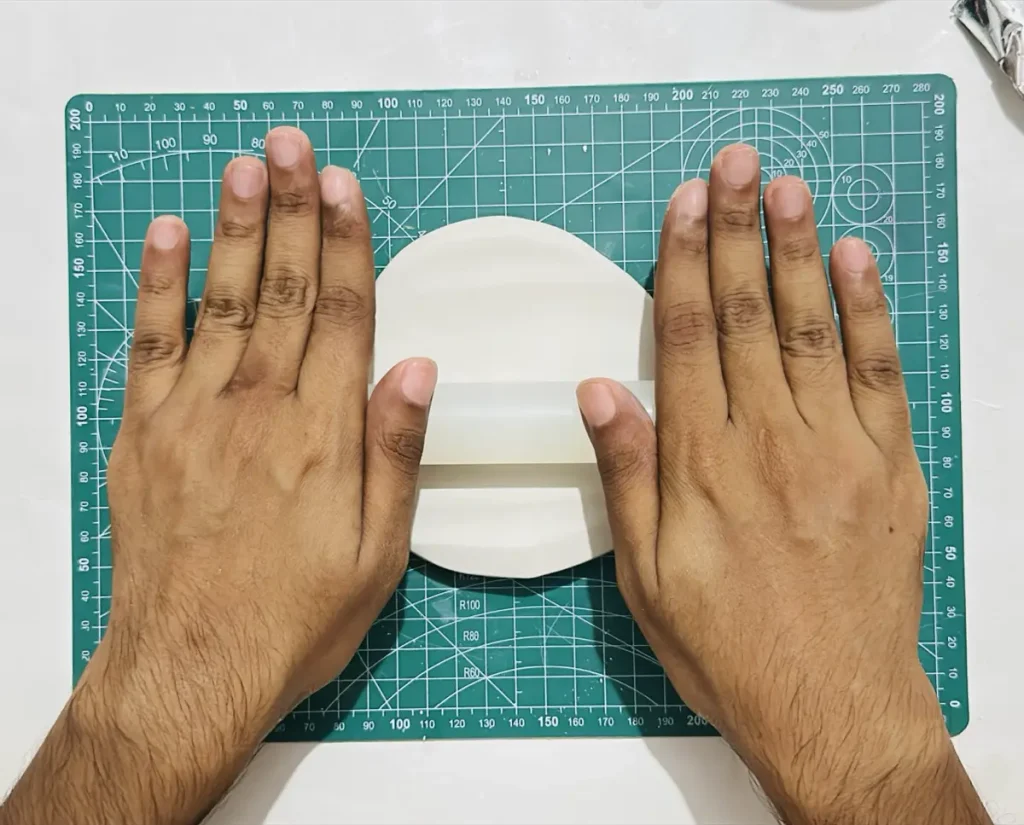
While you’re rolling, make sure to keep the thickness of the clay slab in between ½ inch -¼ inch because when the clay slab is too thin, it has a high tendency to curl up from the edges as it dries like a fried potato chip. This scenario is known as the warping of air dry clay.
When the clay slab is too thick, it can cause surface cracks due to the uneven shrinkage because inside layers of air dry clay dries much much slower than the outside layers because of low air circulation. This becomes a bigger problem when the thickness is high so you have to maintain ¼ inch thickness.
Flip, turn and rotate the clay slab around 90 degrees while you’re rolling because rolling it in the same position for too long causes it to make a good grip with the mat even though it is a non-stick material.
Read: How to Keep Air Dry Clay from Sticking to Your Table
As you roll, the water inside will come out and make a seal between the clay slab and the mat, which can cause splits and cracks as you try to lift the clay up while rolling. Therefore always change the clay position as you roll.
My rolling mat is A4 size. So I rolled the clay slab nearly that big because I wanted to cut 5 shapes.
Once you’re done with rolling, smooth out the surface with a little bit of water to remove small cracks, bumps and tiny imperfections.
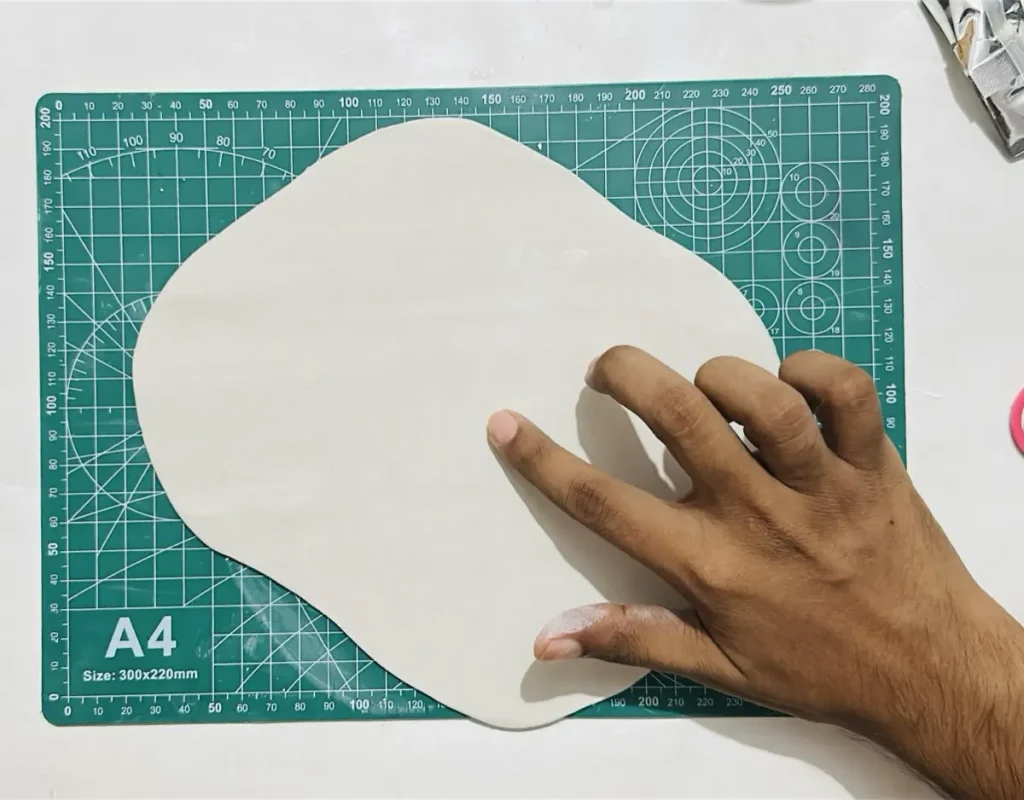
You can do the smoothing by dipping your index finger in a cup of water and gliding over the clay surface repeatedly.
Step 4: Make the paper template
As I mentioned in the caption, we are not gonna use cookie cutters. That’s because I don’t have them. Lol.
If you don’t have cookie cutters with the shapes of a christmas tree, gingerbread man, gingerbread house, christmas hat and christmas bells feel free to use them.
If you don’t have them, don’t worry or panic. Follow the easy method below which I also used to make the templates.
- Take an A4 size paper.
- Place that inside of your printer.
- Google christmas decoration pictures. (christmas tree, gingerbread man, gingerbread house, christmas hat and christmas bells)
- Paste black and white outline images of them in an A4 size canvas. (Use Canva)
- Take a print out of it.
- Cut along the shapes outlines and separate the templates.
This is how I made the paper templates for my Christmas ornaments. Simple as easy.
You don’t need to run to a store or search molds or cookie cutters online. I highly recommend the paper template method because it is budget friendly, cheap and able to make any shape you can find on Google.
Now we have 5 different shapes. It’s time to make them live.
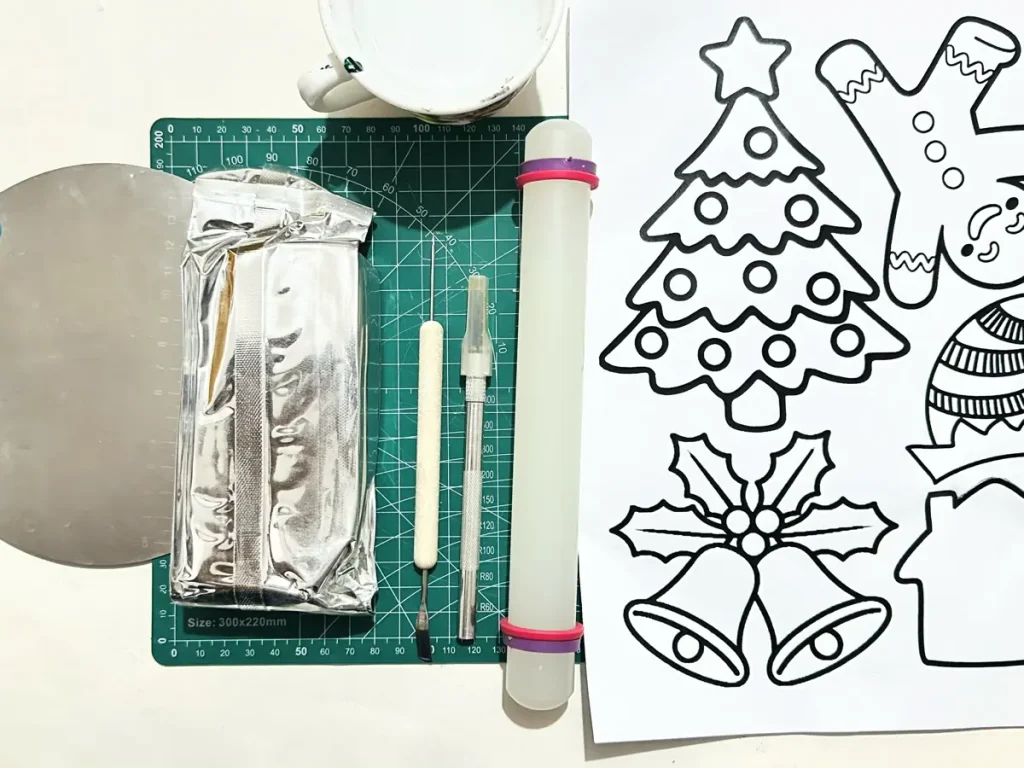
Step 5: Tracing and cutting your shapes
Now place the paper templates you made on the rolled clay slab and trace around the outlines of them using the clay tracing tool or using a toothpick.
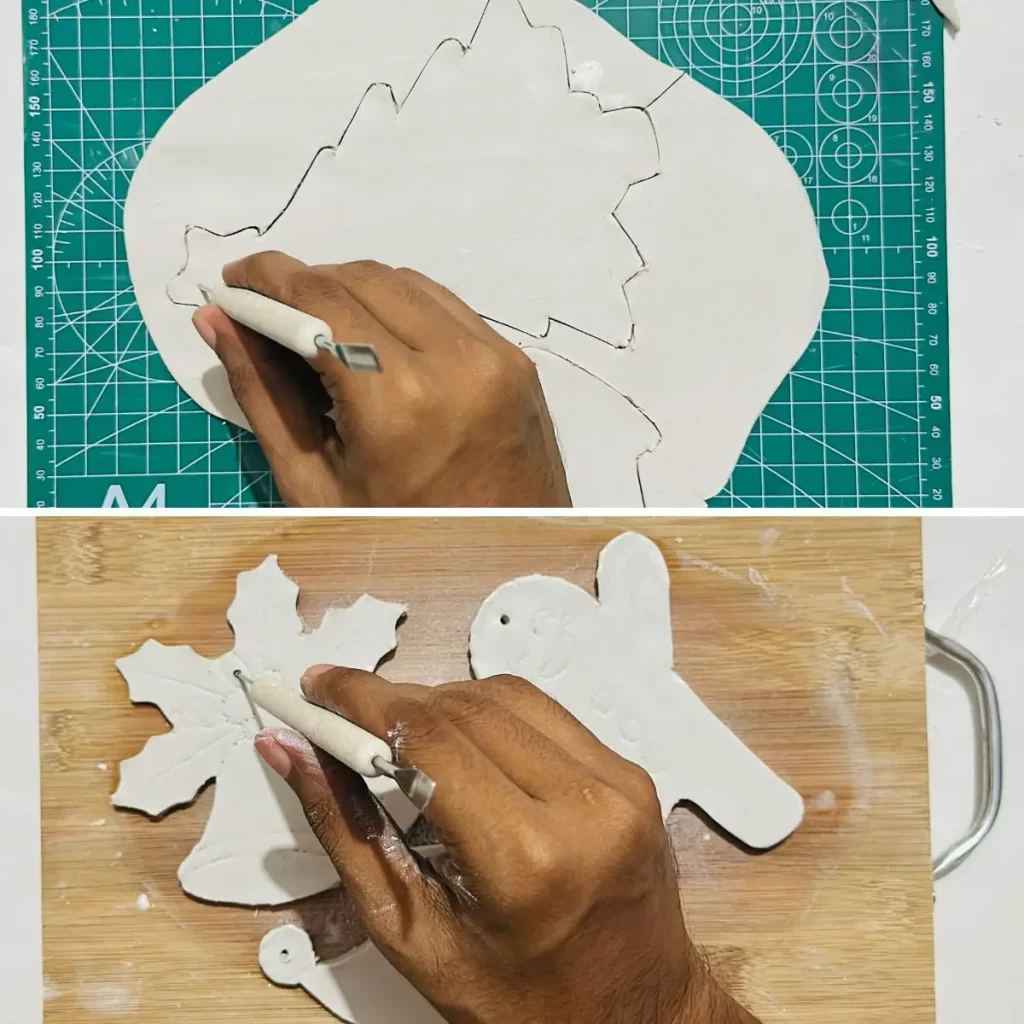
After tracing the outlines, make sure to map the details of your shapes as well. For example you need to map the mouth of the gingerbread man. This is useful when painting.
Next patiently cut along the traced lines using the X-acto knife.
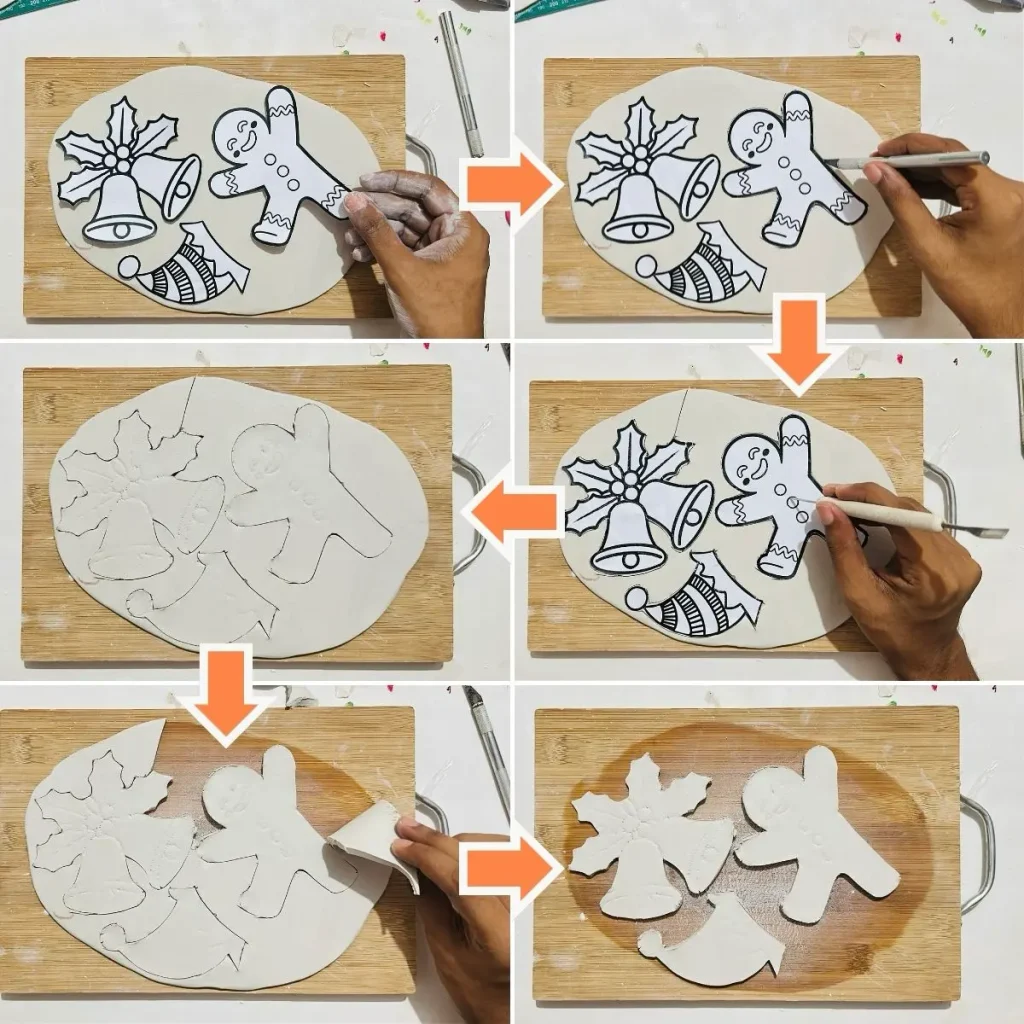
When you’re cutting, do not drag the knife horizontally on the mat because jagged and split edges may occur. Always cut using up and down motions. 🔪
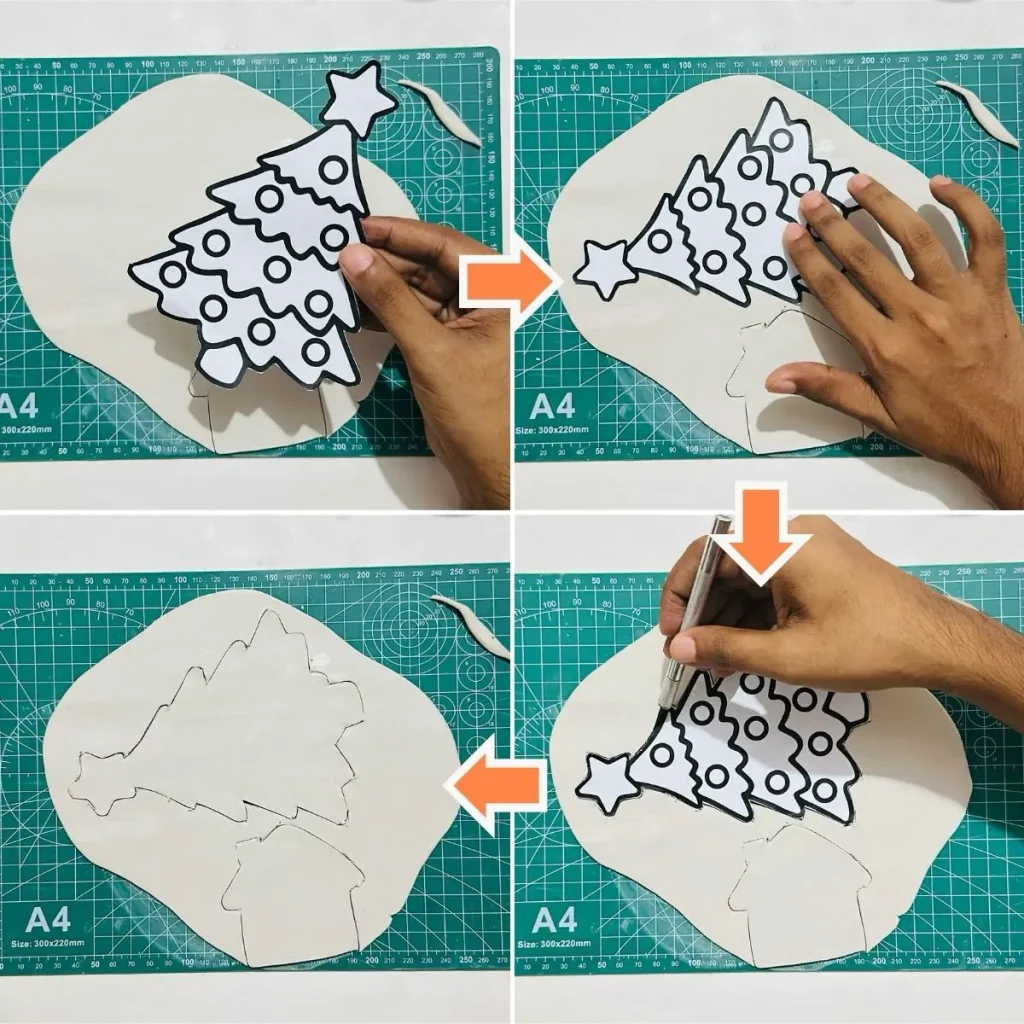
This way tiny clay pieces won’t stick to your knife and even if, you can easily clean them up before starting cutting again.
Up and down cutting motion (which means you should lift the blade as cut) helps to get sharp edges around your christmas ornaments.
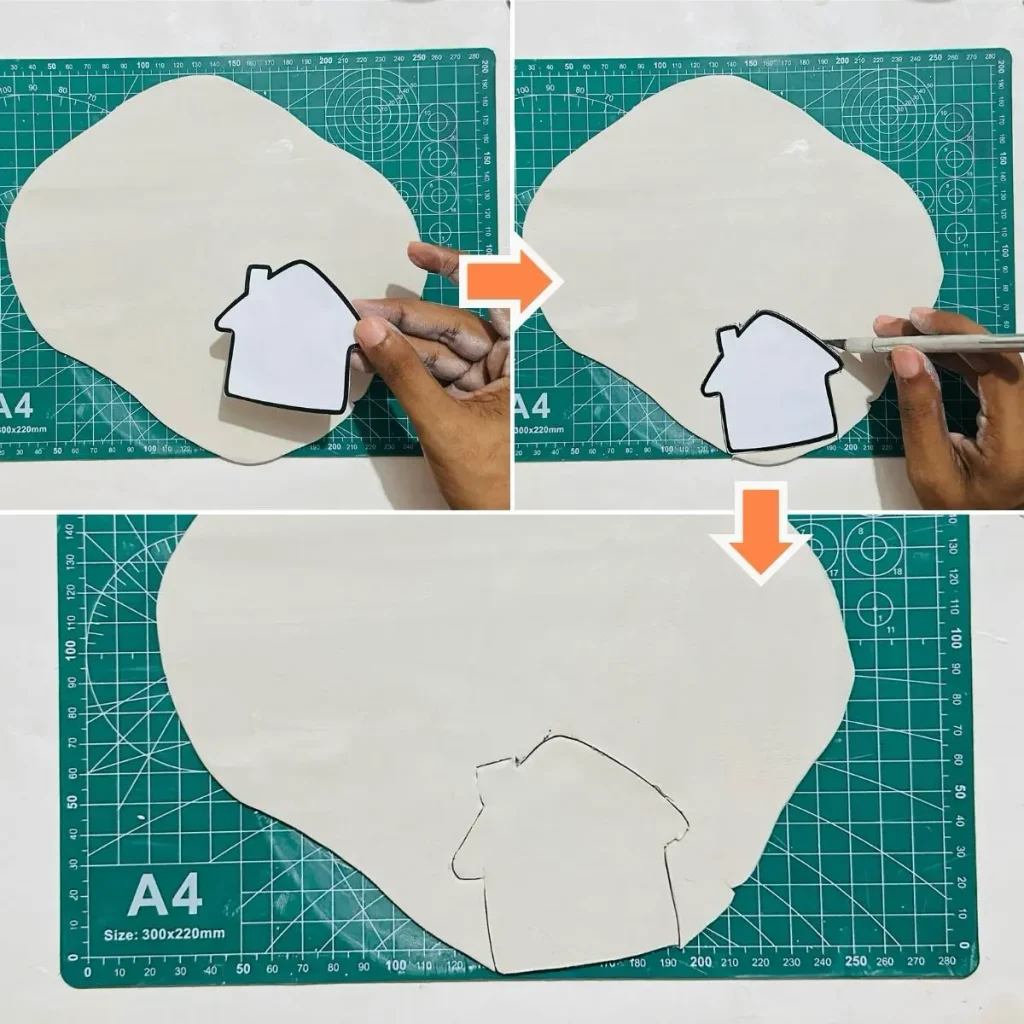
I don’t recommend freehand cutting instead of using paper templates because these are not organic shapes and angles need to be precise.
After cutting each shape, carefully remove the paper templates.
Finally don’t forget to smooth out the surface and the edges of your shapes using a little bit of water for a smooth surface with no micro cracks, scratches and to have sharp edges.
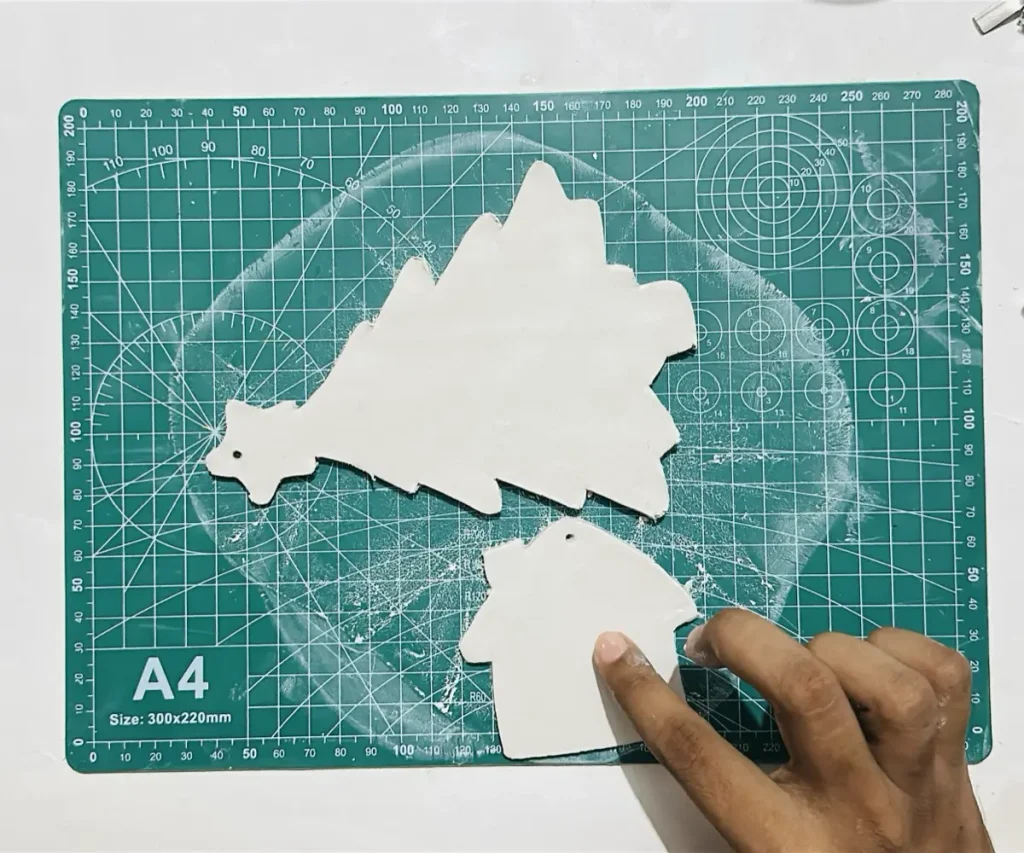
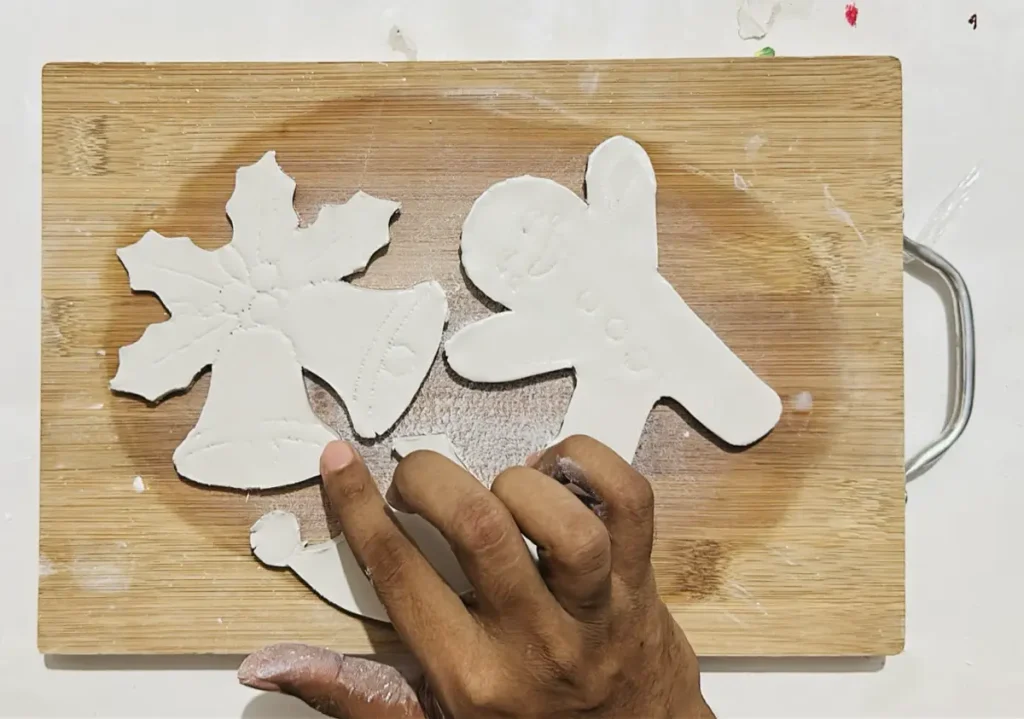
Step 6: Punching the hanging hole
Punch a hole using a clay crafting tool or toothpick on top of your each shape. 📍 No need to make the hole too big because we only need a room to insert a thread or ribbon 🎀 to hang it on the christmas tree.
Finally, remove the excess clay carefully and smooth out the surfaces of the shapes you made.
Step 7: Make the candy cane
I made the candy cane ornament separately because I wanted to give it a 3D look. Here’s how I did that,
- Take a small fresh piece of air dry clay.
- Condition and knead it for 2-3 minutes.
- Roll it to a snake (cylindrical shape) using your palms.
- Bend the edge.
- Shaping the hook using a small clay piece.
- Adding the hanging hook to the candy cane body.
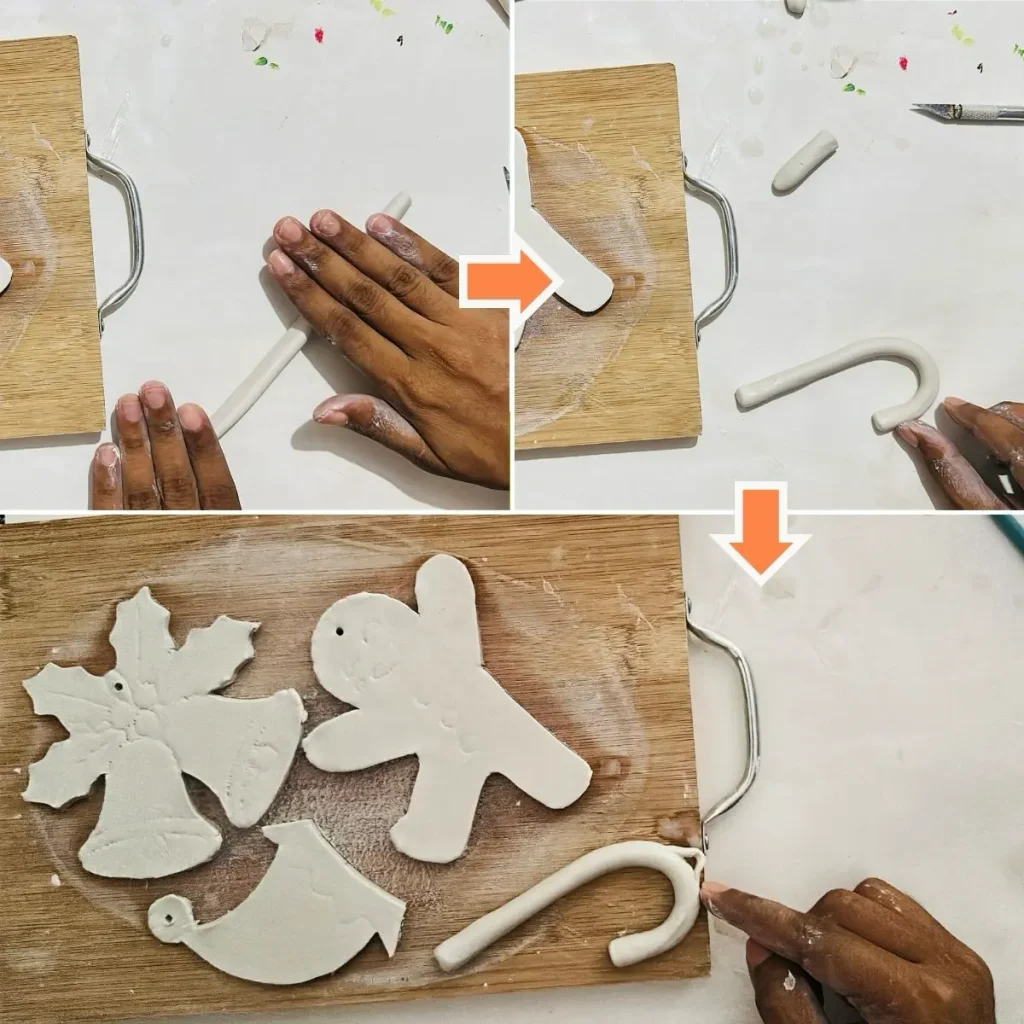
When you’re adding the hanging hook to the body, make sure to follow the score and slip method.
Which means first score the attaching surface of the candy cane body (so small area) and the handle edges of the hook. Then tap a little bit of water (or a creamy paste made of air dry clay and water called slip) on the scored areas and press them together for a few seconds.
You cannot attach two air dry clay pieces just by pressing them. Always follow the above score and slip method.
Congratulations friends! We have successfully made all 6 christmas ornaments shapes. But they are still wet. It’s time to dry them.
Step 8: Let the ornaments dry
Now let each christmas tree ornament you made dry for 48-72 hours in a cool dry well ventilated area.
Do not place your air dry clay pieces under direct sunlight ☀️, outside or blow with a hair dryer 💨 because rushing the drying process can cause surface cracks.
Let me tell you how.
When you rush the drying process using the above unapproved methods, the outside layer of air dry clay dries fast due to the high air circulation or high water evaporation compared to the layers inside.
This triggers rapid evaporation of water which builds up tension between the inside and outside layers of air dry clay. This leads to the uneven shrinkage of air dry clay resulting in surface cracks.
Instead you can flip the pieces from time to time as they dry to even out the moisture evaporation speeds everywhere.
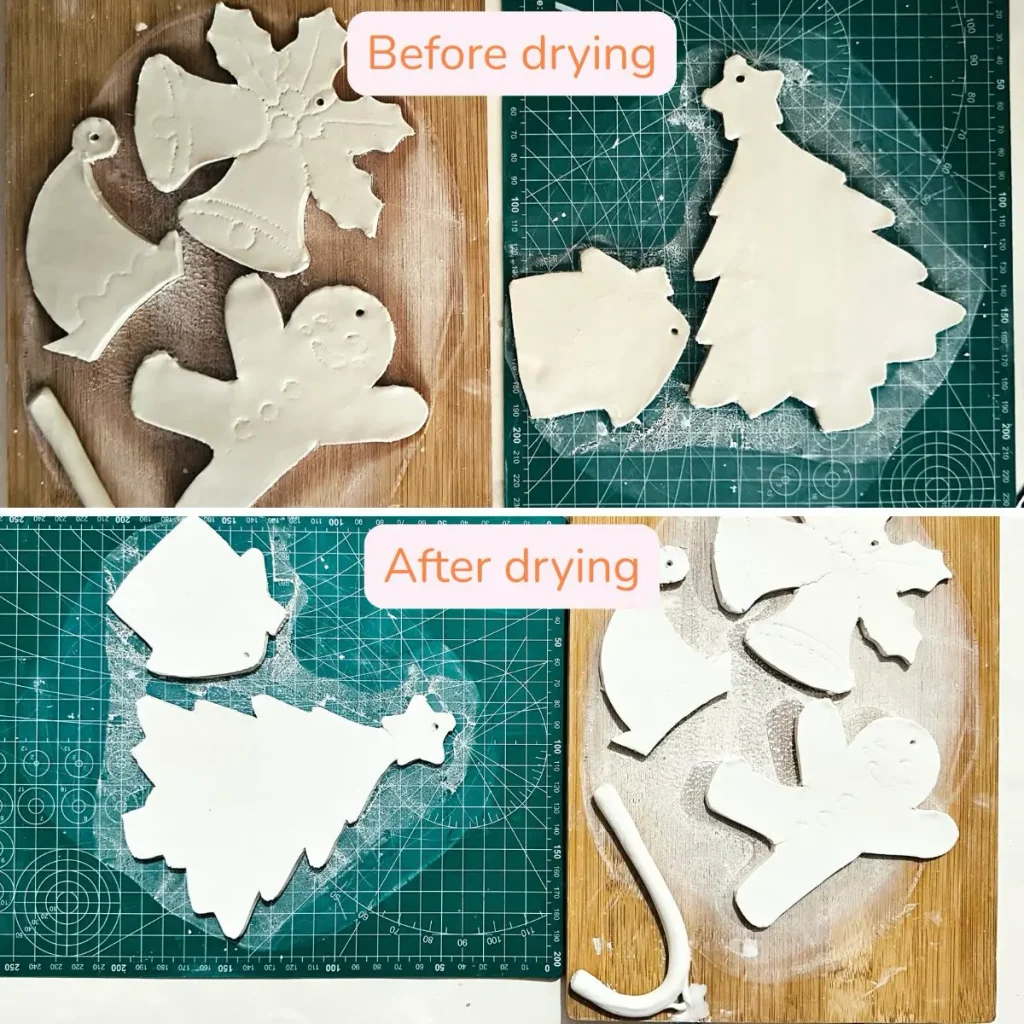
Always make sure outside and inside layers of air dry clay dries nearly at the same rate. This avoids the uneven shrinkage issue and no cracks as the clay dries.
You can identify whether it is fully dried by the color of the surface and by touching. Usually wet air dry clay has a grey off white color and it changes to pure white and more bright white color once it is fully dried.
Plus, wet air dry clay feel cold to touch due to the evaporation of the moisture inside.
Check the surface after 2 days. If you see grey patches, let it dry more for another 24 hours.
However you should not start painting or sealing the ornaments until they dry fully.
Step 9: Paint the ornaments
Use acrylic paints 🎨 to dry your clay ornaments because they are considered as the best paints for air dry clay.
Acrylic paints dries quickly within 1-2 hours, no need of water for mixing and preparation, easy to apply, comes in vivid colors and makes a water resistant coating over the air dry clay project.
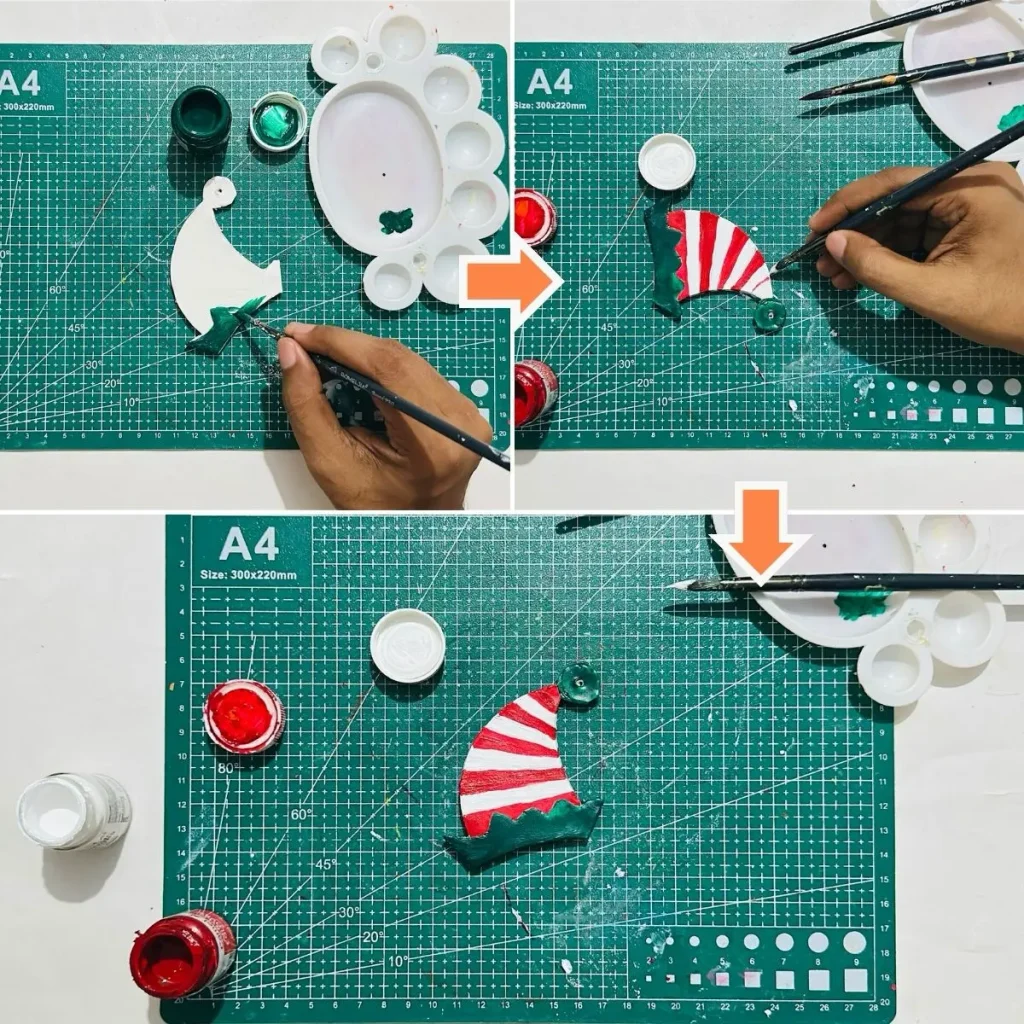
Apply thin and even coats of acrylic along one direction to avoid forming tacky spots.
I mainly used red, green, white and brown colors for painting my Christmas tree ornaments. You can select the colors as you wish. Nothing went wrong.
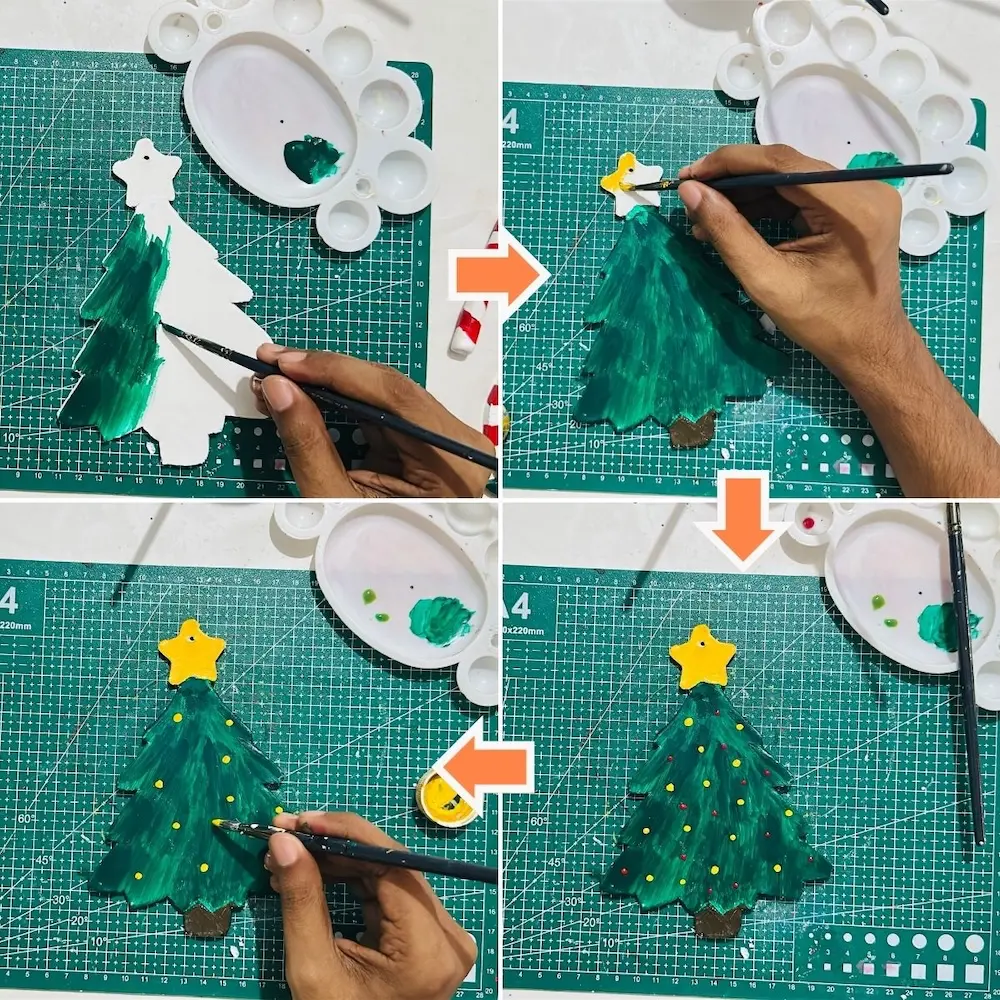
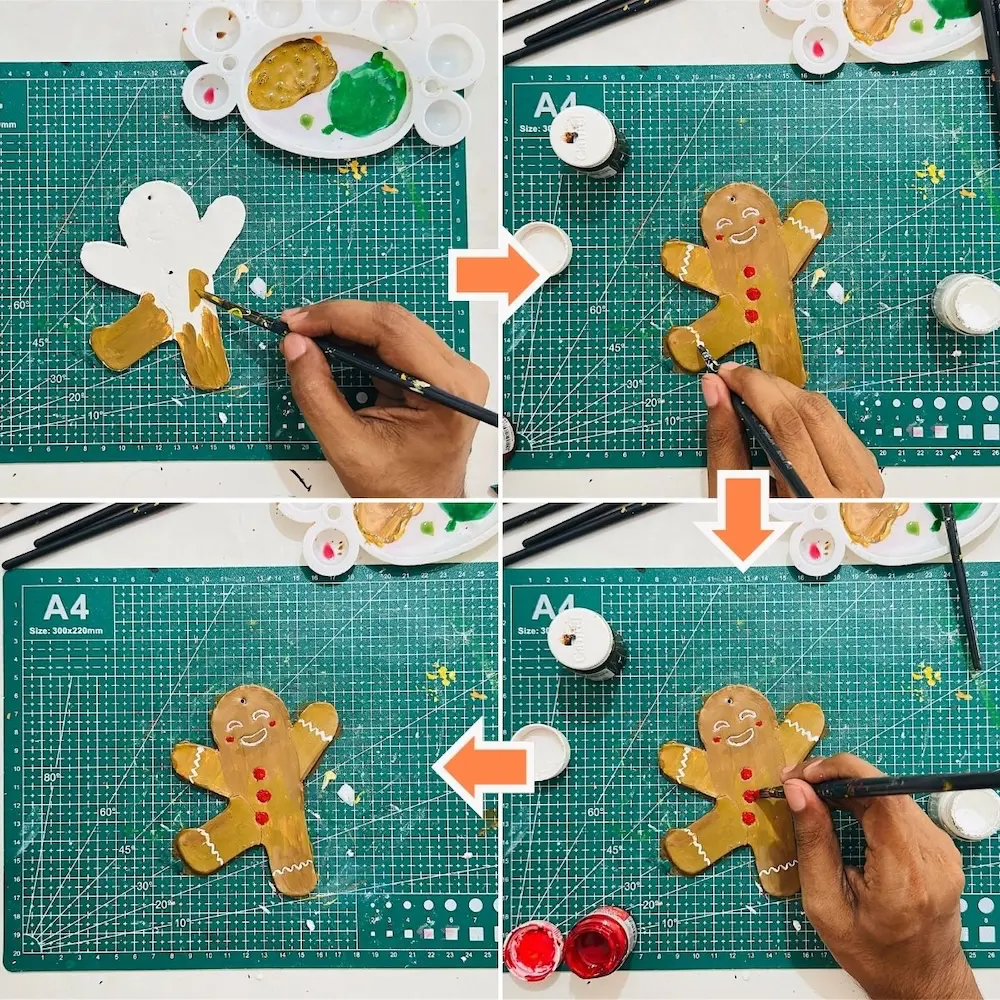
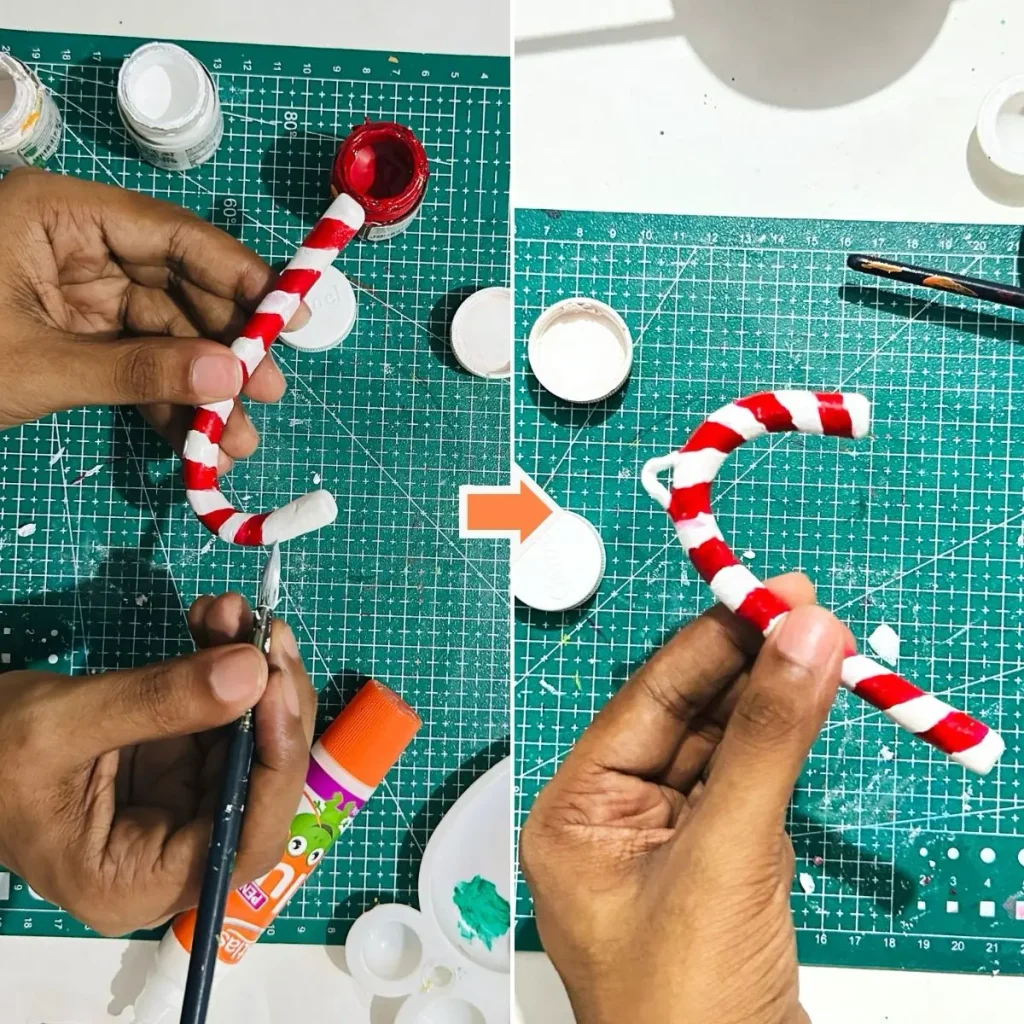
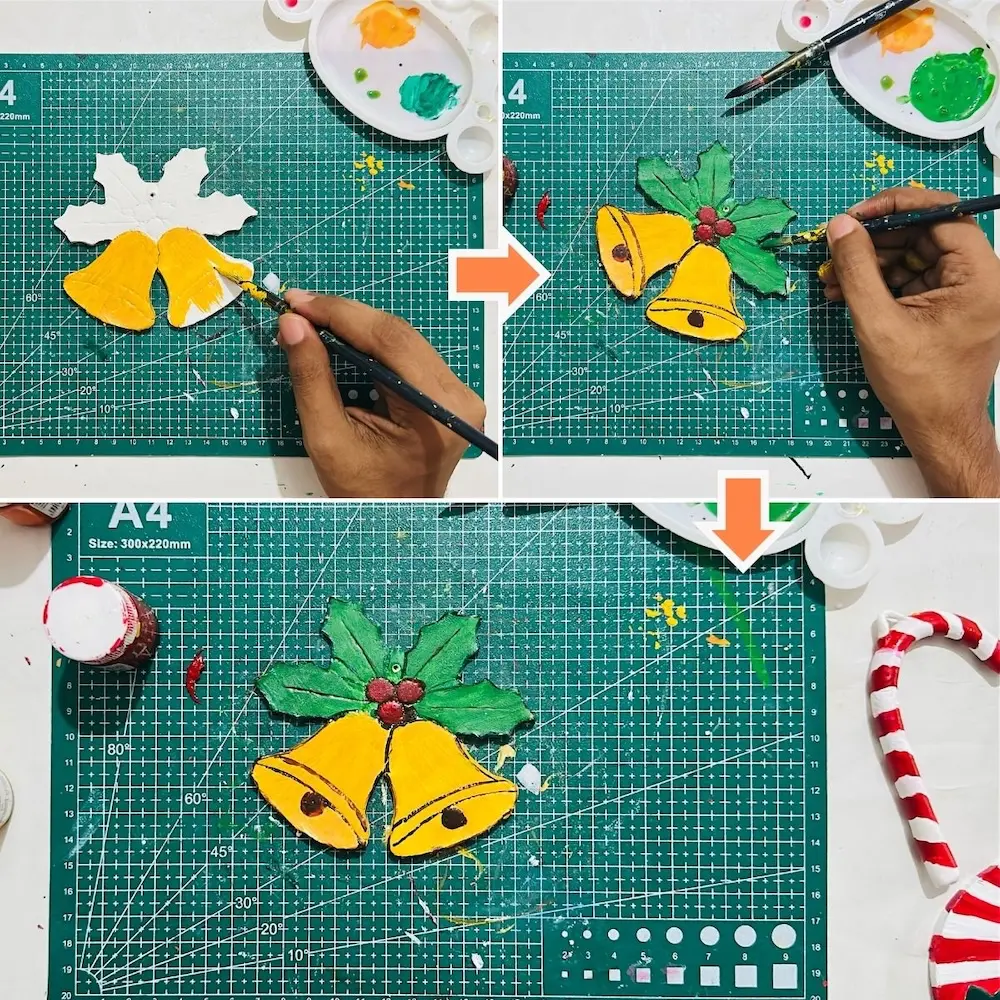
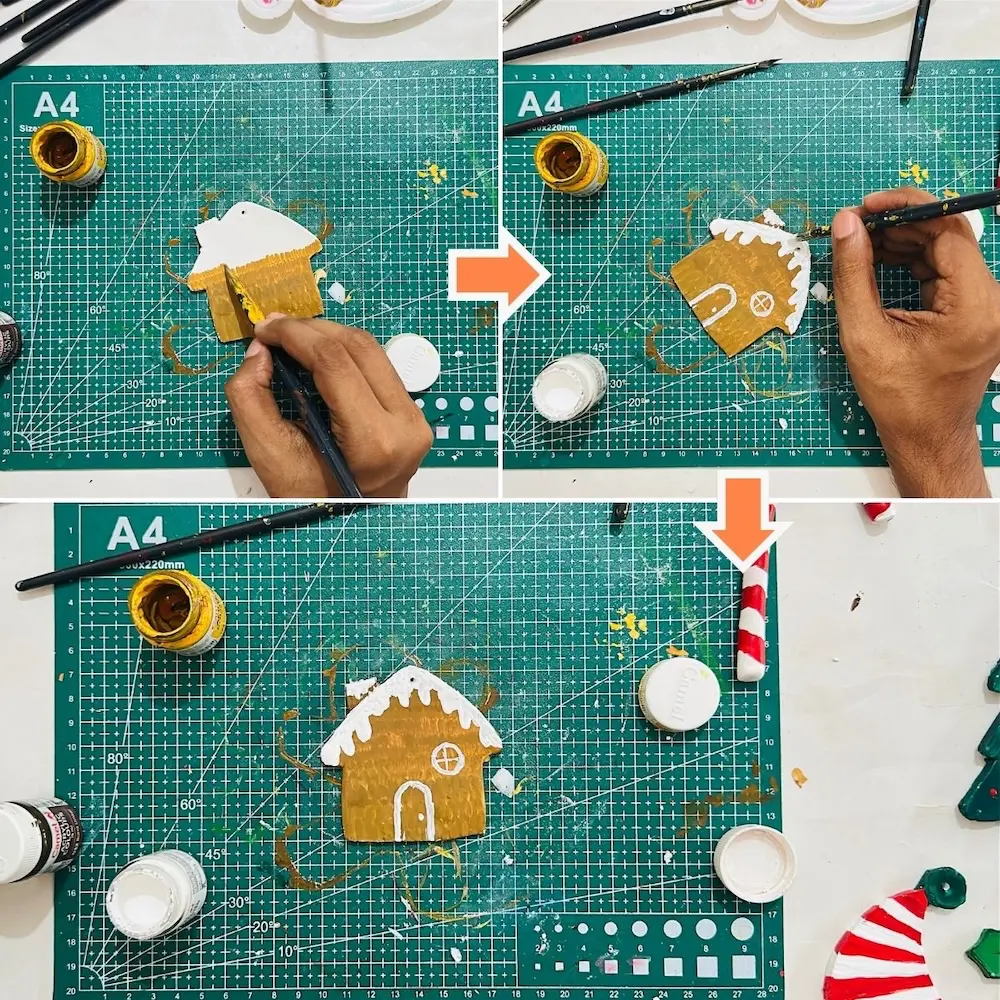
After painting all the clay ornaments let them dry for 2 hours before sealing.
Step 10: Seal the ornaments
Sealing your air dry clay projects is must because they can’t withstand environmental elements. Moisture always tries to sneak inside of the dried air dry clay and weaken them.
You can use gloss varnish, polyurethane varnish, Mod Podge, UV resin and epoxy resin for sealing air dry clay projects. They all do offer water resistant or water proofing finish.
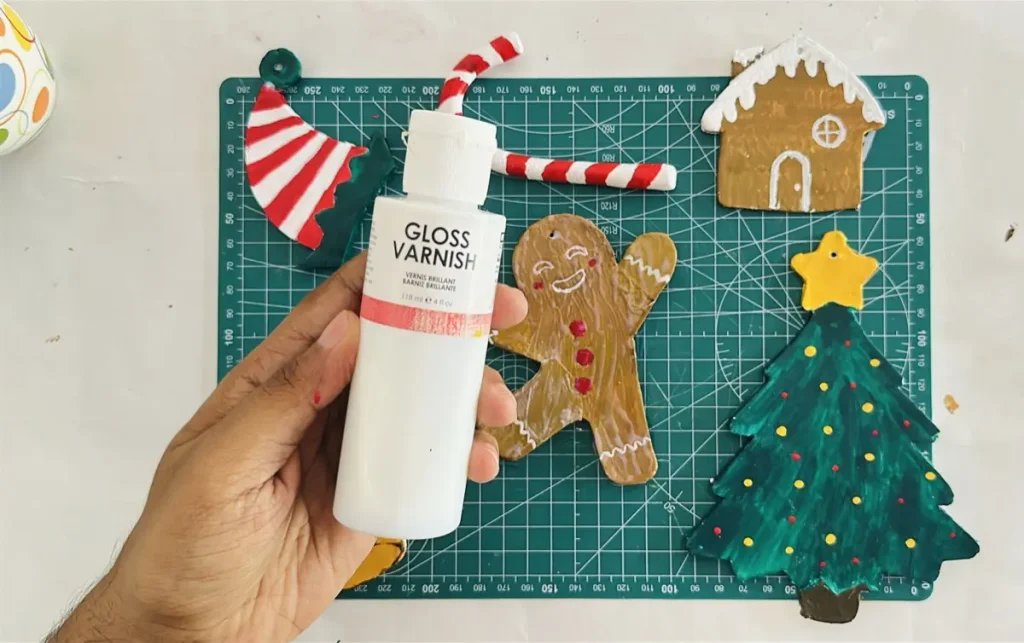
I used gloss varnish because it offers water resistant sealing, glossy ceramic like finish and long term protection.
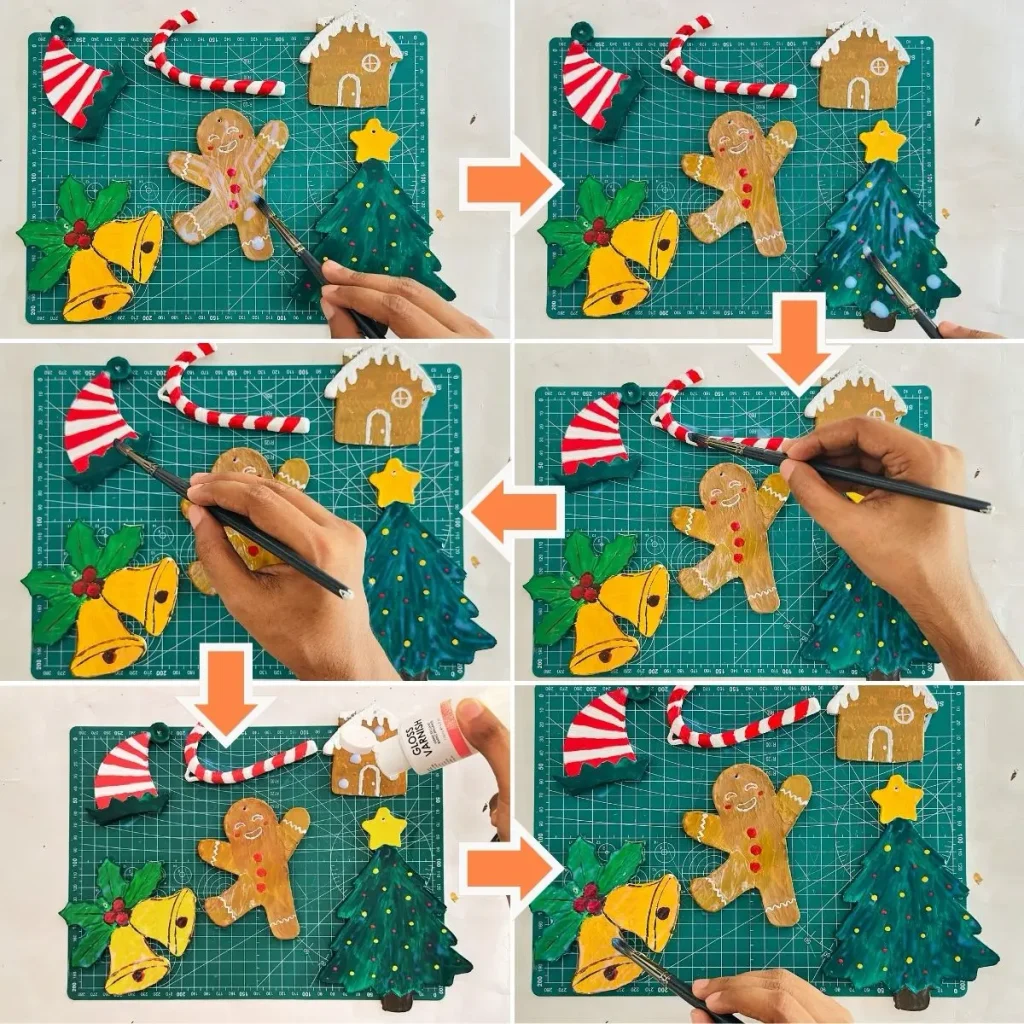
Even after applying a sealer I never recommend placing air dry clay projects outside because harsh weather conditions like winter and rain can damage the sealer outside and damage the clay inside.
Apply thin and even coats of gloss varnish and let each coat dry for 24 hours.
After the final coat, let it dry and cure for 24 hours.
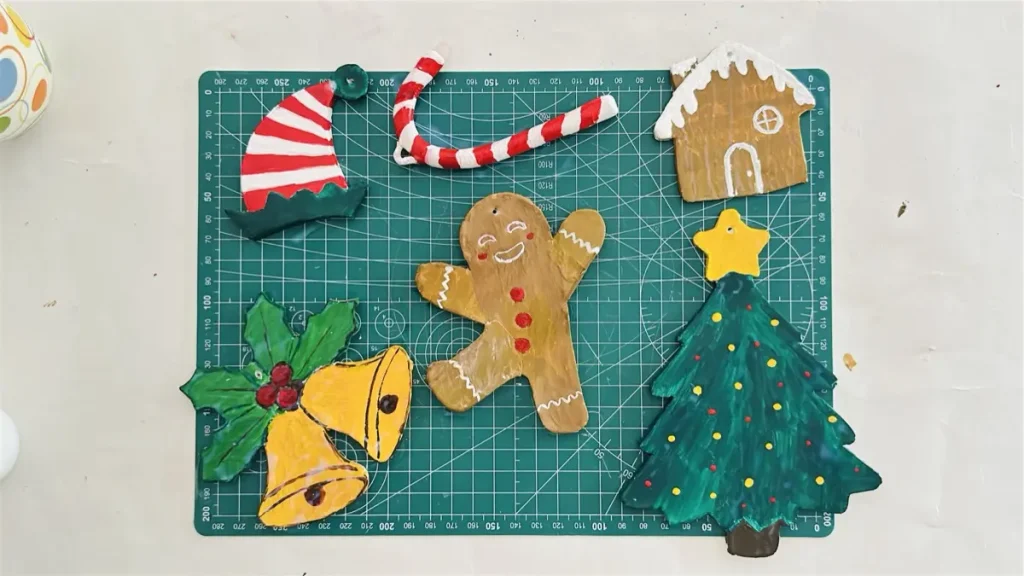
Likewise I have sealed all 6 air dry clay christmas tree ornaments using gloss varnish and they all looked so beautiful and glossy.
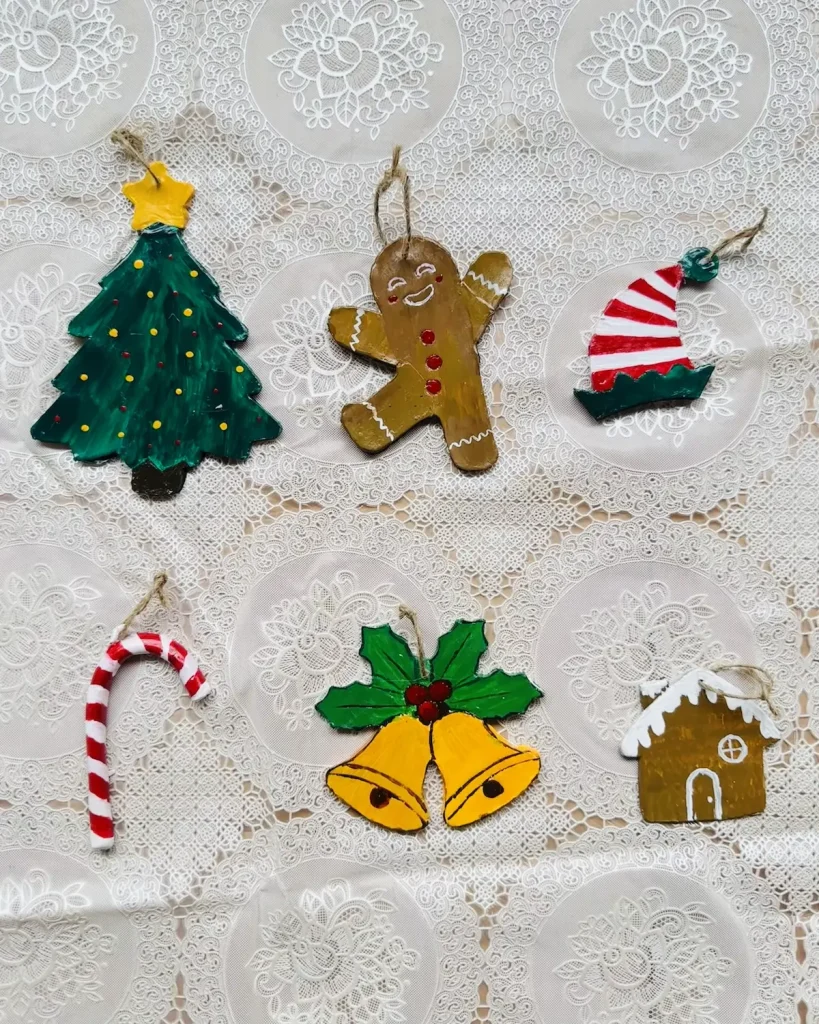
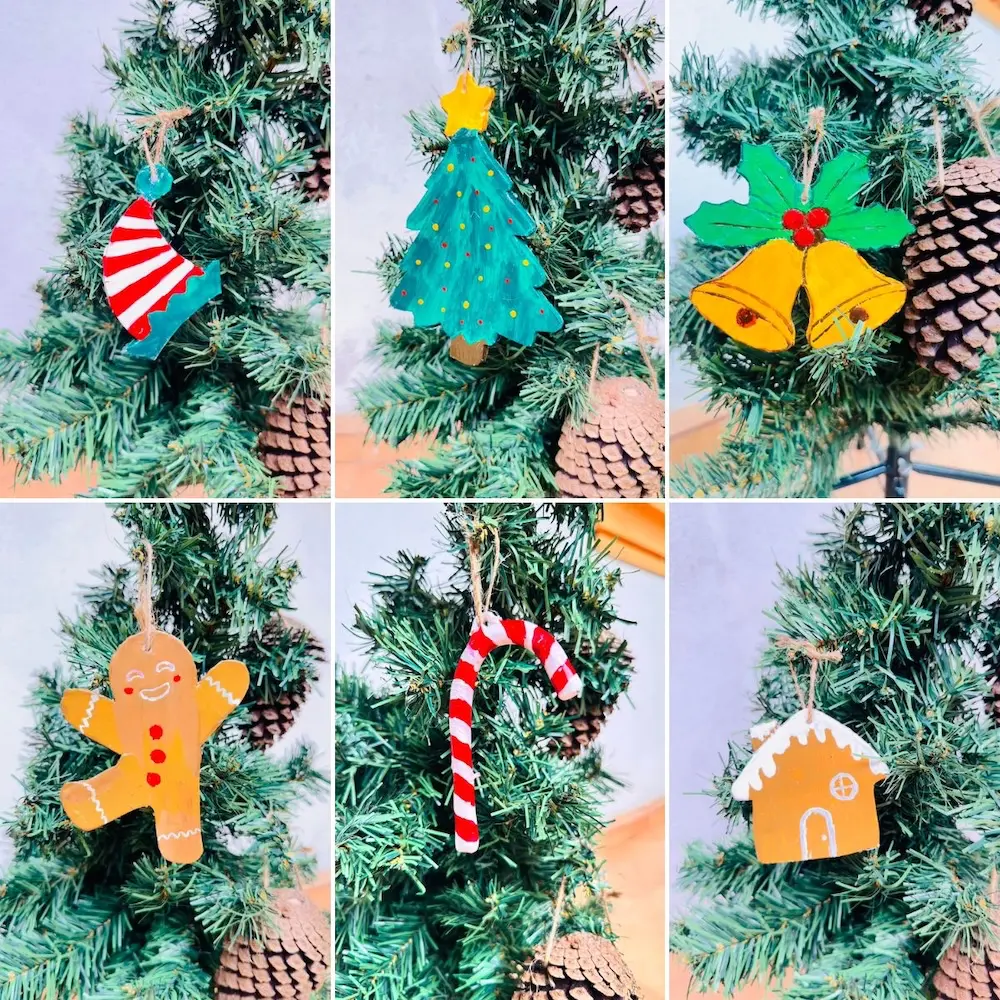
Now it’s time to hang them and enjoy the beauty. 🎄 As of writing this article, I haven’t purchased a Christmas tree yet. Once I get one, I’ll hang the ornaments up and share a photo right here! 📸
Final thoughts
Now you know every single detail from start to finish how to make christmas tress ornaments using air dry clay.
Now it’s your time to make the ornaments following the method I mentioned.
I challenge you to go above six and make more and more ornaments which will add a unique look to your Christmas tree.
Every guest will appreciate them and you can proudly tell them the story of how you made them. This will make your Christmas so special.
Don’t forget to share your feedback and new methods you found while making them in the comments section so others can learn too.
Be sure to tag @clayandmestudios in your clay christmas tree ornaments. I sure love to see them when you do. I’ll see you next time with another awesome project! Cheers! 🤟🏾
Christmas Tree Ornaments with Air Dry Clay 🎄

Supplies Needed
Air dry clay (DAS, Mont Marte, Jovi or any reputed brand you can find is okay)
Acrylic rolling pin
PVC mat or silicone mat (or non-stick surface)
Clay crafting tools
Clay cutting tool (X-acto knife or small knife)
Cup of water or spray bottle
A4 size paper
Acrylic paints
Wool yarn
Gloss varnish
Paintbrushes
Paper towels
Optional: Sponge or silicone sculpting tool (or you can use your finger)
Instructions
1. Condition & Knead
- Soften a chunk of air dry clay with a little water and knead for 3–5 minutes to spread moisture evenly and prevent cracking. 🧼
2. Roll the Clay Slab
- Roll the clay evenly to ¼-inch thickness on a non-stick surface, rotating regularly to avoid sticking. 📜
3. Trace & Cut Shapes
- Place paper templates on the slab, trace the outlines, and carefully cut with up-and-down motions using a craft knife. ✂️
4. Punch Hanging Holes
- Use a toothpick or small tool to punch a hole near the top of each ornament for hanging. 📍
5. Dry Slowly
- Let the ornaments dry naturally in a well-ventilated room for 48–72 hours, flipping them occasionally to prevent warping. 💨
6. Paint & Detail
- Apply thin, even coats of festive acrylic paint and let dry for 1–2 hours. 🎨
7. Seal & Protect
- Finish with a thin coat of gloss varnish to protect against moisture and give a shiny, ceramic-like finish. ✨