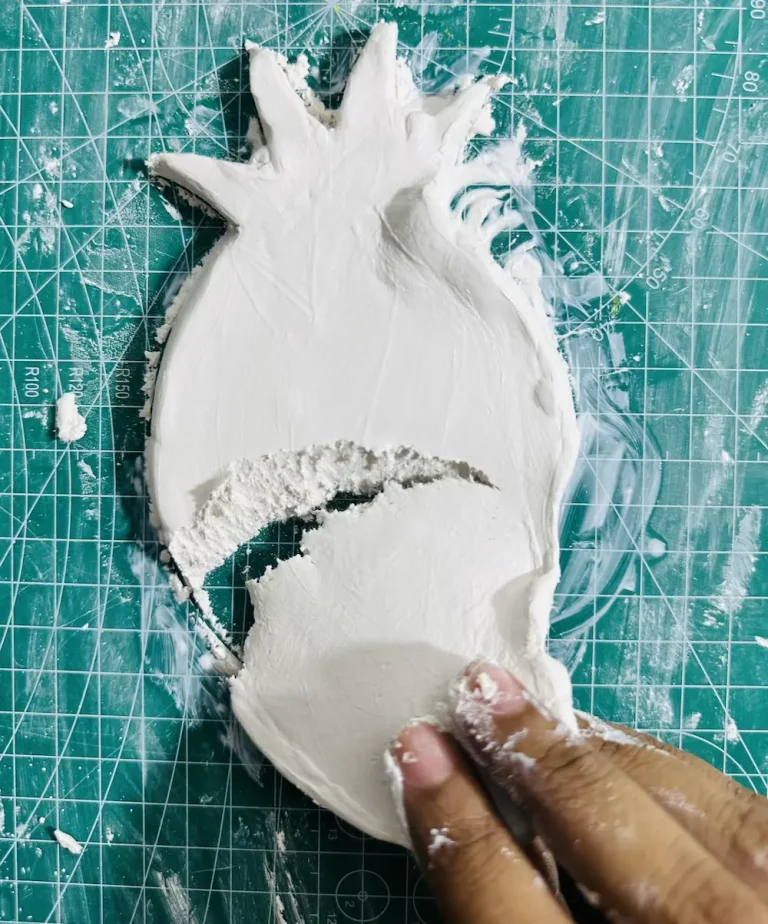

Jack Skellington is considered one of the spookiest and scariest figures that leads the town’s Halloween celebrations 🎃. On the other hand the second half of his story is about finding Christmastown, trying to deliver gifts 🎁 and saving our loving Santa Claus 🎅. So why should we not make time to remember him? We must! That’s why I thought of making a tray of Jack Skellington using air dry clay.
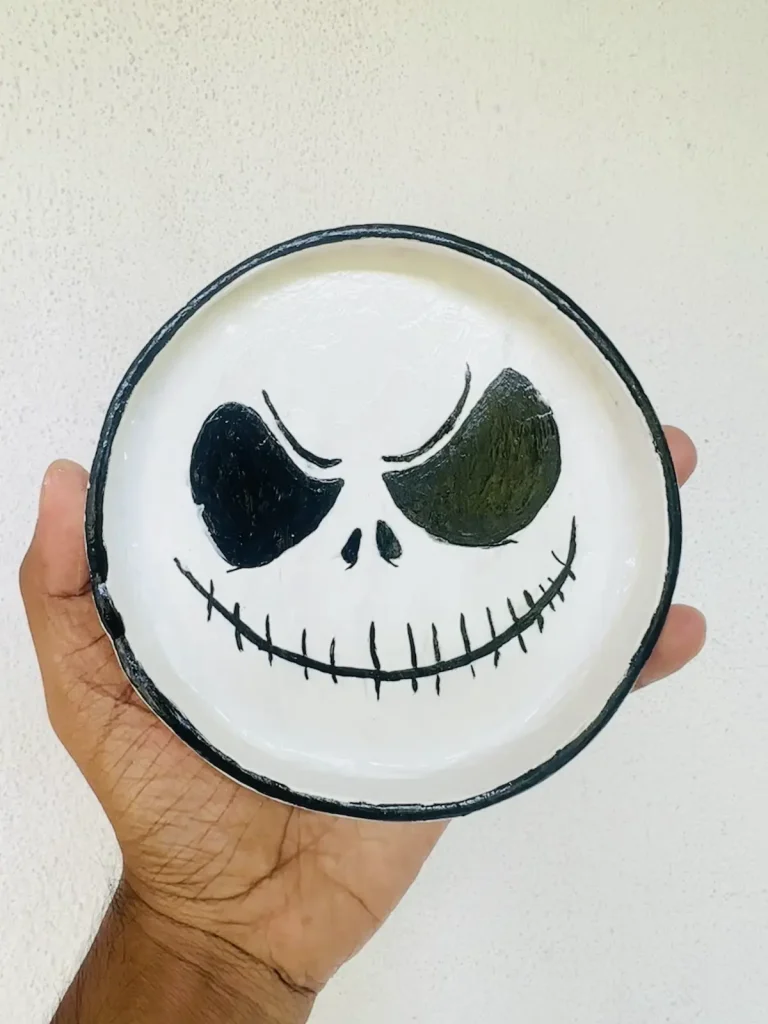
I was able to make a beautiful but spooky tray of Jack Skellington face using air dry clay and here I’m gonna tell you everything I did, every step I followed and every mistake I made along the way to make it succeed in as simple a way as possible.
I’m also a beginner who doesn’t like to read expert and difficult tutorials. So, I followed the simple and easy steps so you too can follow along with me until the end to bring Jack Skellington face to life with air dry clay.
Ok! Enough chit chat. Let’s start making! 🎨
Why did I use air dry clay?
Air dry clay is considered as one of the best clay materials for beginners. Let me tell you why I think like that.
Air dry clay is,
- Cheap
- No kiln or baking needed
- Easy to shape and bend
- Easy to fix mistakes
- Easy to dry (dries in the air)
- Beginner friendly
- High availability
As beginners we love to have fun and do our little experiments with clay. Yes, that wastes a lot of clay, but if the clay is so cheap, I don’t think that will be an issue.
For example air dry clay is 2x or 3x times cheaper than polymer clay. Therefore you have enough room to have experiments and fun with it which are helpful to learn new clay skills, how to handle and how to get the shape we want. You won’t do them with an expensive clay type because as beginners we have a tight budget.
Because of that air dry clay is great, especially for beginners.
Yes I know I know, air dry clay is prone to cracks. But surface cracks can be avoided following the right techniques and able to fix using simple tricks and techniques.
Read about all the pros and cons of air dry clay here.
Materials & tools you’ll need
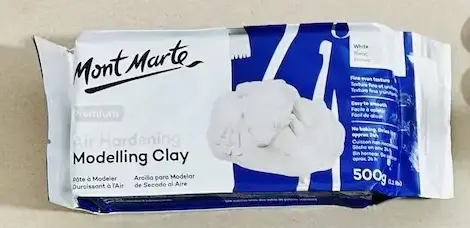
- Air dry clay (DAS, Mont Marte, Jovi, or any reputed brand you can find is okay)
- Acrylic rolling pin
- PVC mat or silicone mat
- Metal jar lid
- Clay crafting tools
- Clay cutting tool (X-acto knife or small knife)
- Cup of water or spray bottle
- Acrylic paints (white and black)
- Gloss varnish
- Paintbrushes
- Drawing pen or pencil
- Paper towels
- Optional: Sponge or silicone sculpting tool (or you can use your finger)
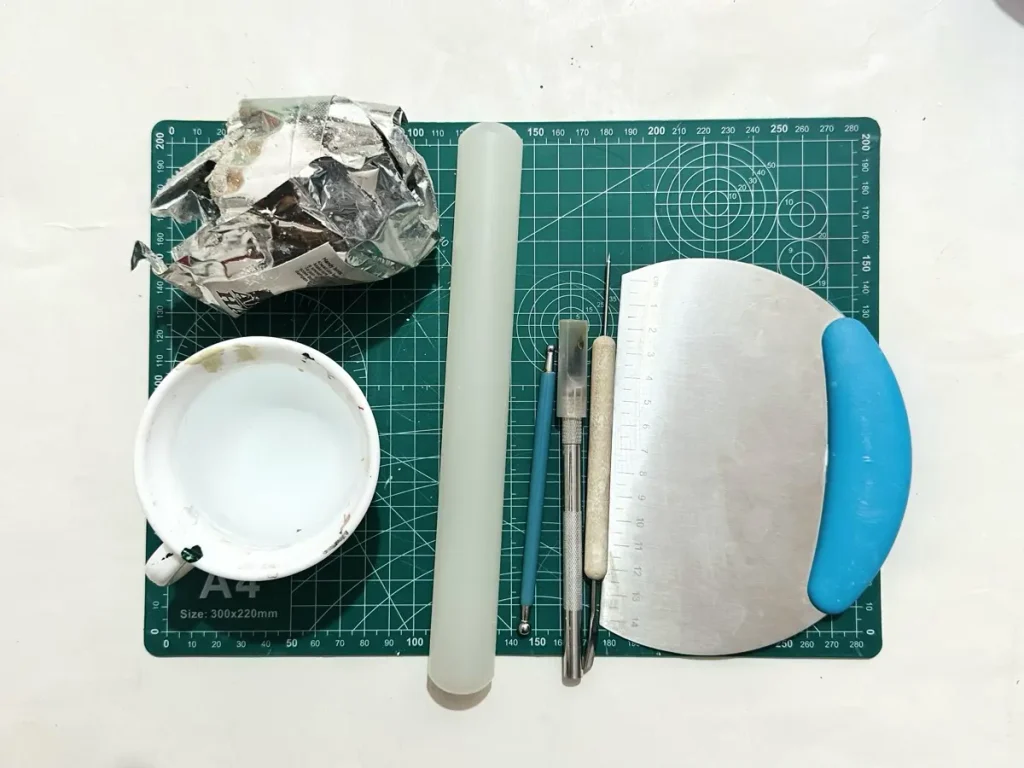
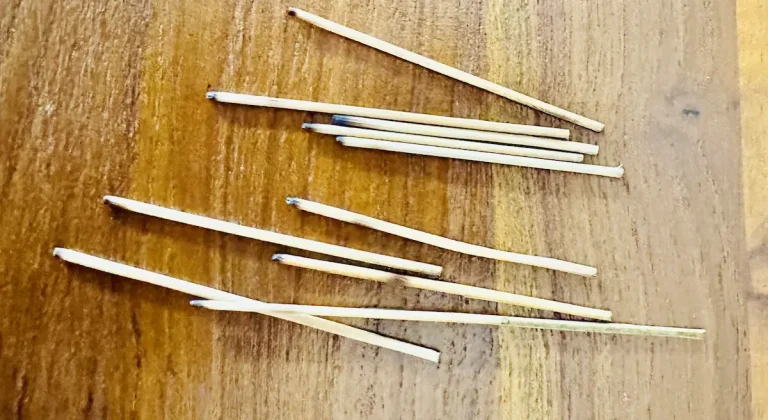
If you couldn’t find any of the above tools, don’t visit the store, check your kitchen drawers 🛠️. You’ll find a handful of items that can replace clay crafting tools like toothpicks, small knife and cutting boards.
Video tutorial of Jack Skellington clay tray
I have recorded everything I did to make this beautiful and spooky Jack Skellington clay tray. You can follow the video tutorial along this guide to avoid missing any step and tricks I used.
Feel free to watch and make a nice Jack Skellington tray! 📺
Finished watching the video? Let’s have a look at the detailed written step-by-step guide.
Step by step: How I made my Jack Skellington clay tray
Before you start making, open all the windows in your working area and make the space more ventilated because air dry clay contains fine particles that can make you cough.
Step 1: Conditioning and kneading the clay
First of all take a fresh piece of clay out of the package and cut the required piece and wrap the remaining clay piece properly.
Next condition the clay by adding droplets of water on to the fresh clay piece you’ve taken.
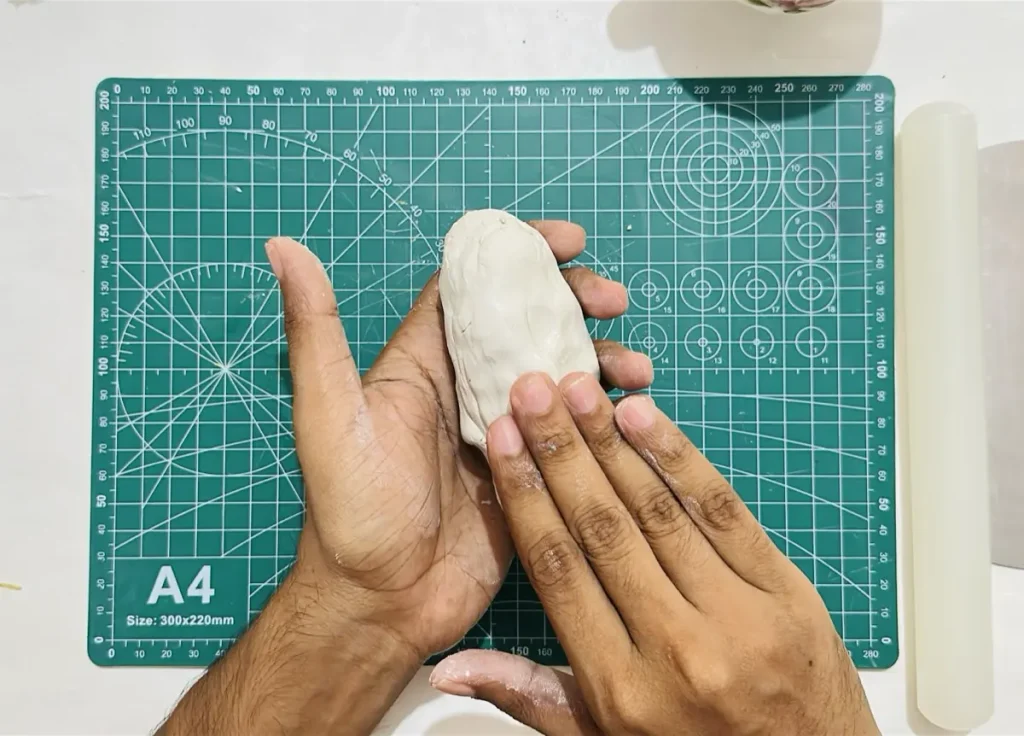
Then start kneading the clay using pull, push and press techniques just like when you’re making a pizza dough.
Keep kneading the clay for 3-5 minutes until it becomes soft and comfy enough without any stiffness which is great for shaping the clay. You can apply a little bit of water while kneading the clay to make it easier.
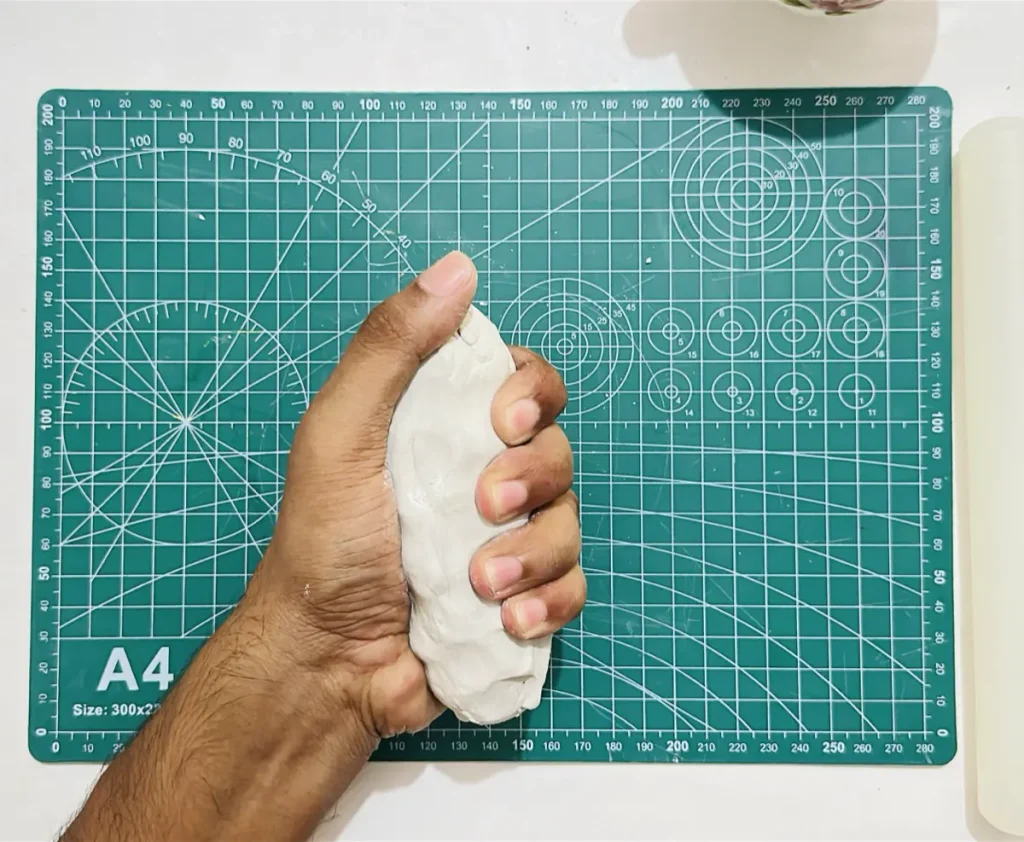
Make sure to apply only a little bit of water when conditioning and kneading the clay because water is considered as the worst enemy of air dry clay 💧. Let me tell you why.
Air dry clay is a highly porous material with lots of moisture inside. But these moisture and air pockets are spread in a random manner. As the clay dries the water inside will start to evaporate resulting in the clay to shrink. This is unavoidable, but we can control the moisture evaporation rate of the air dry clay and let the moisture evaporate almost equal in all the areas by kneading because rapid and uneven moisture evaporation leads to surface cracks.
When you’re kneading the clay, the moisture spreads equally across all the layers of the clay and the trapped air bubbles release outside.
Having organized moisture concentration with no air bubbles inside helps air dry clay to shrink evenly as the clay dries due to the equal moisture evaporation rates.
If you skipped the kneading process, sorry to say, your air dry clay is likely to crack as it dries due to the above scenario I described.
Now you can see kneading not only makes the clay soft but also does a valuable task to stop the air dry clay from cracking as it dries. Therefore, it is a must.
Step 2: Rolling the clay
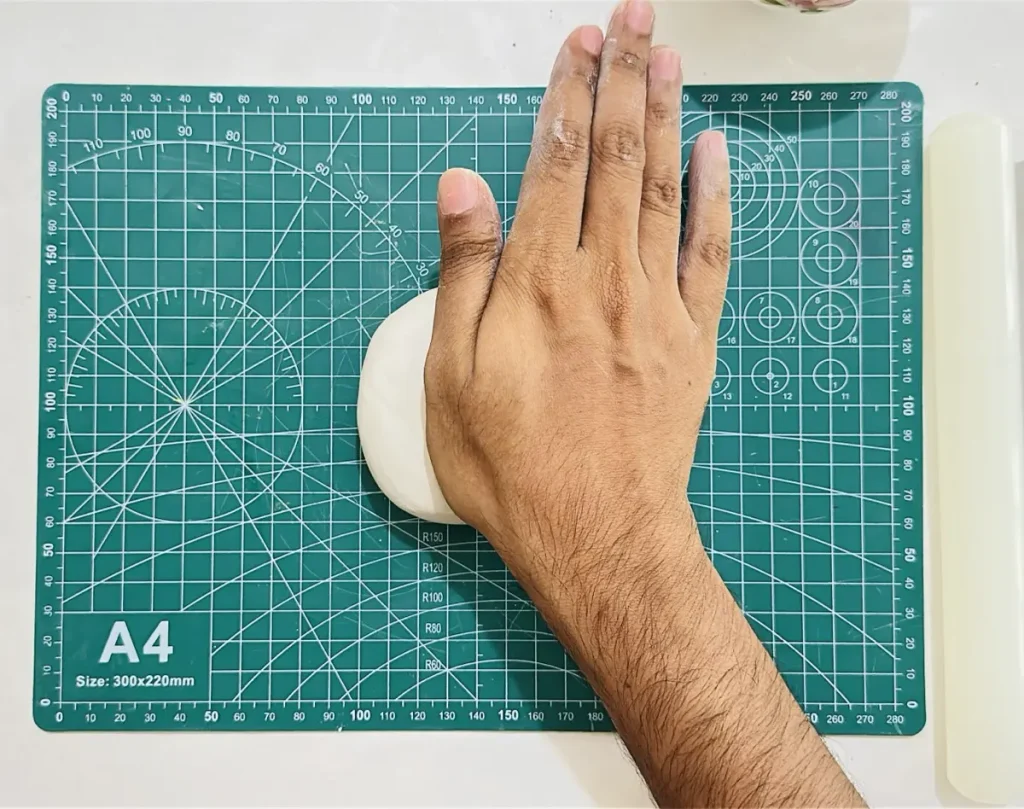
Now place the kneaded clay piece on your mat and start rolling to an even thickness about ¼ inch.
When you’re rolling, make sure to turn, flip and rotate the clay slab around 90 degrees frequenly to avoid it from sticking on to your mat.
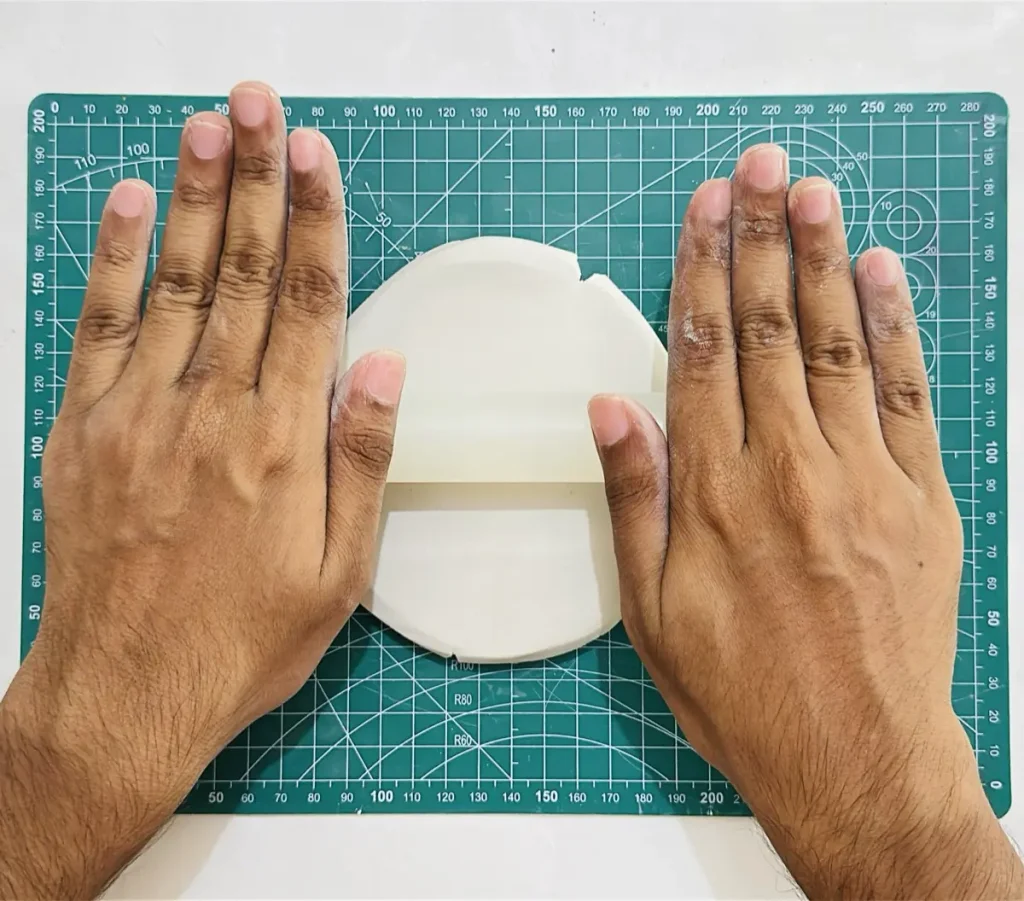
Otherwise when you try to lift the clay up after rolling, it’ll peel off and cause splits and cracks because as you roll the moisture inside comes out and forms a seal like structure between the clay and the surface. Therefore changing the clay position is must as you roll.
Also make sure to use a non-stick mat as your working mat. I use a PVC mat and silicone mat is also recommended.
Use an acrylic rolling pin to avoid clay from sticking as you roll.
If you couldn’t find a non-stick mat or rolling pin as I mentioned above, feel free to use a wooden cutting board and rolling pin. But don’t forget to add a parchment paper between the clay slab and the wooden cutting board and another parchment paper between the clay slab and the rolling pin as you roll.
If the wooden cutting board or rolling pin is unsealed, they’ll suck the moisture out of air dry clay pretty quickly and make it dry forming micro cracks and most probably stick to the clay slab giving you a hard time to separate them. This is why we use parchment papers as barriers.
Another thing to consider is the thickness of your clay slab. As I mentioned above ¼ inch is the ideal amount of thickness you should go with.
Rolling the clay slab too thin, I mean less than ¼ inch, loses the structural integrity of the clay and it is highly likely to warp and crack as it dries. You’ll see the clay tray curl upward from the edges like a fried potato chip as it dries due to the warping.
On the other hand, rolling the clay slab too thick, higher than ½ inch, can cause uneven shrinkage forming surface cracks as it dries because inside layers of air dry clay is likely to dry much slower compared to the outside layers due to the high thickness of the clay. Plus, it’ll take more days or sometimes weeks to dry fully.
Because of the above reasons try to maintain the thickness of the clay slab between ¼ inch-½ inch.
Step 3: Cutting the circular base
Usually I’m a big believer of freehand cutting because I’m so bad at drawing and I want to improve it by always tracing and cutting the clay slab freehand. I rarely use cookie cutters, molds or templates.
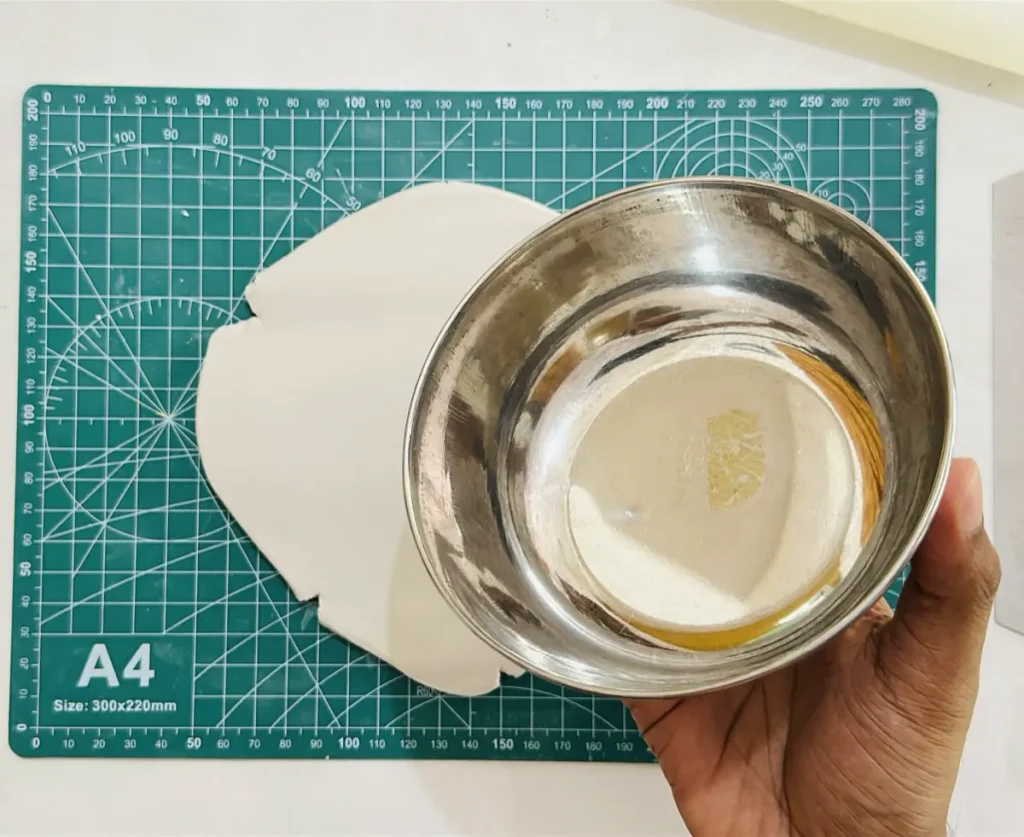
But in this particular project, I wanted to make the clay tray have a perfectly circular tray base. Therefore, I used a metal jar lid. You can either use a plastic container lid, circular cookie cutter or any other shape to cut the clay in a perfect circle shape.
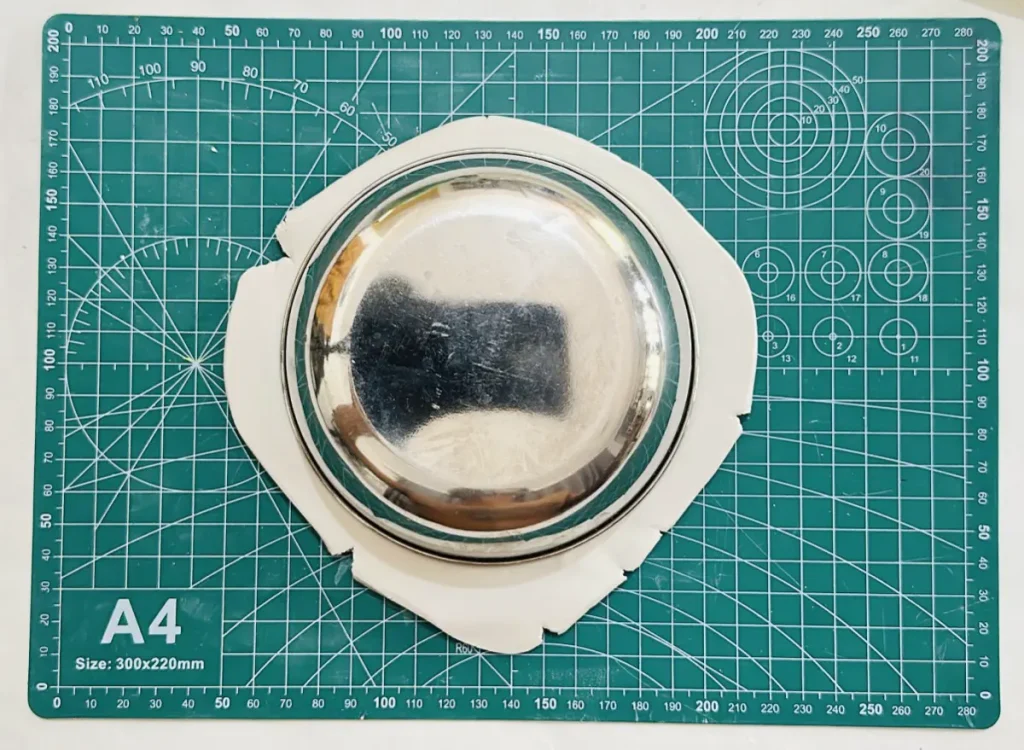
Read, How to Cut Perfectly Round Air Dry Clay Bases Using Household Templates
Place the jar lid in the middle of the rolled clay slab and cut along the outline carefully. If you’re afraid to cut the clay directly, trace the outline and then start cutting.
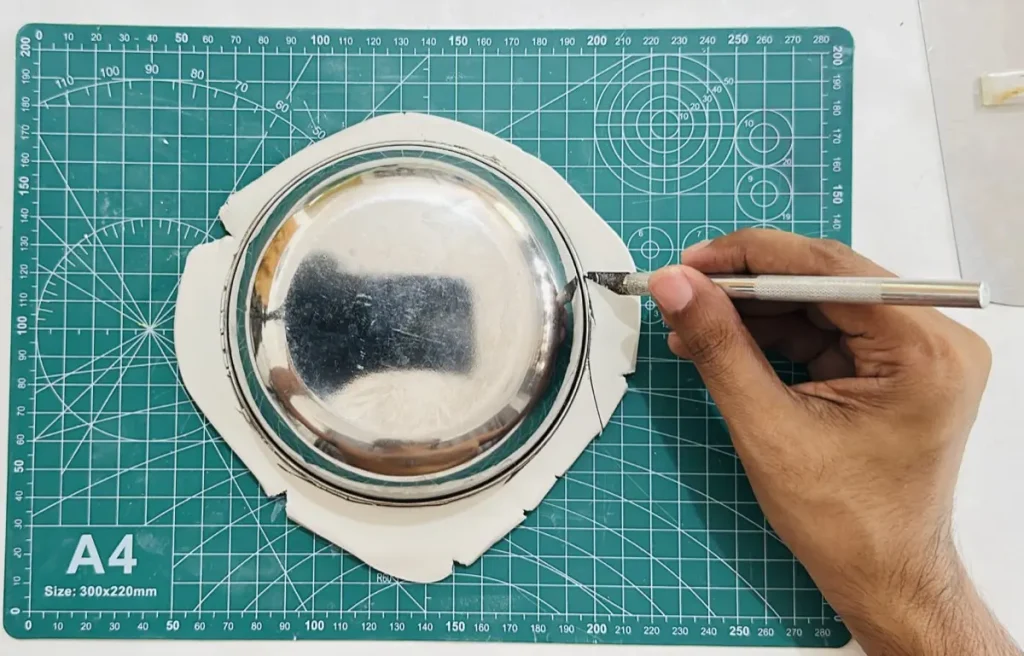
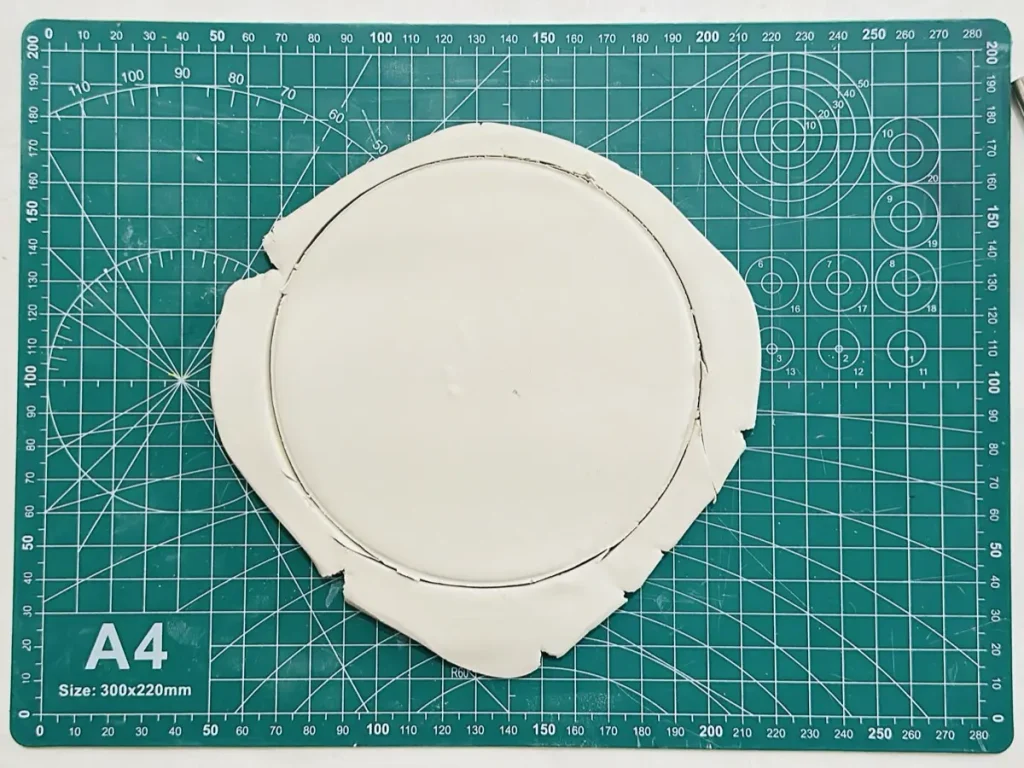
Once you’re done cutting, remove the excess clay carefully which is a satisfying experience.
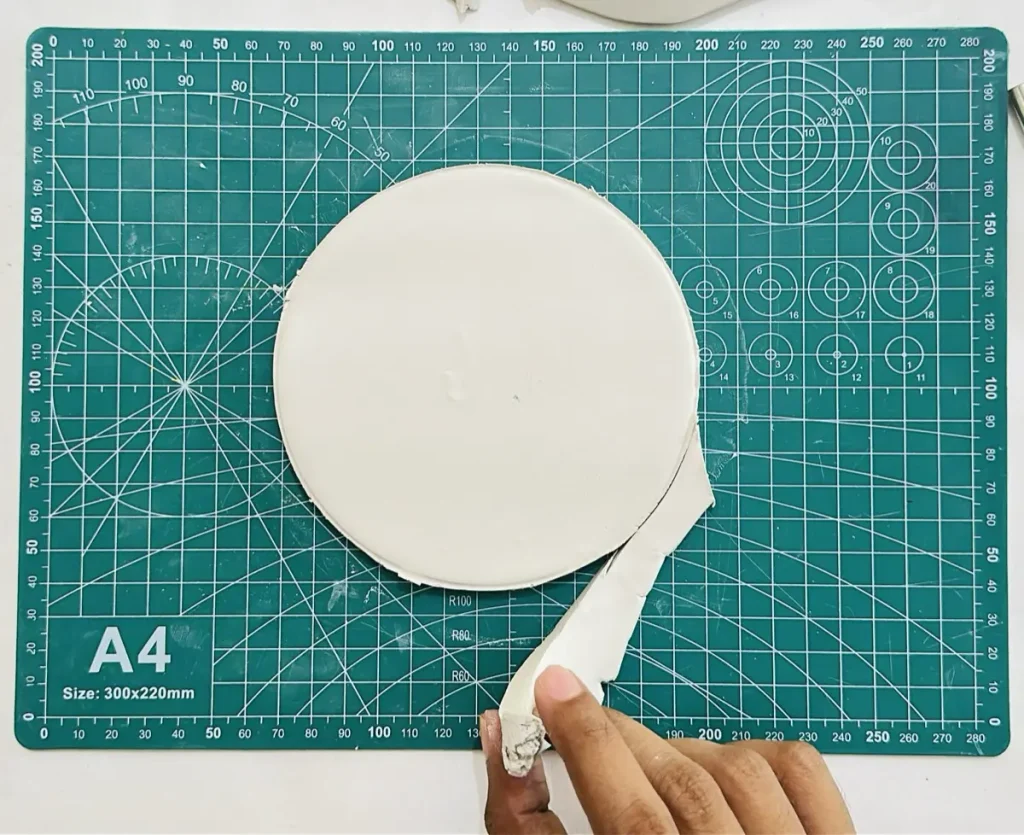
Next remove the lid and smooth out the edges and the surface of the clay slab.
You can smooth out the air dry clay by dipping your index finger in a cup of water and gliding repeatedly over the clay surface and around the edges to make it nice, clean and smooth. Smoothing helps to get rid of tiny bumps, micro cracks and imperfections on the clay surface. So do it regularly after each step going forward but only with a little bit of water.
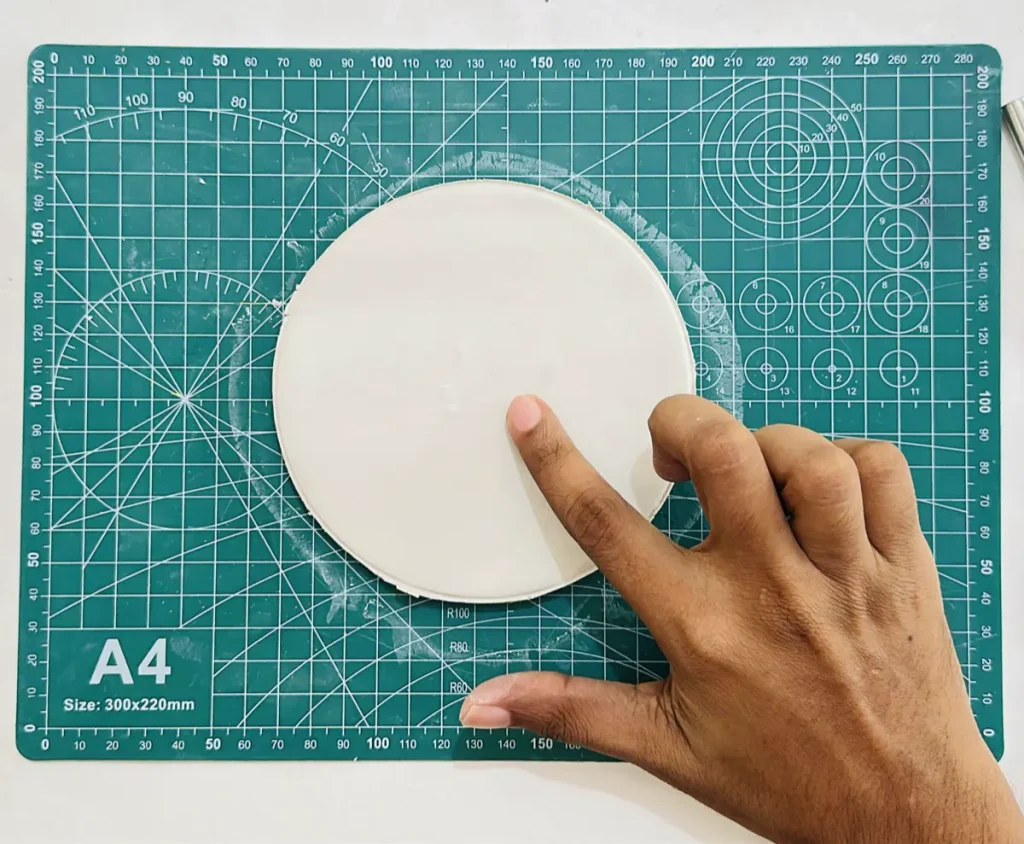
Good job my friend! 👍 We made the tray base. Now it’s time to make the tray rim and attach it to make the complete setup.
Read, How to Cut Clean, Sharp Edges in Air Dry Clay (Without Tearing)
Step 4: Cutting the tray rim
Making the tray rim is easy. First take a fresh clay piece and knead it well.
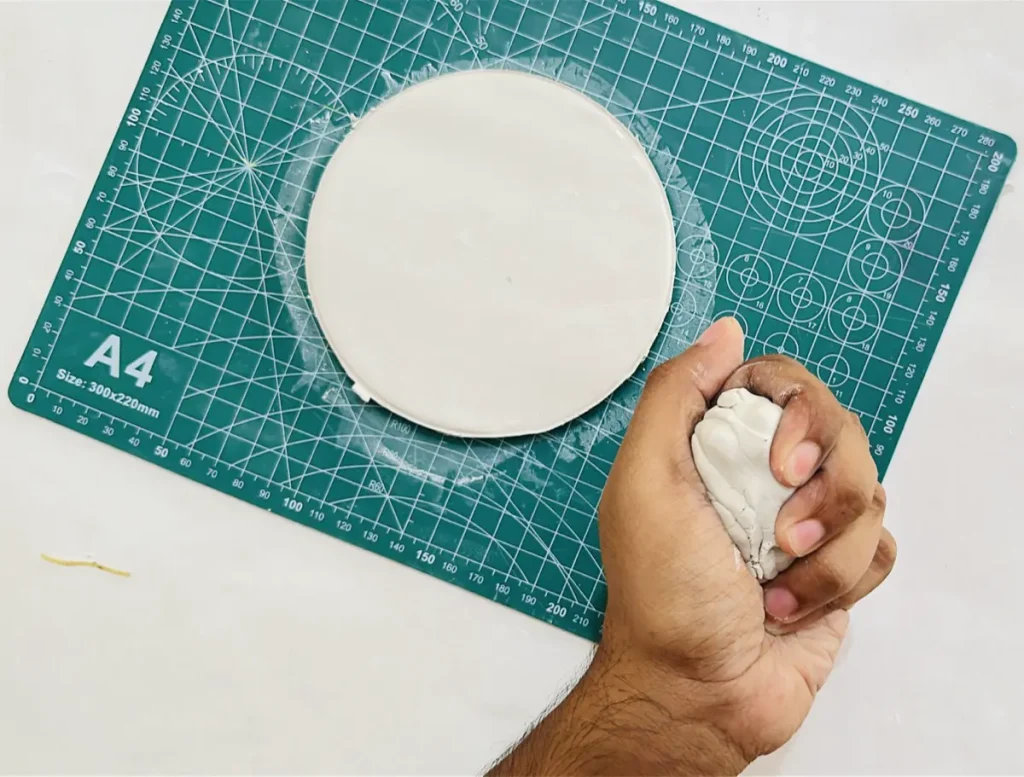
Then roll the clay piece like a snake shape using your hands.
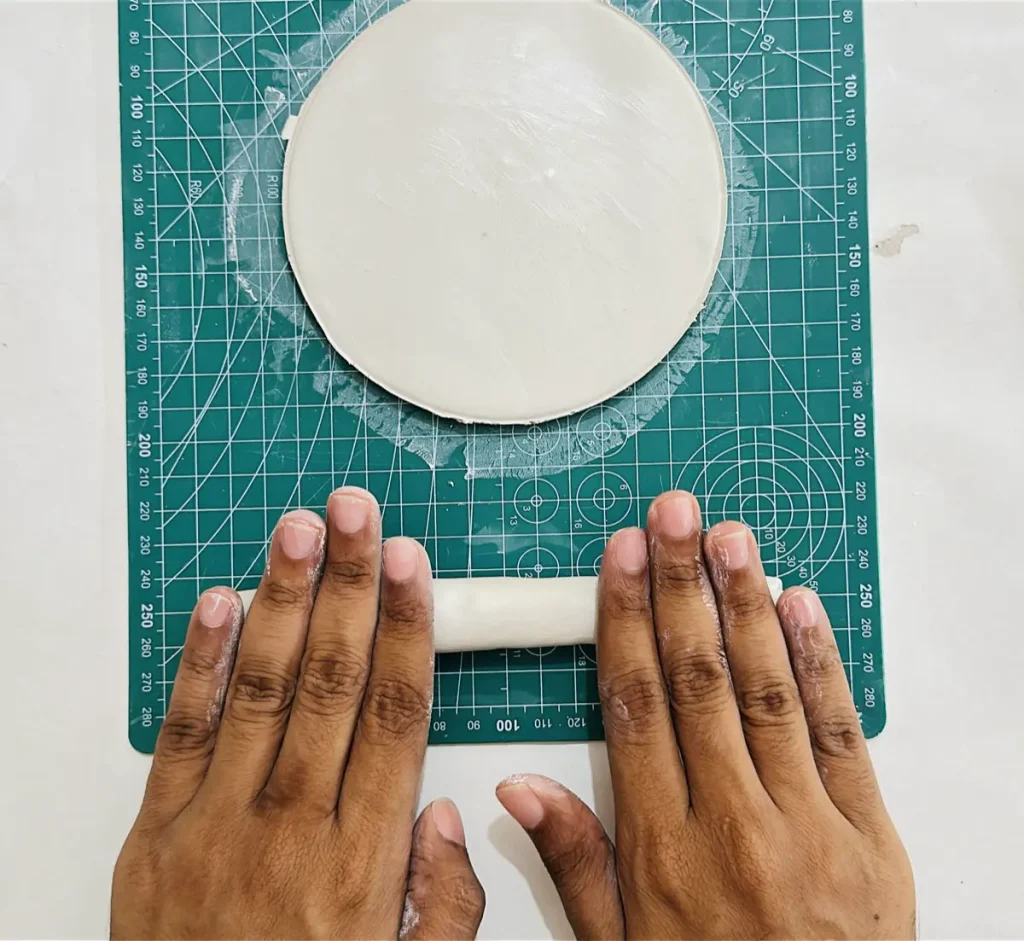
Next, roll the cylindrical clay piece using the acrylic rolling pin to an even thickness about ¼ inch.
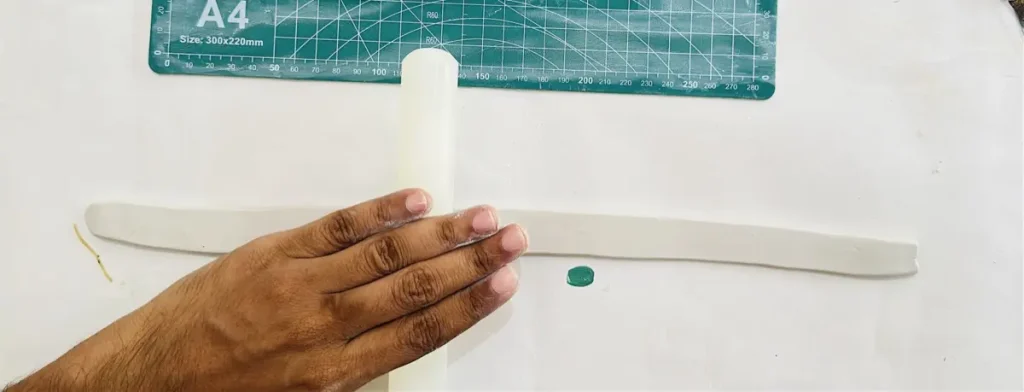
Finally cut the edges and make the width along the length even.
Step 5: Attach tray rim to the tray base
You can’t attach two air dry clay pieces just by pressing them together. There is a special method for that which is called the “score and slip method”.
In the score and slip method first you need to score the air dry clay surfaces that you’re going to attach. Then apply a clay and water mix paste called “slip” over the scored areas to have a better grip between the surfaces. After applying the slip you can press and attach the two pieces together and they won’t separate or lose the clay joint as the clay dries.
Slip is made by mixing equal amounts of air dry clay pieces and water thoroughly in a small plastic can and letting it sit for hours. It is a creamy looking paste that can be used when attaching air dry clay pieces and used again for future projects as well.
First of all I scored along the edge of the tray base using my clay scoring tool.
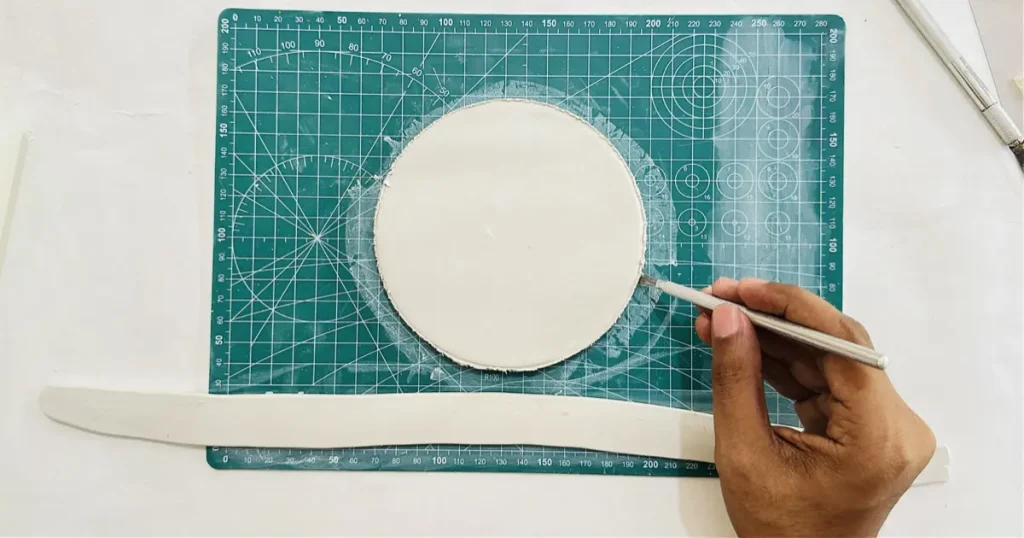
Then I scored along the bottom length of the tray rim.
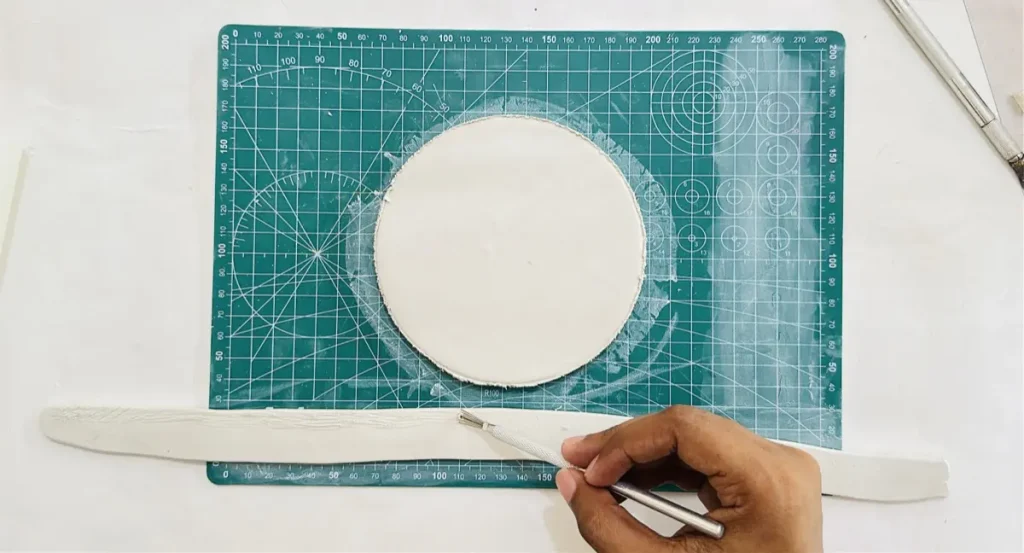
I didn’t have the “slip”. Therefore, I tapped the scored surfaces with a little bit of water. Trust me water works as good as the slip because water is one of the main ingredients of the slip. If you don’t have the slip, use water as I did and it works just fine. Don’t worry.
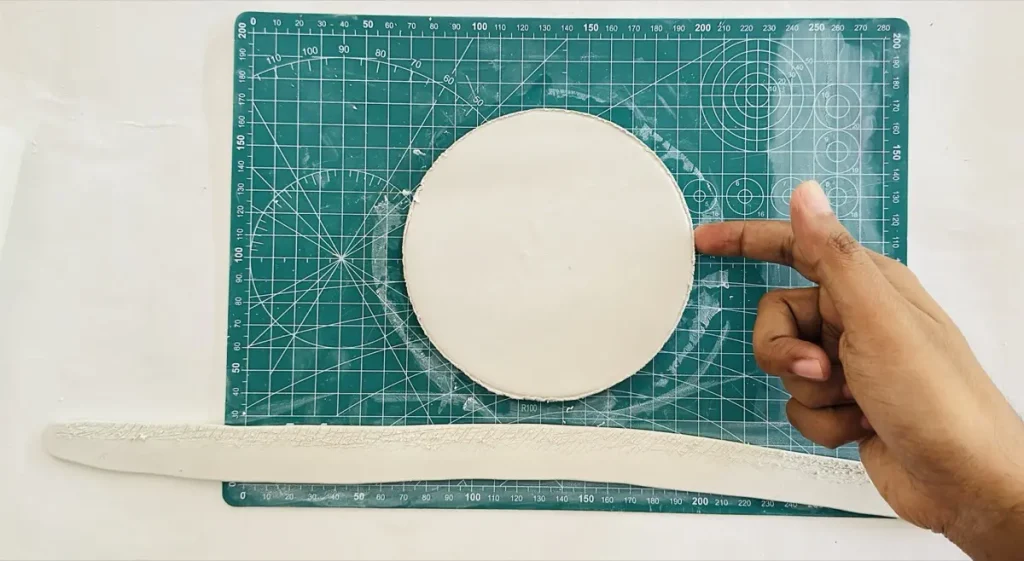
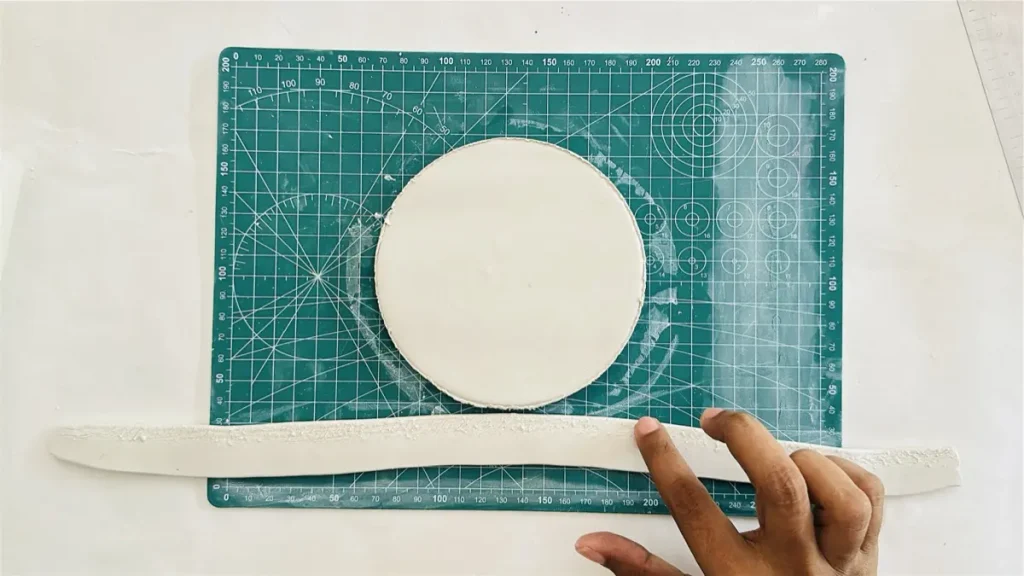
Next attach the tray rim around the tray base carefully and cut the edges of the tray rim at an angle to attach the two ends smoothly without occurring a bump.
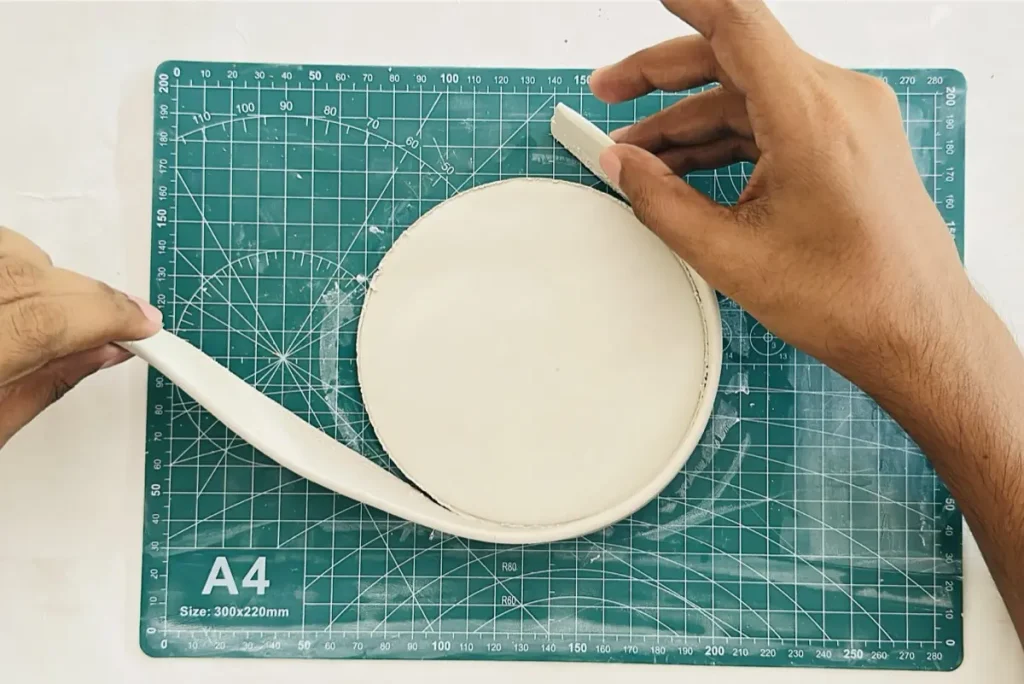
After attaching the tray rim to the tray base, smooth out the surface and around the tray rim to remove any seams and micro cracks.
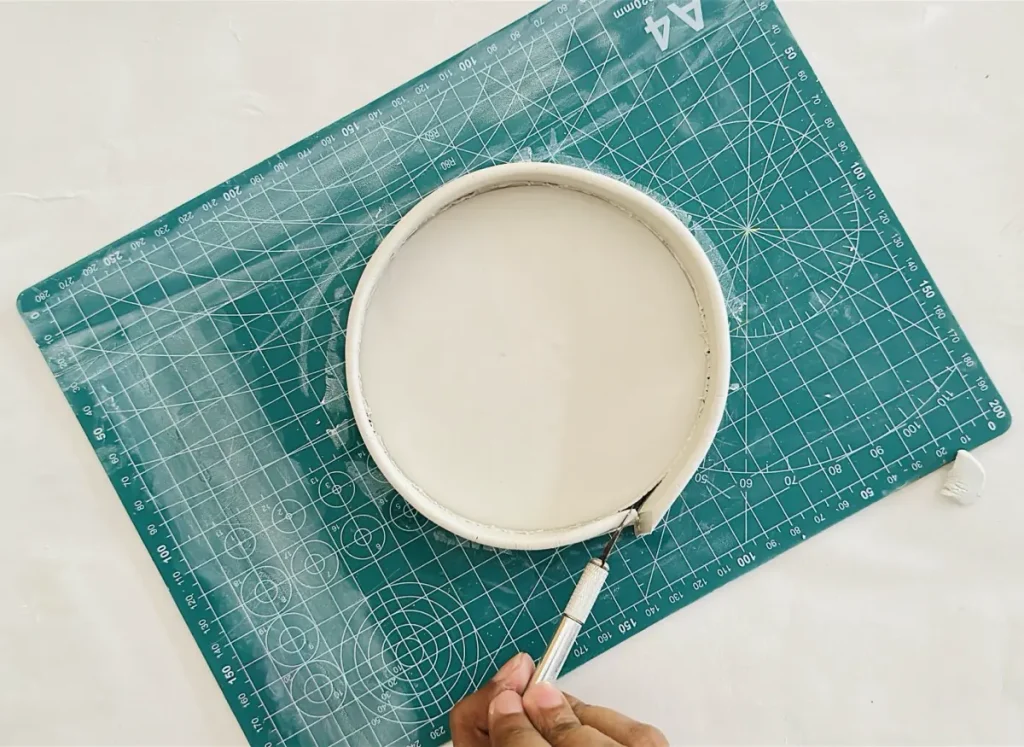
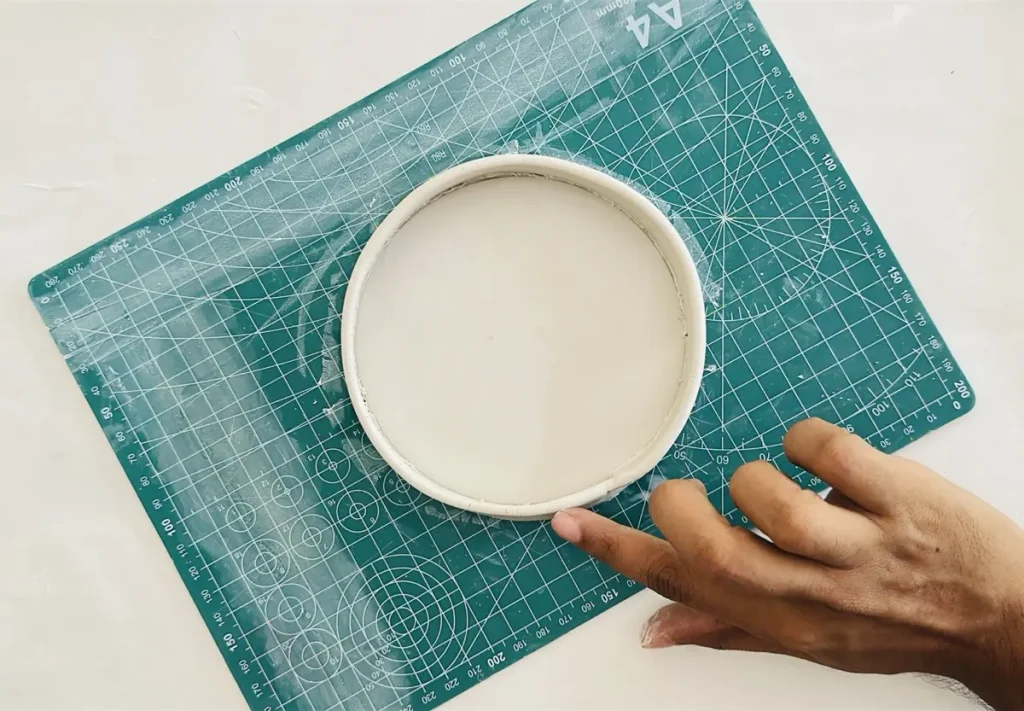
Step 6: Reinforce the joint by adding a thin clay coil
Notice the sharp 90 degree angle between the tray base and the tray rim. As the clay dries the force towards this sharp joint will increase due to the shrinkage of the clay.
So we need to make sure the joint won’t lose as the clay dries by adding a thin clay coil seam to it.
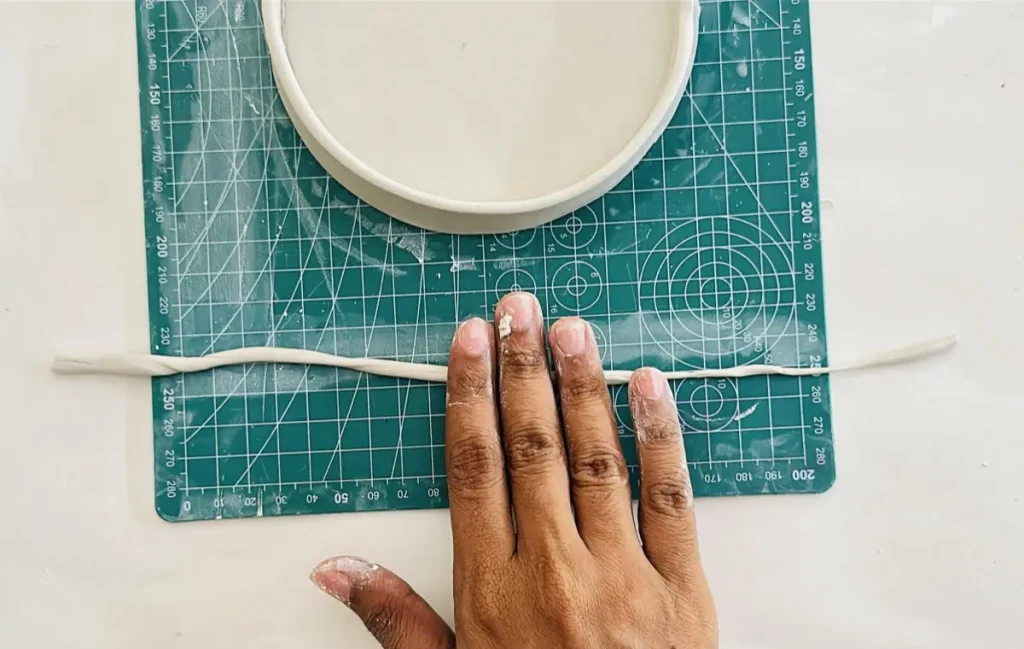
Adding a thin clay coil seam reinforces the joint between the tray base and the tray rim by making the joint area more thick and removing the 90 degree sharp angle. This helps to keep the joint strong enough under clay shrinkage and bare more forces.
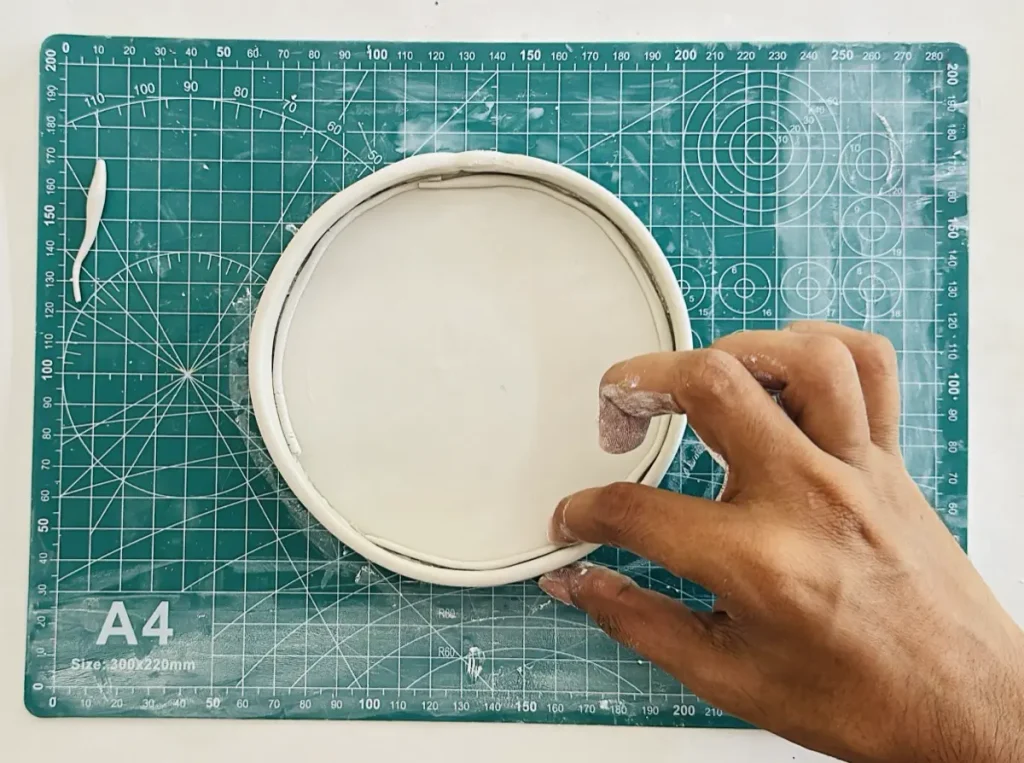
Make the clay coil as thin as possible because we don’t wanna make it look separate sections as the clay dries.
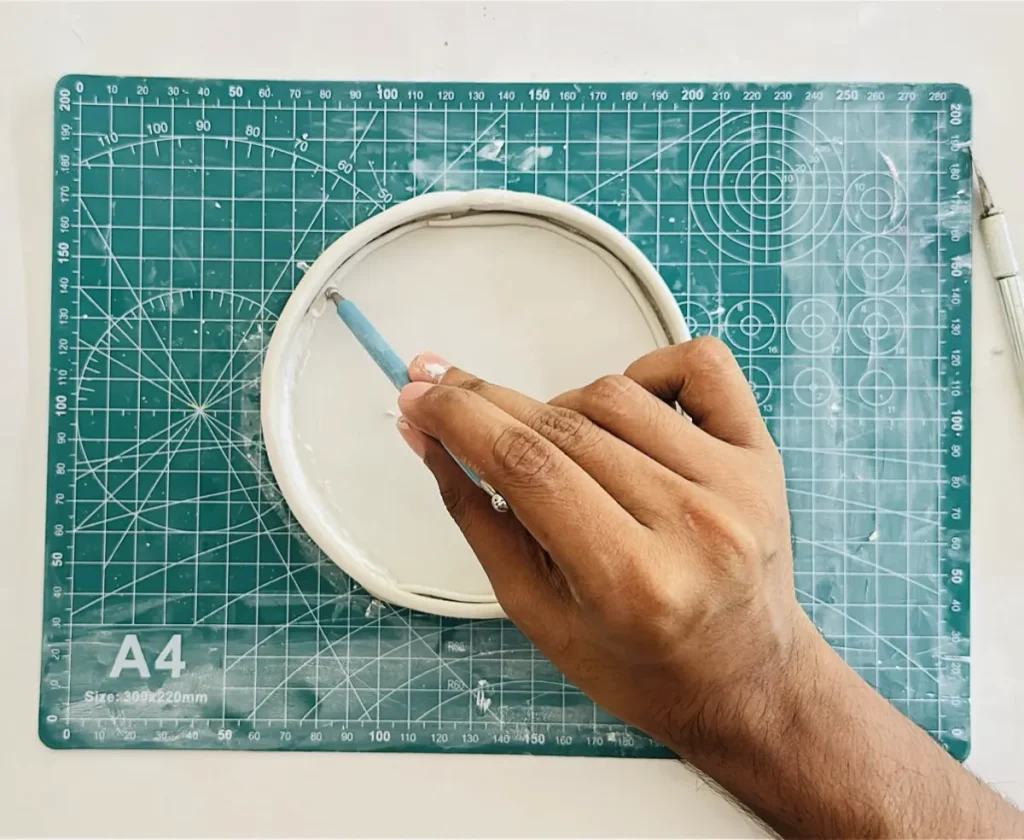
Use a little bit of water and smooth along the thin clay coil to get rid of the seam.
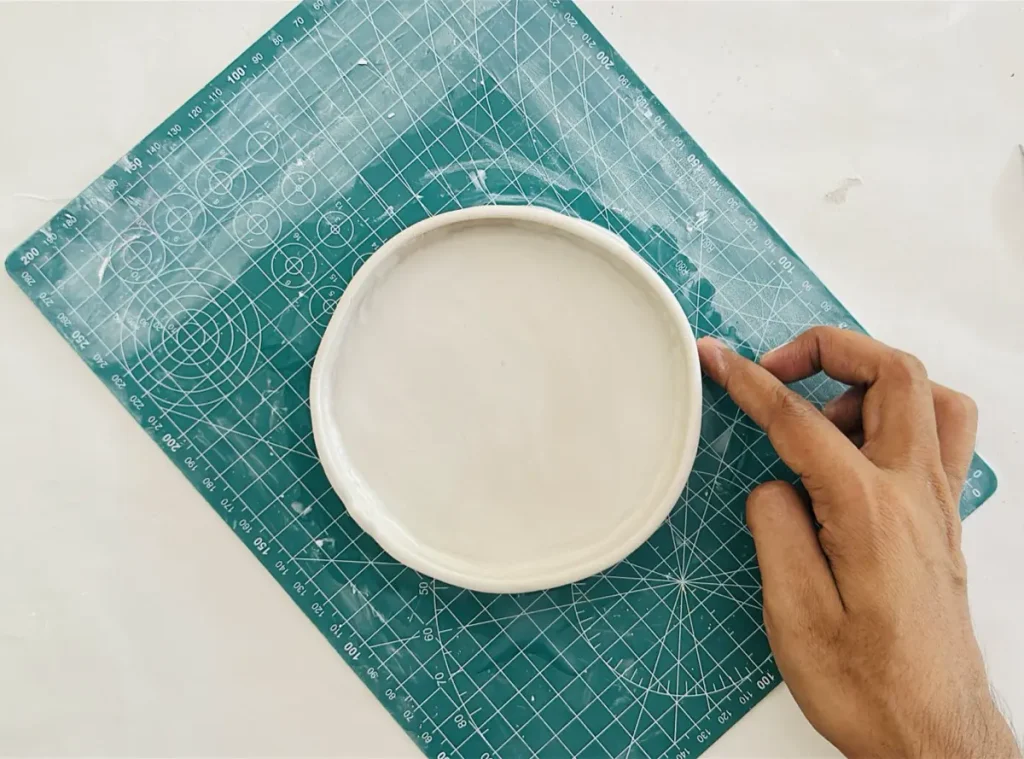
Congrats my friends! 🎉 You have successfully made the tray. But it is still wet.
Step 7: Let the tray dry
Now let the clay dry for about 48-72 hours. Air dry clay drying time depends on the humidity of your area and clay thickness.
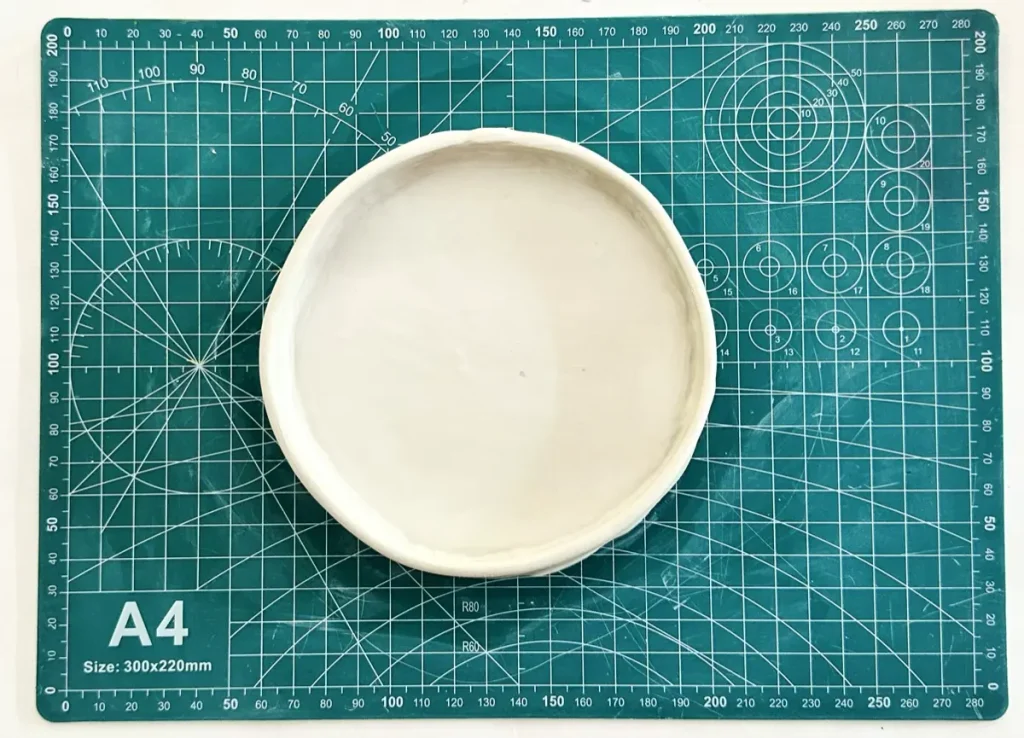
If you live in a tropical climate with high humidity your air dry clay project may take 3-4 days to dry fully due to the slow water evaporation speed.
However you should not start painting or sealing the tray until it dries fully.
You can identify whether it is fully dried by the color of the surface and by touching. Usually wet air dry clay has a grey off white color and it changes to pure white and more bright white color once it is fully dried.
Plus, wet air dry clay feel cold to touch due to the evaporation of the moisture inside.
Check the surface after 2 days. If you see grey patches, let it dry more for another 24 hours.
Let the air dry clay project dries slowly in a well ventilated area, because rushing the drying process by keeping it inside of an oven or placing it under direct sunlight or applying a heat source will result in surface cracks due to the rapid evaporation of water causing the uneven shrinkage.
Your patience is the key for better results when the clay is drying ⏳. One crack can ruin your hours of work. Therefore, be patient specially as the clay dries.
Once the tray is fully dried you can sand the whole surface with a fine grit (320 grit) sandpaper to remove tiny cracks, imperfections and make it smooth.
Step 8: Drawing the Jack Skellington face on the tray
I googled the Jack Skellington face 2d outline and drew it on the tray base carefully before painting using a pencil ✏️.
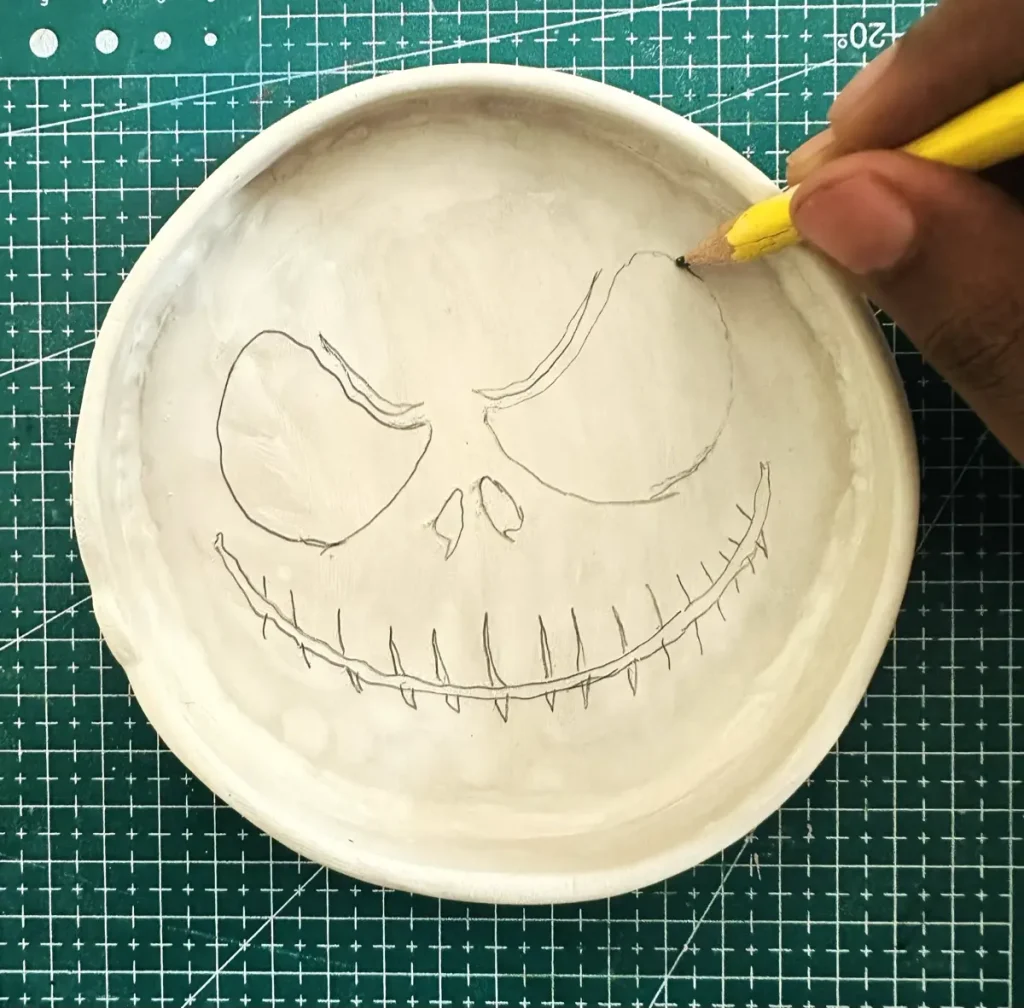
As I told you this took a lot of time because I’m so bad at drawing.
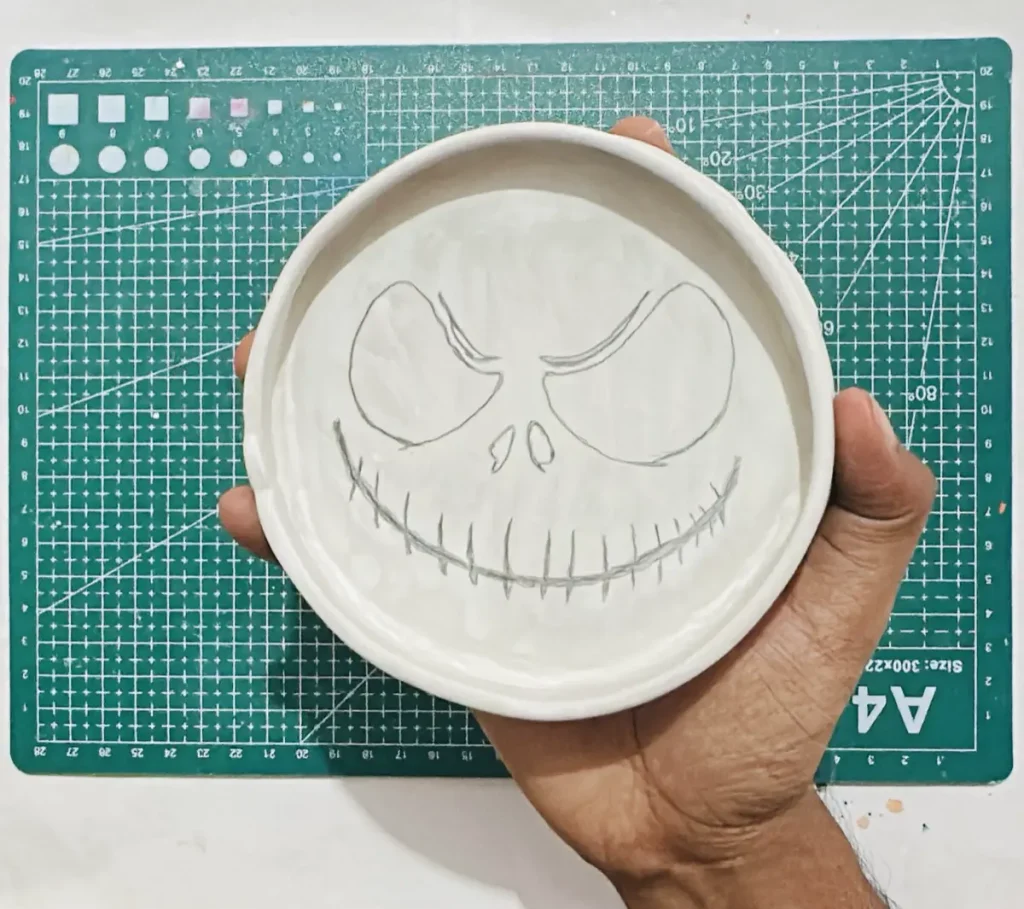
Step 9: Painting the tray and the face
After drawing the Jack Skellington face on the tray base, I painted it completely with white acrylic color 🖌️.
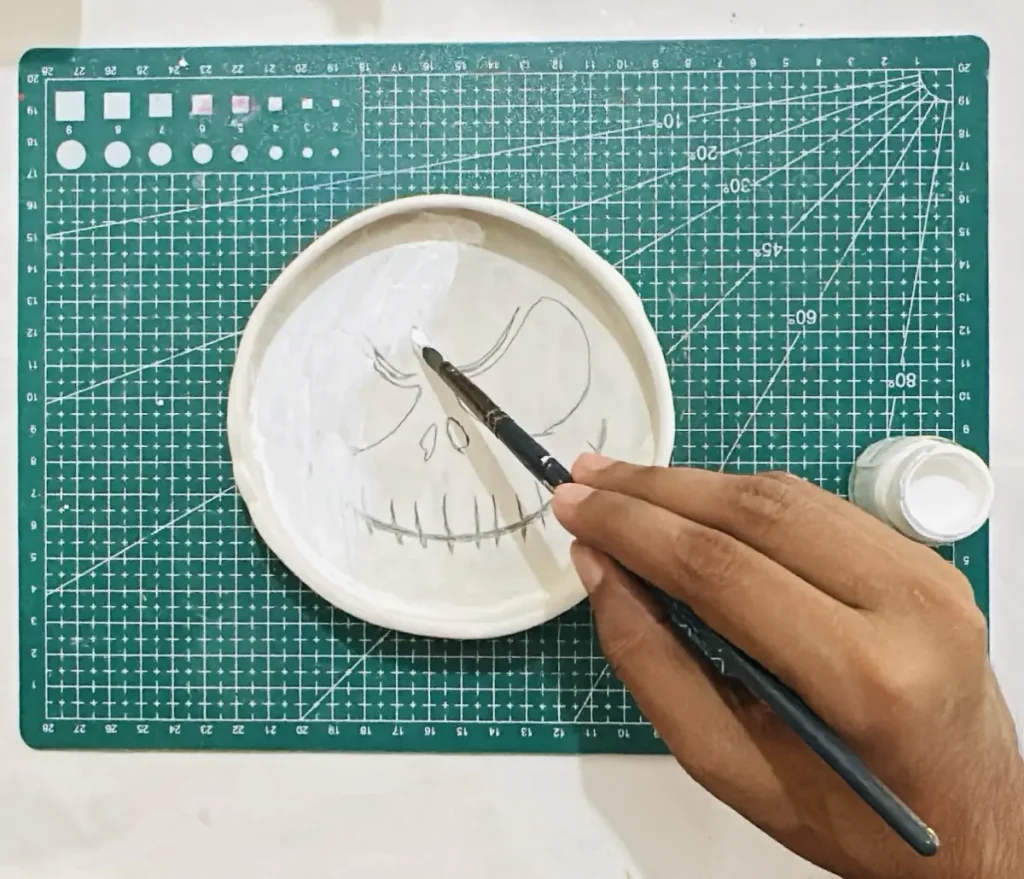
Oh! I forgot to tell you I used acrylic paints for air dry clay because it is considered as the best option due to several reasons such as,
- Comes in vivid colors.
- Dries quickly within 2 hours.
- No need to water for mixing or preparation.
- Easy to apply.
- Makes a water resistant coating.
Water weakens the air dry clay causing cracks. Therefore, always use paints that don’t require water for mixing them.
Apply thin and even coats of acrylic along one direction to avoid forming tacky spots and stains.
Next I painted Jack’s eyes, mouth, nose, eyebrows in black acrylic color. Do this carefully specially when painting the outline because mistakes are highlighted due to the white background.
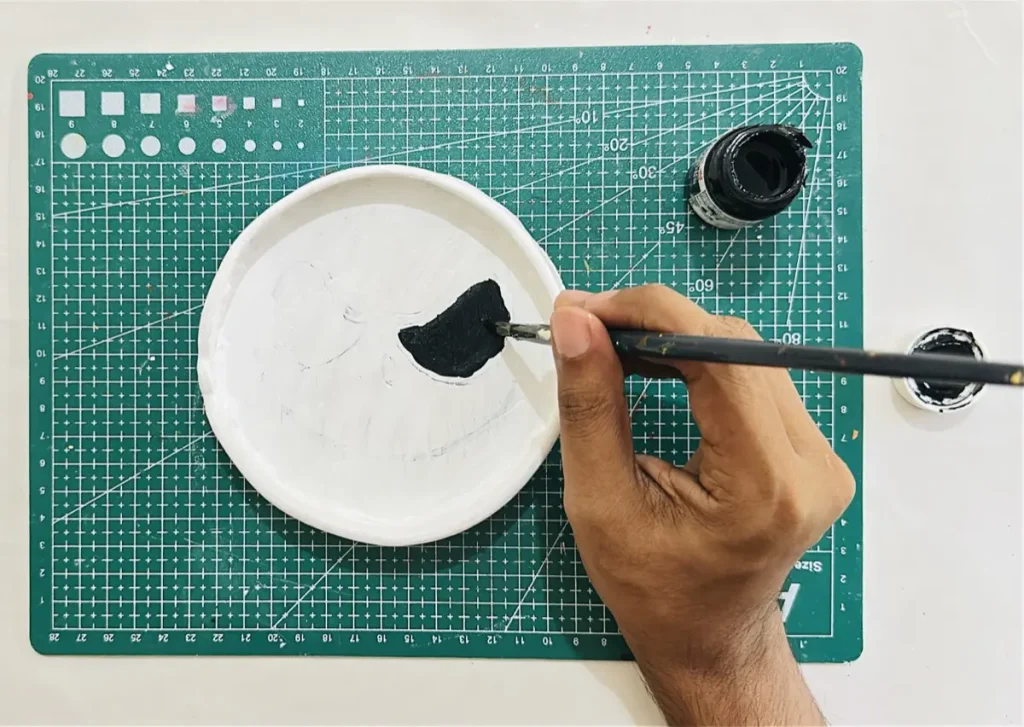
Finally, I painted the tray rim outline using the same black.
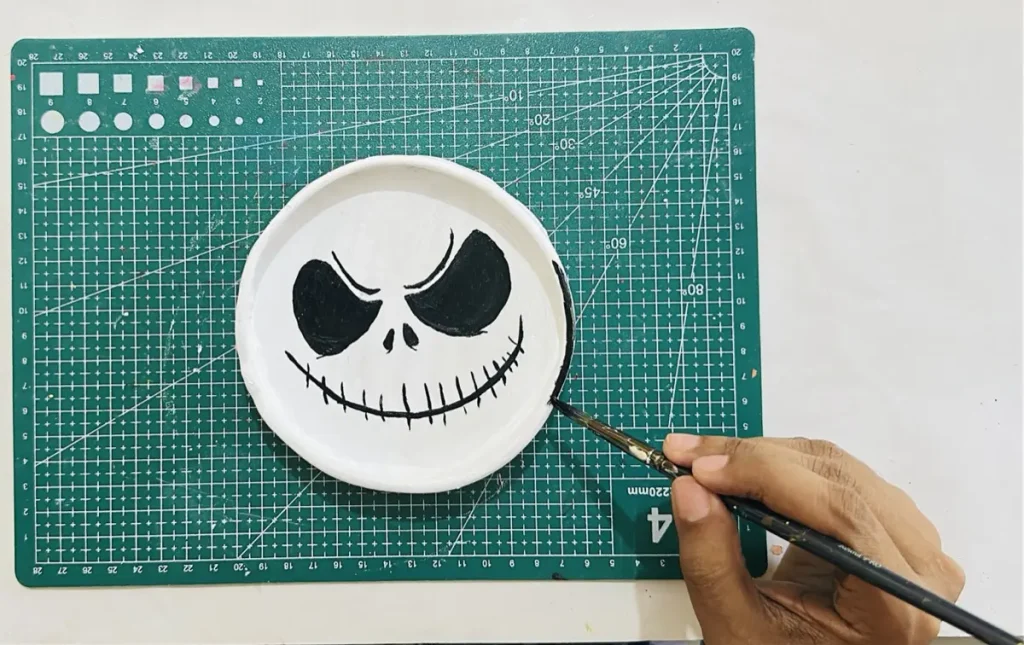
After painting the whole tray, I let it dry for 2 hours in a well ventilated area before sealing.
Now you can notice how beautiful your tray is.
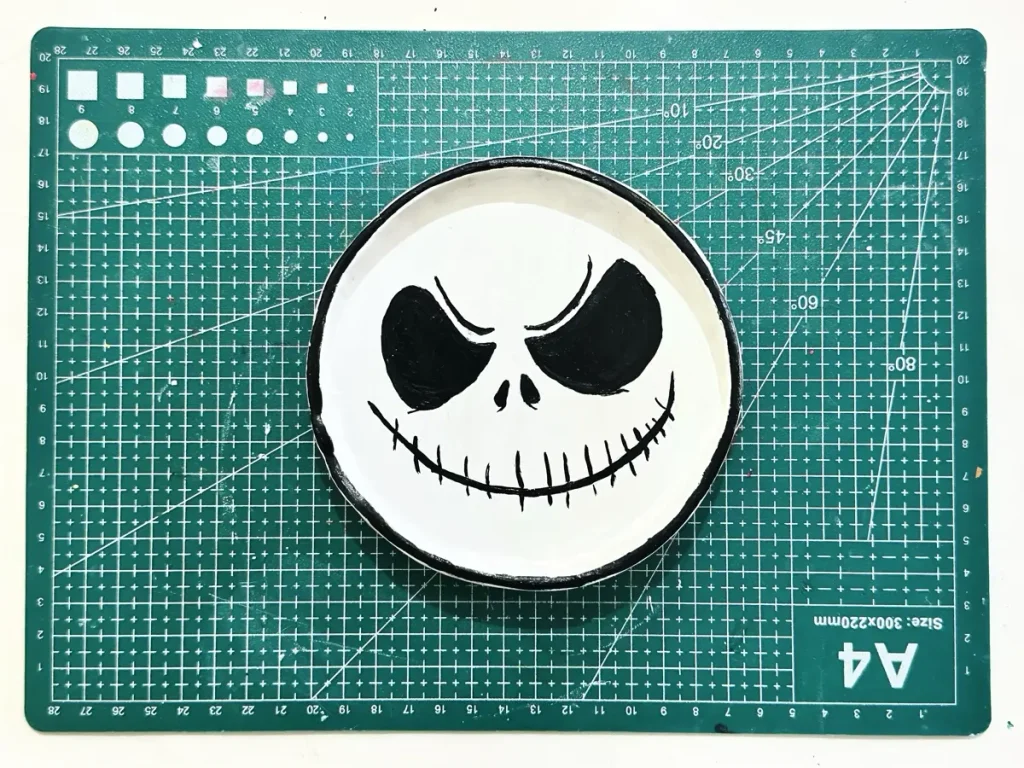
Step 10: Sealing the Jack Skellington clay tray
I used gloss varnish for sealing this tray or you can either use UV resin, polyurethane varnish, Mod Podge or epoxy resin if you need a glassy finish. All above sealers protect your item from outside moisture and splashes.
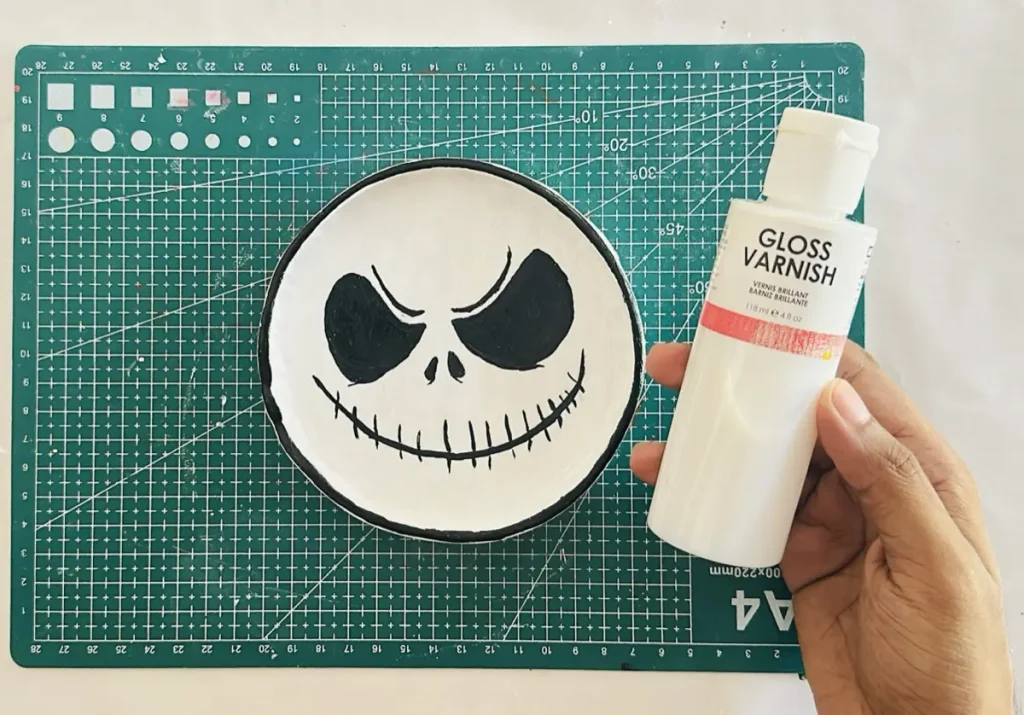
Gloss varnish makes a water resistant coating which helps to protect our clay tray long term. Plus, it provides a glossy ceramic like finish.
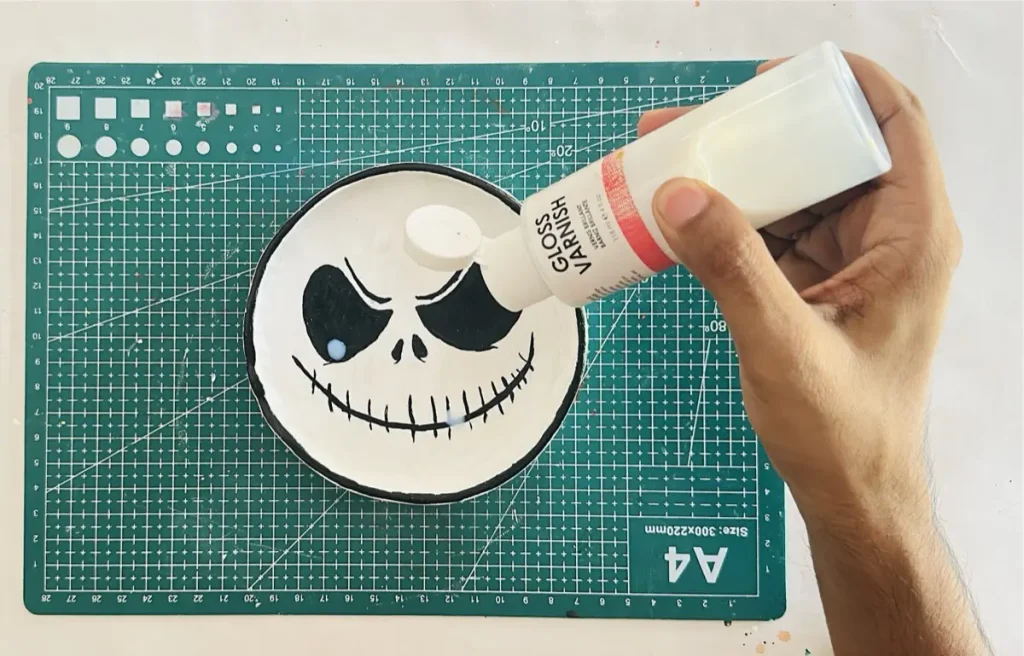
Apply 2-3 thin and even coats in one direction and seal the tray completely. Let each coat dry for 24 hours before applying another.
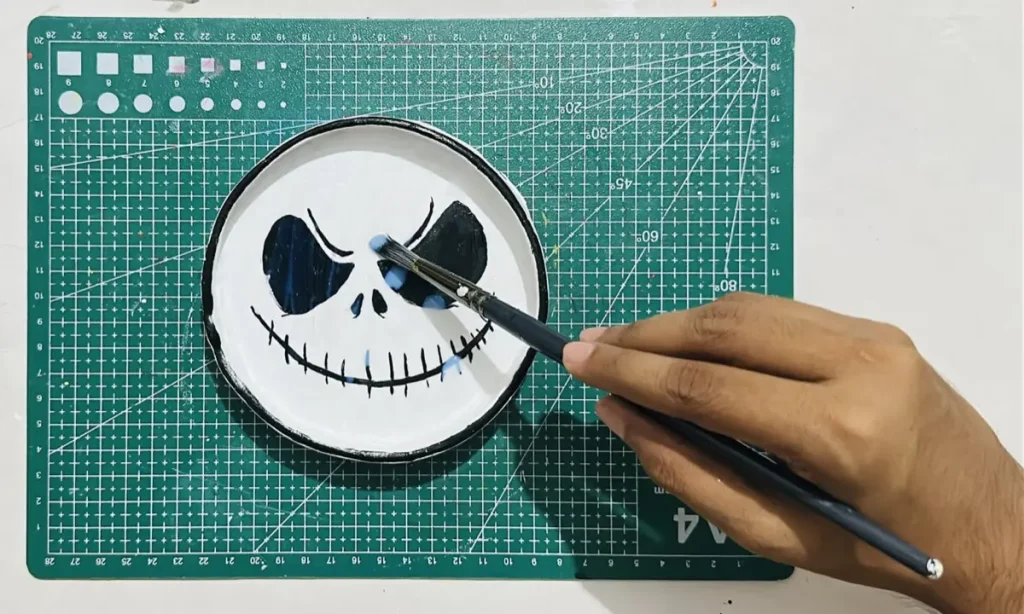
After the final coat, let it dry and cure for 24 hours.
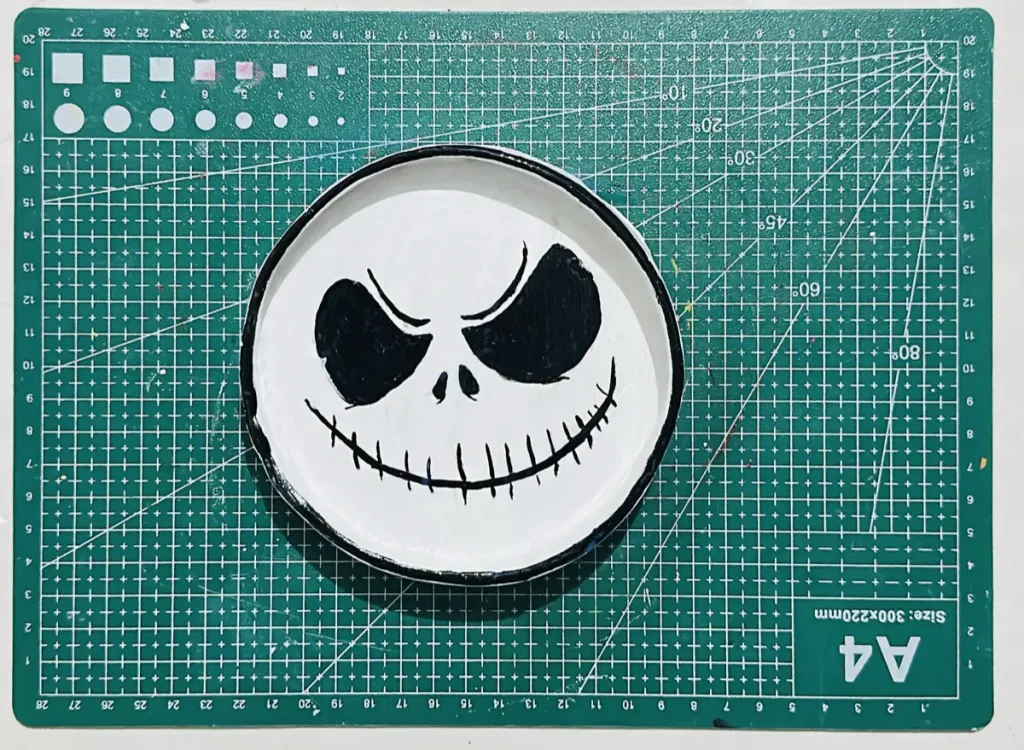
Even after sealing the project, never ever try to place it outside. Air dry clay can’t withstand outside due to the harsh weather conditions like rain and winter. They damage the coat and find a way to sneak inside and damage the tray.
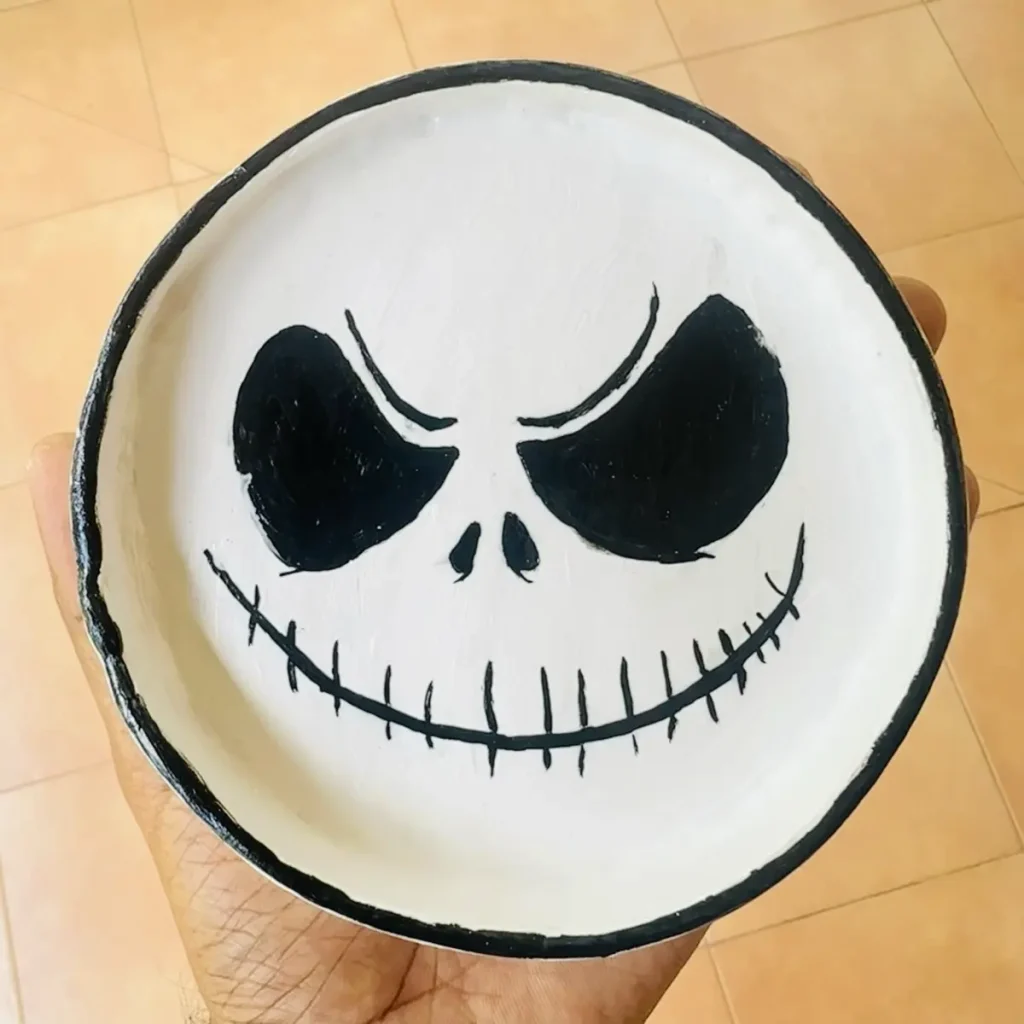
Congratulations ladies and gentlemen! 🥳 We have finally successfully made out a beautiful but spooky looking Jack Skellington tray with air dry clay. Now it’s your time!
Final thoughts
You can use this Jack Skellington clay tray as a table decor for this halloween 🎃 or christmas 🎄 season. Guests will find it unique and beautiful and you’ll have to tell them the journey of making it by yourself. That will be a quiet story!
Or you can gift this nice home decor to someone important in your life 💝. They’ll feel loved specially because this is a handmade item.
I think I told you every step I did, every tip and trick I followed to make this successful. But if you ever come into a question or trouble don’t hesitate to ask from me or from our community. Simply mention them in the comments section or contact me.
Also if you discovered new methods of doing things even better than I said, please share them as well in the comments. As a clay community I love to hear from you guys. That makes me proud.
Be sure to tag @clayandmestudios in your Jack Skellington clay tray project. I sure love to see them when you do. I’ll see you next time with another cool project! Cheers! 🤟🏾
How I Made a Jack Skellington Tray with Air Dry Clay

Supplies Needed
Air dry clay (DAS, Mont Marte, Jovi, or any reputed brand you can find is okay)
Acrylic rolling pin
PVC mat or silicone mat
Metal jar lid
Clay crafting tools
Clay cutting tool (X-acto knife or small knife)
Cup of water or spray bottle
Acrylic paints (white and black)
Gloss varnish
Paintbrushes
Drawing pen or pencil
Paper towels
Optional: Sponge or silicone sculpting tool (or you can use your finger)
Instructions
Step 1: Prep & Knead 🤹
- Knead fresh clay for 3–5 mins with a splash of water to banish air bubbles and prevent cracking.
Step 2: Roll It Out 🍕
- Roll clay on a non-stick surface to an even ¼ inch thickness (flip often to avoid sticking!).
Step 3: Cut the Base ⭕
- Trace and cut a neat circle using a jar lid, then smooth the edges with a wet finger.
Step 4: Form the Rim 🐍
- Roll a long clay strip (¼ inch thick) to make the tray’s outer wall.
Step 5: Score & Attach 🧩
- Cross-hatch the edges, apply water or slip, and attach the rim firmly to the base.
Step 6: Reinforce 🛠️
- Blend a super thin clay coil along the inner seam to secure the joint.
Step 7: Dry & Sand ⏳
- Let it dry in a ventilated spot for 48–72 hours, then sand smoothly with fine sandpaper.
Step 8: Draw & Paint 🎨
- Pencil Jack’s spooky face, paint the whole tray white with acrylics, and fill in details in black.
Step 9: Seal & Protect ✨
- Apply 2–3 coats of gloss varnish for a glossy, water-resistant ceramic look!